
Carrying your laptop in style doesn’t have to mean spending hundreds on a designer tote. With one simple DIY upgrade, you can transform a plain laptop sleeve into a chic statement bag that turns heads in the office, on campus, or at your local café. The secret? Adding a bold chain strap.
This project is easy, affordable, and completely customizable—you can pick a gold chain for a glam vibe, a chunky resin strap for a trendy streetwear look, or a sleek gunmetal chain for minimalist cool. Follow this detailed tutorial to create your very own DIY laptop bag with a chain strap.
Why Upgrade Your Laptop Sleeve?
- Hands-free convenience: A strap makes it easier to carry your laptop while juggling coffee, books, or your phone.
- High fashion look: Chains instantly elevate a simple accessory into a runway-inspired piece.
- Customizable: Choose a strap that matches your personal style.
- Budget-friendly: Repurpose an existing laptop sleeve instead of buying a whole new bag.
Materials You’ll Need
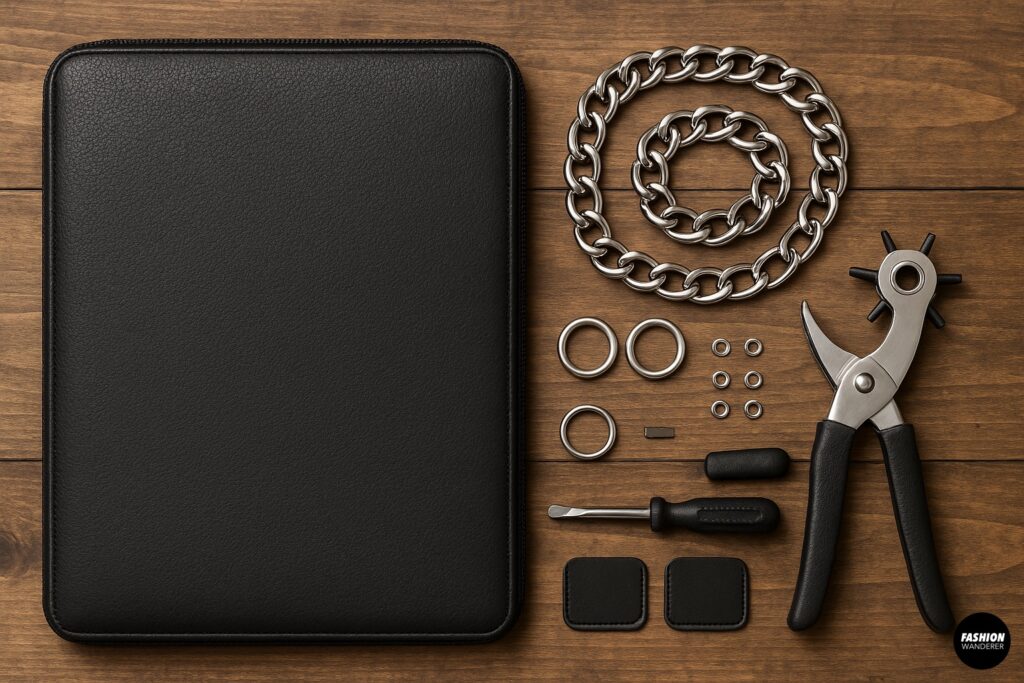
- Laptop sleeve (fabric, leather, or faux leather works best)
- Chain strap of your choice (metal, acrylic, or resin)
- Two D-rings or O-rings (to attach the chain)
- Rivets or grommets (for reinforcement)
- Hole punch tool (leather or fabric punch)
- Screwdriver or rivet setter
- Optional: small leather patches for extra reinforcement
Step-by-Step Tutorial
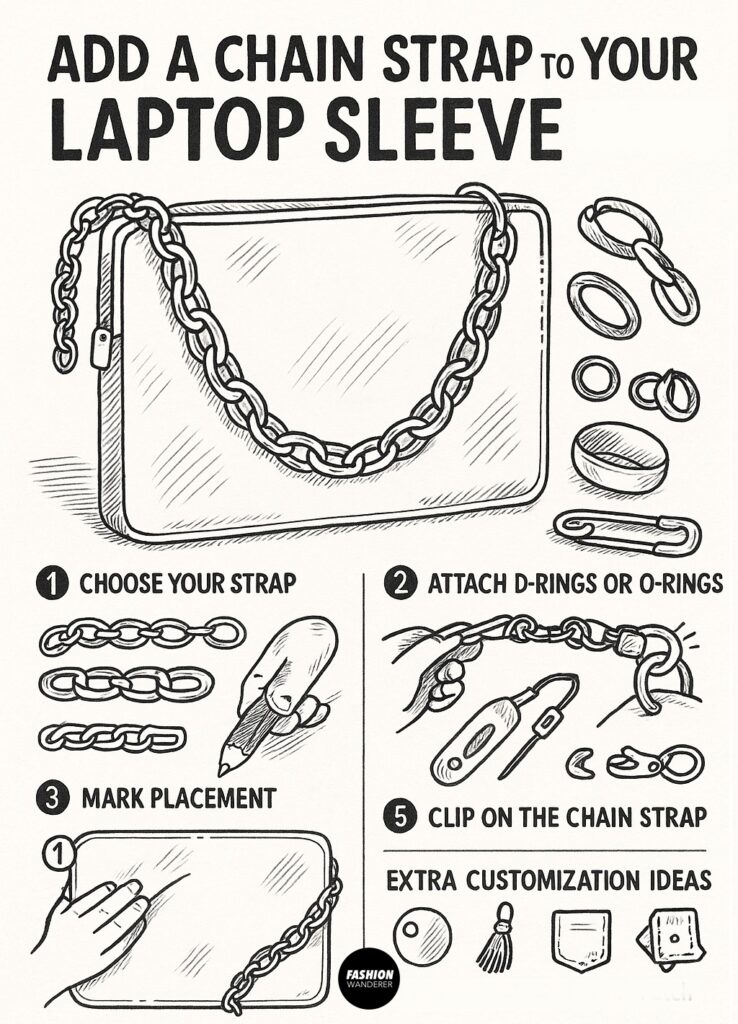
Step 1: Choose Your Strap

Decide what aesthetic you want. A chunky gold chain feels glam, a tortoise resin chain screams retro, while a matte black strap is edgy and gender-neutral. Make sure the length works for your height—generally 40–50 inches for crossbody, 30 inches for shoulder.
Tip: Many craft stores sell detachable purse chains, or you can thrift one from an old handbag.
Step 2: Mark Placement for the Rings
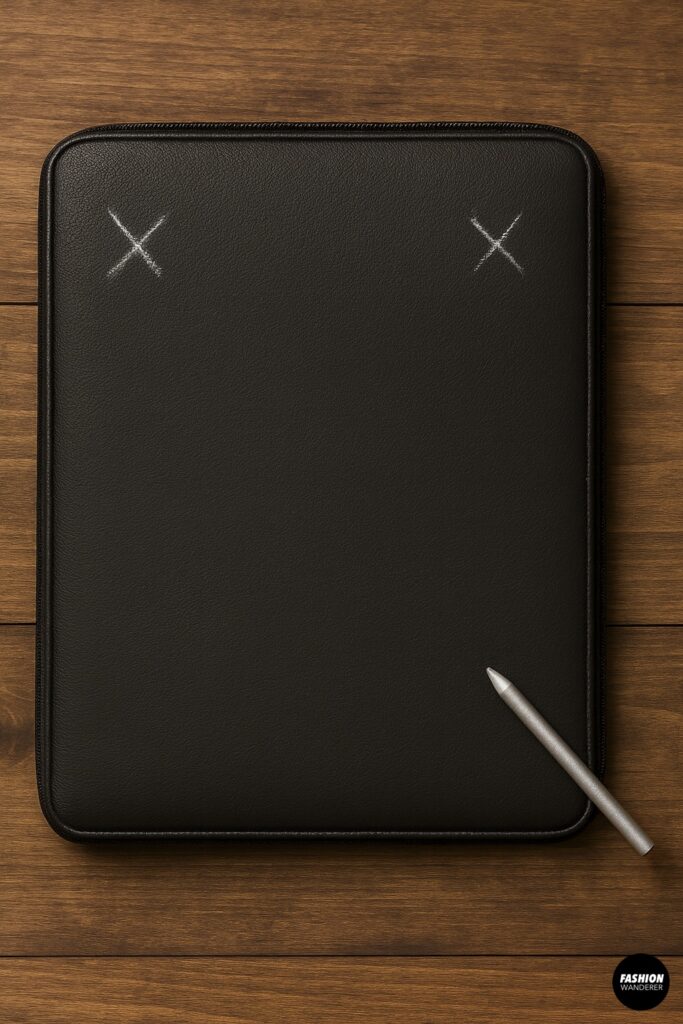
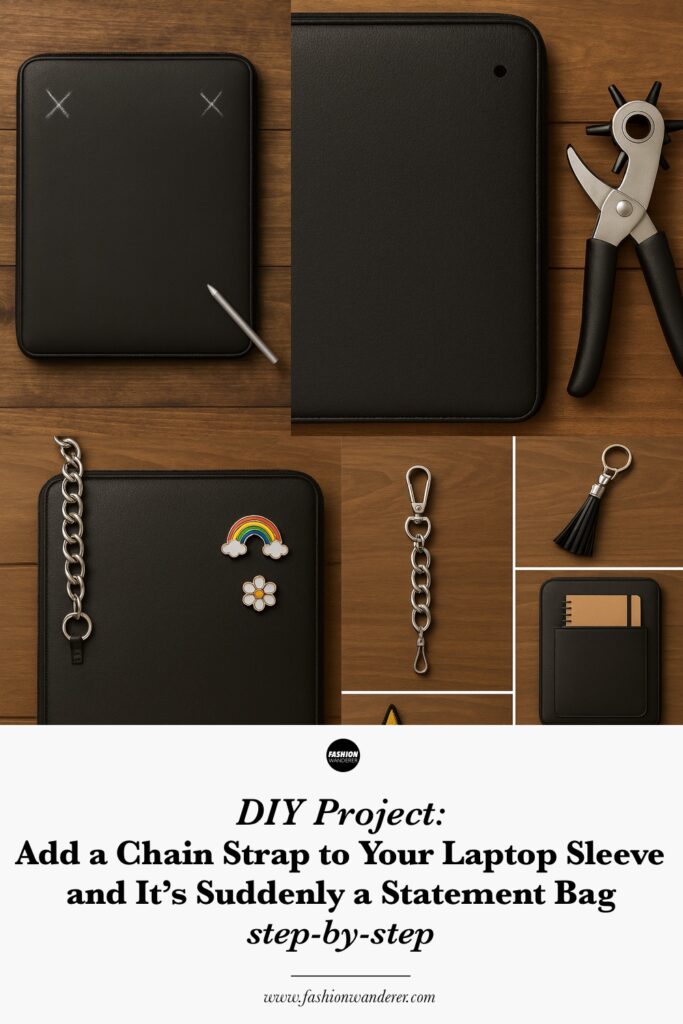
Lay your laptop sleeve flat on a table. With chalk or a fabric pen, mark two spots where the chain will attach. The best placement is near the top corners so the bag hangs evenly.
Pro Tip: Avoid marking too close to the zipper or seams—leave at least ½ inch margin.
Step 3: Punch the Holes
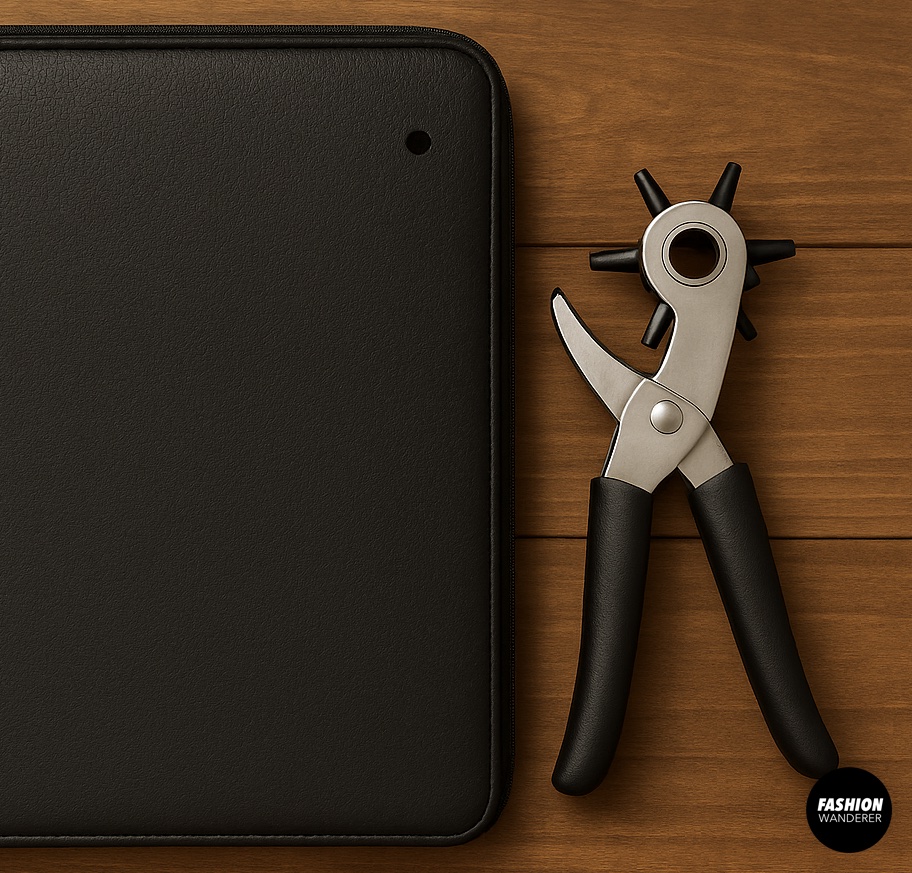
Using a hole punch tool (sized for your rivets or grommets), carefully punch a hole at each marked spot. If your sleeve is made of fabric, place a small scrap of interfacing behind the hole to reinforce it. For faux leather, no extra reinforcement is usually needed.
Step 4: Attach D-Rings or O-Rings
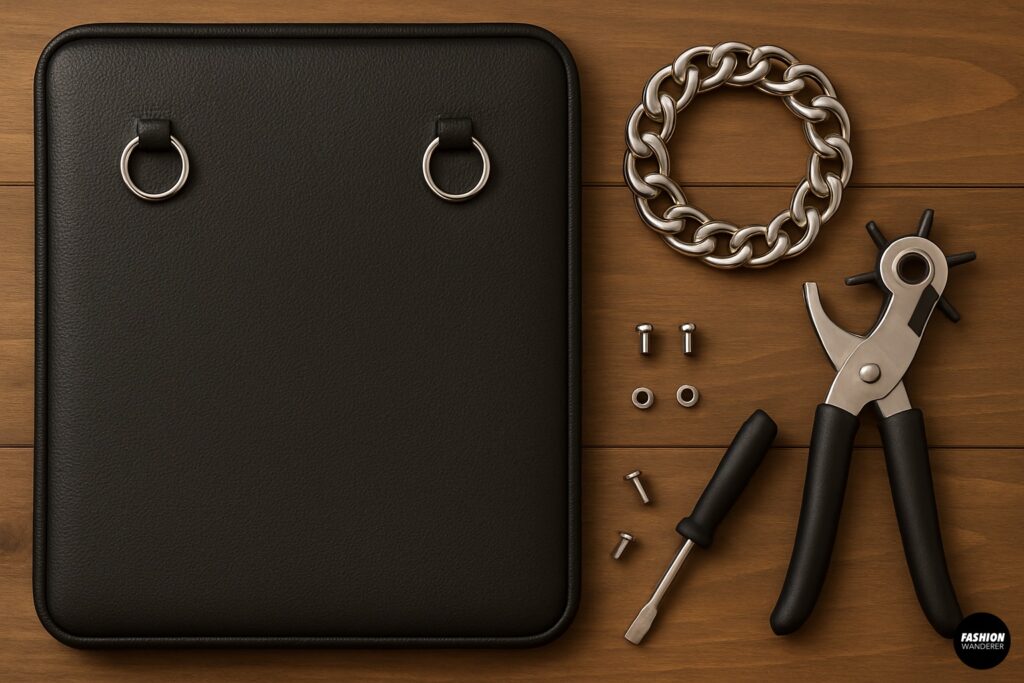
Slide a D-ring or O-ring into each hole. Secure it using rivets or grommets according to your tool’s instructions. These rings will act as anchors for the chain.
Safety Tip: Test the strength by gently tugging on the rings before moving on.
Step 5: Clip On the Chain Strap

Now for the fun part—attach your chain strap to the D-rings. Most chain straps come with built-in clasps for easy clipping. If not, you can use small jump rings from a jewelry kit to connect them.
Step 6: Reinforce if Needed
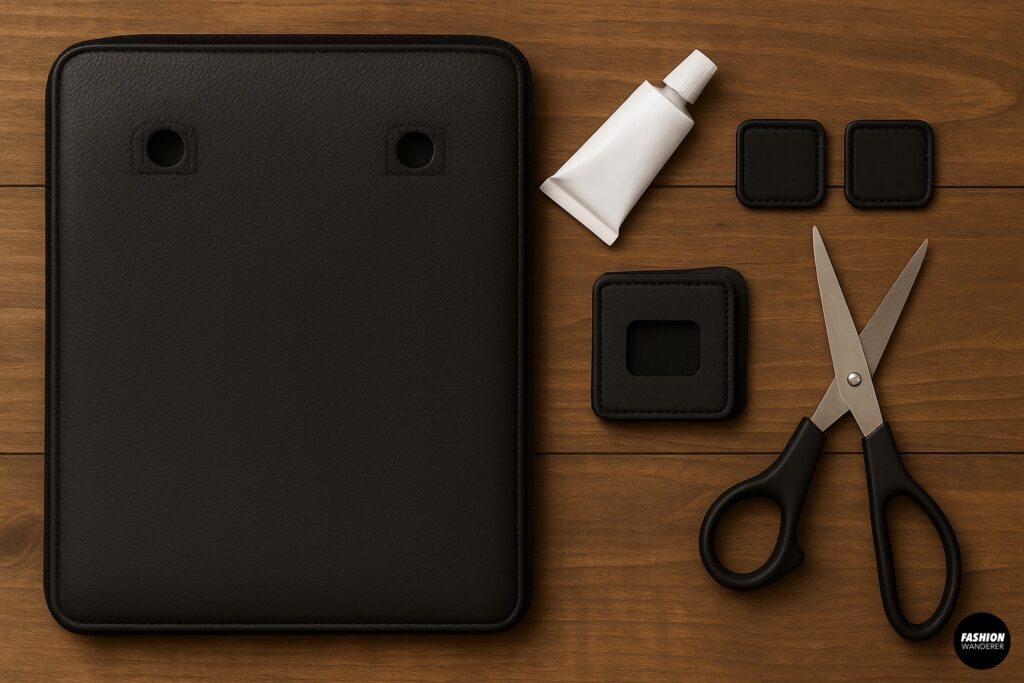
If your laptop sleeve is particularly thin or stretchy, glue or sew small leather/fabric patches around the inside of the holes. This prevents tearing when carrying a heavy laptop.
Step 7: Test the Bag
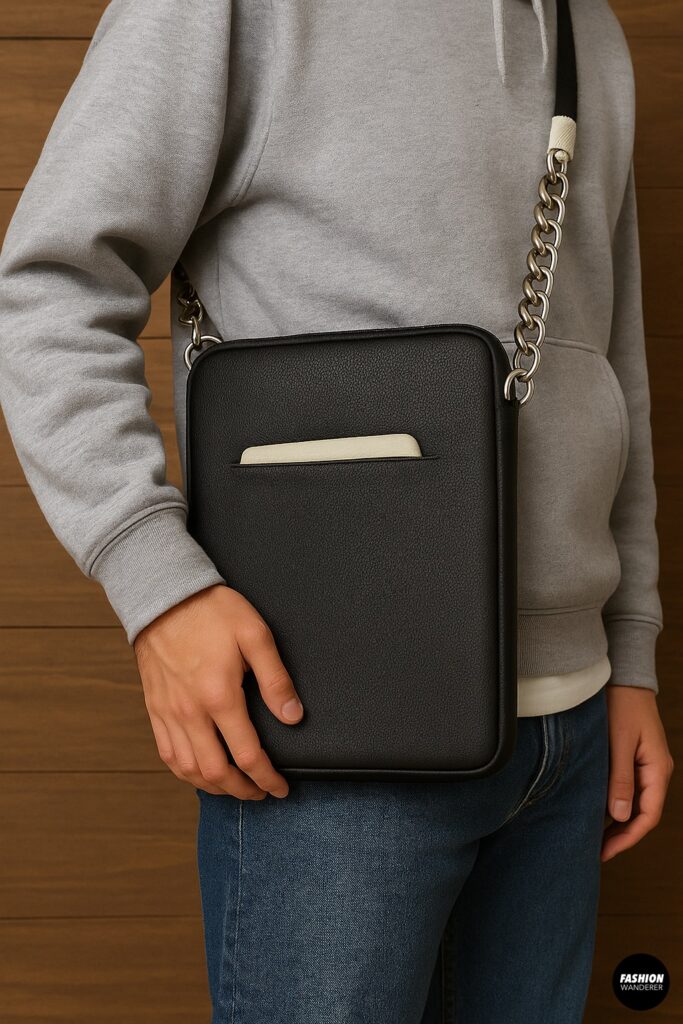
Slip your laptop inside and carry it around. Adjust the chain length if needed by removing or adding links. If the chain feels too slippery on your shoulder, wrap a ribbon or fabric strip around part of it for added comfort.
Styling Your DIY Laptop Statement Bag

Now that your laptop sleeve has been upgraded into a stylish bag, let’s talk about how to wear it.
- Streetwear Cool: Pair a chunky silver chain strap with a black faux-leather sleeve. Wear with oversized blazer and sneakers.
- Office Chic: Go with a sleek gold chain on a neutral laptop sleeve. Works perfectly with tailored trousers and loafers.
- Retro Vibe: Choose a tortoise shell resin chain strap on a canvas sleeve. Pair with flared jeans and vintage sneakers.
- Minimalist Look: Matte gunmetal chain + gray or black sleeve = understated elegance.
Extra Customization Ideas
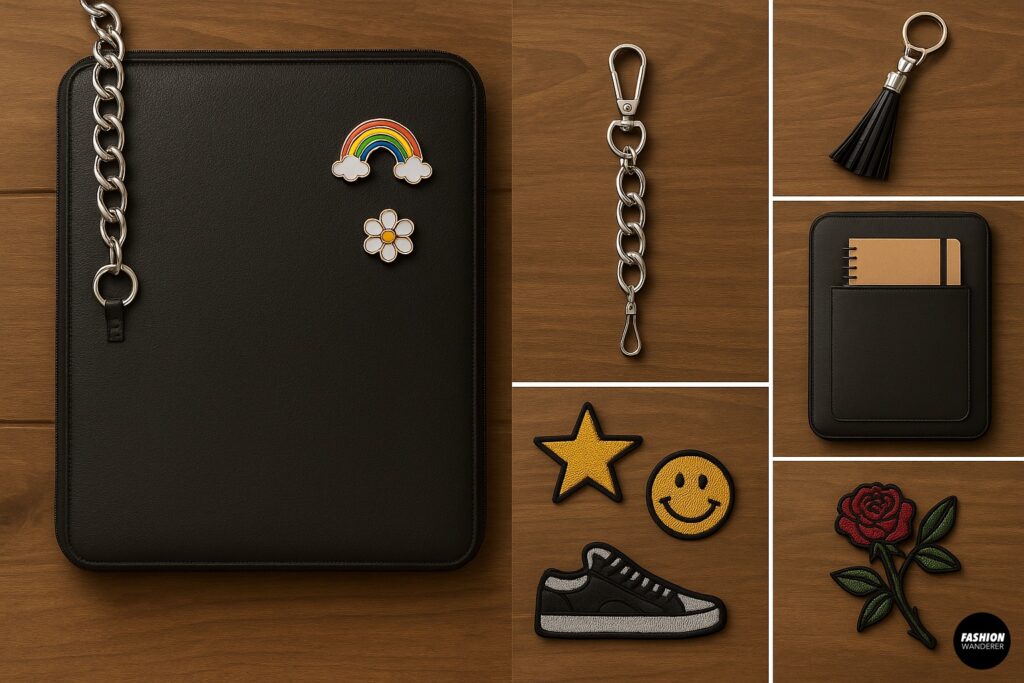
Want to take your DIY laptop bag even further? Here are some quick add-ons:
- Add pins or enamel brooches for a personalized touch.
- Attach a keychain or tassel to the chain for a playful vibe.
- Sew a front pocket onto your sleeve for pens or notebooks.
- Decorate with patches or embroidery if your sleeve is fabric.
Care & Maintenance Tips
- Check connections regularly: Make sure D-rings and rivets stay secure.
- Avoid overloading: Don’t carry too many extras inside—laptop sleeves aren’t designed to hold heavy loads.
- Polish the chain: Use a jewelry cloth to keep metal chains shiny.
- Spot clean sleeve: Wipe with a damp cloth for faux leather, or use fabric-safe spray for cloth sleeves.
When to Skip DIY and Buy Instead
While this tutorial works for most laptop sleeves, there are cases where DIY may not be ideal:
- Very thin neoprene sleeves (may not hold hardware securely).
- Expensive designer sleeves (you might not want to modify them permanently).
- Oversized 17” laptops (weight could be too heavy for chain support).
If any of these apply, consider buying a laptop bag designed with straps already in place.
Final Thoughts
With just a chain strap, some rings, and a few minutes of DIY effort, your laptop sleeve can go from functional to fashionable. Not only is this project budget-friendly, but it also gives you the freedom to customize your bag in a way that reflects your style.
Whether you’re headed to class, a work meeting, or your favorite coffee shop, your DIY laptop statement bag will draw compliments and make carrying your tech just a little more glamorous.
So grab those tools, add a chain, and strut confidently—because your laptop deserves to travel in style.


Trendy, Affordable Sewing Patterns for All Sizes


Tie Shoulder Jumpsuit Pattern


Palazzo Pants Sewing Pattern


Pocket Overall Romper Pattern


Wrap Maxi Skirt Sewing Pattern


Tie Back Top Sewing Pattern