
Looking for a cute, practical, and beginner-friendly sewing project for your dog? This DIY personalized reversible dog bandana is an easy project that can be made with small pieces of fabric, basic sewing supplies, and a regular sewing machine.
Because the bandana is reversible, you can use two coordinating fabrics to create two different looks in one accessory. Add your dog’s name, initials, or a fun phrase to make it extra special. These handmade dog bandanas also make adorable gifts and are a great sewing project to sell at craft fairs, on Etsy, or through your own online shop.
This tutorial uses an adjustable snap closure, making the bandana comfortable to wear and easy to put on and remove.
Materials You’ll Need
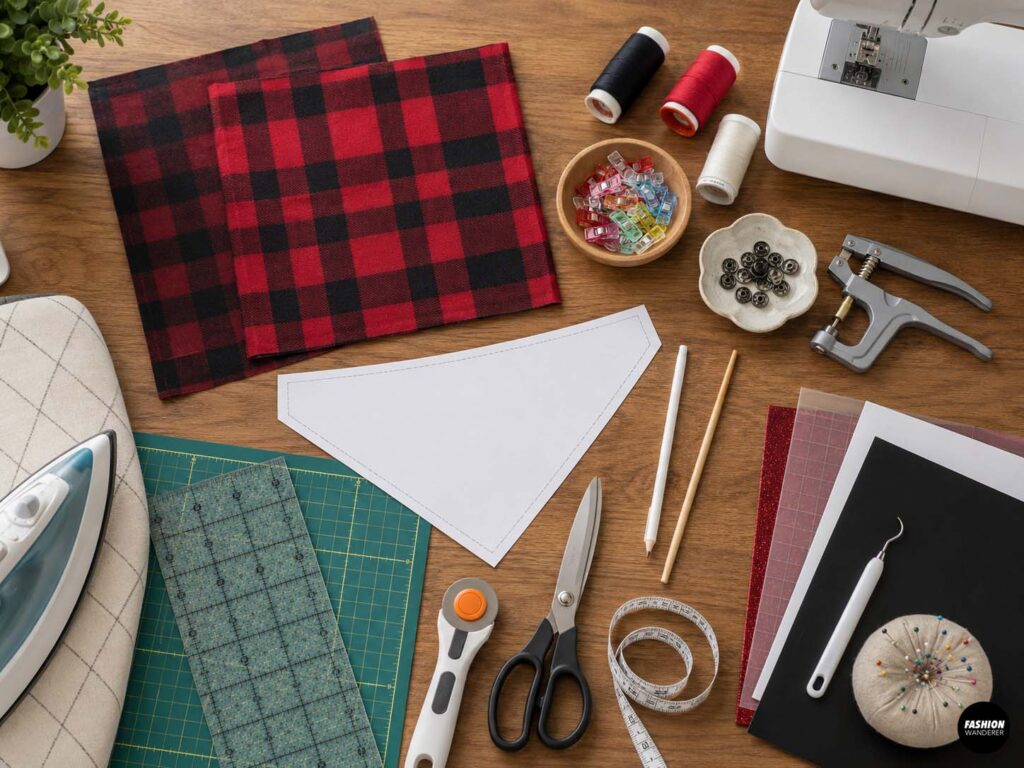
- Two coordinating cotton fabric pieces
- Dog bandana pattern or paper for drafting
- Measuring tape
- Fabric scissors or rotary cutter
- Cutting mat and ruler
- Sewing machine
- Polyester all-purpose thread
- Pins or sewing clips
- Fabric marking pen or tailor’s chalk
- Iron and ironing board
- Plastic or metal snaps
- Snap-setting tool
- Point turner or chopstick
- Optional embroidery machine
- Optional heat-transfer vinyl and cutting machine
Medium-weight quilting cotton works especially well because it is easy to sew, washable, and available in endless colors and prints.
DIY Dog Bandana
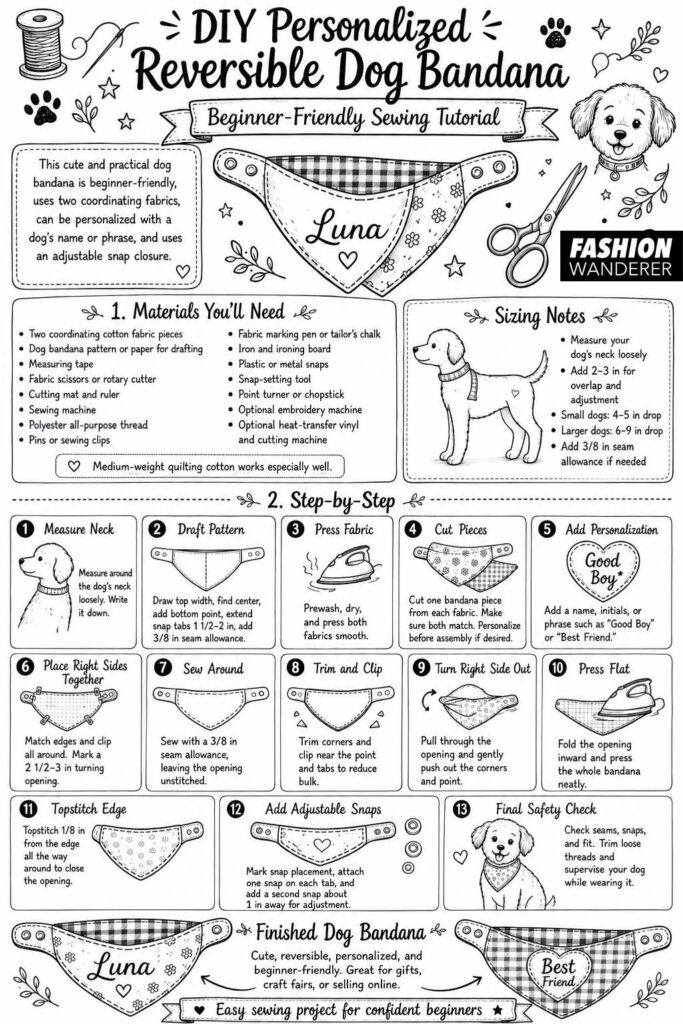
Step 1: Measure Your Dog’s Neck
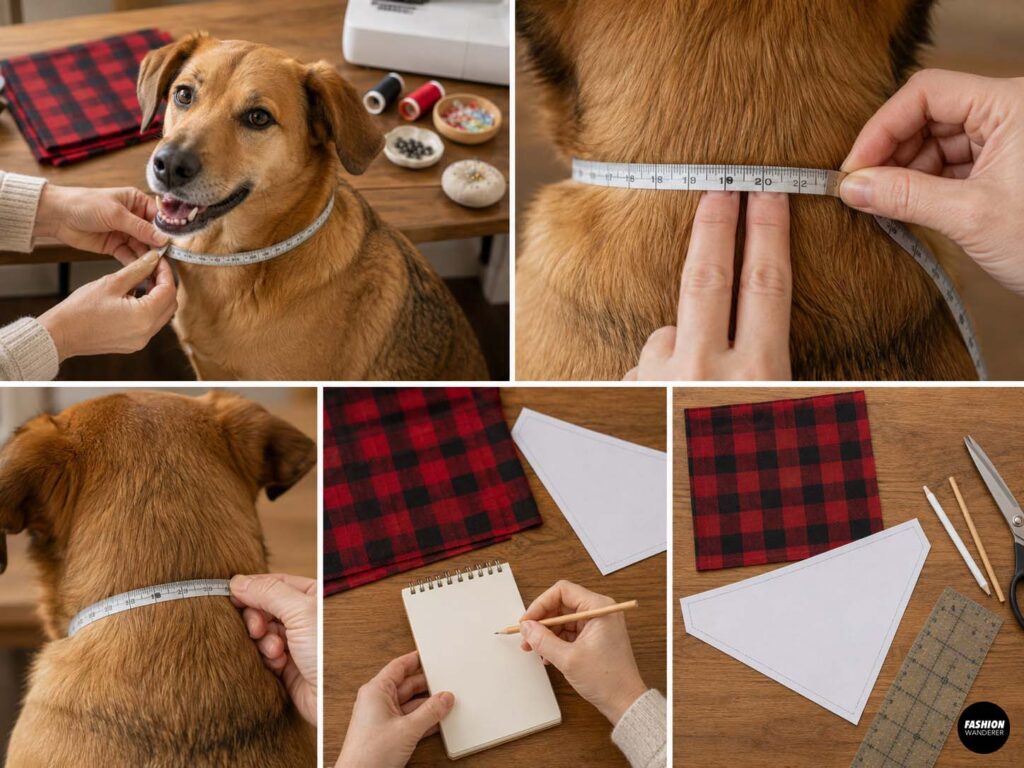
Before cutting your fabric, measure around your dog’s neck where the bandana will sit.
Keep the measuring tape comfortably loose rather than pulling it tightly against the neck. You should generally be able to slide two fingers underneath the measuring tape.
Write down the neck measurement.
Because this version uses snaps, add approximately 2 to 3 inches to the neck measurement for overlap and adjustment.
For example, if your dog’s neck measures 14 inches, you can make the finished top edge of the bandana approximately 16 to 17 inches long.
Step 2: Draft the Dog Bandana Pattern
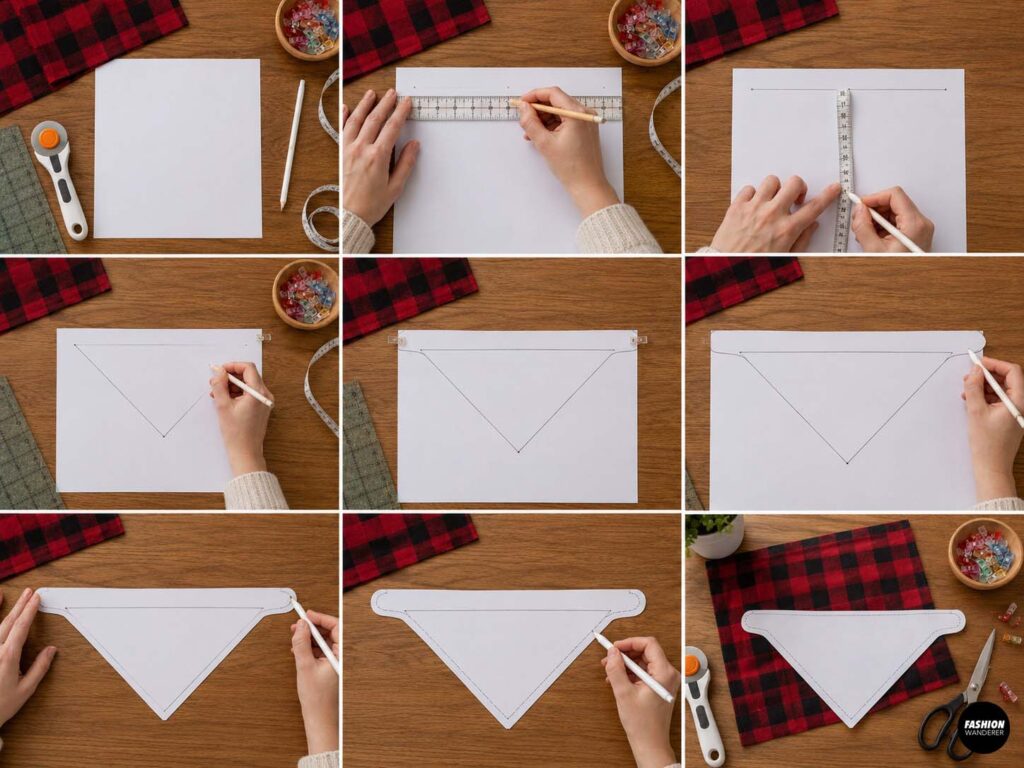
Draw a horizontal line equal to your desired finished bandana width.
Find the center of the line.
From the center, measure downward to create the point of the bandana. A small dog may need a drop of approximately 4 to 5 inches, while a larger dog may look better with a 6 to 9-inch drop.
Connect each end of the top line to the bottom point.
Next, extend both upper corners approximately 1½ to 2 inches. These extensions will become the tabs where the snaps are attached.
Round the ends slightly if desired.
Add a 3/8-inch seam allowance around the entire pattern if your pattern does not already include one.
Step 3: Prepare and Press the Fabric
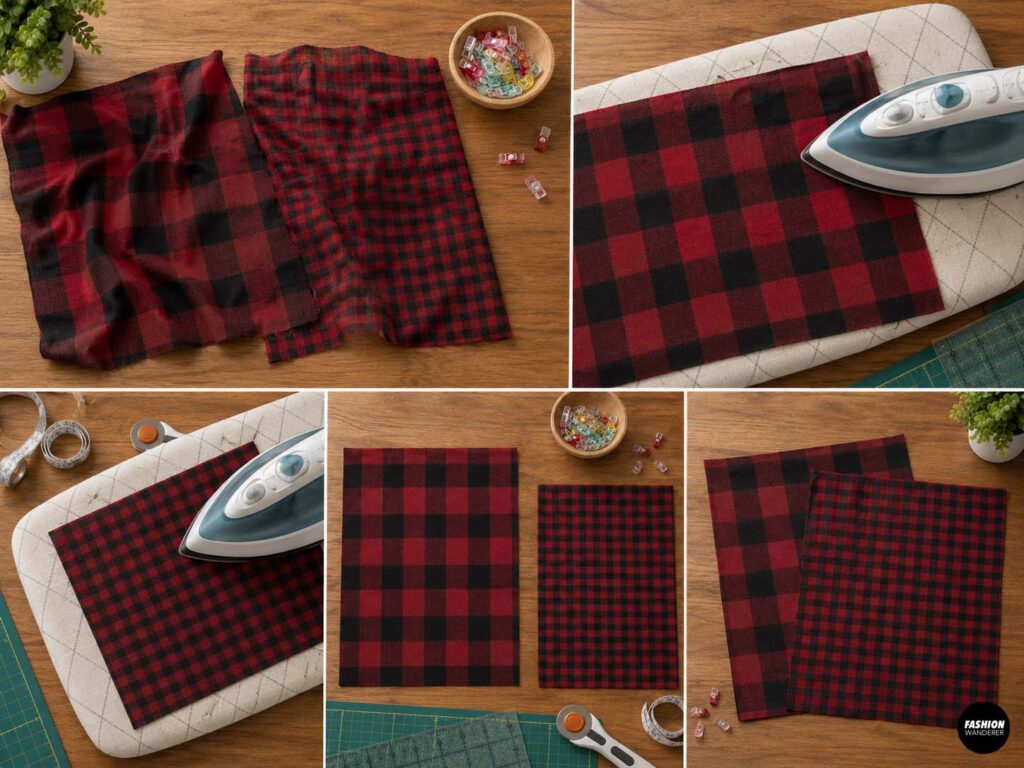
Prewash and dry your fabric before cutting. Cotton can shrink during the first wash, so this prevents your finished dog bandana from changing shape later.
Press both fabrics with an iron until they are smooth and wrinkle-free.
For a reversible design, choose fabrics that look good together. Try gingham with florals, denim with stripes, tiny prints with solids, or seasonal fabrics for holidays.
Step 4: Cut the Bandana Pieces
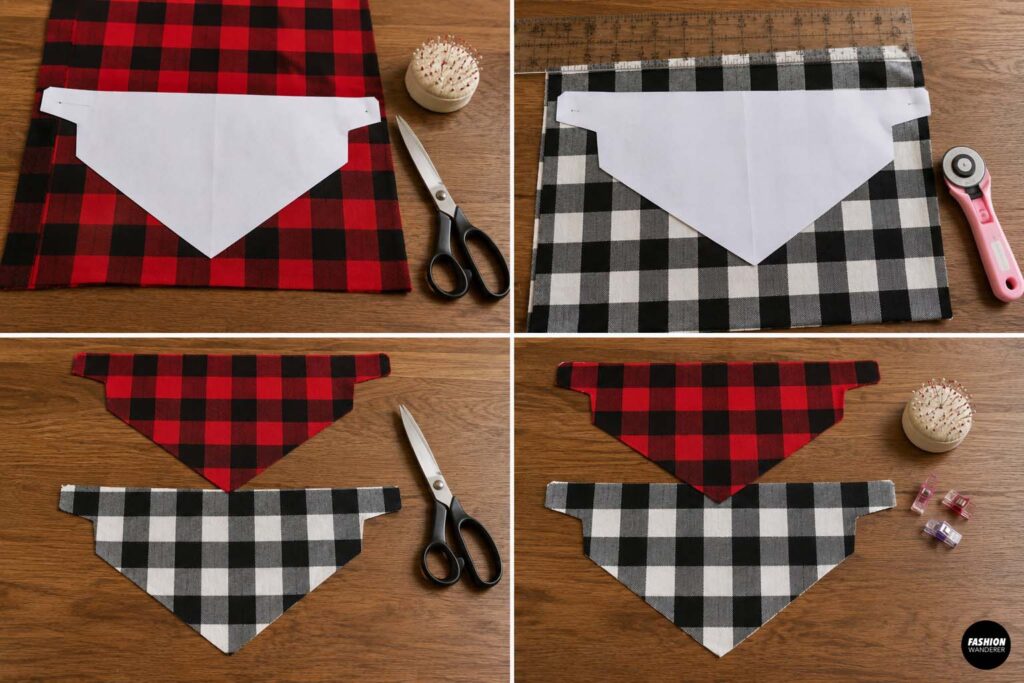
Place the paper pattern on your first fabric and cut one bandana piece.
Flip the pattern over and cut one piece from your second fabric.
You should now have two matching bandana pieces.
Make sure the snap tabs and pointed bottom edges match before sewing.
If you plan to embroider your dog’s name directly onto the fabric, it is usually easier to do this before assembling the bandana.
Step 5: Add the Personalization
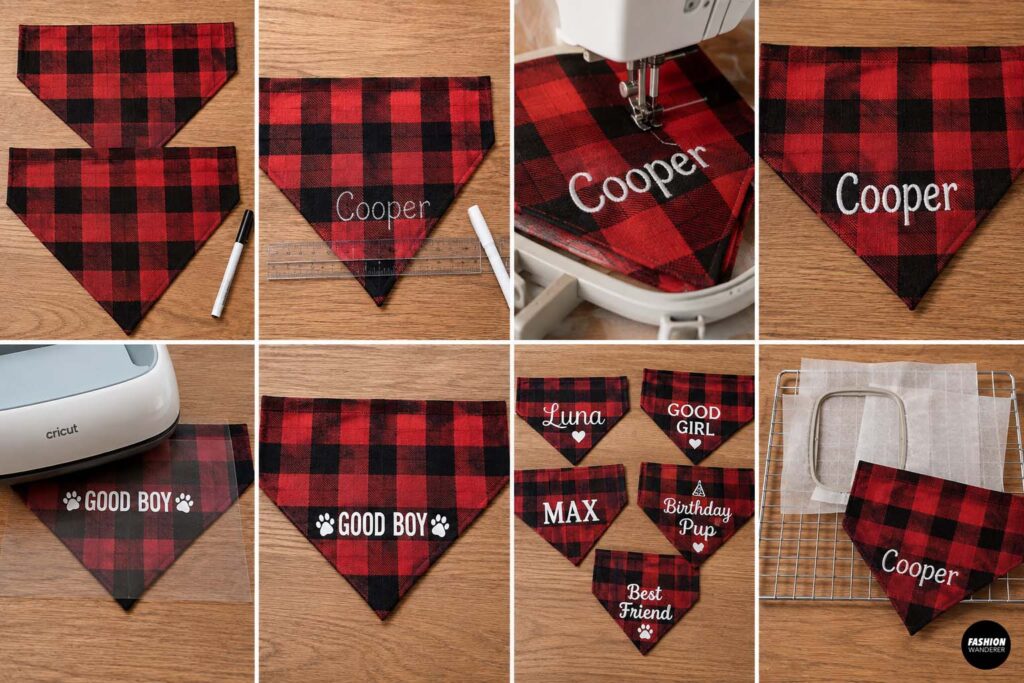
Choose which side you would like to personalize.
Position your dog’s name slightly above the pointed section of the bandana so it remains visible when worn.
You can personalize the bandana with machine embroidery, hand embroidery, fabric paint, or heat-transfer vinyl.
For embroidery, stabilize the back of the fabric before stitching.
For heat-transfer vinyl, follow the manufacturer’s recommended temperature and pressing instructions.
Keep lettering relatively simple and large enough to read clearly.
Ideas include:
- Your dog’s name
- Initials
- “Good Boy”
- “Good Girl”
- “Birthday Pup”
- “Best Friend”
- Seasonal phrases
Allow any personalization to cool or dry completely before continuing.
Step 6: Place the Fabrics Right Sides Together
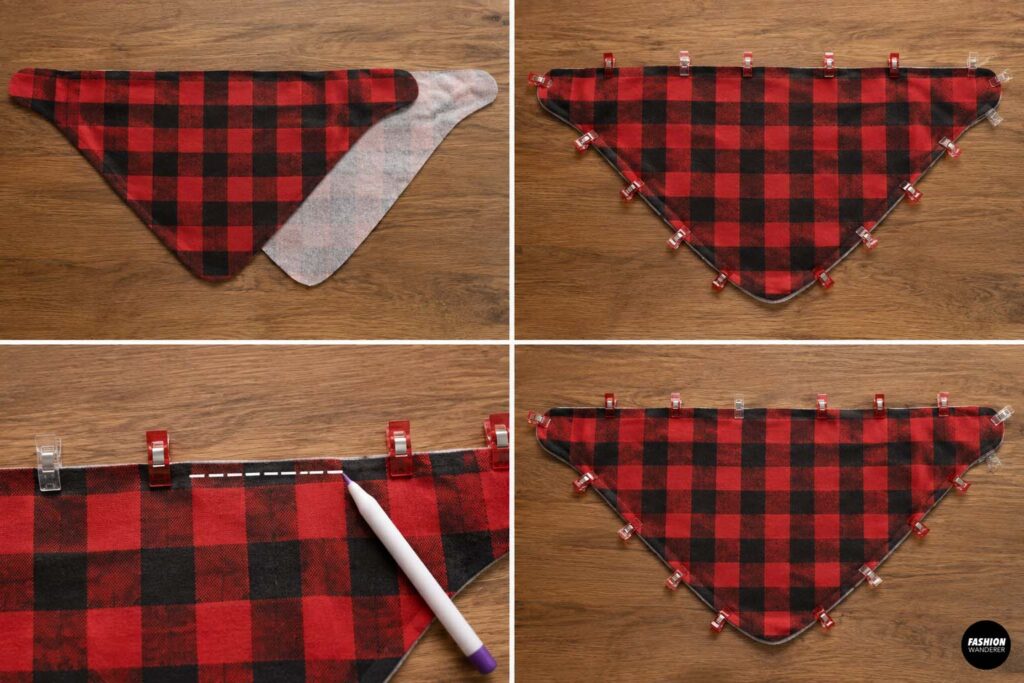
Place the two bandana pieces right sides together.
Match the edges carefully.
Pin or clip around the entire bandana.
Mark a 2½ to 3-inch opening along one straight edge. You will leave this section unstitched so you can turn the bandana right side out.
Step 7: Sew Around the Bandana
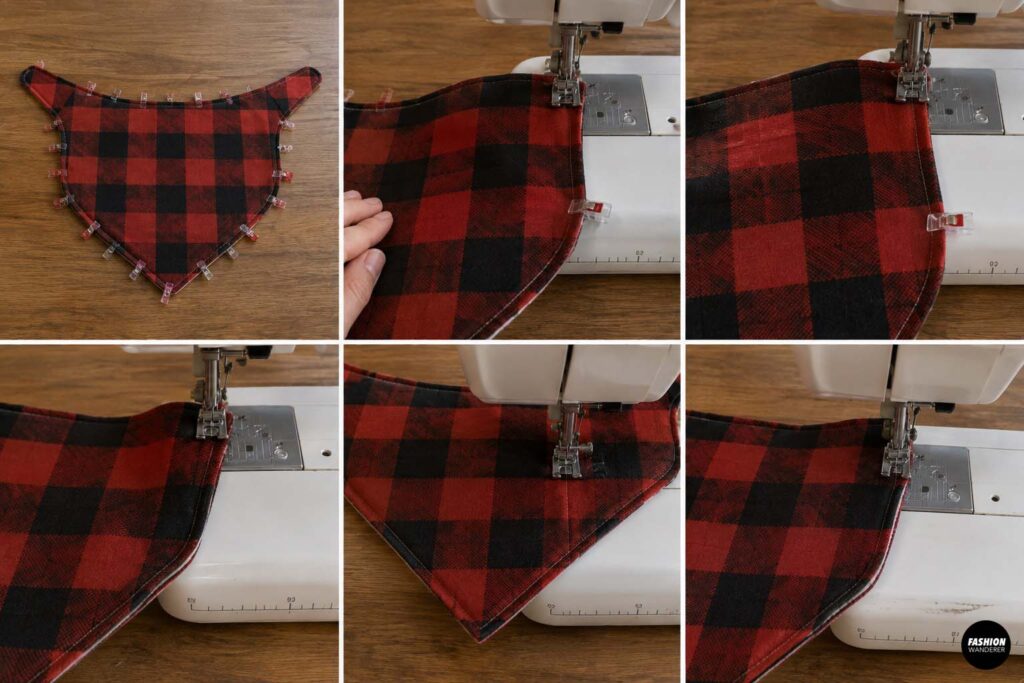
Using a 3/8-inch seam allowance, sew around the bandana.
Begin at one side of the turning opening and continue around the perimeter until you reach the opposite side of the opening.
Backstitch at the beginning and end.
Slow down when sewing around the pointed bottom and the narrow snap tabs.
Leaving the needle down, lift the presser foot, rotate the fabric, lower the presser foot, and continue sewing whenever you reach a corner.
Step 8: Trim and Clip the Corners
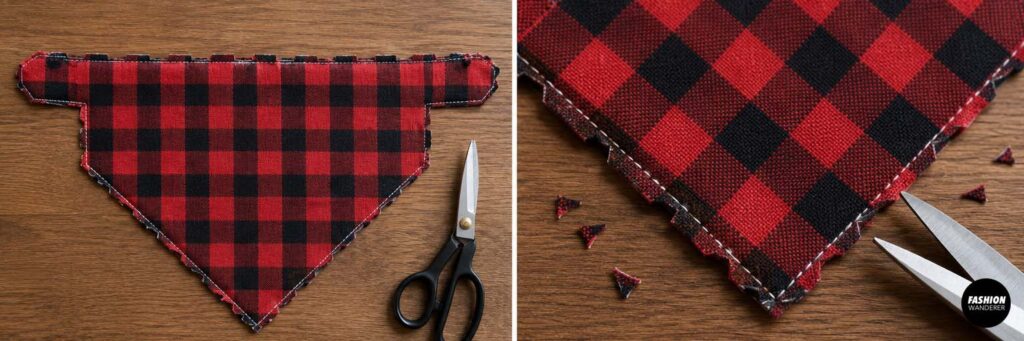
Before turning the bandana, trim excess fabric from the corners.
Clip close to the stitching at the pointed bottom without cutting through the seam.
You can also trim bulky seam allowances around the snap tabs.
Reducing bulk helps create sharper corners and smoother edges after turning.
Step 9: Turn the Bandana Right Side Out
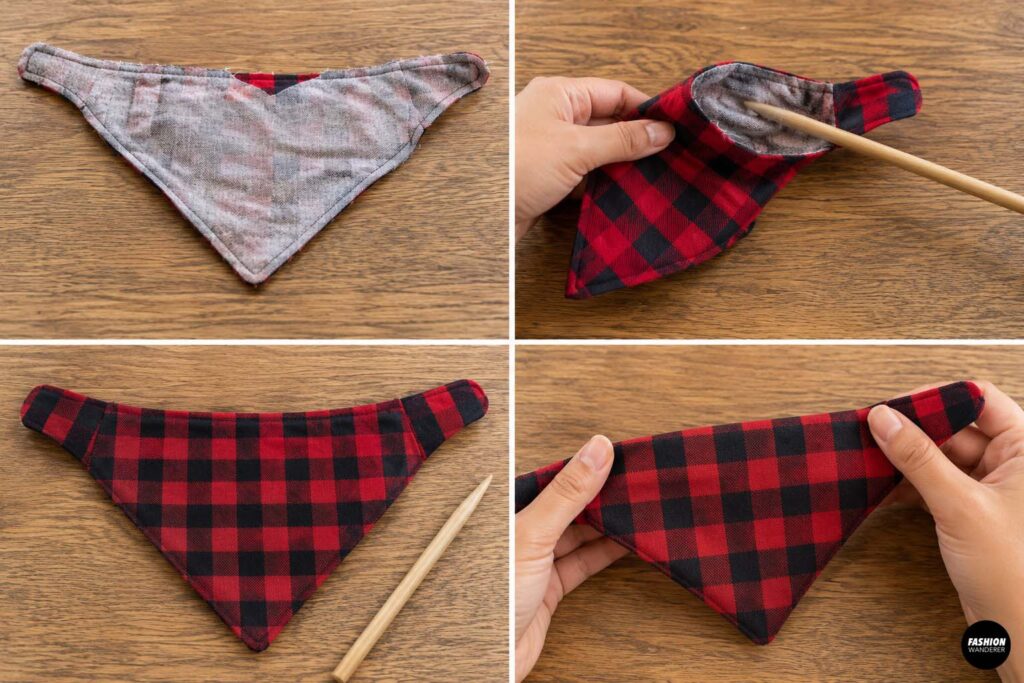
Carefully pull the fabric through the opening.
Use a point turner, chopstick, or blunt knitting needle to gently push out the bottom point and corners.
Avoid using sharp scissors because they can easily poke through the fabric.
Once everything is turned, roll the seams gently between your fingers so the edges sit neatly.
Step 10: Press the Bandana
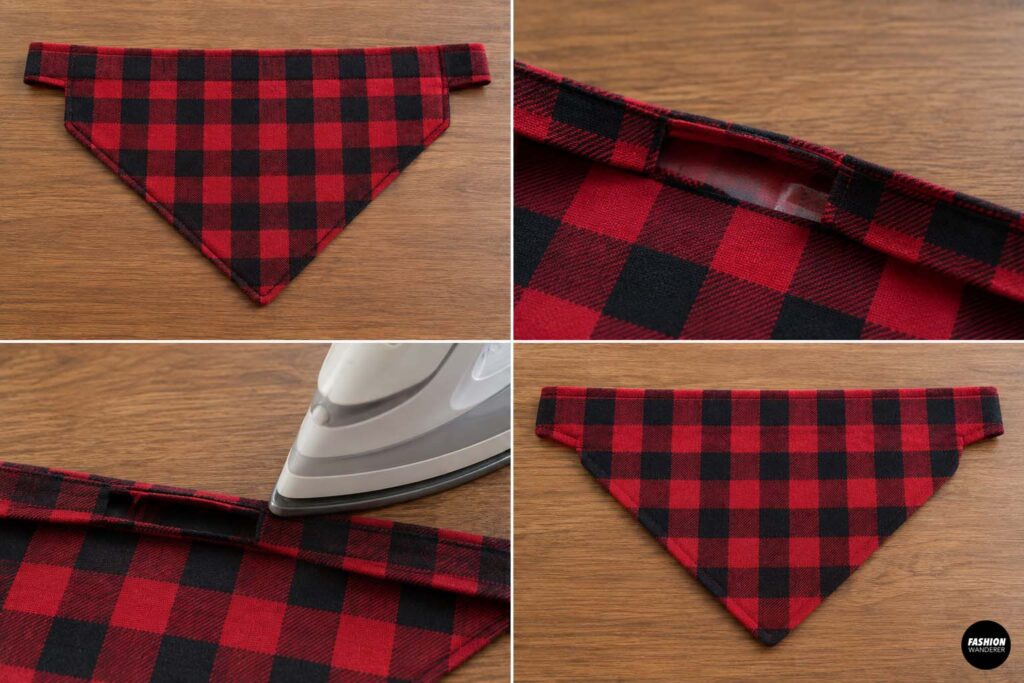
Press the entire bandana flat.
At the turning opening, fold the raw seam allowances toward the inside so they line up with the sewn edge.
Press the opening carefully.
A good pressing makes a huge difference and gives your handmade dog accessory a much more professional appearance.
Step 11: Topstitch Around the Edge
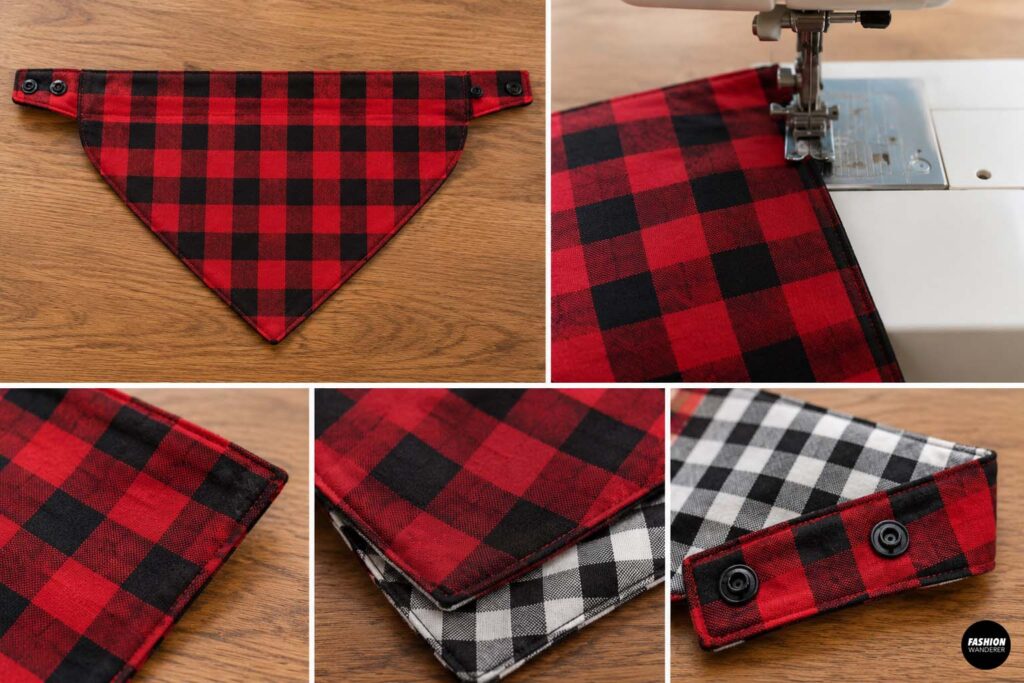
Topstitch approximately 1/8 inch from the edge around the entire bandana.
This stitching closes the turning opening and helps the reversible bandana keep its shape after washing.
Use a slightly longer stitch length, around 3 mm, for attractive topstitching.
Choose matching thread for a subtle finish or contrasting thread for a decorative look.
Step 12: Add the Adjustable Snaps
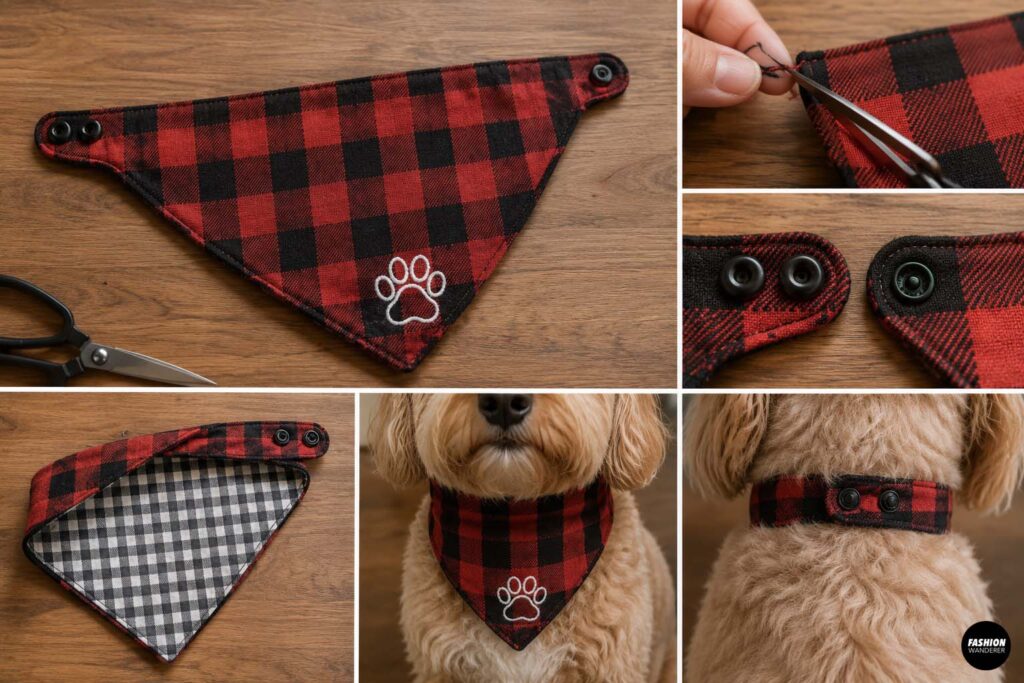
Wrap the bandana around your dog’s neck to determine the best snap placement.
Mark the first snap location near one end.
Place the matching snap on the opposite tab.
For additional adjustment, add a second snap about 1 inch from the first.
Follow the directions included with your snap-setting tool and make sure each snap is securely attached.
Always test the closure before letting your dog wear the bandana.
Step 13: Give It a Final Safety Check
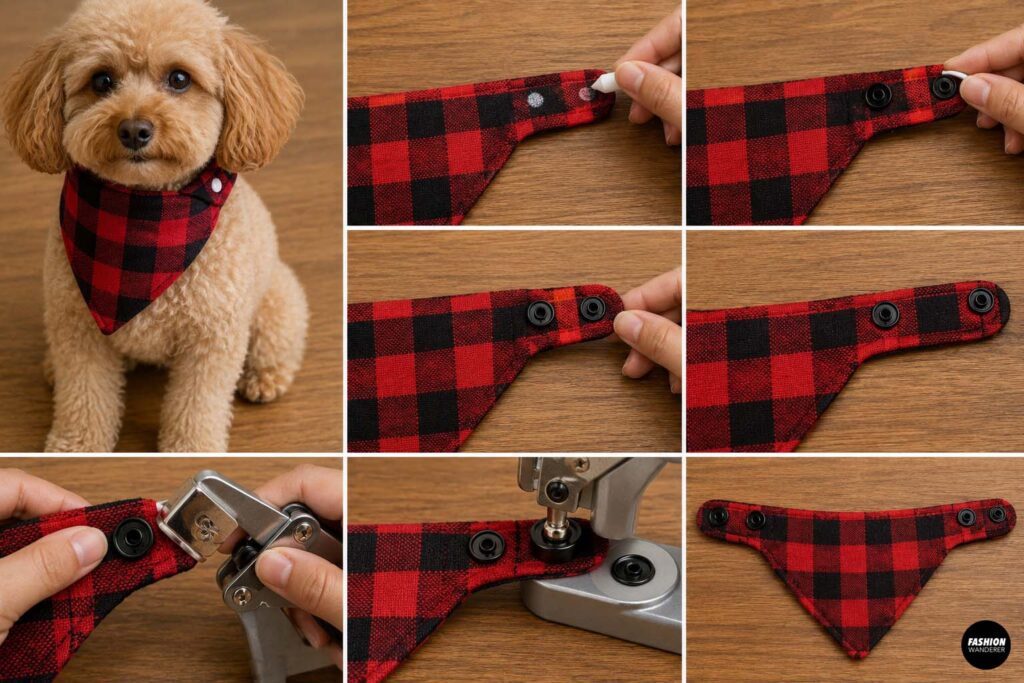
Inspect all seams, snaps, and decorative elements.
Trim loose threads and make sure there are no sharp snap edges.
The bandana should fit comfortably around the dog’s neck without being tight.
As with any pet accessory, supervise your dog while wearing it and remove the bandana if it becomes damaged.
Ideas for Making Reversible Dog Bandanas to Sell
This project is especially useful for using leftover fabric because each bandana requires relatively little material.
Create collections such as floral, birthday, plaid, Halloween, Christmas, summer, sports-inspired, or neutral minimalist bandanas.
Personalization can also increase the perceived value of a handmade product. Offer customers a choice of fabric, dog name, lettering color, and snap color.
You could even create matching dog bandanas and scrunchies for pet owners.
Final Thoughts
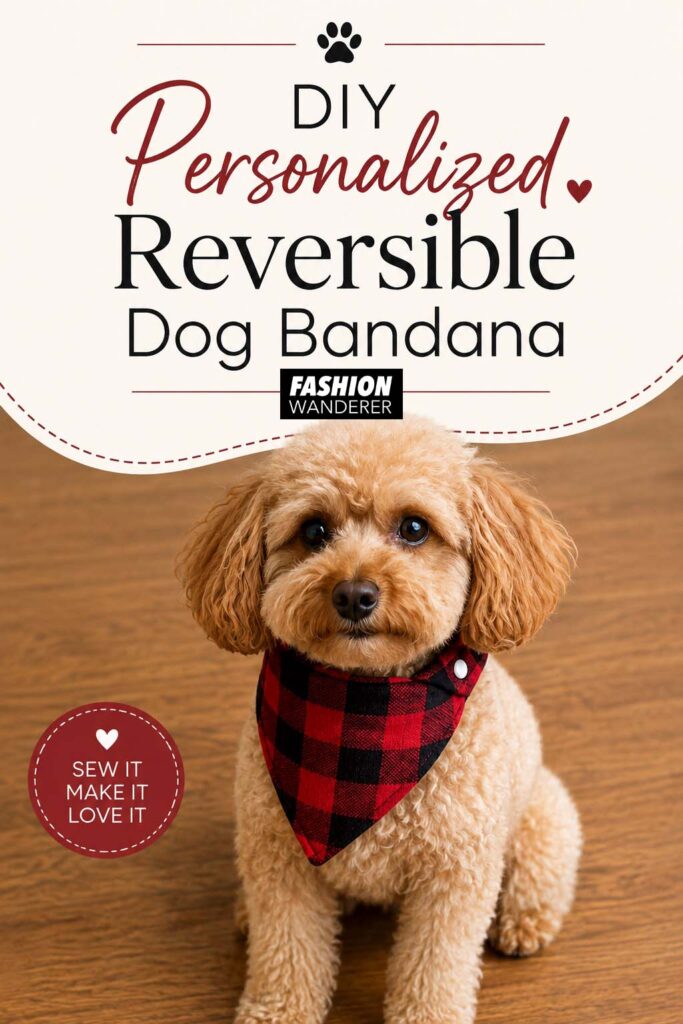
A DIY personalized reversible dog bandana is one of those satisfying sewing projects that looks impressive without requiring complicated techniques. Beginners can practice cutting, sewing corners, turning, topstitching, and installing snaps while creating something useful and adorable.
Once you have made one, try sewing several at the same time using different fabric combinations. Whether you are making a special accessory for your own pet, creating handmade gifts, or looking for easy dog sewing projects to sell, this reversible dog bandana is a fun project you can return to again and again.


Trendy, Affordable Sewing Patterns for All Sizes
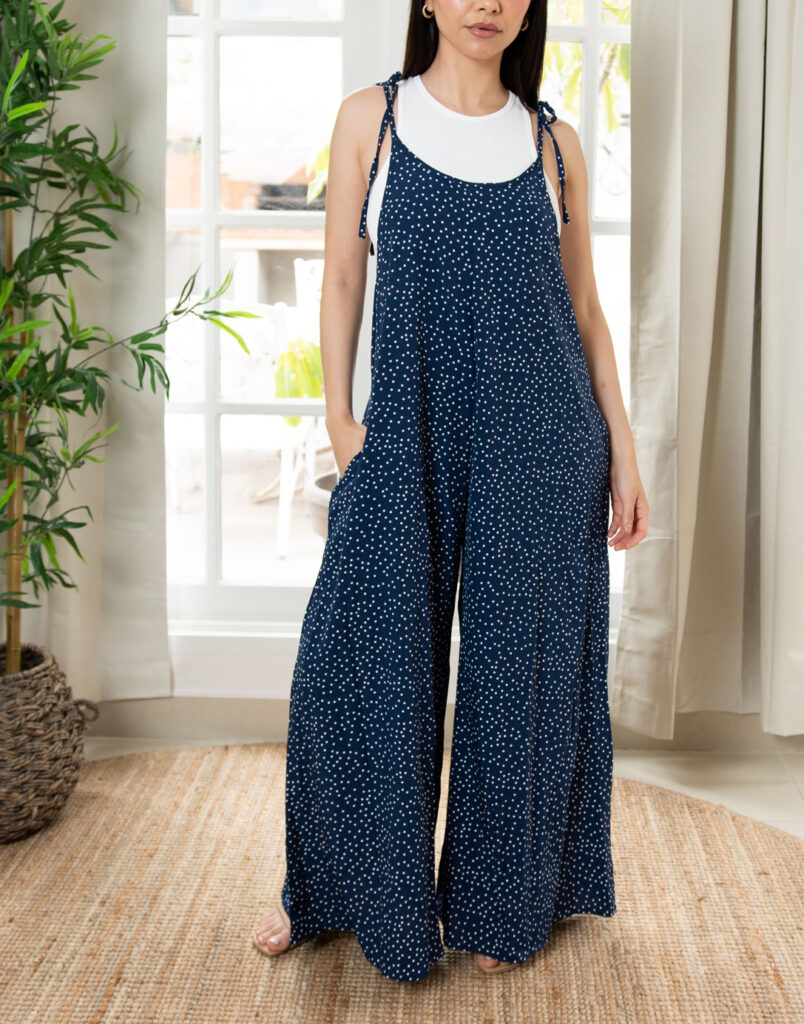
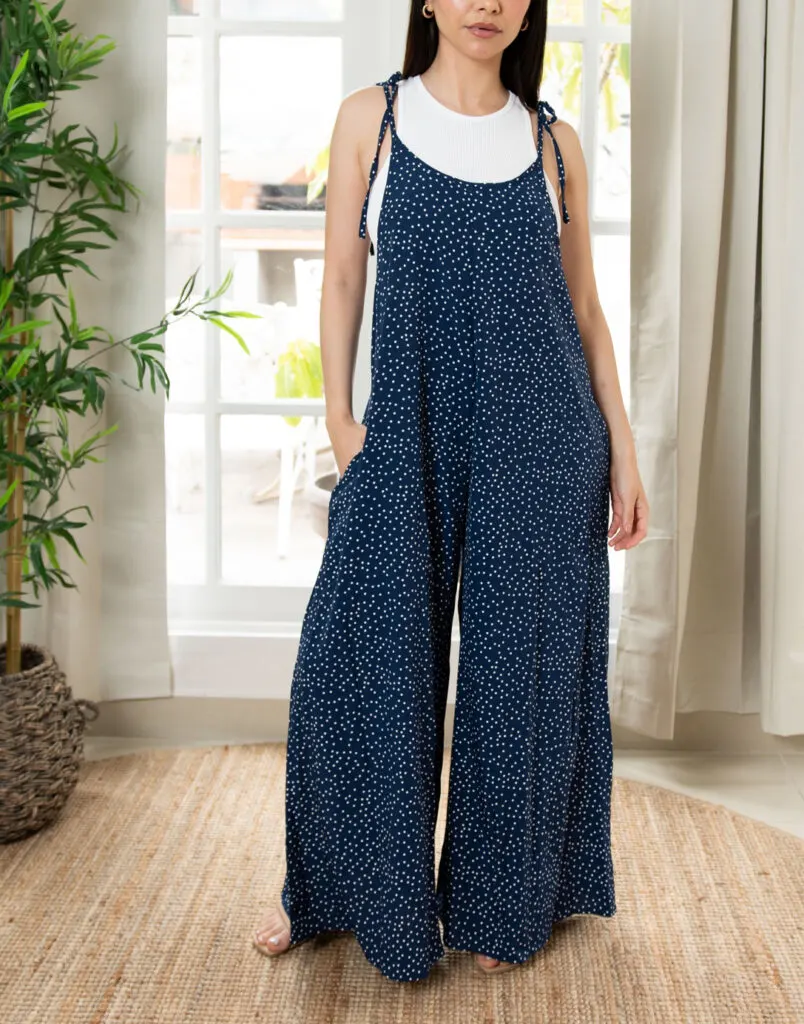
Tie Shoulder Jumpsuit Pattern


Palazzo Pants Sewing Pattern
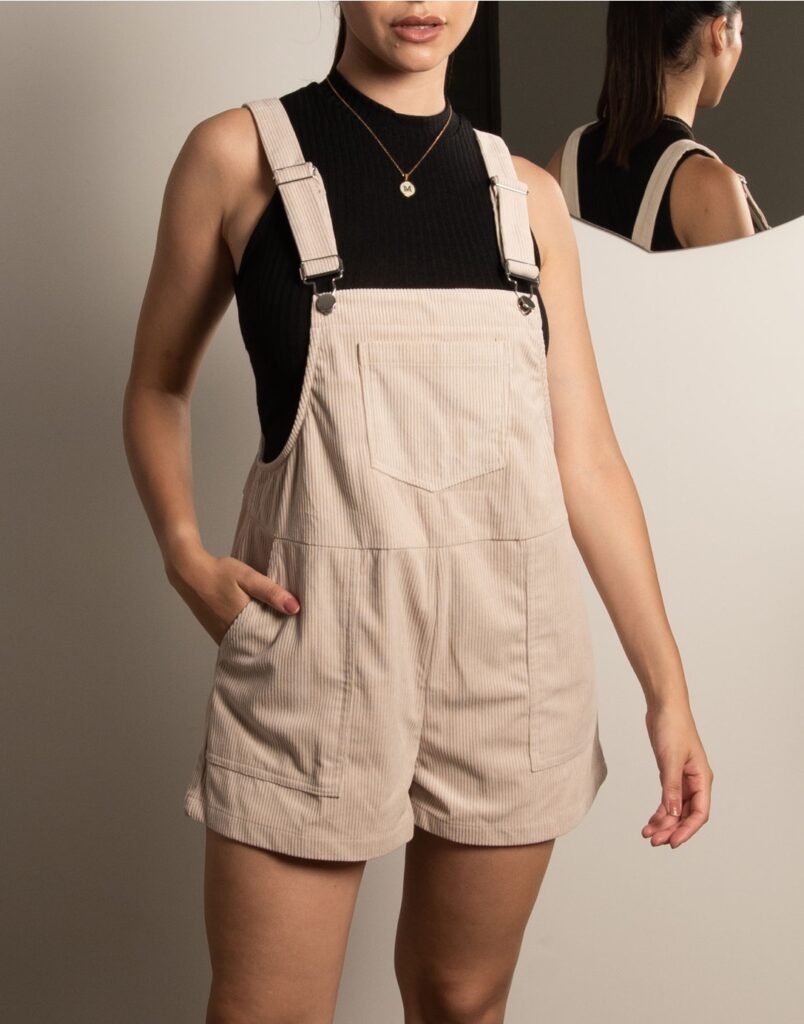
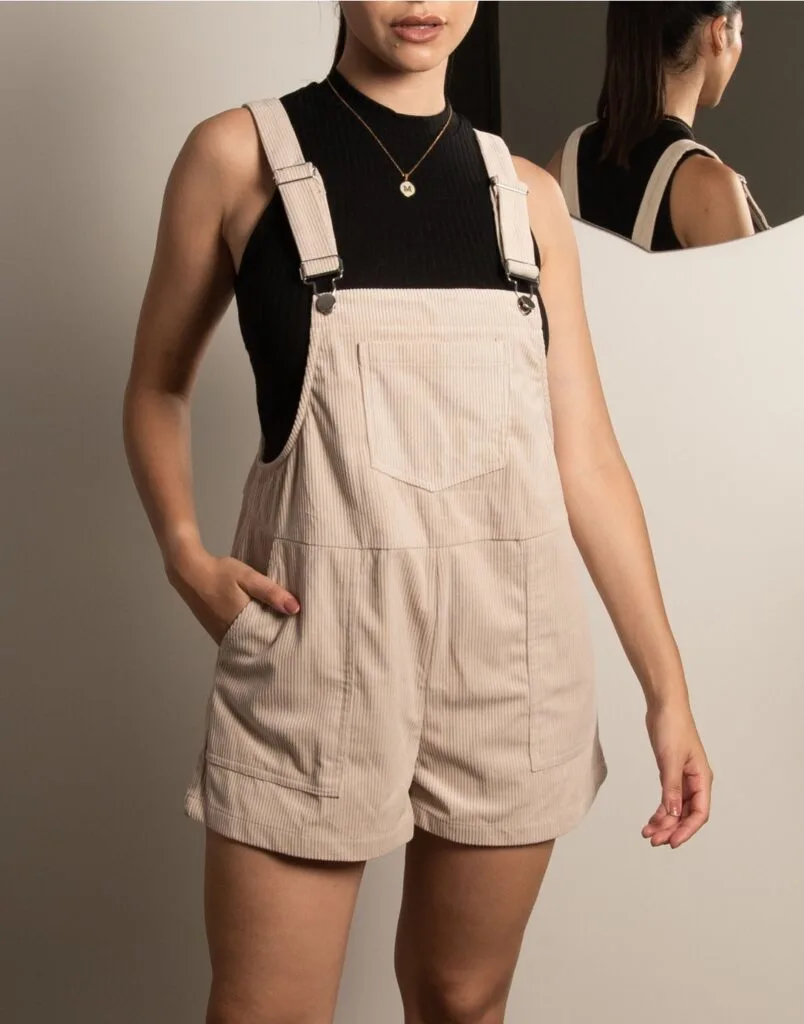
Pocket Overall Romper Pattern


Wrap Maxi Skirt Sewing Pattern


Tie Back Top Sewing Pattern