
Looking for a cute and practical sewing project that also makes a beautiful handmade gift? This DIY quilted book or Kindle sleeve with bow closure is an easy beginner sewing project that protects books, e-readers, tablets, and journals while adding a charming handmade touch.
The quilted exterior gives the sleeve extra padding, while the soft lining helps prevent scratches. A fabric bow closure makes the project feel more stylish than a basic book pouch without making the construction much harder.
This tutorial is perfect for sewing beginners because it uses mostly straight seams and simple rectangular pattern pieces. You can make one for yourself, give it as a gift, or sew several to sell at craft fairs or in an online handmade shop.
If you’ve ever wanted to turn your sewing hobby into extra income, this guide will show you practical ways to Make $1,000 a Month Sewing from home.
Finished Size
This tutorial creates a medium sleeve approximately:
7½ inches wide x 9½ inches tall
This size works well for many standard e-readers, small tablets, journals, and paperback books.
Always measure your device or book before cutting. For a custom size, add approximately 1½ inches to the width and 1½ inches to the height of your book or device.
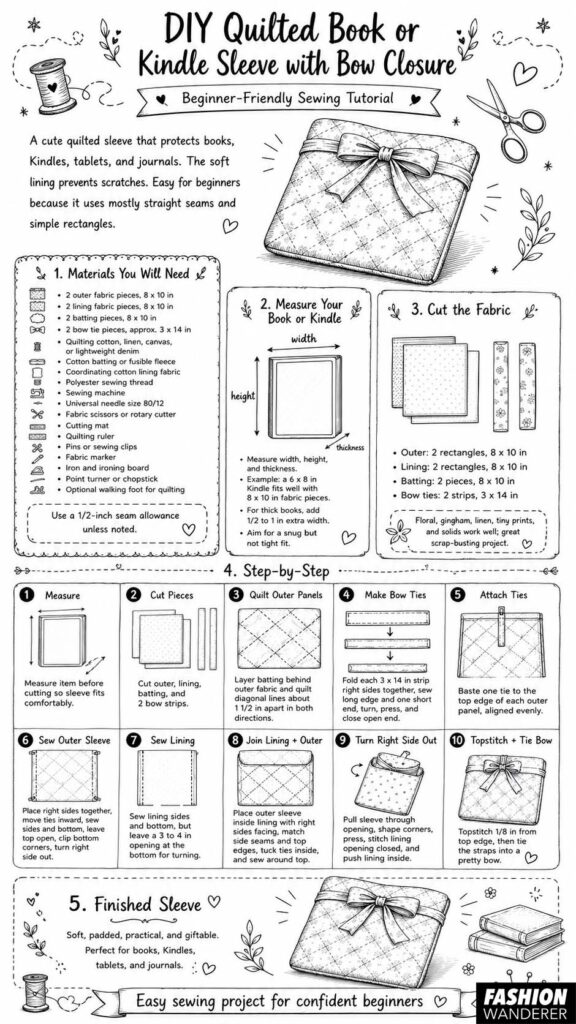
Materials You Will Need
- 2 outer fabric pieces, 8 x 10 inches
- 2 lining fabric pieces, 8 x 10 inches
- 2 batting pieces, 8 x 10 inches
- 2 bow tie pieces, approximately 3 x 14 inches
- Quilting cotton, linen, canvas, or lightweight denim
- Cotton batting or fusible fleece
- Coordinating cotton lining fabric
- Polyester sewing thread
- Sewing machine
- Universal sewing machine needle, size 80/12
- Fabric scissors or rotary cutter
- Cutting mat
- Quilting ruler
- Pins or sewing clips
- Fabric marker
- Iron and ironing board
- Point turner or chopstick
- Optional walking foot for quilting
A ½-inch seam allowance is used unless otherwise noted.
Quilted Book or Kindle Sleeve Step-by-Step
Step 1: Measure Your Book or Kindle

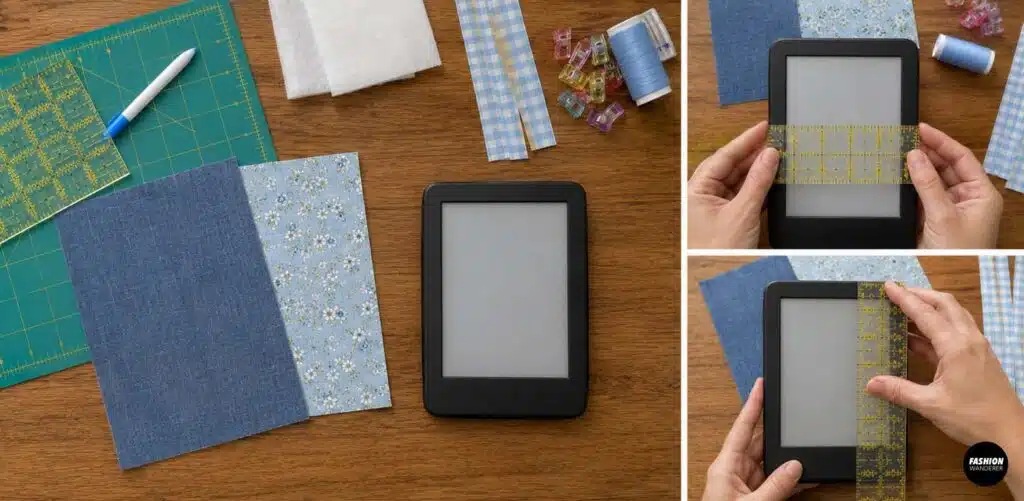
Before cutting your fabric, measure the width, height, and thickness of the item you want to protect.
For example, if your Kindle measures approximately 6 inches wide and 8 inches tall, an 8 x 10-inch fabric rectangle gives you enough room for seam allowances and a little ease.
For thick books, add another ½ to 1 inch to the width.
You want the finished sleeve to fit comfortably without being so loose that the book slides around.
Step 2: Cut the Fabric

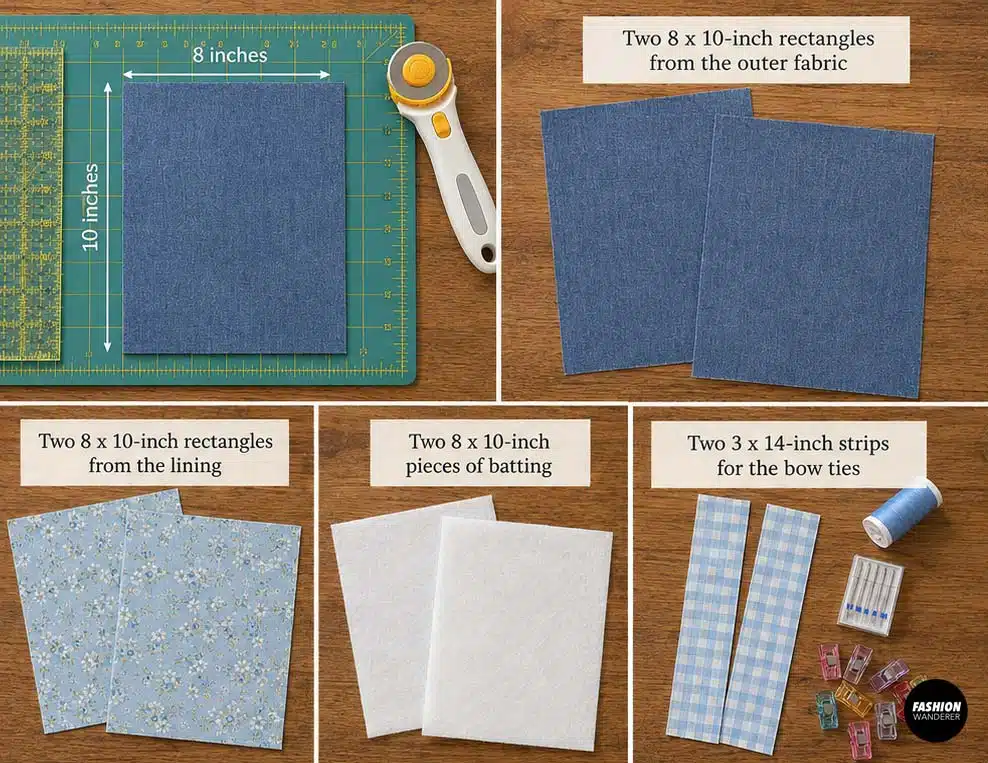
Cut:
- Two 8 x 10-inch rectangles from the outer fabric
- Two 8 x 10-inch rectangles from the lining
- Two 8 x 10-inch pieces of batting
- Two 3 x 14-inch strips for the bow ties
Try mixing coordinating fabrics for a boutique-style look. Floral cotton, gingham, tiny prints, linen blends, and quilted solids all work beautifully.
This is also an excellent scrap-busting sewing project.
Step 3: Prepare the Quilted Outer Panels

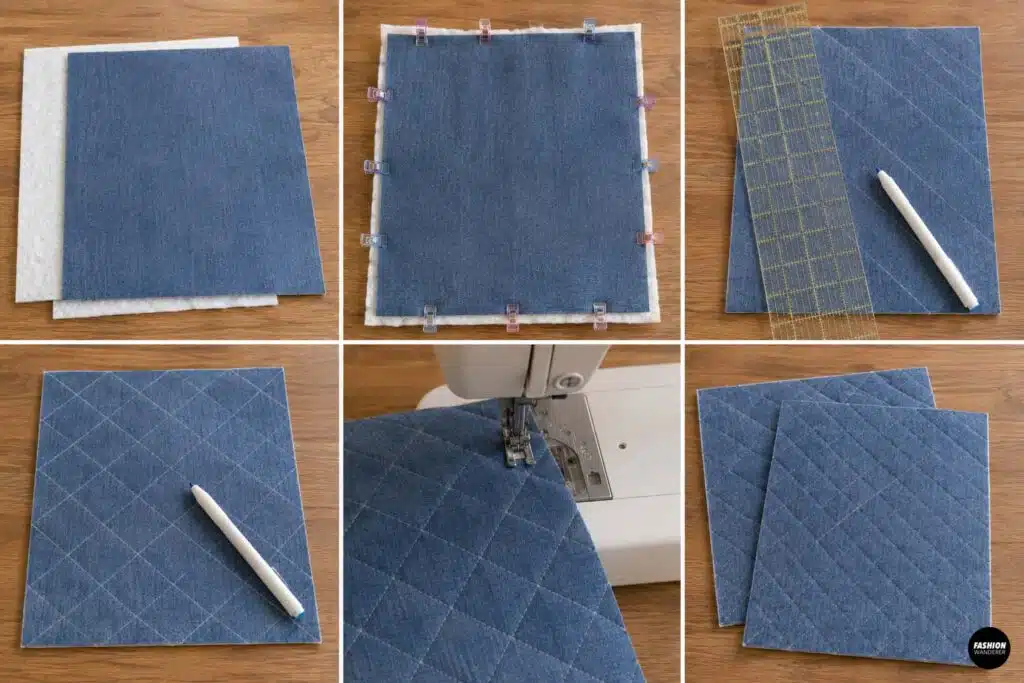
Place one batting piece against the wrong side of each outer fabric rectangle.
Pin or baste the layers together.
Using a removable fabric marker and ruler, draw quilting lines across the fabric.
For an easy quilted design, make diagonal lines approximately 1½ inches apart. Then draw another set in the opposite direction to create diamonds.
Sew along the marked lines.
Repeat with the second outer panel.
Do not worry if your quilting is not perfectly even. Small imperfections often add to the handmade appearance.
Step 4: Make the Fabric Bow Ties

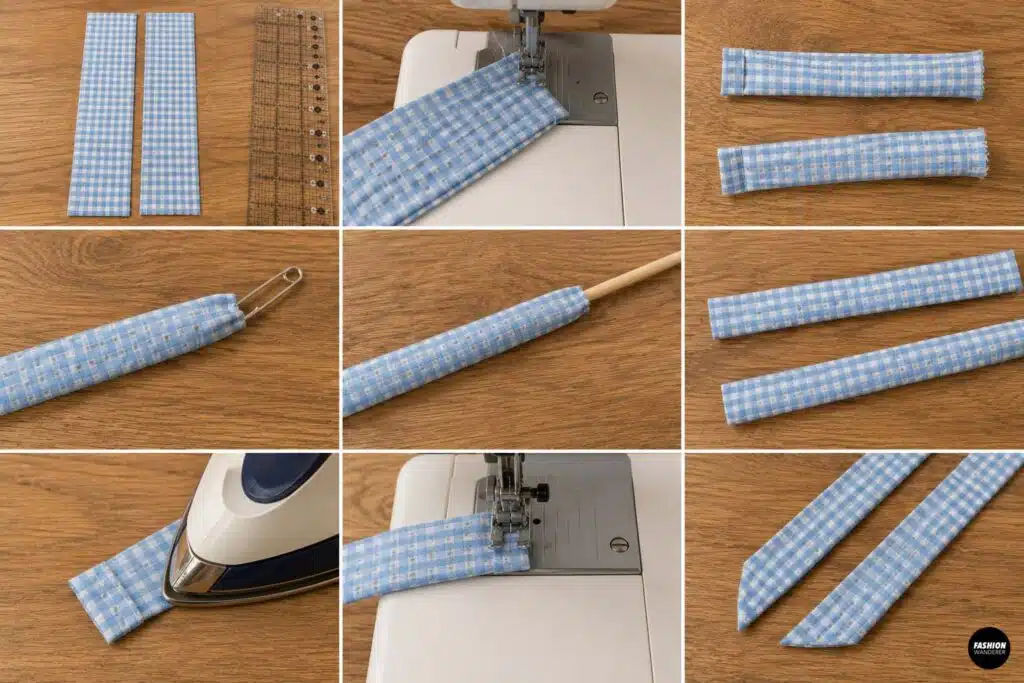
Fold one 3 x 14-inch bow strip in half lengthwise with right sides together.
Sew along the long edge using approximately a ¼-inch seam allowance.
Sew across one short end, leaving the opposite end open.
Turn the fabric tube right side out using a safety pin, loop turner, or chopstick.
Press flat.
Turn the raw open end inside approximately ¼ inch and topstitch it closed.
Repeat for the second bow tie.
For an extra-cute finish, cut the ends at a slight angle before sewing.
Step 5: Attach the Bow Ties

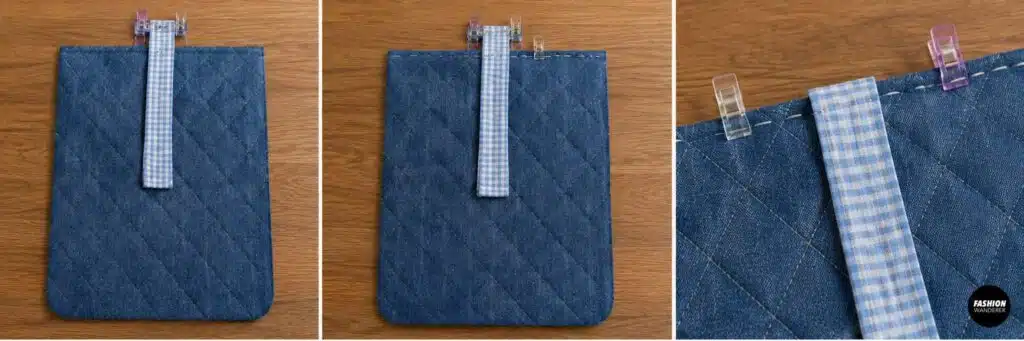
Place one quilted outer panel right side up.
Center one bow tie along the top edge with the unfinished attachment end aligned with the raw edge of the fabric.
The long portion of the tie should extend toward the center of the panel.
Baste the tie approximately ¼ inch from the edge.
Repeat with the second outer panel and bow tie.
Make sure the ties are positioned at the same height so they meet evenly when the sleeve is finished.
Step 6: Sew the Outer Sleeve

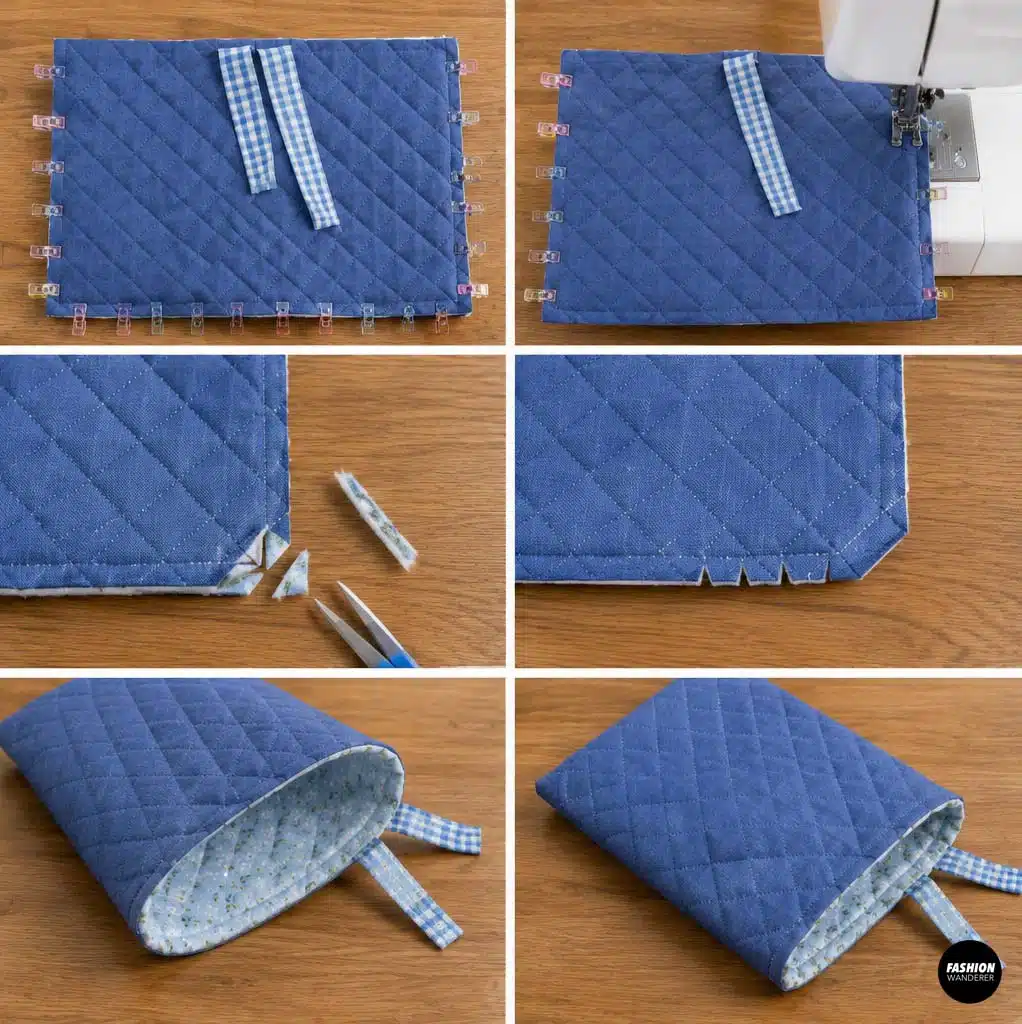
Place the two quilted outer panels right sides together.
Move the bow ties toward the center so they do not accidentally get caught in the side seams.
Pin or clip along both sides and the bottom.
Leave the top completely open.
Sew around the sides and bottom using a ½-inch seam allowance.
Backstitch at the beginning and end.
Trim excess batting from the seam allowances if they feel bulky.
Clip the two bottom corners without cutting through your stitches.
Turn the outer sleeve right side out and gently push out the corners.
Step 7: Sew the Lining

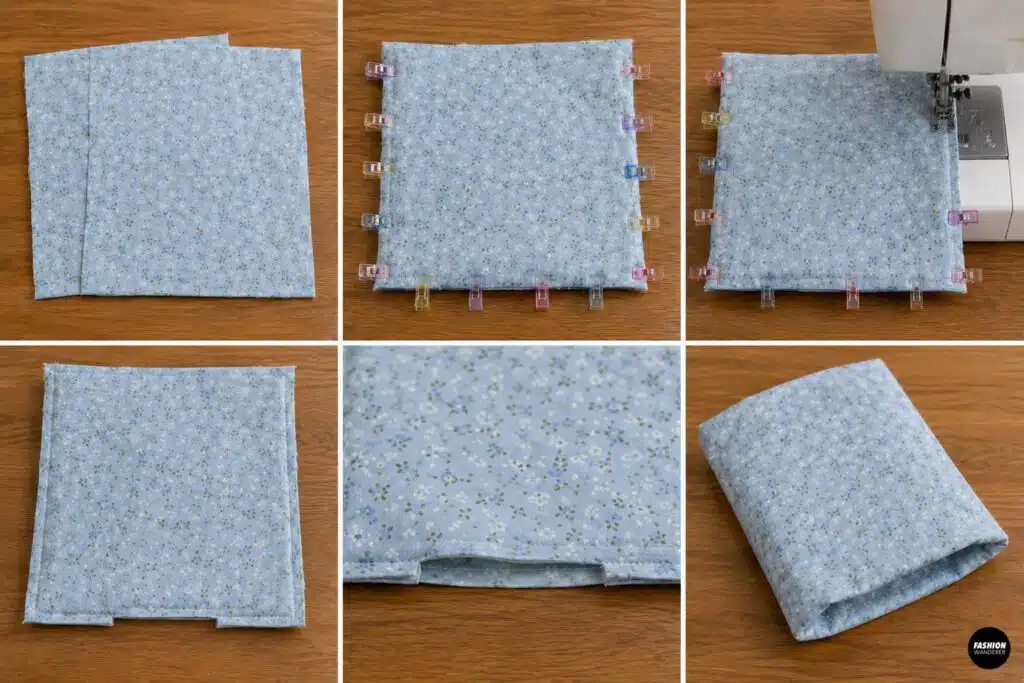
Place the two lining rectangles right sides together.
Pin along the sides and bottom.
Sew around the three edges using a ½-inch seam allowance, but leave approximately a 3 to 4-inch opening along the bottom.
This opening will allow you to turn the entire project right side out later.
Leave the lining wrong side out.
Step 8: Join the Lining and Outer Sleeve

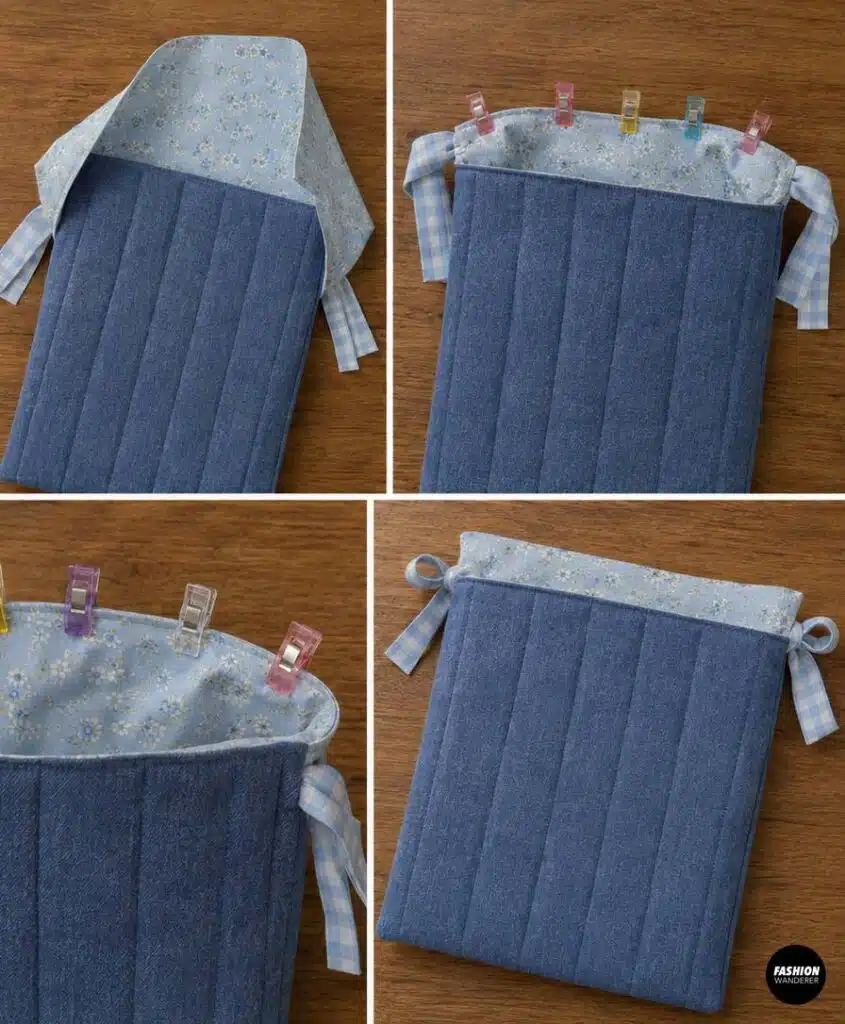
Place the finished outer sleeve inside the lining.
The right sides of the outer fabric and lining should now be facing each other.
Match the side seams and top raw edges.
Pin or clip completely around the top opening.
Make sure the bow ties remain safely tucked between the layers.
Sew around the entire top edge using a ½-inch seam allowance.
Go slowly over bulky seam areas.
Step 9: Turn the Sleeve Right Side Out

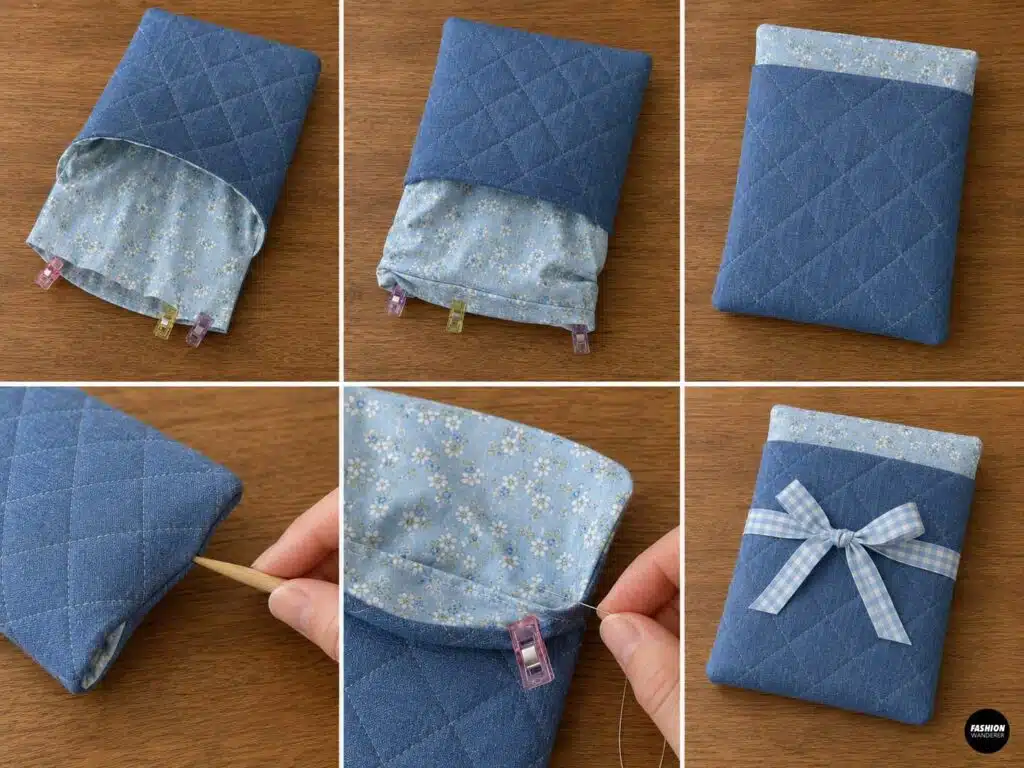
Reach through the opening you left in the bottom of the lining.
Carefully pull the outer sleeve through the opening.
Continue pulling until the entire project is right side out.
Use your fingers or a point turner to gently shape the corners.
Press the sleeve carefully, especially around the top edge.
Fold the raw edges of the lining opening inward and stitch the opening closed with a narrow machine stitch or invisible ladder stitch.
Push the lining inside the quilted sleeve.
Step 10: Topstitch the Opening

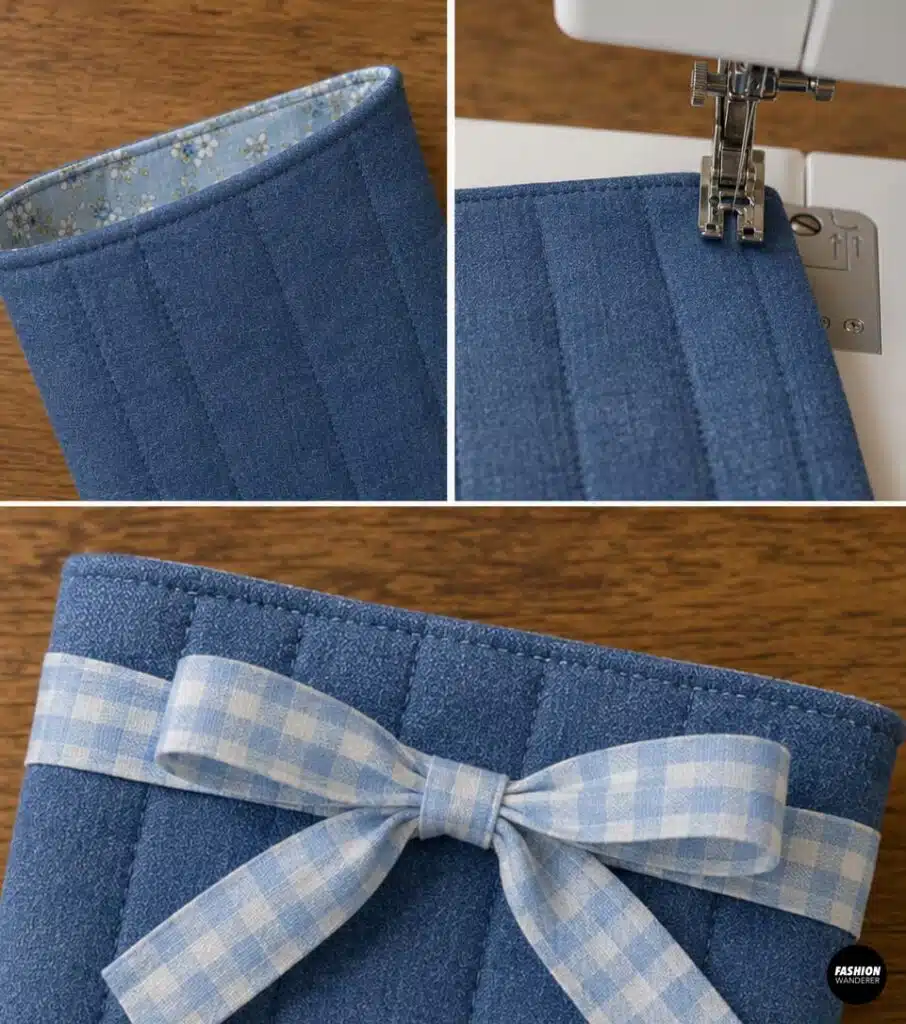
Press the top opening again so the lining sits slightly inside the outer fabric.
Topstitch approximately ⅛ inch from the top edge.
This gives the DIY Kindle sleeve a clean professional finish and helps keep the lining from rolling outward.
Tie the two fabric straps into a pretty bow across the top.
Your quilted book sleeve is finished!
Easy Ways to Customize Your Sleeve
Once you understand the basic construction, you can create dozens of variations.
Try adding a front pocket for earbuds, charging cords, bookmarks, or reading glasses. You could also personalize the sleeve with embroidery, initials, fabric labels, appliqué, or decorative quilting.
For a romantic look, use tiny floral prints with a contrasting gingham bow. For a minimalist version, try linen or neutral cotton with matching ties.
You can also make matching book sleeves, zipper pouches, bookmarks, and tote bags for handmade gift sets.
Final Tips for Beginners
Prewash cotton fabric before sewing if the finished sleeve may eventually be washed.
Do not overstuff the sleeve with thick batting. Lightweight cotton batting or fusible fleece usually provides enough protection without making the seams difficult to sew.
Most importantly, measure the device before cutting your fabric. Kindle and tablet sizes vary considerably.
This DIY quilted book or Kindle sleeve with bow closure is a simple project that looks polished enough to give as a handmade gift or sell in your sewing business. Once you have made the first one, batch sewing several in coordinating prints is surprisingly quick.
With pretty fabric, basic quilting, and an oversized bow, a few simple rectangles can become an adorable and useful accessory for any book lover.


Trendy, Affordable Sewing Patterns for All Sizes
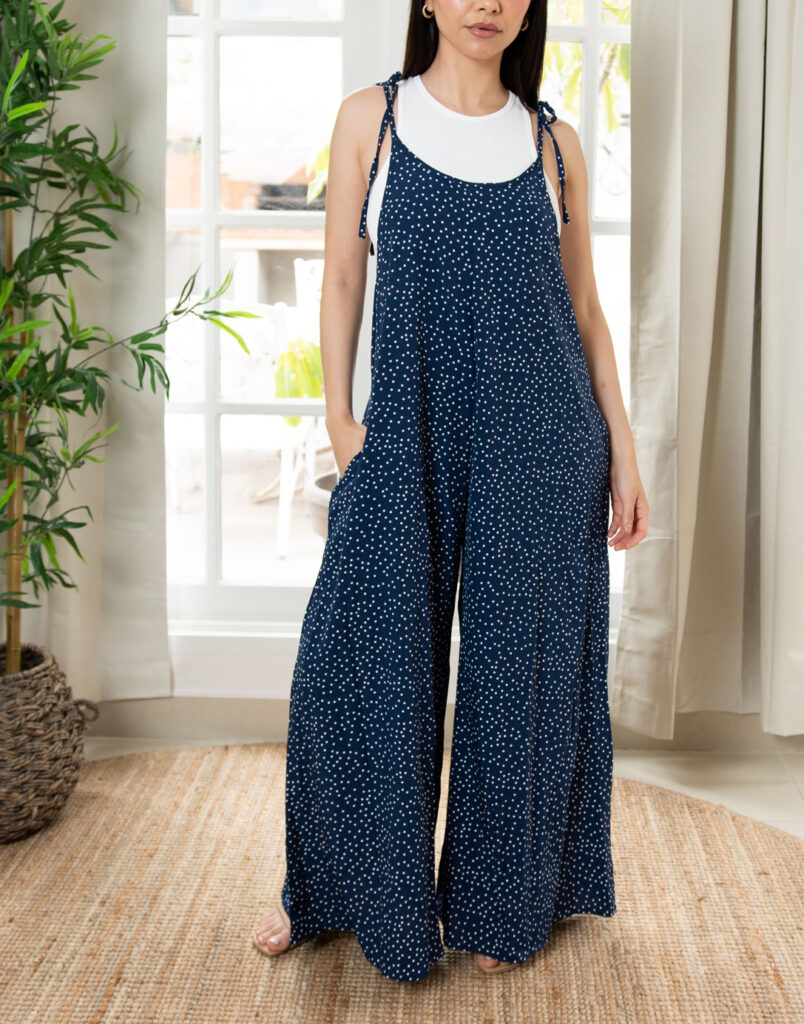
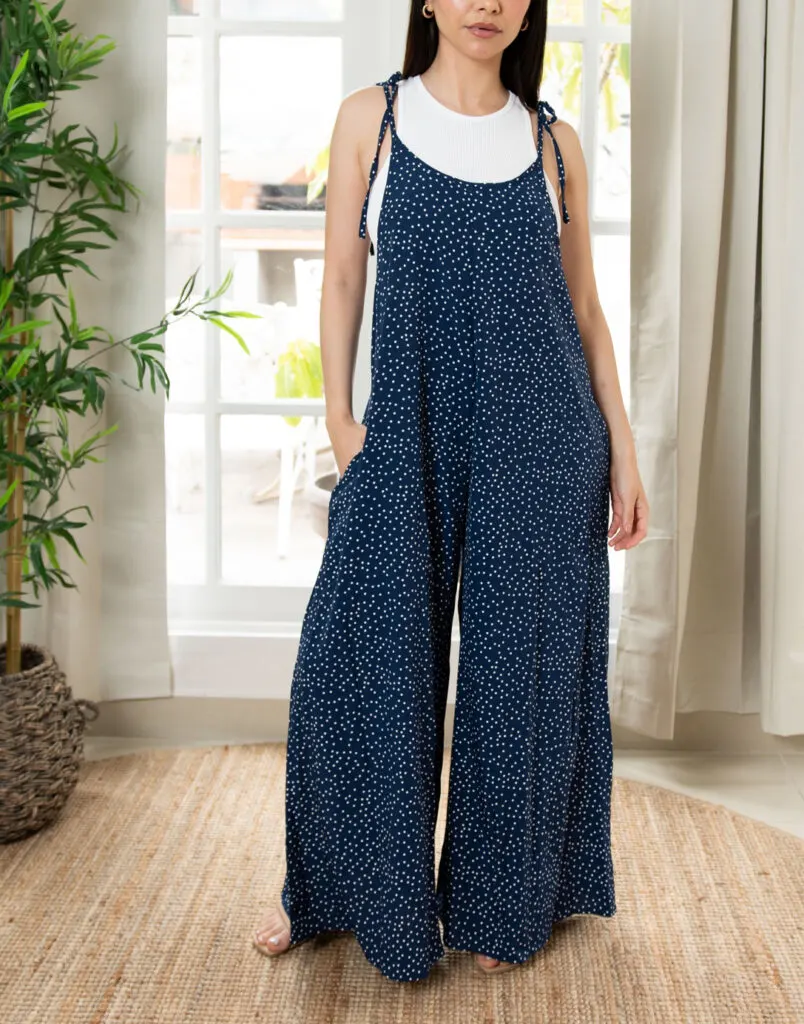
Tie Shoulder Jumpsuit Pattern
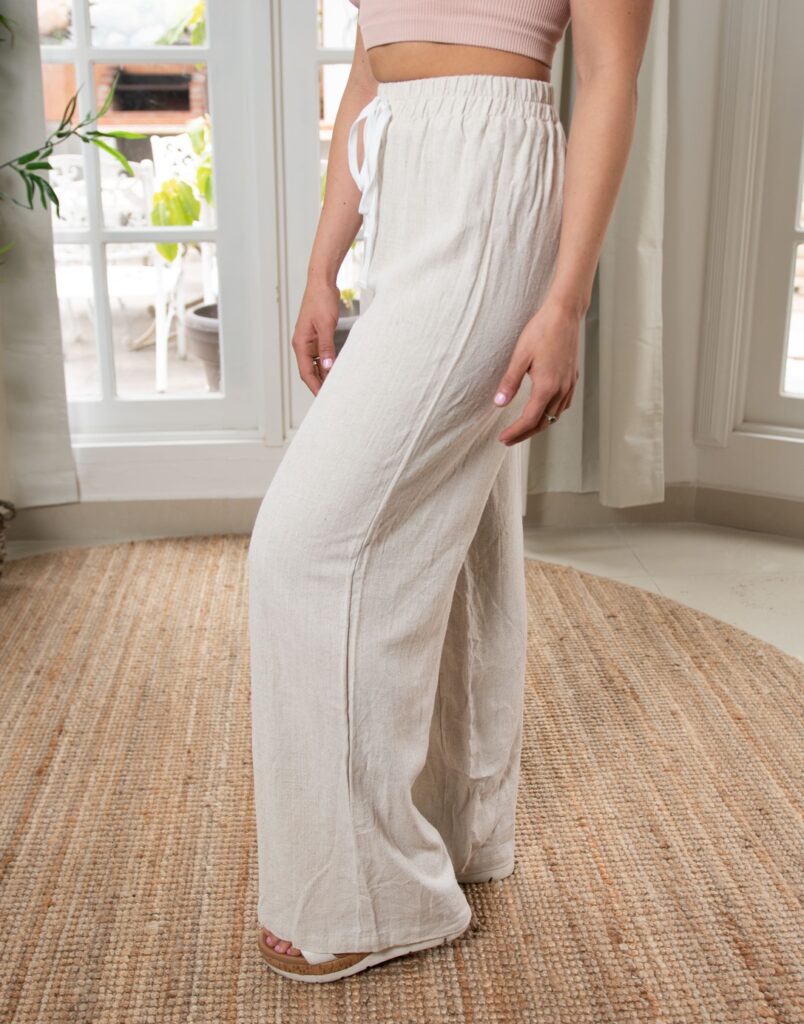

Palazzo Pants Sewing Pattern
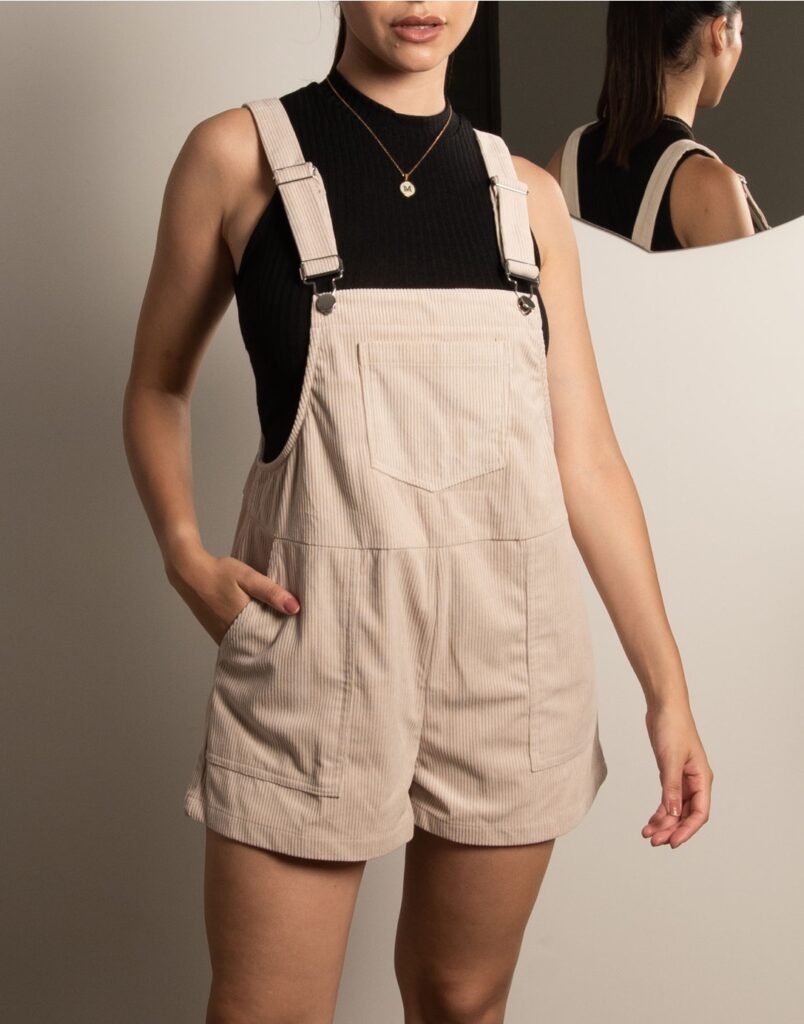
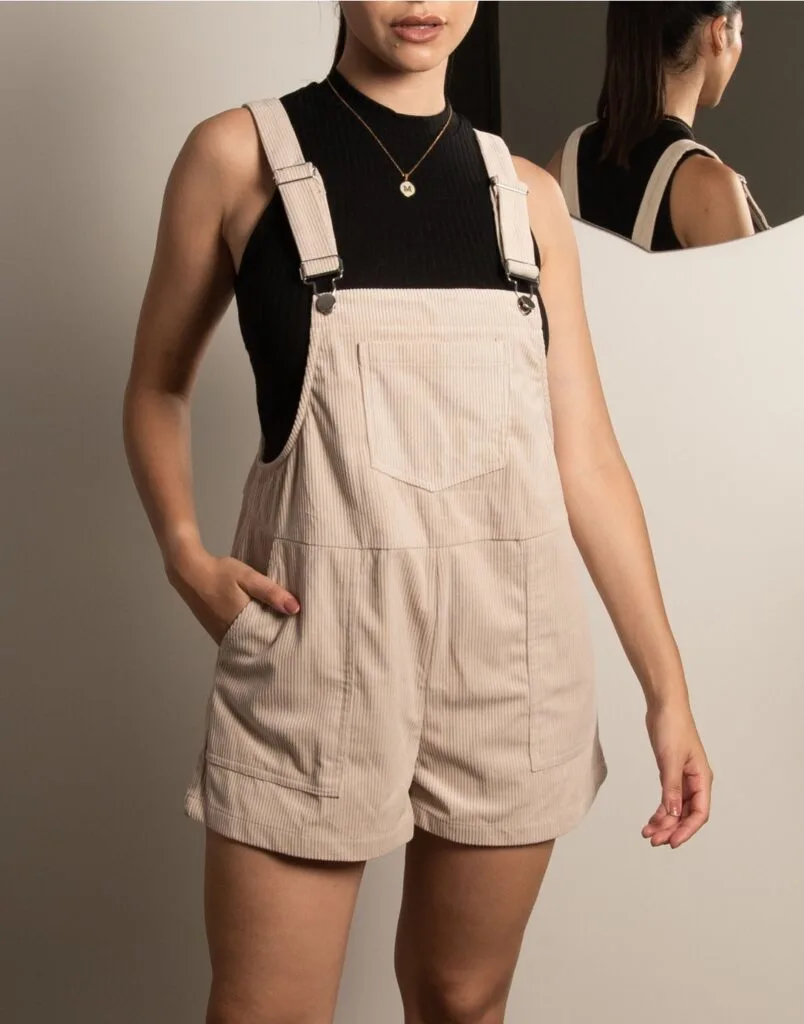
Pocket Overall Romper Pattern


Wrap Maxi Skirt Sewing Pattern


Tie Back Top Sewing Pattern