
November is the perfect month to pick up your knitting needles and make something warm, cozy, and useful. With colder weather settling in and Thanksgiving approaching, simple knitting projects are especially satisfying because you can create seasonal home décor, handmade gifts, and cold-weather accessories without committing to a huge project.
If you are a beginner knitter, these easy November knitting projects are a great place to start. Each idea uses beginner-friendly techniques and can be customized with different yarn colors, textures, and sizes.
In this roundup, you will learn how to make knitted pumpkins, a chunky infinity scarf, fingerless mittens, a classic knit beanie, and an ultra-simple beginner scarf.
1. How to Knit Pumpkins for Easy Thanksgiving Decorations
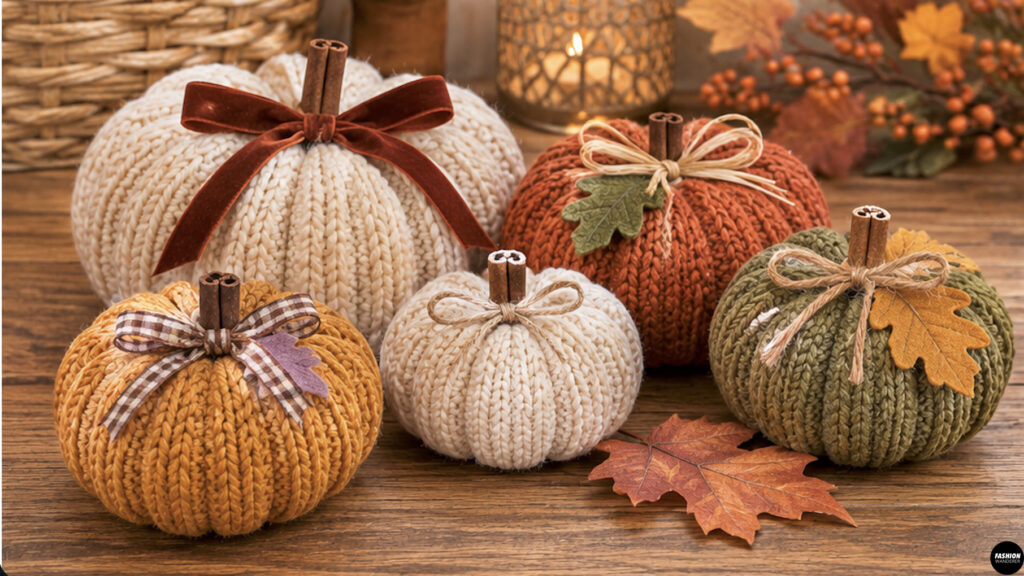
Knitted pumpkins are one of the cutest handmade decorations for November. They look beautiful on dining tables, mantels, bookshelves, or Thanksgiving centerpieces.
Materials
- Worsted or chunky yarn
- Knitting needles suitable for your yarn
- Yarn needle
- Scissors
- Polyester stuffing
- Small stick or cinnamon stick for the stem
- Optional twine or ribbon
Step 1: Cast On
Cast on approximately 30 to 40 stitches depending on how large you want your pumpkin.
For a smaller pumpkin, use fewer stitches. For a large chunky pumpkin, cast on more.
Step 2: Knit a Rectangle
Work in simple ribbing:
Knit 2, purl 2
Repeat across each row.
Continue until your rectangle is approximately 8 to 10 inches long.
The ribbing creates the vertical ridges that make the finished pumpkin look realistic.
Step 3: Sew the Side Seam
Bind off your stitches.
Fold the rectangle so the short edges meet.
Thread your yarn needle and sew the edges together to create a tube.
Step 4: Gather the Bottom
Run your yarn needle through the stitches around one open edge.
Pull tightly to gather the fabric.
Secure the yarn firmly.
Step 5: Stuff the Pumpkin
Turn the knitted tube right side out.
Fill it generously with polyester stuffing.
Keep adding stuffing until the pumpkin feels firm but still soft.
Step 6: Close the Top
Run yarn around the top opening.
Pull tightly and secure.
Insert a small stick or cinnamon stick into the center for the stem.
Wrap twine around the stem for an extra rustic Thanksgiving look.
2. How to Knit a Chunky Infinity Scarf for Beginners
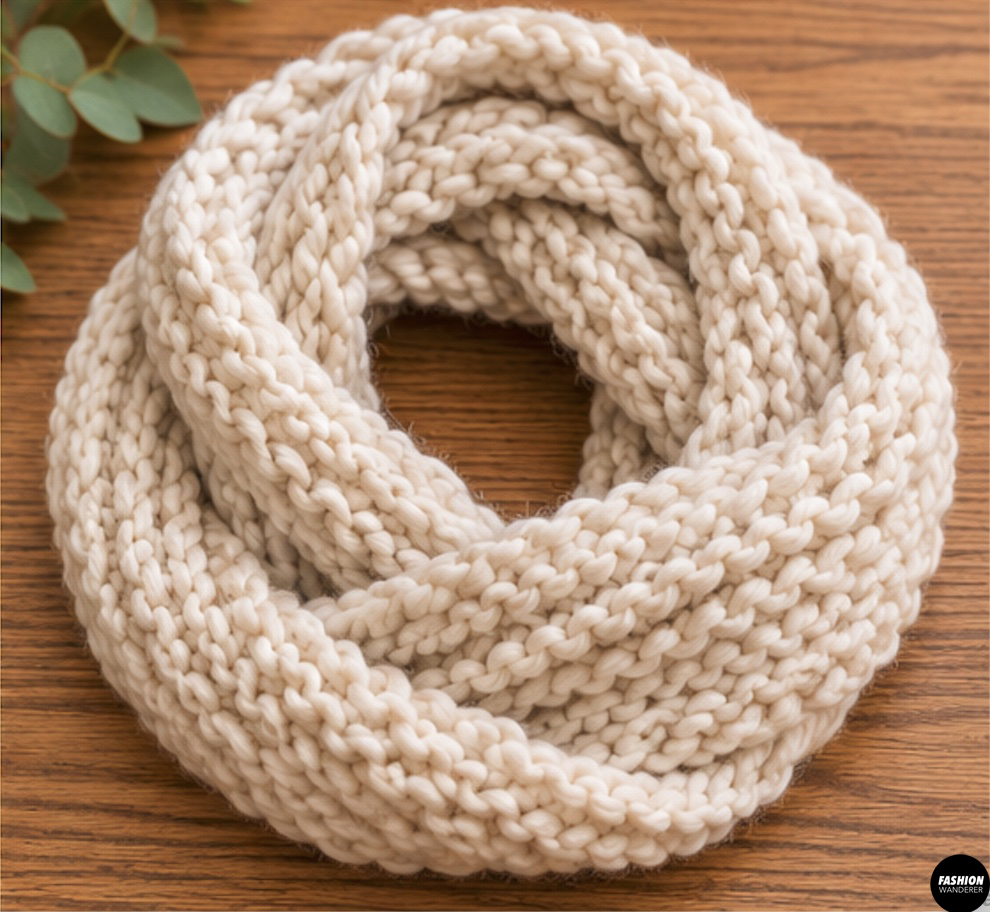
A chunky infinity scarf is warm, stylish, and surprisingly quick to knit.
Using bulky yarn makes this an ideal weekend knitting project.
Materials
- Super bulky yarn
- Large knitting needles
- Yarn needle
- Scissors
Step 1: Cast On
Cast on approximately 25 to 30 stitches.
The exact number depends on how wide you want the scarf.
Step 2: Knit the Scarf
For an easy textured pattern, use garter stitch.
Simply knit every stitch on every row.
Continue knitting until the scarf measures approximately 50 to 60 inches long.
If you want an extra oversized infinity scarf, knit it slightly longer.
Step 3: Bind Off
Bind off loosely.
Avoid binding too tightly because the ends need enough flexibility to join comfortably.
Step 4: Join the Ends
Place the two short ends together.
Using the yarn needle and matching yarn, sew the ends securely.
Turn the seam toward the inside.
Your chunky knitted infinity scarf is finished and ready to loop around your neck once or twice.
3. Easy Fingerless Mittens Knitting Pattern for Beginners
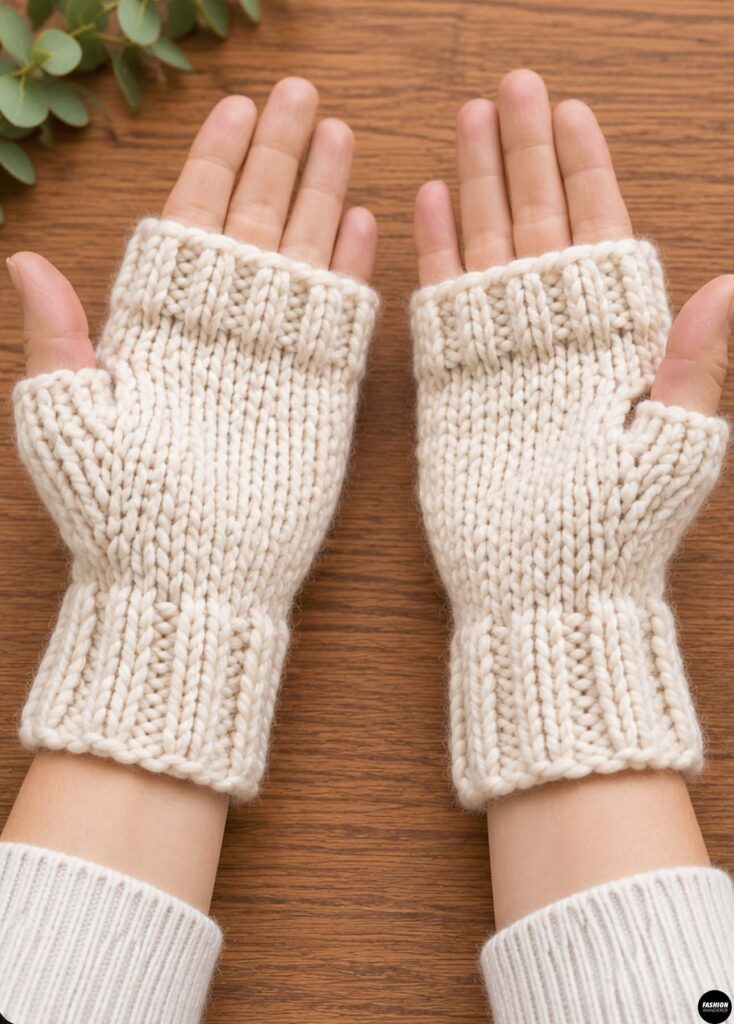
Fingerless mittens are perfect for November because they keep your hands warm while leaving your fingers free for typing, using your phone, or crafting.
Materials
- Worsted-weight yarn
- Straight knitting needles
- Yarn needle
- Scissors
Step 1: Cast On
Cast on approximately 30 to 36 stitches.
Adjust the number depending on your hand size and yarn thickness.
Step 2: Knit the Cuff
Work in:
Knit 1, purl 1 ribbing
Continue for approximately 2 inches.
This creates a stretchy cuff.
Step 3: Knit the Hand Section
Switch to stockinette stitch.
Knit one row.
Purl the next row.
Repeat until the piece measures from your wrist to just below your fingers.
Step 4: Bind Off
Bind off loosely.
Step 5: Sew the Side
Fold the rectangle lengthwise.
Using your yarn needle, begin sewing from the wrist upward.
Stop when you reach the thumb area.
Leave approximately 1½ to 2 inches open for the thumb.
Continue sewing above the opening.
Repeat for the second mitten.
Turn the mittens right side out and weave in the yarn ends.
4. Easy Knit Beanie Pattern
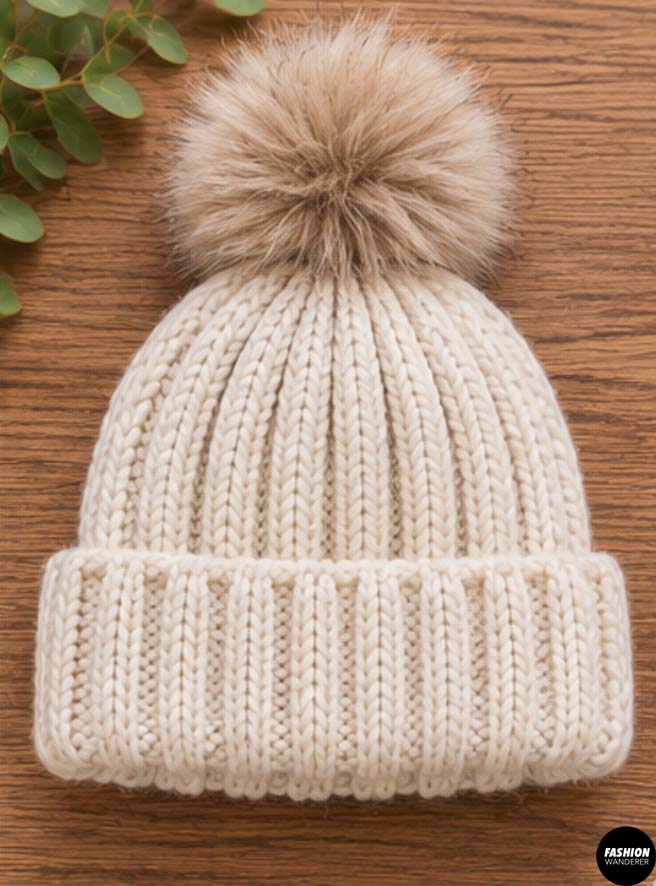
A basic knit beanie is one of the most useful cold-weather projects you can make.
This beginner version uses simple ribbing and stockinette stitch.
Materials
- Worsted or bulky yarn
- Straight knitting needles
- Yarn needle
- Scissors
- Optional pom-pom
Step 1: Cast On
Cast on approximately 70 to 80 stitches for an adult-size beanie using worsted yarn.
Use fewer stitches if you are working with chunky yarn.
Step 2: Knit the Ribbed Brim
Work:
Knit 2, purl 2
Repeat across the row.
Continue this ribbing for approximately 2 to 3 inches.
Step 3: Knit the Main Hat
Switch to stockinette stitch.
Knit one row and purl the next.
Continue until the hat measures approximately 7 to 8 inches from the cast-on edge.
Step 4: Shape the Crown
Begin decreasing stitches evenly across your knit rows.
For example:
Knit 6, knit 2 together.
Repeat across the row.
On the next decrease row, knit 5, knit 2 together.
Continue decreasing until only a small number of stitches remain.
Step 5: Close the Top
Cut your yarn, leaving a long tail.
Thread the yarn through the remaining stitches.
Pull tightly to close the top.
Sew the back seam of the beanie.
Add a pom-pom if desired.
5. The Easiest Knitted Scarf Pattern for Absolute Beginners
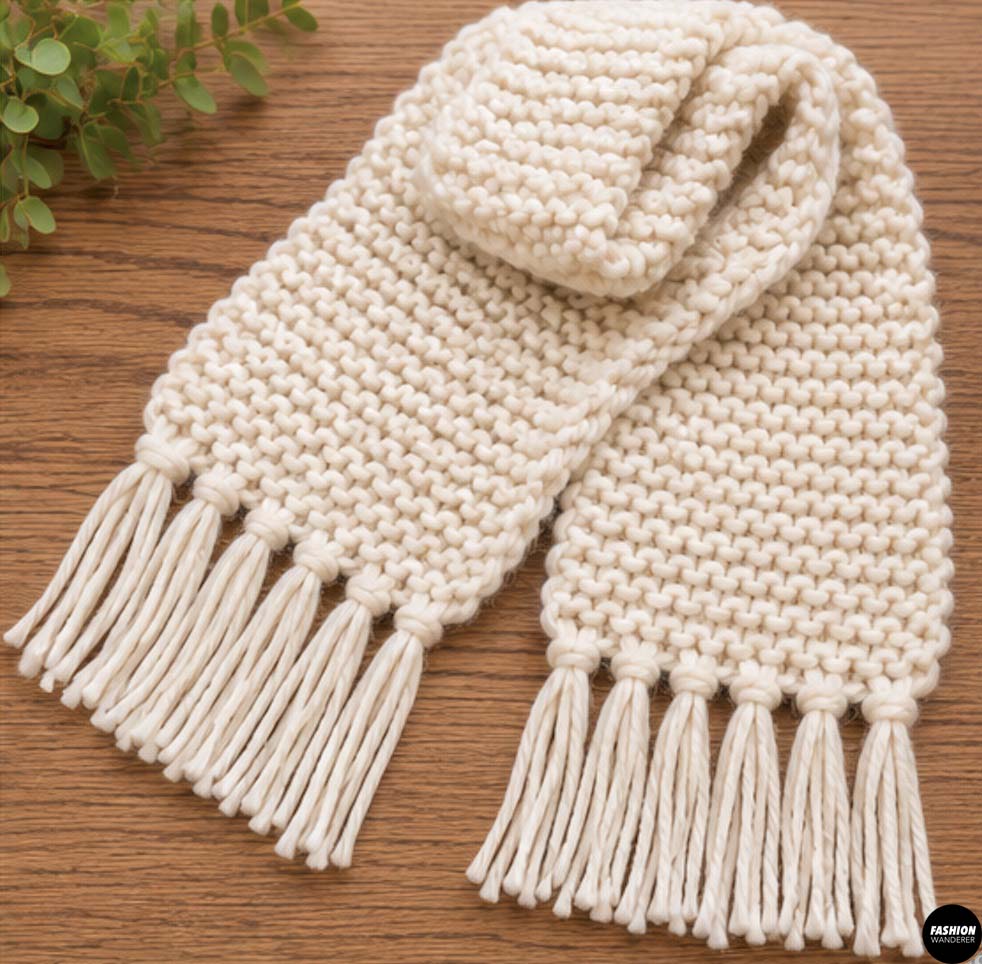
If you have never knitted before, this is probably the best project to start with.
You only need to learn the knit stitch.
Materials
- Medium or bulky yarn
- Knitting needles
- Scissors
- Yarn needle
Step 1: Cast On
Cast on approximately 20 to 30 stitches.
Using chunky yarn will create a wider scarf with fewer stitches.
Step 2: Knit Every Row
Use garter stitch.
That means simply knitting every stitch across every row.
There is no purling required.
Continue knitting until the scarf reaches your preferred length.
Most adult scarves measure approximately 60 to 70 inches.
Step 3: Bind Off
Bind off loosely.
Cut the yarn and weave in the ends.
Step 4: Add Optional Fringe
Cut several pieces of yarn approximately 10 to 12 inches long.
Fold each strand in half.
Use a crochet hook or your fingers to pull the folded section through the edge of the scarf.
Pull the loose ends through the loop and tighten.
Repeat evenly across both ends.
Final Thoughts
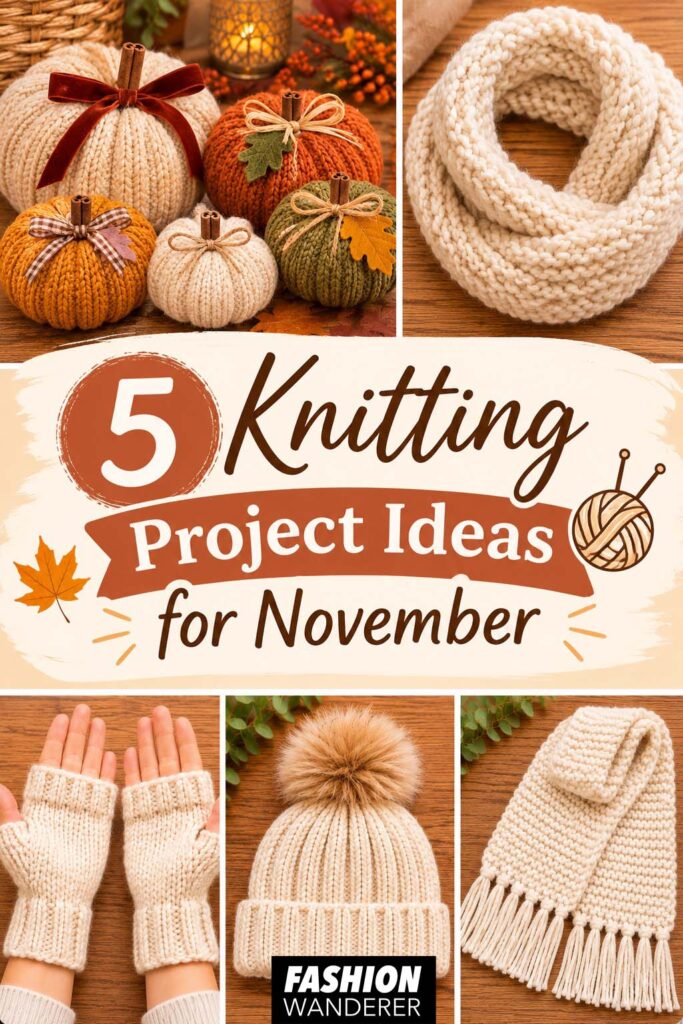
These easy knitting projects for November are ideal for beginners who want cozy seasonal projects without complicated patterns.
Start with the simple garter-stitch scarf if you are completely new to knitting, then move on to the infinity scarf, fingerless mittens, or beanie as your confidence grows. The knitted pumpkins are also a fun way to use leftover yarn while creating handmade Thanksgiving decorations.
You can customize every project with fall-inspired colors such as rust, mustard, cream, olive green, burgundy, oatmeal, pumpkin orange, and chocolate brown.
Whether you are knitting for yourself, decorating your home, or creating handmade holiday gifts, these five November knitting projects are easy, practical, and perfect for cozy evenings indoors.