
Looking to add a splash of color and creativity to your wardrobe? Tie dye is back in style—and it’s easier than ever to make your own custom t-shirt at home!
Whether you want vibrant spirals, soft pastel fades, or funky abstract designs, this tutorial will show you exactly how to tie dye a t-shirt with simple materials and step-by-step guidance. Get ready to unleash your inner artist!
Why Tie Dye?
Tie dye is a classic DIY fashion project because:
- 🎨 It’s fun and expressive—no two shirts will ever look the same.
- 🌈 You can choose any color combo to match your style.
- 👕 It’s an affordable way to refresh old tees or create custom pieces.
Tie dye isn’t just for summer camps anymore—it’s a modern wardrobe essential for anyone who loves bold, personalized fashion.
Supplies You’ll Need
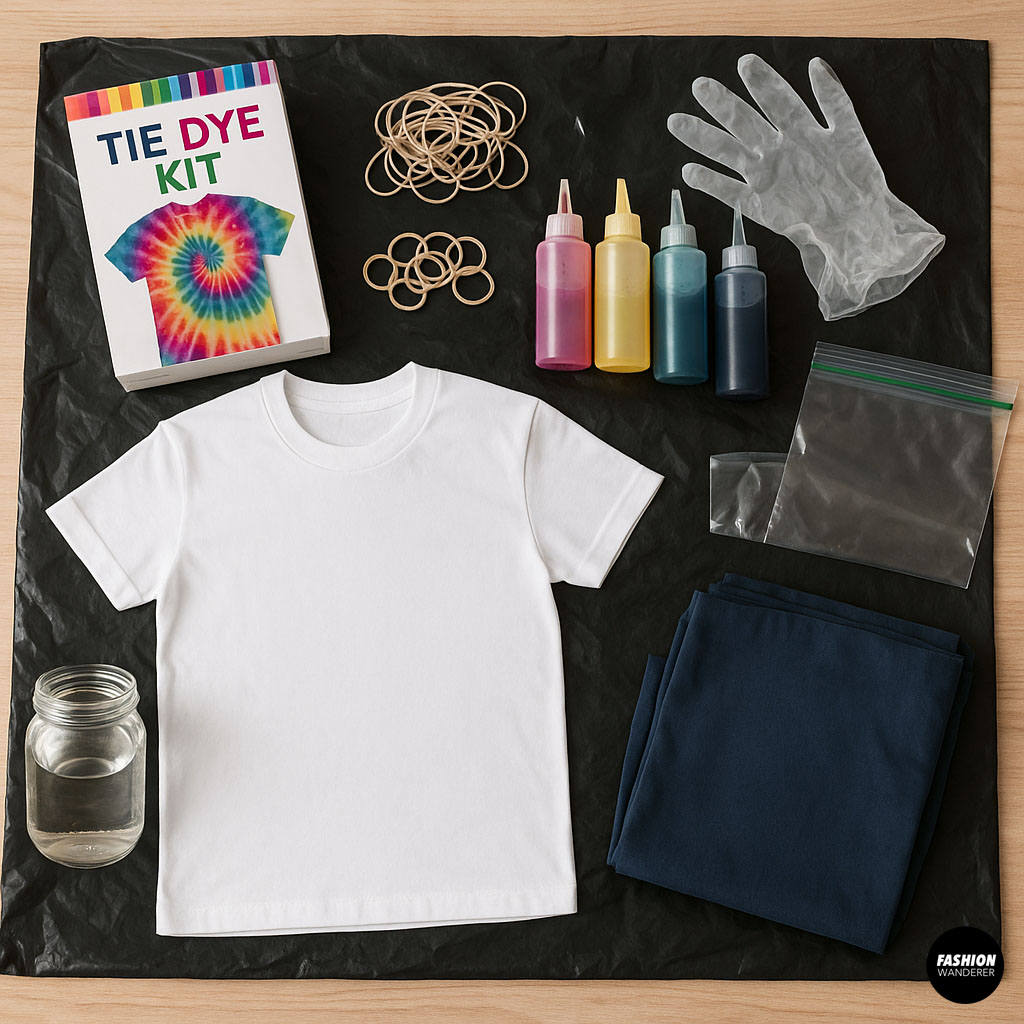
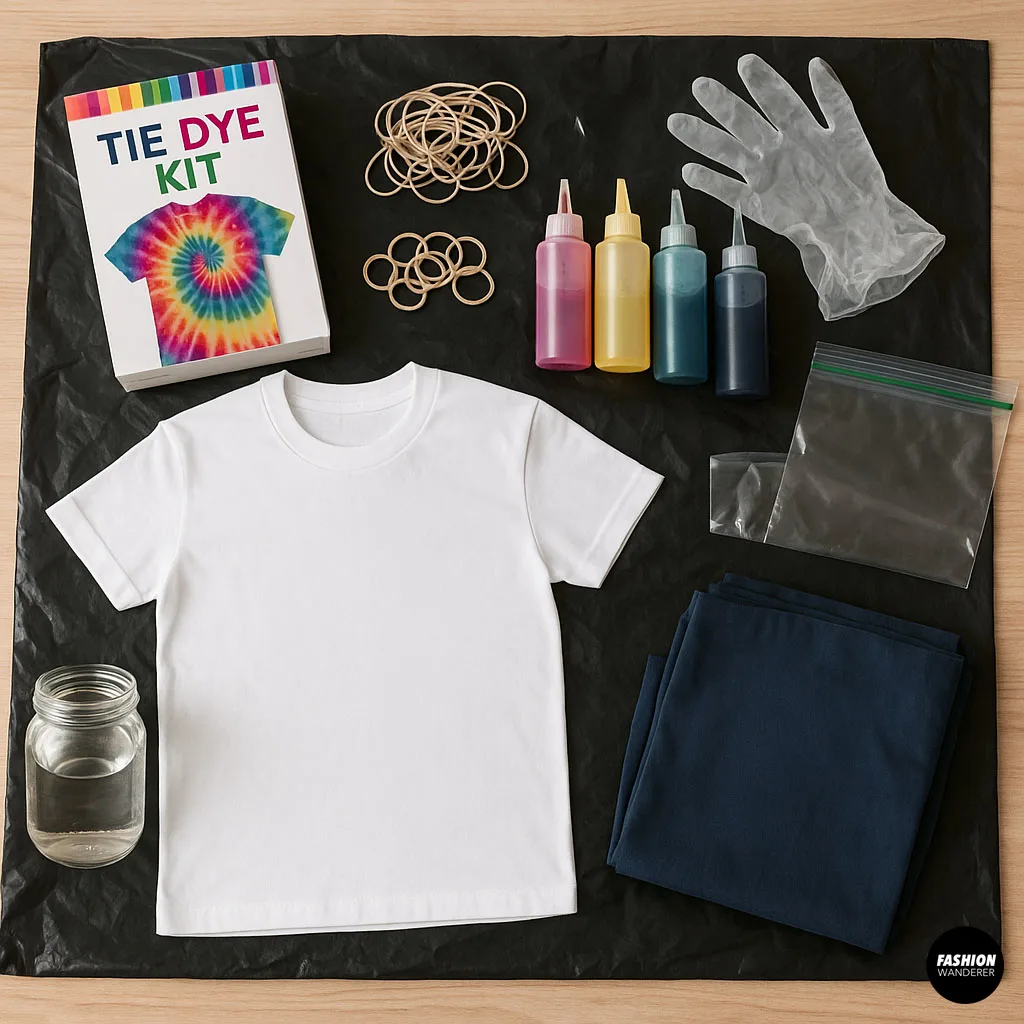
✅ 100% cotton t-shirt (white works best, but pastel shades can look cool too!)
✅ Tie dye kit or individual fabric dyes
✅ Rubber bands
✅ Plastic squeeze bottles (if not included in your kit)
✅ Plastic gloves
✅ Plastic sheet or garbage bags (to protect your work surface)
✅ Ziplock bags or plastic wrap
✅ Old clothes or apron (tie dye stains!)
✅ Water
Prepping Your T-Shirt
Before you begin, wash your t-shirt to remove any residues that might affect dye absorption. You can leave it damp—damp fabric absorbs dye more evenly and helps the colors blend beautifully.
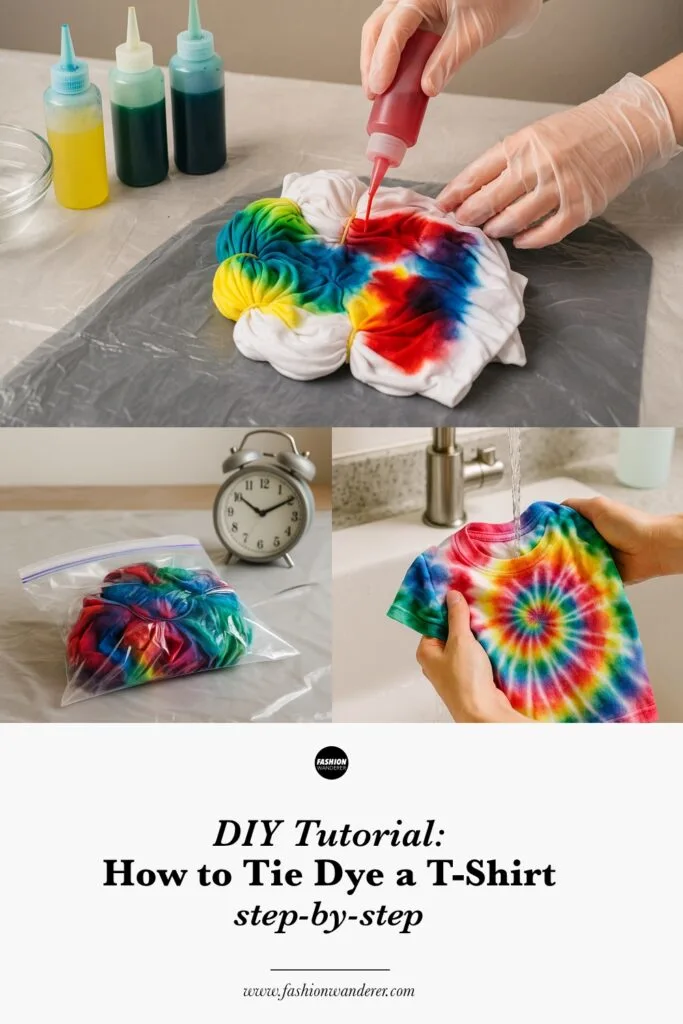
Step-by-Step: How to Tie Dye a T-Shirt

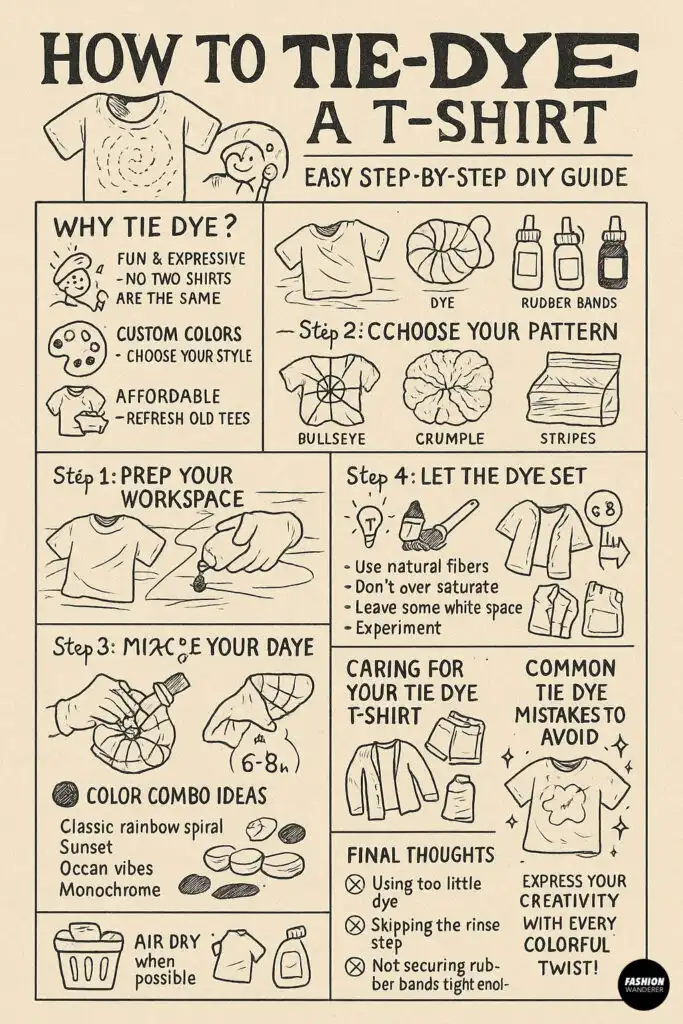
Step 1: Set Up Your Workspace

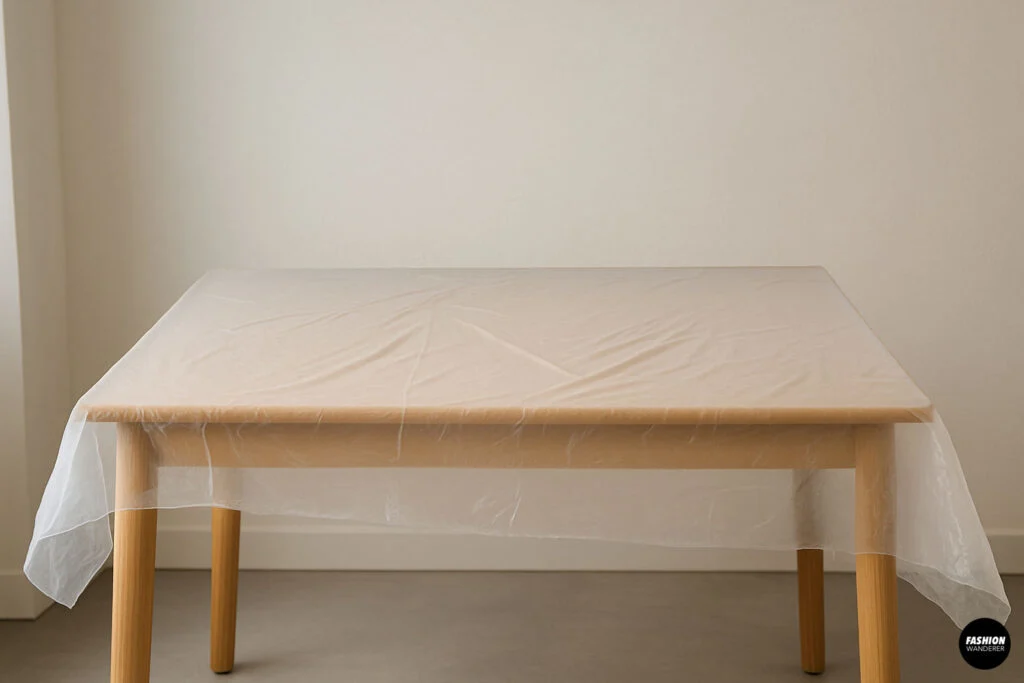
Cover your table or work area with a plastic sheet, garbage bags, or an old tablecloth. Tie dye can get messy, so make sure you’re working somewhere you don’t mind getting colorful splatters!
Step 2: Choose Your Tie Dye Pattern
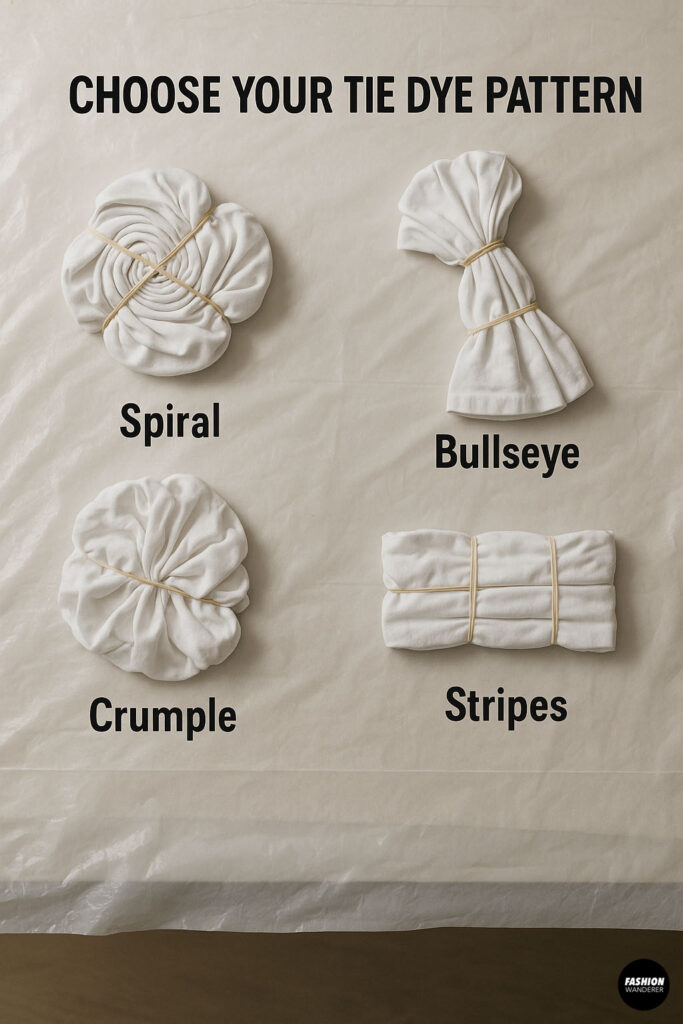
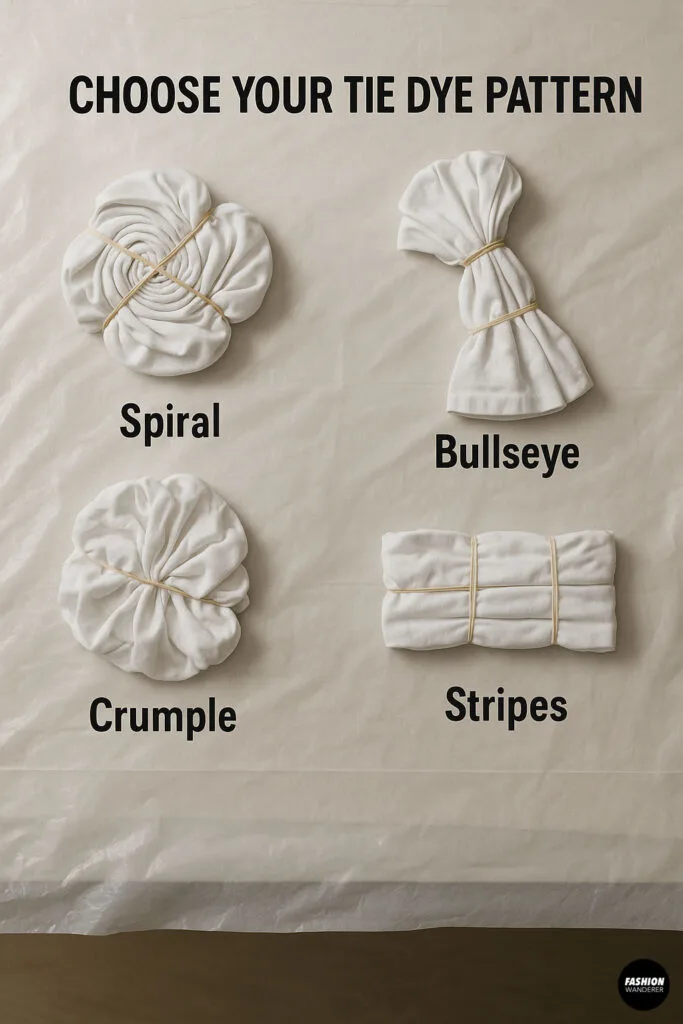
Here are a few popular techniques:
- Spiral: Pinch the center of the shirt and twist it into a tight disk. Secure with 3-4 rubber bands, crisscrossing to create pie-like sections.
- Bullseye: Pinch the fabric where you want the center of the bullseye to be, pull it upward, and wrap rubber bands at intervals along the length.
- Crumple: Scrunch the fabric randomly into a mound and secure loosely with rubber bands for an abstract, marbled look.
- Stripes: Fold the shirt accordion-style and secure bands evenly along the length to create horizontal or vertical stripes.
Step 3: Mix and Apply Your Dye

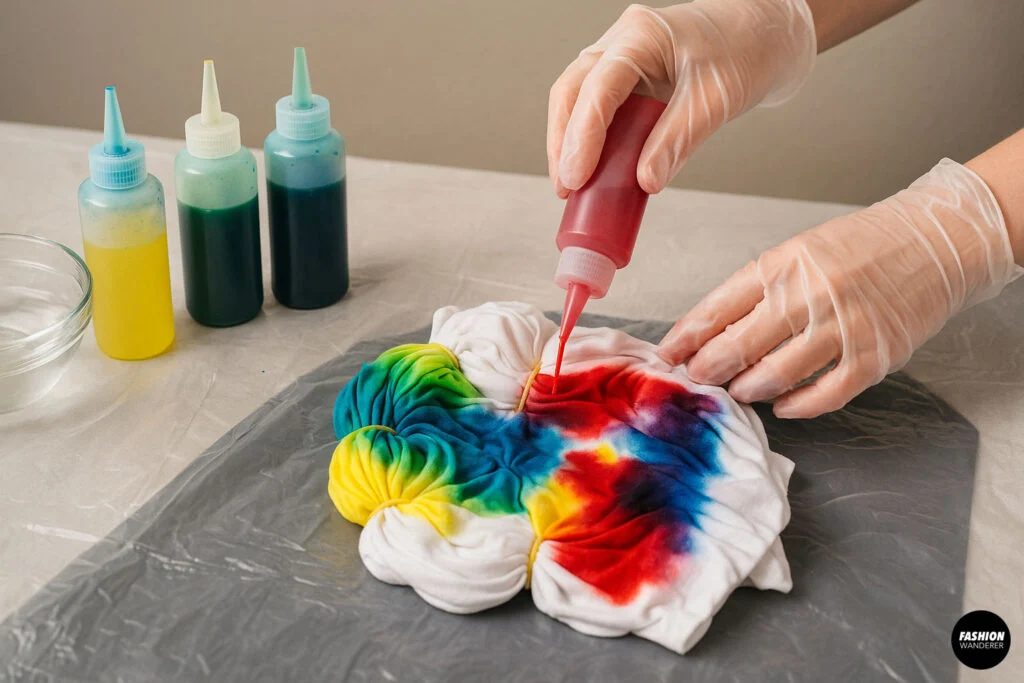
Put on your gloves to protect your hands from staining. Mix your dyes according to the instructions—usually this involves adding water to your dye bottles and shaking well.
Apply the dye to the fabric sections as desired. You can:
- Use one color per section (for bold patterns)
- Blend two colors together at the edges
- Leave some white space for contrast
Flip the shirt over and repeat the dyeing process on the back.
✨ Pro tip: Use lighter colors next to darker ones to avoid muddy blending!
Step 4: Let the Dye Set
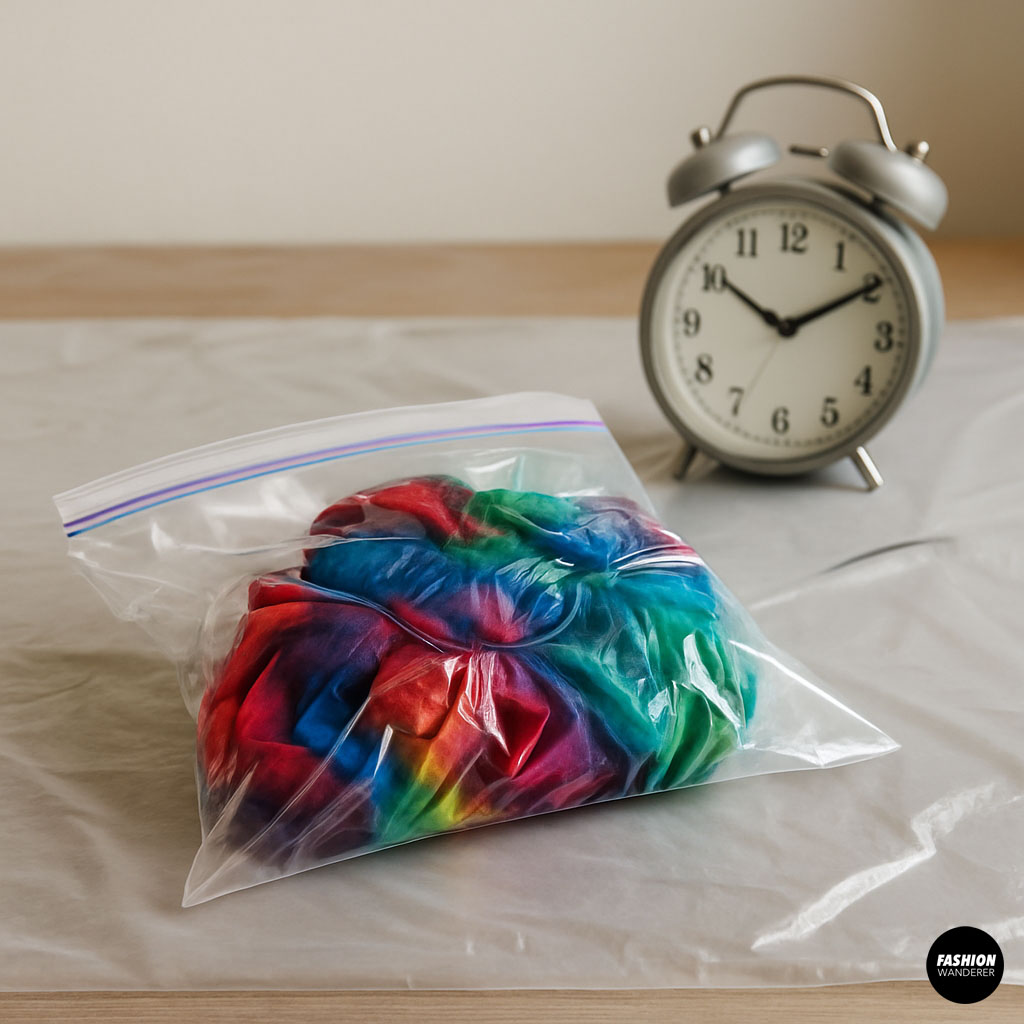

Once you’re finished applying dye, place your shirt in a ziplock bag or wrap it tightly in plastic wrap to keep it damp. Let it sit for 6 to 8 hours (or overnight for deeper colors).
Step 5: Rinse and Wash
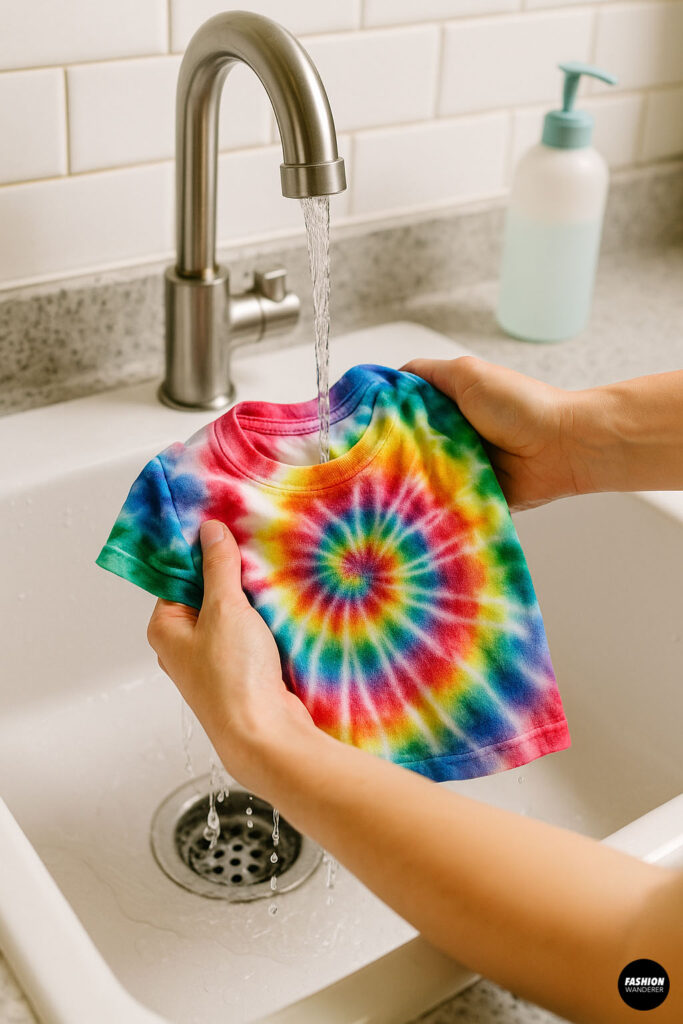

After the dye has set, remove the rubber bands and rinse the shirt under cold water until the water runs clear. This helps remove excess dye and prevents future bleeding.
Wash your shirt separately in cold water using a mild detergent. Then, air dry or tumble dry on low heat.
Color Combo Ideas
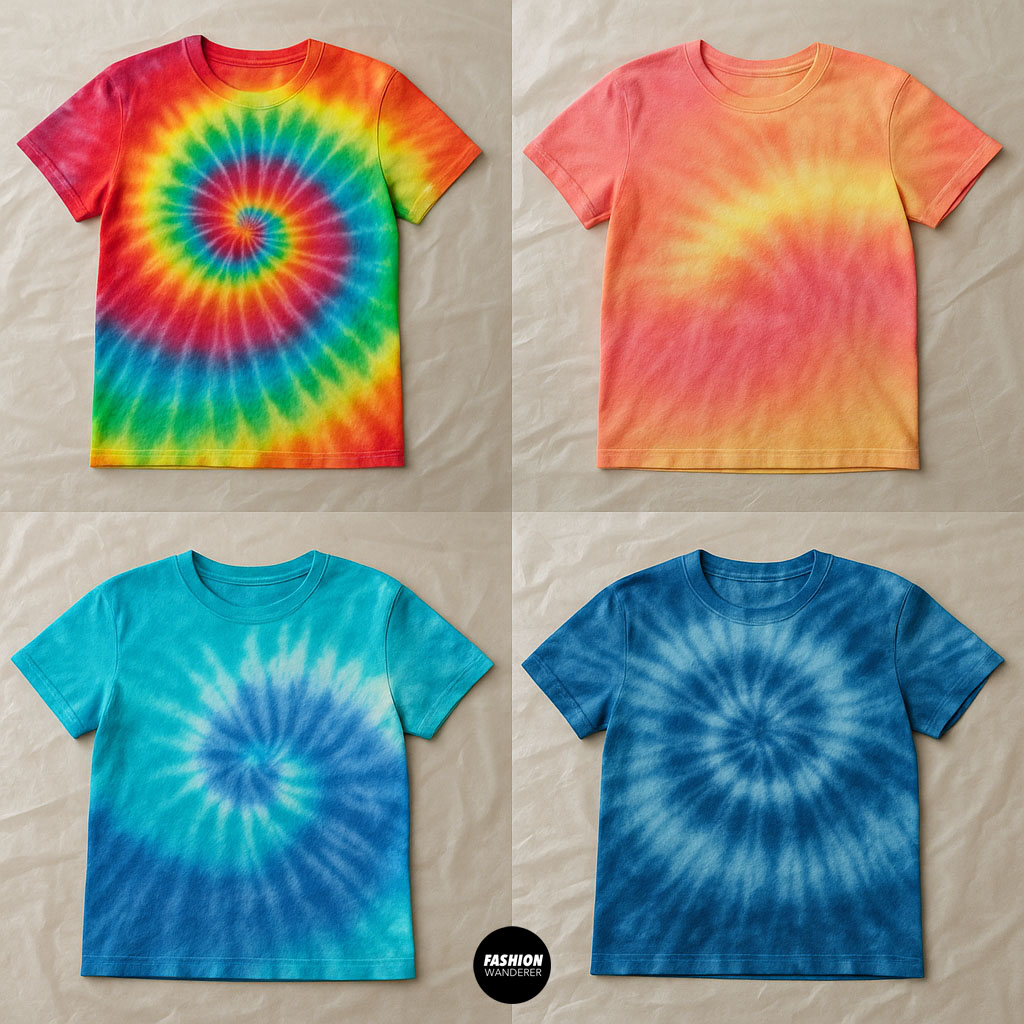
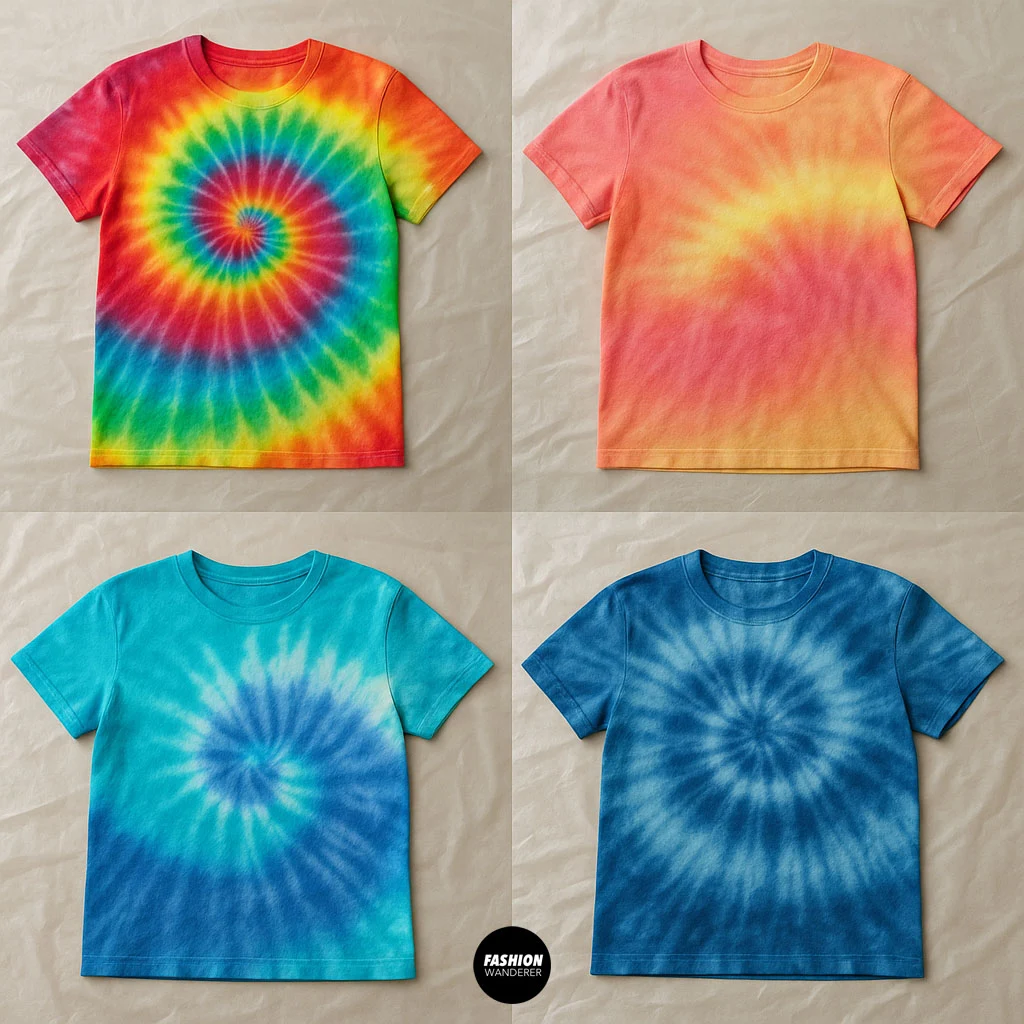
🎨 Classic rainbow spiral: Red, orange, yellow, green, blue, purple
🎨 Sunset: Pink, orange, yellow
🎨 Ocean vibes: Turquoise, blue, purple
🎨 Monochrome: Different shades of one color (like light and dark blue)
Tie Dye Tips for Best Results
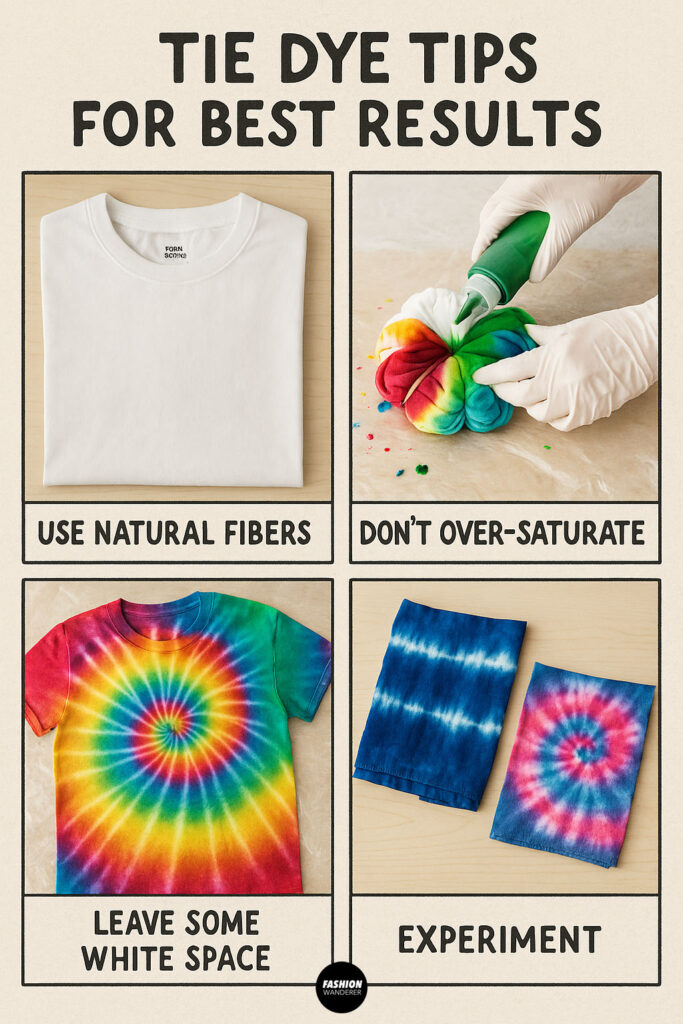

💡 Use natural fibers: Cotton absorbs dye better than synthetic blends.
💡 Don’t over-saturate: Too much dye can cause colors to blend into a muddy mess.
💡 Leave some white space: This creates contrast and makes the pattern pop.
💡 Experiment: Test different folding and banding techniques on scrap fabric first.
How to Style Your Tie Dye T-Shirt

Once your masterpiece is dry and ready to wear, here’s how to style it:
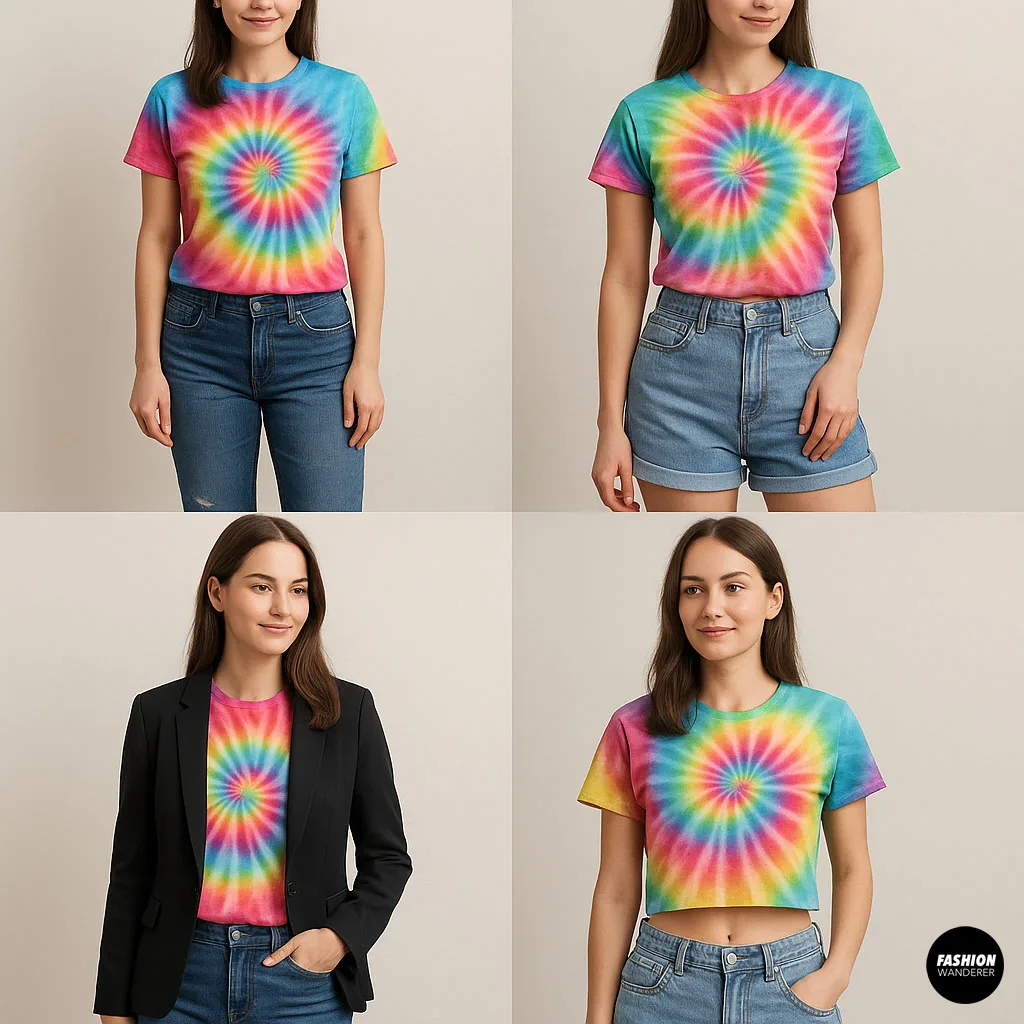
- Pair with distressed jeans and white sneakers for a casual, laid-back vibe.
- Tuck into high-waisted shorts for a festival-ready look.
- Layer under a blazer for a fun pop of color in a polished outfit.
- Crop it for a trendy, retro feel.
Caring for Your Tie Dye T-Shirt
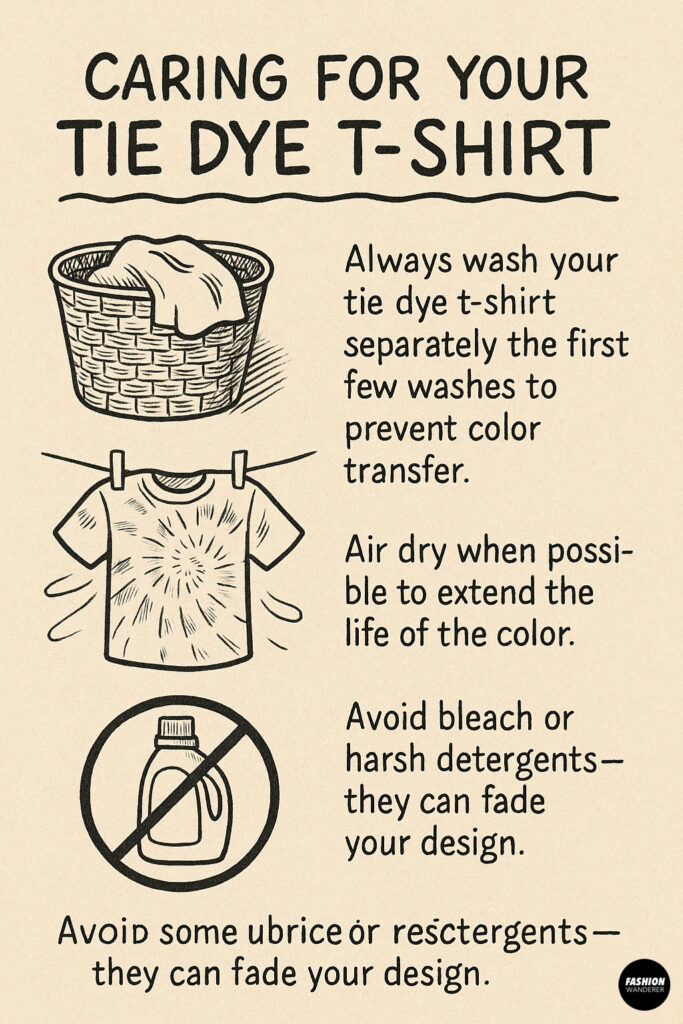
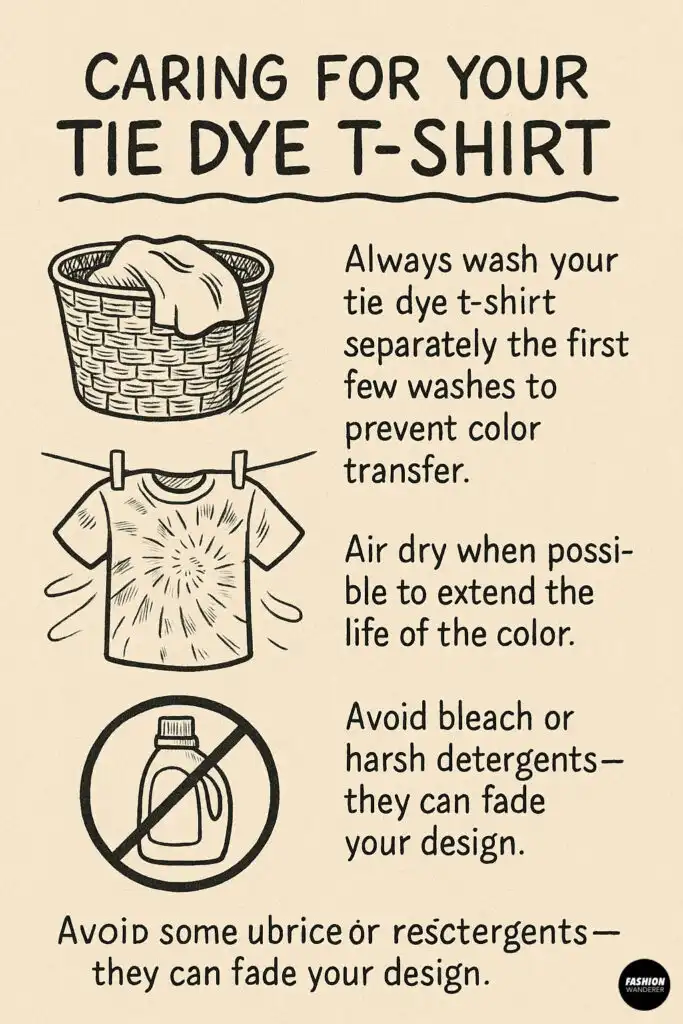
🧺 Always wash your tie dye t-shirt separately the first few washes to prevent color transfer.
🌬️ Air dry when possible to extend the life of the color.
🚫 Avoid bleach or harsh detergents—they can fade your design.
Common Tie Dye Mistakes to Avoid
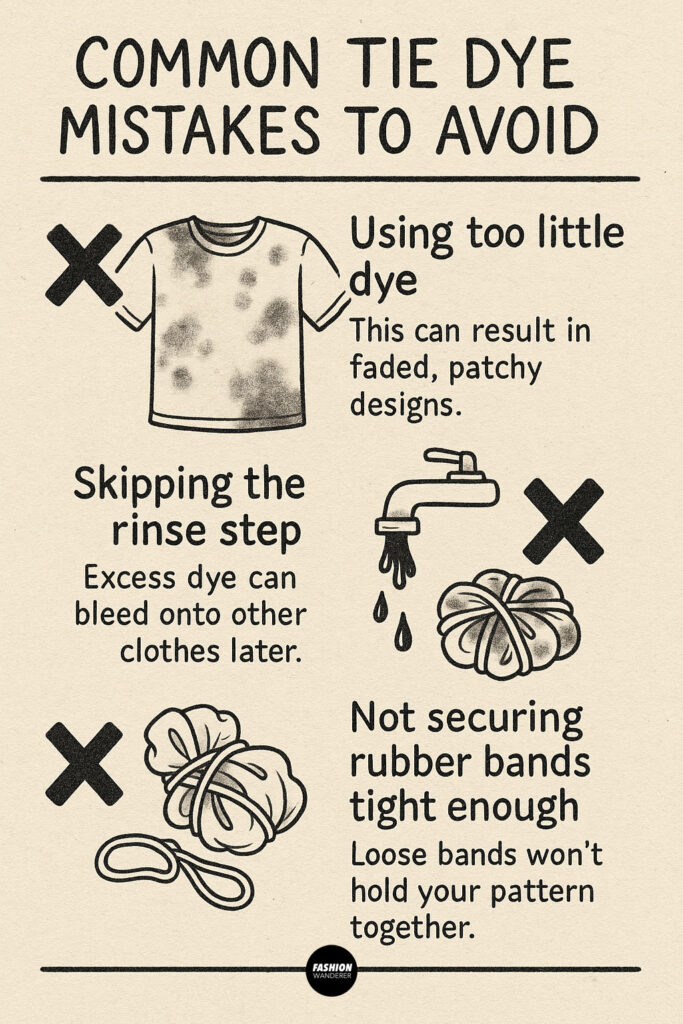
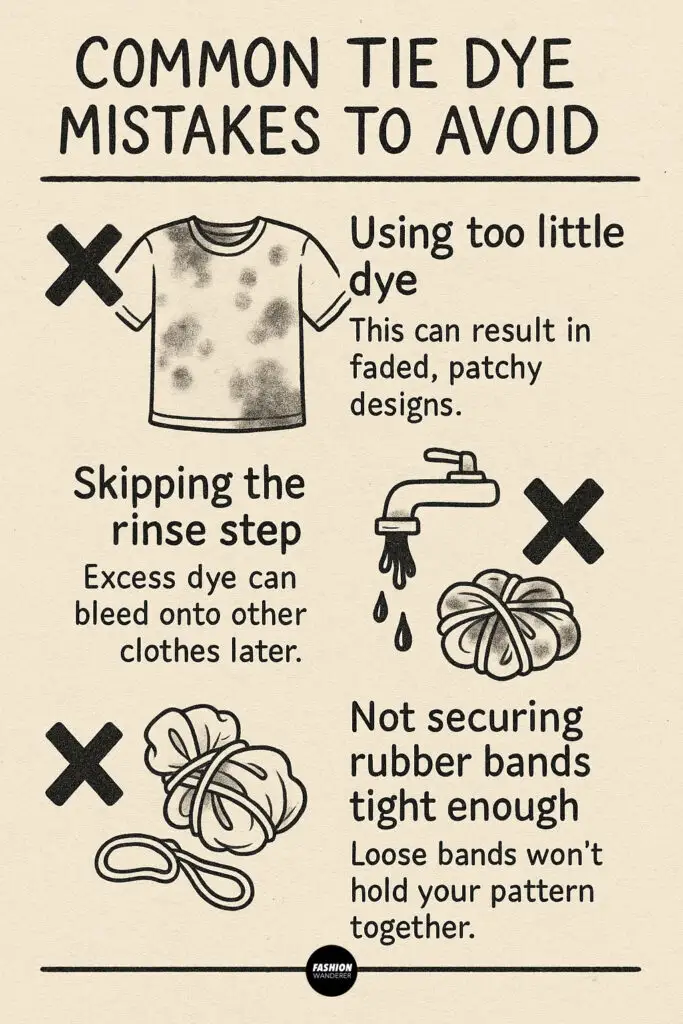
❌ Using too little dye: This can result in faded, patchy designs.
❌ Skipping the rinse step: Excess dye can bleed onto other clothes later.
❌ Not securing rubber bands tight enough: Loose bands won’t hold your pattern together.
Final Thoughts

Tie dye is a timeless DIY project that lets you express your creativity and create something truly unique. Now that you know how to tie dye a t-shirt, you can bring vibrant color and personality to your wardrobe.
Whether you go for bold rainbows or subtle pastels, your finished t-shirt will be a one-of-a-kind piece that you’ll be proud to wear.
Trendy, Affordable Sewing Patterns for All Sizes


Tie Shoulder Jumpsuit Pattern


Palazzo Pants Sewing Pattern


Pocket Overall Romper Pattern


Wrap Maxi Skirt Sewing Pattern


Tie Back Top Sewing Pattern