
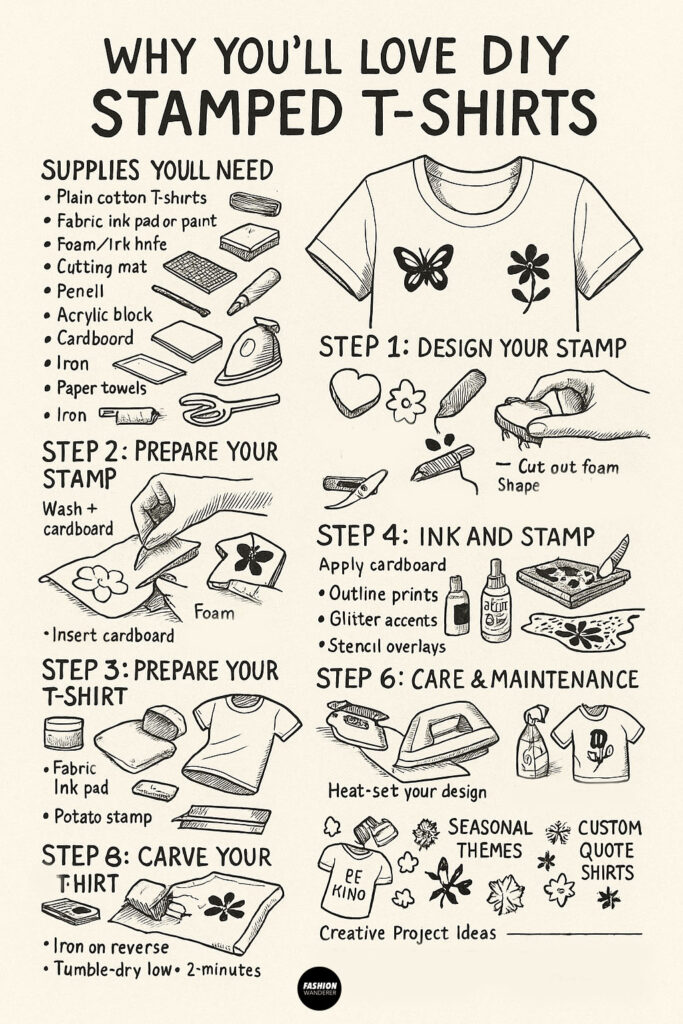
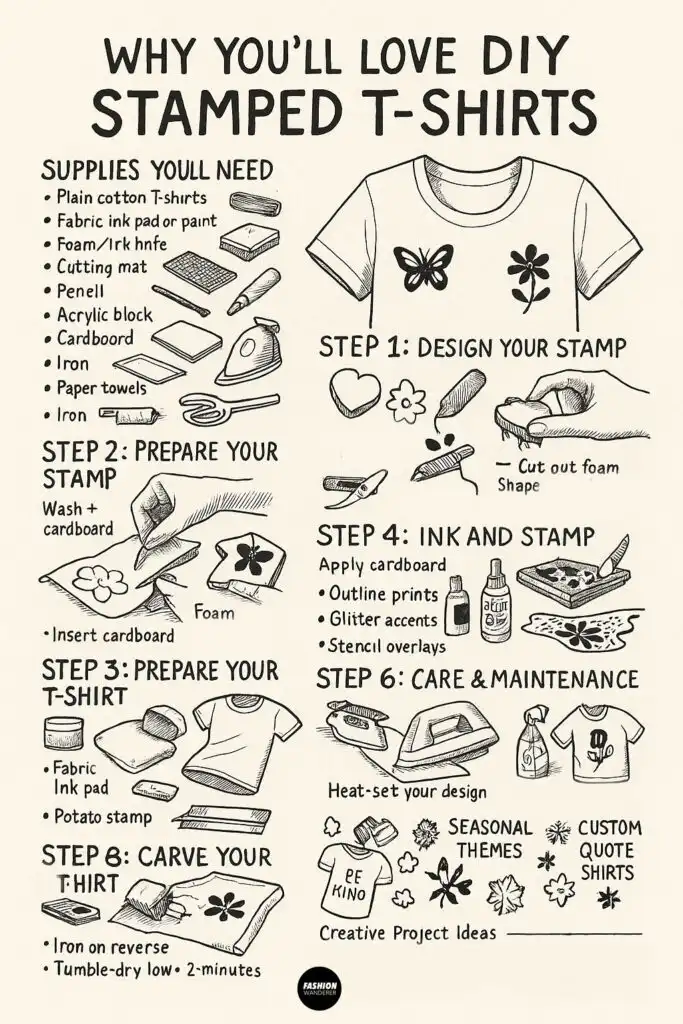
Turn plain tees into wearable art with DIY stamped T-shirts—an affordable, fun craft that anyone can master at home. From quirky icons to botanical silhouettes, stamping lets you create cute prints that showcase your personal style.
Whether you’re making customized gifts or adding flair to your own wardrobe, this step-by-step tutorial will guide you through every stage: designing, carving, stamping, and heat-setting your prints. Ready to make the T-shirt of your dreams? Let’s stamp it out!
Supplies You’ll Need
Gather everything before you begin to ensure a smooth crafting session:
- Plain cotton T-shirts (light colors work best)
- Fabric ink pads or fabric paint
- Foam sheets (craft foam) or potatoes (for makeshift stamps)
- X-Acto knife or utility knife
- Cutting mat
- Pencil or pen (for drawing designs)
- Acrylic block (optional, for clear stamps)
- Cardboard insert (to place inside the shirt)
- Iron (to heat-set prints)
- Paper towels or scrap fabric (to test and clean stamps)
Step by Step: How to Make Stamped T-Shirts
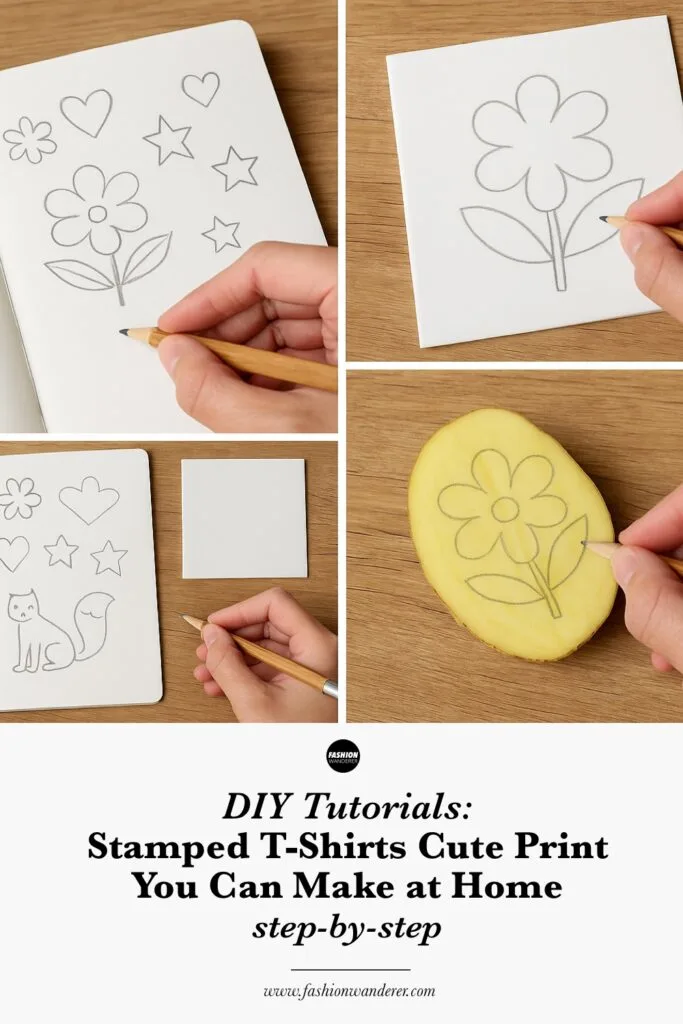
Step 1: Design Your Stamp Motif


- Brainstorm Ideas
- Floral silhouettes, hearts, stars, cute animals—anything you love!
- Sketch your design on paper first.
- Simplify for Stamping
- Choose bold shapes and clear outlines, avoiding intricate details that are hard to carve or press.
- Transfer to Medium
- For foam stamps: trace the mirrored design onto craft foam.
- For potato stamps: slice potato in half and draw the design directly on the flat surface.
Tip: Keep your motif under 3 inches to ensure even pressure and consistent ink coverage.
Step 2: Carve Your Stamp
Foam Stamp Method
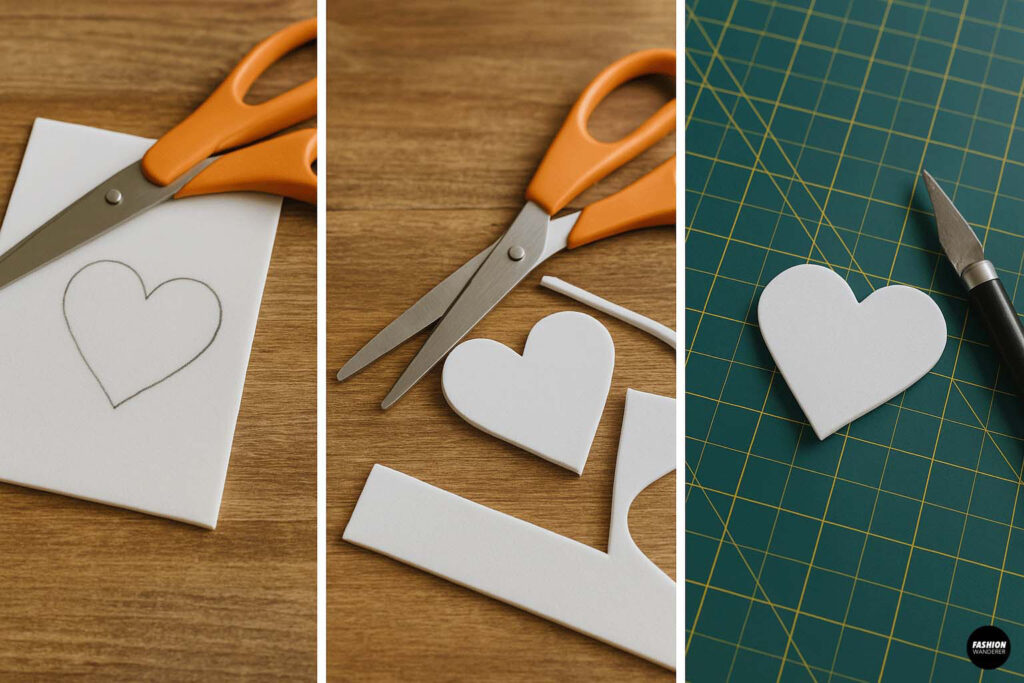

- Cut Out the Shape
- Use sharp scissors to roughly cut around your drawn shape on the foam sheet.
- Refine Edges
- Trim carefully with an X-Acto knife on a cutting mat for clean lines.
Potato Stamp Method
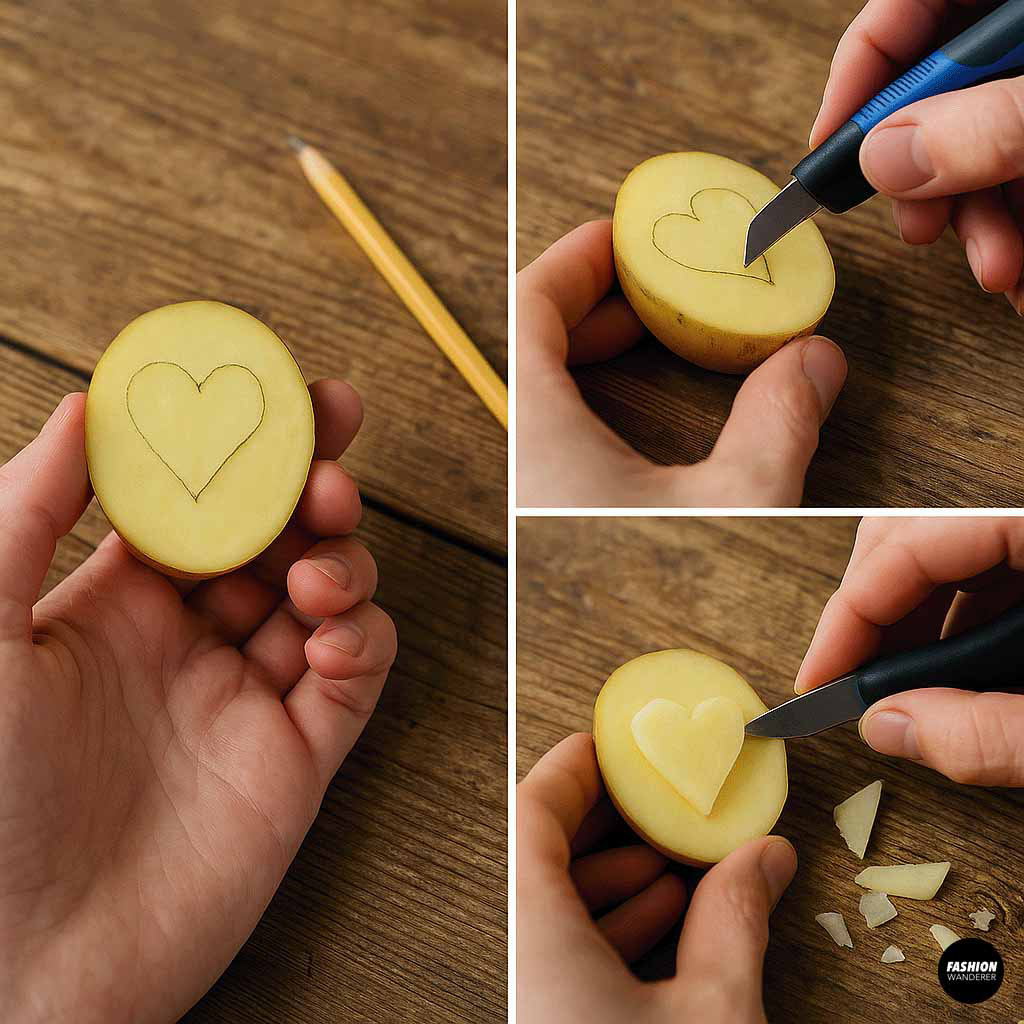
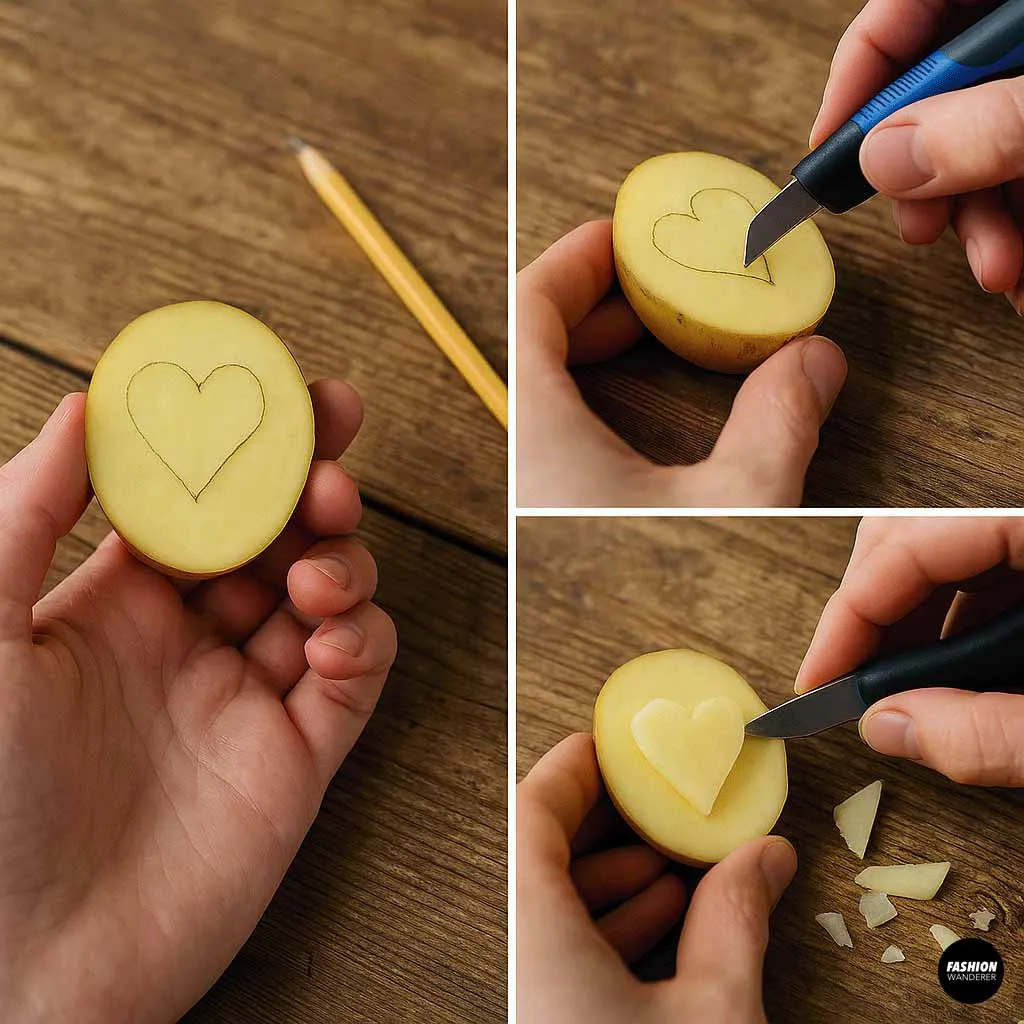
- Carve Away Negative Space
- With a utility knife, cut around your drawn lines so that the raised portion forms your design.
- Smooth the Surface
- Remove potato “hairs” and excess bits for an even stamping face.
Pro tip: Test-print your stamp on paper to spot any areas needing touch-ups.
Step 3: Prepare Your T-Shirt

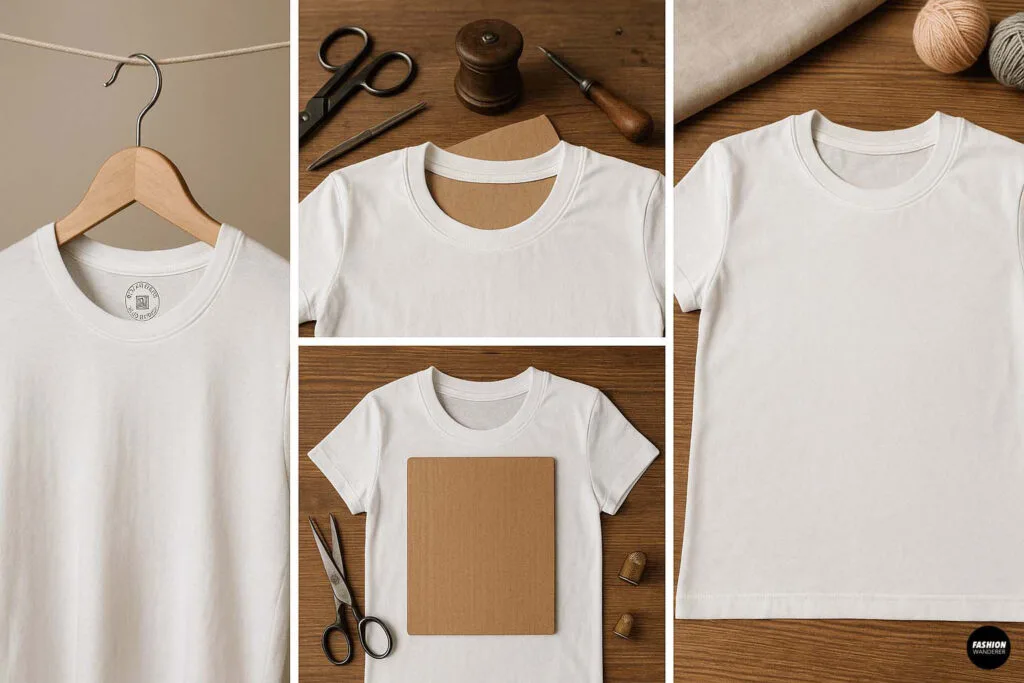
- Wash & Dry
- Launder shirts on a gentle, cold cycle without fabric softener to promote ink adhesion.
- Insert Cardboard
- Slide a piece of cardboard inside the shirt to prevent bleed-through.
- Lay Flat
- Smooth out wrinkles and position the shirt on a clean, hard surface.
Step 4: Ink and Stamp
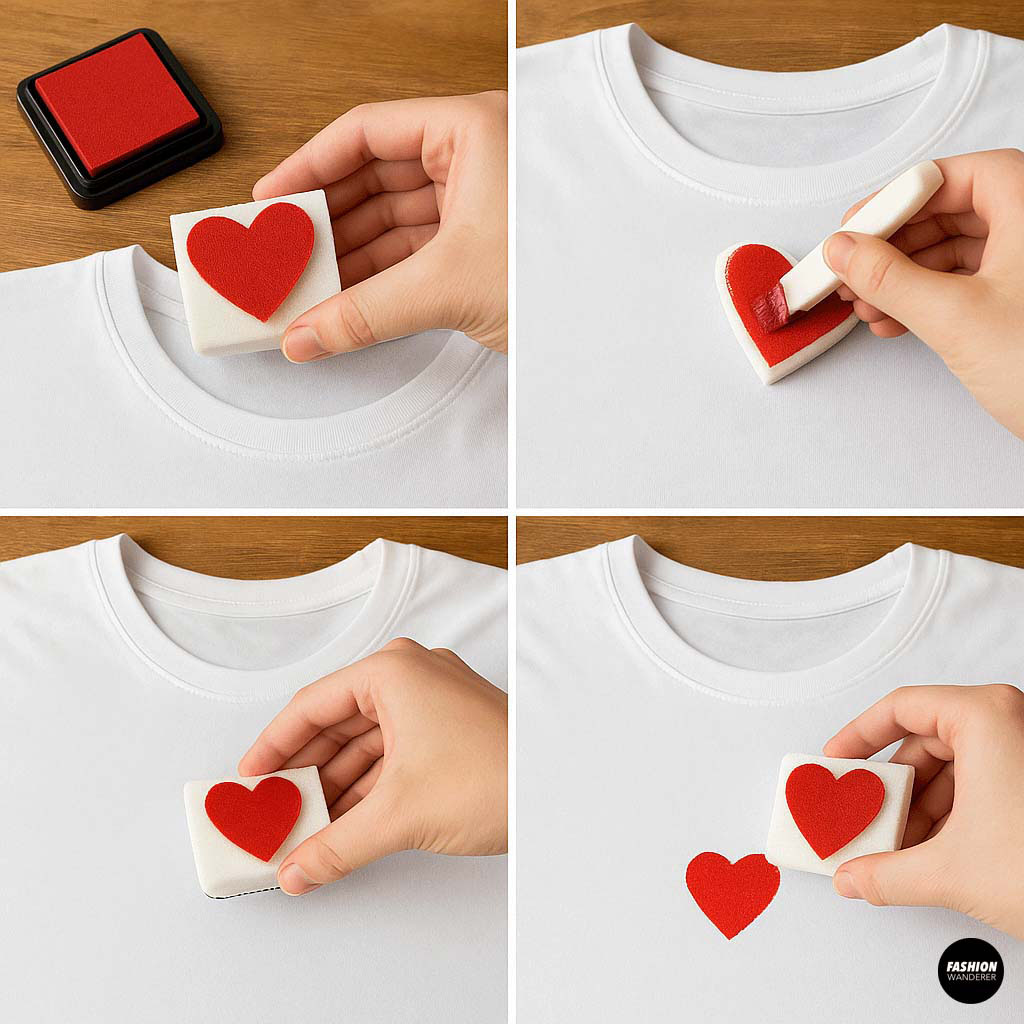
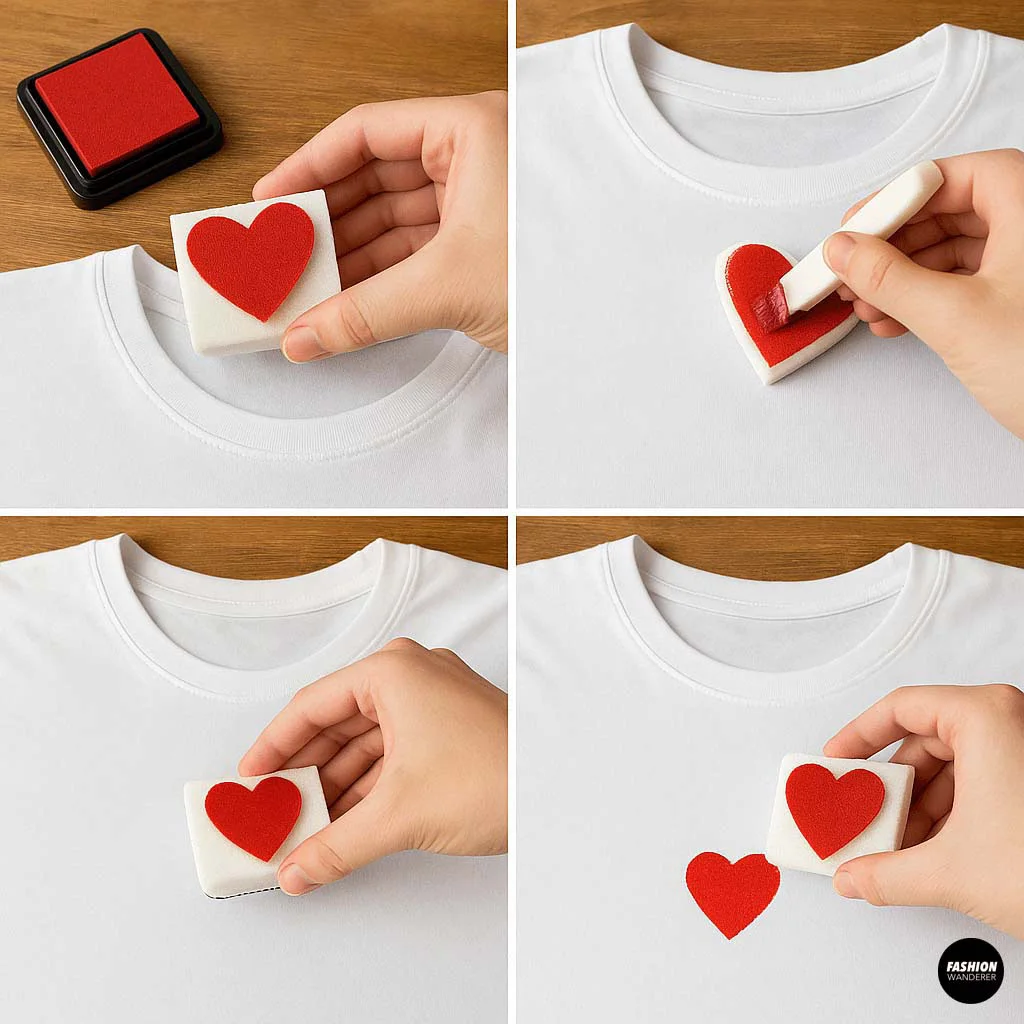
- Apply Fabric Ink or Paint
- Press your foam stamp onto the fabric ink pad or use a paintbrush to coat the stamp evenly with fabric paint.
- Position Stamp
- Hold the stamp perpendicular to the shirt surface to avoid smudging.
- Press Firmly
- Apply even pressure for 5–10 seconds, then lift straight up.
- Repeat
- Re-ink between prints and maintain consistent alignment if you’re creating patterns.
Variation: Create a gradient effect by applying two ink colors side by side on the stamp before pressing.
Step 5: Add Accents & Embellishments


- Outline Prints: Use a fine-tip fabric marker to trace around your stamped shapes for a hand-drawn look.
- Glitter Gel: Apply over wet paint for sparkle accents.
- Stencil Overlays: After stamping, lay a laser-cut stencil atop your print and sponge on contrasting paint.
This extra layer of detail can transform simple stamps into standout designs.
Step 6: Heat-Set Your Design
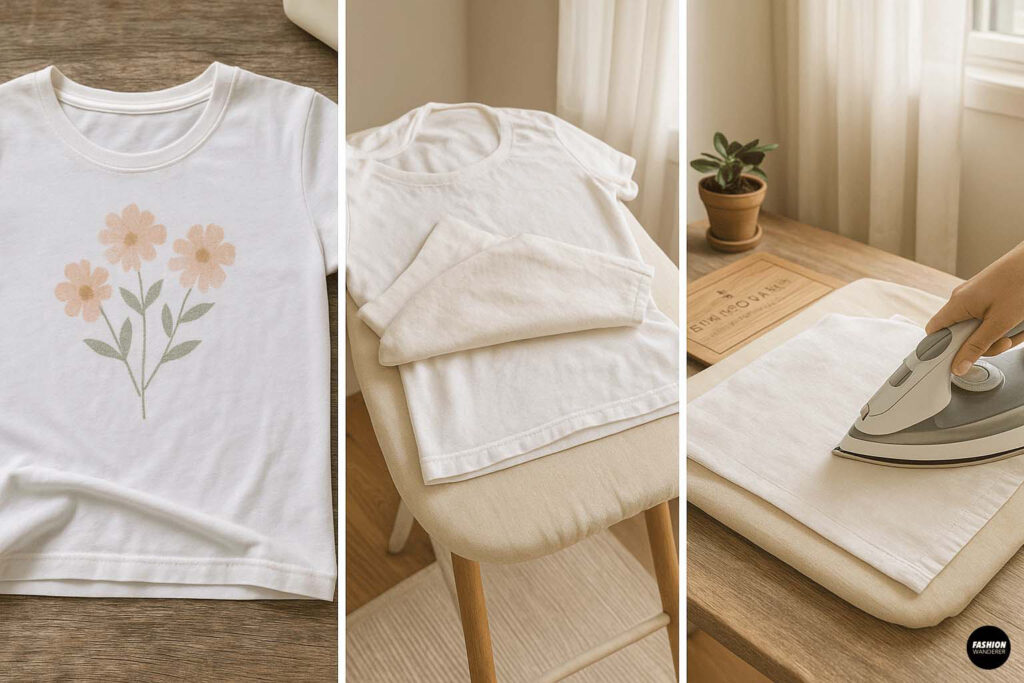
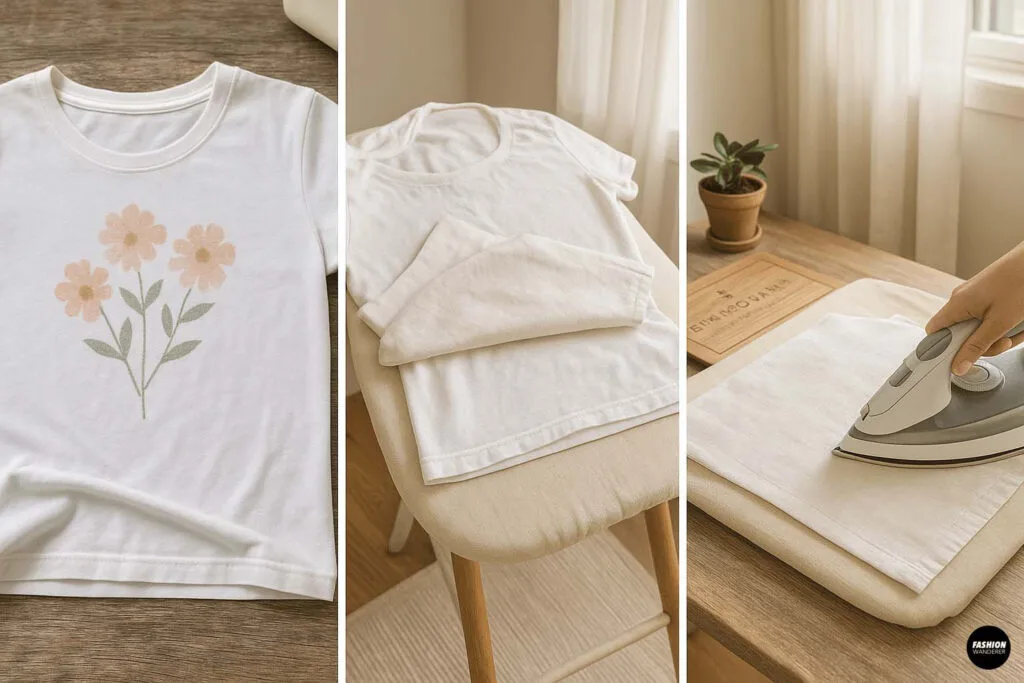
- Air-Dry
- Let prints cure for at least 1 hour (check your ink or paint label).
- Iron On Reverse
- Place a pressing cloth between the iron and the print.
- Iron on medium heat for 2–3 minutes, moving continuously to avoid scorching.
Reminder: Heat-setting makes your prints machine-washable and long-lasting.
Care & Maintenance
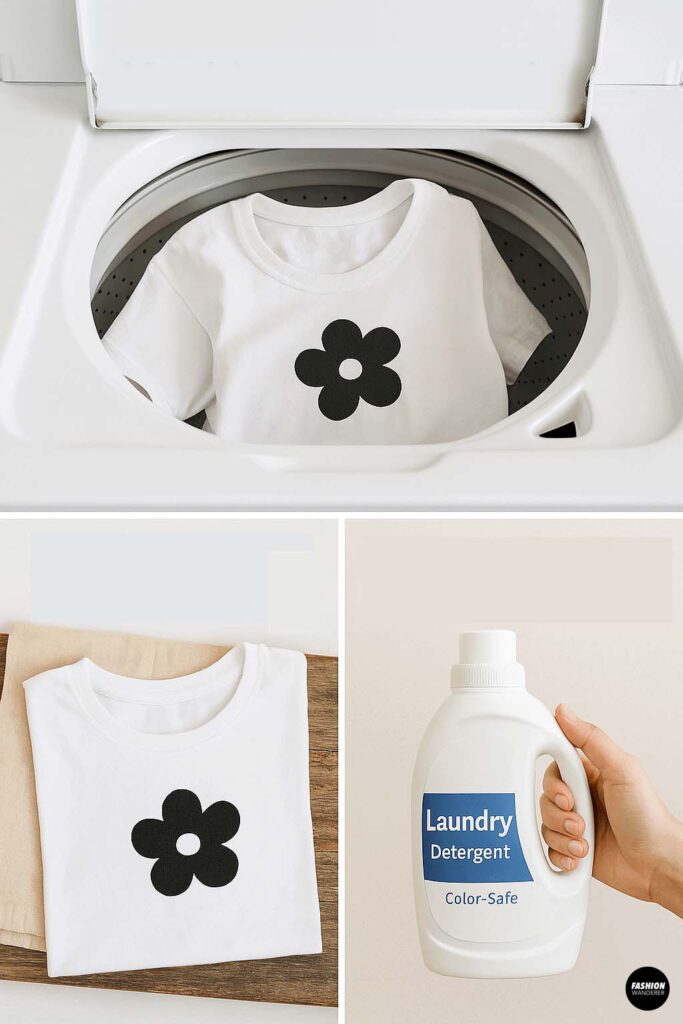
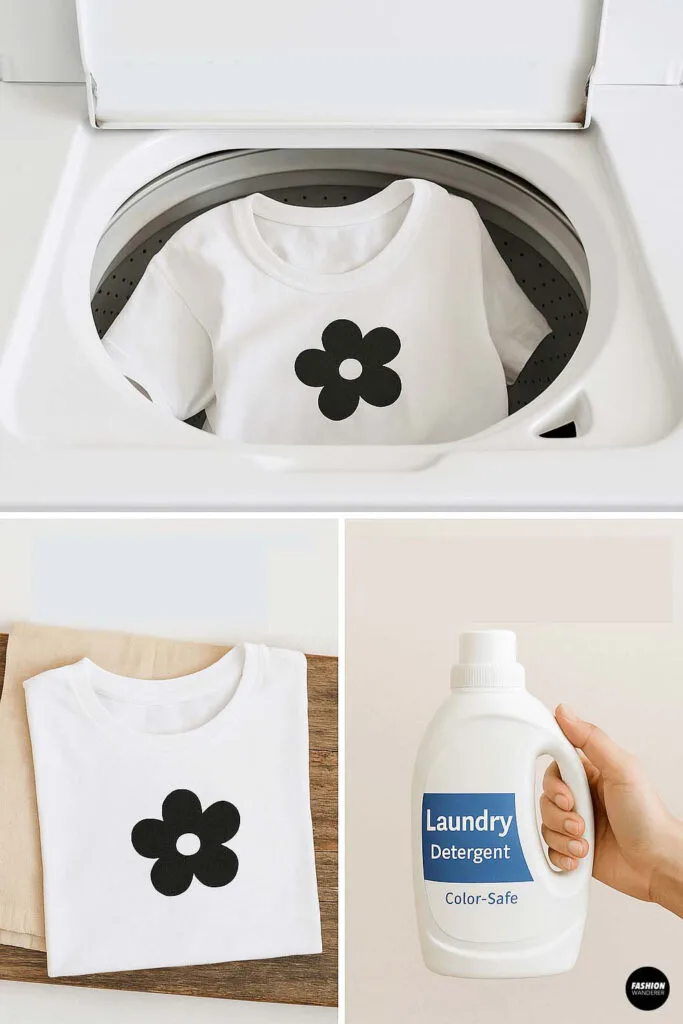
- Machine-Wash Cold
- Turn shirt inside-out to protect prints.
- Tumble-Dry Low or Air-Dry
- High heat can fade or crack designs.
- Avoid Bleach & Harsh Detergents
- Opt for gentle, color-safe soap.
Regular care extends print life and keeps colors vibrant.
Creative Project Ideas


- Matching Family Tees
- Stamp a coordinating icon (e.g., puzzle pieces, zodiac signs) for each family member.
- Seasonal Themes
- Pumpkins for fall, snowflakes for winter, tropical leaves for summer fun.
- Custom Quote Shirts
- Combine simple stamps (stars, dots) to frame a hand-drawn quote in the center.
- Kids’ Art Collaboration
- Let children carve their own potato stamps to make a one-of-a-kind tee.
Wrapping Up Your Stamping Adventure

With this DIY stamped T-shirts tutorial, you now have the tools to design and create endless cute prints right in your living room. From carving simple foam stamps to mastering potato printing, each step builds your confidence and creativity.
Remember: practice makes perfect—don’t be afraid to experiment with stamp shapes, ink colors, and layouts. Share your stamped masterpieces on social media using #FashionWandererOfficial and #StampedTeesDIY, and inspire fellow makers to press, print, and wear their imagination!
Trendy, Affordable Sewing Patterns for All Sizes


Tie Shoulder Jumpsuit Pattern


Palazzo Pants Sewing Pattern


Pocket Overall Romper Pattern


Wrap Maxi Skirt Sewing Pattern


Tie Back Top Sewing Pattern