
Do you have an oversized blanket lying around that’s warm but not getting much use? Instead of letting it sit in storage, why not transform it into a stylish wrap coat that looks boutique-worthy—without the need for a sewing pattern!
This DIY project is beginner-friendly, sustainable, and completely customizable. Using a cozy blanket, some basic sewing tools, and a bit of creativity, you can create a chic coat perfect for layering in fall and winter.
In this tutorial, we’ll walk through each step in detail so you can successfully turn a blanket into a functional, fashionable wrap coat.
Why Make a DIY Blanket Wrap Coat?
Before diving into the tutorial, let’s look at why this project is worth your time:
- Budget-Friendly Fashion – Save money by upcycling an existing blanket instead of buying a new coat.
- Eco-Friendly Sewing – Repurpose textiles you already own, reducing waste.
- One-of-a-Kind Style – Customize length, closures, and finishes for a truly unique coat.
- No Pattern Required – Perfect for beginners, since the blanket’s size and shape do most of the work.
- Warm & Cozy – Blankets are designed for comfort, so your finished coat will feel just as soft and snug.
Materials You’ll Need

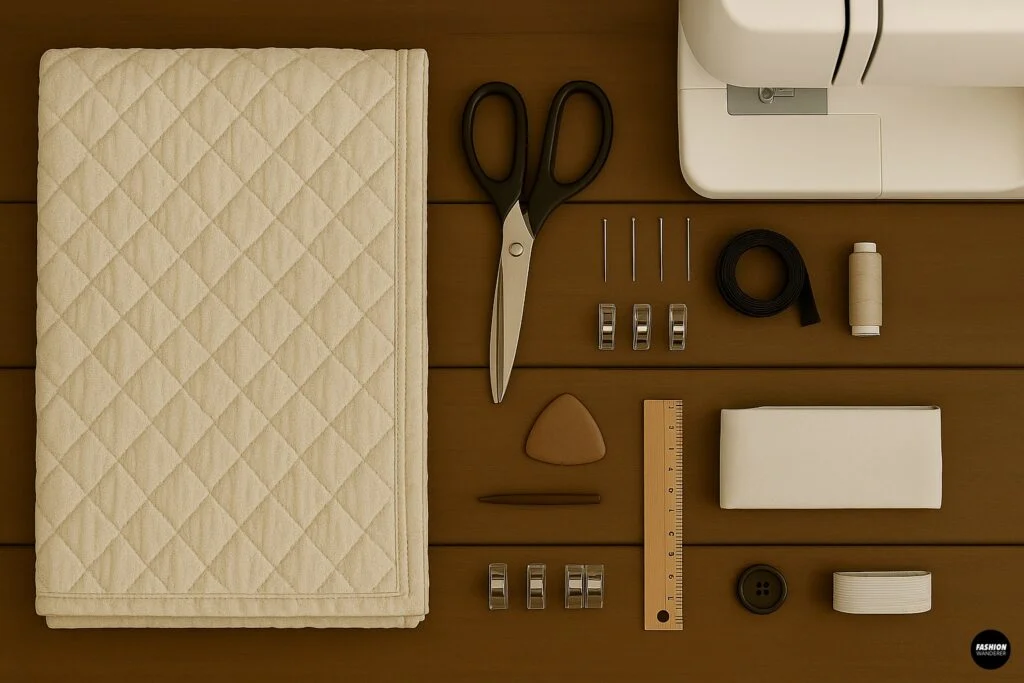
- 1 large blanket (wool, fleece, or thick woven cotton works best)
- Fabric scissors or rotary cutter
- Measuring tape or ruler
- Tailor’s chalk or washable fabric marker
- Sewing pins or clips
- Sewing machine (or hand sewing needle if you prefer slow stitching)
- Matching thread
- Optional: Bias tape or lining fabric for a polished finish
- Optional: Button, snap, or belt for closure
DIY Upcycle Blanket into Wrap Coat

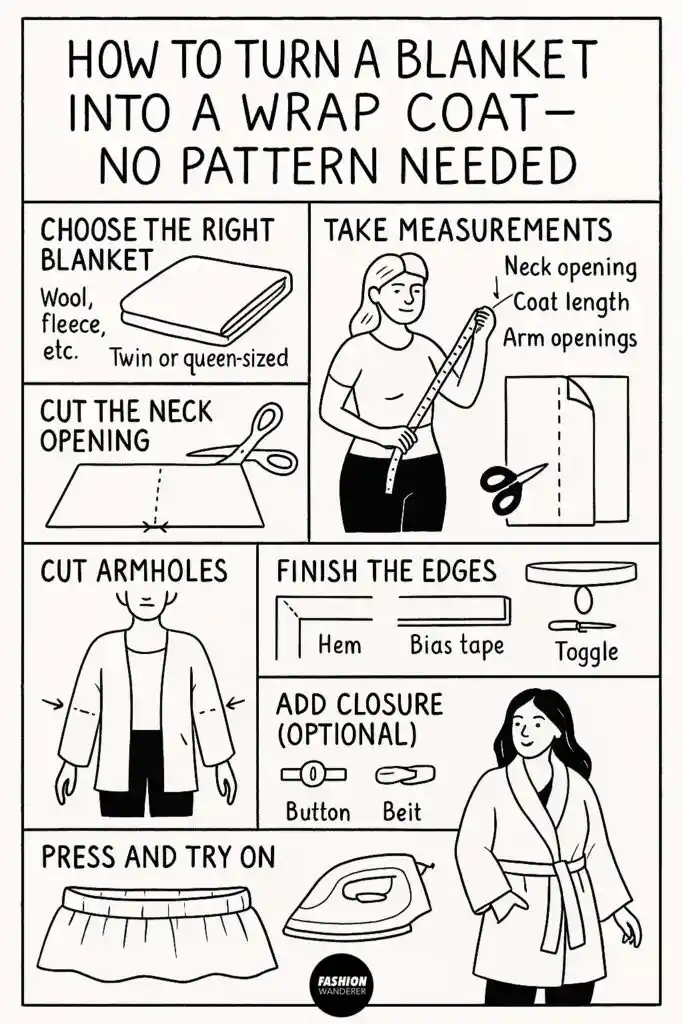
Step 1: Choose the Right Blanket

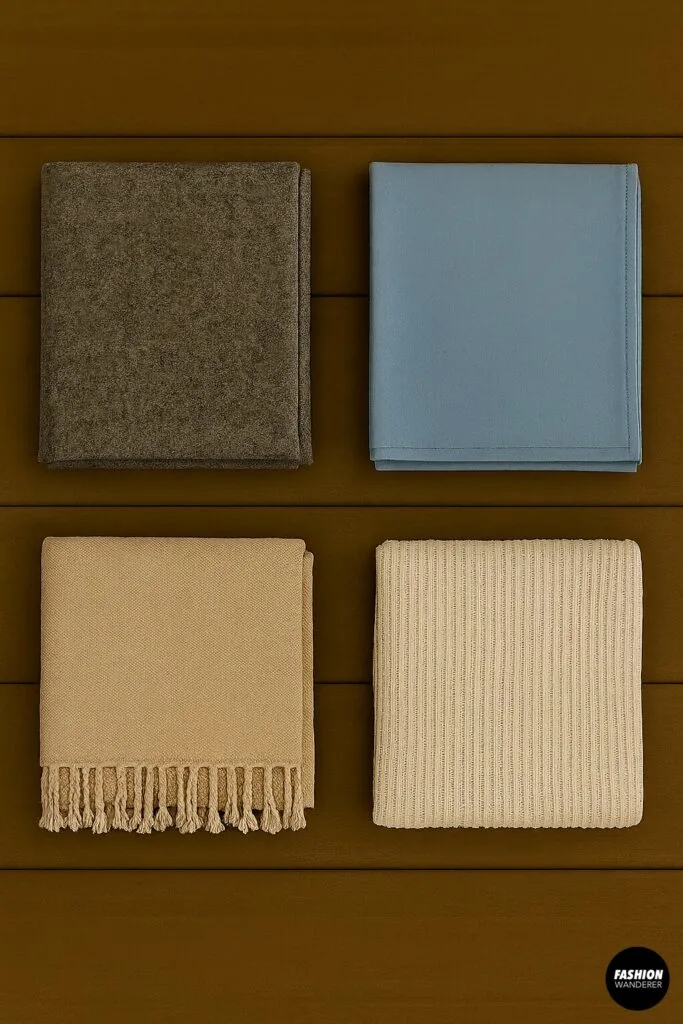
The best blankets for this project are medium to heavy-weight fabrics that drape well. Wool, fleece, and flannel are warm and durable, while cotton throws offer a lighter option for spring.
- Twin or queen-sized blankets work best, giving you enough material to create a full-length wrap coat.
- Avoid overly stretchy knit blankets unless you’re comfortable handling stretch fabrics.
Step 2: Take Your Measurements

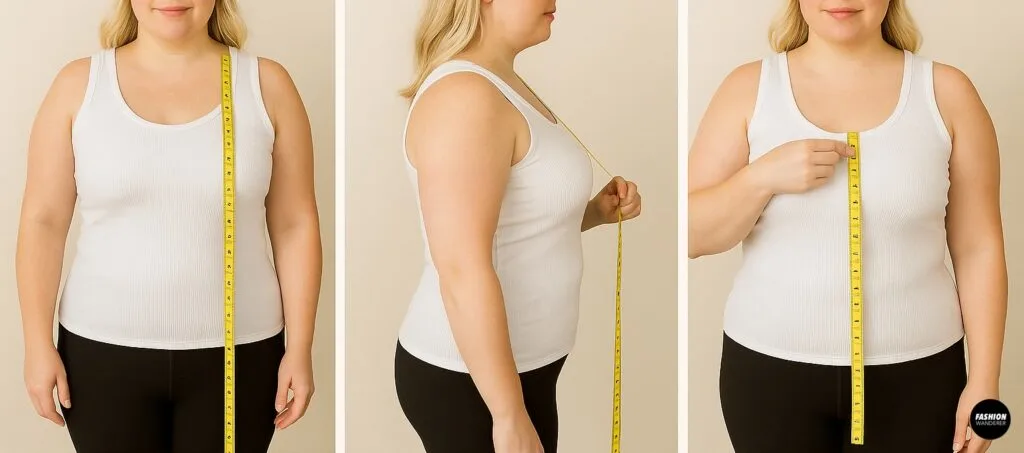
Before cutting, measure yourself:
- Coat Length – Decide if you want a short jacket, knee-length, or long duster-style coat.
- Arm Opening Placement – Mark where your armholes will be by measuring from your shoulder down to the desired point.
- Neck Opening – This will be cut at the center front, so measure how deep you’d like the neckline.
Pro Tip: Try draping the blanket around your shoulders in front of a mirror to visualize the final fit before cutting.
Step 3: Cut the Neck Opening

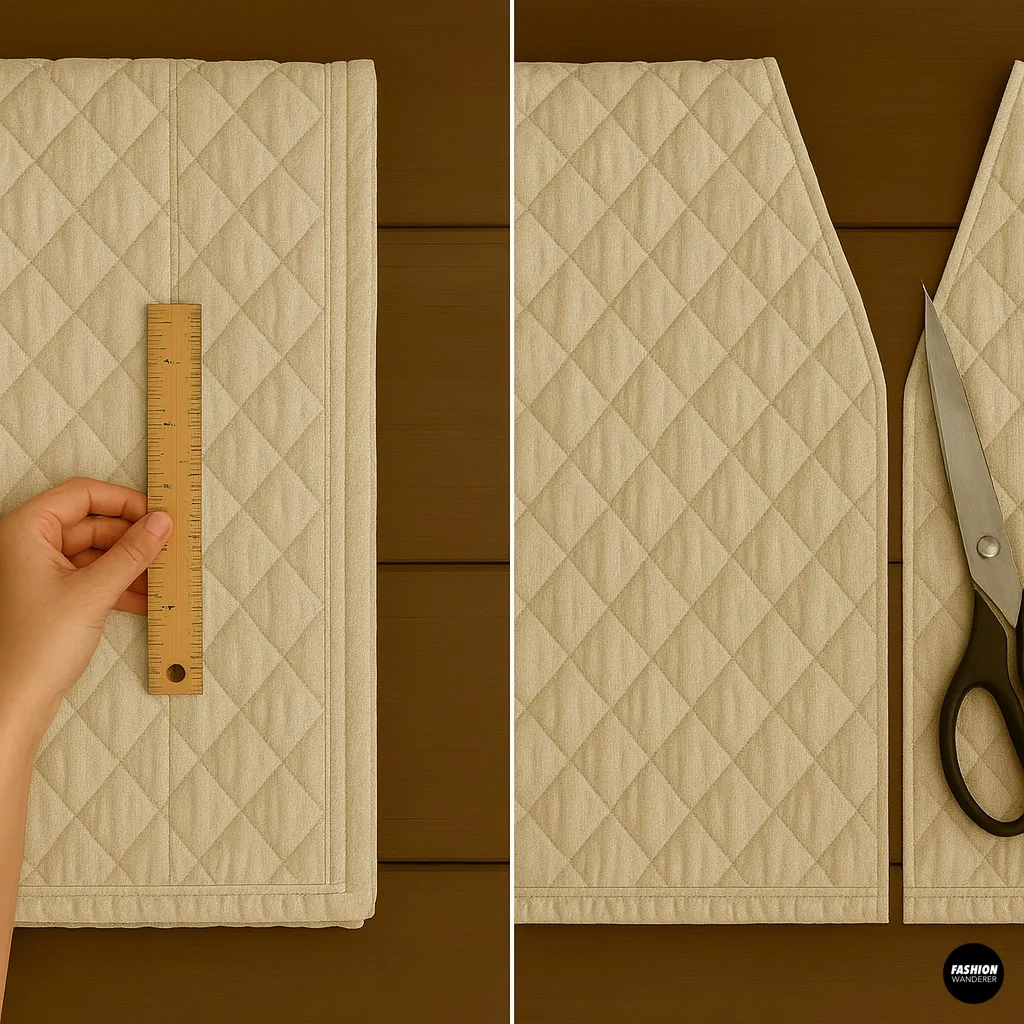
Lay your blanket flat on a large surface. Fold it in half vertically (like a book).
- From the folded edge, measure and mark the center front line.
- Cut straight down the center to create an opening for the front of your coat.
- For a wrap effect, you can cut a gentle “V” shape for a deeper neckline.
Don’t cut armholes yet—you’ll handle that in the next step.
Step 4: Mark & Cut Armholes

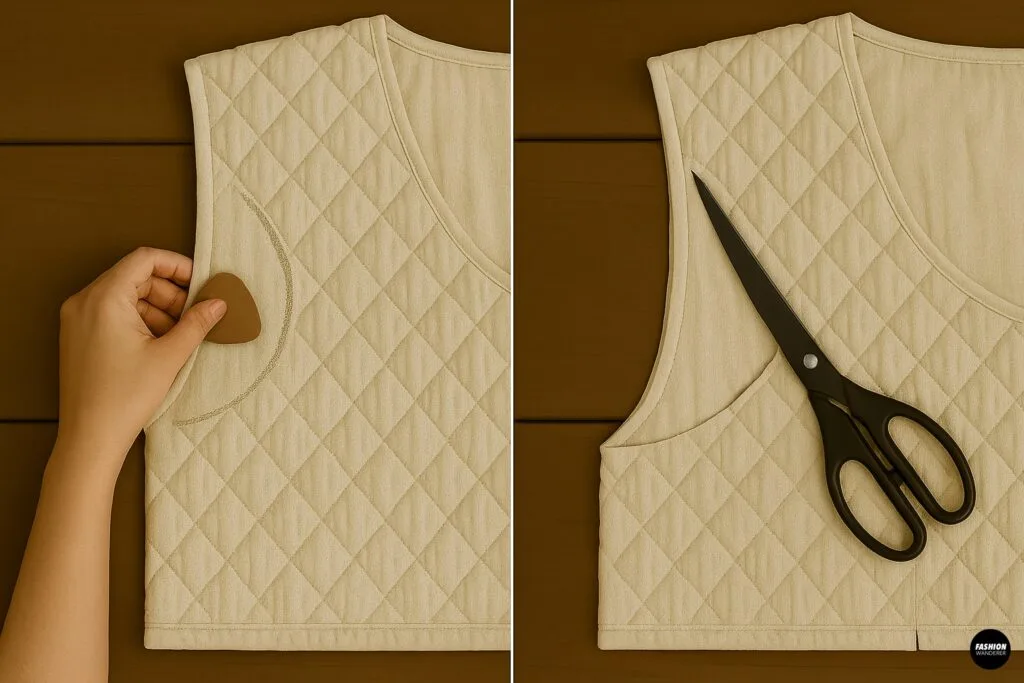
Slip the blanket around your shoulders like a coat. Using tailor’s chalk, mark where your arms naturally fall.
- Cut slit-style armholes about 8 inches long on each side.
- If your blanket is very thick, consider cutting curved armholes for comfort.
Optional: Reinforce the raw edges with bias tape or fold them under and stitch for a cleaner finish.
Step 5: Finish the Edges

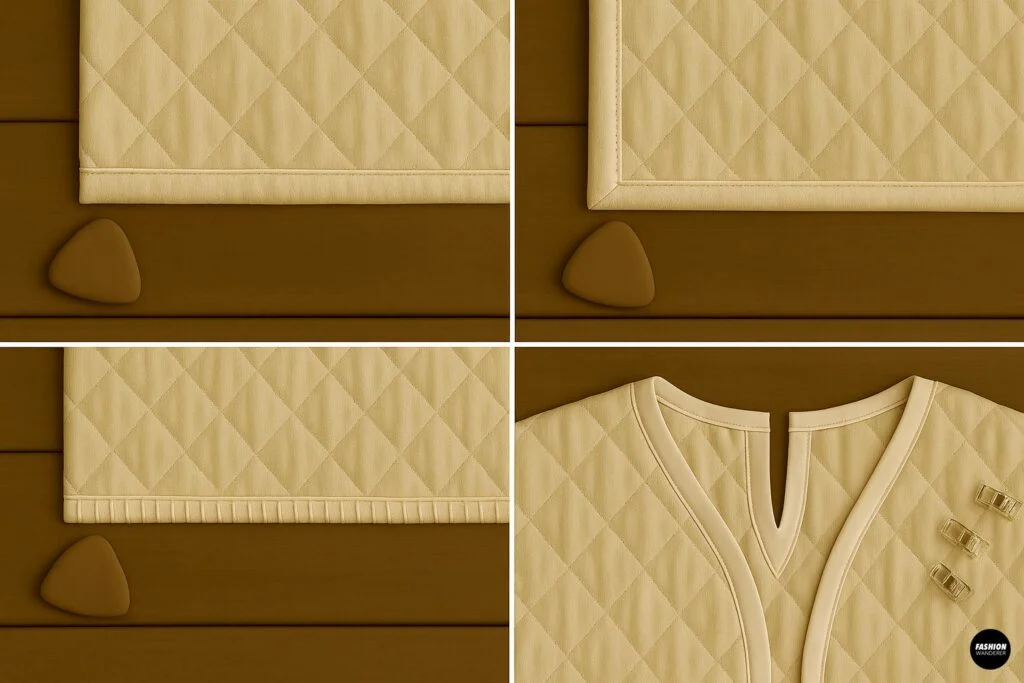
Blanket fabrics often fray, so finishing the edges is key. You have a few options:
- Hem the Edges – Fold the raw edge under ½ inch, press, and stitch.
- Bias Tape Finish – Use matching or contrasting bias tape to enclose the raw edges.
- Blanket Stitch – For a handmade touch, sew a whipstitch or blanket stitch around the edges using embroidery thread.
If your blanket already has finished edges, you may only need to hem the cut areas (neckline and armholes).
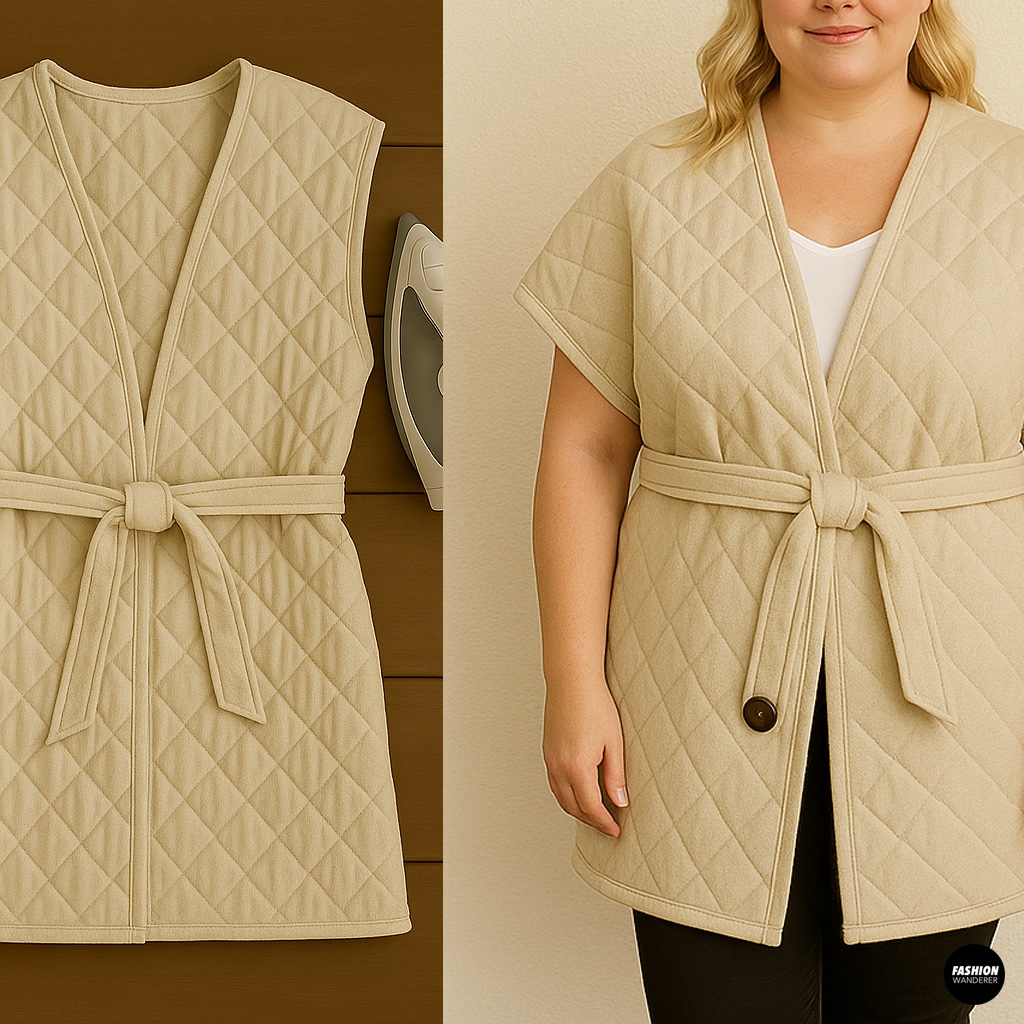
Step 6: Add Closure (Optional)

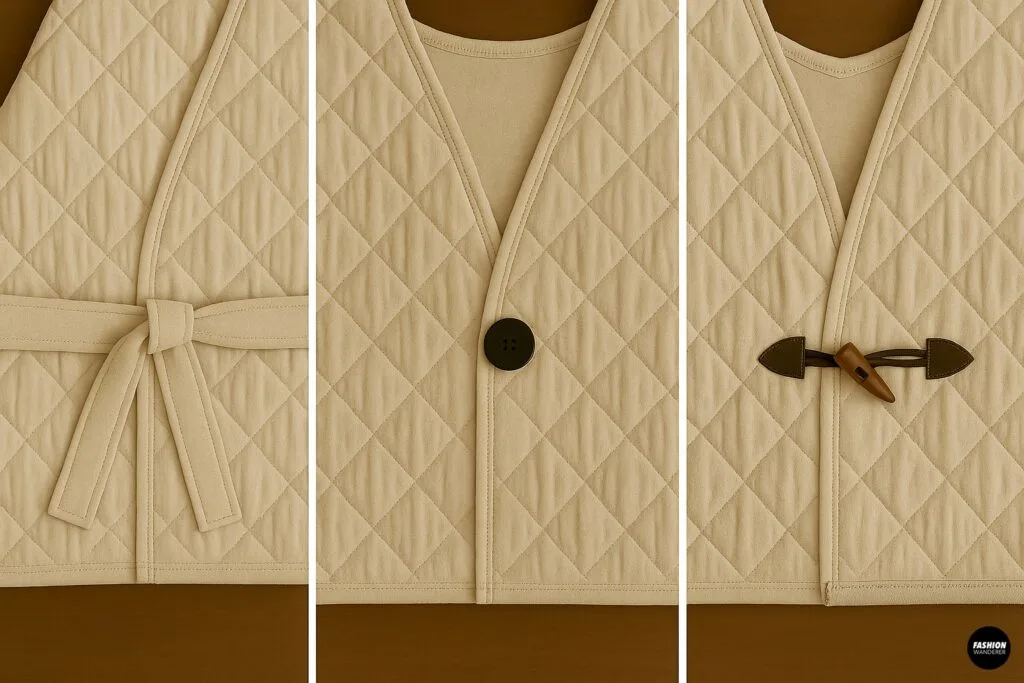
A wrap coat works beautifully left open, but you can add a closure for extra functionality:
- Belted Look – Cut a long strip from the leftover blanket fabric or use a separate belt. Add belt loops by stitching small fabric tabs at the waist.
- Button or Snap – Sew a large statement button or magnetic snap at the chest for a minimalist closure.
- Toggle Fasteners – For a rustic, cabin-inspired vibe, use leather or wooden toggles.
Step 7: Press and Try On

Give your coat a final press with the iron to smooth out seams and set the stitches. Try it on in front of the mirror and adjust as needed. You’ve just created a custom DIY wrap coat from a blanket—no pattern required!
Styling Ideas for Your DIY Wrap Coat


One of the best things about this coat is how versatile it is. Here are a few ways to style it:
- Boho Chic – Layer your wrap coat over a maxi dress, add a floppy hat, and finish with ankle boots.
- Casual Everyday – Pair with jeans, a turtleneck, and sneakers for a laid-back look.
- Office Ready – Choose a structured blanket (like wool) and belt it at the waist. Pair with tailored trousers and loafers.
- Weekend Vibes – Throw it over leggings and a hoodie for cozy errand-running style.
- Statement Layering – Use a plaid or patterned blanket and let the coat be the star of your outfit.
Care Tips for Your DIY Wrap Coat
To keep your coat looking fresh and lasting longer:
- Wash according to the original blanket’s care label. Wool may require dry cleaning, while cotton and fleece are usually machine washable.
- Store on a hanger to maintain shape.
- Use a fabric shaver to remove pilling if your blanket fabric starts to show wear.
Final Thoughts


Turning a blanket into a wrap coat is one of the easiest DIY sewing projects you can take on—even if you’re new to sewing. With minimal cuts and no pattern needed, this upcycle transforms a cozy blanket into a chic outerwear piece you’ll be proud to wear. It’s sustainable, budget-friendly, and endlessly customizable.
Whether you want a boho-inspired duster, a casual everyday jacket, or a tailored wrap coat for work, this project gives you the freedom to create outerwear that perfectly matches your personal style.
So, grab that unused blanket from your closet and start sewing—you’ll be stepping out in your own handmade wrap coat before you know it!
Trendy, Affordable Sewing Patterns for All Sizes


Tie Shoulder Jumpsuit Pattern


Palazzo Pants Sewing Pattern


Pocket Overall Romper Pattern


Wrap Maxi Skirt Sewing Pattern


Tie Back Top Sewing Pattern