
Headbands are a cute addition to use for hairstyling on a lazy day. For this DIY tutorial, I demonstrate exactly how to make a raffia crochet headband. Follow along with the steps in this guide to also make one of your own.
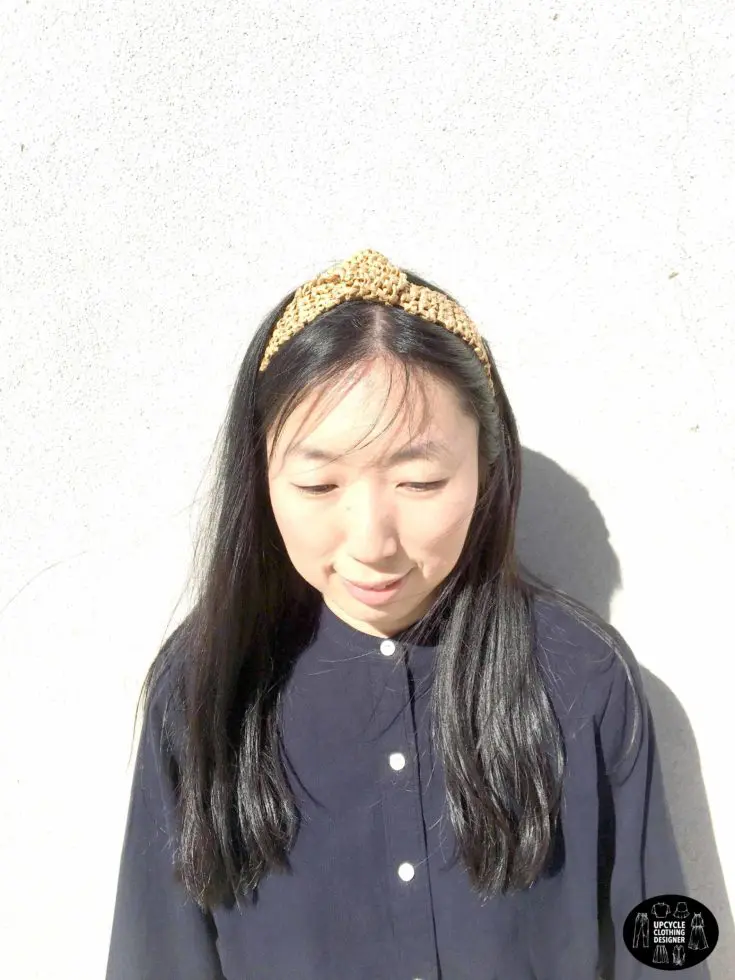
Add this crochet accessory to your wardrobe and easily accentuate your fashion forward look at anytime. I coordinated this raffia crochet headband with an Everlane cotton weave collarless shirtdress. The contrast between the deep navy color and also the natural raffia was perfect for this look.
Begin making your own raffia crochet headband by following along with the directions in the video tutorial. The DIY fashion project also includes a matching raffia crochet belt bag pattern. Have fun making a few things that every woman should have in her closet.
The steps are clearly demonstrated and the written instructions dive deeper into each step of the process. The tutorial also includes detailed pictures of the entire process so that you clearly understand the raffia crochet headband pattern being discussed.


How To Single Crochet Chain Stitch With Raffia
- Start a single crochet chain stitch by making a slipknot loop around three fingers. Then, pass the hook through the loop to pick up the yarn. This is referred to as a yarn over, and you’ll see this noted in written crochet patterns as abbreviated (yo).
- Pull the yarn through the loop and then pick up the yarn again with a (yo).
- Continue this sequence until you have the correct number of chain stitches required for the width of the pattern.
- To work the second row, you need to make one stitch and then insert the hook into the 1st chain. Next, yarn over and then pull the hook through the 2 loops.
- Continue this sequence until you reach the starting side. Then, turn the work around to begin the next row.
The chain stitch technique will be used in each step of this raffia crochet headband tutorial. The first row and second rows are challenging, but after the third and forth row you’ll begin to notice a consistent pattern developing. It’s very satisfying to see the results as the pattern continues growing.
Watch the video tutorial to help you begin making your own raffia crochet headband. Furthermore, please feel free to ask if you have any questions about the steps or pattern of this beginner crochet project. The comment section is a great place to reach me and ill be sure to respond with a clear answer that solves the problem.

How To Make A Raffia Crochet Headband
For this DIY raffia crochet headband, I selected natural colored raffia. However, there are many color selections that you could use for this crochet project.
Follow the step-by-step instructions to start the single crochet chain stitch. The pattern discusses the number of stitches in a row, and then how many rows are necessary to complete the entire length.
Wear this crochet accessory whenever you are looking for a cute addition to style with your hair. Avoid having a bad hair day when you are going out with this cute twisted raffia crochet headband.
They are cute to wear with hair down or messy bun to upgrade your casual look. With one basic crochet stitch, you'll end up creating everlasting hair accessory that you don't want to take it off. Lets get started!
Materials
- Recycled Raffia Papper
- 6” x ¾” Elastic Band
- 6” x 2” Piece of Fabric
- Clear Cotton Thread
Tools
- 4.5 mm Crochet Hook
- No. 16 Steel Yarn Needle
Instructions
- To begin the raffia crochet headband pattern, start a single chain crochet stitch as instructed above. For this headband pattern you will need 4 single crochet chain stitches across.
- Continue the single crochet chain stitch until you reach about 20 inches long. Consider adjusting the length of the headband to fit your head shape and also hairstyle.
- At the end of the row, cut the thread about twice the width of the headband. Then, pull the thread completely through the last loop.
- To finish the raffia crochet headband strap, secure the end of the raffia. From the second to last row, you’ll start weaving the remaining ribbon back through until reaching the other side.
Helpful hint: Use your crochet hook or even substitute for a thick needle if you wish. It’s ok to go above or below the rows to thread through to the end. - To make the elastic strap, take a piece of fabric that is 6” by 2”. Topstitch with ¼” seam allowance, then use a loop turner to flip the strap inside out.
- Next, insert a 6” long piece of ¾” width elastic band into the tunnel, and then secure both ends of the strap with top stitch.
- To attach the elastic strap to the headband, top stitch to fastened each end of the elastic strap to the ends of the headband strap.
Crochet hair accessories are relatively quick and easy to make because the length is not very long. Give it a try and let us know what you think!
Share your cute raffia crochet headband with us!
#FashionWanderer
Trendy, Affordable Sewing Patterns for All Sizes


Tie Shoulder Jumpsuit Pattern


Palazzo Pants Sewing Pattern


Pocket Overall Romper Pattern


Wrap Maxi Skirt Sewing Pattern


Tie Back Top Sewing Pattern