
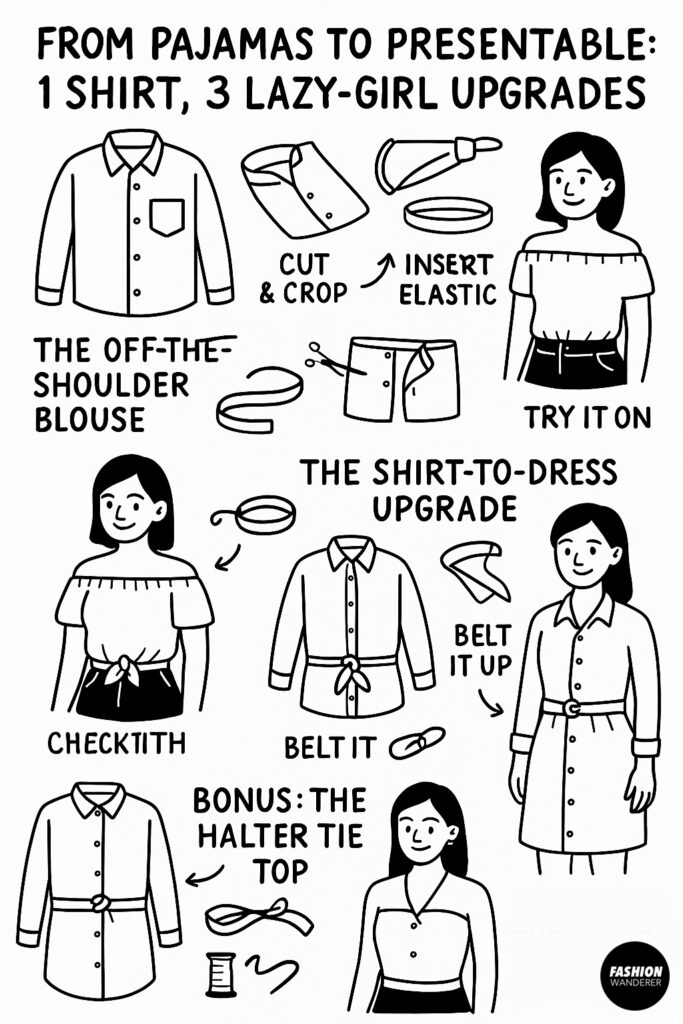
We’ve all had those mornings when getting dressed feels like too much work. Maybe you stayed up too late binge-watching a show, or maybe you just want comfort without looking like you rolled out of bed. The solution? Upcycling one oversized shirt into three lazy-girl-approved looks that transition from pajamas to presentable in minutes.
If you have followed our mens dress shirt upcycling journey , the you would have how it is possible to turn a button down shirt into a dress, skirt and shorts!
With just a few snips, ties, and simple stitches, you can turn that baggy pajama-like button-up into chic outfits for errands, brunch, or even casual Fridays. Here’s how to do it, step by step.
Why This DIY Works
- Beginner-friendly: No fancy sewing skills required—basic hand-stitching or even no-sew options will work.
- Time-saving: Each upgrade takes less than 30 minutes.
- Budget-friendly: Use a shirt you already own or thrift one for under $5.
- Versatile: One shirt = three new tops for your wardrobe.
- Stylish & comfy: You’ll still feel like you’re wearing pajamas, but look effortlessly put-together.
Materials You’ll Need
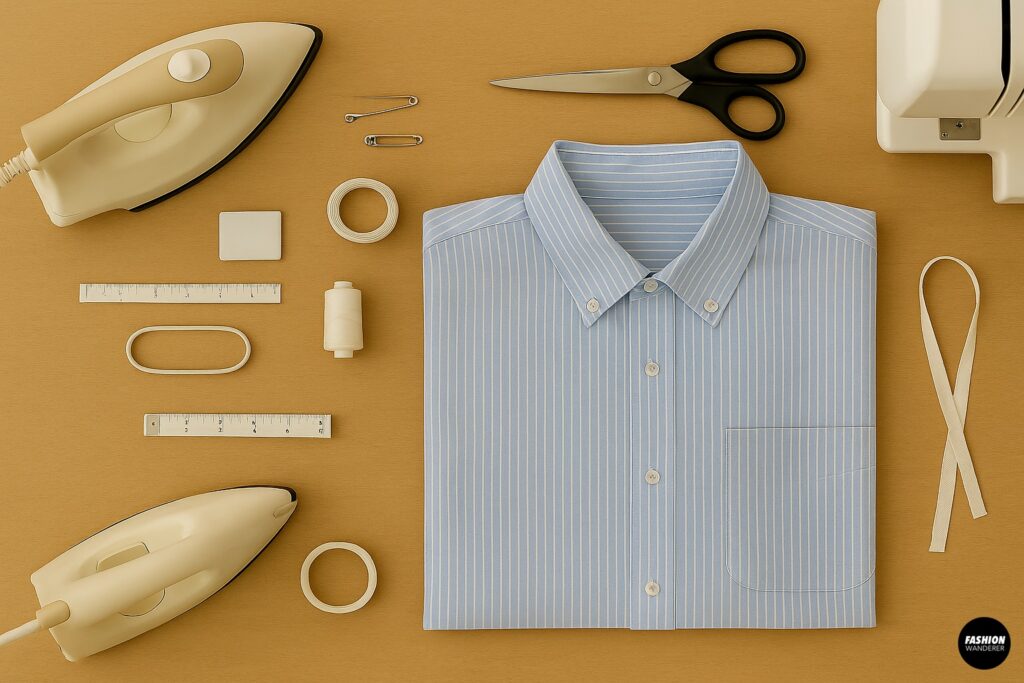
- 1 oversized button-up shirt (men’s shirts work best)
- Fabric scissors
- Sewing machine or needle and thread (optional for cleaner finishes)
- Tailor’s chalk or washable marker
- Measuring tape or ruler
- Safety pins or sewing clips
- Elastic band (optional)
- Iron (for pressing seams)
Look 1: The Knot-Front Crop Top
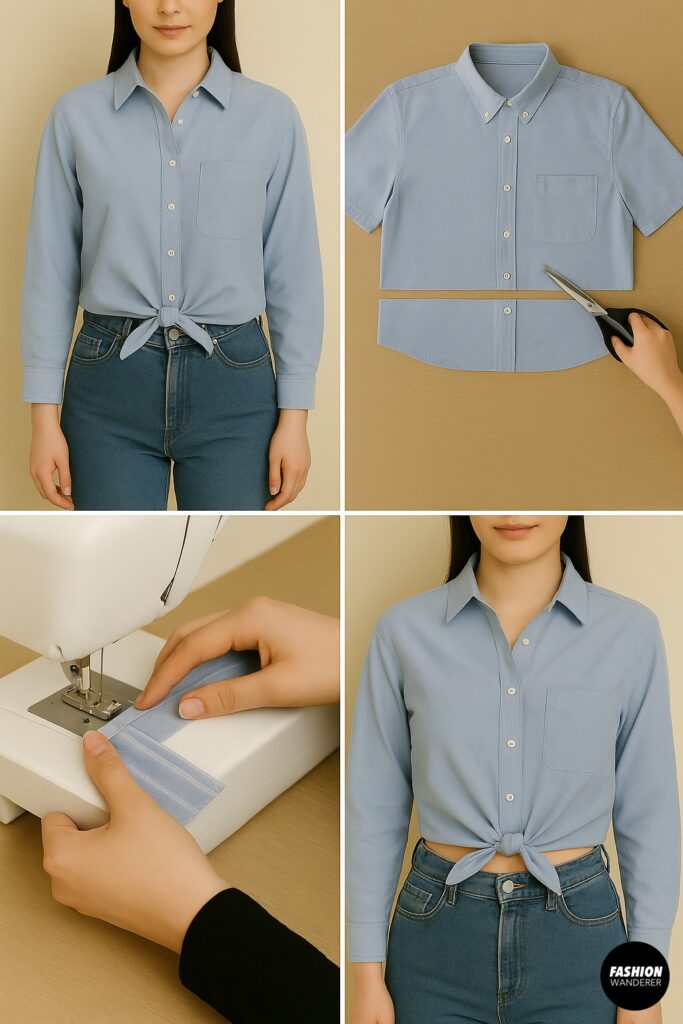
Perfect for: Running errands, coffee dates, casual brunch
Steps:
- Choose Your Shirt
Pick an oversized button-up—cotton or flannel works best. Put it on and mark where you’d like the crop to sit, usually just above your natural waist. - Cut & Crop
Lay the shirt flat and cut straight across, leaving an extra 1–2 inches for hemming. - Hem the Edge
Fold the raw edge under twice and sew, or use fabric glue if you want a no-sew finish. - Tie It Up
Leave the last two buttons undone and tie the ends into a knot at your waist. - Style Tip: Pair with high-waisted jeans or biker shorts for a comfy yet Instagram-worthy vibe.
Look 2: The Off-the-Shoulder Blouse
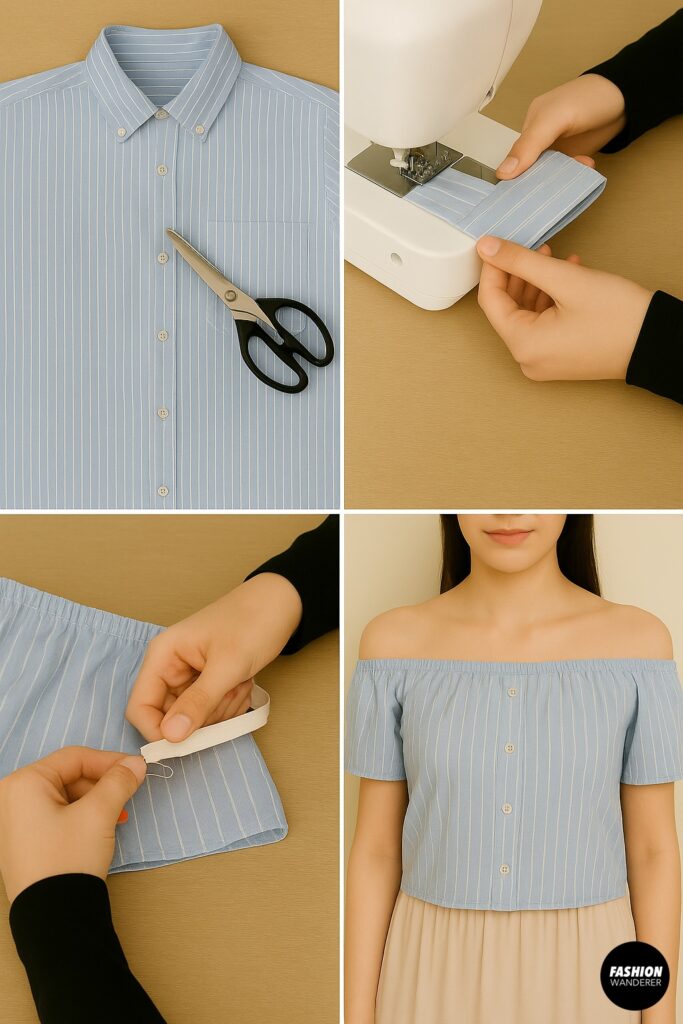
Perfect for: Summer outings, date night, girls’ night in
Steps:
- Remove the Collar
Cut straight across the top of the shirt, just below the collar seam. This creates a straight neckline. - Make a Casing
Fold the cut edge under about 1 inch and sew, leaving an opening for elastic. - Insert Elastic
Measure around your shoulders, cut elastic to fit, and thread it through the casing using a safety pin. - Secure Elastic
Sew the ends of the elastic together and close the casing opening. - Try It On
The neckline should now sit comfortably across your shoulders without slipping. - Style Tip: Wear tucked into a flowy skirt or with denim shorts and sandals for that effortless summer look.
Look 3: The Shirt-to-Dress Upgrade
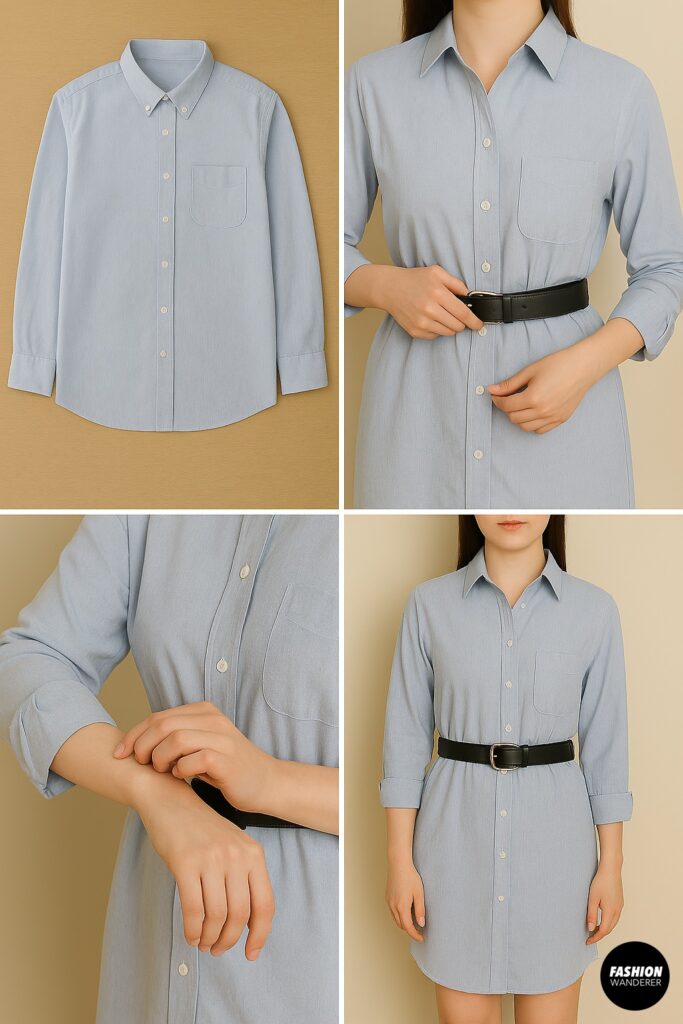
Perfect for: Lazy Sunday brunch, casual office days, or grocery runs
Steps:
- Choose a Longer Shirt
For this look, use an oversized shirt that falls at least mid-thigh. - Belt It Up
Button the shirt completely and cinch your waist with a belt. Wide belts create a more defined shape, while skinny belts give a softer look. - Add Sleeves Detail
Roll up the sleeves neatly for a polished vibe. - Optional Stitching
If the shirt feels too loose, take in the side seams slightly by sewing ½–1 inch inward. This keeps it from looking too baggy. - Style Tip: Pair with sneakers for casual wear or swap to ankle boots for a trendier upgrade.
Bonus Variation: The Halter Tie Top
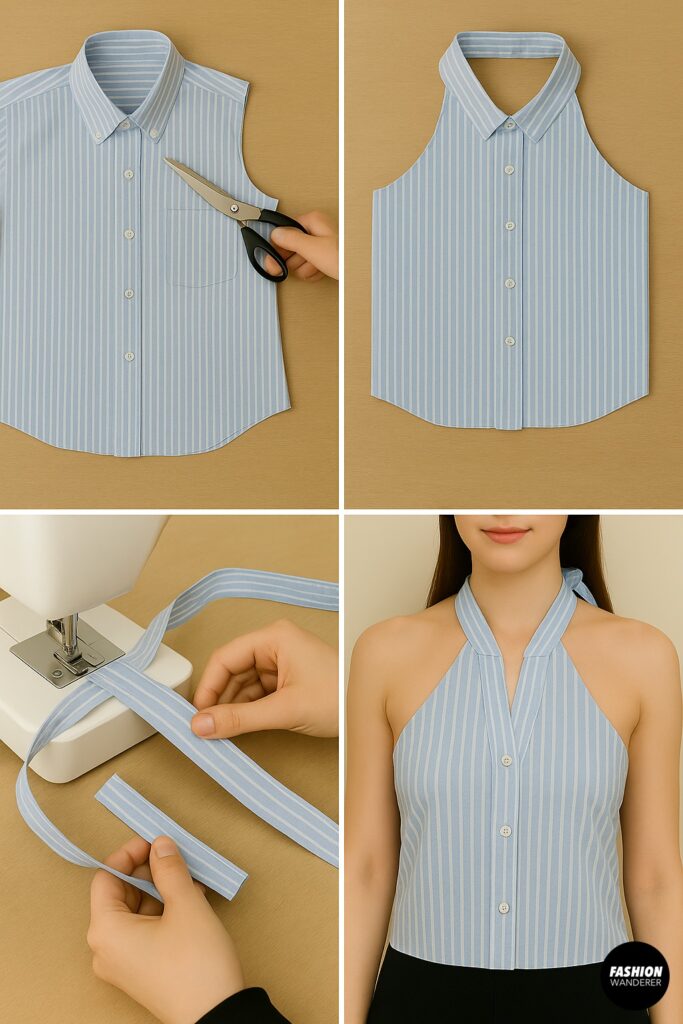
If you’re feeling a little extra, transform your shirt into a halter top.
- Cut off the sleeves and collar, leaving the button placket intact.
- Shape the neckline by cutting diagonally from the armholes to the shoulders.
- Use fabric strips from the sleeves to create ties, sew them to the neckline, and knot behind your neck.
This is perfect for layering under jackets or wearing solo during warm weather.
Styling Ideas for Lazy-Girl Approved Tops
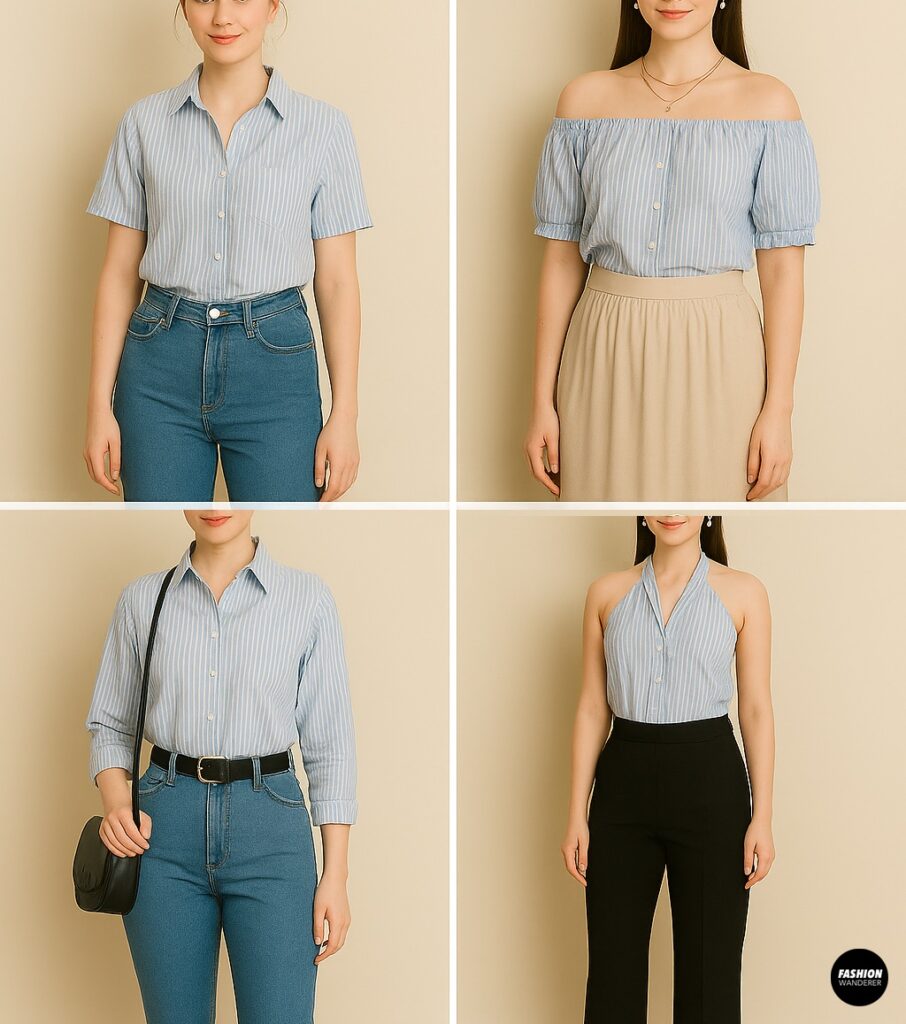
- Cropped Knot Top: High-waisted jeans, messy bun, white sneakers.
- Off-the-Shoulder Blouse: Maxi skirt, strappy sandals, layered necklaces.
- Shirt Dress Upgrade: Belted with ankle boots, add a crossbody bag.
- Halter Tie Top: Wide-leg trousers, heels, and statement earrings.
Tips for Success
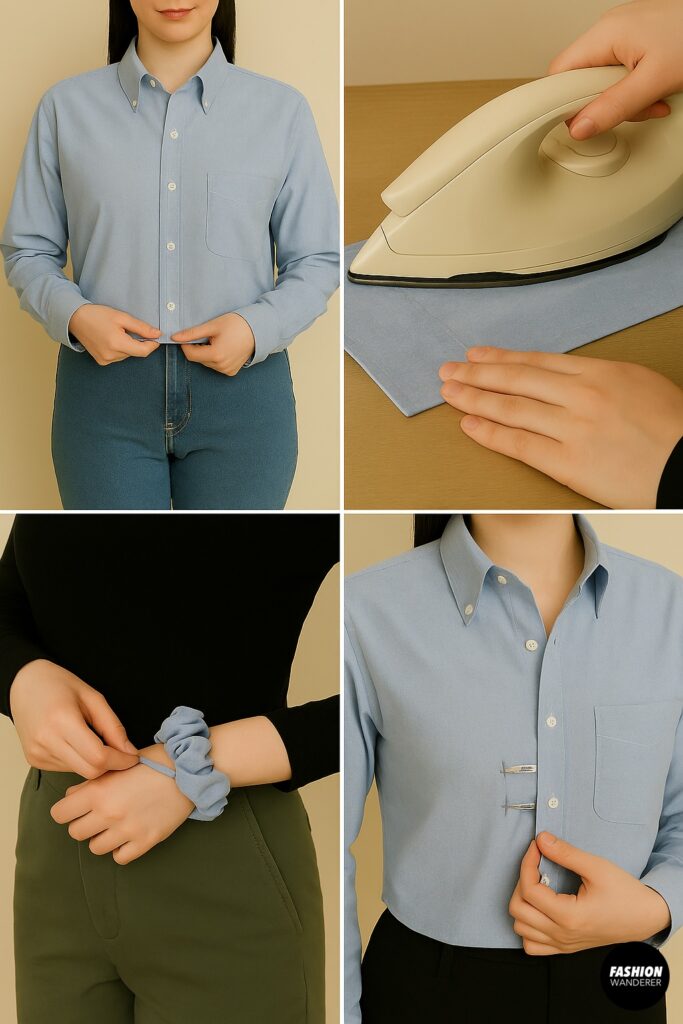
- Pick the Right Shirt: Men’s button-ups in cotton or linen are easiest to cut and sew.
- Press Seams: Always iron seams for a professional finish.
- Experiment: Don’t be afraid to mix and match techniques—like turning leftover sleeves into belts, headbands, or scrunchies.
- Try Before You Sew: Use safety pins to test your design in the mirror before committing.
- Keep it Comfy: Remember, these are lazy-girl upgrades—choose styles that feel as good as they look.
Why These Upgrades Are Perfect for Fall
As the weather cools, these shirt upgrades transition seamlessly into fall layering. Throw a cropped knot top under a chunky cardigan, pair the off-the-shoulder blouse with a leather jacket, or style the shirt dress with tights and boots. You’ll stay cozy, look chic, and never feel overdressed.
Final Thoughts
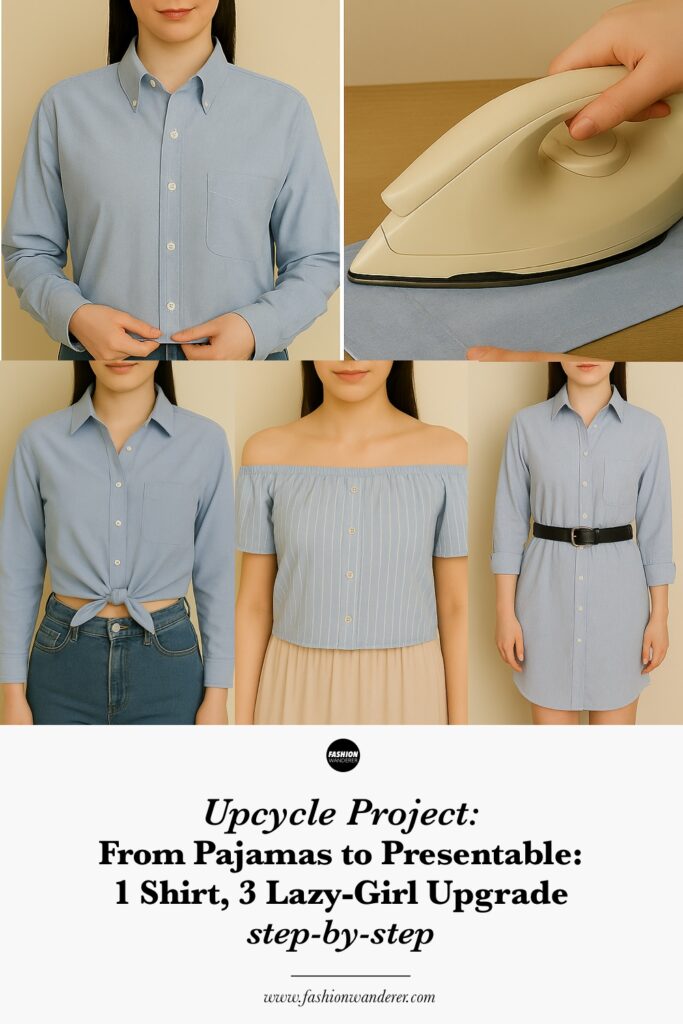
From pajamas to presentable, these three lazy-girl shirt upgrades are proof that fashion doesn’t have to be complicated. With one oversized button-up shirt and a little creativity, you can craft multiple outfits that keep you looking effortlessly stylish while still feeling comfortable.
So the next time you’re tempted to leave the house in actual pajamas, grab an old shirt and give one of these quick transformations a try. Not only will you save money and reduce waste, but you’ll also discover just how versatile one simple piece can be.
Trendy, Affordable Sewing Patterns for All Sizes
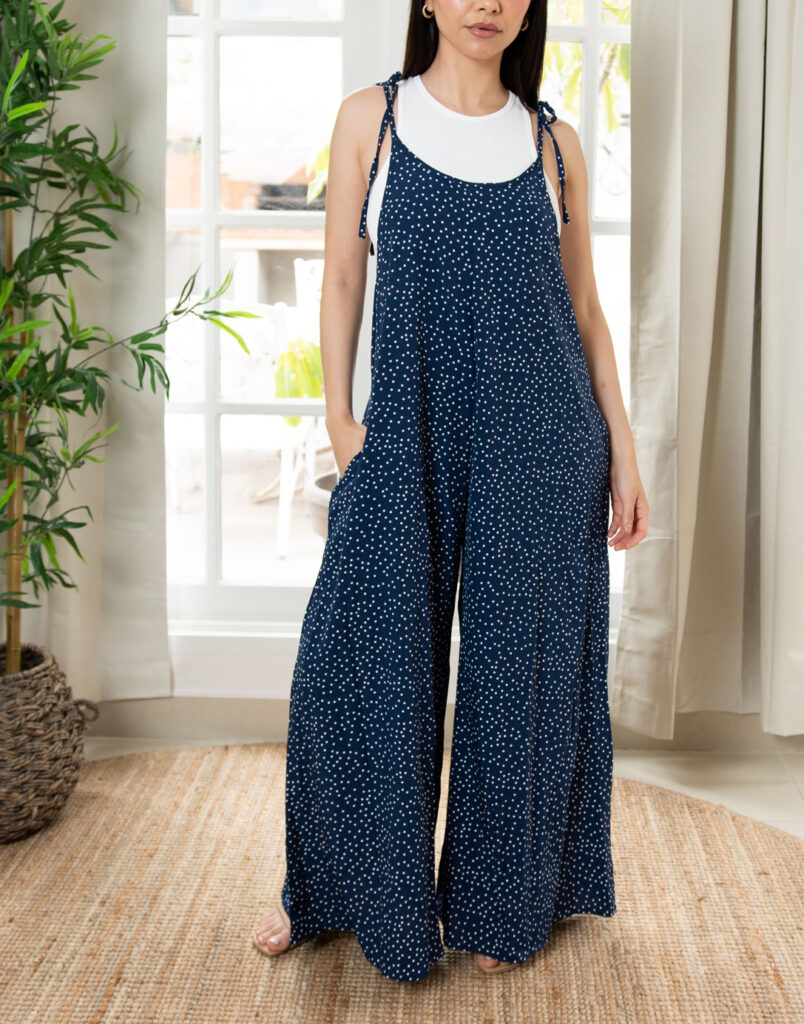
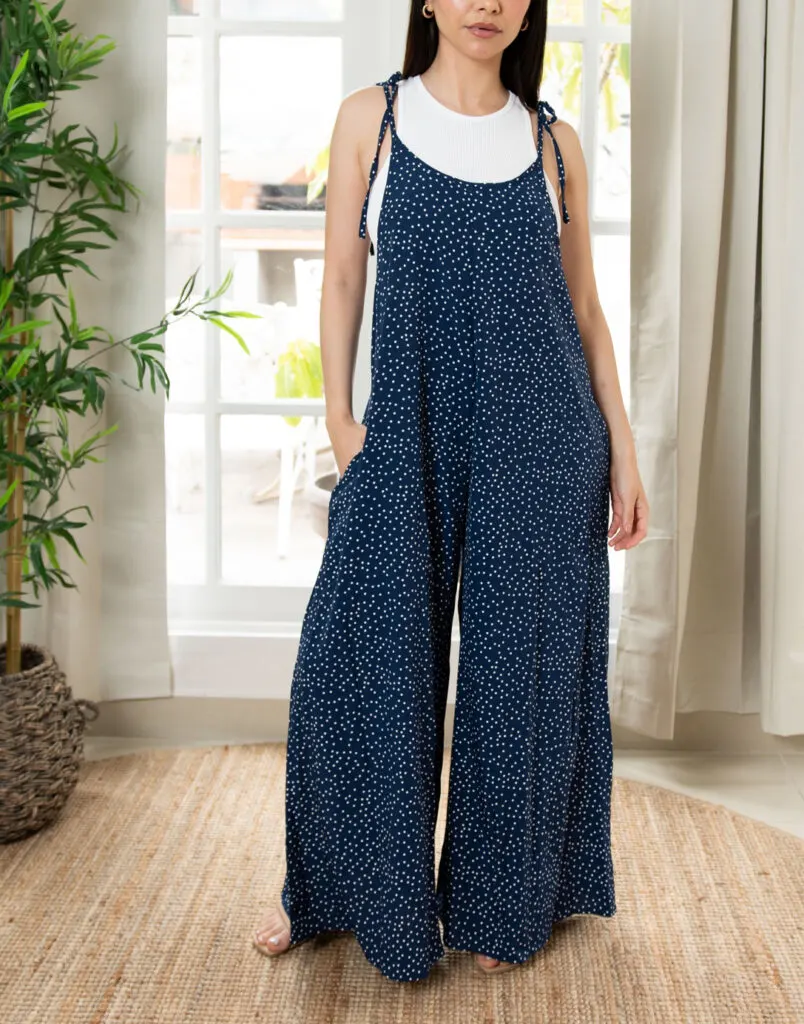
Tie Shoulder Jumpsuit Pattern
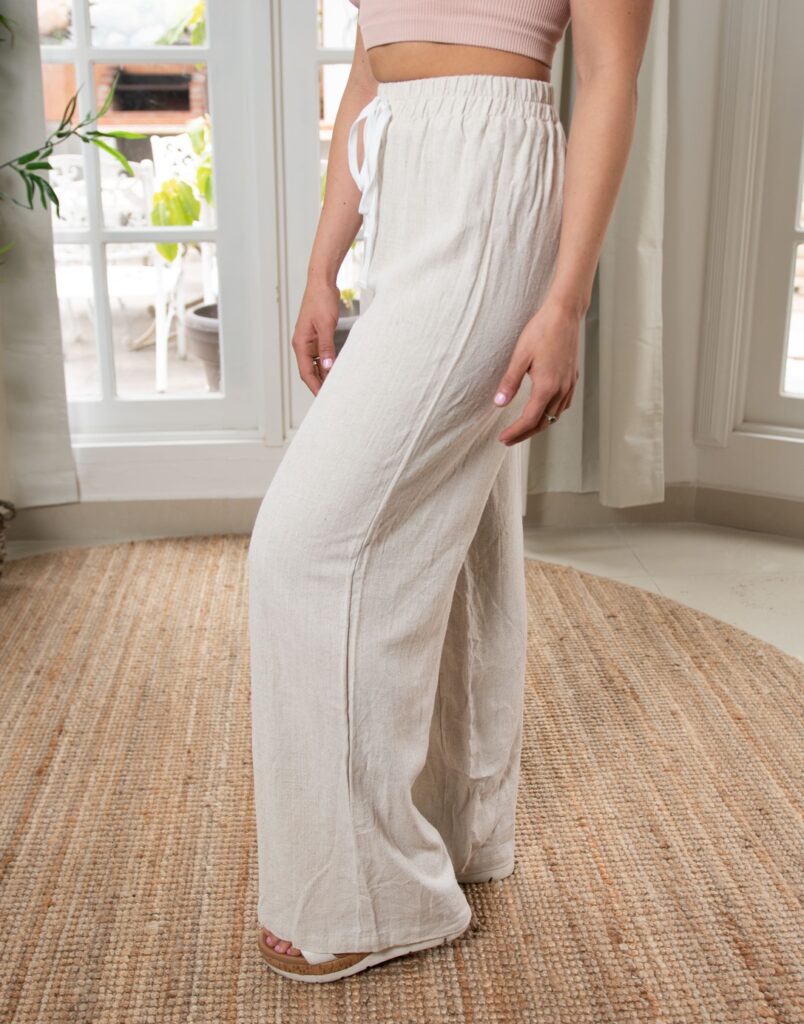
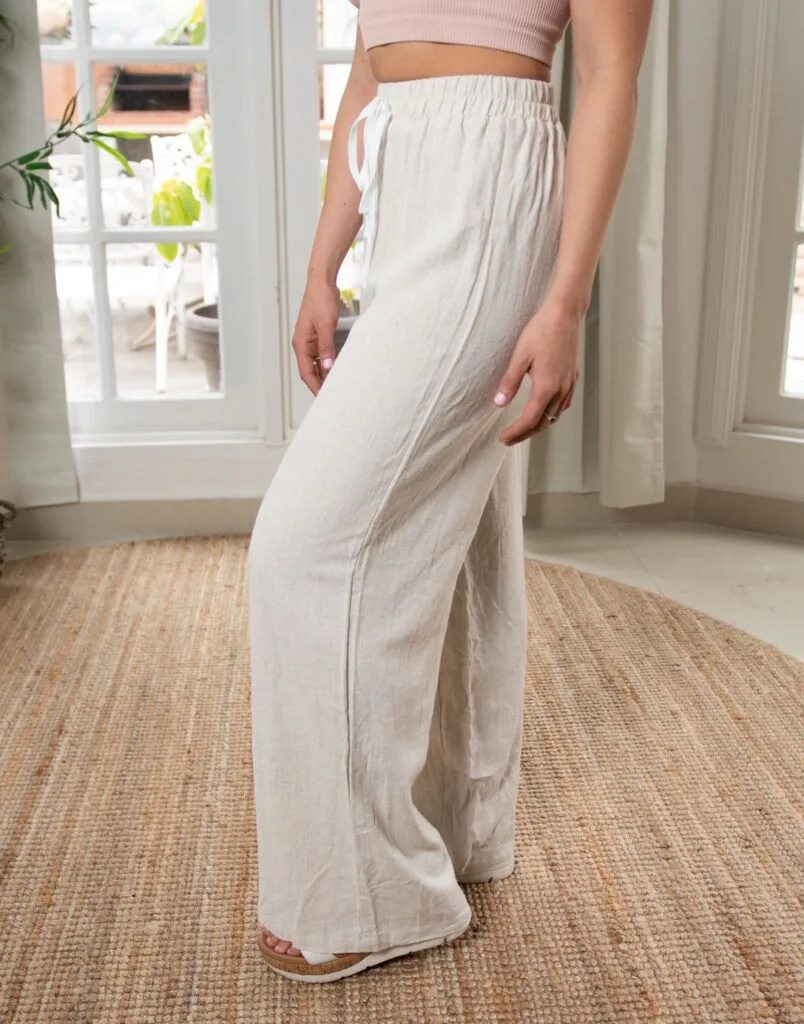
Palazzo Pants Sewing Pattern
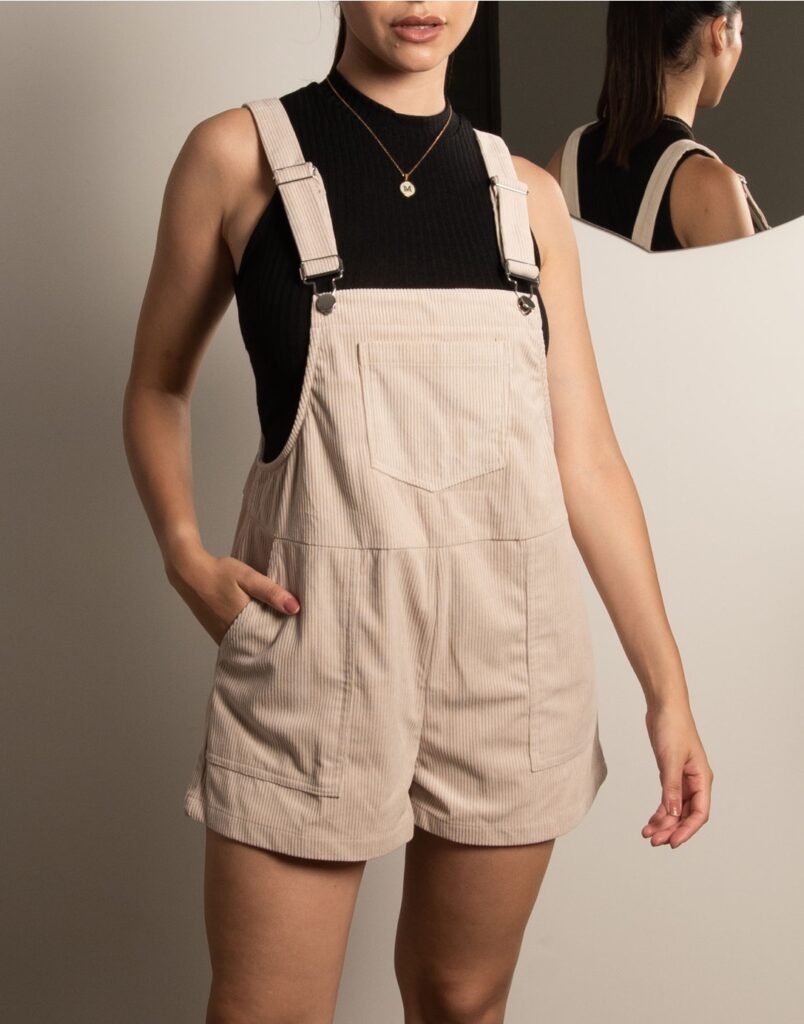
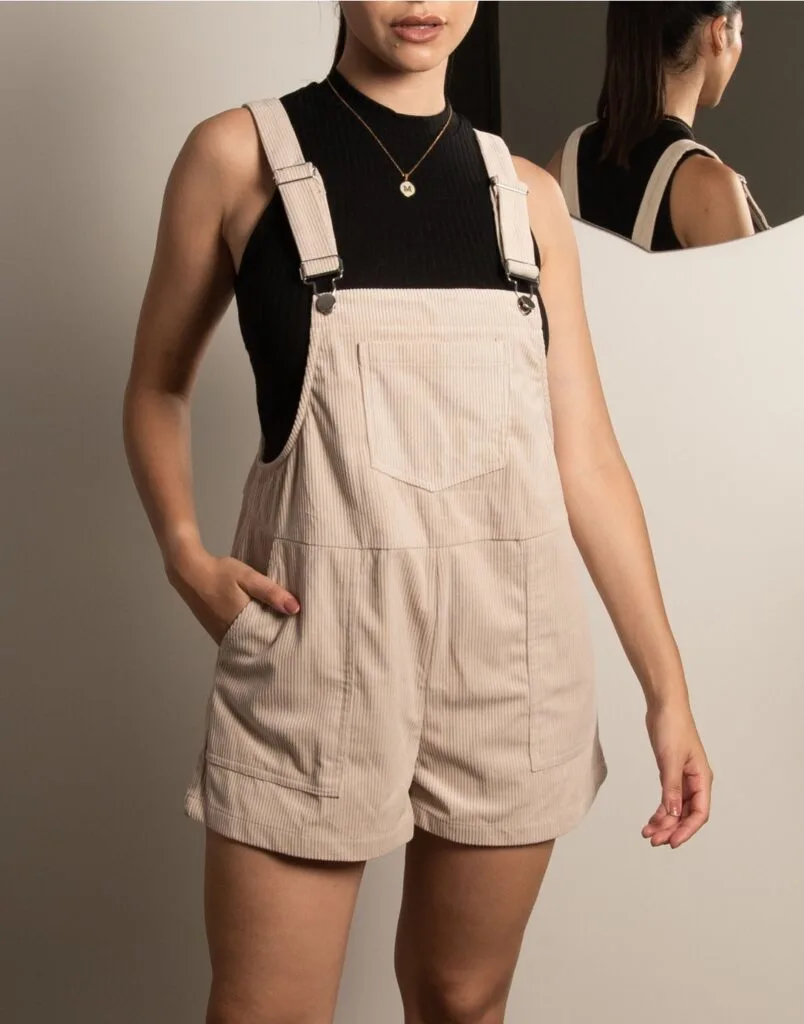
Pocket Overall Romper Pattern
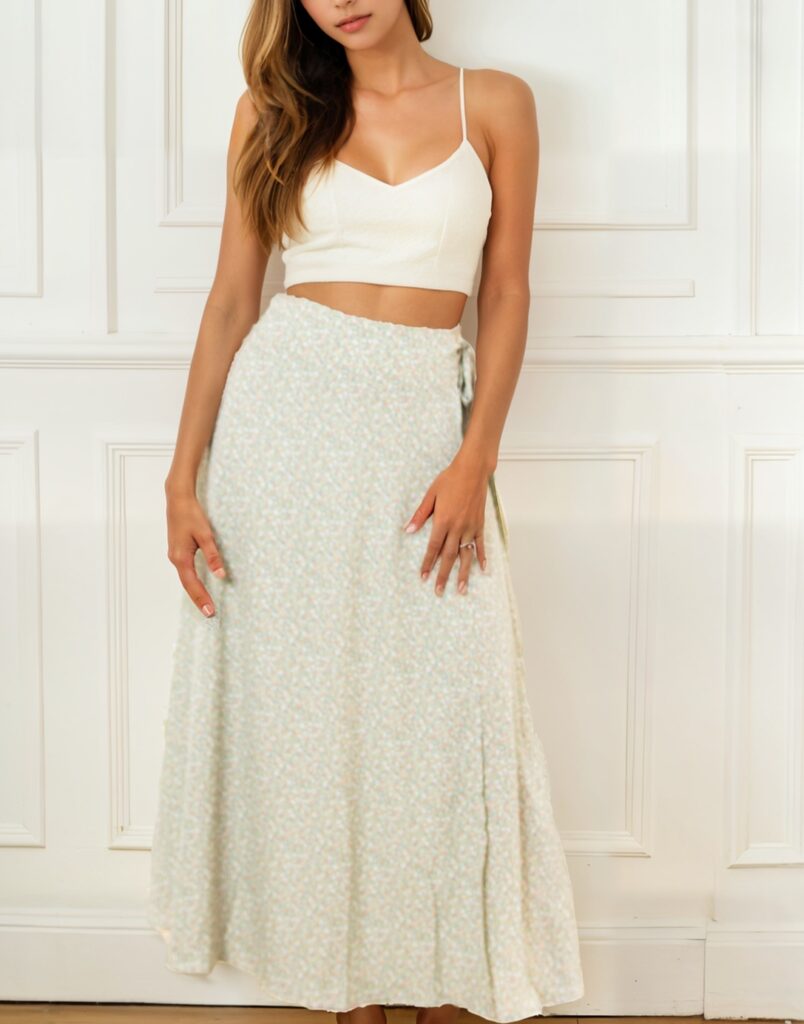
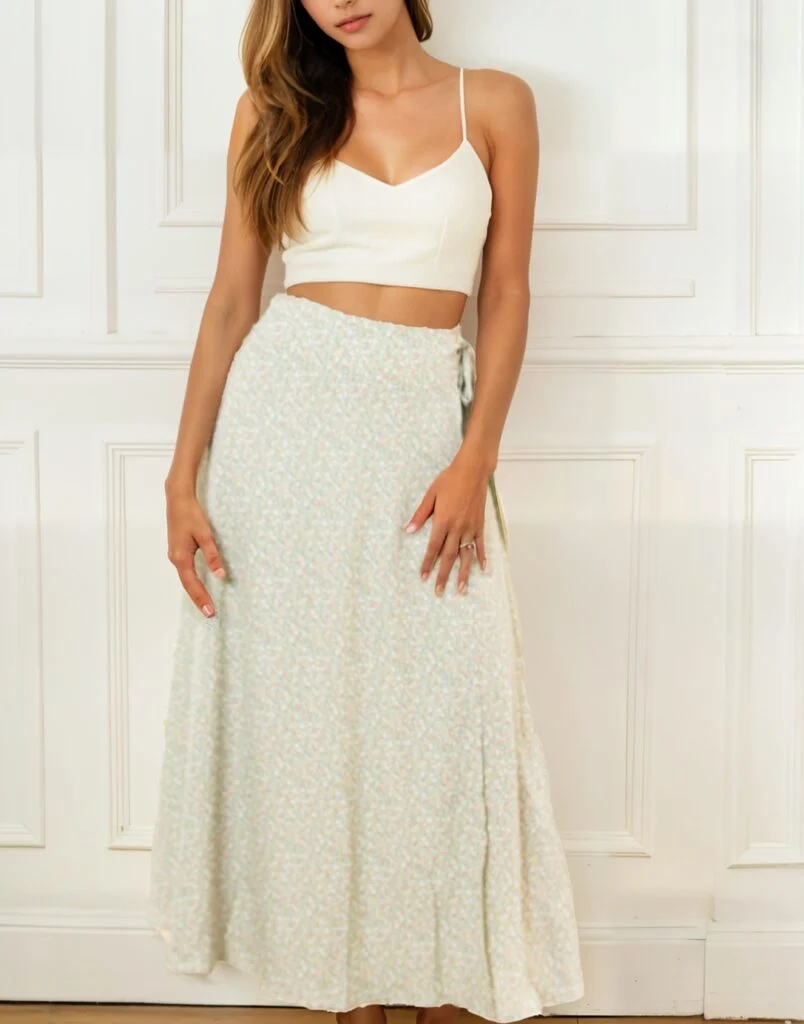
Wrap Maxi Skirt Sewing Pattern
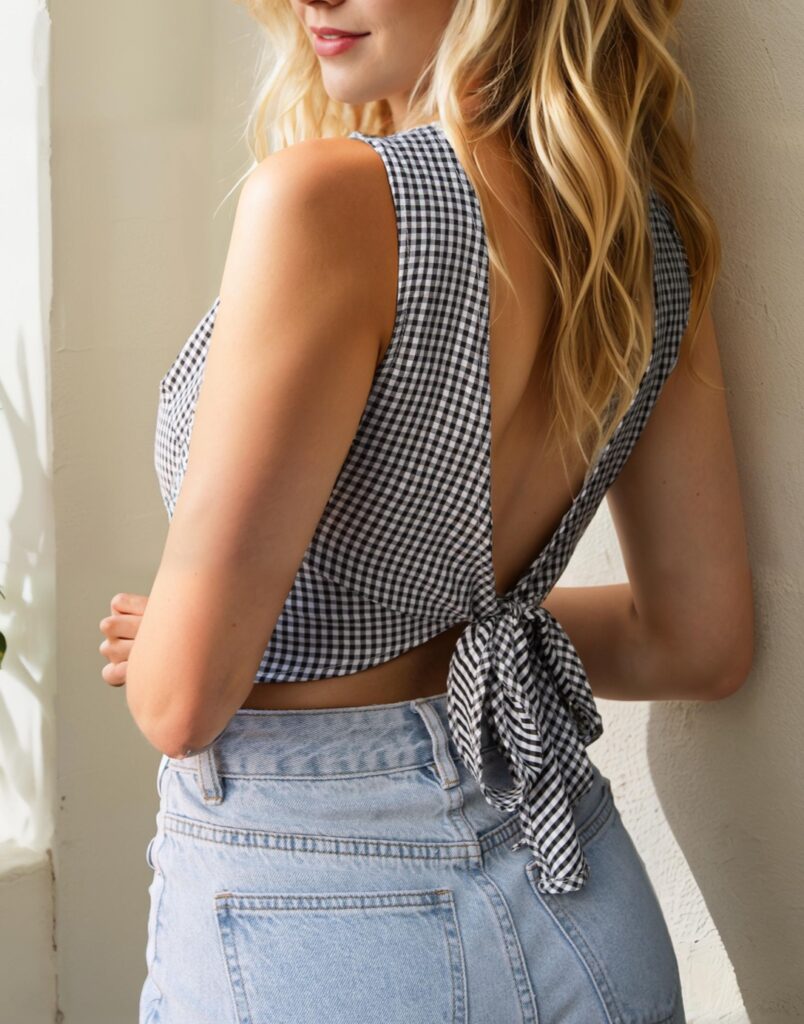
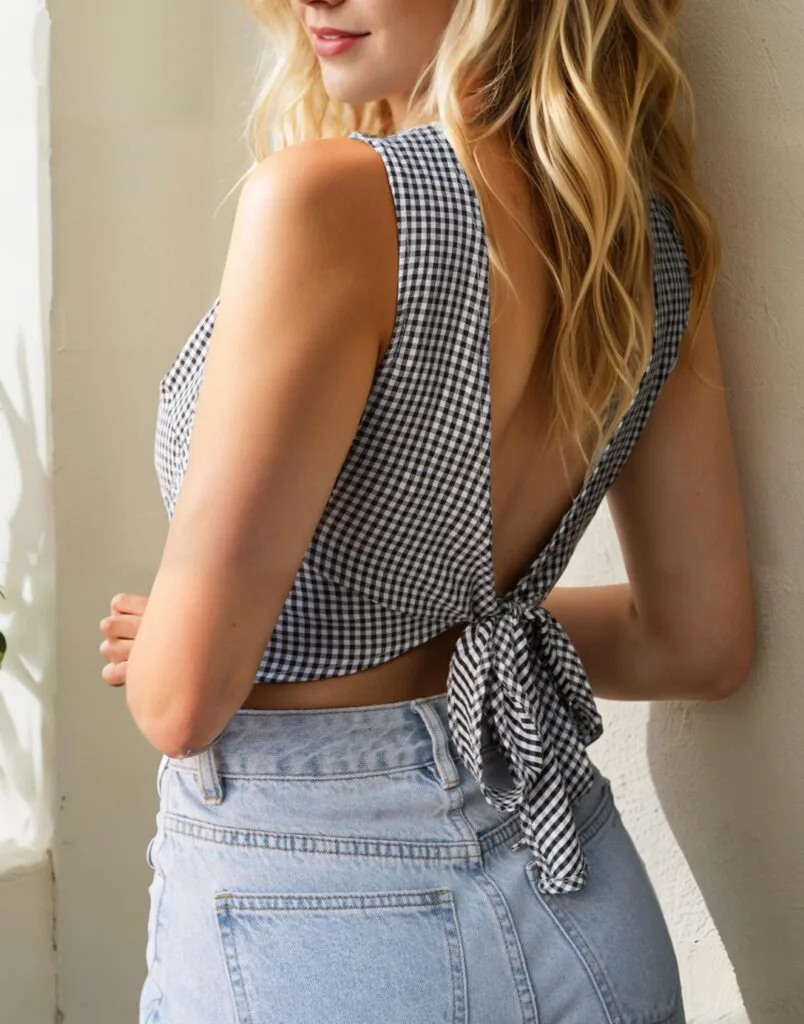
Tie Back Top Sewing Pattern