
If your dog loves tagging along on walks, hikes, camping trips, or weekend adventures, a DIY dog backpack can be a fun and practical sewing project. Instead of buying another pet accessory, you can make a customized backpack using fabric scraps, old jeans, waterproof fabric, or even leftover quilting supplies.
The key to a good dog backpack is keeping it lightweight, balanced, and comfortable. Small pockets can hold lightweight essentials such as empty waste bags or a collapsible fabric item, while removable designs let you use the underlying harness by itself when storage isn’t needed.
Below are five beginner-friendly DIY dog backpack sewing projects, ranging from an old-jeans upcycle to a waterproof hiking pack.
1. How to Make a DIY Dog Backpack from Old Jeans – Easy Upcycle Sewing Project

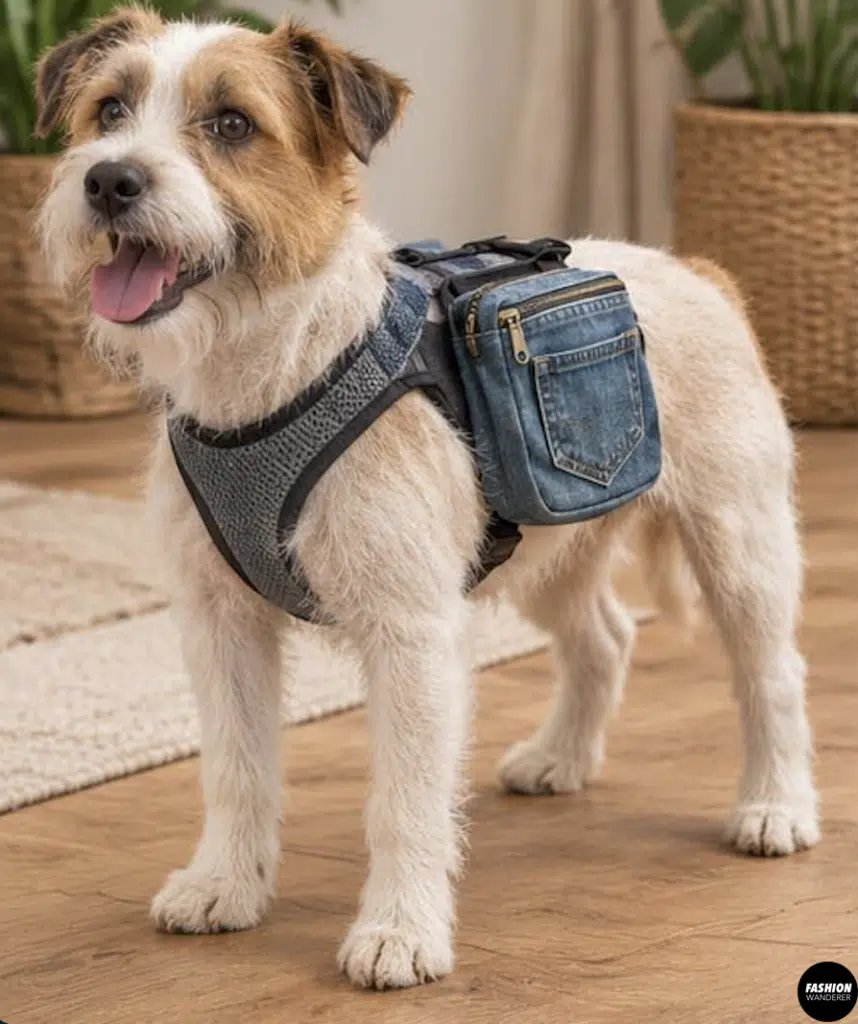
Don’t throw away those worn-out jeans! Sturdy denim is perfect for creating a casual dog backpack with plenty of personality.
What You’ll Need
- Old pair of jeans
- Comfortable, properly fitted dog harness
- Cotton lining fabric
- Hook-and-loop tape
- Nylon webbing
- Two small zippers
- Sewing machine
- Polyester thread
- Fabric scissors
- Clips or pins
Step 1: Cut Two Denim Pockets
Cut two matching rectangles from the legs of the jeans. Approximately 6 x 8 inches works for a medium dog, but scale the pockets to your dog’s size.
Cut two matching lining pieces for each pouch.
Step 2: Add the Zippers
Place a zipper right sides together along the top edge of one denim rectangle. Add the lining on the opposite side of the zipper and sew through all layers using a zipper foot.
Repeat for the second side, then make the second pouch.
Step 3: Sew the Pouches
Open each zipper halfway. Place the denim pieces right sides together and the lining pieces right sides together.
Sew around the perimeter, leaving a small opening in the lining. Turn right side out and close the opening.
Step 4: Attach to the Harness
Sew sturdy webbing loops or hook-and-loop tabs to the backs of the pouches. Attach one pocket to each side of the harness.
Check that they sit at approximately the same height so the pack remains balanced.
You’ve just turned old jeans into a cute upcycled dog backpack!
2. DIY Dog Hiking Backpack – Easy Waterproof Dog Pack Sewing Tutorial

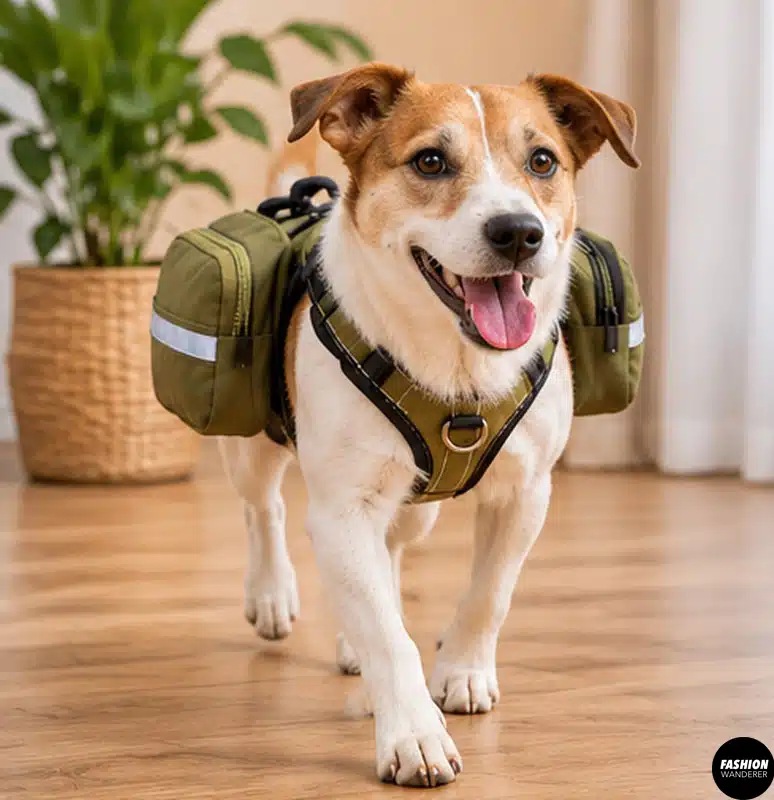
For muddy trails and outdoor adventures, try making a water-resistant dog hiking backpack from lightweight outdoor fabric.
What You’ll Need
- Lightweight waterproof or water-resistant nylon
- Lining fabric
- Two zippers
- Nylon webbing
- Hook-and-loop tape or suitable clips
- Existing dog harness
- Polyester thread
Step 1: Cut the Pouches
Cut four matching rectangles from your waterproof fabric. Cut four identical lining pieces.
Round the lower corners slightly for a streamlined shape.
Step 2: Install the Zippers
Attach a zipper between each pair of exterior and lining pieces.
Topstitch beside the zipper to prevent the fabric from catching in the teeth.
Step 3: Assemble
Place each pouch right sides together and sew around the sides and bottom.
Turn right side out and gently shape the corners.
Step 4: Add Attachment Straps
Sew two short webbing straps onto the back of each pouch. Secure the straps around compatible points on an existing harness.
Avoid attaching loaded pockets to a collar.
Step 5: Test the Backpack
Put the empty backpack on your dog first. Watch your dog walk around and make sure the pouches aren’t rubbing against the front or back legs.
Add only lightweight essentials and distribute them evenly.
3. How to Sew a Quilted Dog Backpack Harness – Beginner-Friendly DIY

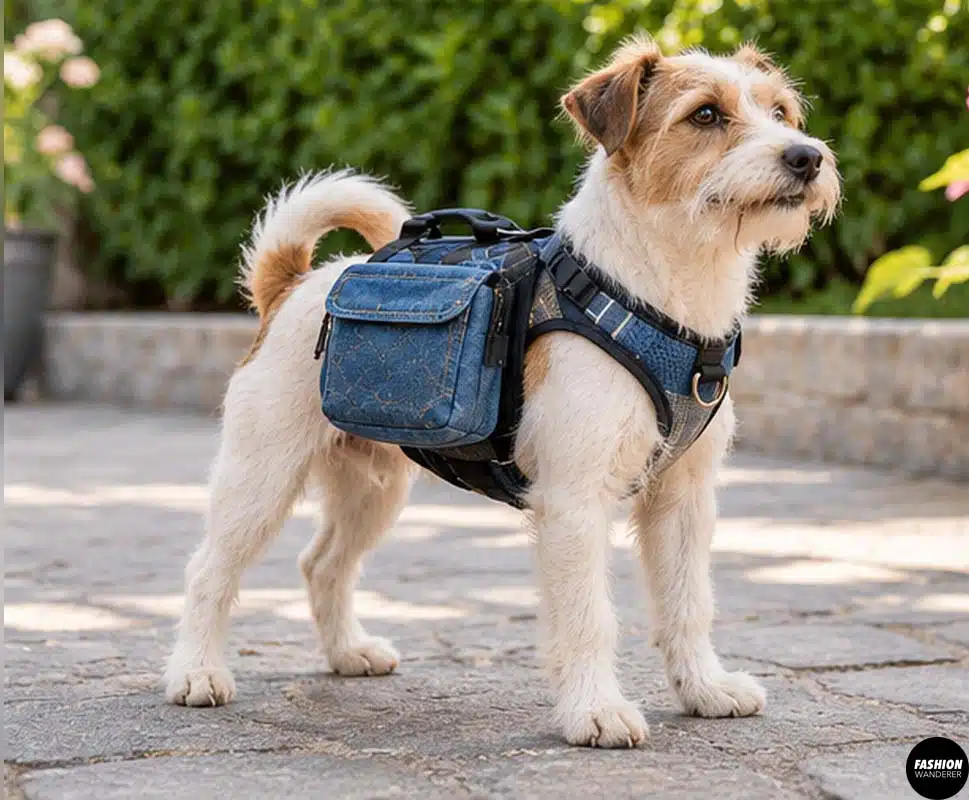
Love quilting? Turn those skills into an adorable quilted dog backpack harness.
Materials
- Cotton canvas
- Lightweight batting
- Breathable lining
- Nylon webbing
- Buckles appropriate for your dog’s size
- D-ring
- Binding
- Two small fabric pockets
Step 1: Create the Harness Pattern
Use a well-fitting harness as your sizing reference. Trace its general shape onto paper without changing the locations that provide support around the chest and torso.
Add your preferred seam allowance.
Step 2: Make the Quilted Panels
Layer exterior fabric, batting, and lining.
Quilt straight lines approximately 1 to 2 inches apart. Keep the padding relatively thin so the finished harness doesn’t become bulky or hot.
Step 3: Finish the Edges
Trim the quilted panel and bind the raw edges.
Add webbing and buckles so the fit can be adjusted comfortably.
Step 4: Make Two Mini Pockets
Cut two small rectangles for each pocket. Sew them into simple zippered or flap pouches.
Position one pocket on each side of the harness rather than stacking everything on one side.
Step 5: Fit the Harness
Try the finished harness on your dog while it is completely empty. Check around the neck, chest, underarms, and belly for rubbing or pressure.
The result is a cozy-looking quilted dog backpack that’s as cute as it is practical.
4. DIY Dog Walking Backpack with Poop Bag Holder – Easy Sewing Tutorial

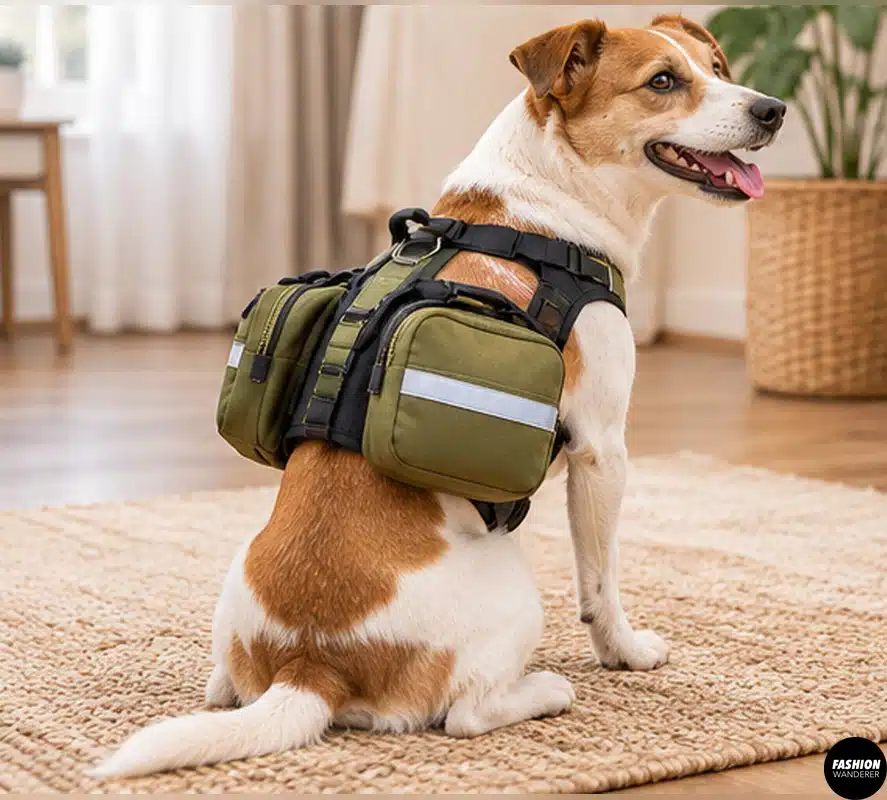
For everyday walks, you probably don’t need large saddlebags. A streamlined dog walking backpack with a dedicated waste-bag dispenser is much more convenient.
Materials
- Canvas or ripstop fabric
- Lining
- Small zipper
- Grommet
- Webbing
- Hook-and-loop tape
- Dog harness
Step 1: Make the Waste-Bag Pocket
Cut two approximately 5 x 6-inch rectangles.
On one panel, install a small grommet near the center. This becomes the opening for pulling out individual waste bags.
Step 2: Add a Zipper
Sew a zipper along the top so the roll can easily be replaced.
Step 3: Assemble the Pocket
Place the panels right sides together and sew around the remaining edges.
Turn the pouch right side out.
Insert a roll of bags and pull the first bag through the grommet.
Step 4: Make a Matching Pocket
Create a second lightweight pocket for the opposite side. Keeping similar-sized pouches on both sides helps maintain symmetry.
Step 5: Attach the Pouches
Add webbing or hook-and-loop tabs and secure the pouches to a compatible harness.
Now you’re ready for everyday walks without digging through your own bag for waste bags.
5. DIY Mini Dog Backpack with Detachable Pockets – Easy Sewing Project

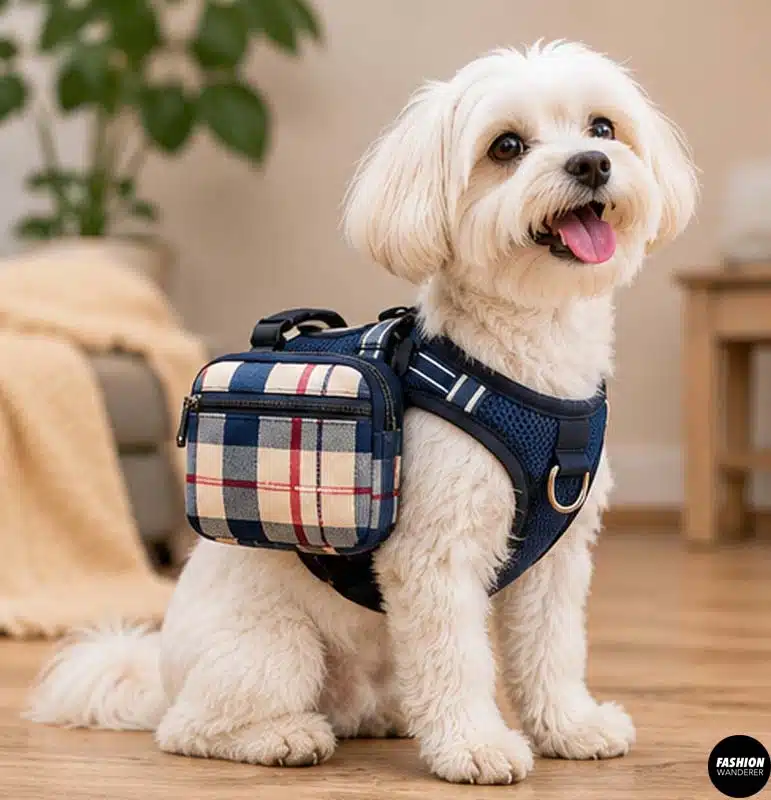
This might be the most versatile project of the bunch. Instead of permanently sewing pockets onto a harness, make detachable dog backpack pockets.
What You’ll Need
- Canvas or lightweight nylon
- Lining
- Two small zippers
- Webbing
- Hook-and-loop tape or appropriate lightweight clips
- Existing harness
Step 1: Cut Four Pocket Panels
Cut two exterior pieces for each pouch and matching lining pieces.
Step 2: Sew the Zippers
Install a zipper across the top of each pouch.
Topstitch around the zipper for a neat, durable finish.
Step 3: Sew the Pockets
Sew around the remaining edges, turn right side out, and press carefully according to your fabric type.
Step 4: Make Them Detachable
Add secure webbing loops or hook-and-loop tabs to the back.
Position corresponding attachment points on a compatible harness so each pouch can be removed independently.
Step 5: Test Your Design
Attach both empty pouches and let your dog walk around indoors.
Check the fit before adding anything. The pockets shouldn’t bounce excessively, interfere with movement, or pull the harness sideways.
Tips for Making a Comfortable DIY Dog Backpack
Whichever project you choose, prioritize your dog’s comfort over pocket capacity. Start with an existing harness that fits properly, use lightweight materials, keep the left and right sides balanced, and regularly inspect stitching, hardware, and attachment points.
Don’t use the backpack to make your dog carry heavy objects simply because they fit inside the pockets. If you’re considering carrying meaningful weight or your dog has health, mobility, or joint concerns, get individualized guidance from your veterinarian.
Also watch your dog while wearing the finished backpack. Stop using it if you notice rubbing, restricted movement, unusual gait, reluctance to walk, overheating, or other signs of discomfort.
Which DIY Dog Backpack Will You Make?

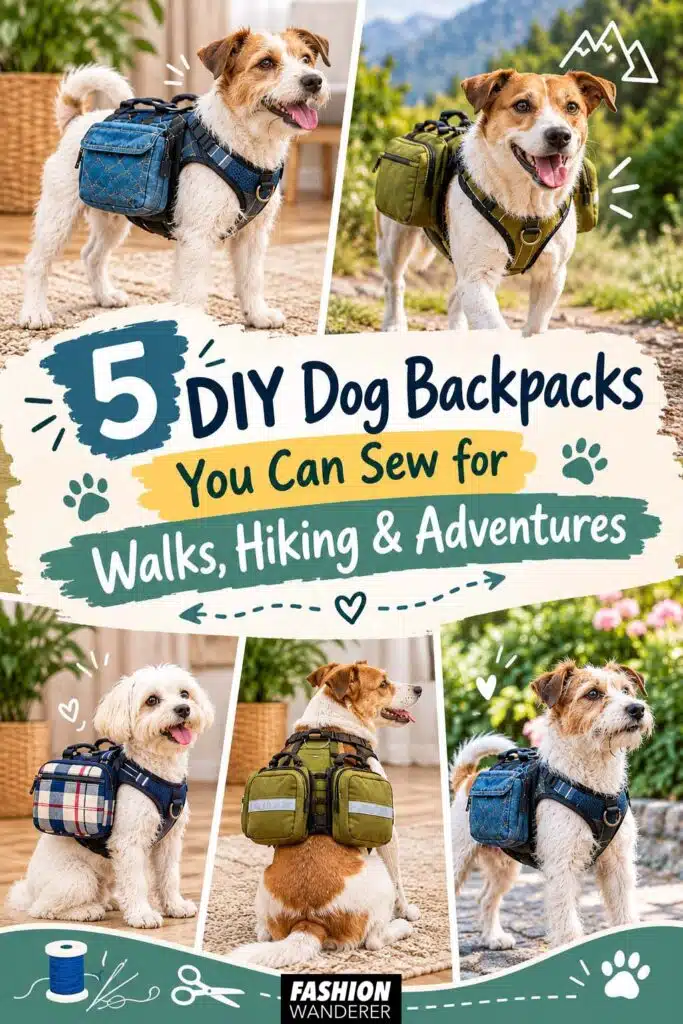
A handmade dog backpack doesn’t need to be complicated. Upcycle jeans for a casual everyday look, use waterproof nylon for outdoor adventures, quilt a colorful harness, create a convenient waste-bag dispenser, or sew detachable mini pockets that can be removed whenever they’re unnecessary.
Better yet, these projects are excellent ways to use leftover fabric and practice useful sewing skills like zipper installation, webbing, lining, quilting, and small-bag construction.
Start with an empty, comfortable pack, customize the colors and fabrics to match your dog’s personality, and you’ll have a handmade accessory ready for your next walk or adventure.