
If you’re looking for a fun, budget-friendly way to create unique fashion pieces, DIY t-shirt painting is the perfect project. Whether you want to design something subtle or bold, t-shirt painting lets you express your style, make thoughtful gifts, or even start your own custom clothing brand. With a few simple tools, you can upcycle t-shirts and turn a basic tee into wearable art.
In this complete guide, we’ll show you how to paint on a t-shirt step-by-step, plus share expert tips for making your design last wash after wash.
Why Try DIY T-Shirt Painting?
Painting your own t-shirt has so many benefits:
✅ Personalization – Show off your personality with a design that’s 100% you
✅ Creativity – Experiment with colors, patterns, and techniques
✅ Affordability – Upgrade a plain tee for a fraction of the price of designer wear
✅ Sustainability – Upcycle old or stained t-shirts instead of tossing them
From abstract art to cute slogans, your imagination is the limit!
Supplies You’ll Need

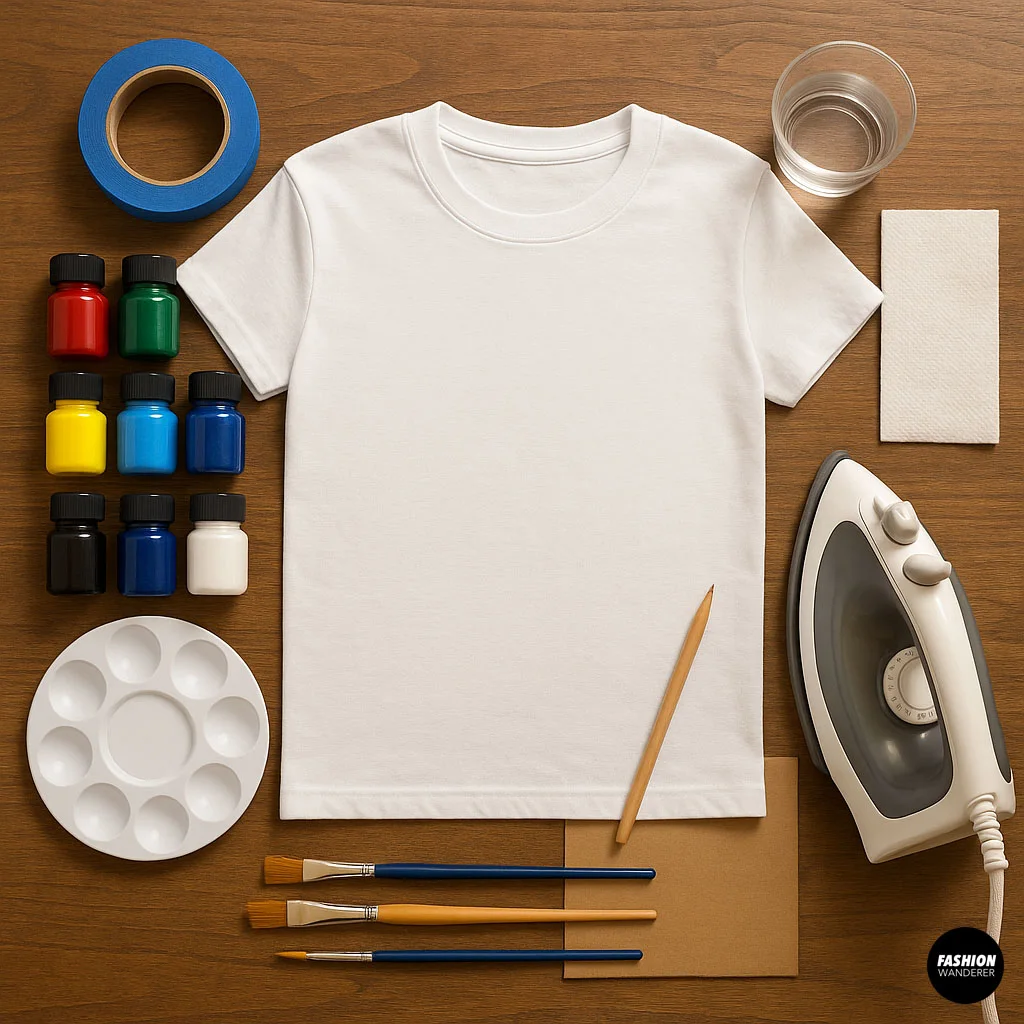
Here’s what to gather before you begin:
- Plain t-shirt (cotton works best)
- Fabric paint or acrylic paint mixed with fabric medium
- Paintbrushes (fine-tipped for details, flat for big areas)
- Pencil or chalk (for sketching your design)
- Painter’s tape (optional for clean edges)
- Cardboard or plastic sheet (to prevent paint bleed)
- Palette or small containers
- Water and paper towels
- Iron or heat-setting tool
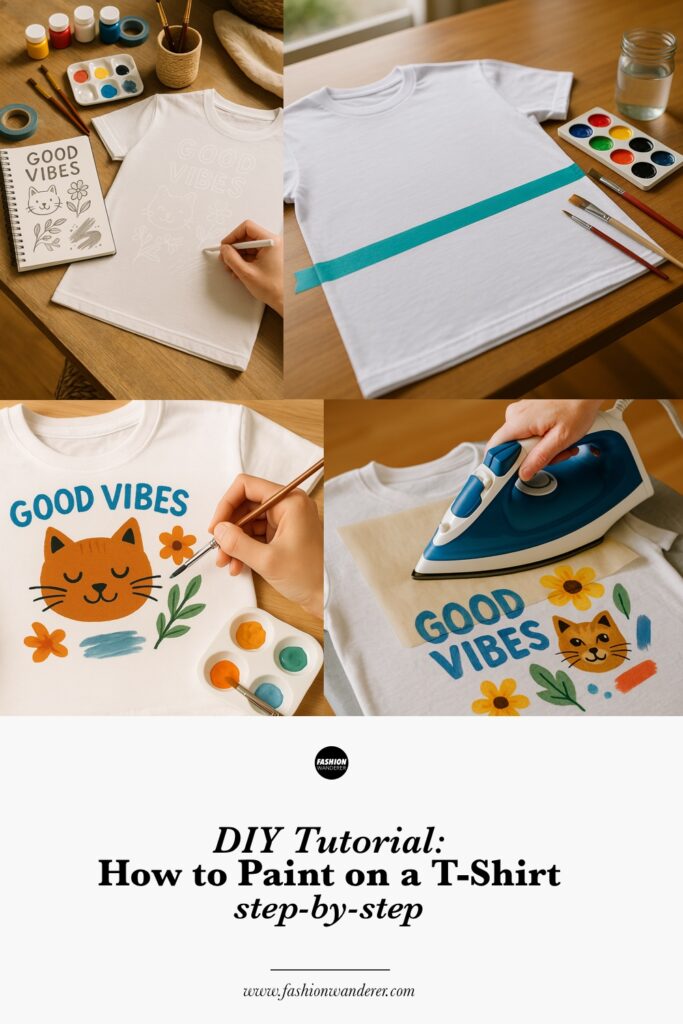
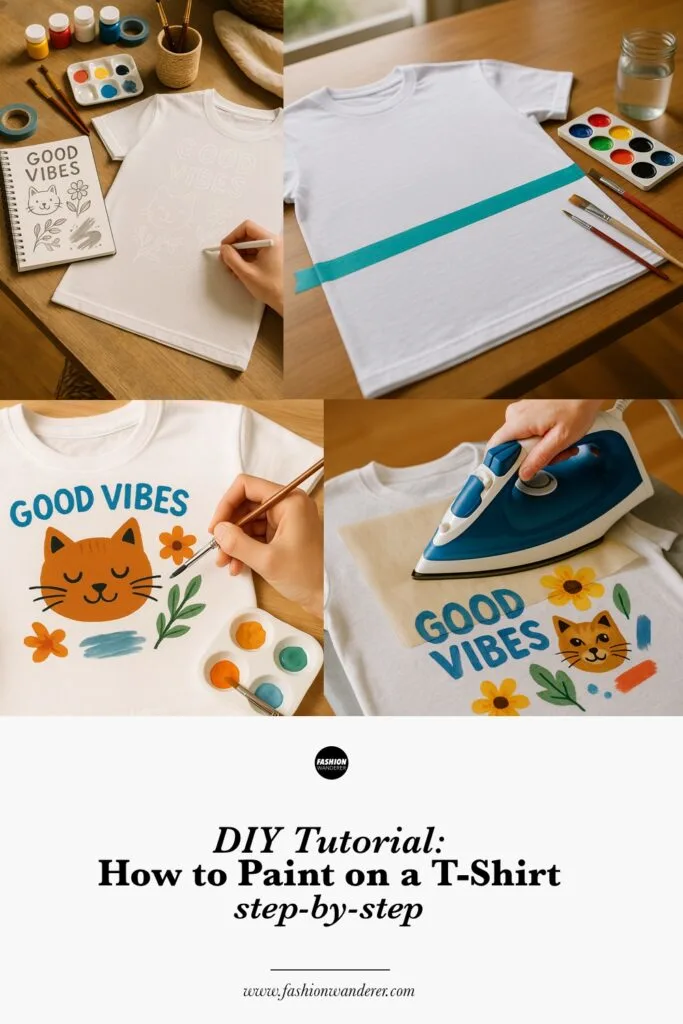
DIY T-Shirt Painting: Step-by-Step Tutorial
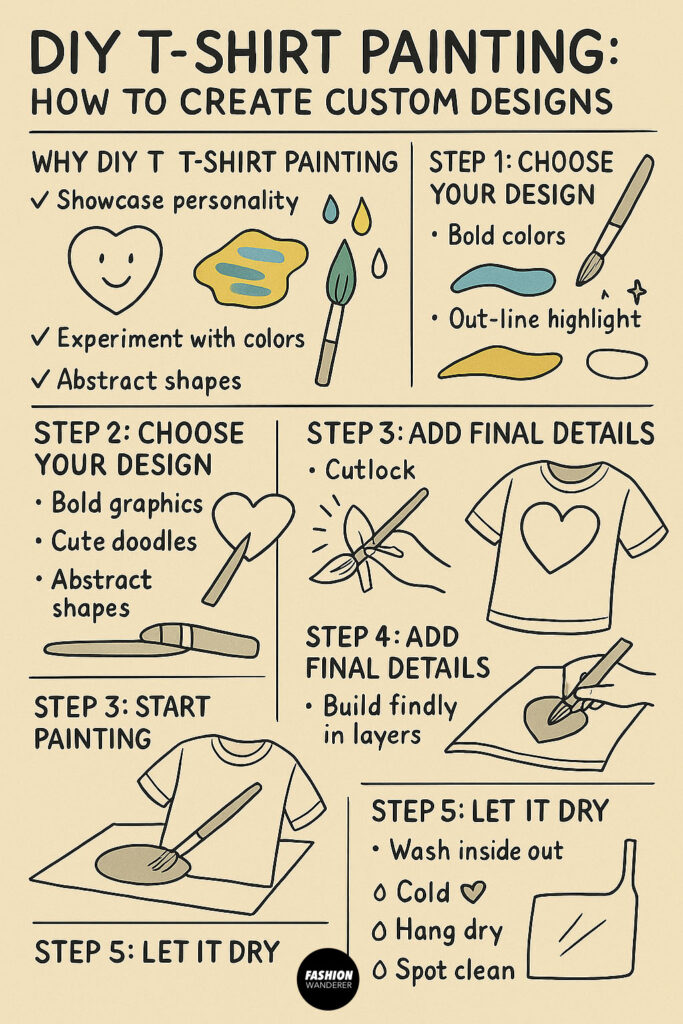
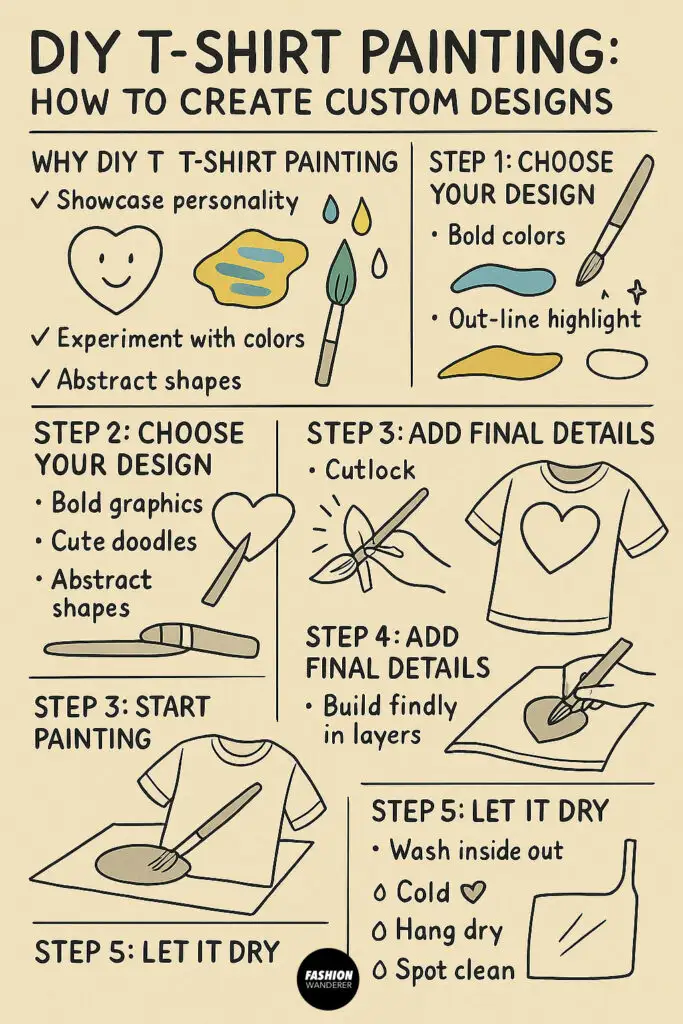
Step 1: Choose Your Design
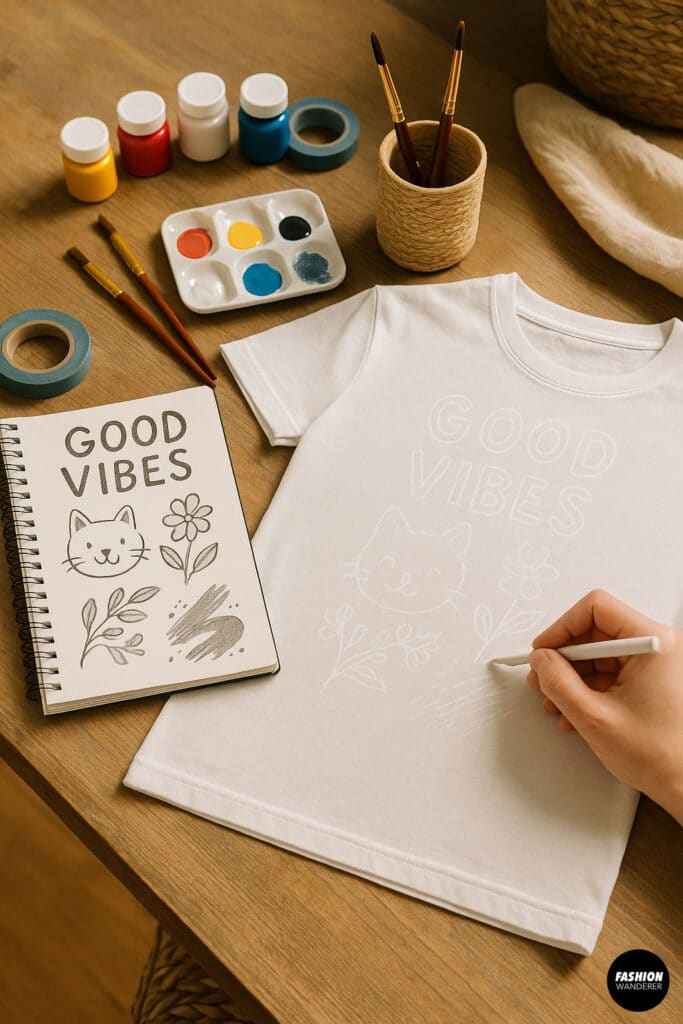

Before you start painting, plan your design. Think about:
- Bold graphic prints (words, symbols, logos)
- Cute doodles or cartoon characters
- Nature themes (florals, leaves, animals)
- Abstract splashes, stripes, or geometric shapes
Sketch your idea on paper first. When you’re happy with it, lightly draw it on the t-shirt using chalk or a pencil.
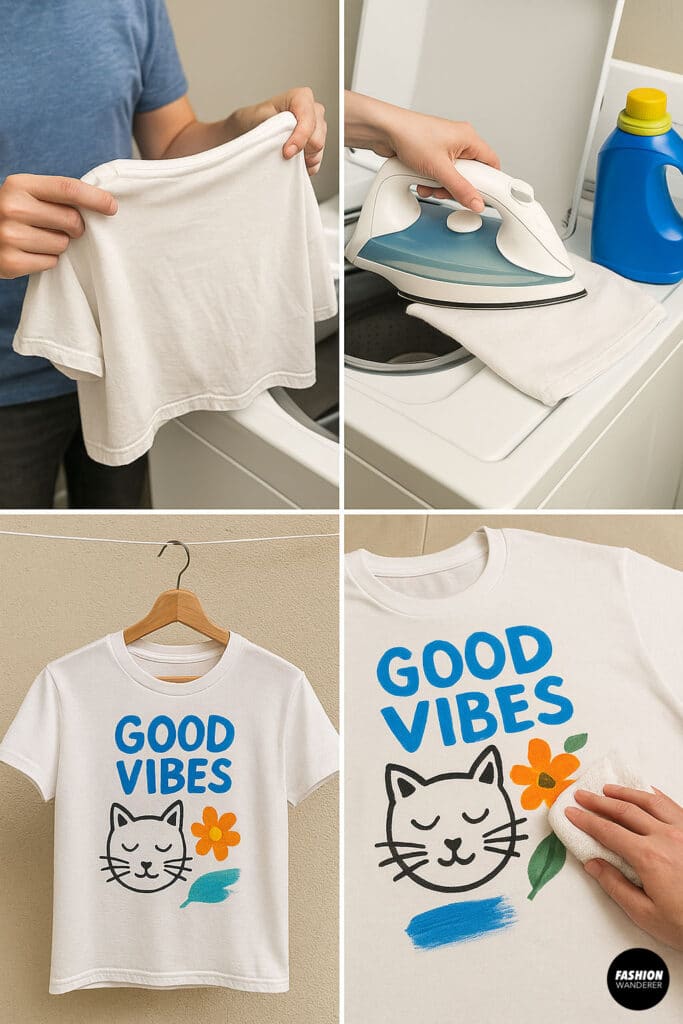
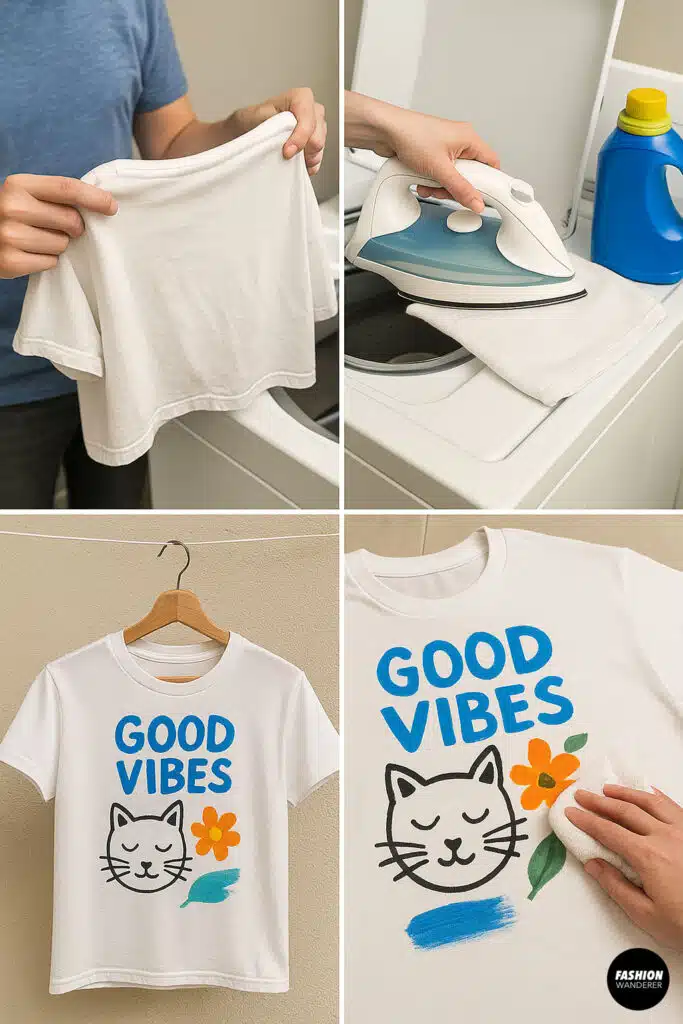
Step 2: Prep the Shirt

Wash and dry the t-shirt to remove any finishes or shrinkage. Lay it flat and iron out any wrinkles for a smooth painting surface.
Slide a piece of cardboard or a plastic sheet inside the t-shirt to prevent paint from seeping through to the back.
Step 3: Set Up Your Painting Area
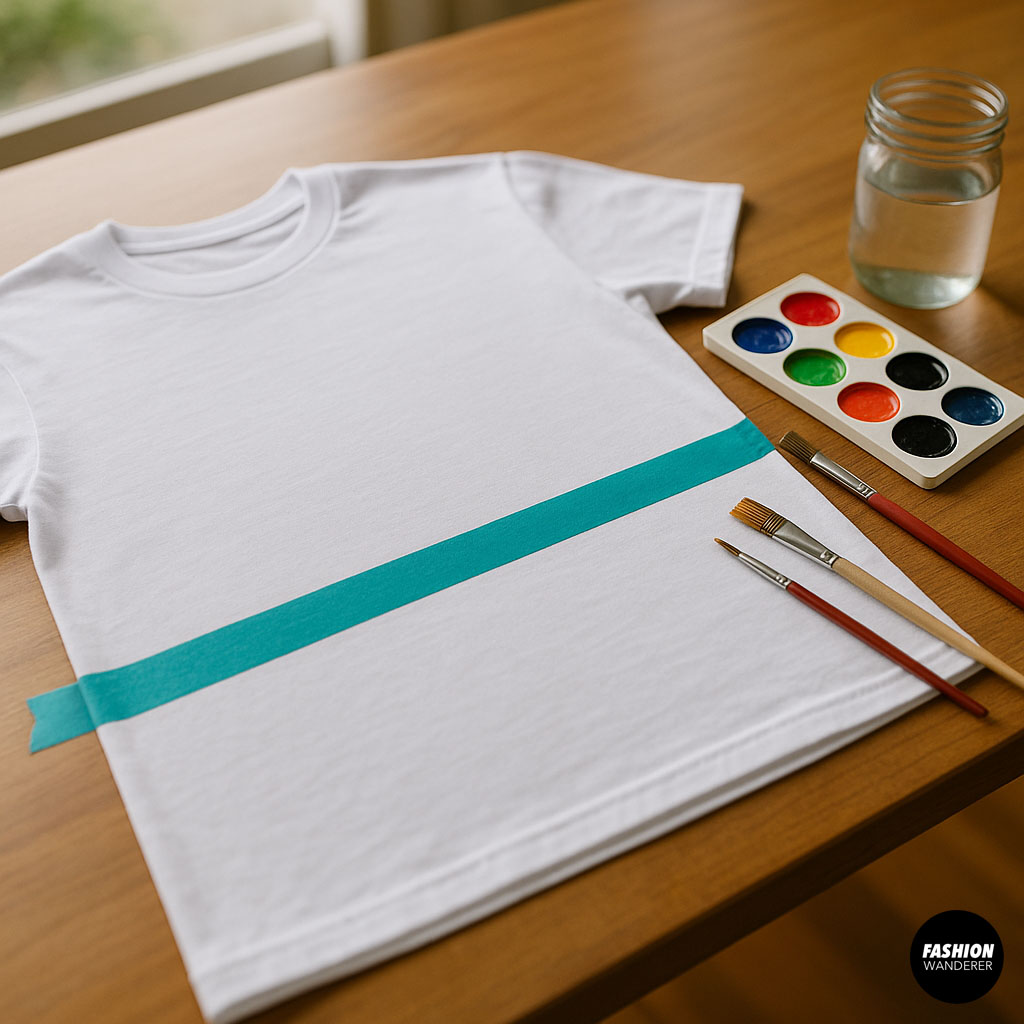
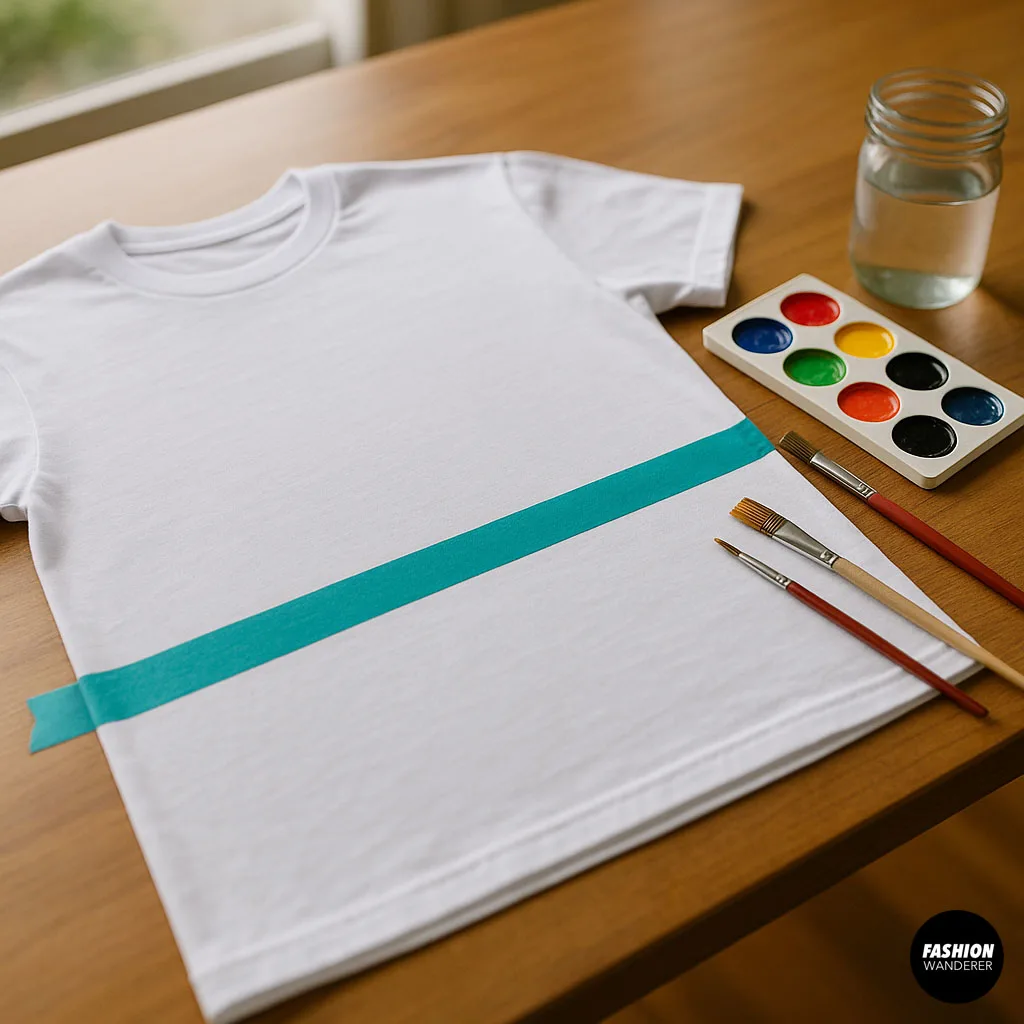
Choose a clean, flat work surface with good lighting. Keep your paints, brushes, and water nearby.
Use painter’s tape to block off areas or create clean lines if your design calls for it.
Step 4: Start Painting
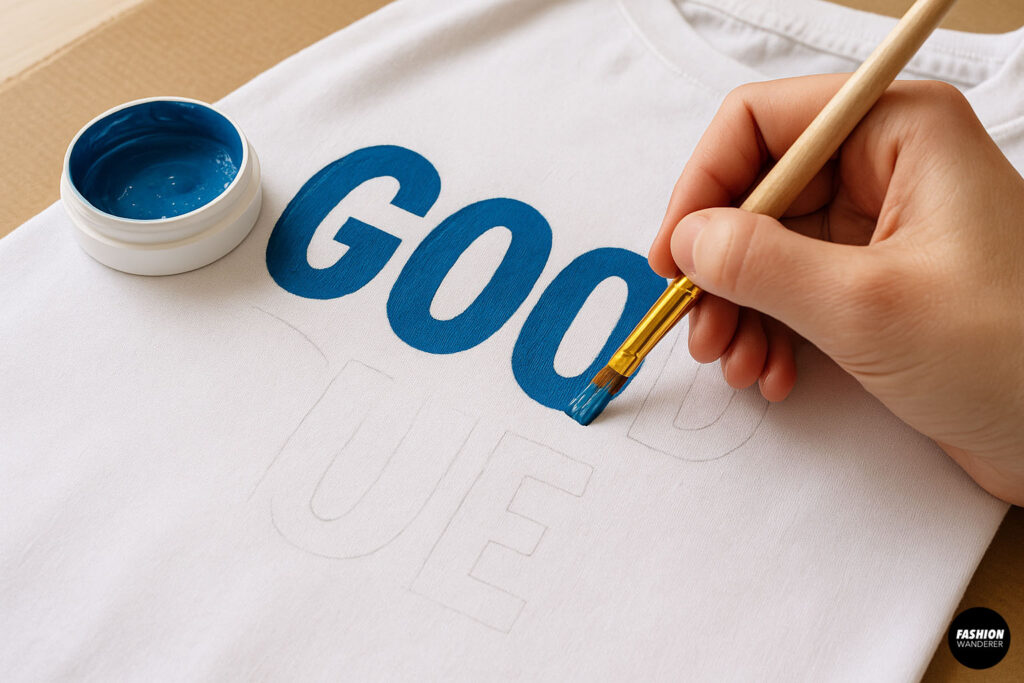

Dip your brush into the fabric paint. Apply light, even strokes. It’s better to paint several thin layers rather than one thick coat to prevent cracking.
💡 Tips for painting:
- Use a flat brush or sponge for large areas
- Use fine brushes for outlines and details
- Let each color dry before adding another to avoid smudging
If you want a faded or ombré look, blend colors while they’re still wet.
Step 5: Add Final Details

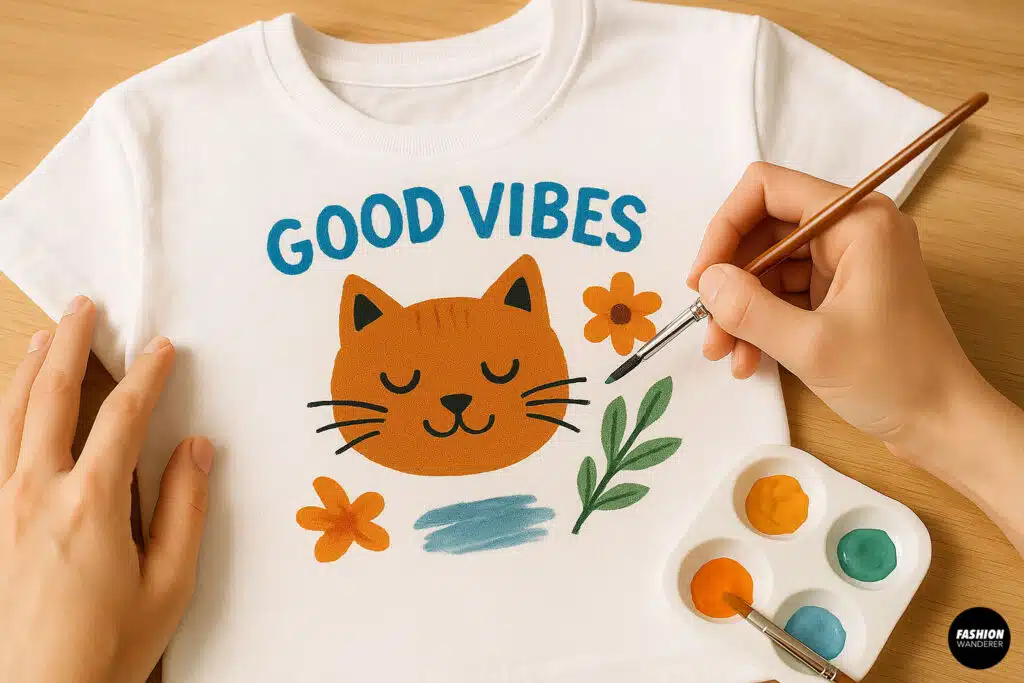
Once the base layers are dry, go back in and add outlines, highlights, shadows, or small decorative elements. This is what makes your design pop!
Step 6: Let It Dry

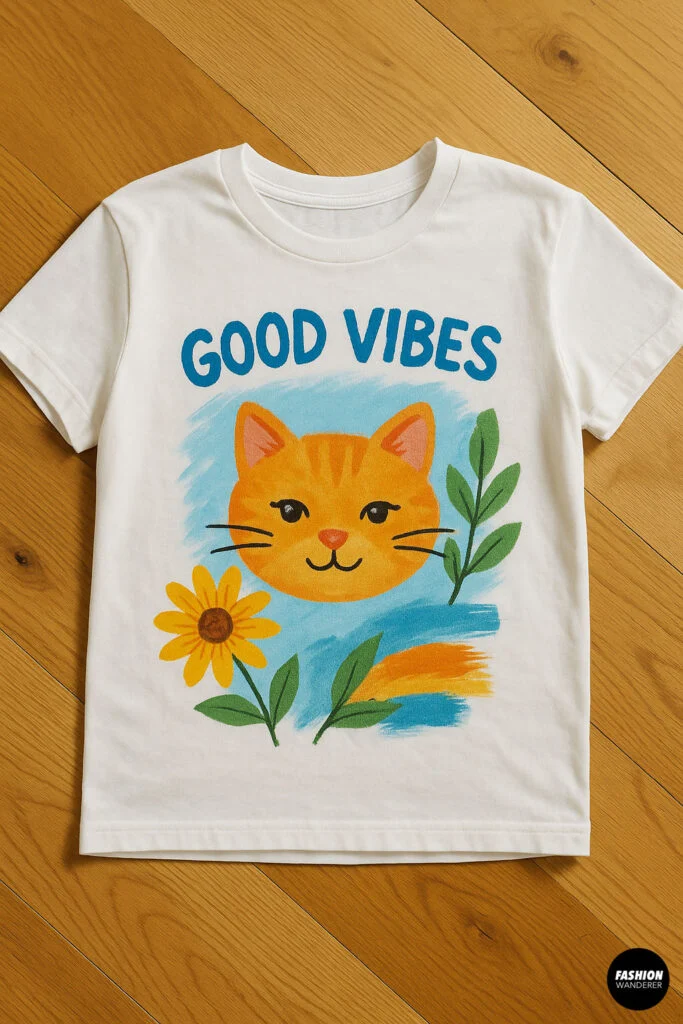
Allow the t-shirt to air dry flat for 24 hours. Don’t touch or move it during this time so the paint sets properly.
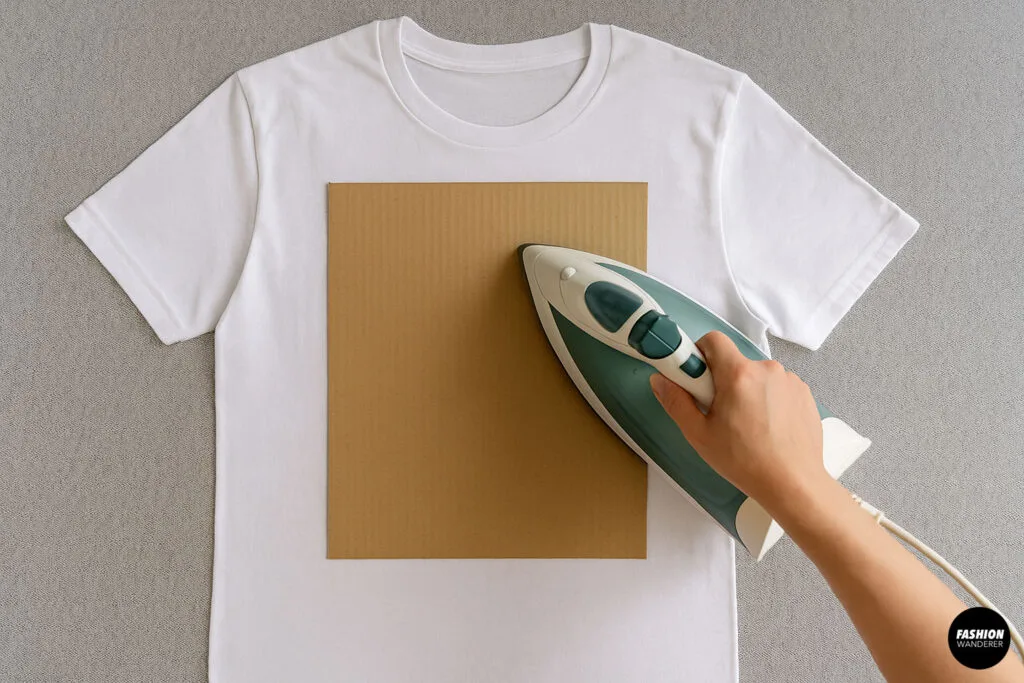
Step 7: Heat Set the Paint

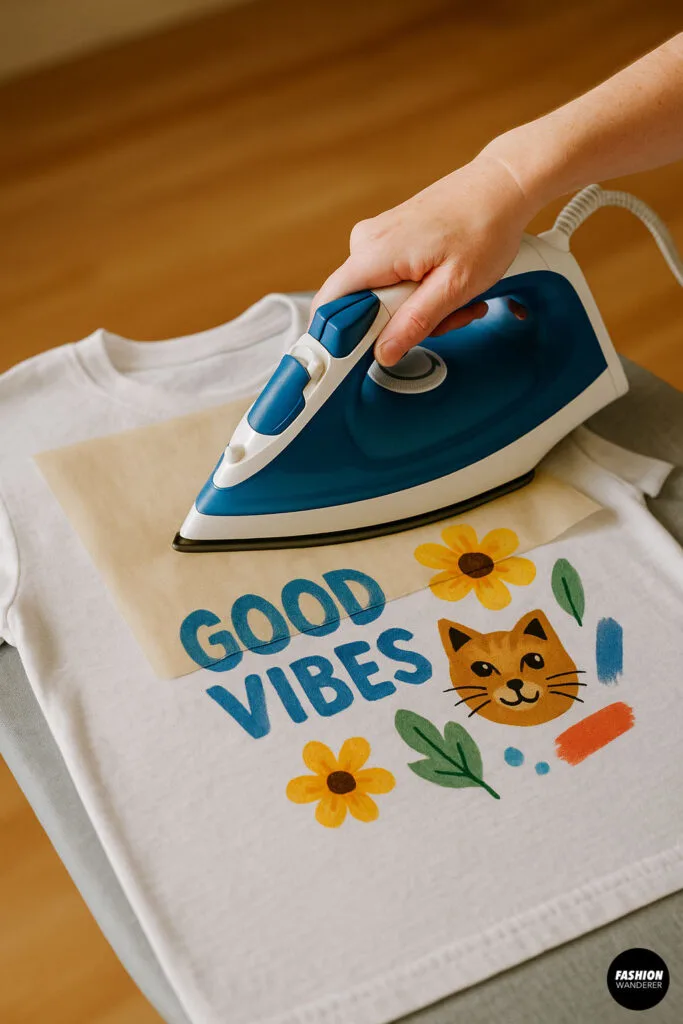
This step is crucial to make your design last:
- Iron method: Place a thin cloth or parchment paper over the design and iron on medium heat (no steam) for 3-5 minutes, moving the iron continuously.
- Heat gun or hair dryer: Use on high heat, moving back and forth for several minutes over the painted area.
Heat setting seals the paint so it stays vibrant through washing.
Pro Tips for DIY T-Shirt Painting

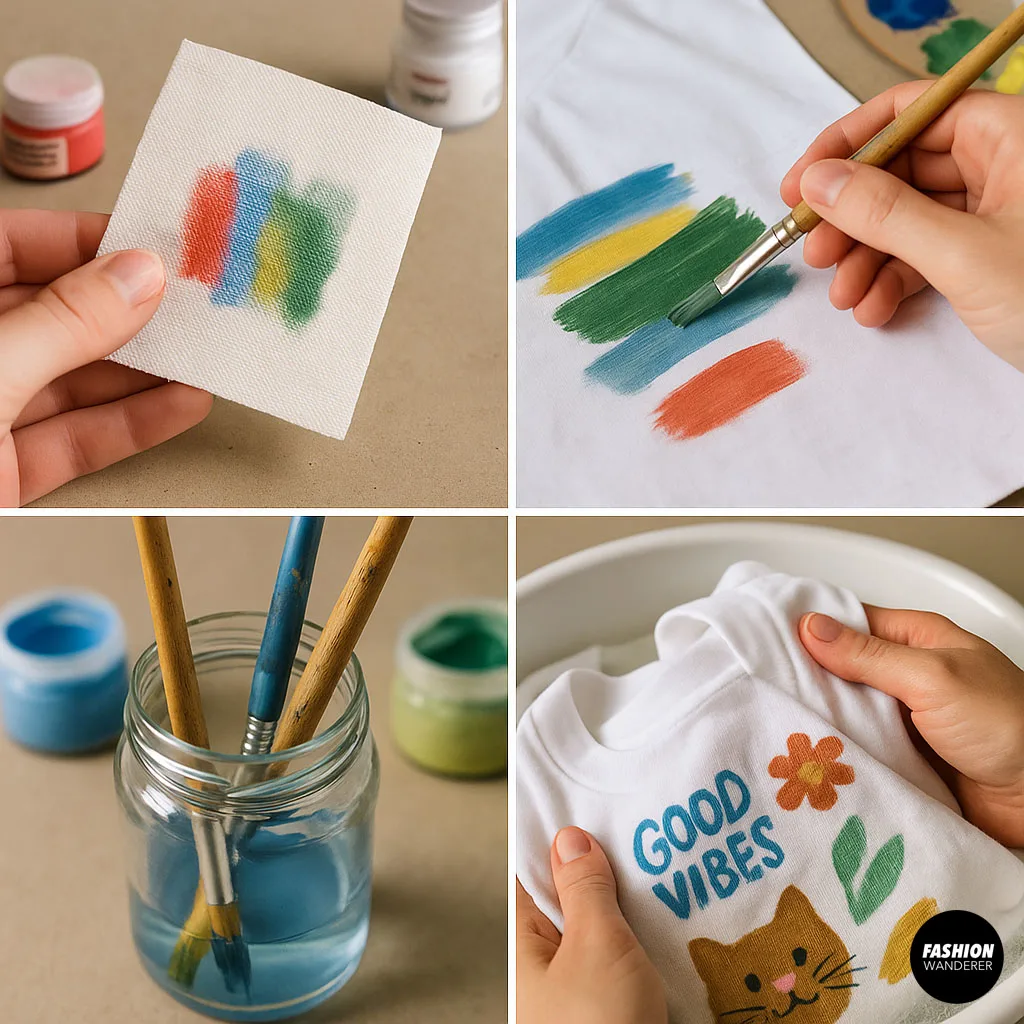
✨ Test first – Try your paint on scrap fabric or an old shirt before starting on your final tee
✨ Work in layers – Build up color gradually to avoid thick, cracking paint
✨ Don’t overload your brush – This helps control drips and smears
✨ Clean your brushes immediately between colors for crisp designs
✨ Hand wash or gentle cycle – To keep your painted tee looking fresh
Easy T-Shirt Painting Ideas for Beginners

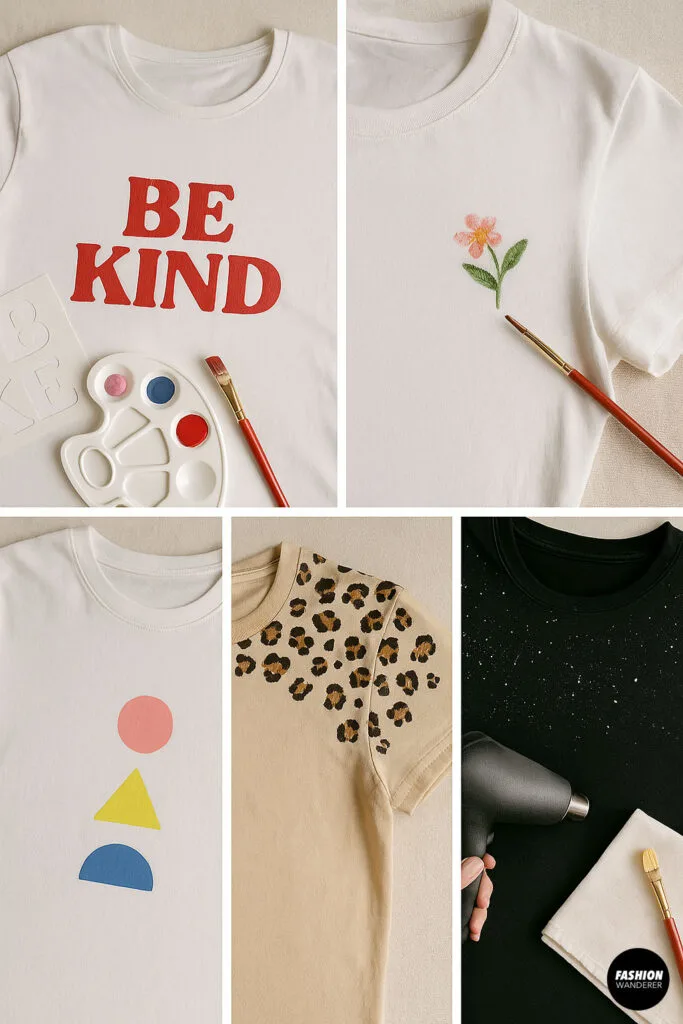
If you’re not sure where to start, here are some beginner-friendly ideas:
🎨 Simple words or slogans – Use stencils or freehand a favorite phrase
🌸 Floral corners – Paint tiny blooms on the sleeve or hem
🌈 Geometric shapes – Triangles, circles, or stripes for a modern look
🐾 Animal prints – Leopard spots, paw prints, or tiny birds
🌟 Galaxy design – Flick white paint for a starry effect over black fabric
Caring for Your Painted T-Shirt
✅ Wash inside out
✅ Hand wash for best results
✅ Cold water wash only
✅ Hang dry — avoid the dryer’s heat
✅ Spot clean when possible
The better you care for your tee, the longer your art will last!
Final Thoughts
DIY t-shirt painting is an easy, affordable, and super fun way to refresh your wardrobe or create personalized gifts. With just a few supplies and your creativity, you can turn a plain t-shirt into a one-of-a-kind piece you’ll be proud to wear.
So grab your brushes, turn up your favorite playlist, and get painting! Whether you choose florals, slogans, or bold graphics, your new favorite tee is just a few brush strokes away.
Trendy, Affordable Sewing Patterns for All Sizes


Tie Shoulder Jumpsuit Pattern


Palazzo Pants Sewing Pattern


Pocket Overall Romper Pattern


Wrap Maxi Skirt Sewing Pattern


Tie Back Top Sewing Pattern