
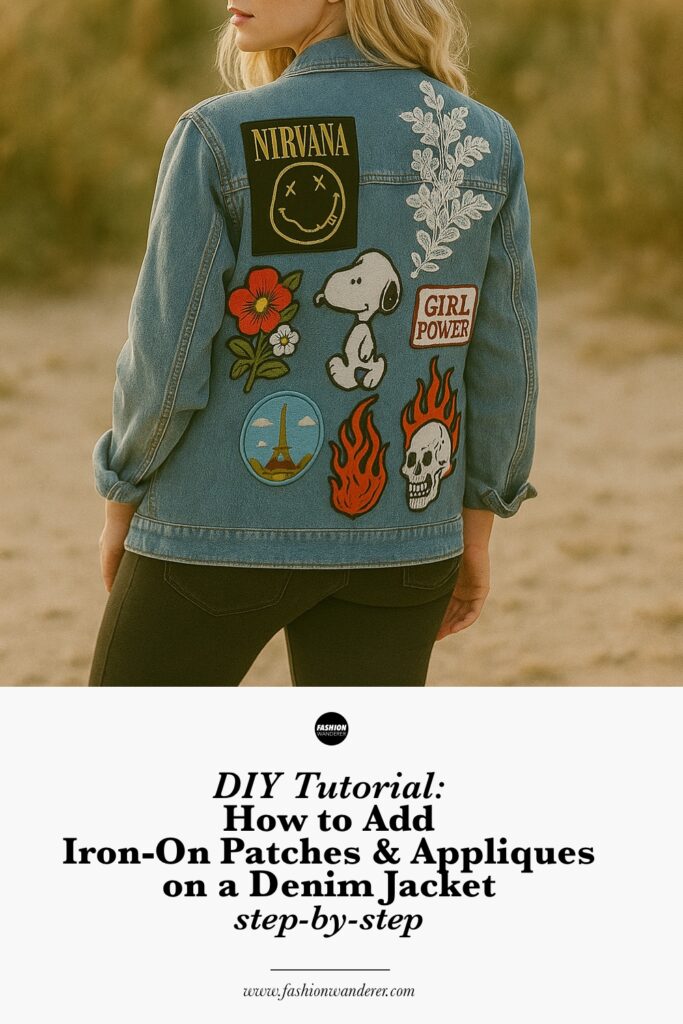
Denim jackets never go out of style, and adding iron-on patches and appliqués is one of the easiest and most fashionable ways to customize them. Whether you’re aiming for a vintage vibe, a rocker look, or just want to cover up a stain or tear, patches and appliqués let you express your personality without breaking the bank.
In this detailed tutorial, we’ll walk you through how to add iron-on patches to your denim jacket, along with expert tips to ensure they last. Let’s dive in!
Why Add Iron-On Patches to a Denim Jacket?


Iron-on patches and appliqués are a trendy, budget-friendly way to:
- Give new life to an old or plain denim jacket
- Cover small holes, stains, or worn-out areas
- Show off your style with fun designs, slogans, or logos
- Create a one-of-a-kind piece that nobody else owns
Plus, the process is simple enough for beginners, and you don’t even need a sewing machine!
Supplies You’ll Need


Before you start, gather these supplies:
- Denim jacket (clean and dry)
- Iron-on patches or appliques
- Household iron
- Ironing board or heat-safe flat surface
- Thin cotton cloth or pressing cloth
- Pins (optional, for positioning)
- Tailor’s chalk or removable fabric marker (optional)
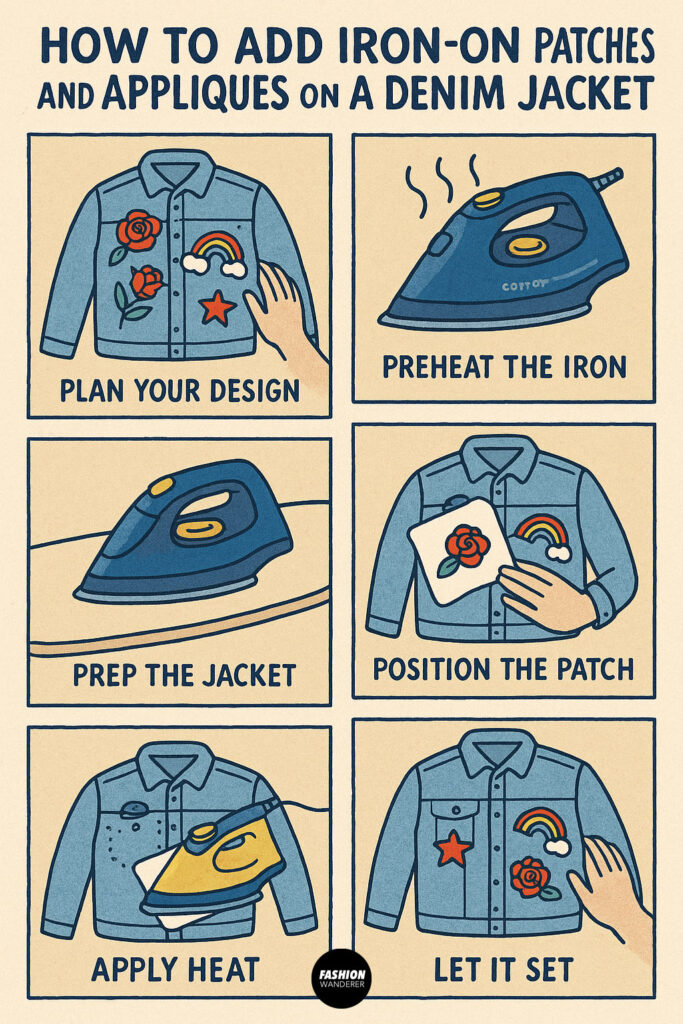
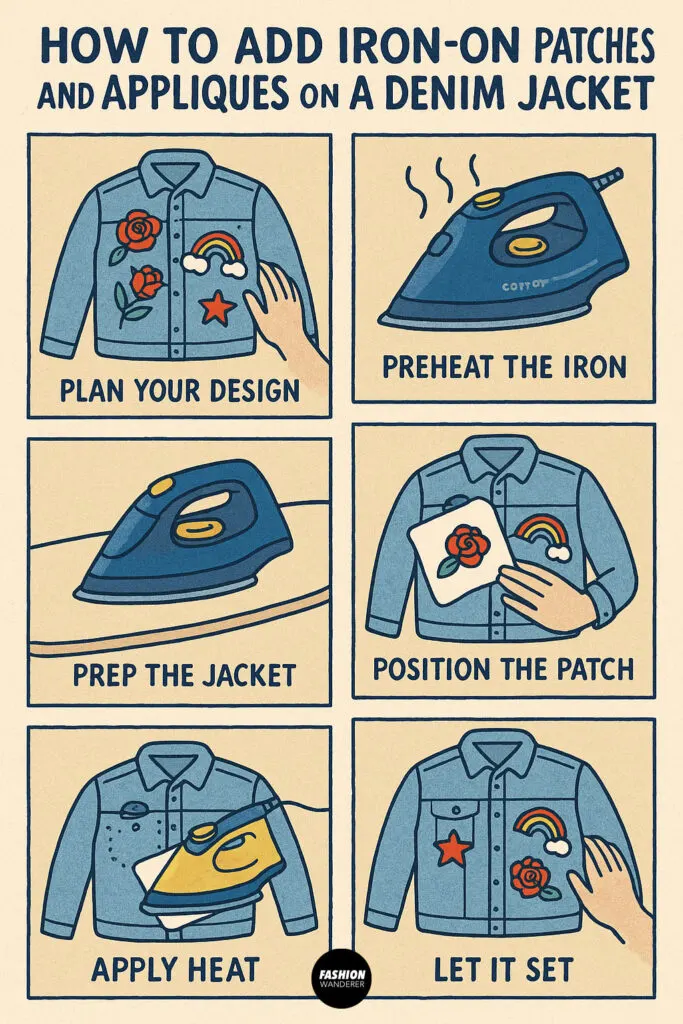
How to Add Iron-On Patches: Step-by-Step Instructions
Step 1: Plan Your Design
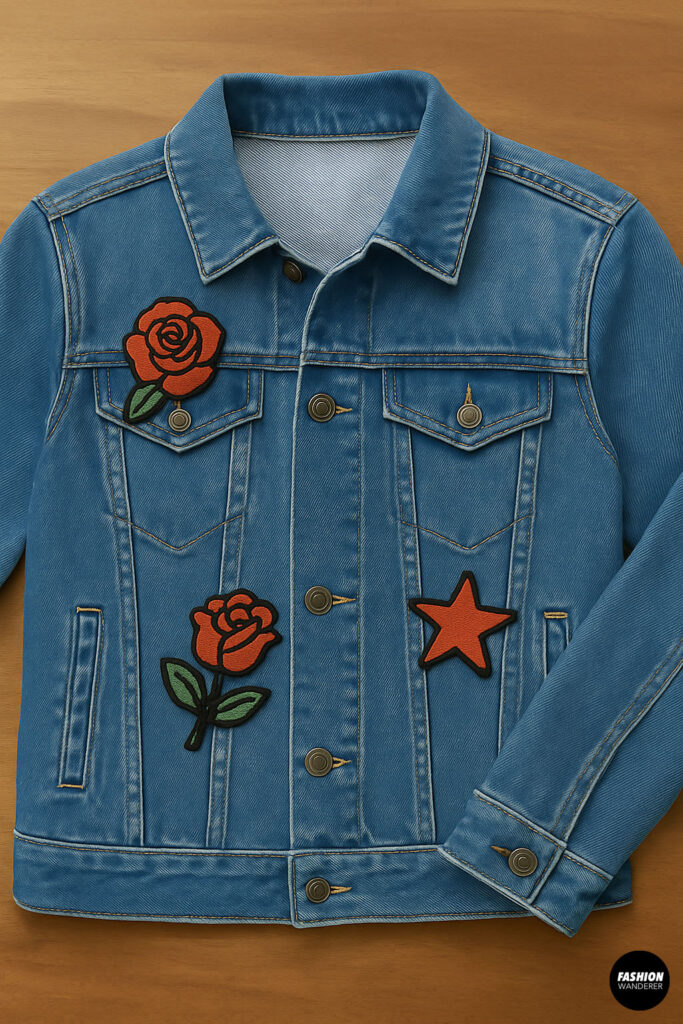
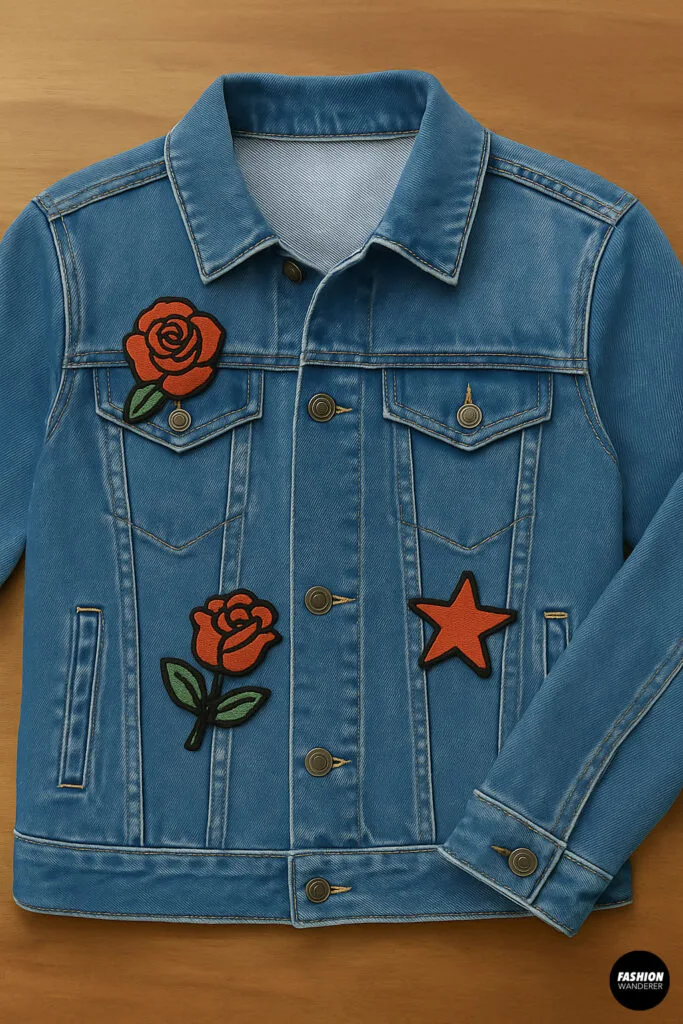
Lay your denim jacket on a flat surface. Arrange the patches where you’d like them to go. This is your chance to get creative—try placing patches on the back panel, sleeves, pockets, or collar. You can mix large statement patches with smaller ones for a layered look.
Step 2: Preheat the Iron
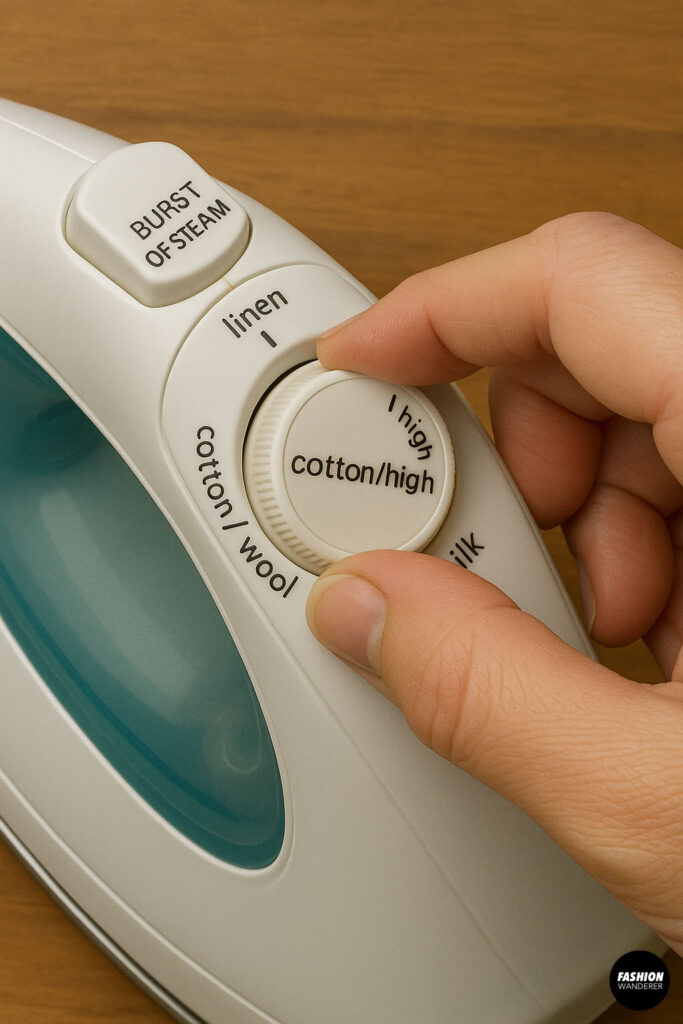
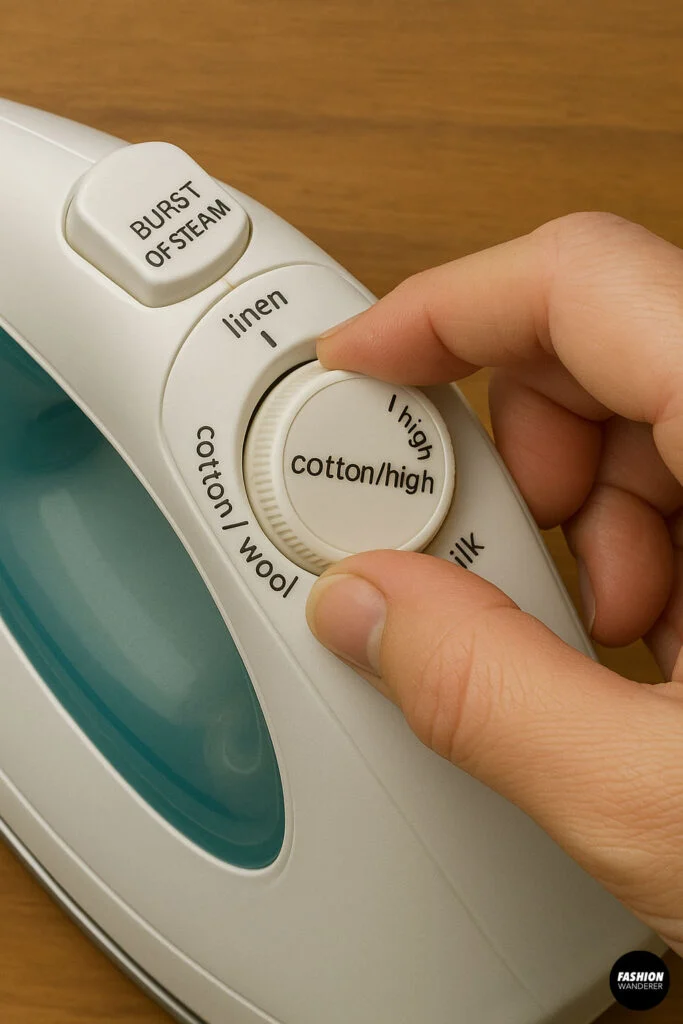
Set your iron to the cotton/high heat setting, but make sure steam is turned off. Iron-on patches adhere best with dry heat. Let the iron heat up fully before you begin.
Step 3: Prep the Jacket
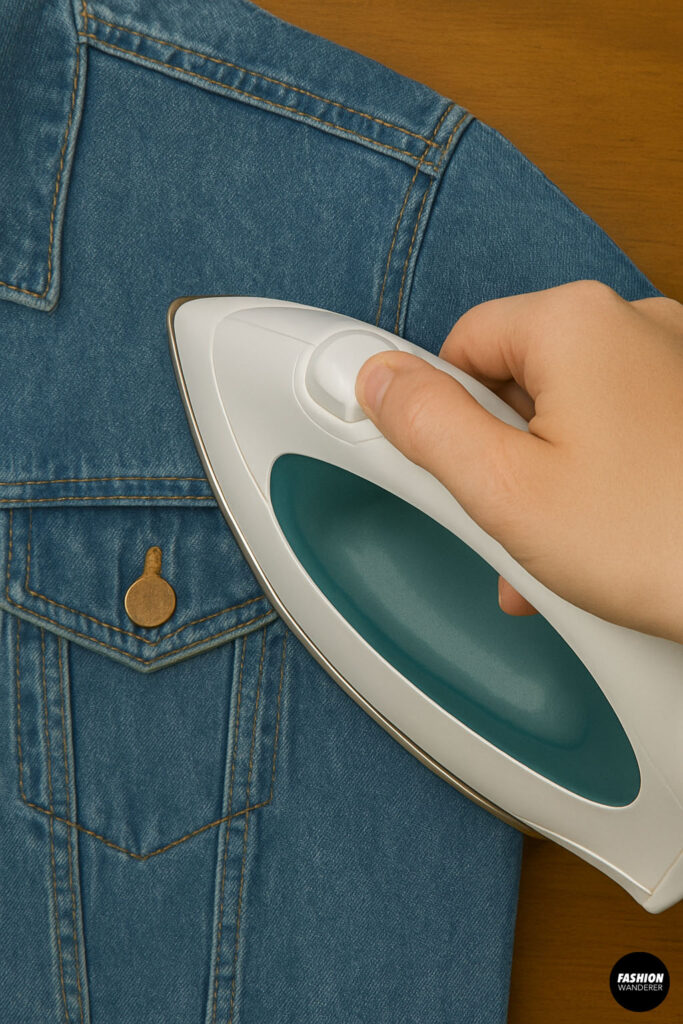

Iron the section of the denim where you plan to place the patch. This smooths out wrinkles and pre-warms the fabric, helping the patch bond better.
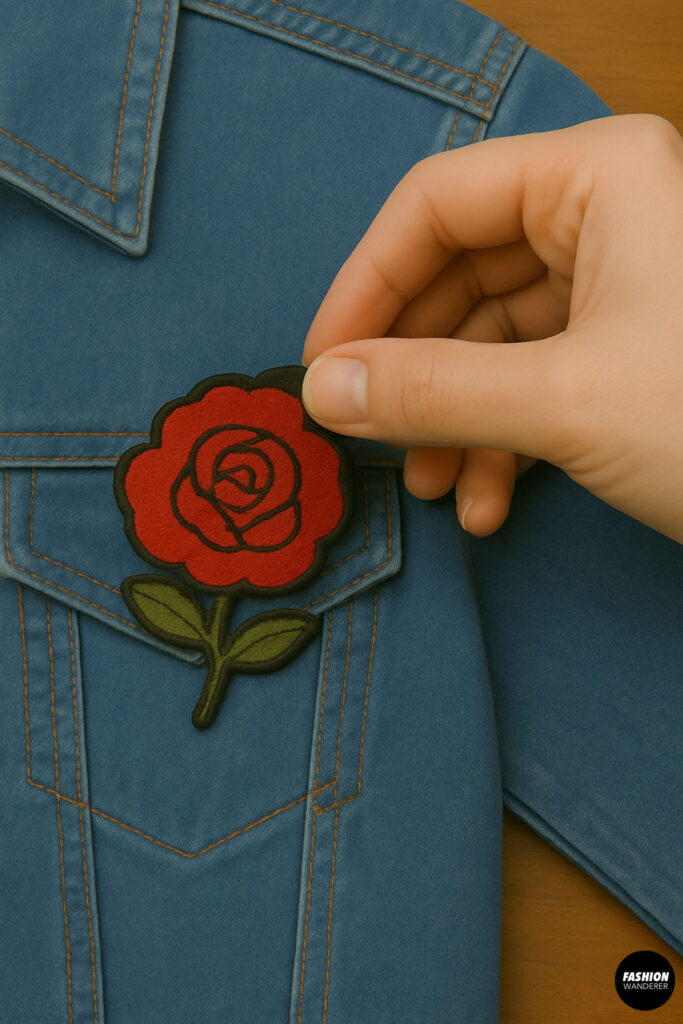
Step 4: Position the Patch


Place the patch adhesive side down (shiny side against the fabric). If needed, use pins to hold it in place, or mark the spot lightly with tailor’s chalk.
Cover the patch with a thin cotton cloth or pressing cloth to protect both the patch and the fabric from direct heat.
Step 5: Apply Heat
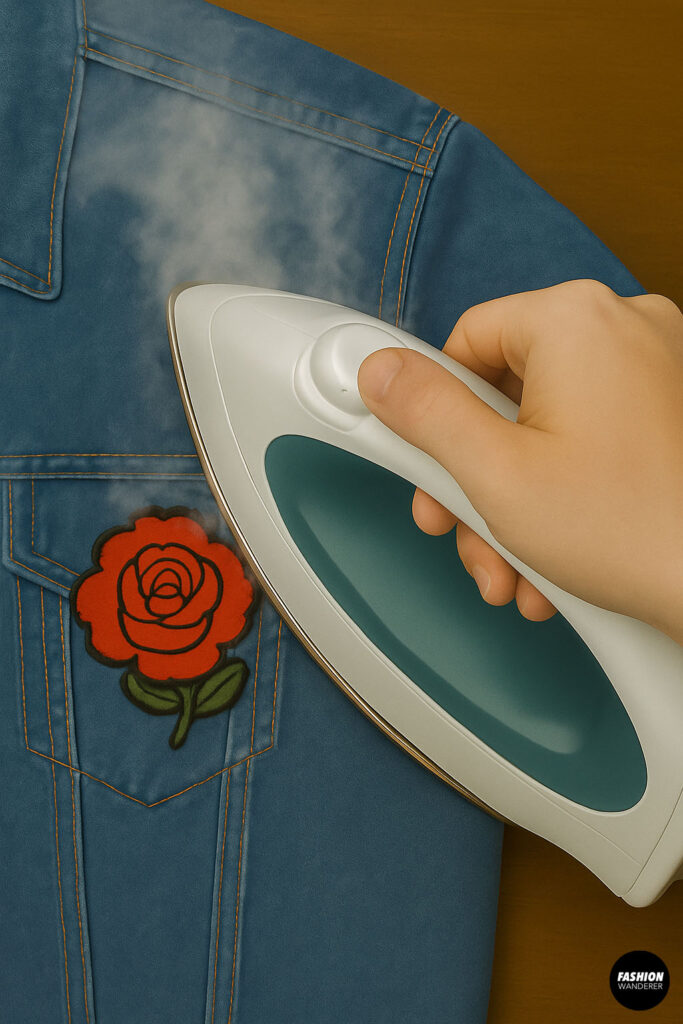

Press the iron down firmly on the patch for 20-30 seconds, applying steady pressure. Do not move the iron around—this can shift the patch. Lift the iron straight up and let the area cool for a few seconds.
If your patch is large, work in sections so the entire patch receives even heat.
Step 6: Check Adherence

Gently lift the edge of the patch (once it cools slightly) to see if it’s bonded. If it’s not fully stuck, replace the pressing cloth and apply heat again in 10-15 second intervals until secure.
Step 7: Let It Set
Allow the patch and fabric to cool completely before wearing or handling. This ensures the adhesive sets fully.
Extra Tips for Iron-On Patches on Denim
- Test the fabric: Some denim jackets have stretch fibers that don’t hold iron-on patches well. If your jacket contains spandex or elastane, consider stitching the edges after ironing for extra security.
- Wash carefully: Turn your jacket inside out and wash on cold, gentle cycle. Hang dry to prolong the life of your patches.
- Reinforce if needed: For patches in high-friction areas (like elbows), hand-stitch or machine-stitch around the edges after ironing to prevent peeling.
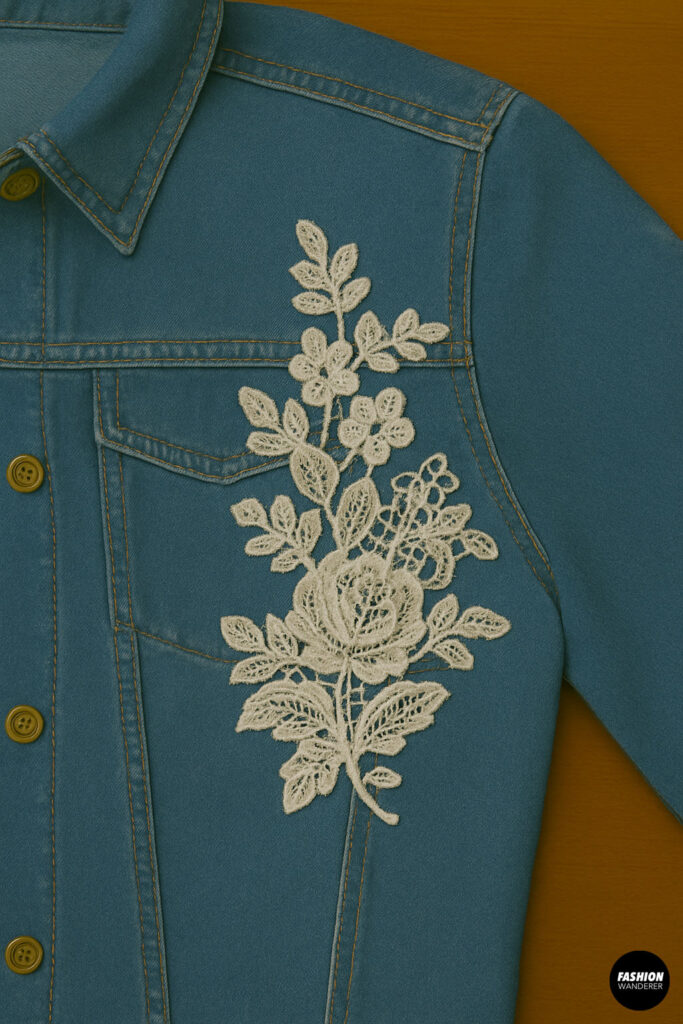
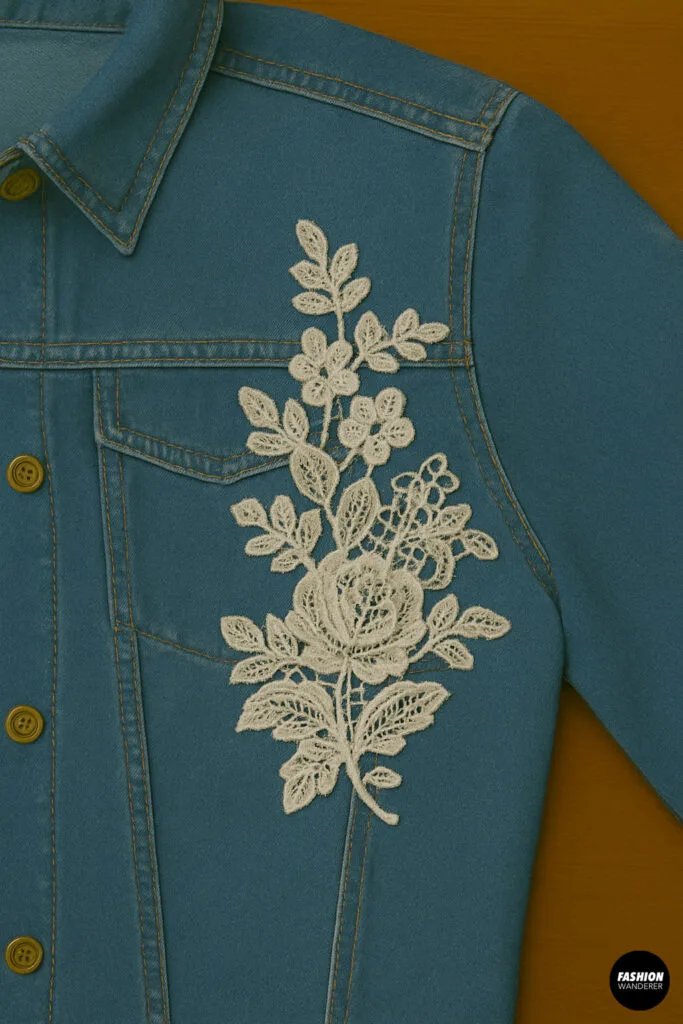
How to Add Appliqués on a Denim Jacket
Appliqués are similar to patches but often more intricate in design. The process is almost the same!
Step 1: Plan the Placement
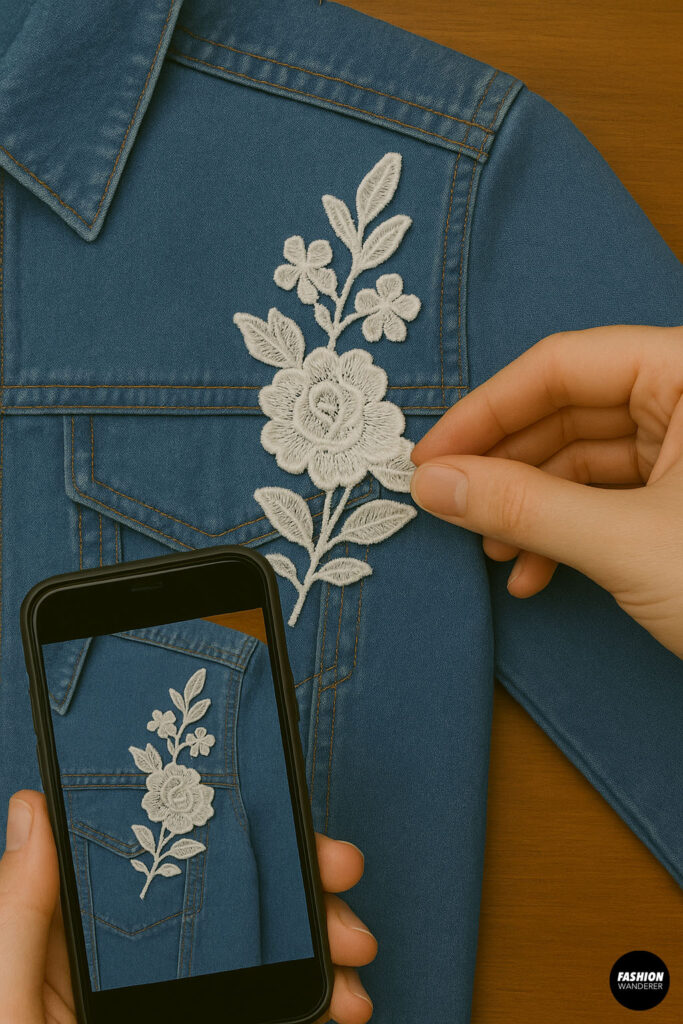
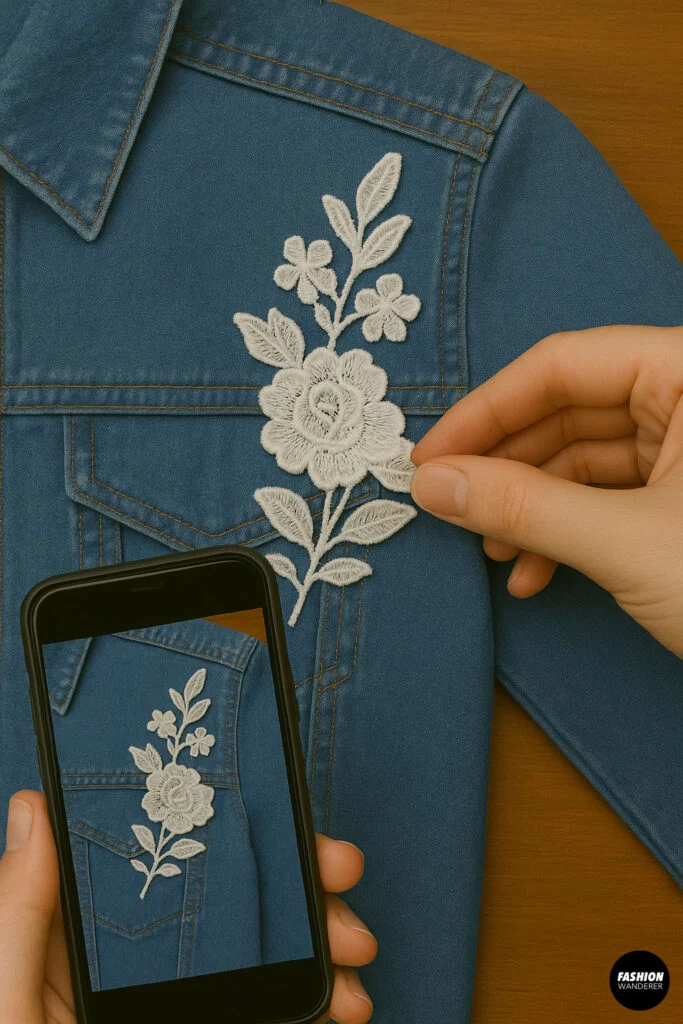
Position your appliqué on the denim and take a photo so you can remember the layout.
Step 2: Iron with Care

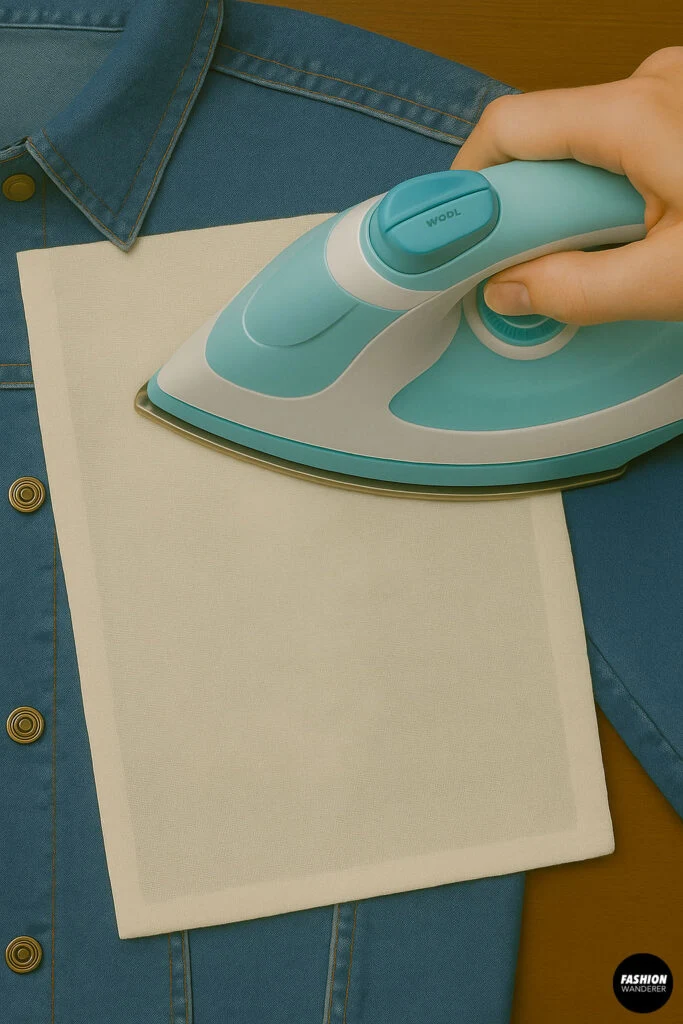
Because appliqués can have delicate details (like lace or embroidery stitches), place a pressing cloth on top and use medium-high heat. Apply steady pressure for 20-30 seconds. For larger or layered appliqués, work in sections.
Step 3: Cool and Secure
Allow the appliqué to cool completely. If you see any loose edges, press again or sew along the edges with matching thread for durability.
Popular Iron-On Patch Ideas for Denim Jackets


Looking for inspiration? Here are some fun ideas:
- Vintage band logos
- Floral appliques for a boho vibe
- Cartoon characters or pop culture references
- Positive slogans or empowering words
- Travel patches from your favorite destinations
- Edgy skulls, flames, or tattoo-style designs
Common Mistakes to Avoid
✅ Don’t skip pre-ironing the denim—this helps create a flat surface for better bonding.
✅ Don’t rush the cooling step—let the patch cool fully before testing it.
✅ Avoid washing the jacket right away—wait at least 48 hours to allow the adhesive to cure.
Final Thoughts

Adding iron-on patches and appliqués to your denim jacket is one of the easiest DIY fashion hacks. In just a few simple steps, you can transform a plain jacket into a stylish, personalized statement piece.
Whether you want to revive an old favorite or create a new signature look, this fun project lets your creativity shine. So go ahead—grab those patches and start designing your custom denim masterpiece!
Trendy, Affordable Sewing Patterns for All Sizes


Tie Shoulder Jumpsuit Pattern


Palazzo Pants Sewing Pattern


Pocket Overall Romper Pattern


Wrap Maxi Skirt Sewing Pattern


Tie Back Top Sewing Pattern