
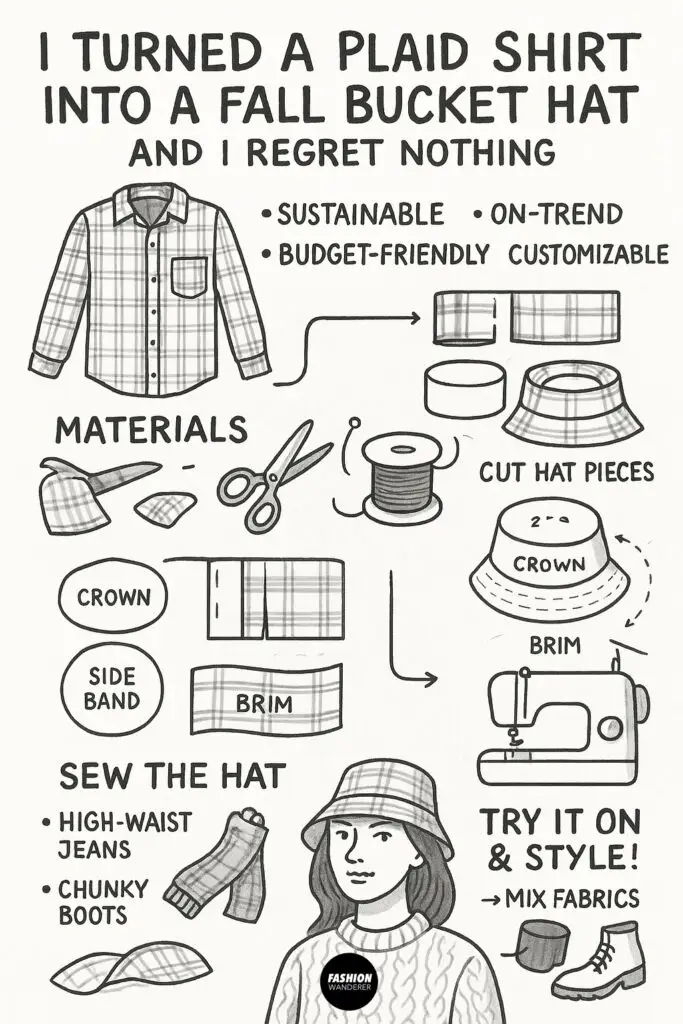
When the leaves start turning and the weather cools down, plaid always makes a comeback. From cozy flannels to chic scarves, plaid is practically the unofficial print of fall. But this year, I decided to push my DIY skills a little further: I turned an old plaid button-down shirt into a fall bucket hat.
Spoiler alert—I regret nothing. The project was fun, practical, budget-friendly, and gave me the perfect seasonal accessory to match with my sweaters, jeans, and boots.
If you’ve been itching to repurpose an old button-down shirt or just want to try your hand at sewing something unique, this tutorial is for you. Below, I’ll walk you through the step-by-step process of how to transform a plaid shirt into a stylish fall bucket hat, complete with tips, tricks, and ideas to personalize your creation.
Why Make a Bucket Hat from a Plaid Shirt?
Before diving into the tutorial, let’s talk about why this project is worth your time.
- Sustainable Fashion – Upcycling clothing keeps fabric out of landfills and gives new life to garments you no longer wear.
- On-Trend Accessory – Bucket hats have been trending for several seasons, and plaid makes the look cozy and fall-appropriate.
- Budget-Friendly DIY – Instead of buying a new hat, use a shirt you already own (or thrift one for a few dollars).
- Customizable – Every plaid shirt is unique, meaning no two hats will look the same.
Why I Don’t Regret This DIY
This bucket hat project checked all the boxes for me:
- It was eco-friendly, repurposing a shirt that was otherwise destined for the donation bin.
- It saved me money compared to buying a trendy fall accessory.
- It pushed my sewing skills, but in a fun and manageable way.
- Best of all, I now have a one-of-a-kind plaid bucket hat that perfectly matches the autumn season.
Materials You’ll Need

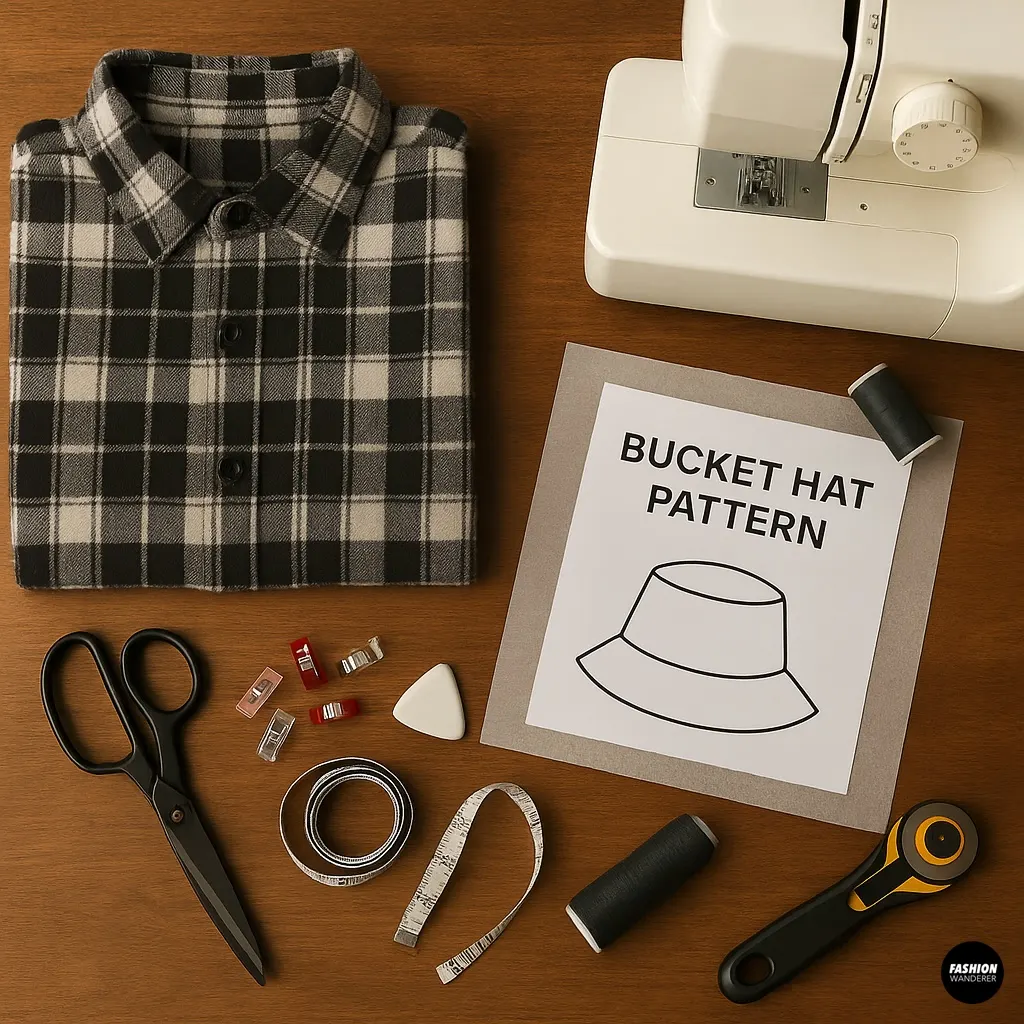
To create your bucket hat, gather these supplies:
- 1 plaid button-down shirt (flannel works best for structure and warmth)
- Fabric scissors or rotary cutter
- Sewing pins or clips
- Measuring tape
- Tailor’s chalk or washable fabric marker
- Bucket hat pattern (download printable bucket hat pattern online or trace an existing bucket hat)
- Sewing machine (or needle and thread for hand-sewing)
- Matching thread
- Optional: lightweight fusible interfacing (for added stiffness)
DIY Bucket Hat Sewing Tutorial

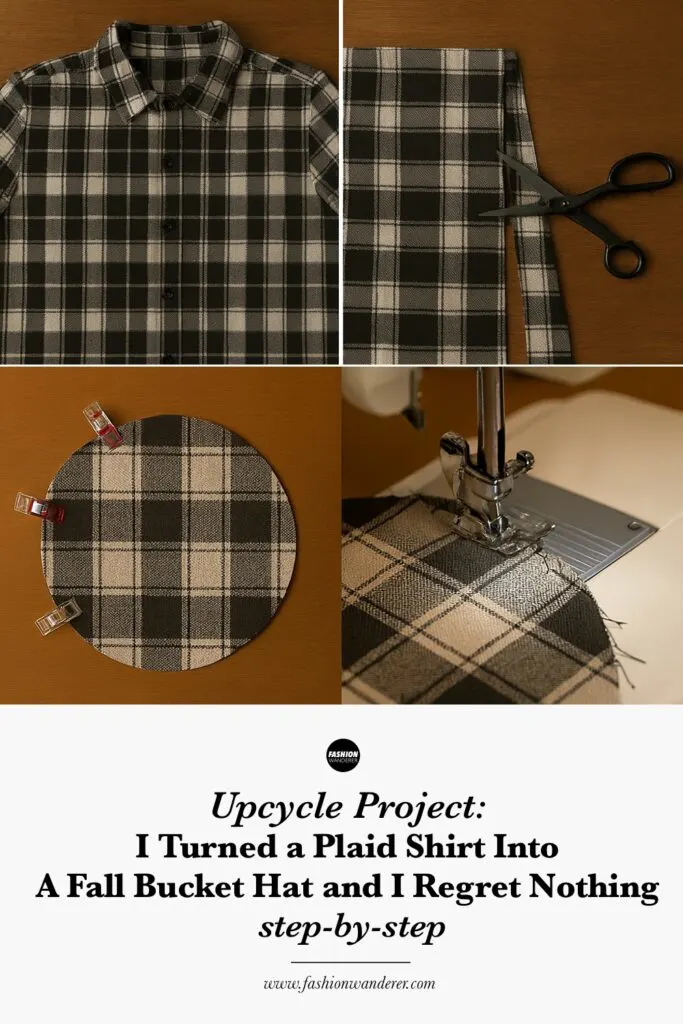
Step 1: Deconstruct the Shirt

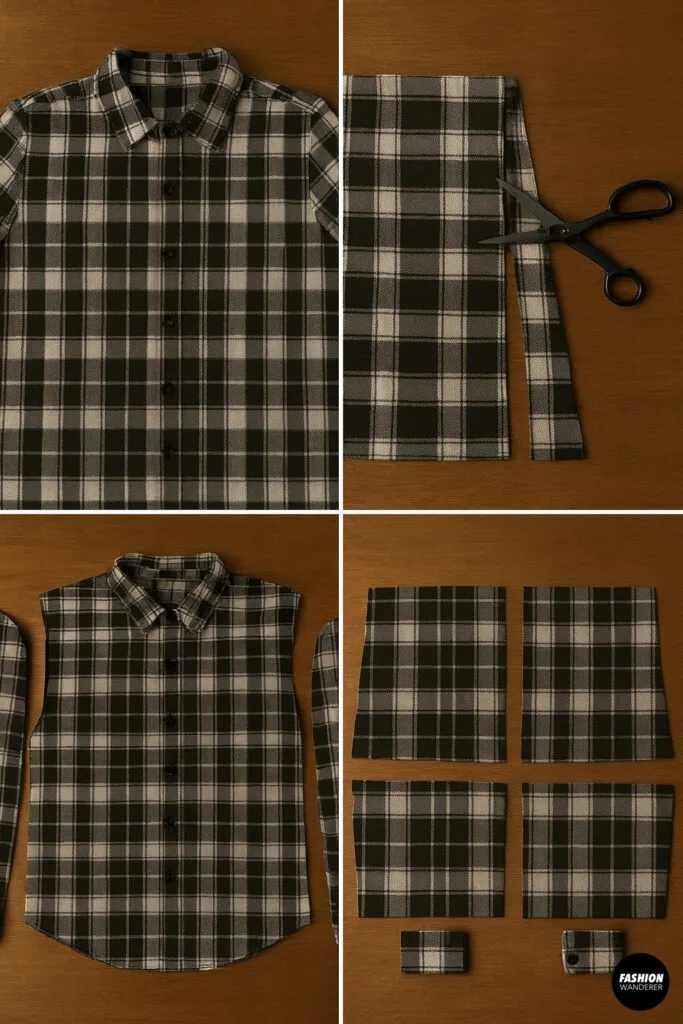
Lay your plaid shirt flat on a table and smooth out the wrinkles. Start by cutting along the seams to separate the front panels, back panel, and sleeves. Remove the cuffs, collar, and button placket. This will leave you with flat pieces of plaid fabric that are easier to work with.
Tip: Flannel can fray, so handle the fabric gently and trim off any loose threads.
Step 2: Cut Out Your Hat Pieces

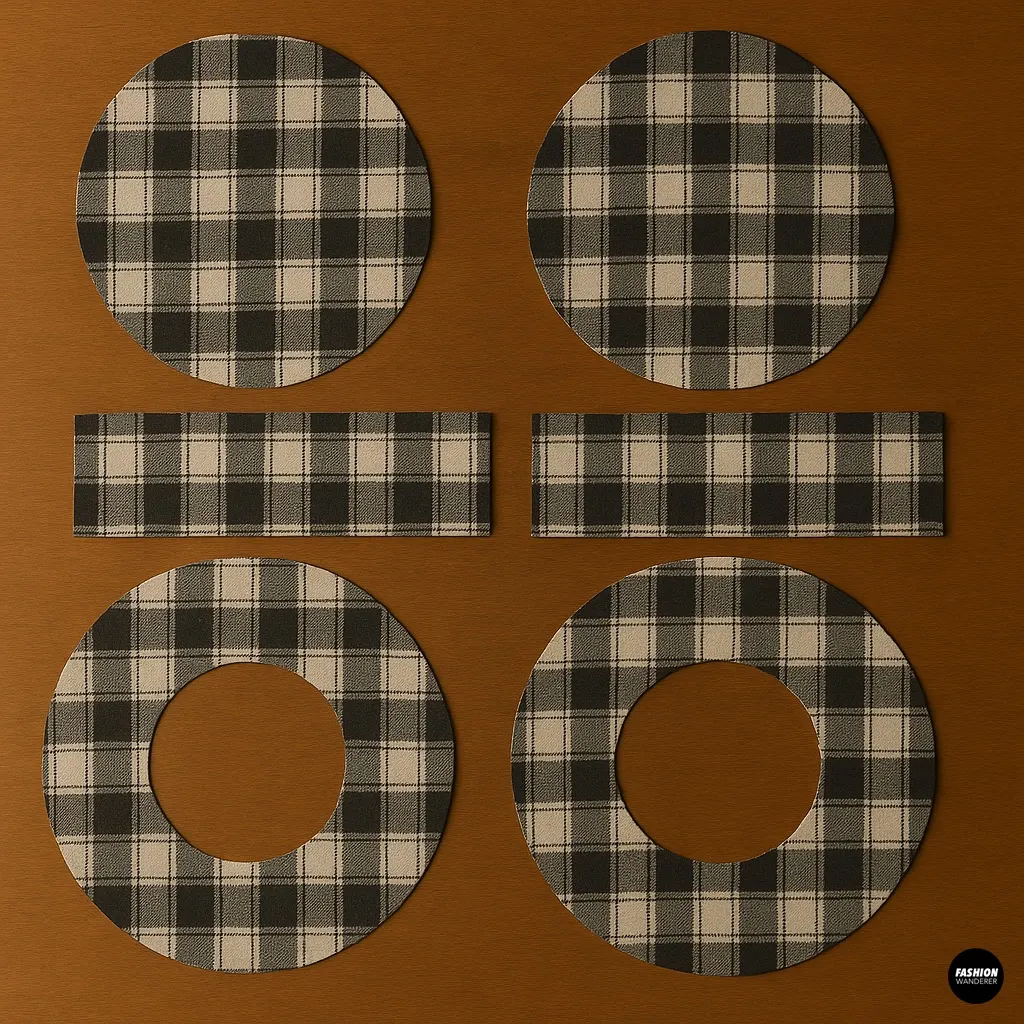
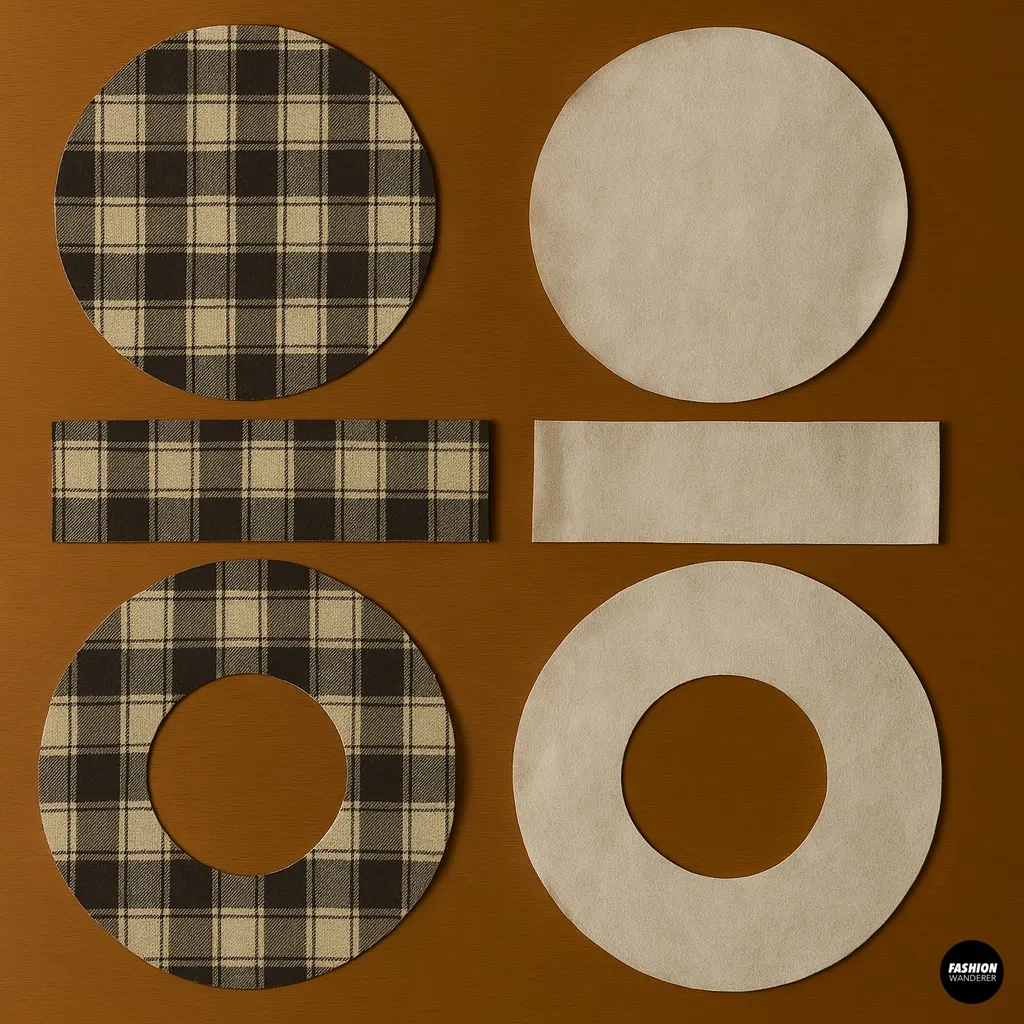
Most bucket hat patterns require:
- Two crown circles – the top of the hat.
- Two side bands – the middle section that wraps around your head.
- Two brims – the wide circular piece that gives the bucket hat its shape.
If you’re working with a smaller shirt, you may need to piece together the panels to fit the pattern pieces. Don’t worry—plaid hides seams beautifully!
Pro Tip: Try to align the plaid stripes when cutting. Matching up the lines gives your hat a professional, polished look.
Step 3: Add Interfacing (Optional)

If you want your hat to have more structure, iron fusible interfacing onto the brim and crown pieces before sewing. This will prevent the hat from being too floppy. For a relaxed, slouchy vibe, you can skip this step.
Step 4: Assemble the Crown

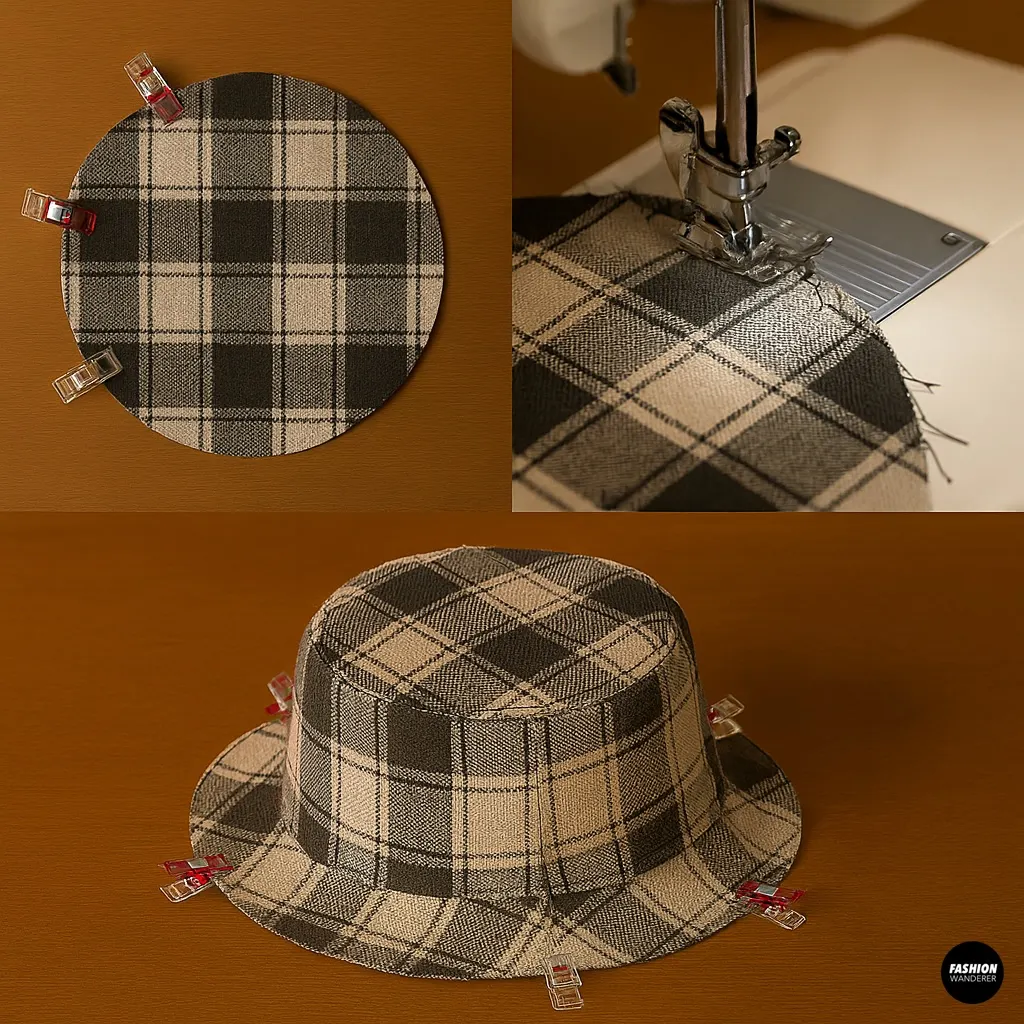
Pin the two crown circles right sides together and sew around the edge with a ¼-inch seam allowance. This forms the top part of your hat. Clip the seam allowance slightly to help it lay flat.
Next, attach the side band to the crown circle. Pin the long edge of the band around the circular crown, easing it into place. Stitch carefully and press the seam open.
Now your hat should start to take shape!
Step 5: Sew the Brim

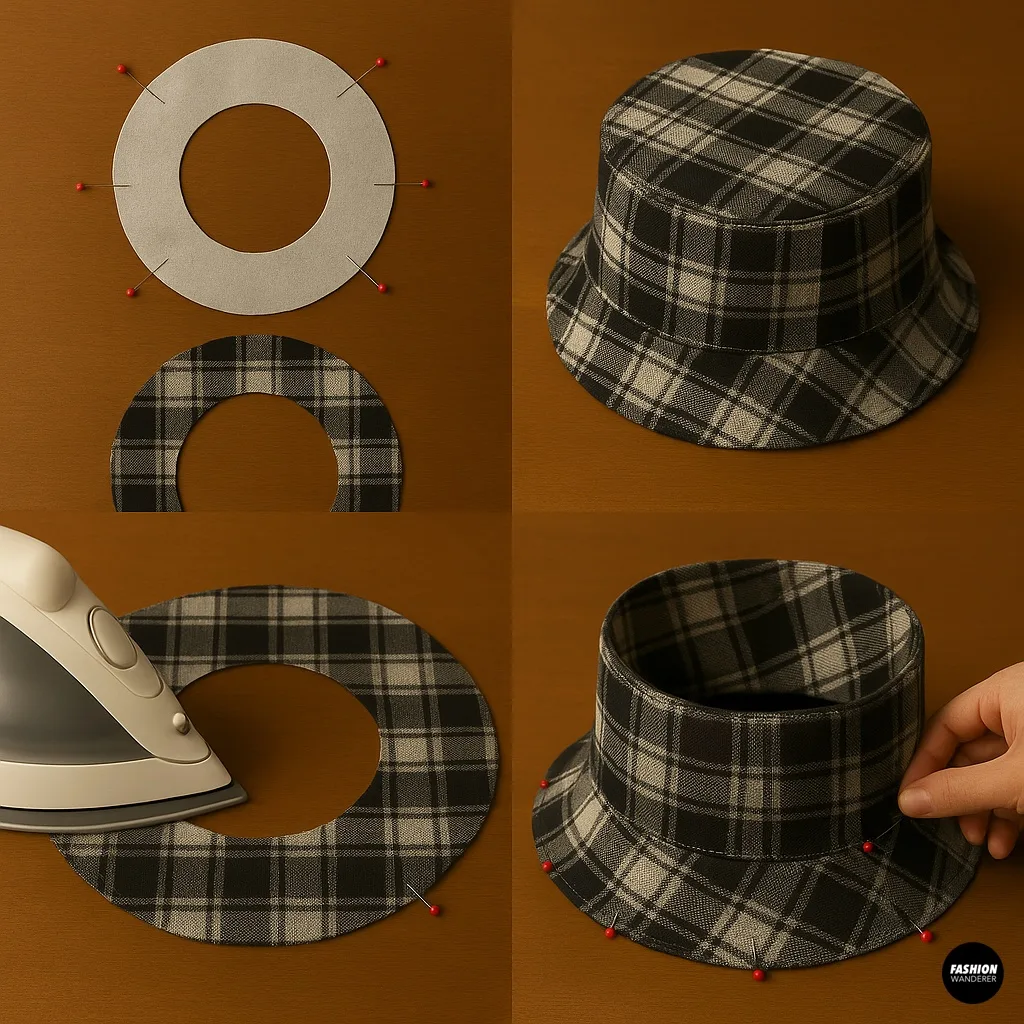
Take your two brim pieces and place them right sides together. Pin and sew along the outer edge of the circle. Turn right side out and press flat, giving you a clean double layer of fabric.
Then, attach the inner edge of the brim to the bottom of the side band. Pin evenly and sew all the way around. Press seams flat for a neat finish.
Step 6: Finish the Edges

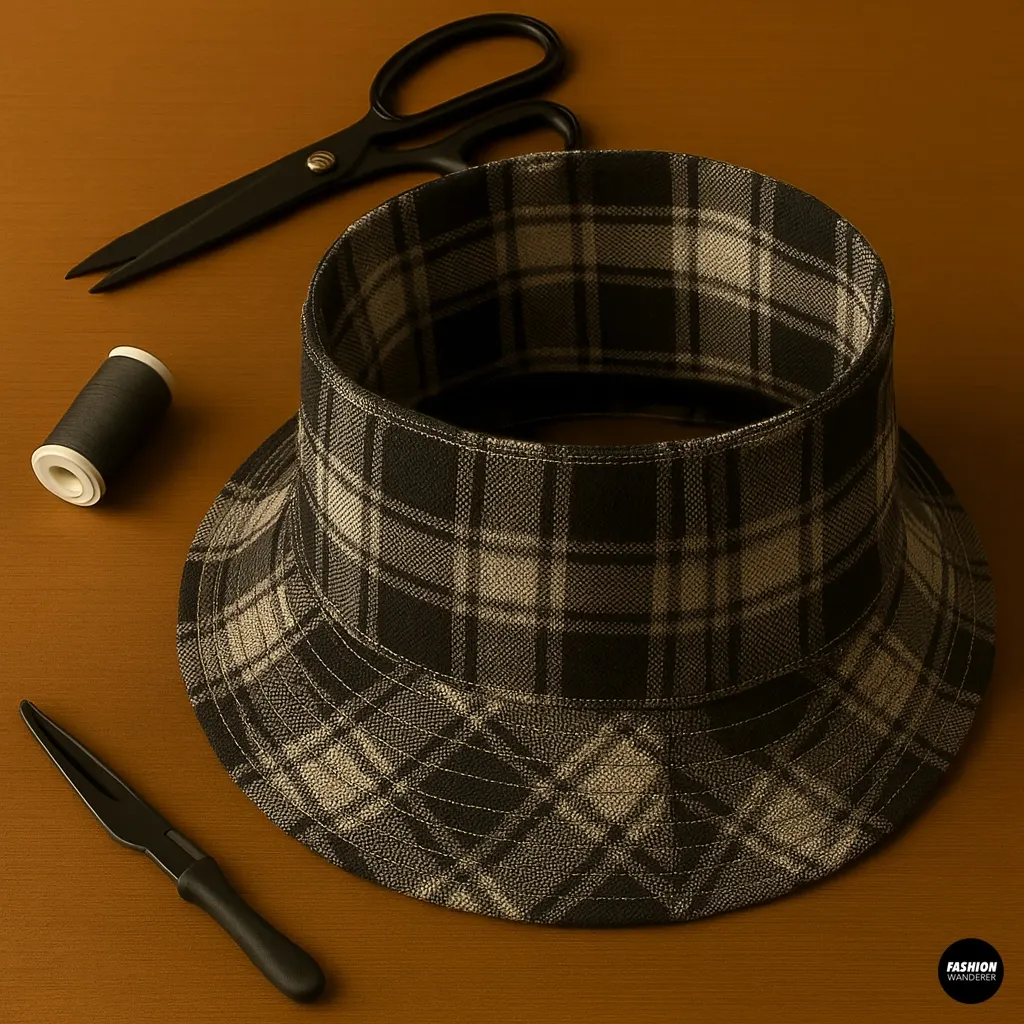
To reinforce the brim and give your hat that classic bucket-hat look, topstitch parallel rows around the brim about ½ inch apart. This quilting effect adds durability and a professional vibe.
Check the inside seams of your hat—if they look a little messy, you can finish them with a zigzag stitch or bias tape for a cleaner look.
Step 7: Try It On and Style It!

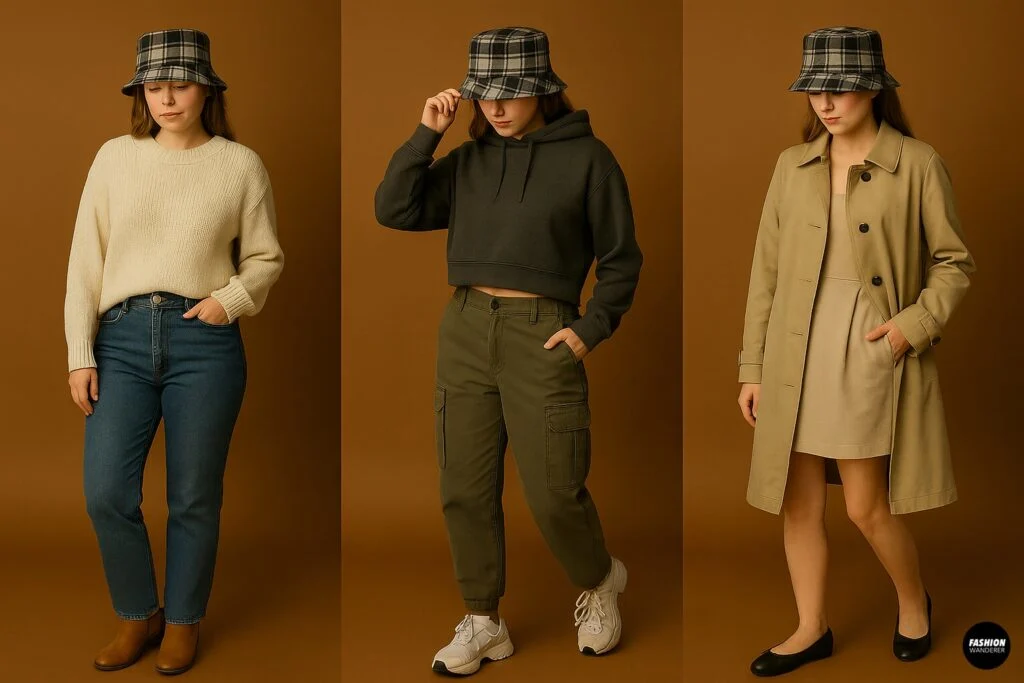
Slip on your new plaid bucket hat and admire your work! Style it with:
- Classic Fall Look: Oversized knit sweater + high-waisted jeans + ankle boots.
- Streetwear Cool: Cropped hoodie + cargo pants + chunky sneakers.
- Coquette-Inspired: Plaid bucket hat with a neutral trench coat and ballet flats.
Tips for Success
- Use the Back Panel First: The back panel of the shirt usually has the largest uninterrupted plaid area, perfect for cutting out circular pieces.
- Mix Fabrics: If you run short on plaid, use denim or corduroy scraps for the brim. This creates a trendy mixed-material bucket hat.
- Play with Scale: Small plaid looks subtle and refined, while larger plaid gives a bold, playful look.
Final Thoughts

If you’ve got an old plaid shirt lying around, don’t let it gather dust—transform it into something new and exciting. A fall bucket hat is practical, stylish, and surprisingly simple to make. With just a few hours, basic sewing skills, and a little creativity, you can create an accessory that feels both nostalgic and modern.
Trust me: once you finish your plaid bucket hat, you’ll regret nothing too.
Trendy, Affordable Sewing Patterns for All Sizes


Tie Shoulder Jumpsuit Pattern


Palazzo Pants Sewing Pattern


Pocket Overall Romper Pattern


Wrap Maxi Skirt Sewing Pattern


Tie Back Top Sewing Pattern