
In this upcycle tutorial, you will learn to make a DIY cold shoulder t-shirt dress. Make a dress without a pattern featuring an A-line silhouette with a cold shoulder detail.
If you’re looking for a challenge, here some more t-shirt to dress tutorials to pursue. Tees don’t only refashion into dresses, check out the best t-shirt upcycle ideas for more inspiration.


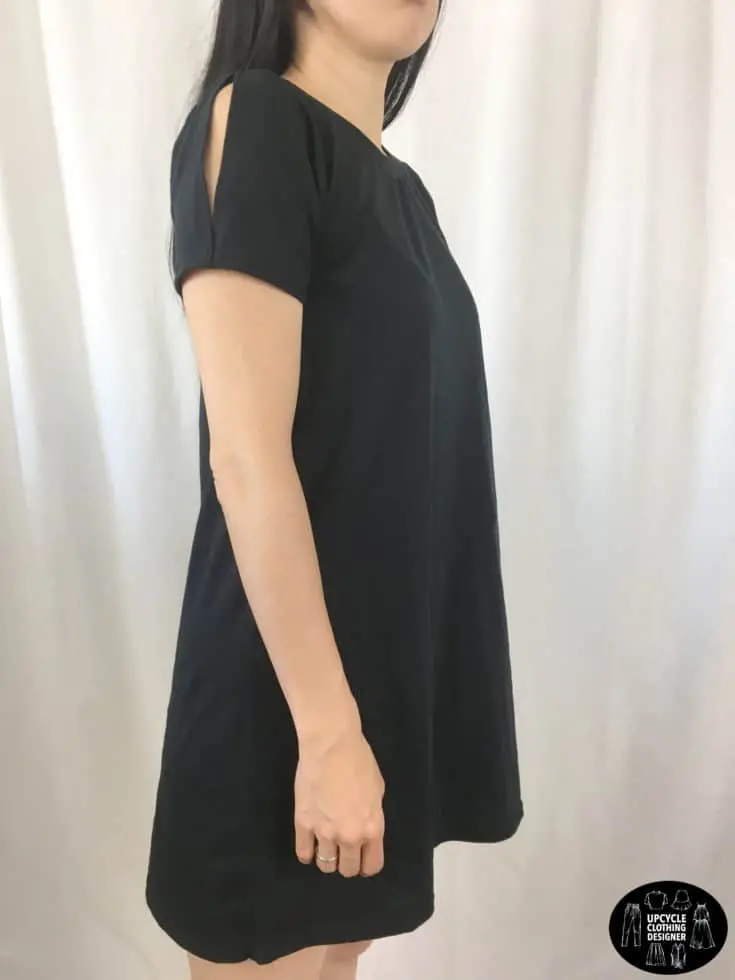
Compare the before and after photos. You will notice the top bodice has been narrowed to fit the body, and the skirt is left as an A-line shape. For this reason, its best to use an oversized tee for this refashion project.
The skirt has a simple drape and flows nicely with the knit cotton material. In addition, the cold shoulder sleeves really add a cute accent to the dress. As a result, the dress is flattering for all figures and remains modest enough to wear for any casual occasion.
The design is super simple to execute and this upcycle t-shirt project is perfect for beginners to learn how to sew a dress. Pick your favorite color oversized t-shirt and start to make DIY cold shoulder t-shirt dress for yourself!

Transforming old clothes into upcycled clothing is extremely fulfilling. Explore these fun beginner DIY fashion projects that will help guide your transformation journey.
Start by making this DIY cold shoulder t-shirt dress with me, and let’s take your recycle skills to the next level.
More T-Shirt Dress Upcycle Designs:

DIY Cold Shoulder T-shirt Dress
This trapeze A-line silhouette showcases a cute cold shoulder feature that is perfect for a casual day during the hot summer season. Pick your favorite color oversized t-shirt and make one for yourself!
Materials
- Oversized T-shirt
Tools
- Sewing Machine
- Fabric Chalk
- Measuring Tape
- Ruler
- Scissors
- Straight Pins
Instructions
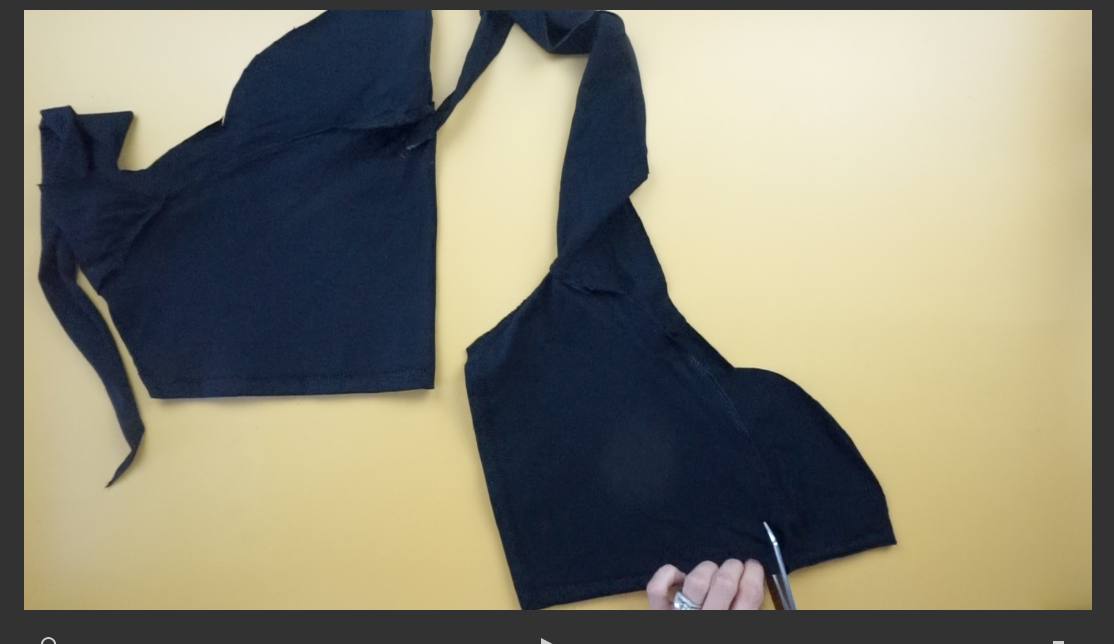
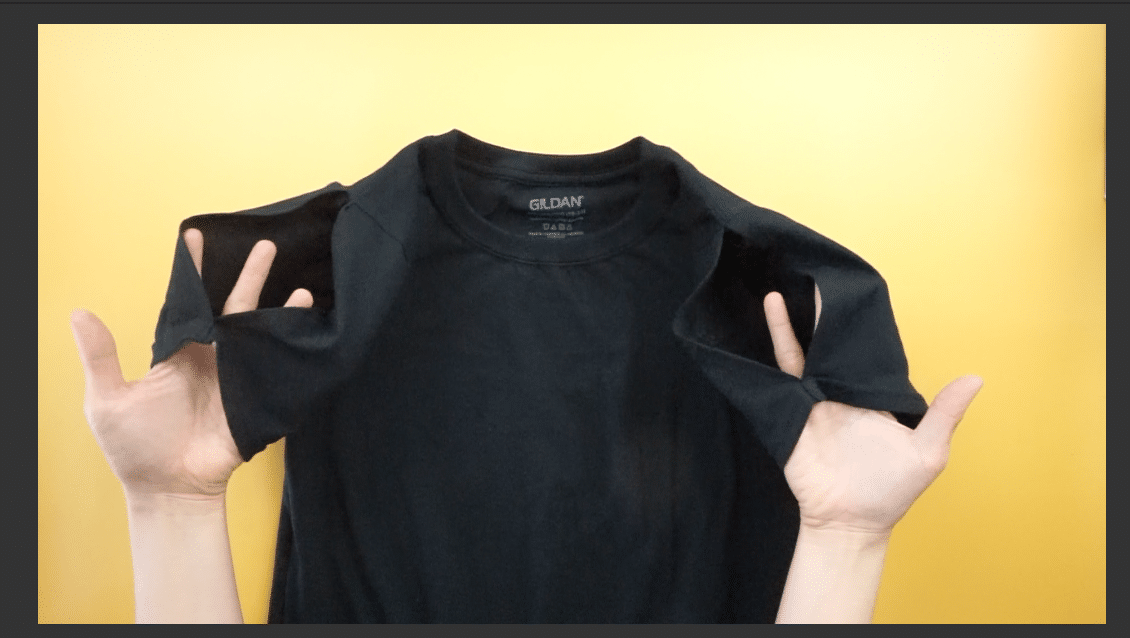
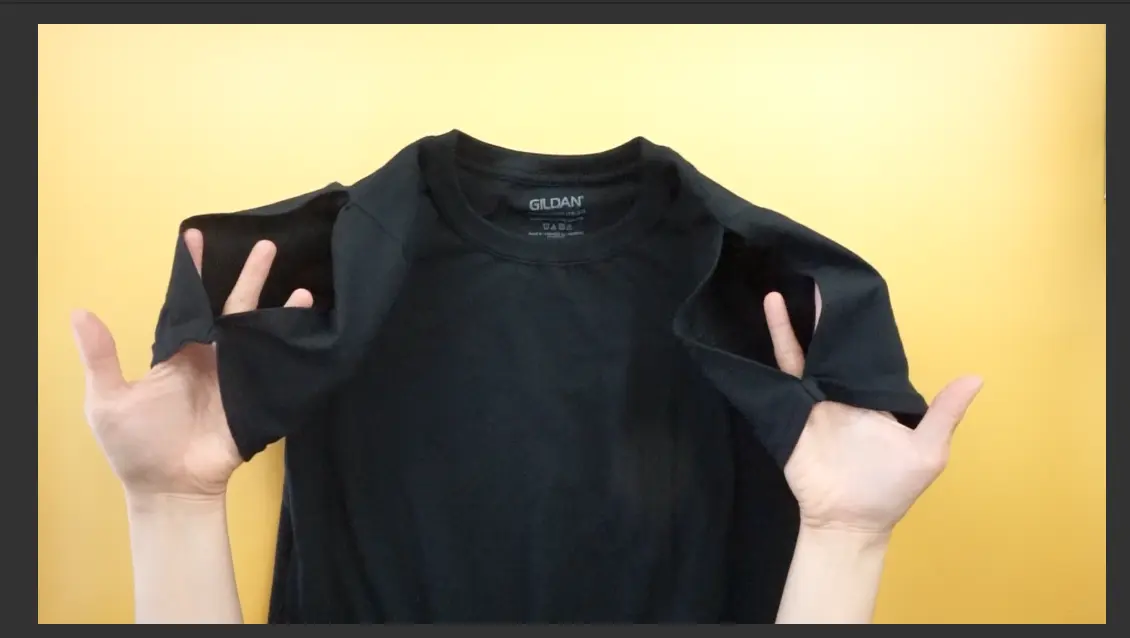
- For the top bodice, flip the big t-shirt inside out and fold in half. Use a crew neck to copy the shoulder and armhole.

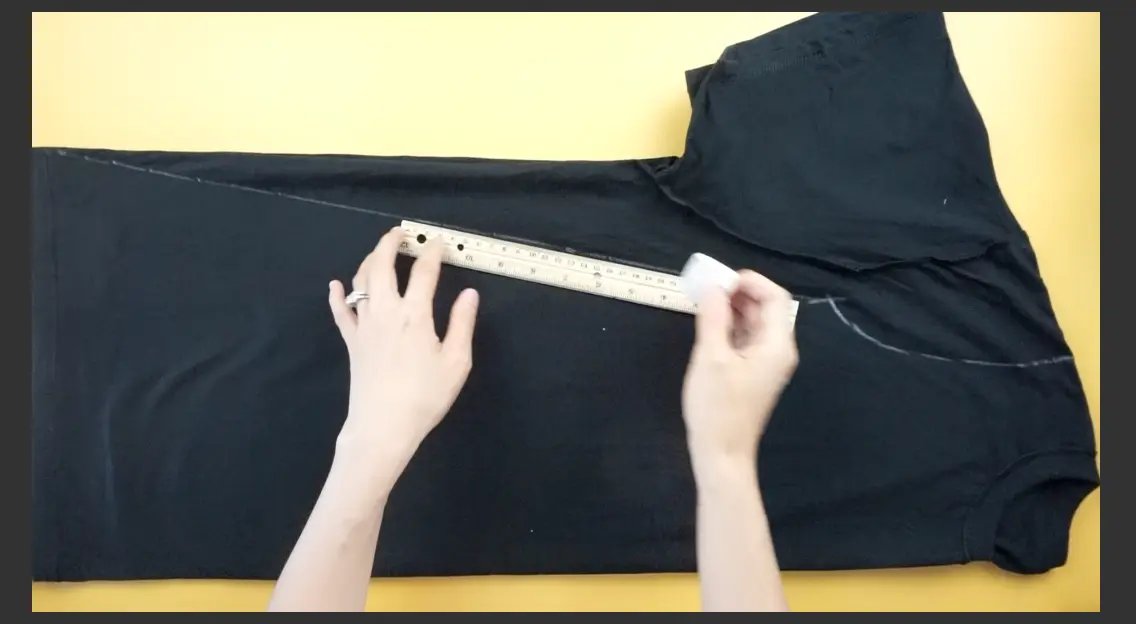
- Mark the under the armhole and draw a straight line to the hemline. Add ¼” seam allowance and cut.
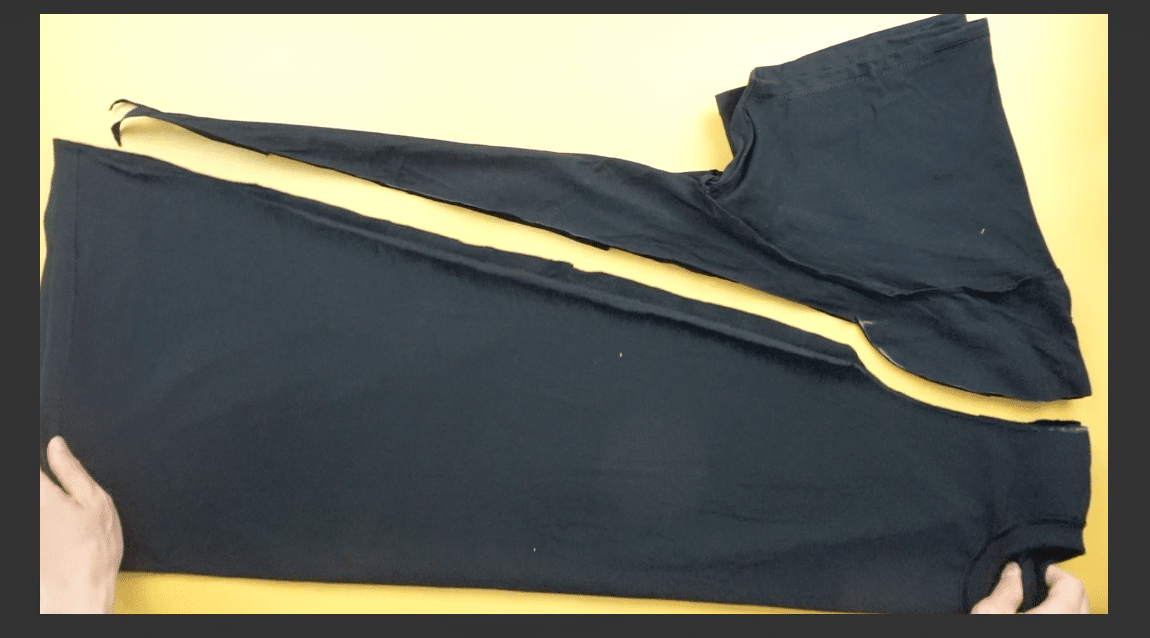
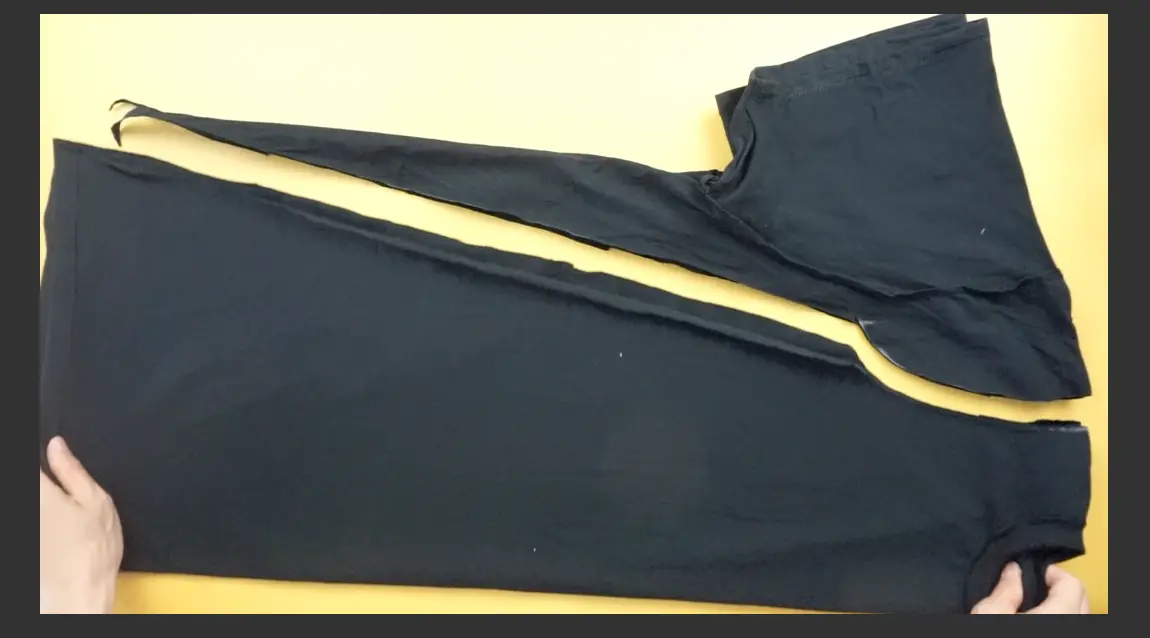
- To cut the sleeves, use the discarded sleeve scraps. Lay the dress on top of the sleeve pieces to trace the armhole.

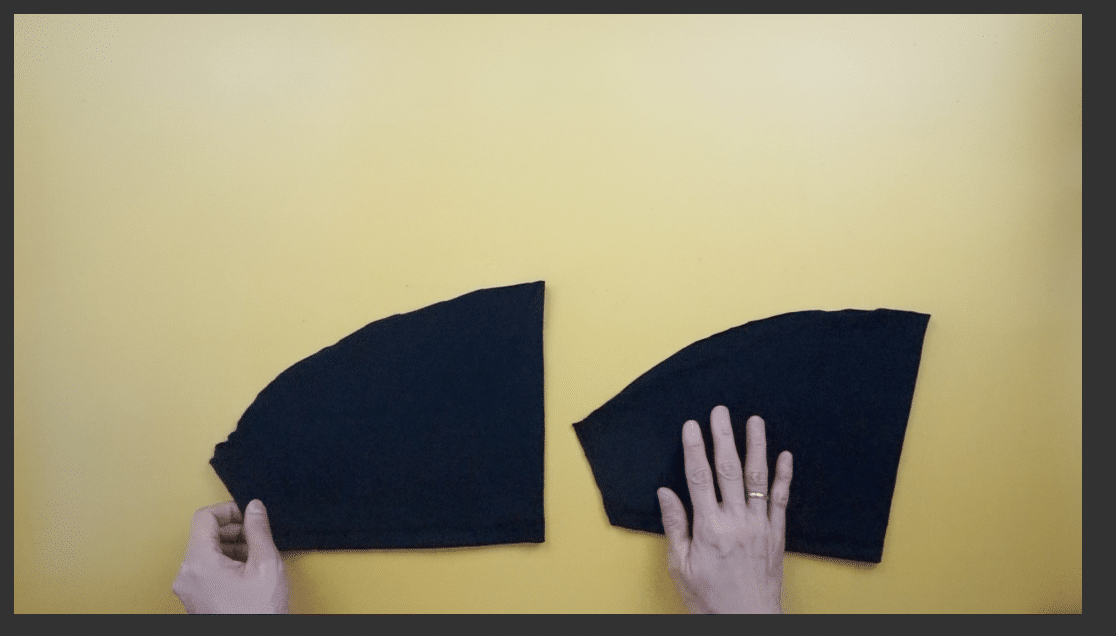
- Add ½” seam allowance to the top of the sleeve and then cut. Copy the new sleeve pattern for the other side.

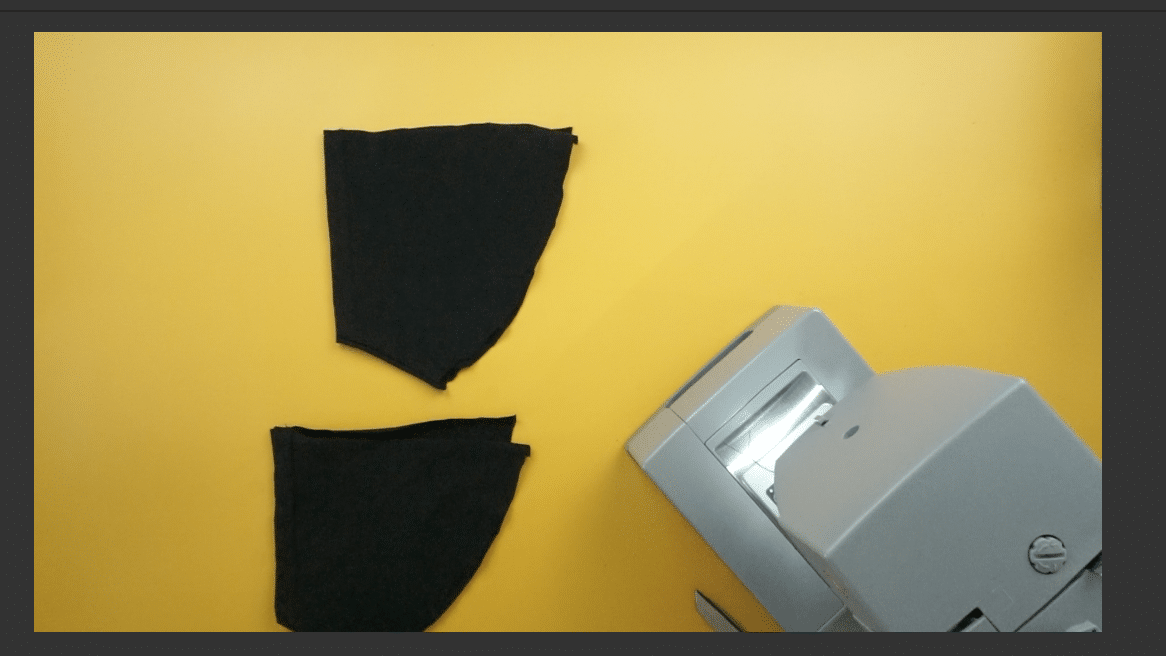
- To sew the side seams, face the right sides together and ¼” topstitch on both side seams.


- To attach the sleeves, double fold the top of the sleeve and then edge topstitch. Match the side seam with the sleeve seam and sew ¼” topstitch.
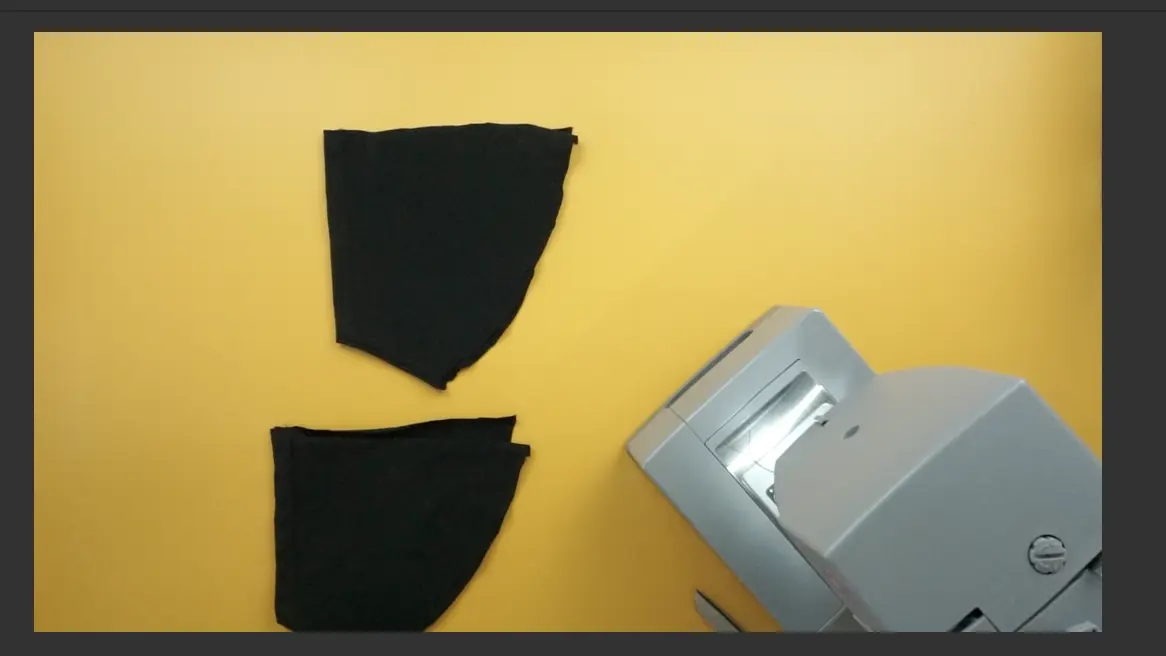
- To finish the diy cold shoulder t-shirt dress, slightly overlap about ¼” at the hemline of the sleeve. Double topstitch to secure the sleeve pieces.
Notes
An oversized t-shirt works best to replicate the trapeze A-line silhouette.
Recommended Products
As an Amazon Associate and member of other affiliate programs, I earn from qualifying purchases.


Trendy, Affordable Sewing Patterns for All Sizes


Tie Shoulder Jumpsuit Pattern


Palazzo Pants Sewing Pattern


Pocket Overall Romper Pattern


Wrap Maxi Skirt Sewing Pattern


Tie Back Top Sewing Pattern