
Easy DIY Fashion Upcycle Tutorial for Trendy Statement Sleeves
Looking to breathe new life into an old long sleeve t-shirt? Transforming basic sleeves into slit sleeves is a super simple and stylish DIY that adds instant edge and movement to any outfit. Whether you’re going for a subtle peek or a bold open-arm look, this sewing hack works wonders on plain tees—and you don’t even need a pattern!
In this tutorial, you’ll learn how to turn any long sleeve tee into a trendy fashion piece with clean, polished slit sleeves. Perfect for beginners, this project requires minimal materials and can be completed in under an hour.
♻️ Sustainable Fashion with DIY Slit Sleeves
This project is a great example of upcycled fashion. Instead of tossing out an old tee, you’re revamping it into a runway-inspired piece—saving money and reducing waste in the process.
Turn heads with your custom design, and let your creativity inspire others to rethink their wardrobes, too.
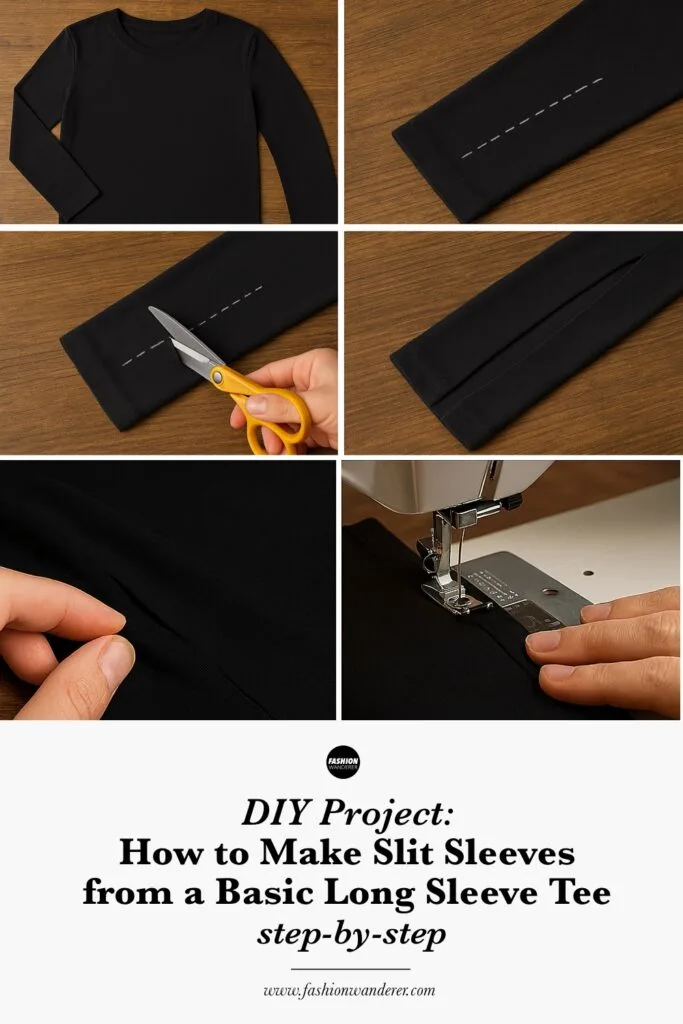
🧵 Step-by-Step: How to Make Slit Sleeves from a Long Sleeve Tee
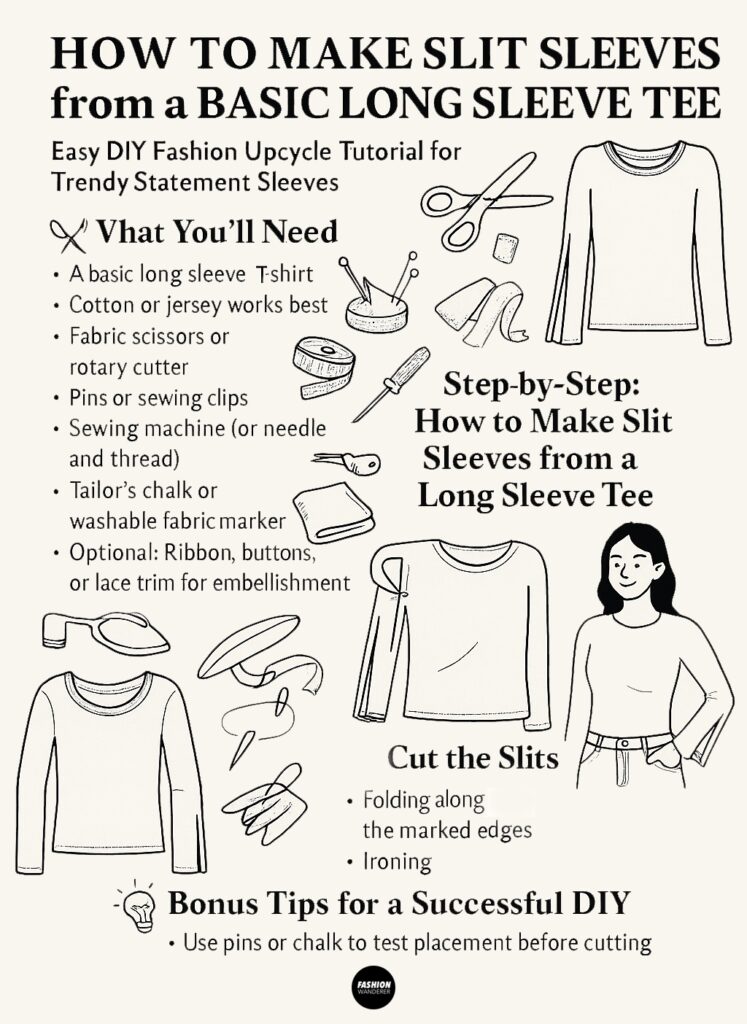
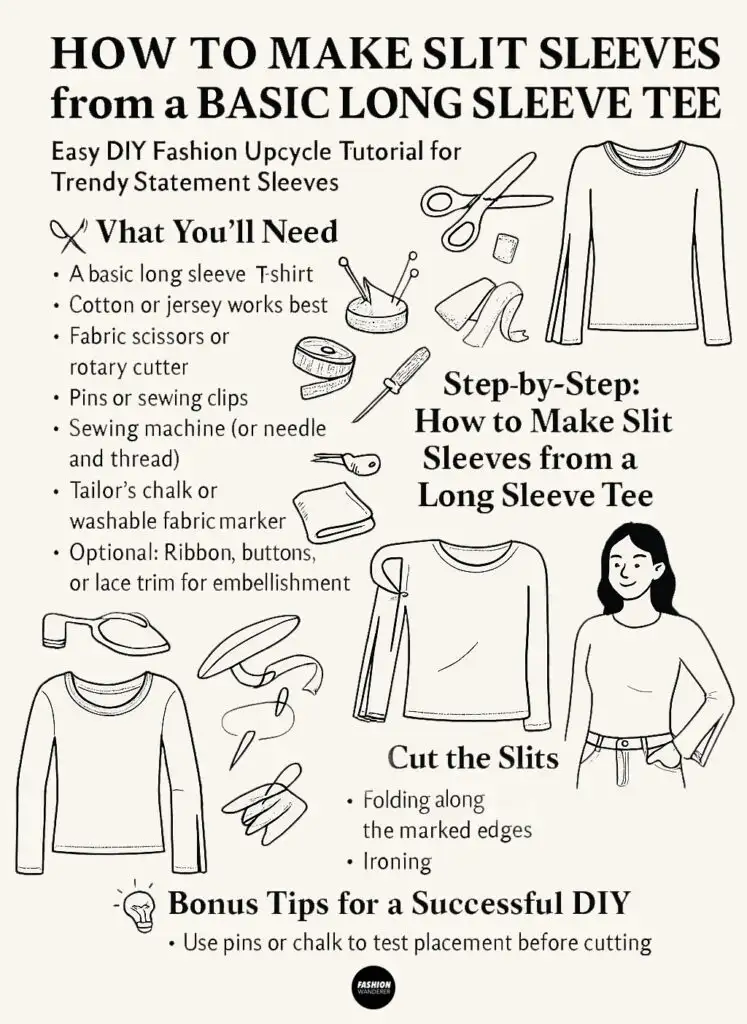
✂️ What You’ll Need
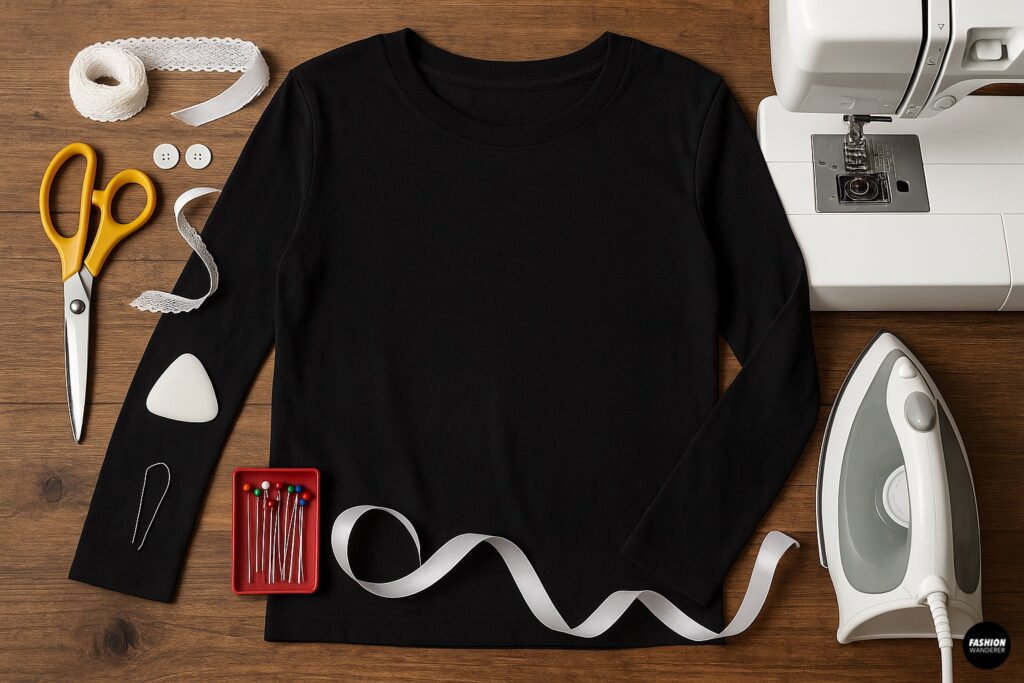

- A basic long sleeve t-shirt (cotton or jersey works best)
- Fabric scissors or rotary cutter
- Pins or sewing clips
- Sewing machine (or needle and thread)
- Tailor’s chalk or washable fabric marker
- Iron and ironing board
- Optional: Ribbon, buttons, or lace trim for embellishment
Step 1: Choose and Prep Your Shirt

Start with a clean, well-fitting long sleeve t-shirt. Choose one that isn’t too tight in the arms—you’ll want a bit of room for the slit to lay nicely.
Prep Tip:
If the shirt is new, pre-wash and dry it to avoid any shrinkage after you sew.
Step 2: Try On and Mark Your Slit Placement

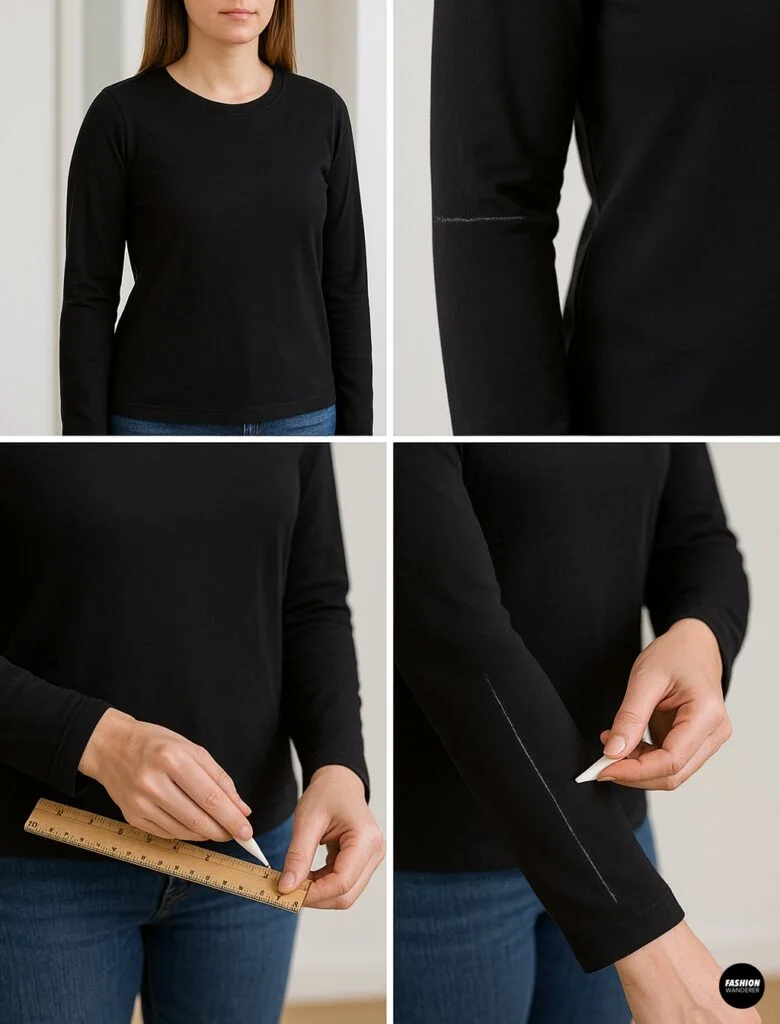
Put on the shirt and use a mirror to determine where you want the slits to start and stop. Most slit sleeves start about 2–4 inches below the shoulder seam and end around the wrist, but you can customize the length to your style.
Mark both sleeves in the same place using tailor’s chalk or a fabric marker. Use a ruler for accuracy and symmetry.
Step 3: Cut the Slits

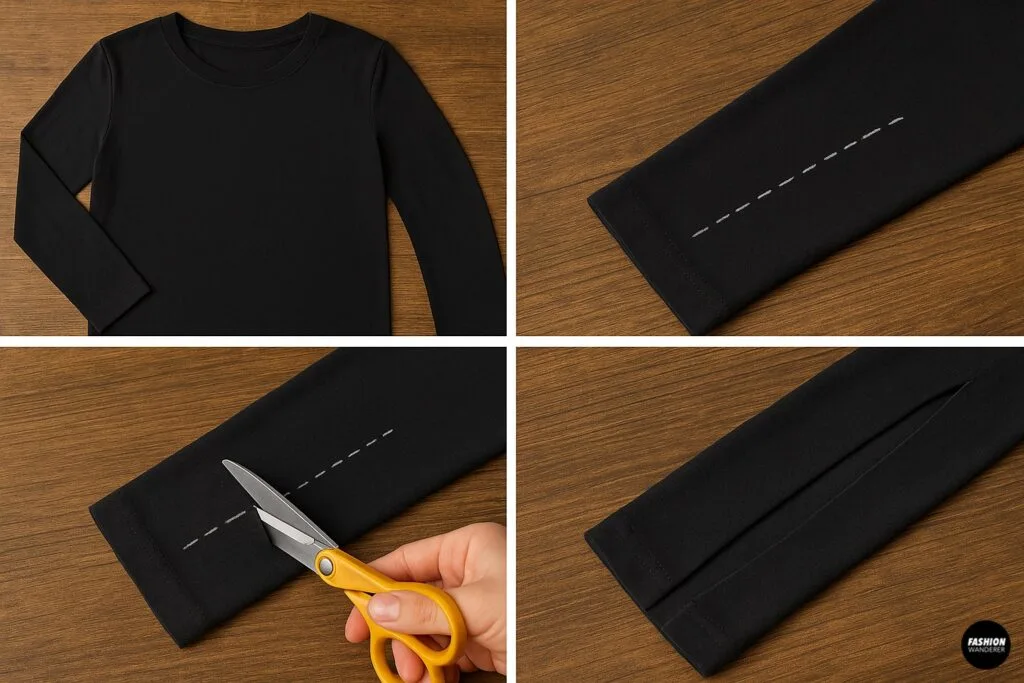
Lay the shirt flat on a table, sleeves extended and smooth. Using sharp fabric scissors, cut along the marked line on each sleeve. Be careful to only cut through the top layer of the sleeve—you want the slit to be open, not removed.
Optional Variation:
Cut in a curved shape or add multiple small slits for a more dramatic or edgy design.
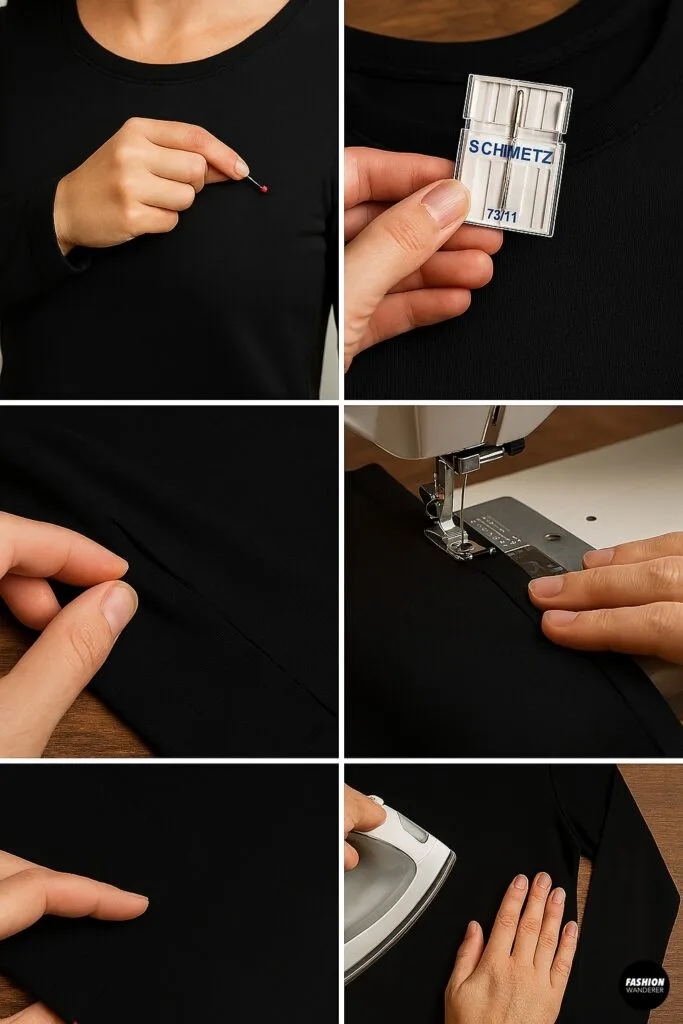
Step 4: Finish the Raw Edges

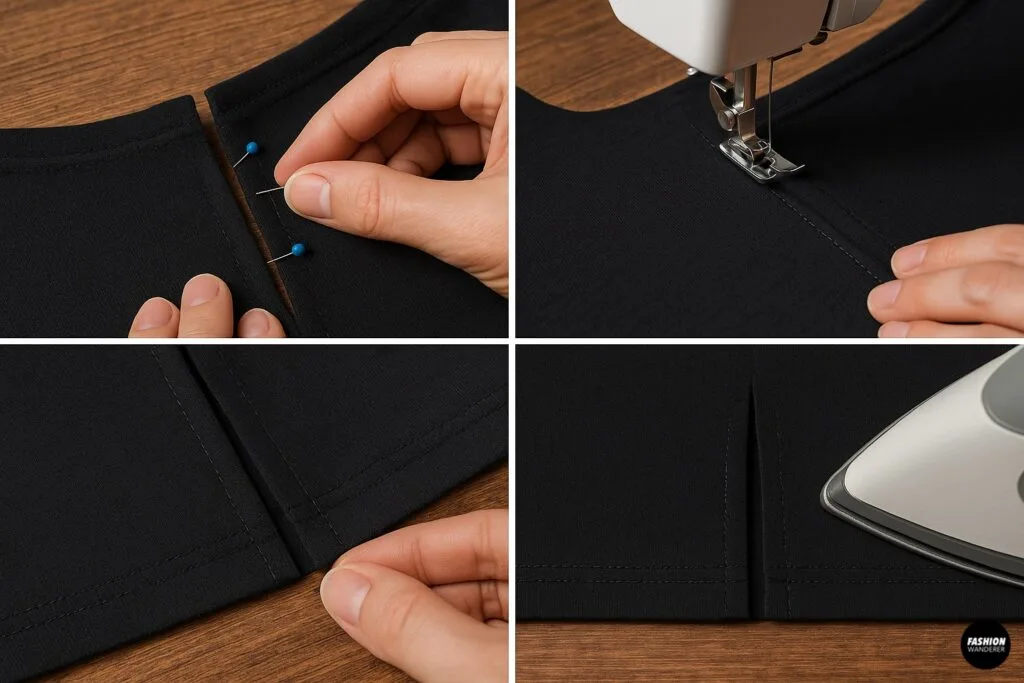
To give your slits a professional finish, fold the raw edges inward by ¼ inch, then again by another ¼ inch to hide the fraying edge. Pin or clip in place along the slit.
Sew along the folded edge using a straight stitch with matching thread. If you’re hand sewing, a backstitch works well here for durability.
Iron the finished edge flat for a crisp, clean look.
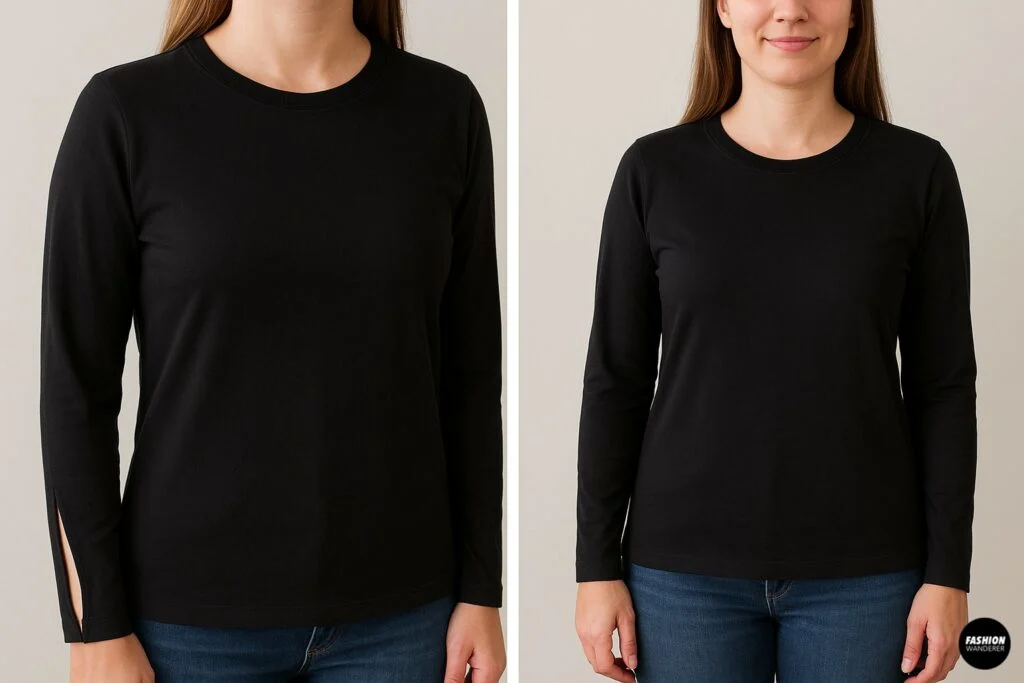
Step 5: Try On and Adjust Fit

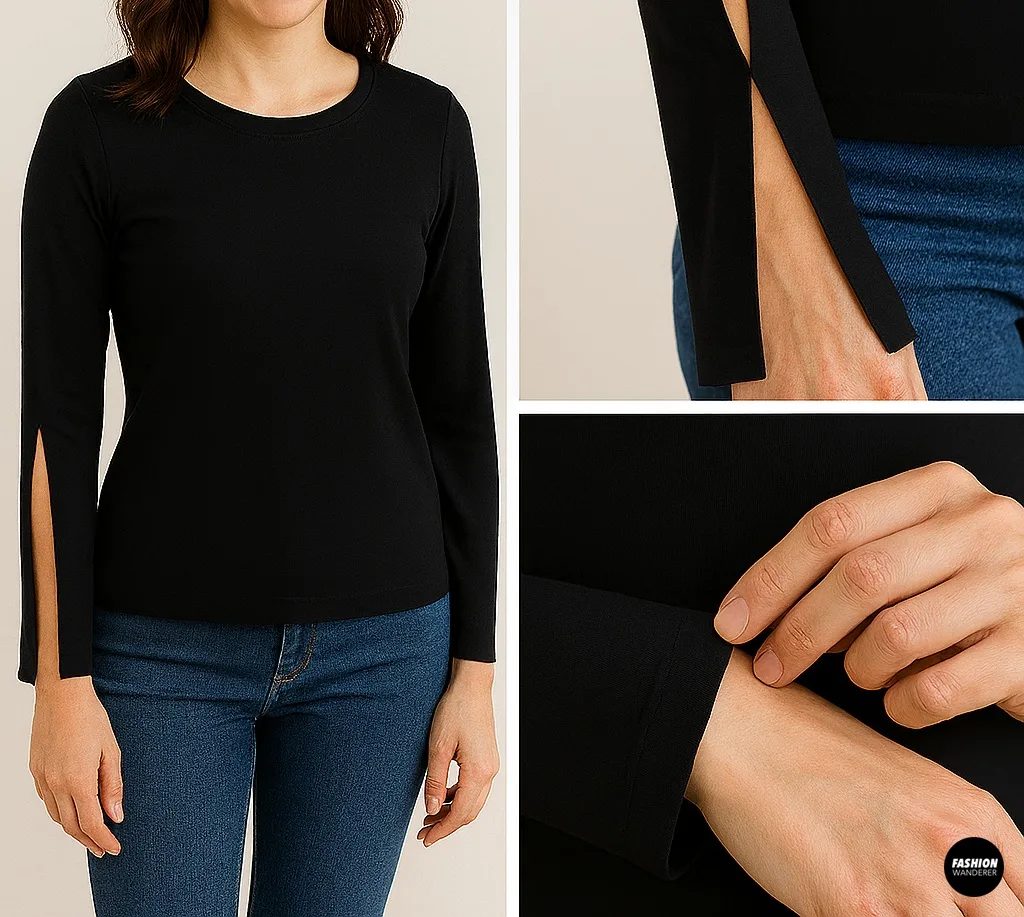
Slip the shirt back on and admire your work! Check that the slits are even and lay nicely on the arm. If the slit opens too wide or feels too loose, you can add a small hand tack (a few invisible stitches) at the top or center to help control the flow.
Step 6: Add Embellishments (Optional)

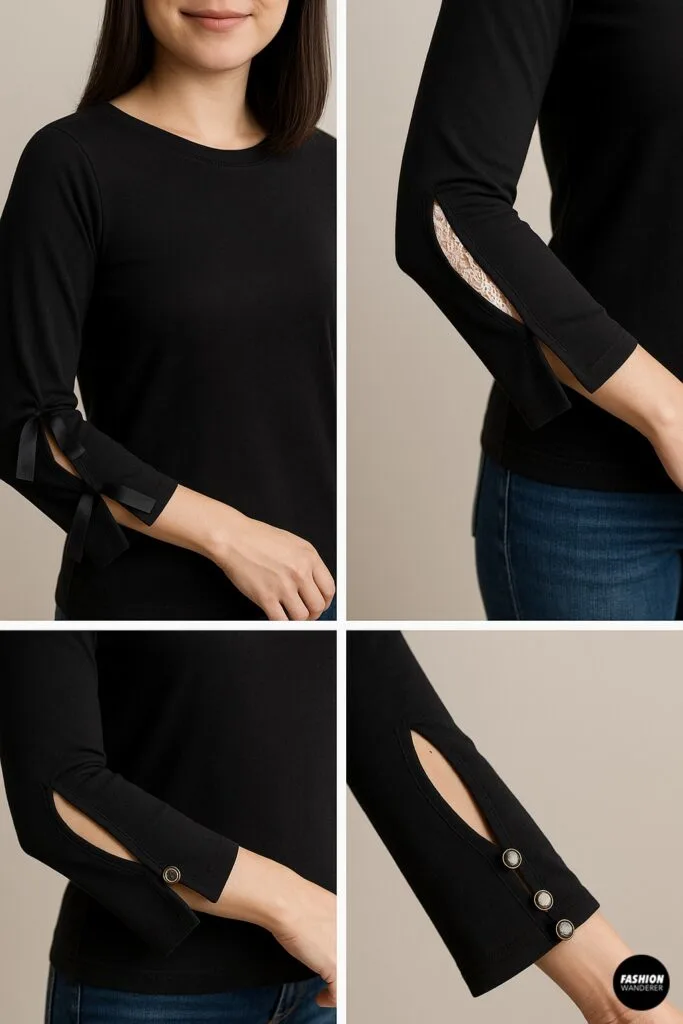
Now’s your chance to get creative! Dress up your slit sleeves with:
- Ties or bows: Sew ribbon ties at the top and bottom of the slit for a playful or romantic vibe.
- Lace inserts: Add a strip of lace inside the slit for a peek-a-boo effect.
- Buttons or grommets: Add metal or fabric-covered buttons along the slit edge for structure and interest.
Style Tip:
Layer your slit sleeve tee under a denim vest or over a tank top for an elevated, layered look.
📸 Styling Ideas for Slit Sleeve Tees

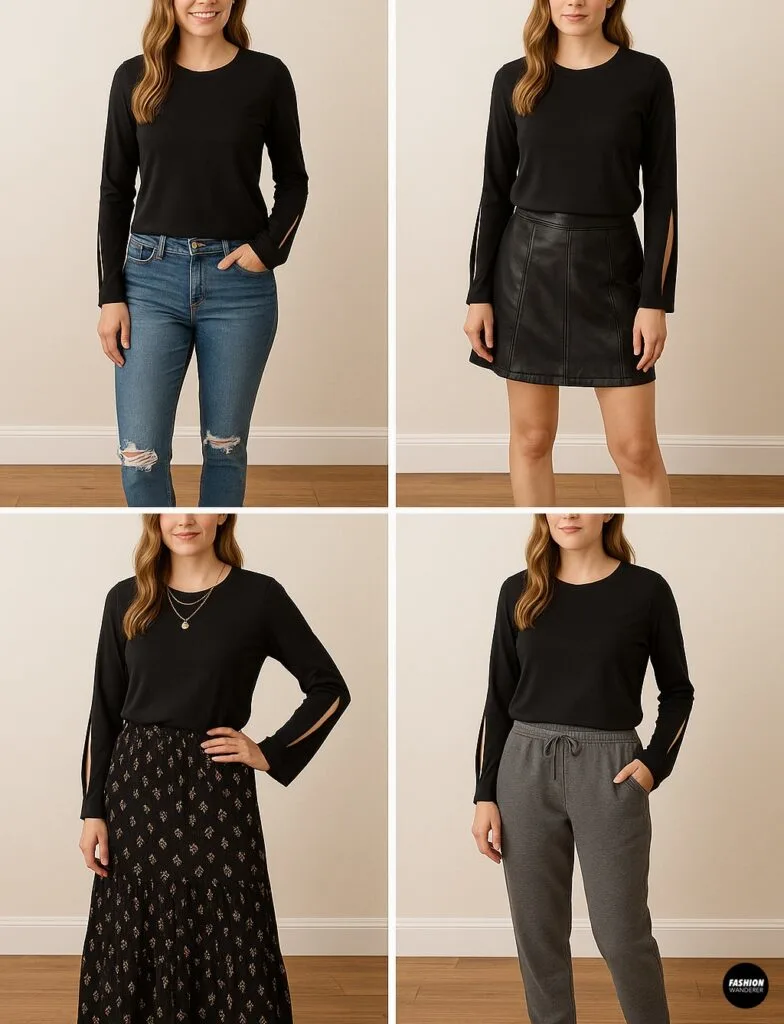
Once your DIY top is complete, here are a few ways to style it:
- Casual cool: Pair with ripped jeans and sneakers.
- Edgy vibes: Match with a leather skirt and combat boots.
- Romantic look: Combine with a maxi skirt and layered necklaces.
- Loungewear luxe: Wear it with joggers and slide sandals for an elevated casual outfit.
💡 Bonus Tips for a Successful DIY

- Use pins or chalk to test placement before cutting. Once you cut, there’s no going back!
- Use a stretch needle if your tee is made of knit or stretchy jersey.
- Use a walking foot on your machine for smoother sewing over stretchy fabric.
- Keep your seam allowance narrow for a more delicate finish.
- Press as you go! Ironing after every step keeps your project looking polished.
📌 Final Thoughts: DIY Slit Sleeves Made Easy

Whether you’re updating your closet or adding flair to thrift finds, slit sleeves are an easy and stylish way to personalize your basics. No pattern needed, no fancy tools—just creativity and a little time.
Try this beginner-friendly sewing project today and turn that plain long sleeve tee into your new favorite top.
Trendy, Affordable Sewing Patterns for All Sizes


Tie Shoulder Jumpsuit Pattern


Palazzo Pants Sewing Pattern


Pocket Overall Romper Pattern


Wrap Maxi Skirt Sewing Pattern


Tie Back Top Sewing Pattern