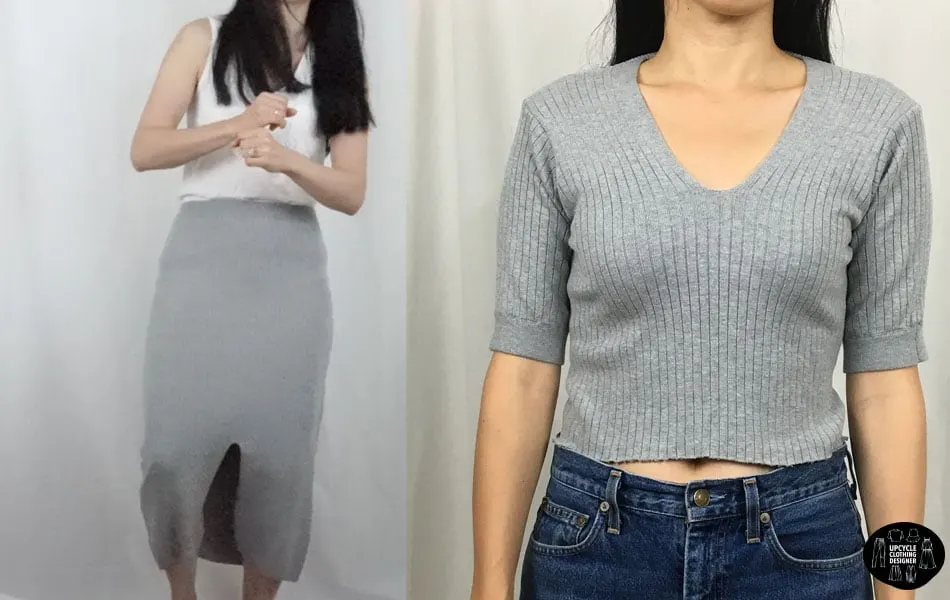
This ribbed knit skirt had great potential, but really didn’t flatter me very much. Therefore, it was time to refashion the old skirt into a short sleeve shirt. Follow along to learn how to make your own skirt to top transformation.
When looking to DIY new shirts, these refashion skirt into top tutorials guide you through a variety of fun redesigns. There are bound to be inspirations that you fall in love with.

I was excited about this top because the ribbed knit fabric was in great condition. I always have a use for new tops, so this upcycle was a desirable solution.
The skirt featured a formfitting ribbed material, a cute front slit opening and a snug waistband. For this refashion design, I transformed the slit into a V-neckline for this old skirt into short sleeve shirt.
I wanted to pair the V-neckline with the coverage of short sleeves. This helped to balance out the look and make it feel less revealing.
As a result, I kept the snug fit, and turned the old skirt into a short sleeve shirt. Follow so that you can learn how to turn your skirt into a top with short sleeves.

If you also enjoy making upcycled clothing because it’s a fun and rewarding hobby, then we have projects for you to try next! There is something remarkable that happens when you take old clothes and turn them into new clothes.
More skirt into top upcycle designs:

Refashion Old Skirt Into Short Sleeve Shirt
I had this ribbed knit skirt for a while and it hasn’t been worn much. As a result, I was excited to transform this skirt into a ribbed cropped top. The skirt had a tight waistband with front slit opening. For this design, I refashioned the slit into a V-neckline.
The ribbed material made the skirt super snug and form fitting. For this upcycle skirt project, I wanted to incorporate the style into a short sleeve shirt. So, I kept the snug fit, and transformed the skirt into a short sleeve shirt. Follow along to learn how to turn your skirt into a top with short sleeves.
Materials
- Old Skirt
Tools
- Sewing Machine
- Fabric Chalk
- Measuring Tape
- Ruler
- Scissors
- Straight Pins
Instructions
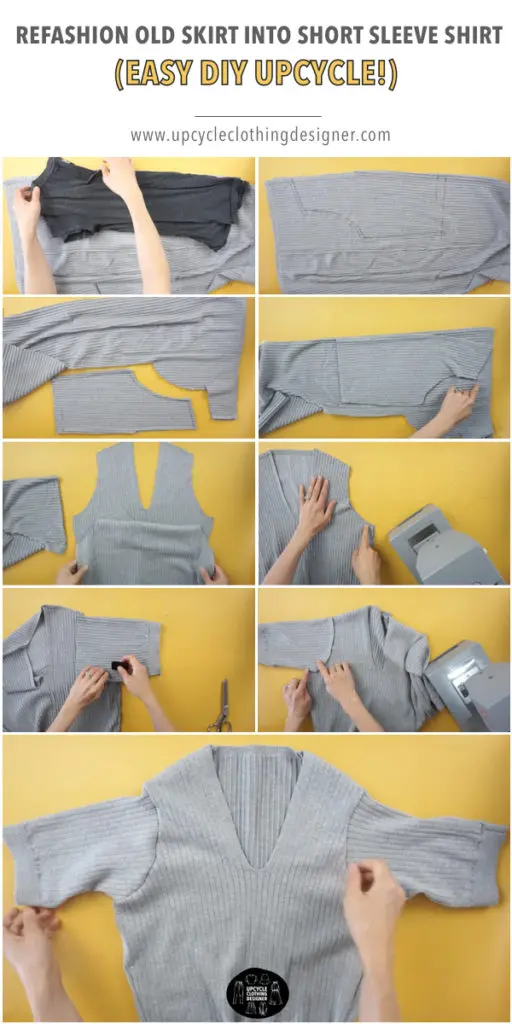
- For the front piece of the short sleeve shirt, use your favorite V-neck shirt to copy. Measure about 8” up from the slit and mark with chalk.
- To make a crop top length top, measure 17” down from highest point of the shoulder and mark.
- To adjust the bust measurement, measure 8” away from the V-neckline and mark.
- The shoulder seam is about 3” long, so I drew a smooth curved line to create an armhole.
Helpful hint: If you are not comfortable, use a V-neck t-shirt to trace these lines. - Use a ruler to draw a straight line along the hem and side seam. Add ¼” seam allowance alongside the shoulder, armhole, and side seams, and then cut.
- For the back piece of the short sleeve shirt, use the folded front piece to copy. Measure about 3” away along the neckline from center back. Move the front shoulder piece to that point, and mark. Copy the armhole, hemline, and side seam, and then cut along the chalk line.
- To sew the top, lay the right side of front piece and right side of the back piece facing each other. ¼” topstitch along both shoulder seams and side seams.
- For the short sleeves, use the waistband as part of the sleeve opening.
Cut the sides to have two pieces for the sleeves. I cut off the extra fabric to make the same length for both pieces. - Fold the sleeve piece right side facing each other. Flip the top inside out and lay the sleeve piece on top to trace the armhole.
Adjust the sleeve opening while drawing the armhole. Add ¼” seam allowance and cut.
Fold the other piece and trace the exact sleeve pattern. - To attach the sleeves to the top bodice, start sewing ¼” topstitch underneath the sleeve opening.
Notes
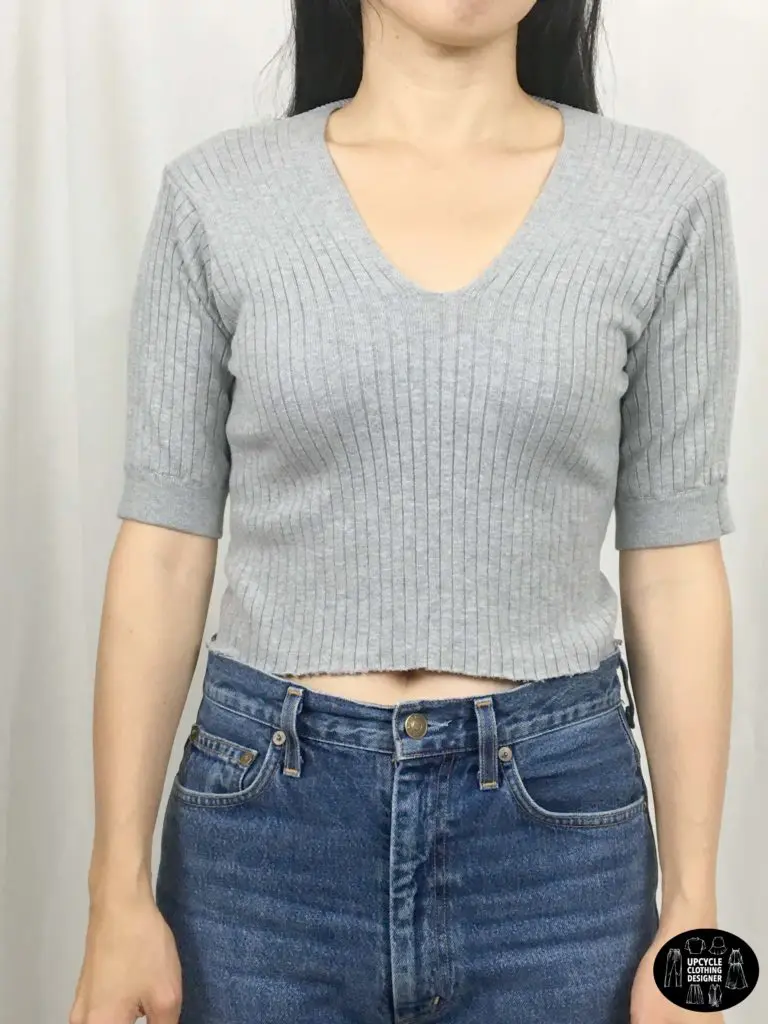
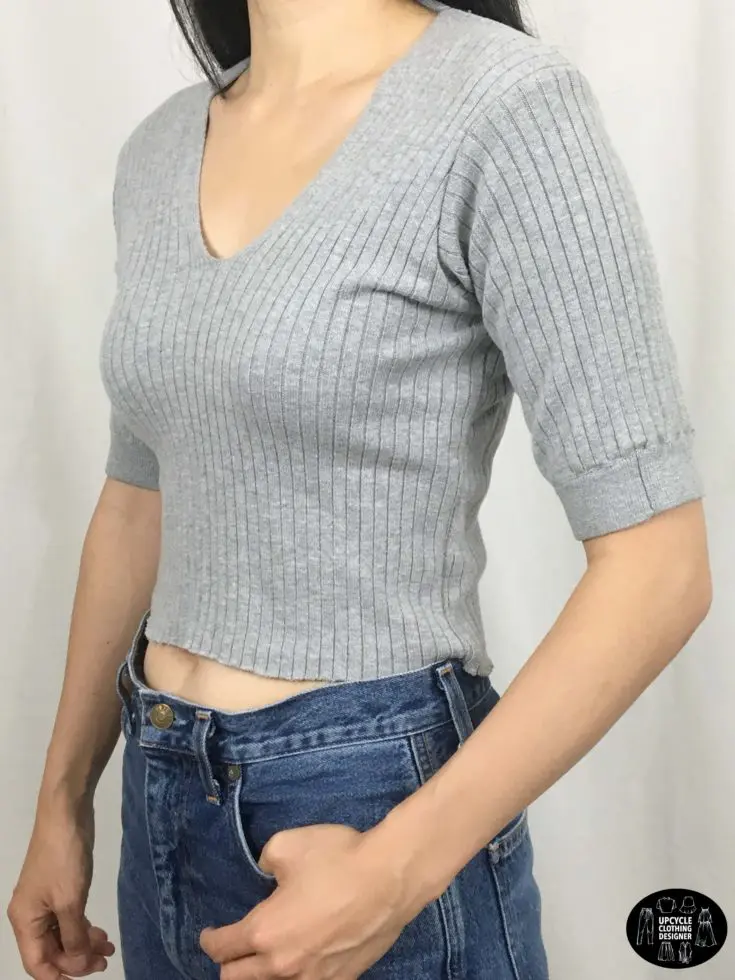
This ribbed knit skirt turned into a cute short sleeve cropped top that easily pairs with high waist mom jeans or a casual skirt.
Recommended Products
As an Amazon Associate and member of other affiliate programs, I earn from qualifying purchases.


