
Tired of sewing zipper closures on dresses or intimidated to execute a clean finish invisible zipper without showing the tape? The Ellery dress features elasticized waist that does not require a zipper closure.
Using a solid fabric with this midi dress is highly recommended to create a clean, modern, yet famine look. Avoid any large scale prints due to having multiple skirt panels that makes it difficult to match, especially stripe patterns.
Execute a distinctive elasticized puff sleeve by using non-stretch fabric such as cotton, poly blend, or crepe-de-chine.
How to make puff sleeve open back midi dress? Pretreat the linen fabric and wash, dry, lightly press if needed prior to cutting and sewing. In general, linen may wrinkle easily, store pretreated fabric on a flat surface so it doesn’t crease.
Every Fashion Wanderer sewing pattern includes ⅜” width or 0.95 cm seam allowance on each size and piece. Start this sewing project by downloading the Ellery dress pattern, select your size to follow the video tutorial and instruction booklet to accomplish the DIY dress.
From elastic to inbinding and spaghetti straps, there are many parts and steps to the Ellery dress. Without a sewing pattern blueprint, it may look difficult, but this dress design is easy to accomplish with this pattern.
Fashion Wanderer provides easy to read sewing patterns to create fashion forward and classic pieces to add to your DIY wardrobe.


DIY Puff Sleeve Open Back Midi Dress


You will love this DIY puff sleeve open back midi dress because…
- Ellery dress sewing pattern includes US size from 0 to 18 for wide range of fit.
- Avoid making mistake when using zipper closures on the dress.
- Master joining and attaching elastic around waist and sleeve.
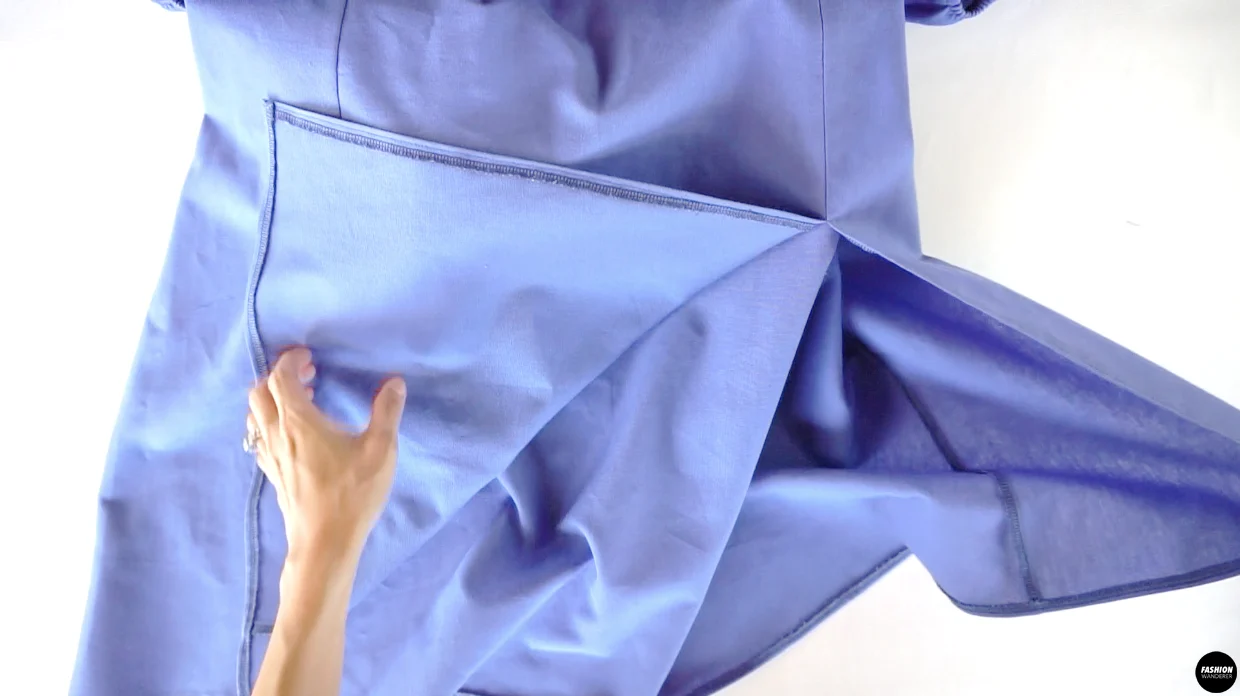
- Learn how to finish slit opening on skirt part.
- Sewing bust dart and proper direction to press for smooth seam lines.
- Easy way to sew straight stitch and overlock stitch on linen fabric.
- Hand gather the sleeve to create even shirring.
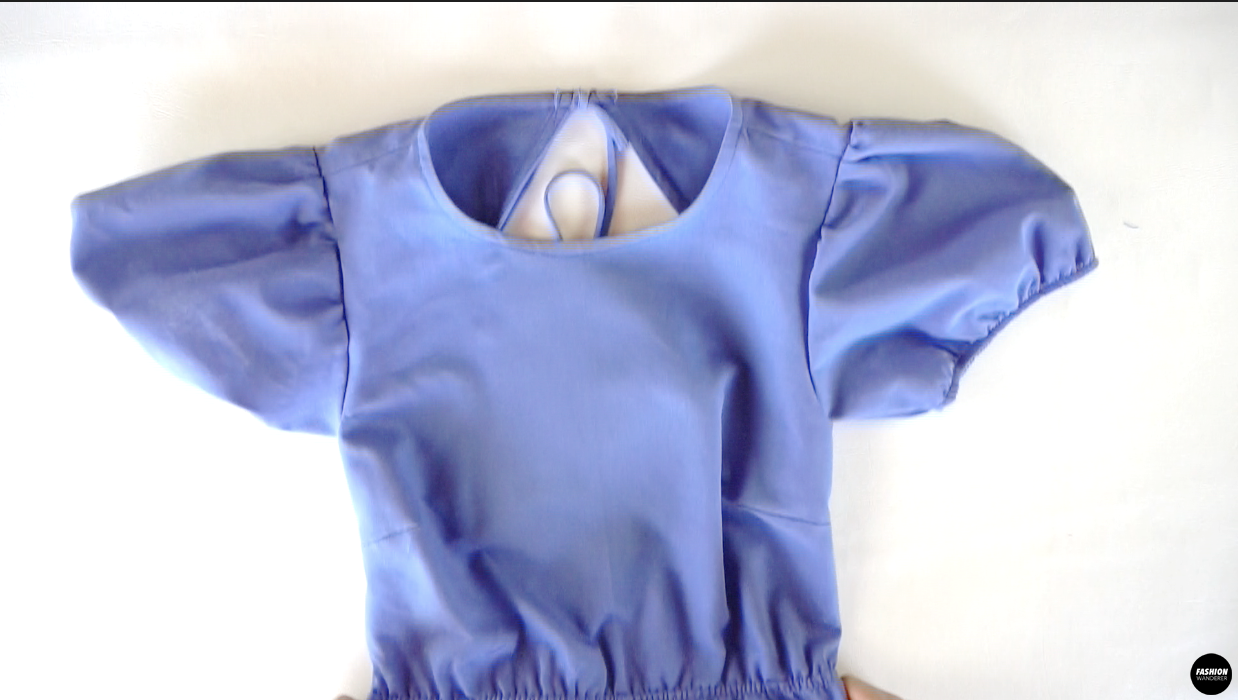
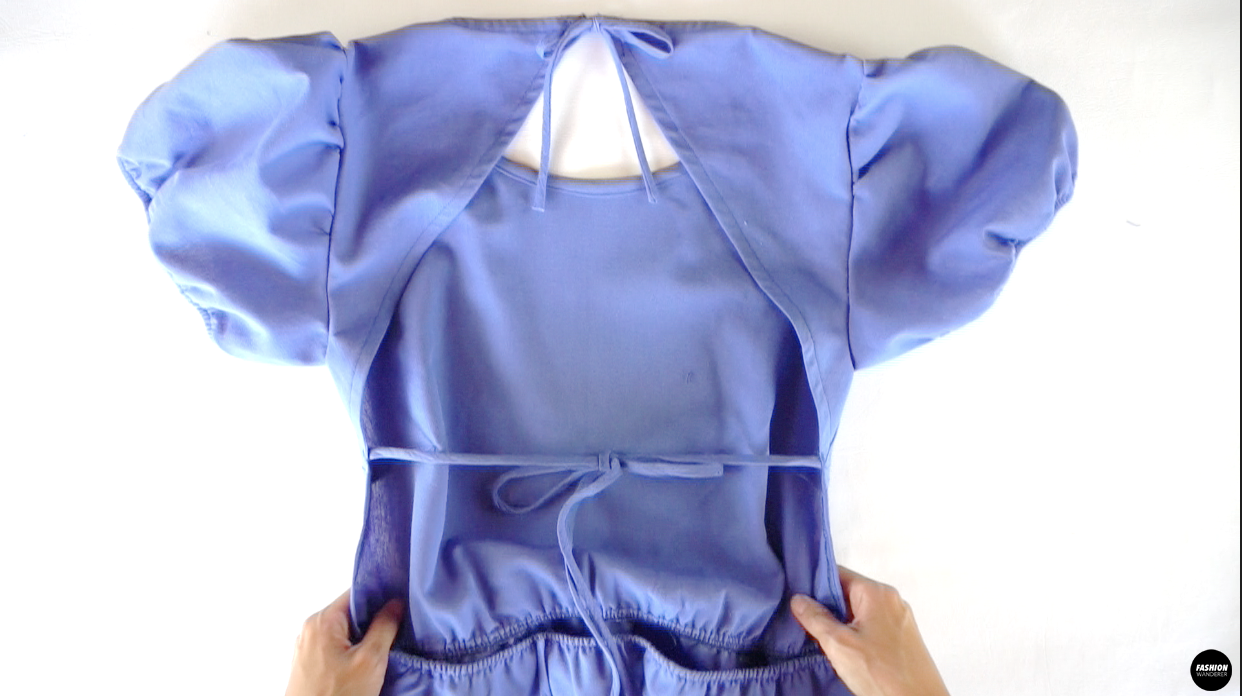
This feminine open back puff sleeve dress includes elasticized cinched waist, darling puff sleeves and high slit leg opening on skirt. The back spaghetti strap ties are adjustable and make for an easy closure instead of adding a zipper.
Whether beginner looking for challenging project or intermediate level, this midi dress is suitable for all levels.
Use this DIY puff sleeve open back midi dress sewing pattern and review the size guide to find perfect fit for your dress.


How to make a puff sleeve open back midi dress

Once the sewing pattern is downloaded, look for squares and page numbers to assemble the pdf sewing patterns to put together regardless the paper size you choose.
Due to the midi dress length, it may require more fabric compared to mini dress. Know the fabric width in order to find out how much fabric to buy for this project. If need more help, always refer to the instruction booklet for guidance.
To be safe, consider ½ to ¾ yards additional fabric to compensate for any mistakes or practicing the stitches.
For this sewing project, prepare a sewing machine, serger, elastic, loop turner, ruler, and water erasable pen to get started.
Don’t forget to thread the sewing machine properly so you won’t have to deal with skipping stitches. Furthermore, old sewing needles tend to cause thread to keep breaking, so take care of them before you start the dress.
Read thorough and test the tension and stitch length for a successful outcome with the fabric you select.
DIY Puff Sleeve Open Back Midi Dress Tutorial Material:
- Ellery Dress Sewing Pattern
- Linen Fabric 2½ yards for 60” width or 3 yards for 45” width
- ¼” width and 5/16” width elastic
- Sewing machine
- Serger
- Pins
- Ruler
- Water Erasable Pen
Place the Front Dress right side facing each other, mark the dart position with a water erasable pen. Straight stitch the bust dart notch.
Attach the bias cut strap on the right side of both of the Back Top pieces. Fold over to the wrong side of the Back Top, double fold and straight stitch along the folded strap.
Sew the Front Top and Back Top facing each other.


Place remaining bias cut strap around the right side of the Front Top neckline and ¼” width straight stitch. Double fold the strap towards the inside of the Front and Back Top pieces and edge topstitch the neckline.
Make a strap with the bias cut and use a loop turner to flip the strap inside out. Cut the strap into 4 equal length pieces to use for the Back Top neckline and side seams.
Sew straight stitch for manual gathering from notch to notch on the top of the sleeve. Close the underarm seam and use elastic band on the sleeve opening.
Attach the sleeve to the Top bodice.


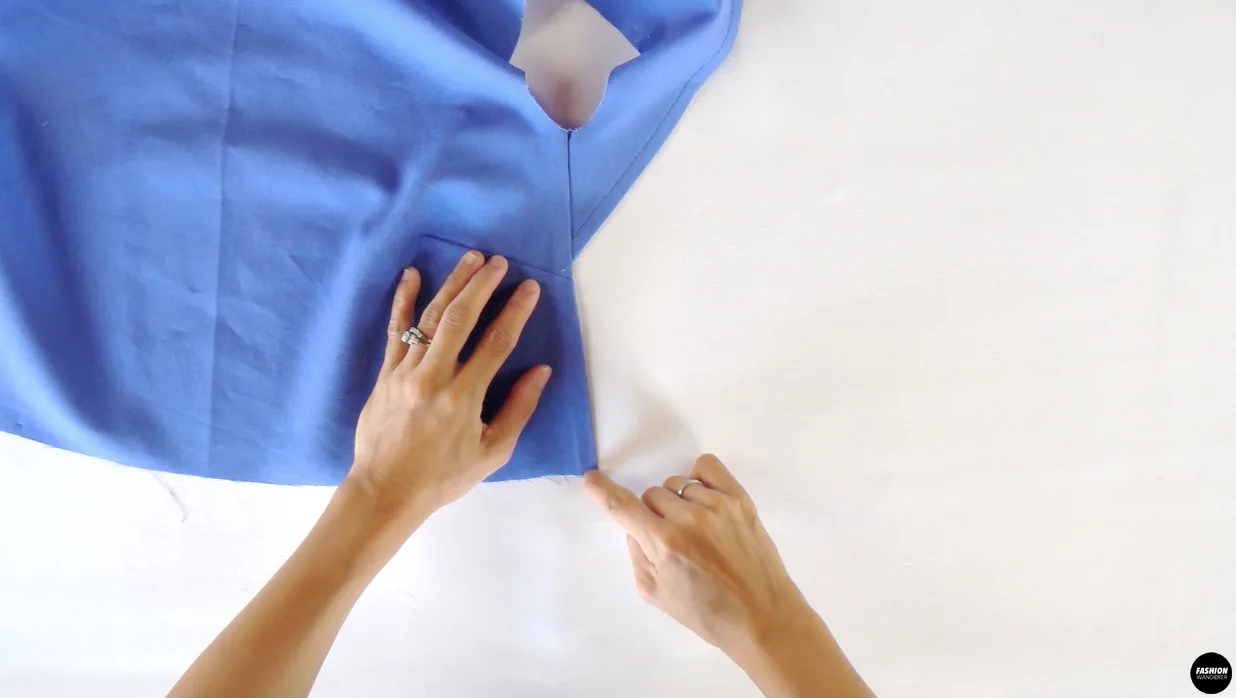
Overlock the Center Front Skirt and Side Front Skirt pieces, then join together and straight stitch around the slit.
Straight stitch the Center Front Skirt and Side Front Skirt facing each other and overlock to finish.
Join the Front and Back Skirt pieces along the side seams.
Join the right side of the Top Bodice and Skirt pieces facing each other with the elastic band.
Overlock the hemline and single fold to finish the hem.


DIY Puff Sleeve Open Back Midi Dress Sewing Tips


Elastic puff sleeve, elastic waist, and hemming the slit opening, sewing this midi dress has lot of design elements that don’t have a short cut. Without a sewing pattern and instructions, it is nearly impossible to create this beautiful dress.
The notches as indicated on the sewing pattern help to put pieces together easily.
The inbinding around the neck and overlock stitch helps to achieve a professional look, and also helps to prevent linen from fraying along the edges.
- Sewing Needle: Depending on the weight of the linen, consider universal needle or 70/10 size needle. If the linen is medium or heavy weight, replace to size 90/14 needle.
- Thread: Stay with cotton or poly blend based thread to sew linen. However, a common universal thread works as well.
- Fabric: This tutorial uses light-medium linen fabric. Alternatively, regular cotton that is soft or polyester blend cotton/linen fabric is recommended.
- Stitches: Generally, go with 2.5 stitch length when sewing linen. However, adjust the stitch length to maximum such as 5.0 for easy hand gathering along the sleeve.
- Elastic: Join the elastic on both ends by overlapping and zigzag stitching. This will help to secure the circle when stretched out without popping. In addition, use overlock machine to attach into the garment. Be careful not to cut through the elastic when using a Serger machine.
- Spaghetti straps: When making spaghetti straps, trim the seam allowance to ⅛” width so it is easy to flip inside out with a loop turner. This trick works well when the linen fabric is medium weight.
- Neck Inbinding: Prepare strap of fabric that is bias at a 45 degree angle from the grain line. Cutting on the bias of the fabric helps to create a sooth curve around the neckline.
In this tutorial, you will get a clear idea for how to sew Ellery dress using overlock and straight stitch to join and attach elastic, spaghetti strap, and slit opening.
Whether linen or poly fabric, take your time to choose the right fabric to make Ellery dress. Don’t forget to download and turn on the video tutorial to guide you along while completing this pretty midi dress to wear all year long.


DIY Puff Sleeve Open Back Midi Dress
Looking for a style that is similar to the Fiore dress? If you are looking for a simplified version of dress that is casual enough to wear all year round, this DIY dress is a perfect replacement.
Follow these instructions to sew a darling puff sleeve open back midi dress and use elastic around the waist and sleeve opening for easy comfort to wear. In this tutorial, all the sewing details are beginner to intermediate level.
From strap tie at back to slit opening on the skirt, this dress has elongated silhouette with nice hugging look to fit you like a glove. The Ellery dress sewing pattern will guide you to achieve this multi-occasion dress to add to your DIY wardrobe.
Materials
- Ellery Dress Sewing Pattern
- Linen Fabric 2½ yards for 60” width or 3 yards for 45” width
- ¼” width and 5/16” width elastic
Tools
- Sewing Machine
- Serger
- Thread
- Fabric Scissors
- Water Erasable Pen
- Measuring Tape
- Pins
- Loop Turner
Instructions
For this Ellery puff sleeve open back midi dress tutorial, start by assembling the pattern pieces:
- 1 Piece of Front Top
- 2 Pieces of Back Top
- 2 Pieces of Sleeve
- 1 Piece of Center Front Skirt
- 2 Pieces of Front Side Skirt
- 1 Piece of Back Skirt
How to Sew Bust Dart On Dress
- Turn the Front Dress right side facing each other and fold along the center front. Use a pin to poke a hole and mark the fish dart location on the sewing pattern.
- Flip the sewing pattern wrong side up and pin through the hole to mark the points with water erasable pen.
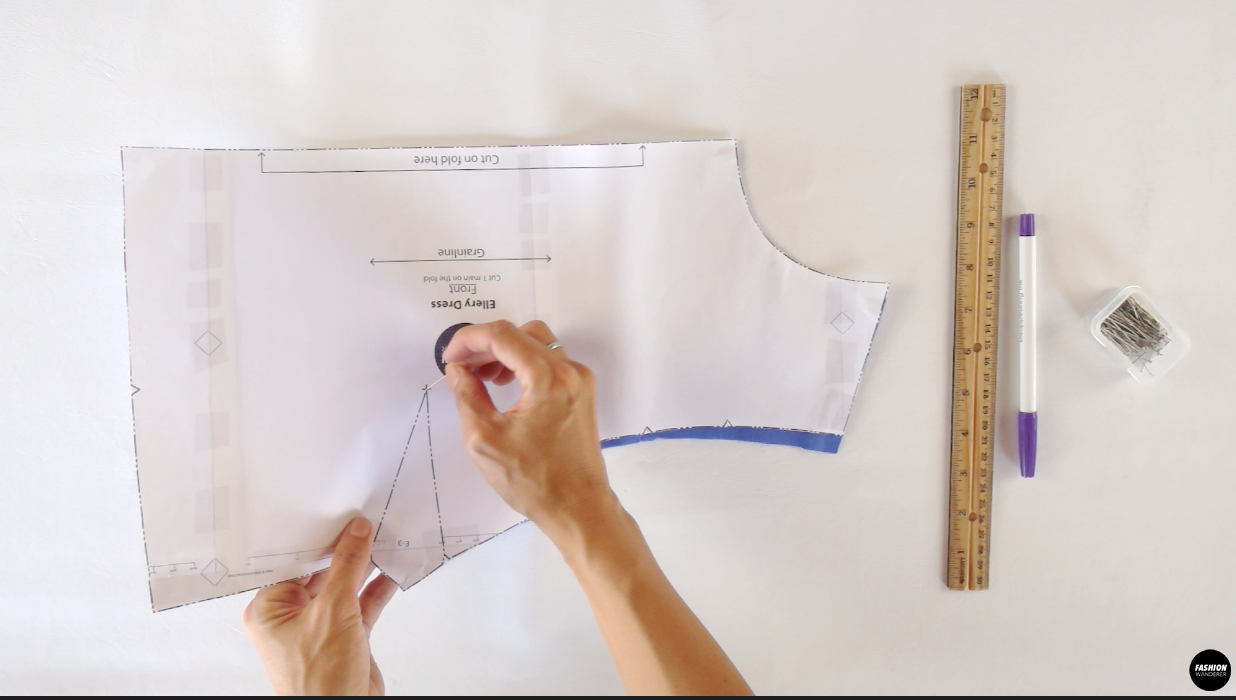

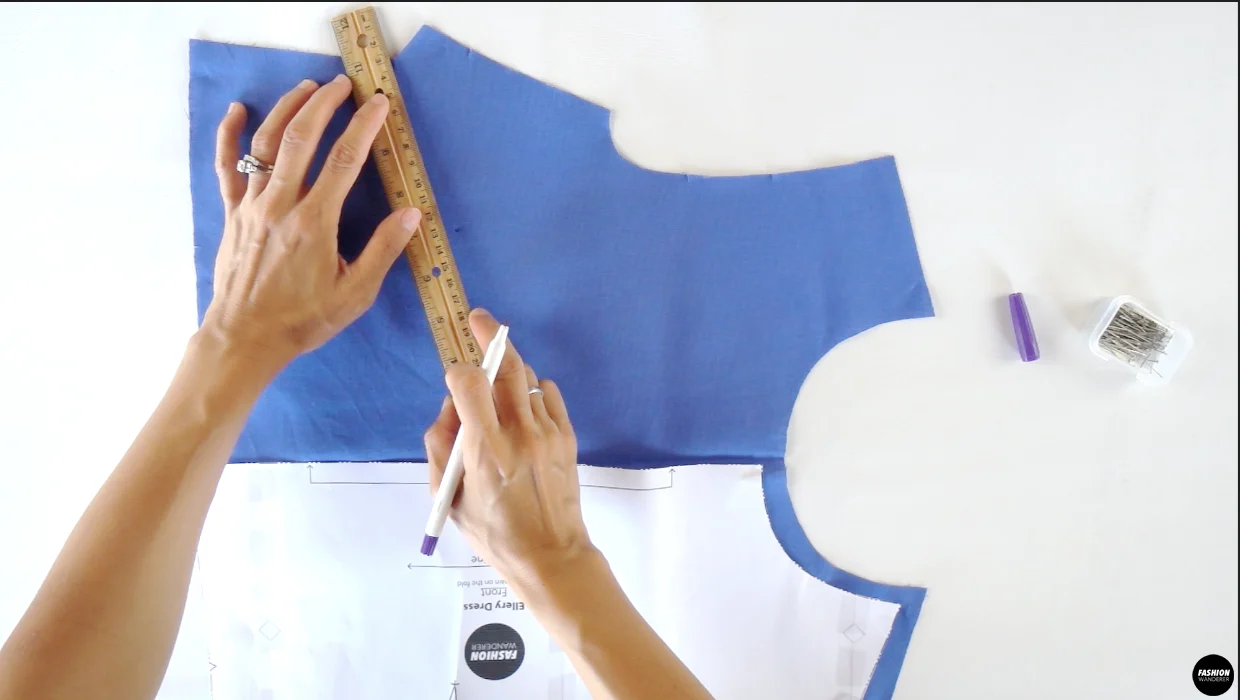
- Use a straight ruler and connect the points. Do the same on the other side.

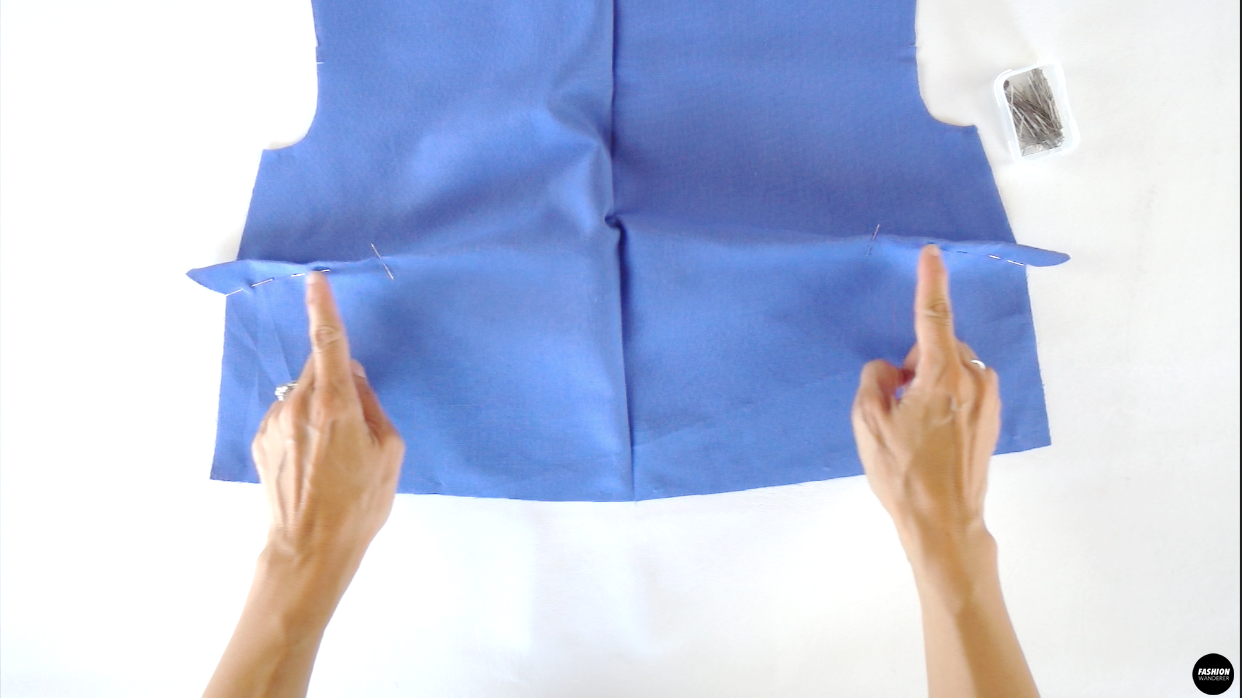
- Fold the bust darts in half lengthwise and pin along the pen line.

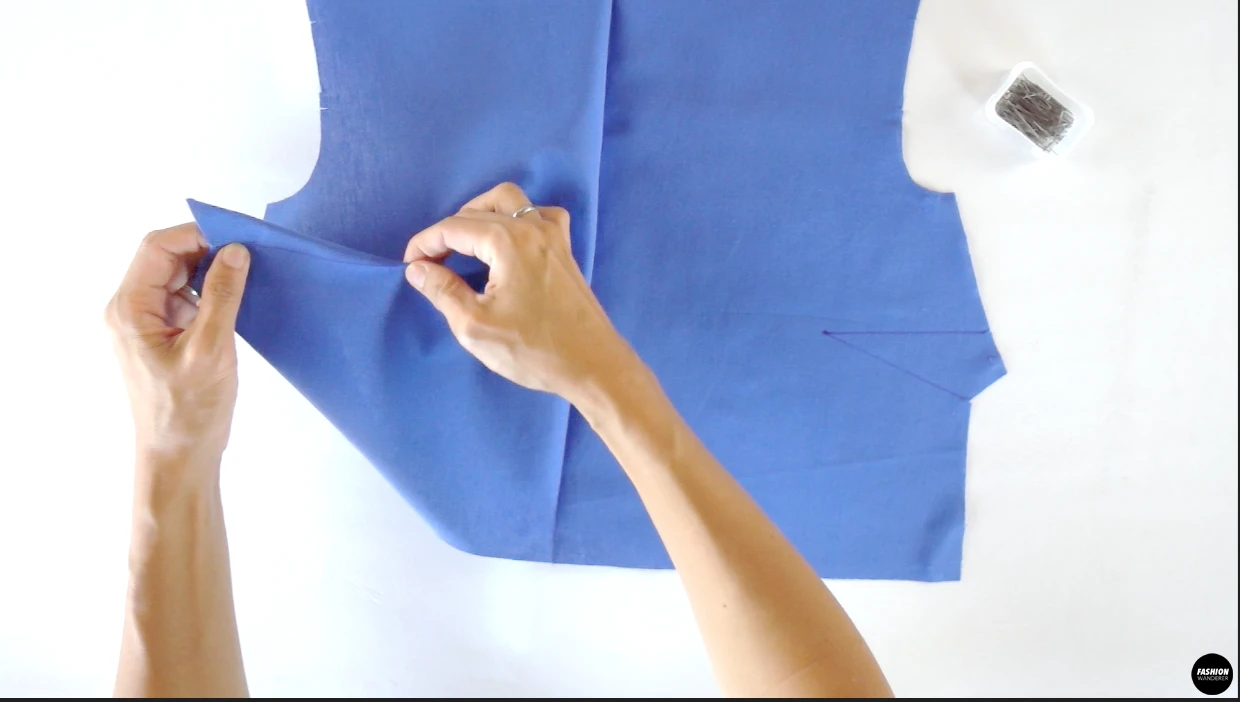
- Start straight stitching from the bust dart notch and end at the point without stitching back and forth. Instead double tie the end. Press the dart facing toward the waist.
How to Finish Back Opening On Dress
- Place right side of bias cut strap on the right side of both the Back Top pieces and pin along the edges.

- Straight stitch ¼” width and open the strap to edge topstitch close to the seam line.

- Fold the bias strap over to the wrong side of the Back Top, then double fold and pin to cover the raw edges. Straight stitch along the folded strap and press to finish.

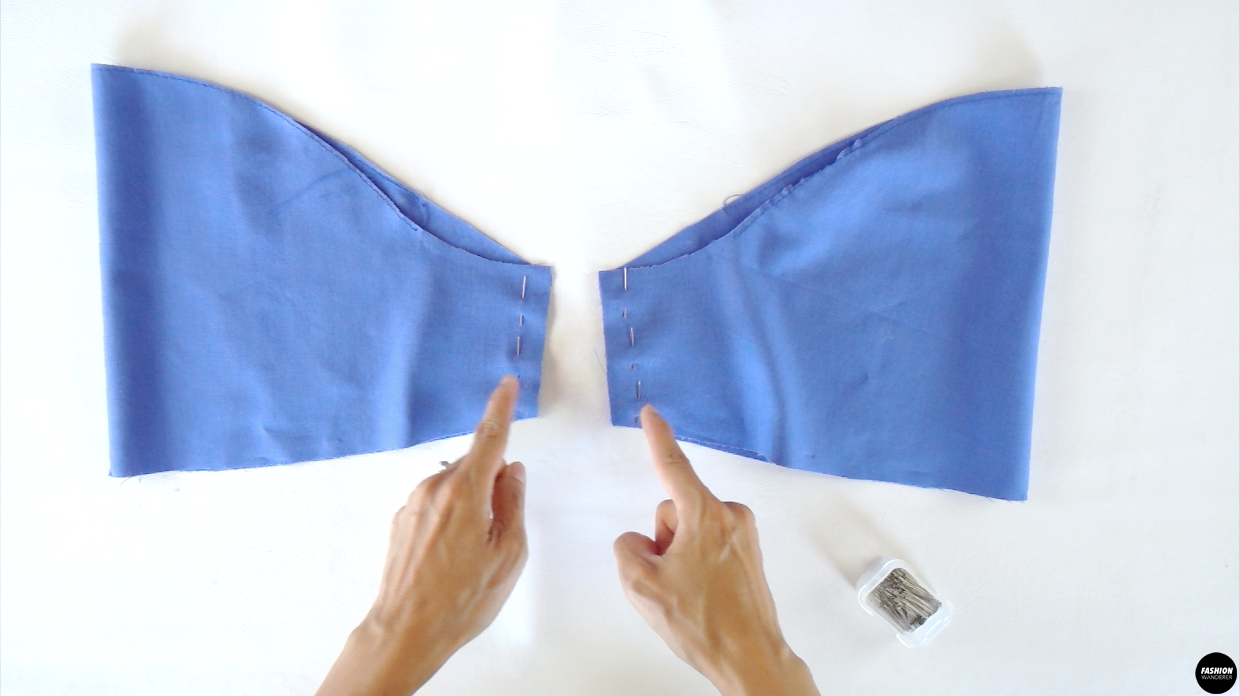
How to Sew Top Bodice Of Dress
- Lay the right side of the Front Top and Back Top facing each other, then pin both side of shoulder and only on the top part of side seam where the back pieces are joining.

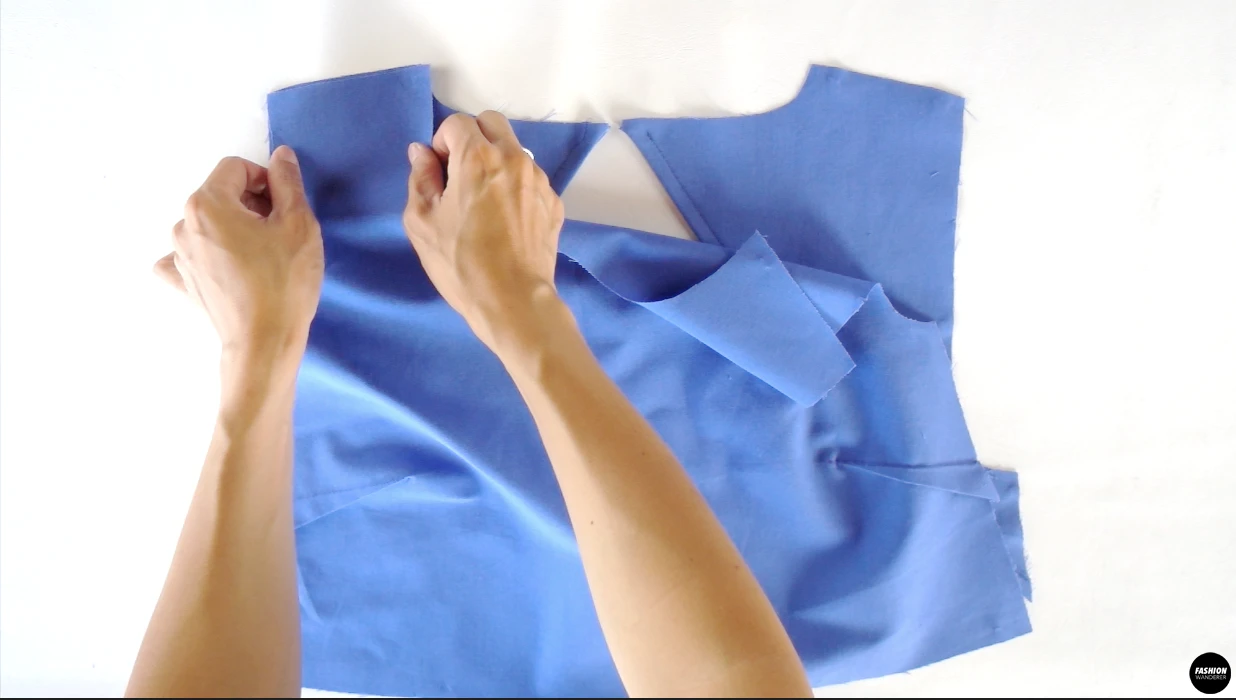
- Sew ⅜” width seam allowance along the shoulder and side seams. Overlock the raw edges to prevent from fraying. Press the seams toward the back.
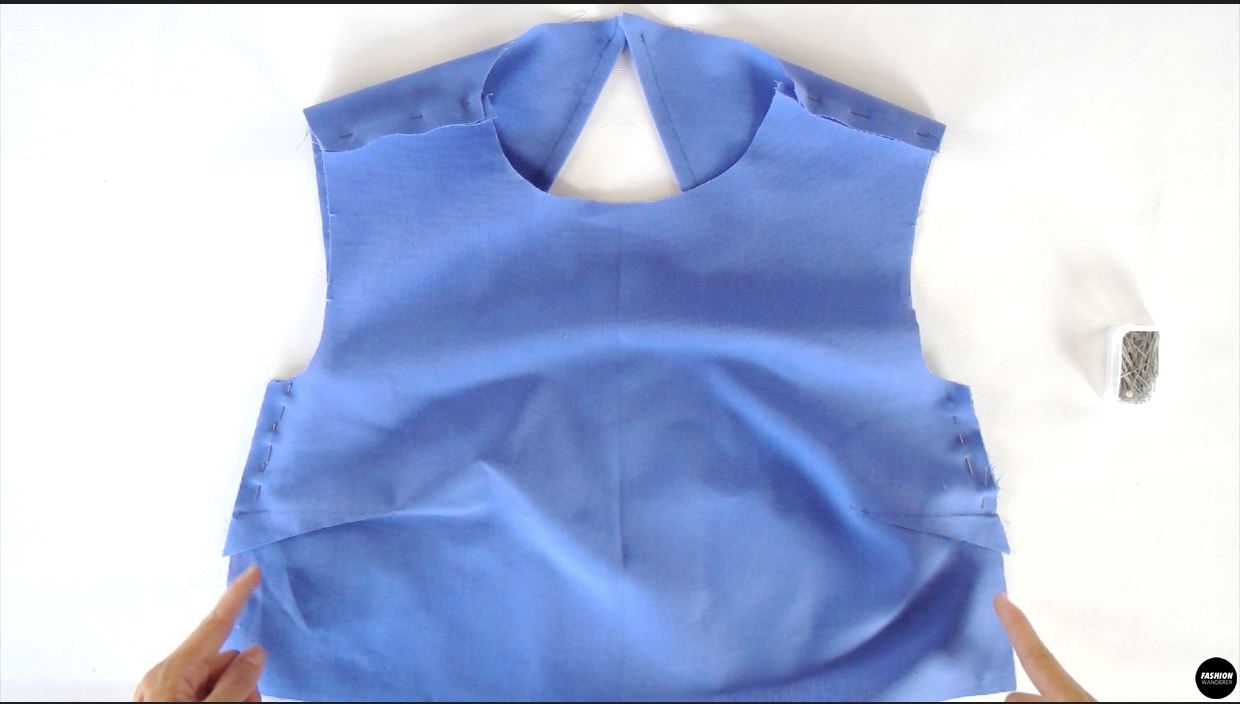
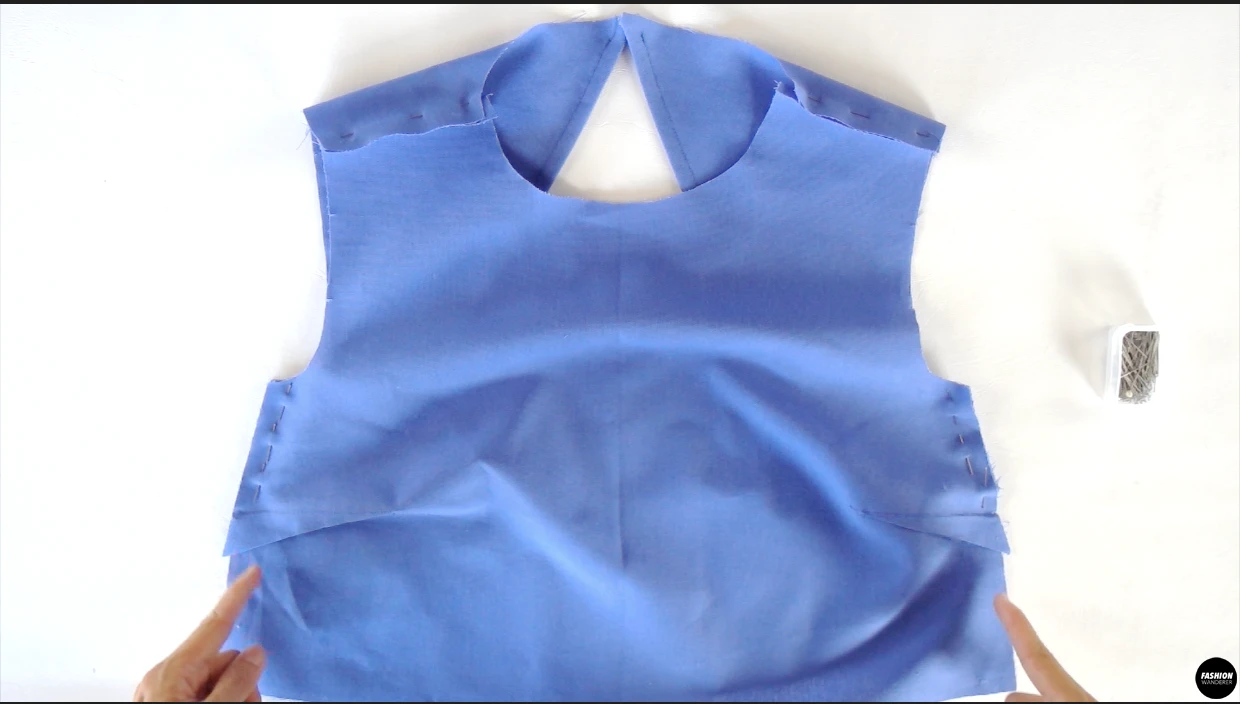
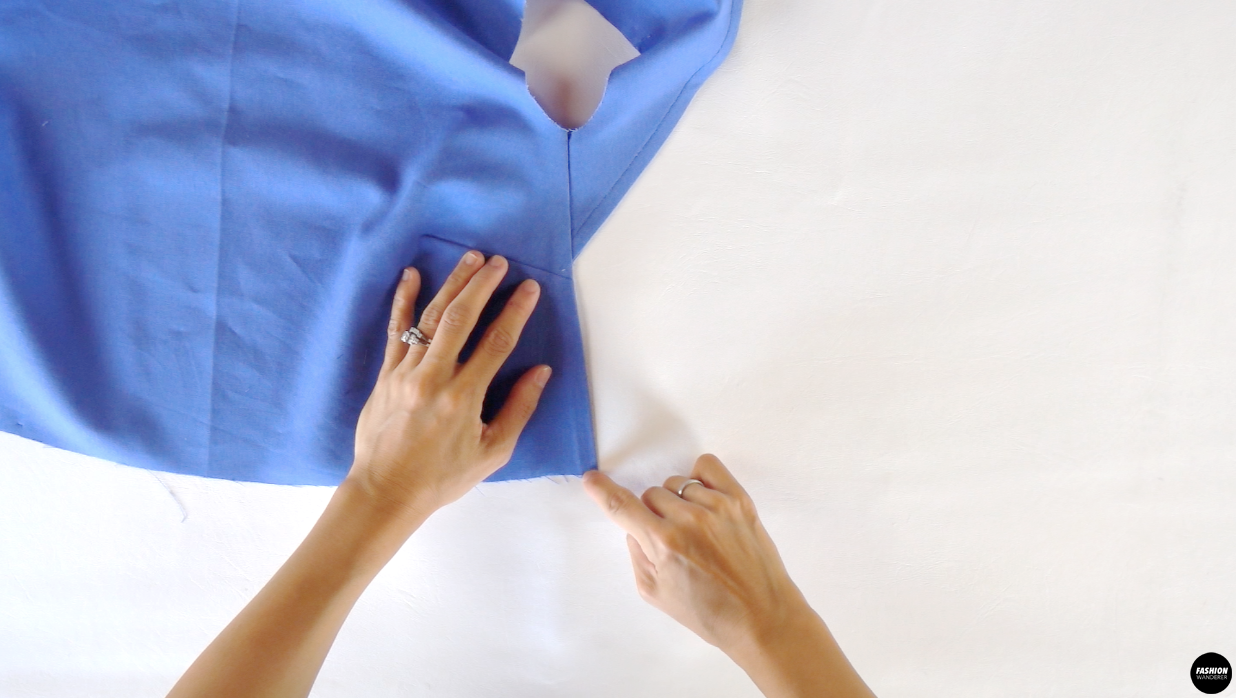
- Fold the overlocked side seams of the Front Top pieces facing inside and ¼” topstitch to connect to the inbinding stitch line of the Back Top pieces. This will help to secure the seams so they stay in place without showing.
How to Sew Inbinding Around The Neckline Of Dress
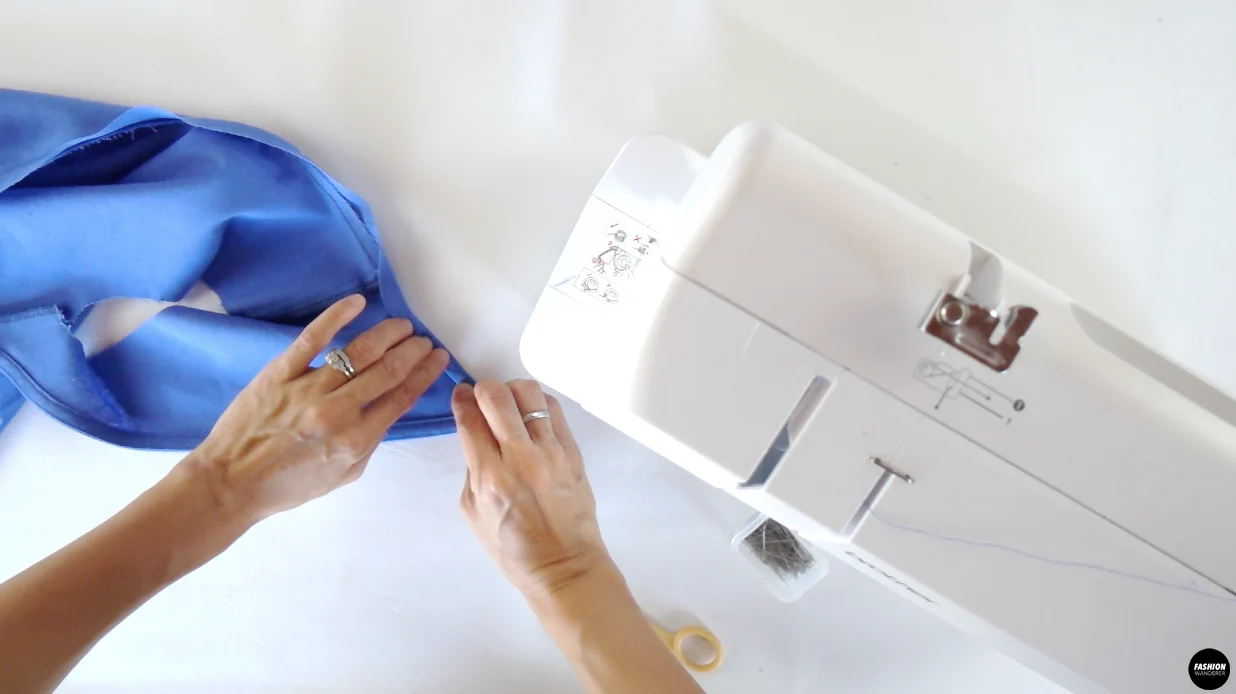
- Place remaining bias cut strap around the right side of the Front Top neckline and pin.
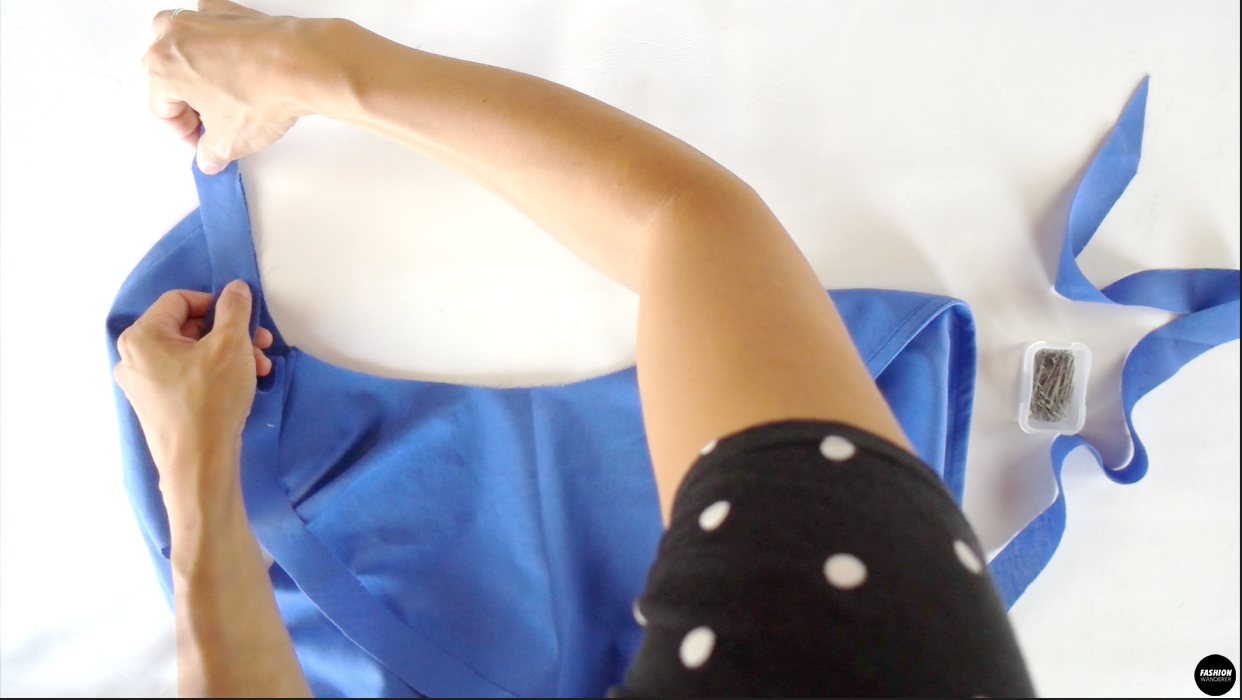

- ¼” width straight stitch starting from back to front.

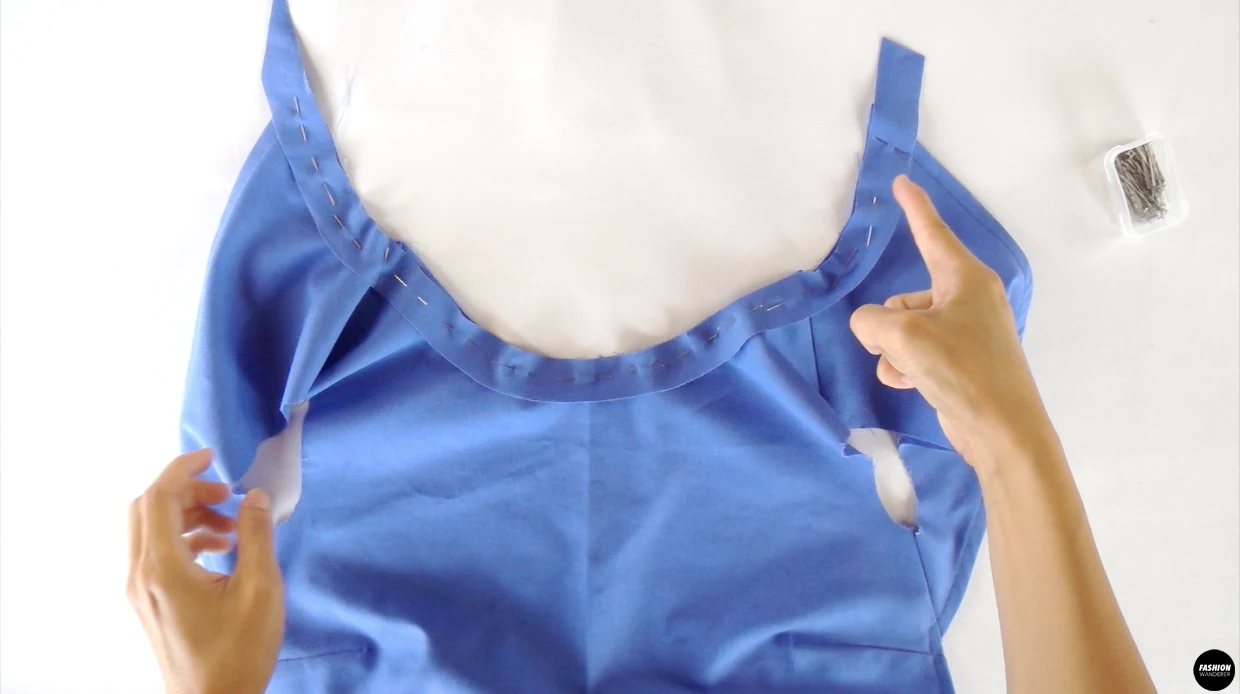
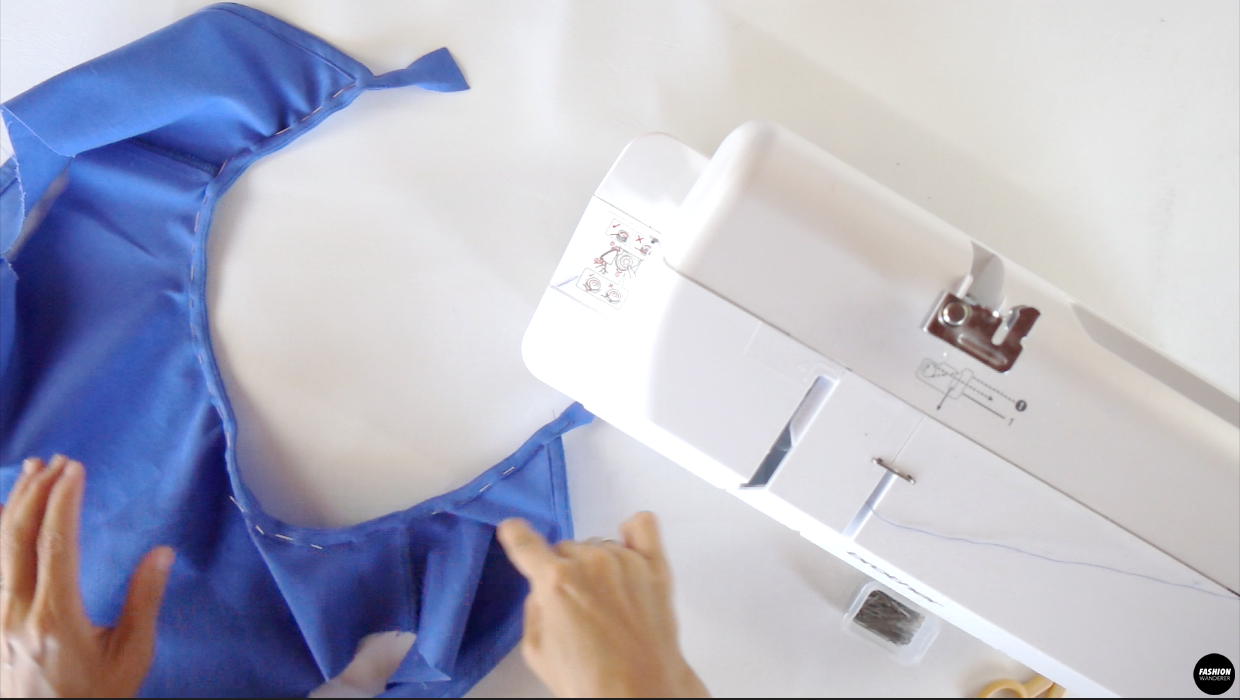
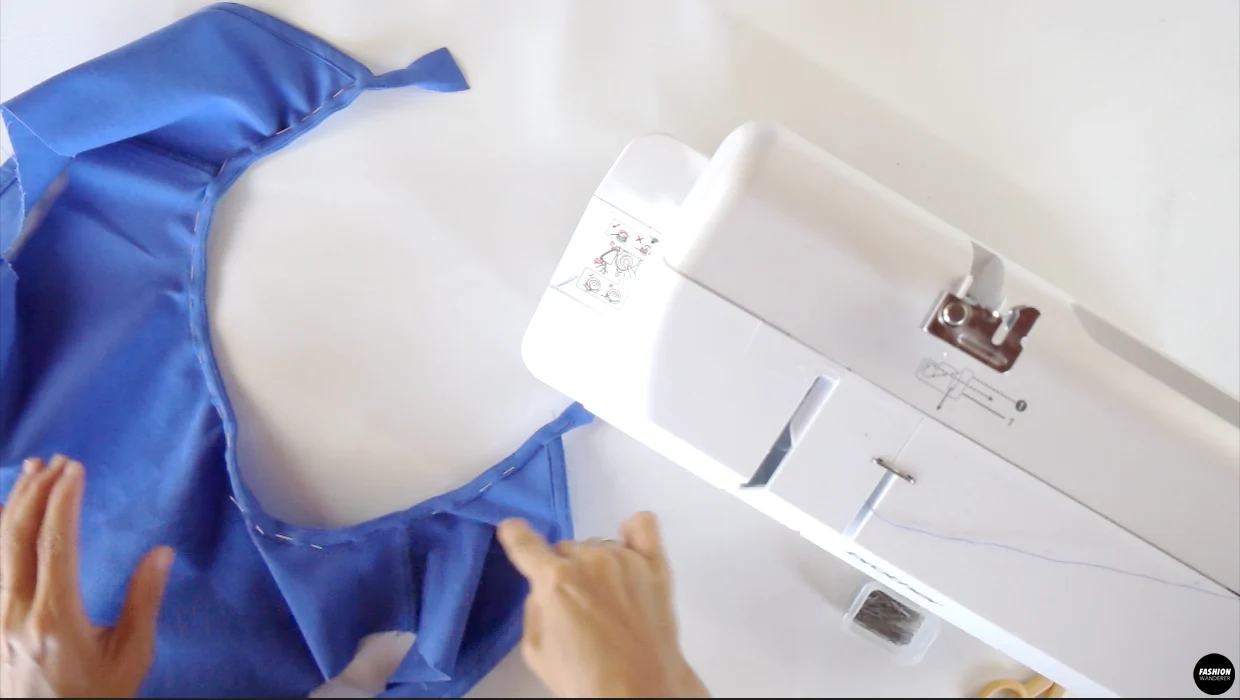
- Open the bias cut strap and edge stitch close to the previous stitch line.

- Double fold the strap toward inside of the Front and Back Top pieces, then pin to cover the raw edges.

- Edge topstitch the neckline and cut the remnant bias cut strap of the ends of the Back Top neck. Press the inbinding for clean finish and remove any puckering.
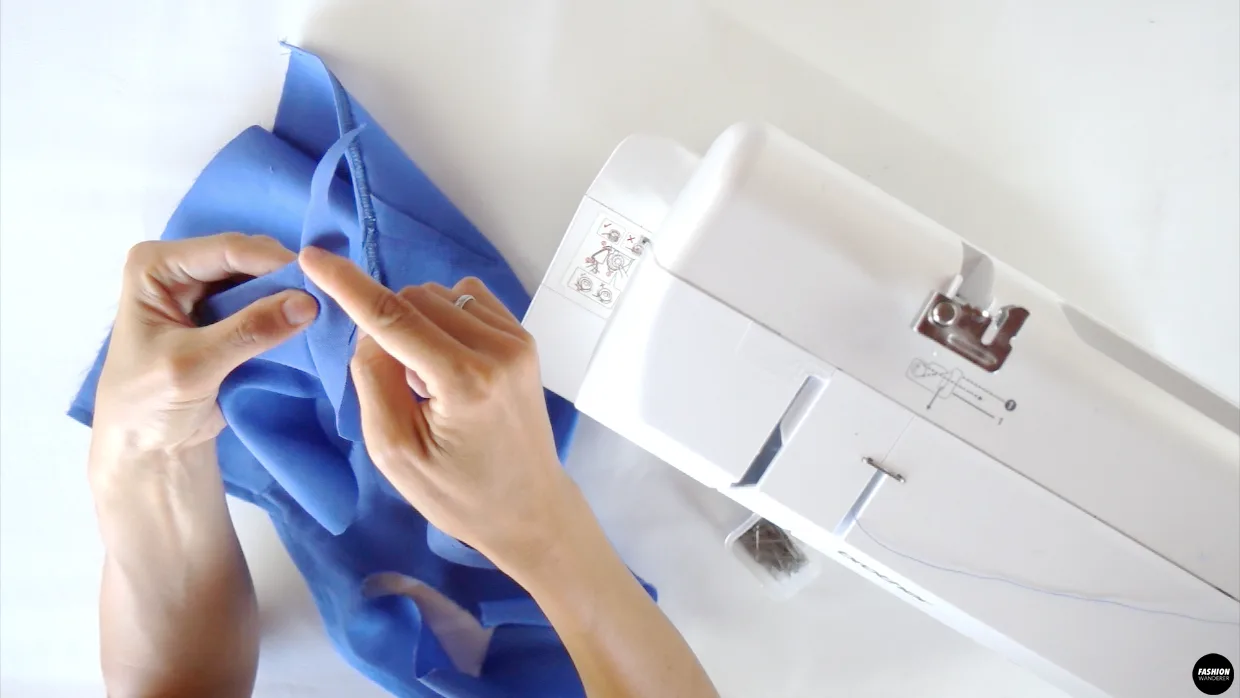
How to Sew Spaghetti Strap
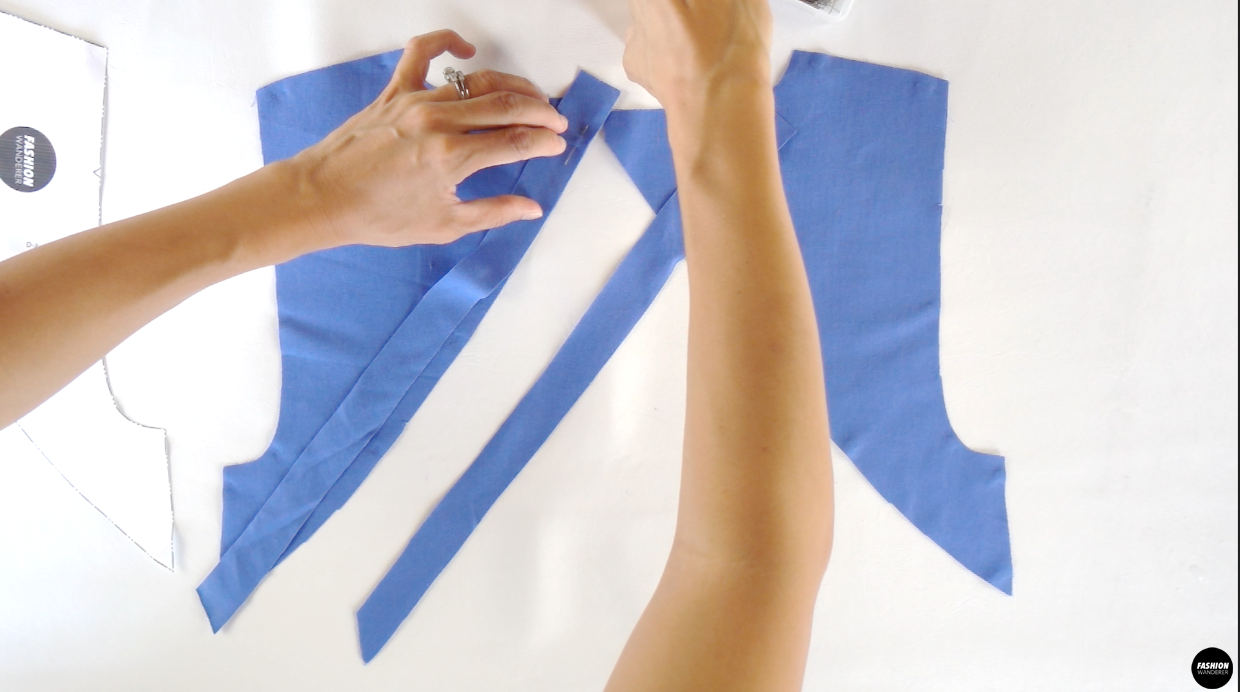
- Fold the bias cut strap wrong side facing each other and pin. Sew ¼” width straight stitch along the pin and cut the seam allowance to ⅛” so it is easy to flip inside out.
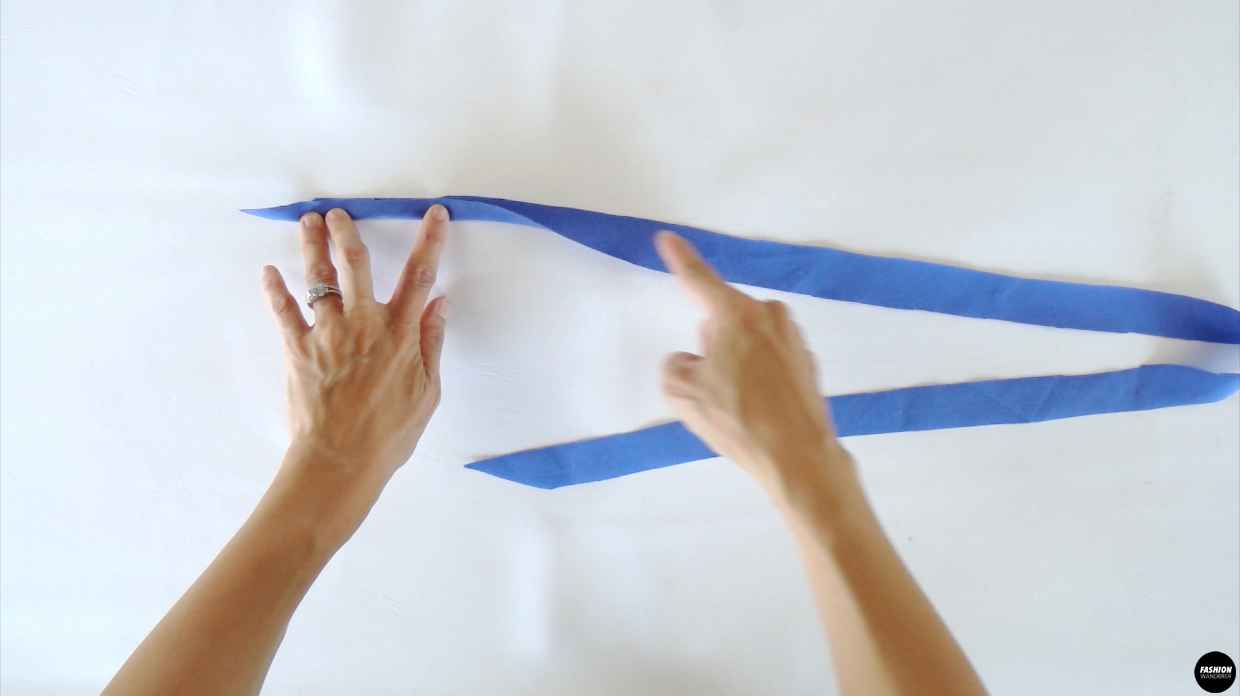

- Use a loop turner to flip the strap inside out.

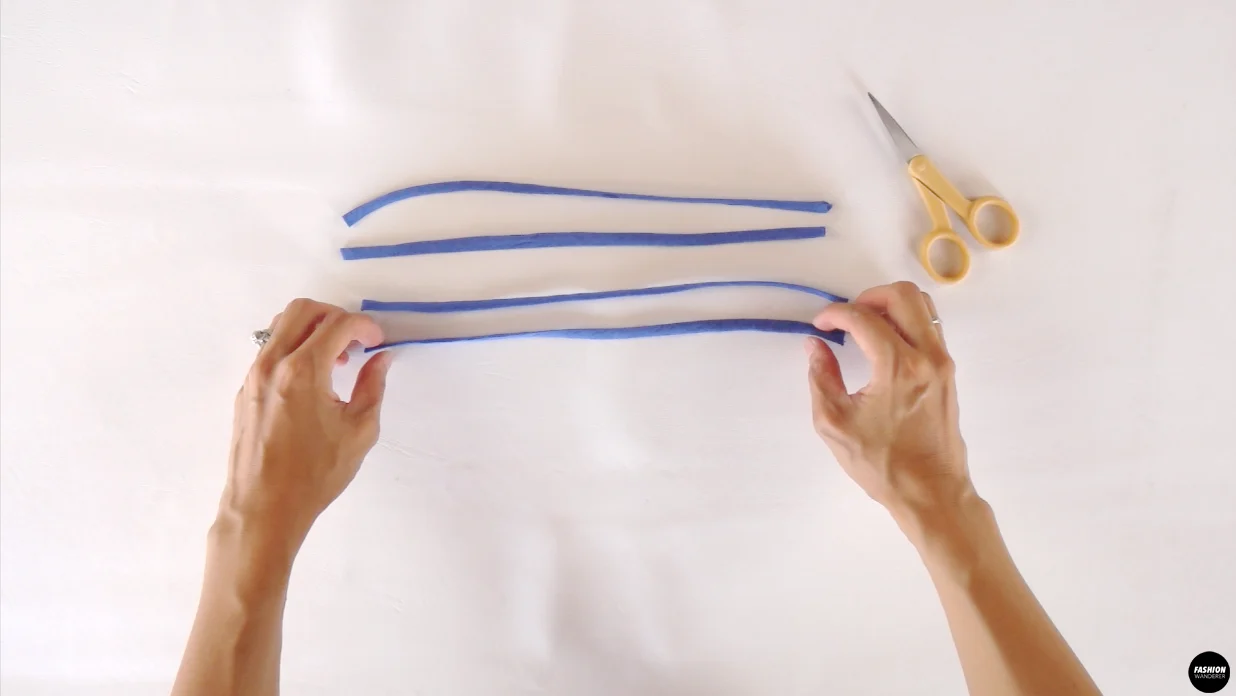
- Press the strap and cut into 4 equal length pieces.
How to Attach Spaghetti Tie on Top Bodice
- Pin the tie on both ends of Back Top neckline and side seams.
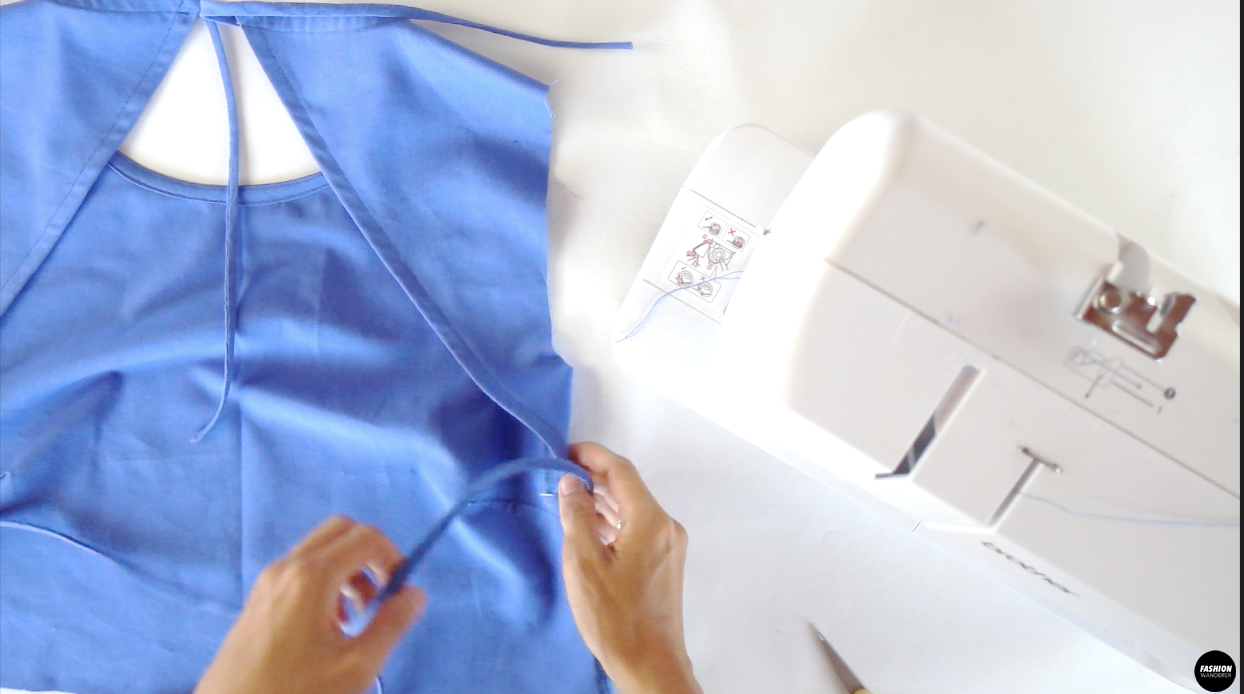

- Stitch back and forth to secure the tie on each side.
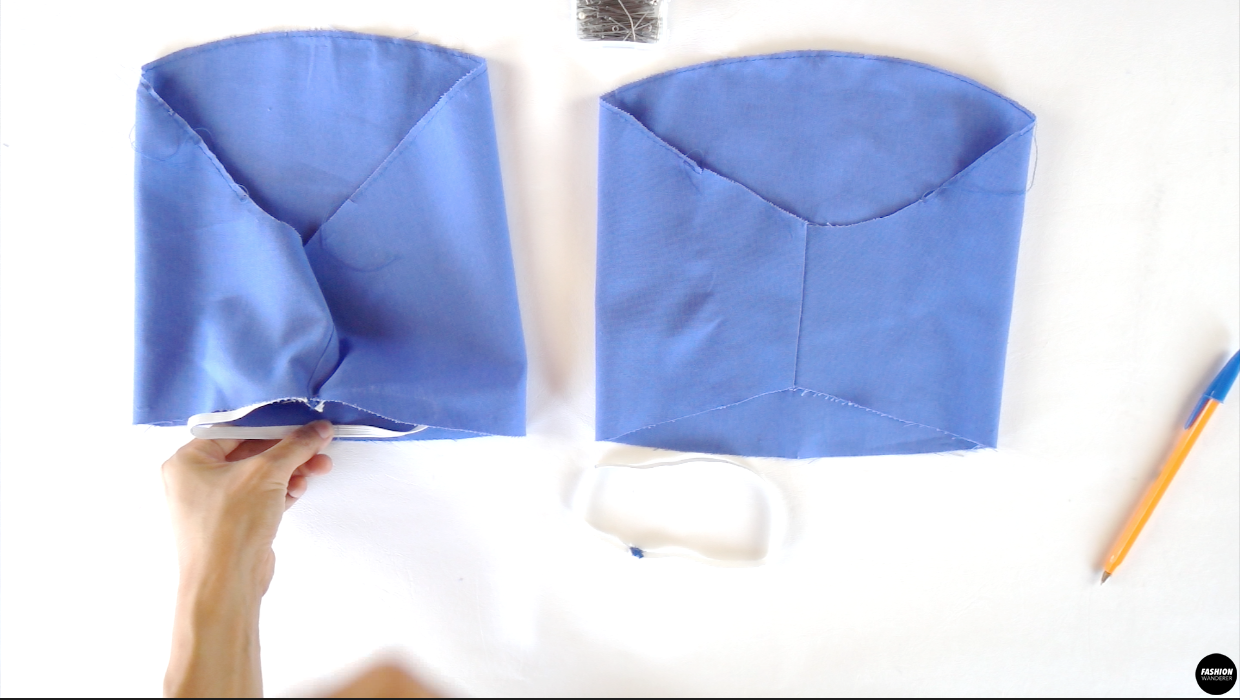
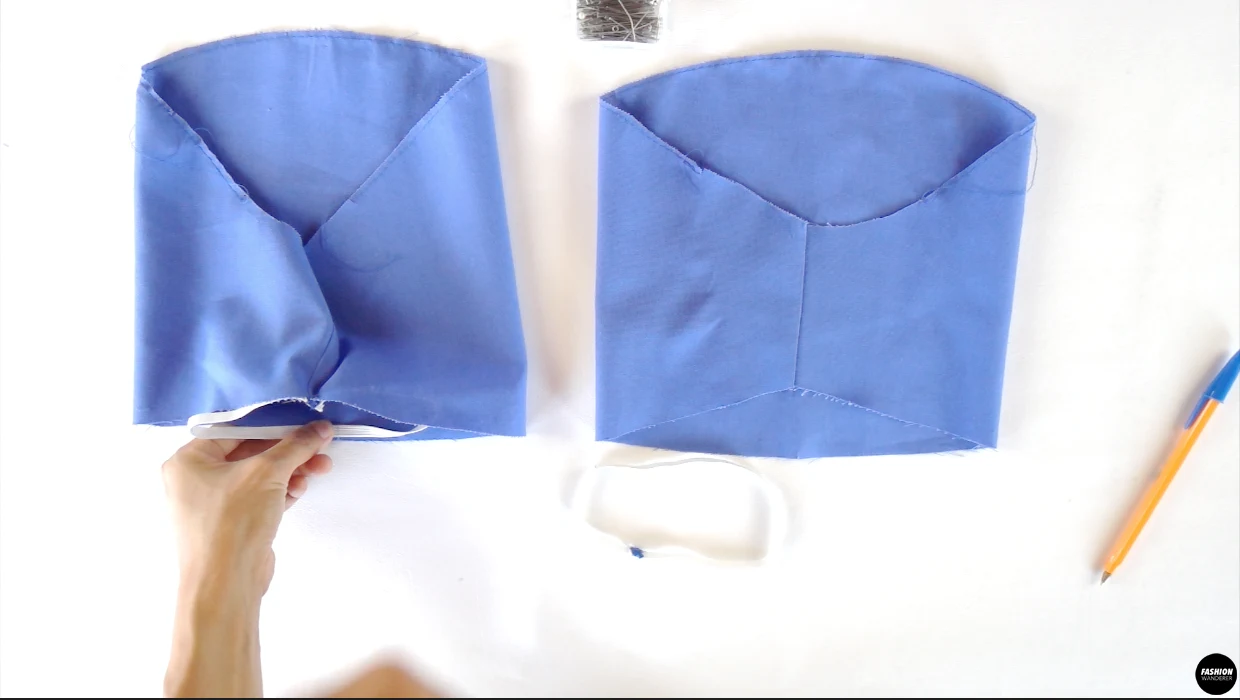
How to Sew Elastic Puff Sleeve
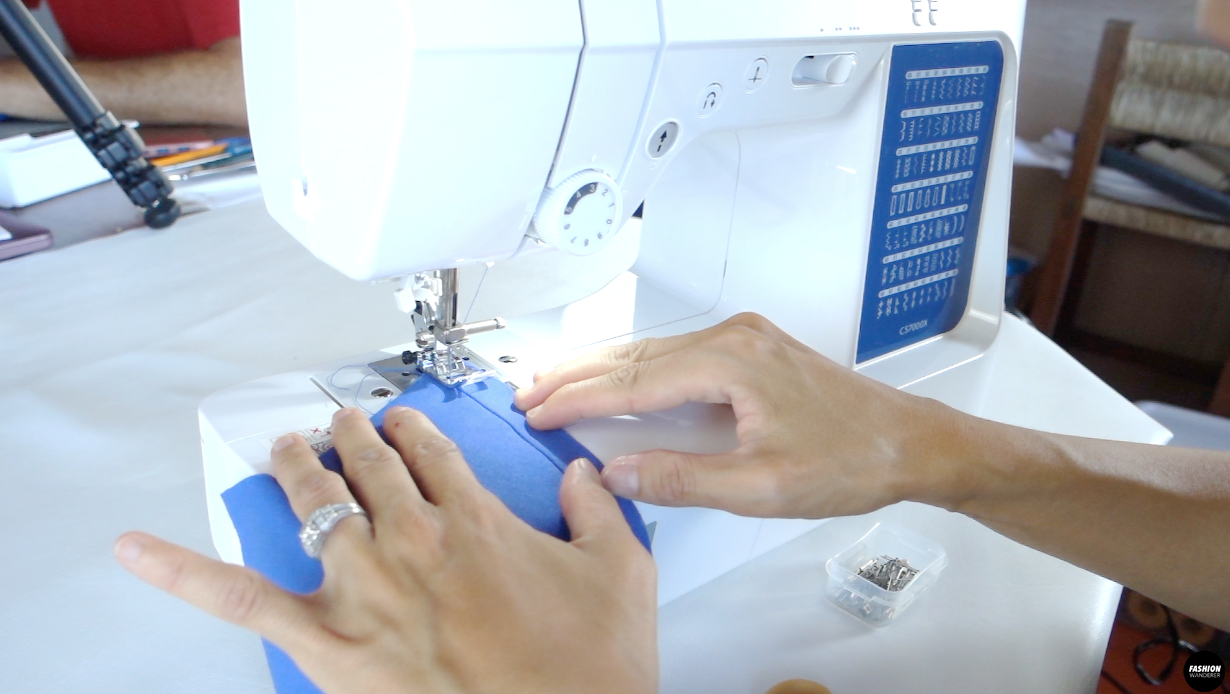
- Adjust the stitch length to 5.0 and ¼” width straight stitch along the top of the Sleeve pattern between the notches.
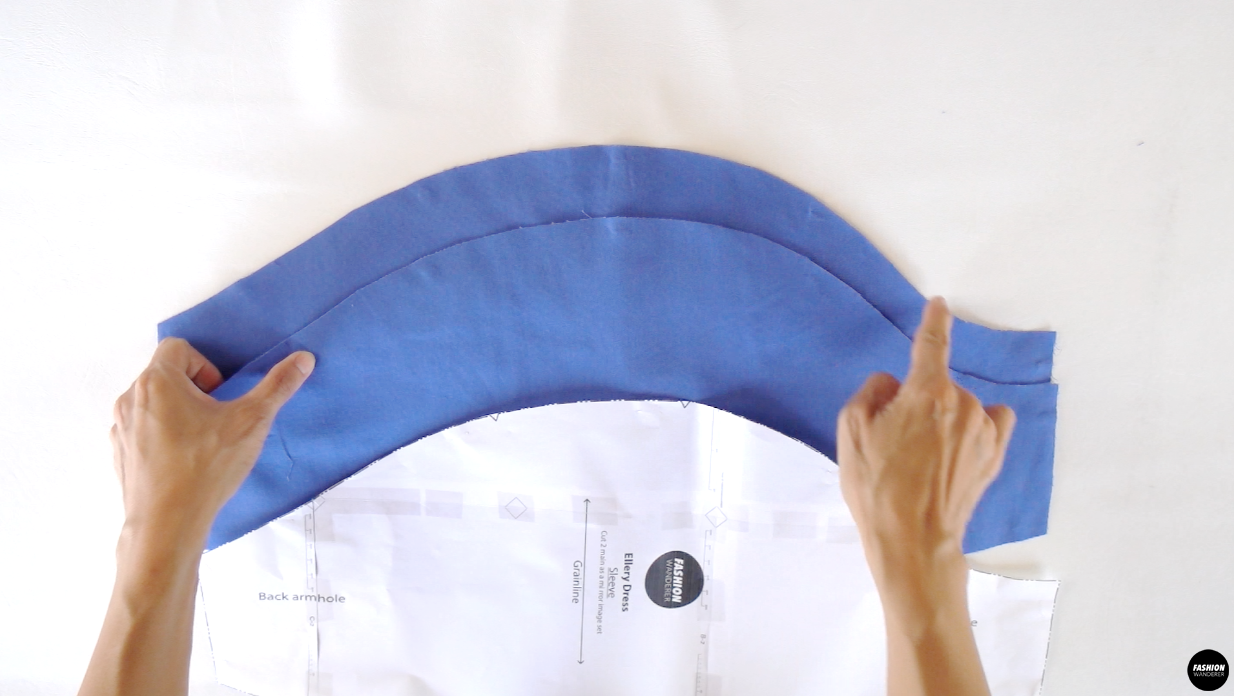

- Fold the sleeve pattern so the right sides are facing each other and sew ⅜” width straight stitch underarm. Overlock to finish and press the seam toward the back sleeve.

- Overlap the elastic about ¼” to ⅜” and zigzag stitch to join the elastic to create circle.
- Fold the elastic in half and mark with water erasable pen to distribute the gathering evenly.

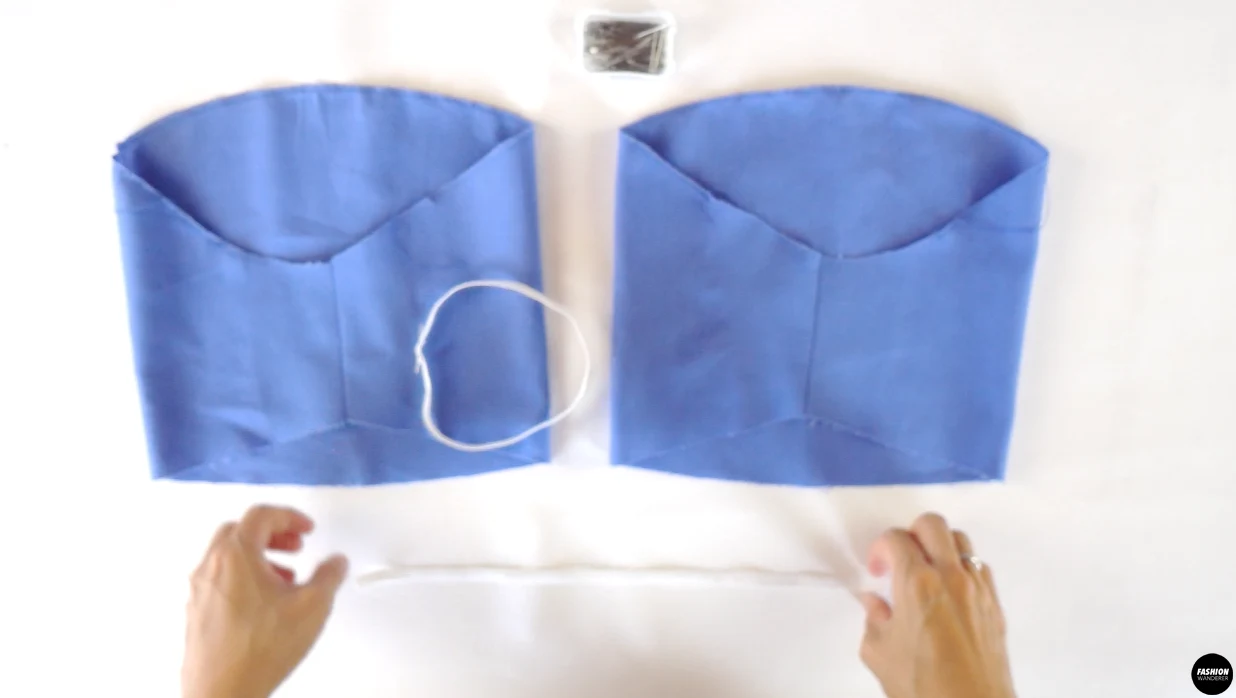
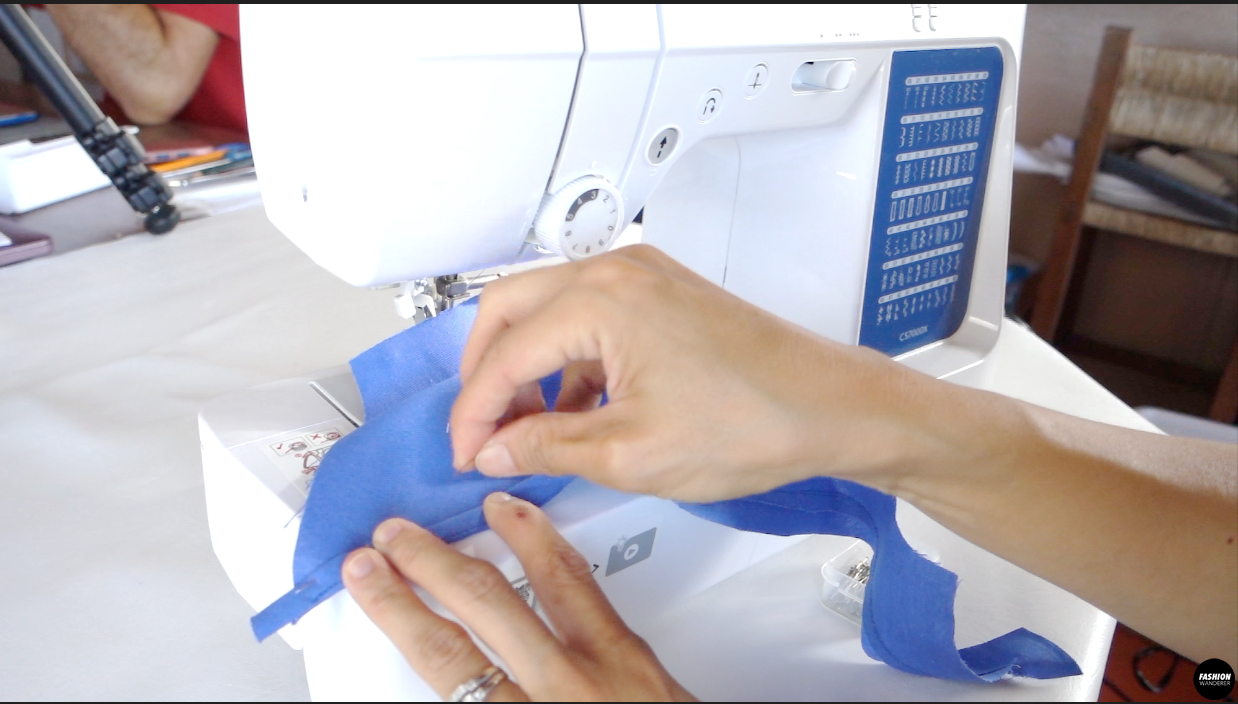
- Pin the elastic on the seam and half points around the sleeve opening.
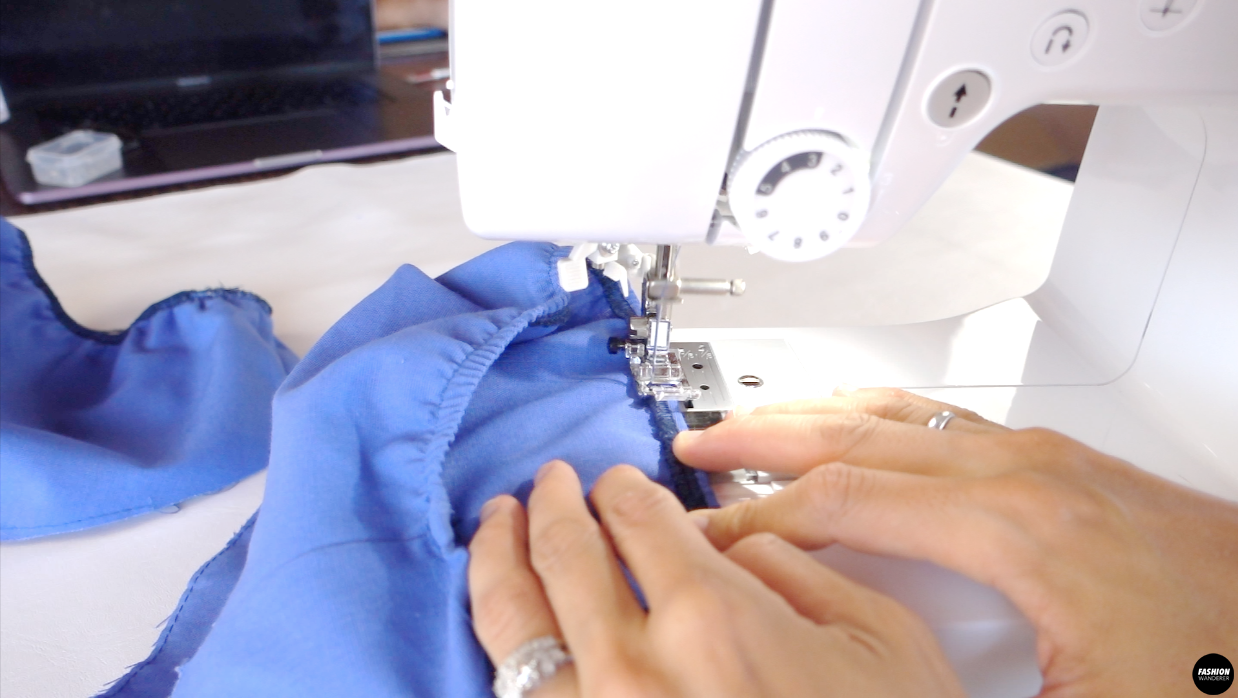
- Use overlock machine to join the elastic and stretch as you sew. Fold the attached elastic and edge topstitch to cover the elastic toward the inside.

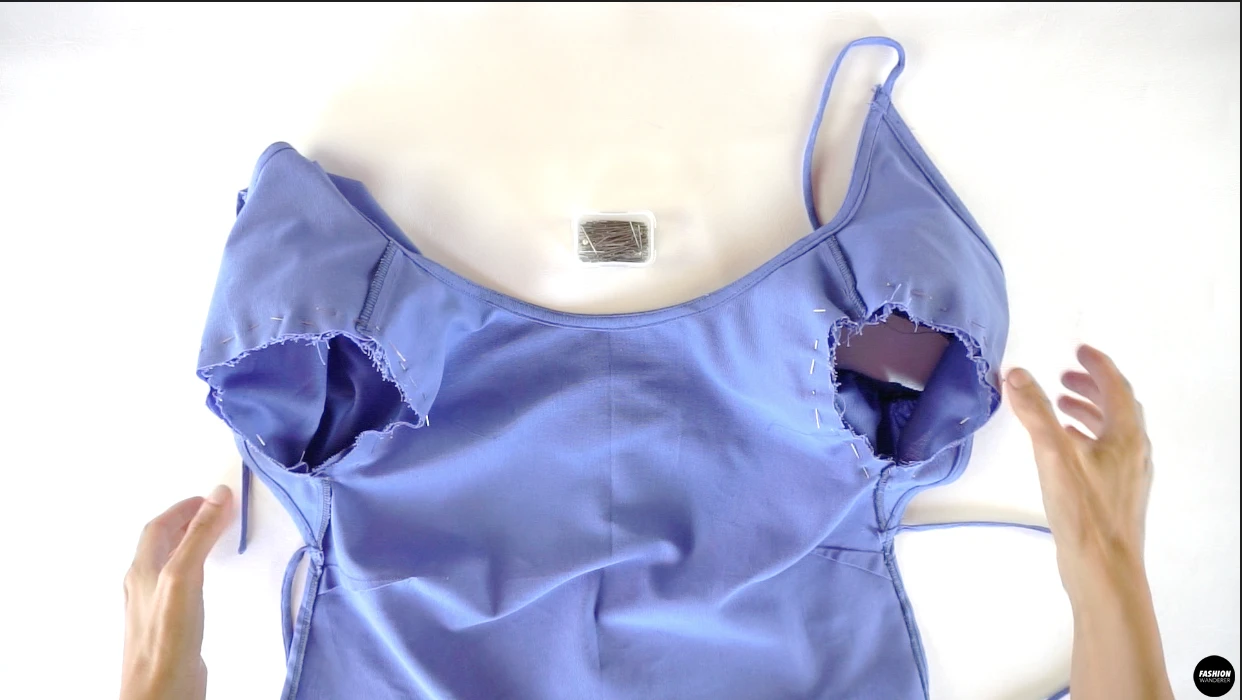
How to Attach Puff Sleeve to Bodice
- Slide the right side of the sleeve through the Top bodice and match the notches to pin around.


- Straight stitch ⅜” width and overlock to finish the edges.

How to Sew Skirt of Midi Dress
- Overlock the edges separately along the front seams of Center Front Skirt and Side Front Skirt pieces.
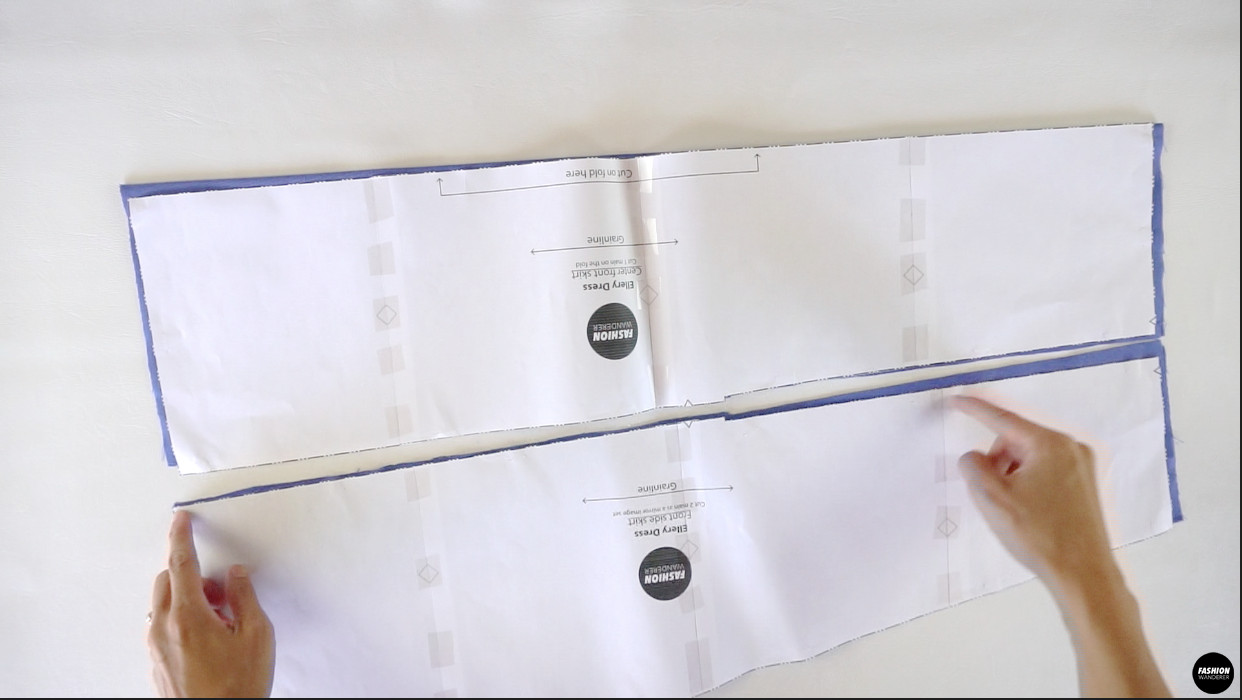

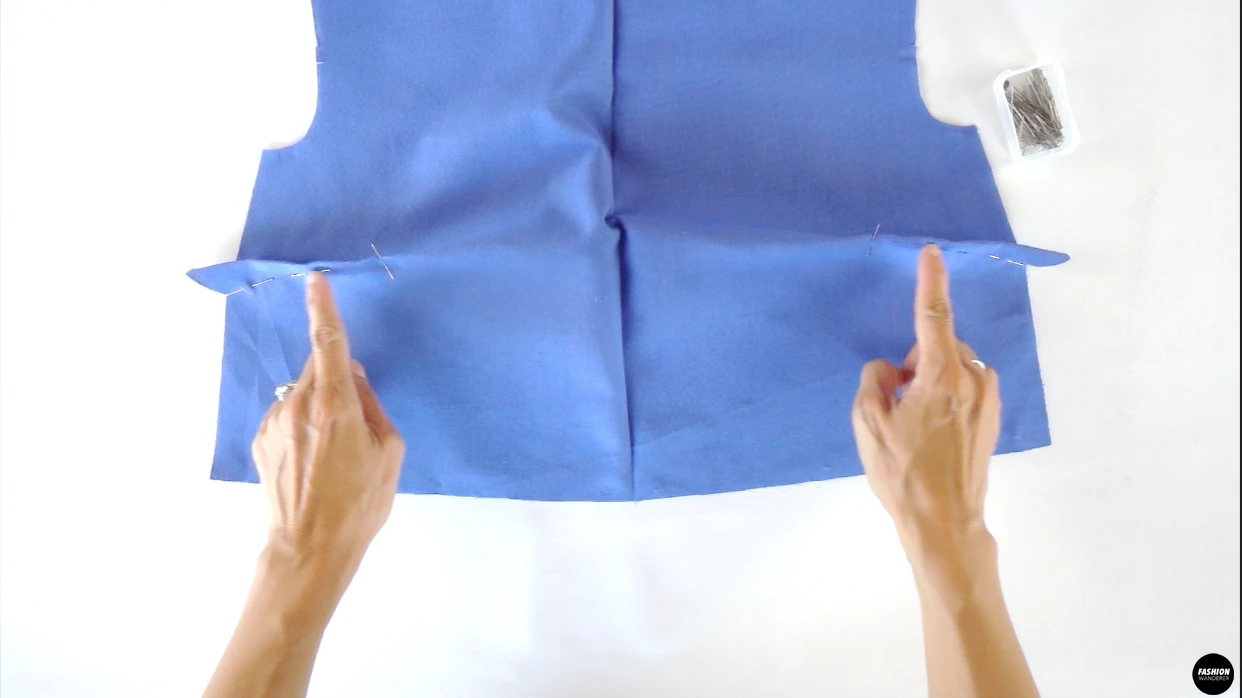
- Place the right side of the Center Front Skirt and Side Front Skirt matching the overlock seams together.
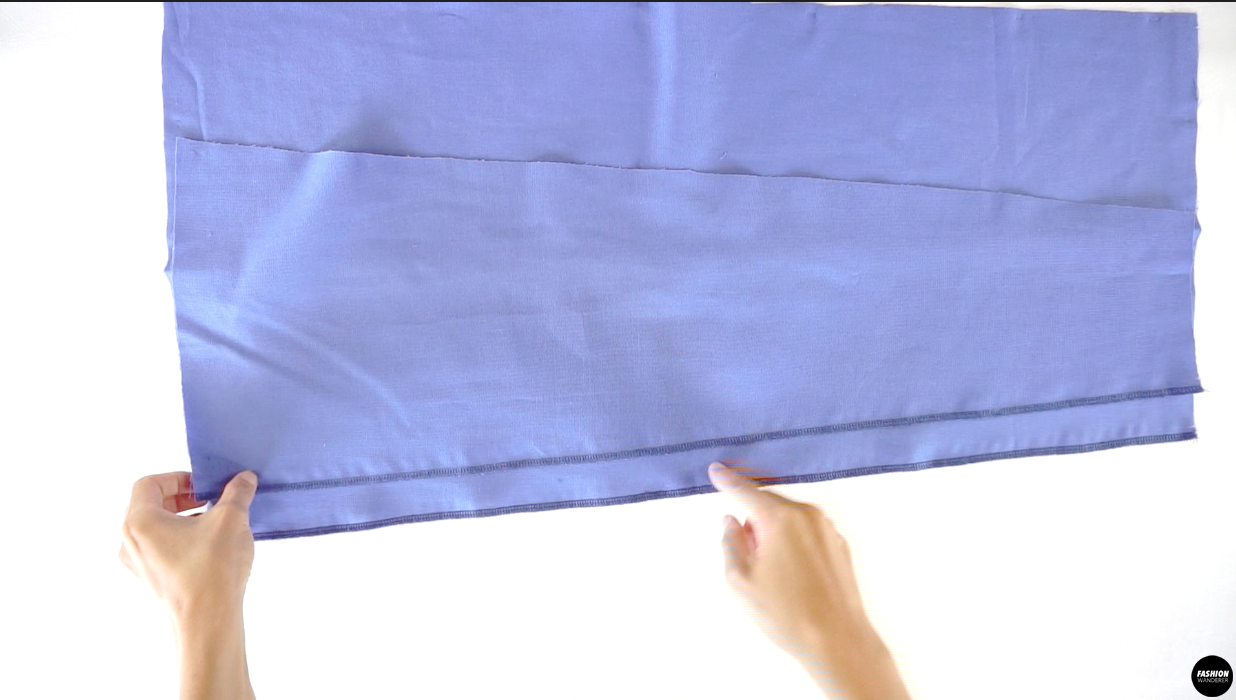

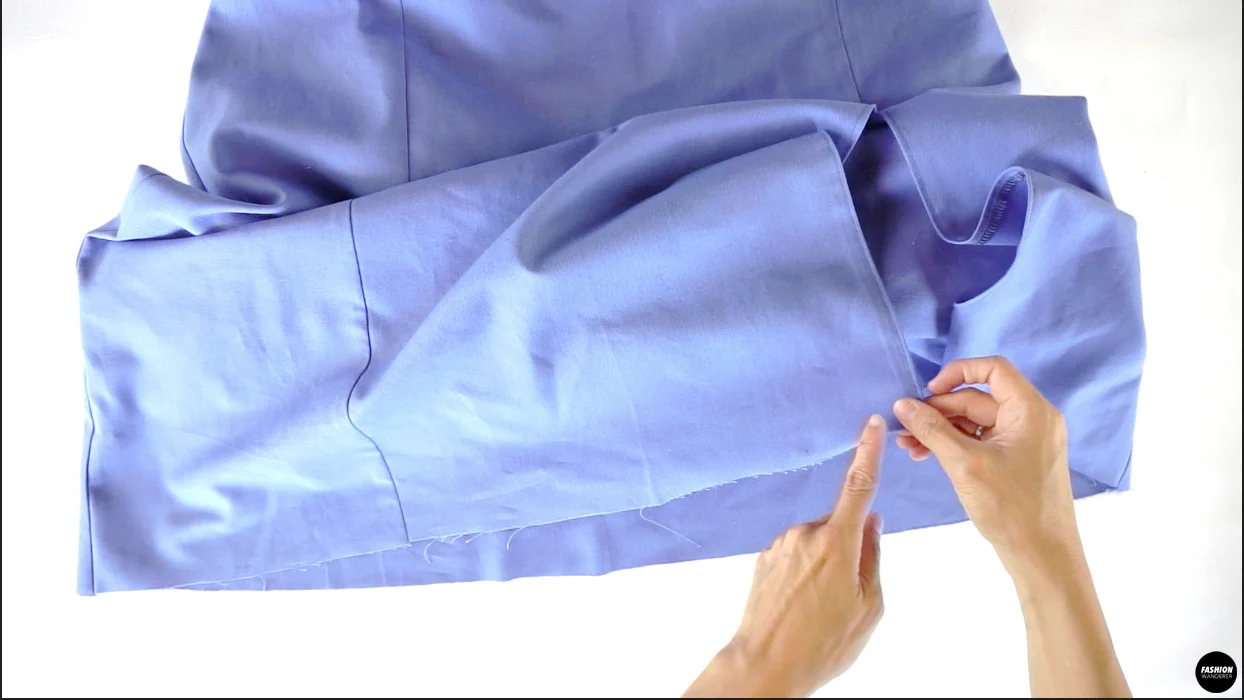
- Measure from the hemline 14” up and pin.
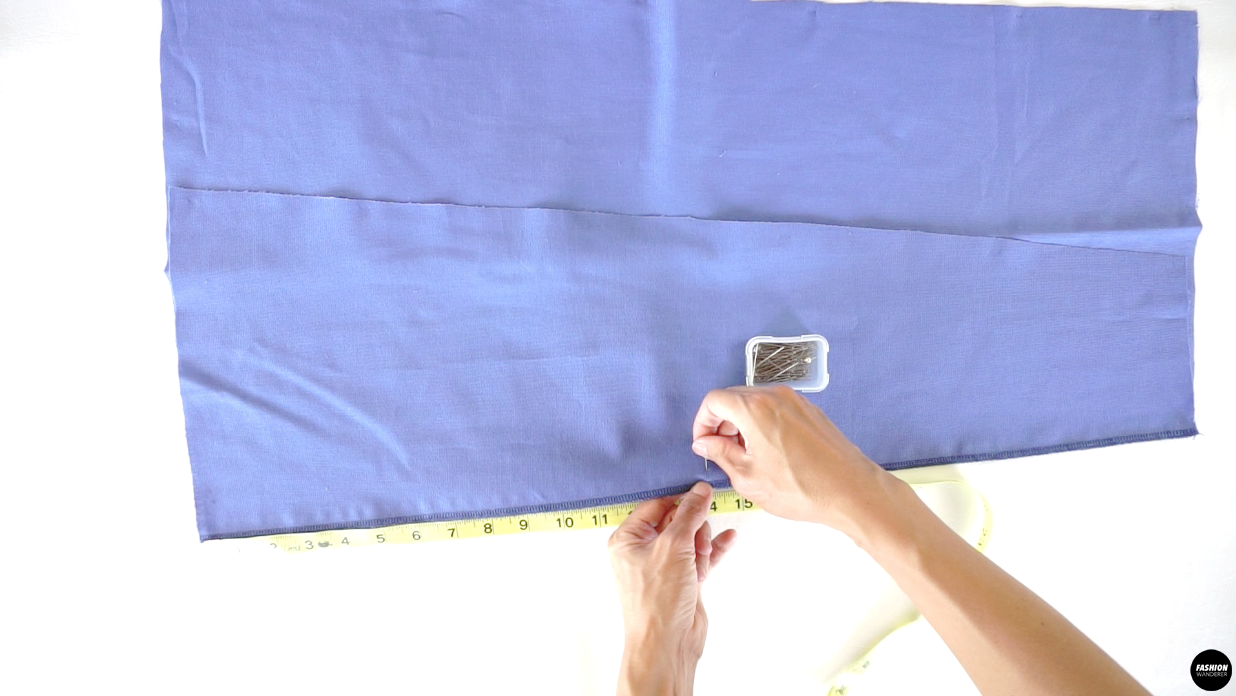

- Straight stitch ⅜” width from the pinned position to the waist. Press the seam open and ¼” straight stitch around the slit.

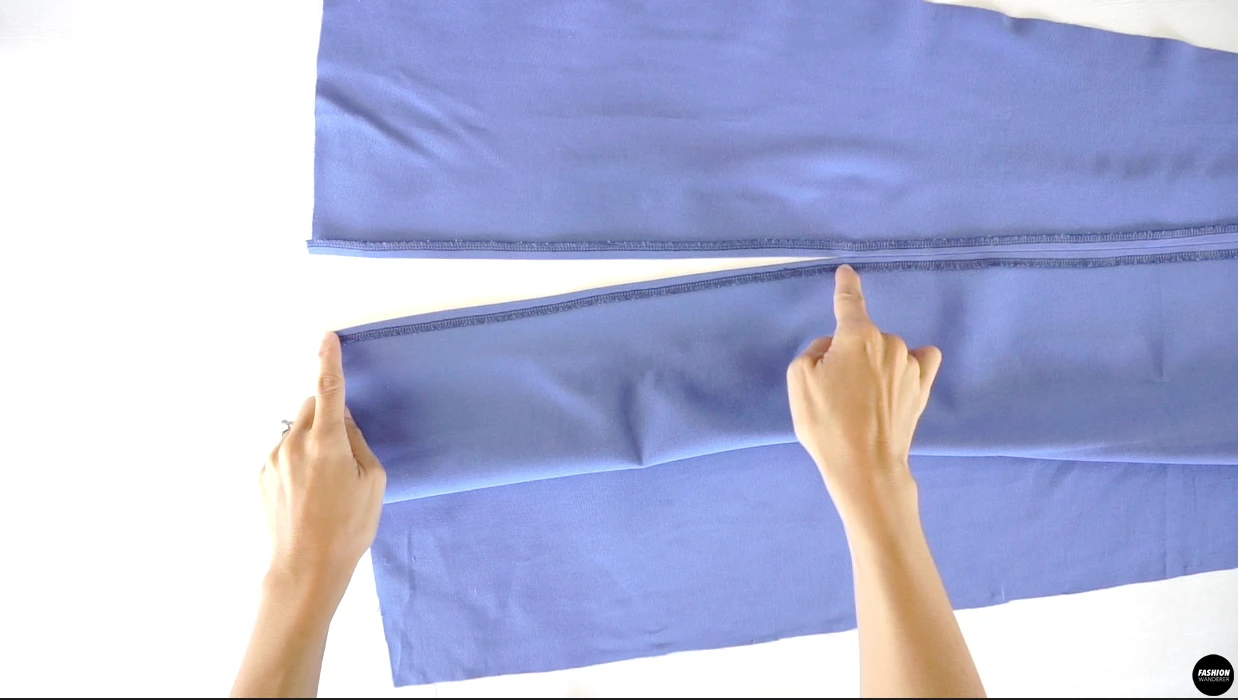
- On the right hand side of the skirt, simply lay the right side of the Center Front Skirt and Side Front Skirt facing each other. ⅜” width straight stitch and overlock to finish. Press the seam towards the side seam.


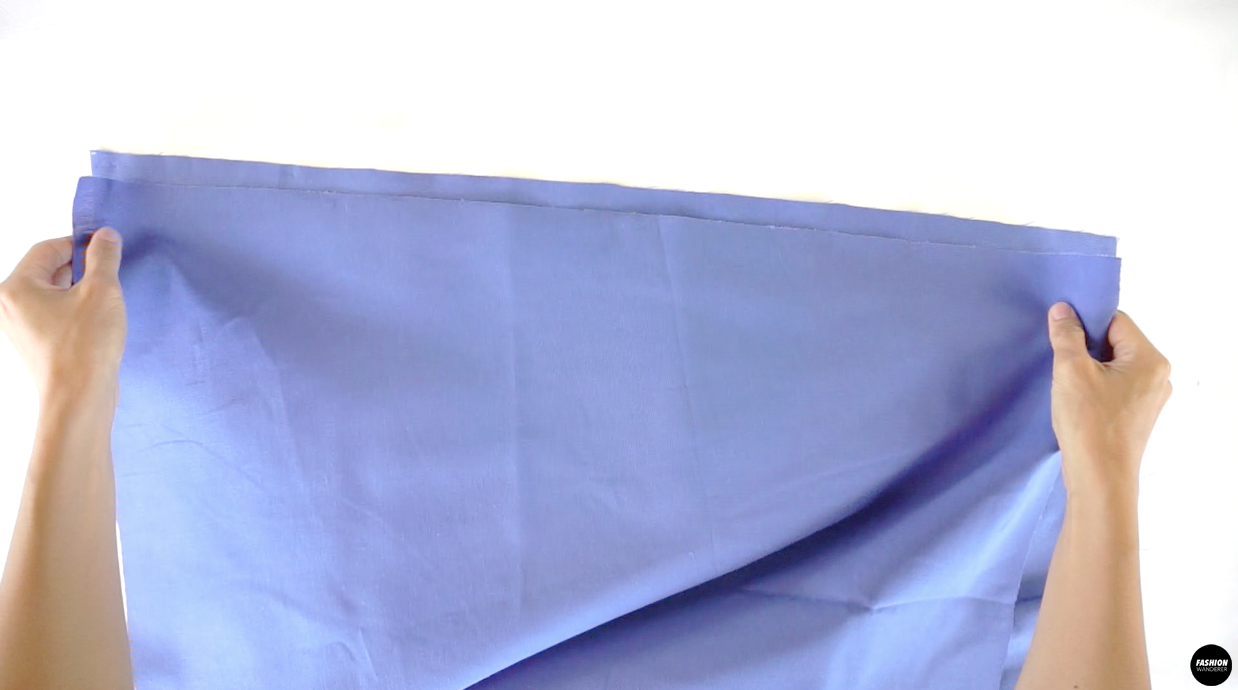
- Join the Front and Back Skirt pieces by sewing side seams together with ⅜” width seam allowance and overlock to finish.

How to Assemble Puff Sleeve Open Back Midi Dress
- Lay the right side of the Top Bodice and Skirt pieces facing each other and match the center front notches to pin.
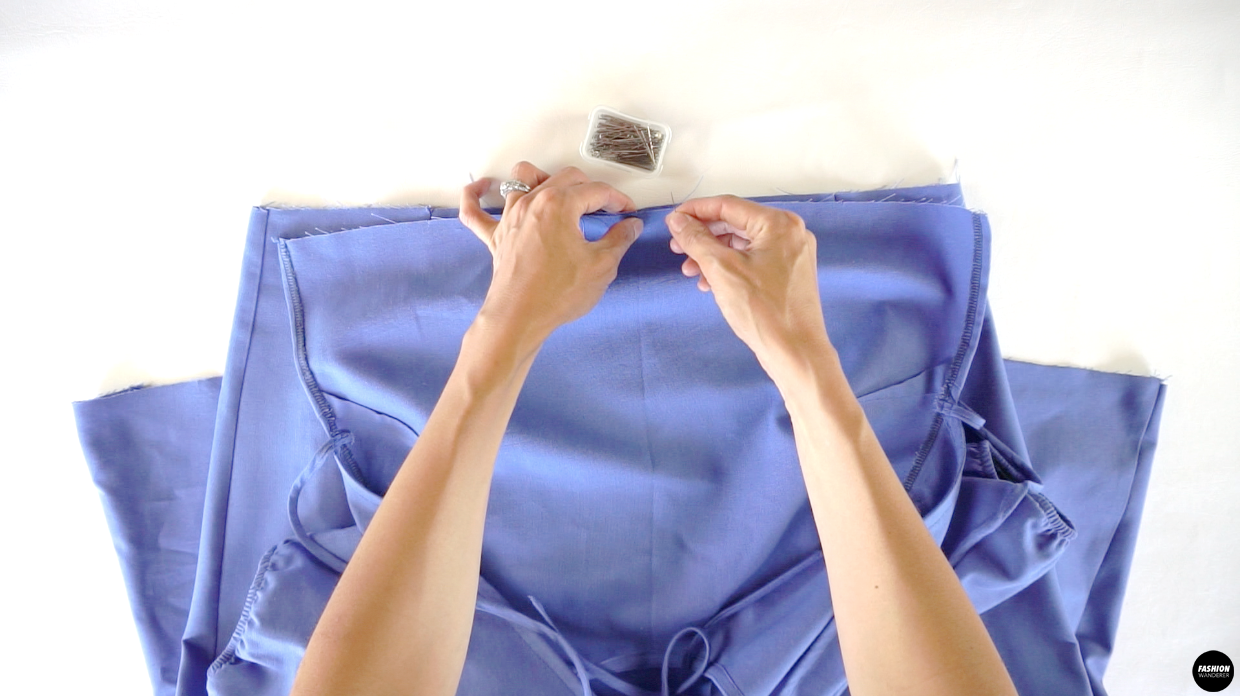
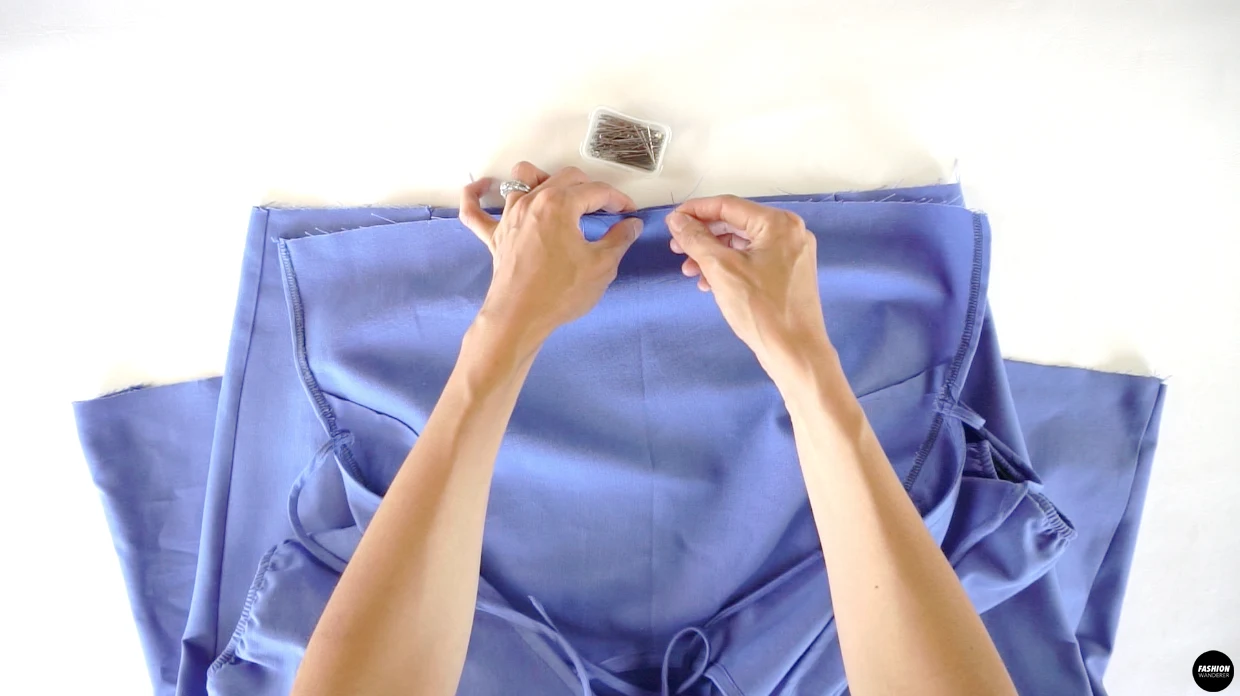
- Overlap the elastic and zigzag stitch to join and make a circular shape. Mark the 4 equal parts around the elastic and pin around the waistline on center front, center back, and side seams.
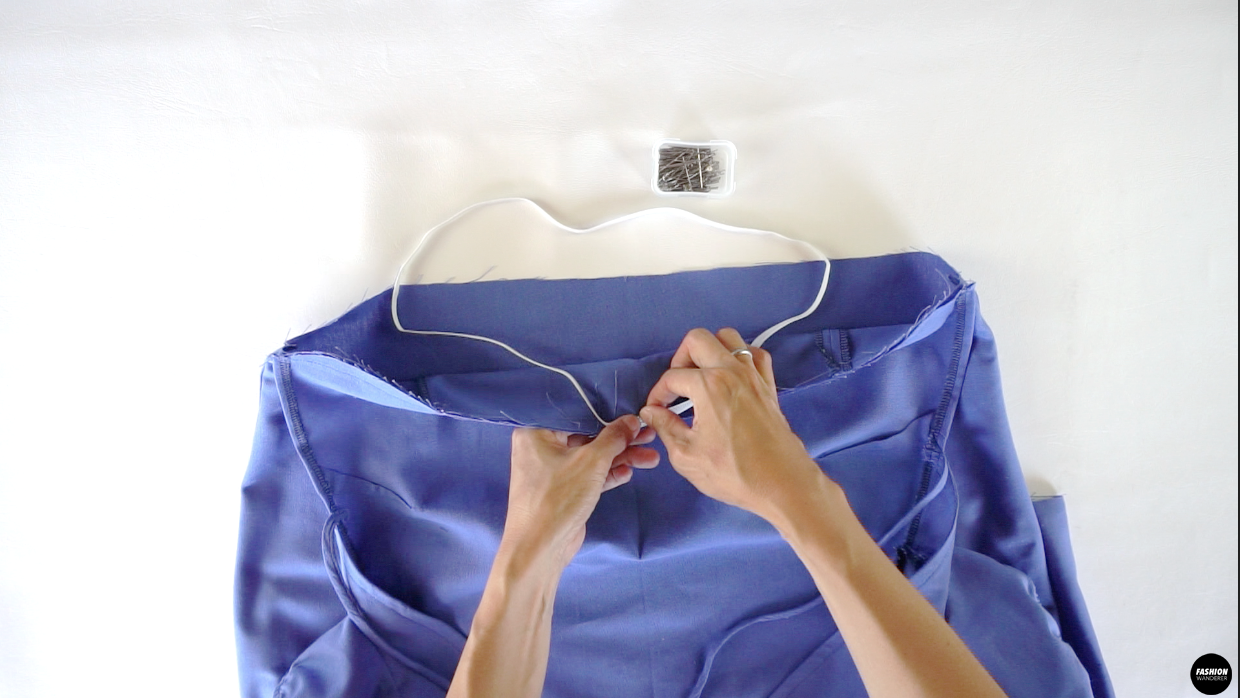

- Overlock around the waist line to join the elastic and skirt by stretching as you sew.
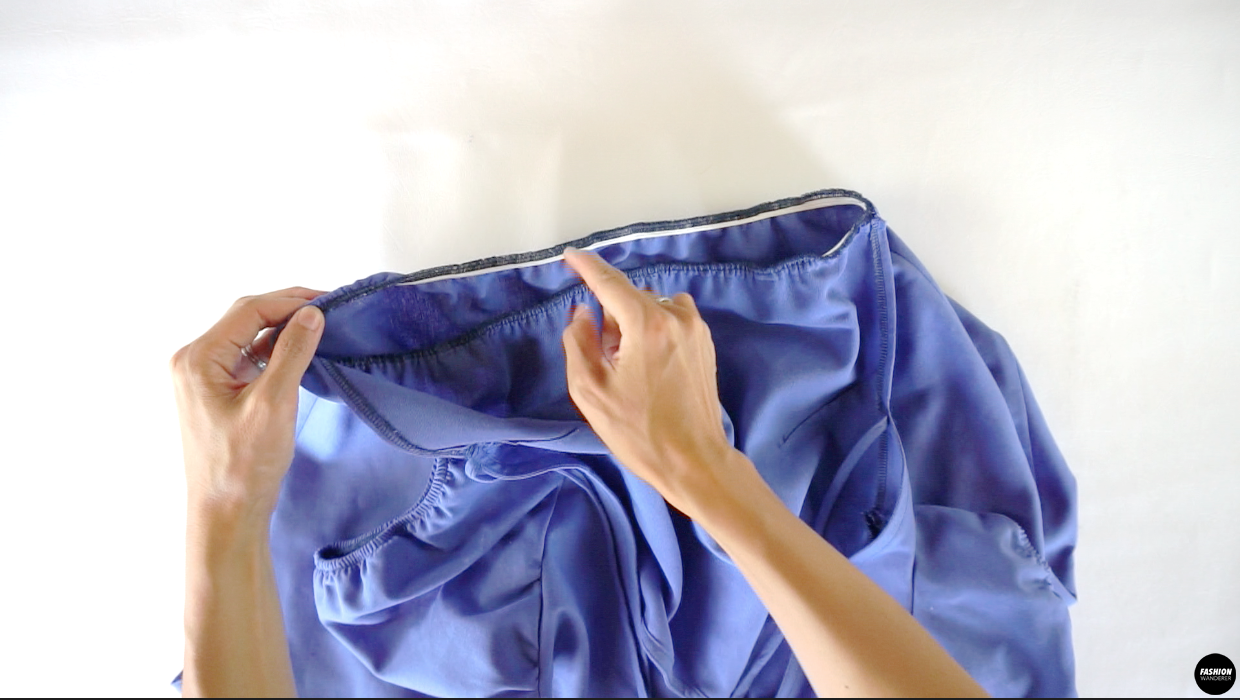

- Fold the waist seam towards the bottom and straight stitch along the edges to hide the elastic and overlock stitches.
- Overlock the hemline and single fold to finish the hem with ¼” width around.

- Give a nice press around the hemline and tie the strap on the back.


Recommended Products
As an Amazon Associate and member of other affiliate programs, I earn from qualifying purchases.


Trendy, Affordable Sewing Patterns for All Sizes


Tie Shoulder Jumpsuit Pattern


Palazzo Pants Sewing Pattern


Pocket Overall Romper Pattern


Wrap Maxi Skirt Sewing Pattern


Tie Back Top Sewing Pattern