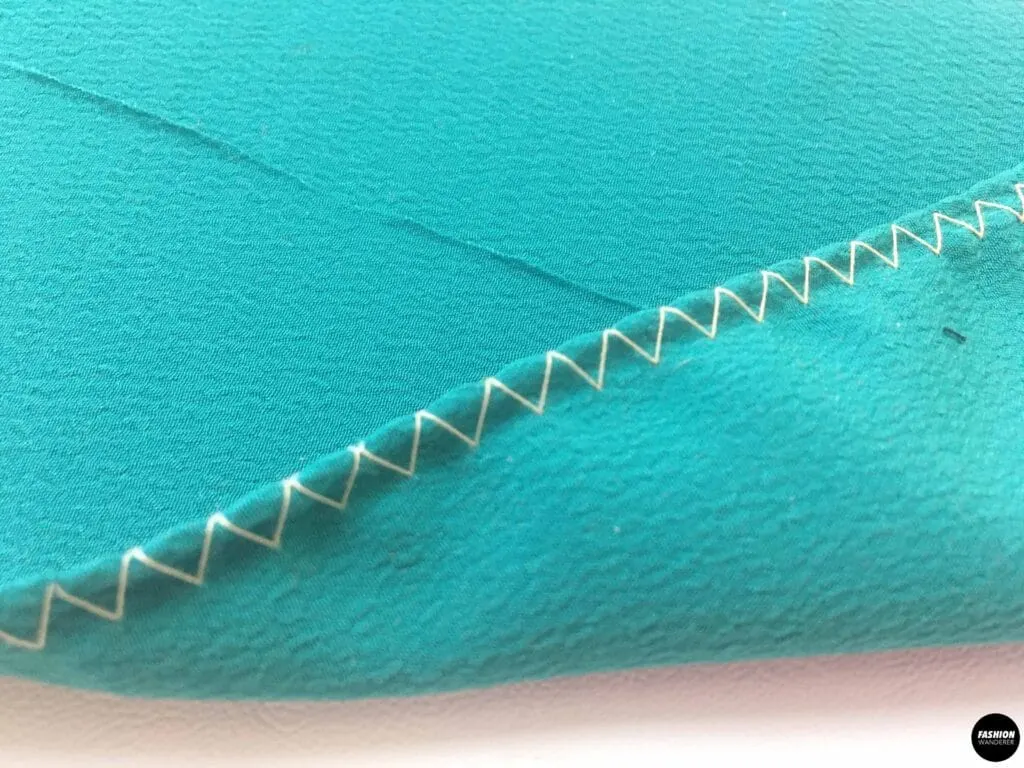
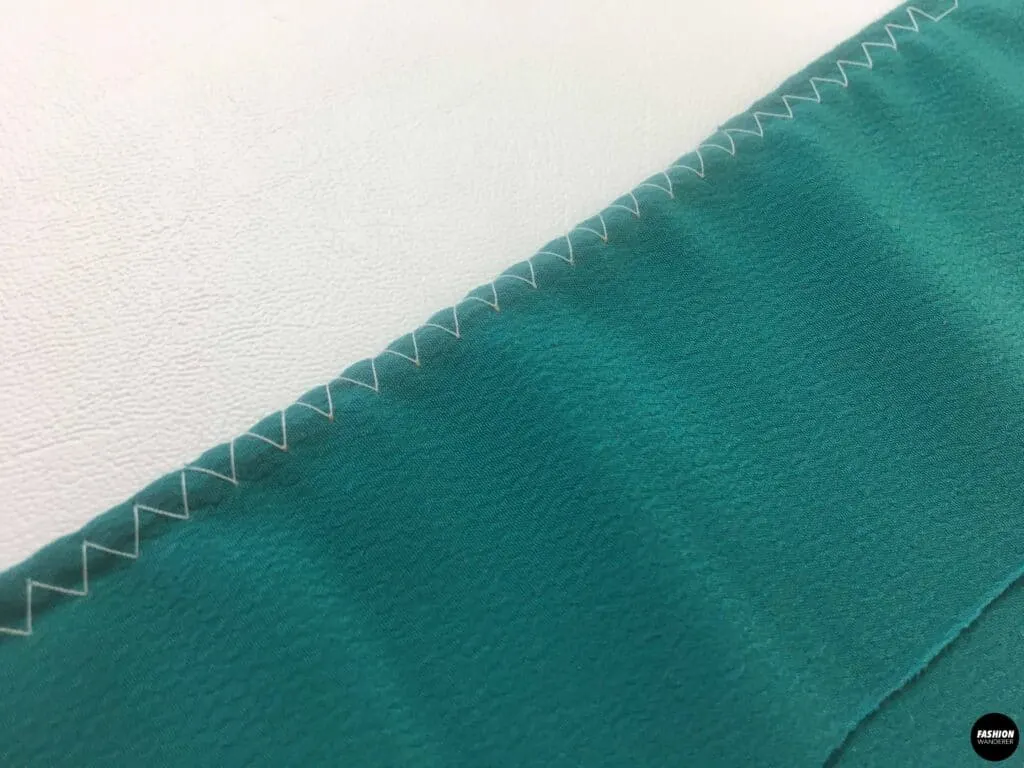
If you want to learn how to zigzag stitch correctly on a regular sewing machine, then you are in the right place. Using the built-in stitch types, adjust the length and tension for best results.
How to zigzag stitch on a sewing machine? Select the zigzag stitch on the sewing machine and change the setting to 4.5 stitch tension. Adjust the settings according to the fabric and how dense or loose the stitch width you need.
The width indicates the high peaks, and the length indicates how far apart each zigzag stitch is.
There are many options to consider when finishing raw edges on the fabric without a serger. Using a beginner-friendly sewing machine with the right technique is key to success, you can easily create professional zigzag stitch allover the garment.
Zigzag stitch is normally used where a straight stitch is not enough to hold a seam or to finish the raw edge of the clothes to avoid fraying. It is also used for stitching stretchable fabrics, edge-to-edge joining as well as reinforcing buttonholes.
A serger machine does make zigzag or overlock stitch a lot faster, but threading the machine can be nightmare for any beginner.
In this article, we will cover the correct tension for zigzag stitch and how to create this stitch on a square corner of the pattern using a sewing machine. Answered below are frequently asked questions about zigzag stitch and the best way to sew it.
Is a zigzag stitch stronger than a straight stitch?
No, zigzag stitch is not stronger than a straight stitch. As the latter one is considered to be the strongest stitch that cannot be torn off easily.
A straight stitch is the basic stitching used for everything including joining side seams and hem finishes. It is the strongest stitch on a sewing machine, and is very difficult to tear or rip when used with nylon or polyester thread.
A zigzag stitch is known for being the most durable stitch, which is why it is used to cover the raw edges of a fabric. A single zigzag stitch using a regular sewing machine may not be the most durable option because a triple zigzag is stronger than the regular zigzag stitch.

What tension should I use for the zigzag stitch?
The thread tension plays a significant role in stitching properly. Normally a sewing machine has a setting options dial from 0 to 9. The default 4.5 is considered as an ideal setting for zigzag stitch on almost all types of fabrics.
While sewing other types of stitching with width like zigzag stitches, you will notice the sewing machine pull the thread from the top of the bobbin. This will slightly bunch or raise the sides of the fabric and the stitch.
In this situation, you will have to slightly loosen the tension of the thread from 4.5 to somewhere between 3 and 4. It will loosen a bit of the tightness of the top thread and help to flatten out the fabric.
As a result, it will make the stitches more prominent if you are topstitching. The tension settings for zigzag stitch can slightly vary from one machine to another, and can also depend on the weight of the fabric and the thickness of the thread.
How to sew a zigzag stitch on a sewing machine
The geometric side-to-side zigzag stitches is normally used for decorative sewing, sewing stretchable fabric, securing raw edges and to finish seams. Adjust the settings of your sewing machine to sew zigzag stitches that do not pucker.
Zigzag stitches will be longer if the length of the stitches are longer and the width of the stitches are adjusted with the width dial of the machine. Thus you can change the length and width of the zigzag stitches based on the needs of the garment.
Long and closer zigzag stitches are known as satin stitches, which are often used for sewing buttonholes or appliqués. It can also be used variably as very decorative stitches or useful stitches.
A zigzag stitch is strong enough but it can snap easily if the tension of the thread is too tight. Before sewing zigzag stitches on any fabric, check the tension settings on the sewing machine and do a test on a scrap to find the best results for the material.

How do you turn a corner into a zigzag stitch?
There are certain cases, but most of the time quilting will require zigzag stitch on all the corners in order to join the fabrics together. In that situation, start by turning an inward corner of fabric with zigzag stitches.
Start from one end of the fabric and keep the presser foot of the sewing machine on the left side, and position the fabric in such a way so that the zigzag stitch can fall on the right-hand side of the guide line. Sew zigzag stitches uninterruptedly until you reach the corner.
Continue zigzag stitching up to the width of a full zigzag stitch beyond the corner. After reaching the desired width, stop stitching with the lowered needle and turn the fabric to the left by raising the presser foot.
To check whether the distance of the presser foot and the corner is correct, lower the presser foot and check on its right side. The zigzag stitch must fall on the right side of the guide line drawn on the fabric.
While stopping the stitch, the needle should always be on the left side of the fabric. Continue sewing zigzag stitches if the distance is correct.
If the distance is not right, turn the fabric to its earlier position to stitch a few more stitches.

Sewing Zigzag Stitch: Final Thoughts
Using a serger to finish seams inside and outside is quite convenient. When operating on a limited budget, purchasing a serger can be an issue.
However, with correct stitch type and setting, you can easily accomplish a zigzag stitch using a sewing machine instead of a serger.
Always select the proper sewing needle and foot that works with the specific fabric you are working one. This can prevent puckering, creating loops or jamming on the thread.
It is great practice to test on a scrap of fabric before starting any sewing project.
If you have a zigzag stitch option, change the 4.5 tension for medium weight fabric and for light or heavy fabric use lower or higher tension as needed.
When adjusting the width and length of the zigzag stitch, be aware that the width refers to how high the peaks of the zigzag stitch are and the width refers to how far apart each stitch is.
Compared to a straight stitch, zigzag stitch does not require a backstitch to secure the loose ends. Simply start stitching and at the end tie a knot to fasten the ends.
Follow these sewing instructions and understand the fabric content to create the best zigzag stitch. From buttonholes to inside seams of the garment, zigzag stitch is great option to prevent fraying and also provide decorative elements.
Learn the techniques to zigzag stitch on a sewing machine to accomplish your garment easily. With a bit of practice, your zigzag stitching will turn out perfect every time.
