
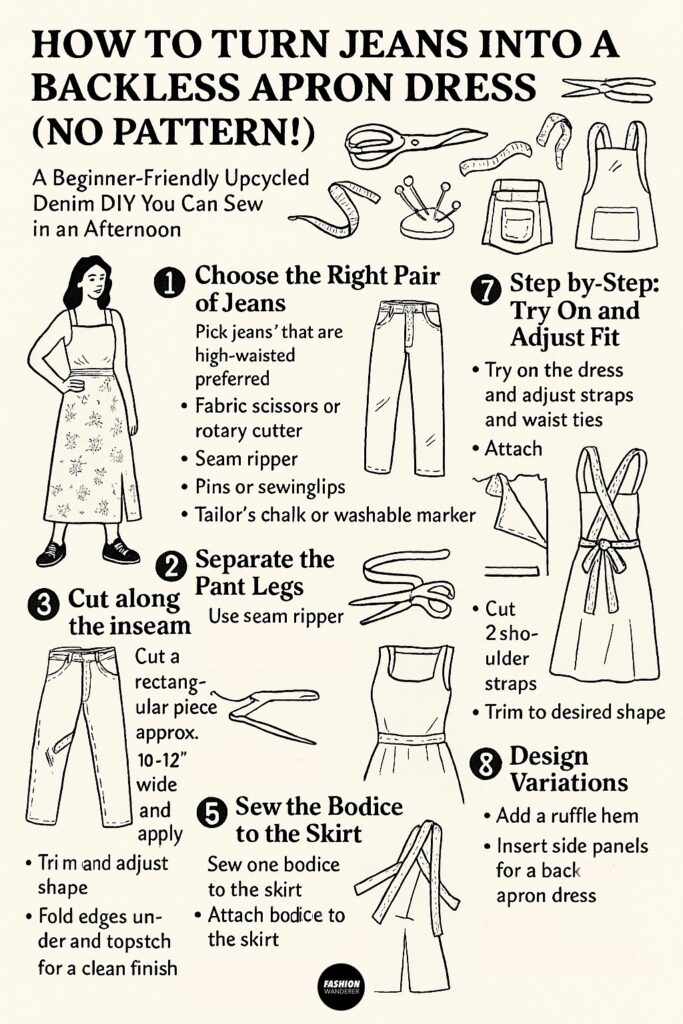
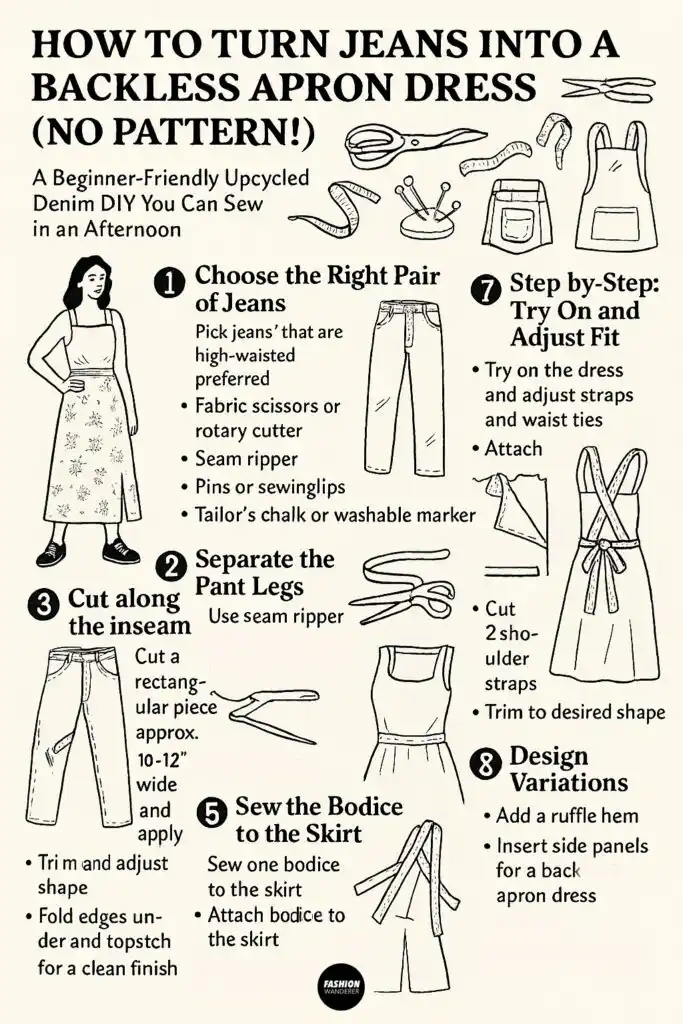
Looking for a creative way to repurpose old jeans? This no-pattern DIY backless apron dress transforms a pair of denim pants into a trendy and functional outfit you can wear over tees, swimsuits, or blouses.
Here is another beginner-friendly upcycled denim DIY you can sew in an afternoon.
Best part? You don’t need a commercial pattern—just your imagination, basic tools, and a few clever cuts.
Whether you’re upcycling for fashion, gardening, or simply want a weekend sewing project, this apron-style dress is flattering, beginner-friendly, and completely customizable. Let’s dive in!
🧵 Step-by-Step: Turn Jeans into Backless Apron Dress
✂️ Materials You’ll Need
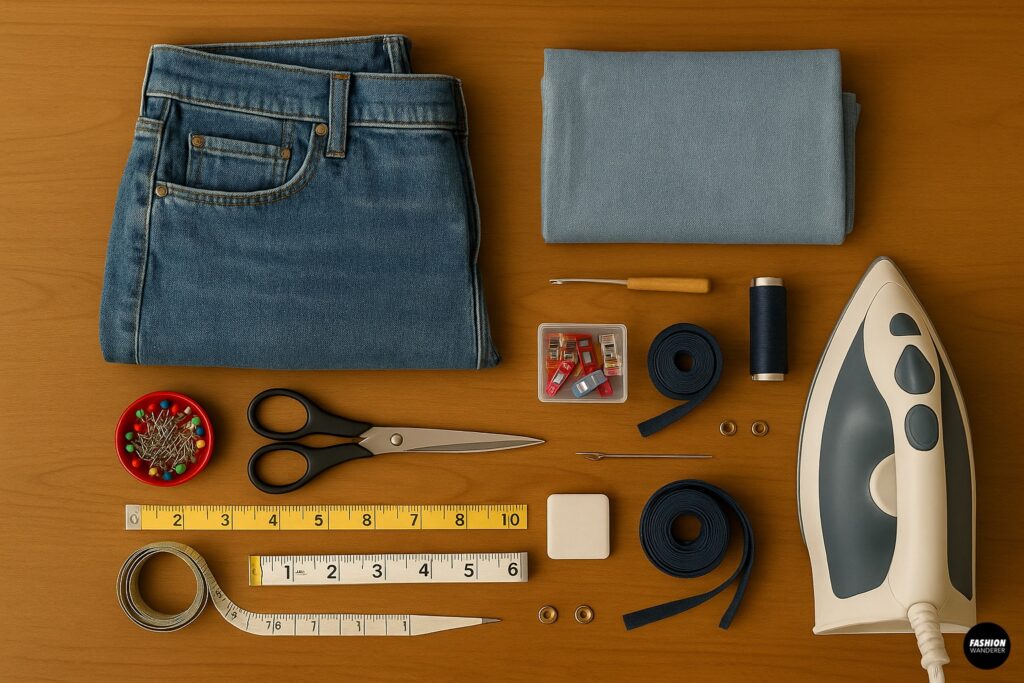

- 1 pair of old jeans (men’s or high-waisted preferred)
- Fabric scissors or rotary cutter
- Seam ripper
- Pins or sewing clips
- Tailor’s chalk or washable marker
- Measuring tape or ruler
- Sewing machine or hand-sewing needle & thread
- Optional: Extra fabric or second pair of jeans for longer straps or fuller skirt
- Iron & ironing board
- Optional: Denim bias tape, snaps, or buckles
Step 1: Choose the Right Pair of Jeans

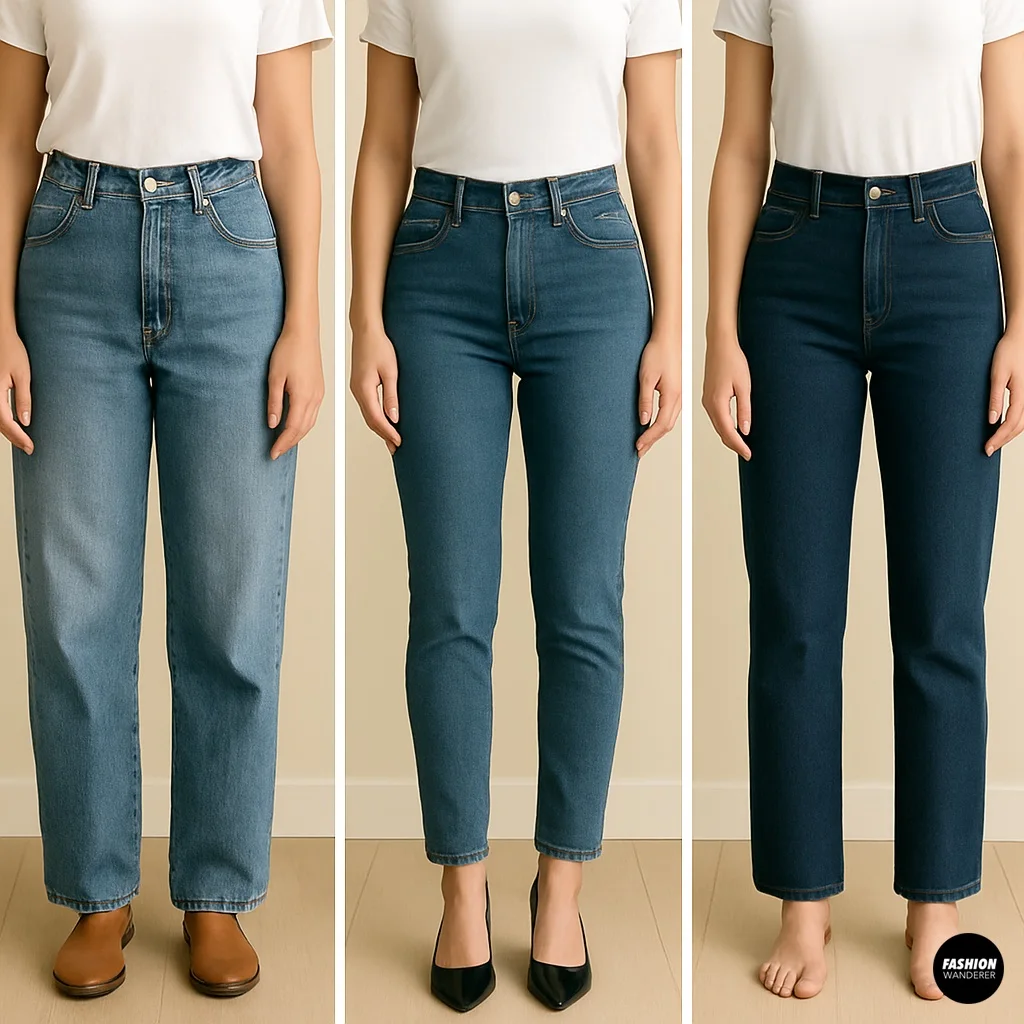
Pick jeans that are:
- Slightly oversized or men’s cut (more fabric to work with)
- High-waisted if you want a fitted bodice
- Free of stretch for a structured look
Pro Tip: Darker washes give a sleek finish, while light-washed or distressed jeans add a casual, vintage vibe.
Step 2: Cut Along the Inseam

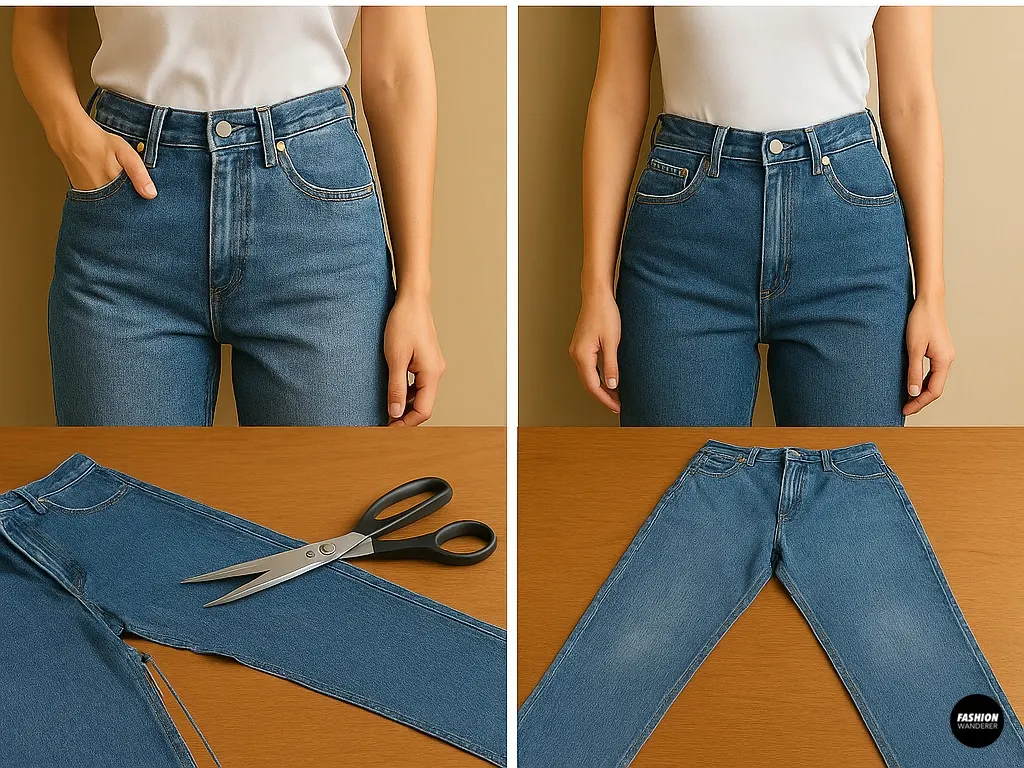
Lay the jeans flat. Use fabric scissors or rotary cutter to cut along both inseams, starting from one cuff and ending at the crotch. Open the jeans flat with the fly in the center.
You’ll now have a large piece of fabric with a center seam and two legs spreading outward—perfect for creating the bodice and skirt.
Step 3: Separate the Pant Legs

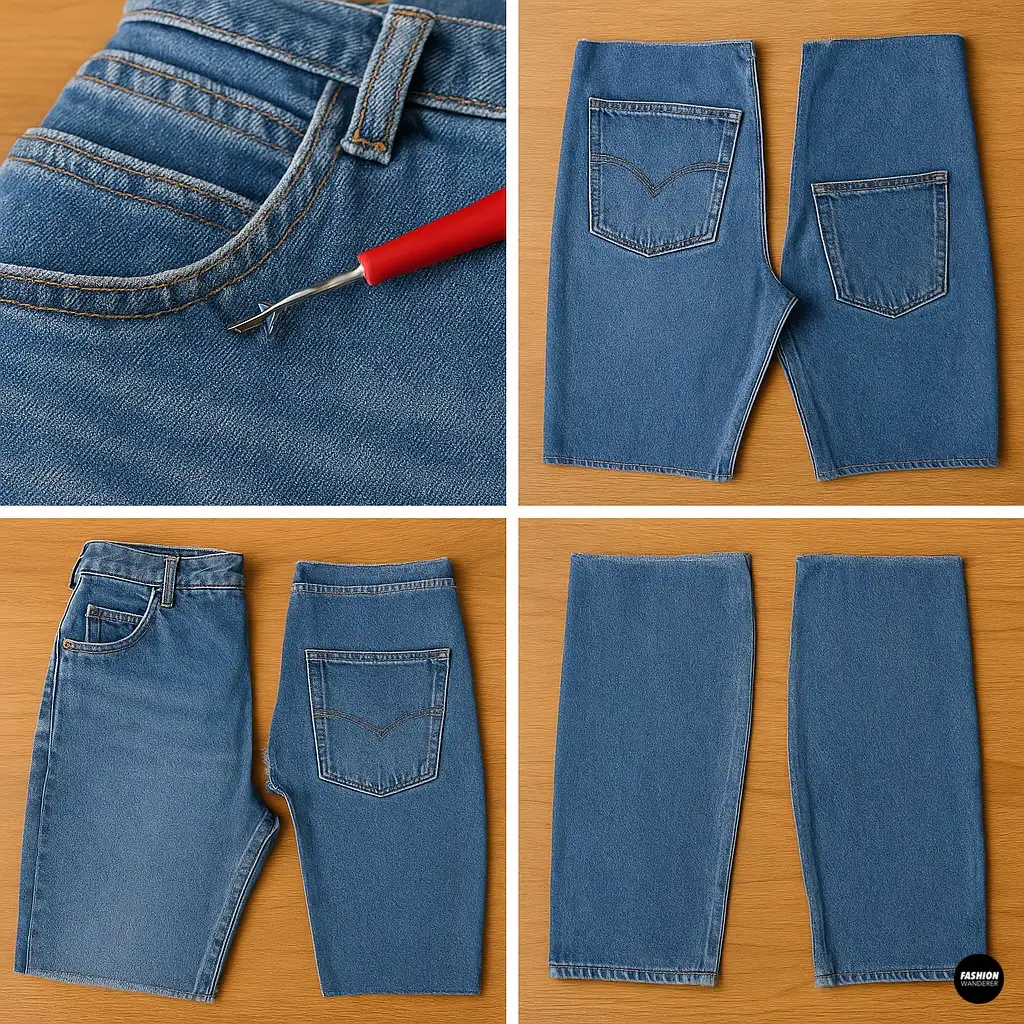
Use the seam ripper to detach the back center seam (butt seam) and remove the waistband if needed. Cut the pant legs away from the seat area to isolate the large panels of fabric.
You’ll be working mainly with:
- One leg for the skirt panel
- The back seat area for the bodice
- The other leg for ties/straps
Step 4: Shape the Bodice

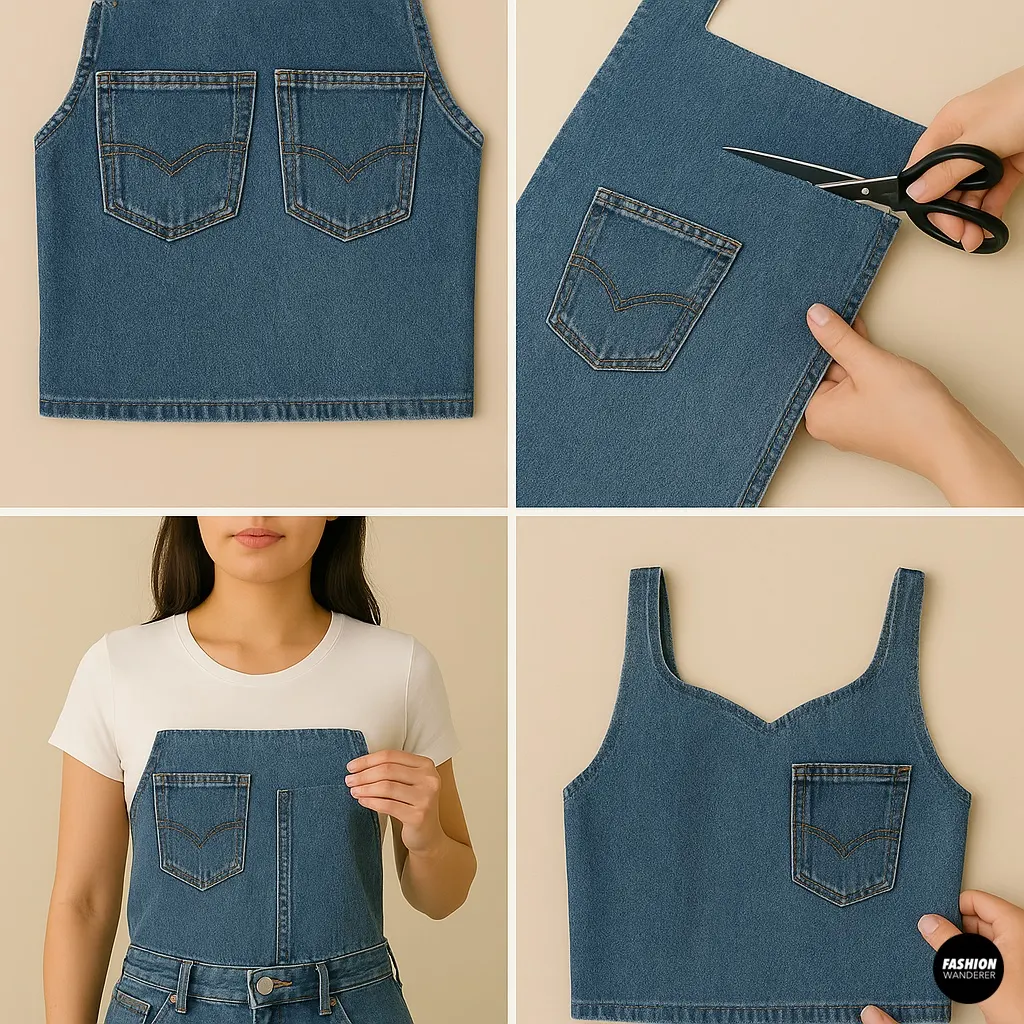
Use the rear jean panel (where the back pockets are) to create the apron-style front bodice.
- Cut a rectangular piece approximately 10–12″ wide and 10–12″ tall (adjust based on bust size).
- Keep the back pockets intact if you want functional detail.
- Try on and adjust the shape into a soft square or sweetheart neckline.
- Fold edges under and topstitch for a clean finish.
Optional: Line with cotton fabric or bias tape to reduce bulk and add comfort.
Step 5: Create the Skirt Panel

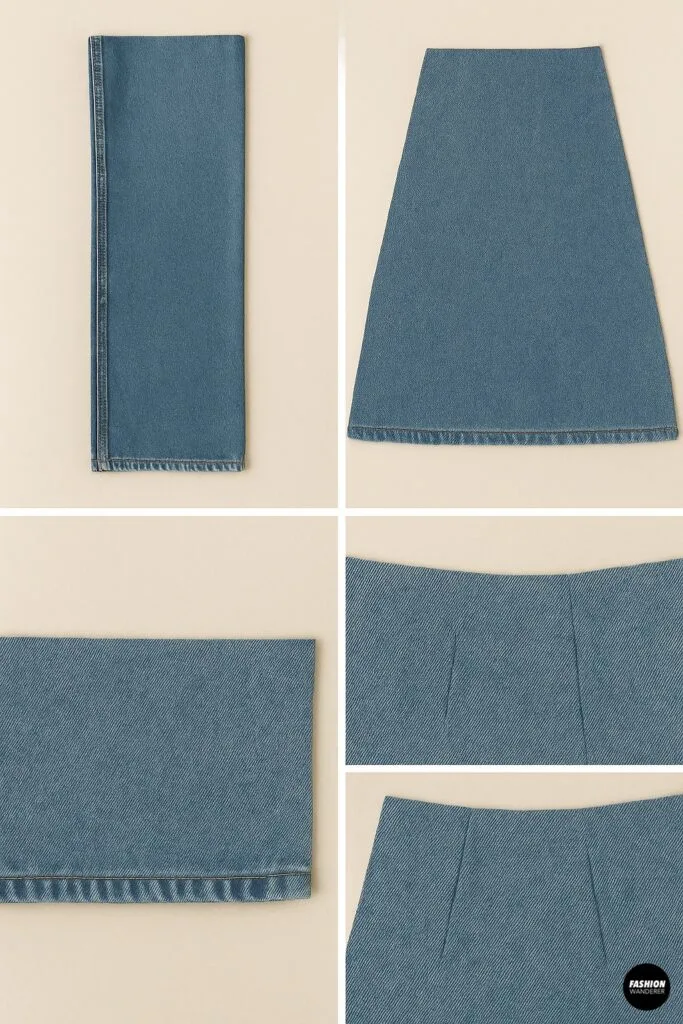
Take one pant leg and cut it open along the outer seam to flatten it out. This will become the skirt base.
- Trim into a trapezoid or rectangle, approx. 16–20″ tall and 20–30″ wide (depending on your desired fullness).
- Hem the bottom edge for a finished look.
- Add darts at the top if you want a more fitted waist.
Optional: Add panels from the second pant leg for extra flare or patchwork effect.
Step 6: Sew the Bodice to the Skirt

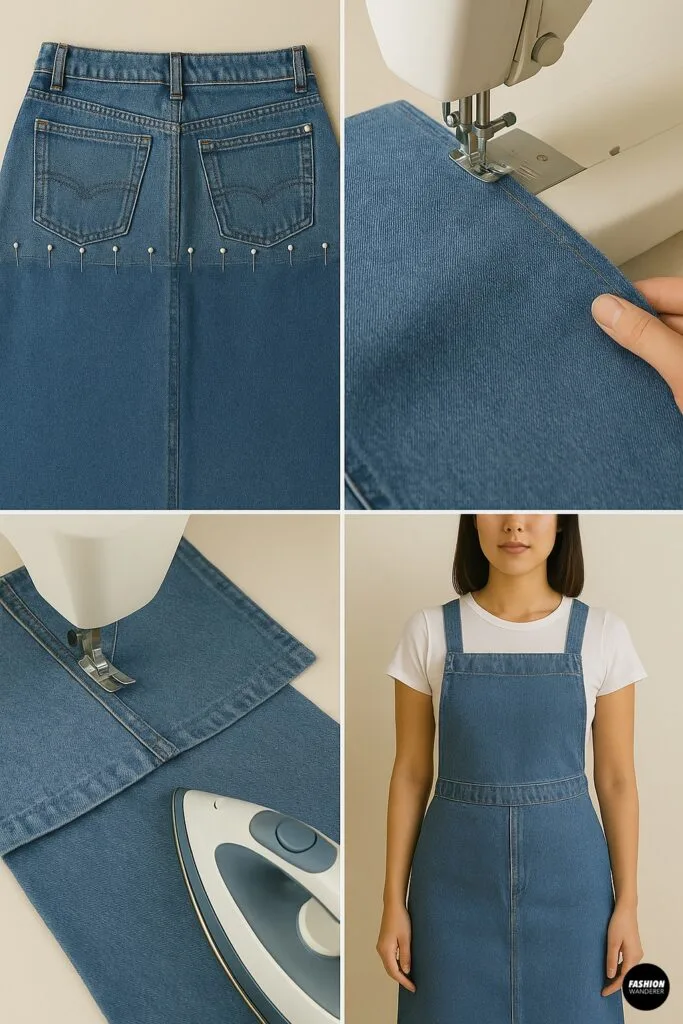
With right sides facing, pin the bodice bottom edge to the top of the skirt panel. Sew using a ½” seam allowance and press seam open with an iron.
Try on the assembled front to ensure the waistline hits at a flattering height—about an inch above your natural waist is ideal for most body types.
Step 7: Make the Straps and Waist Ties

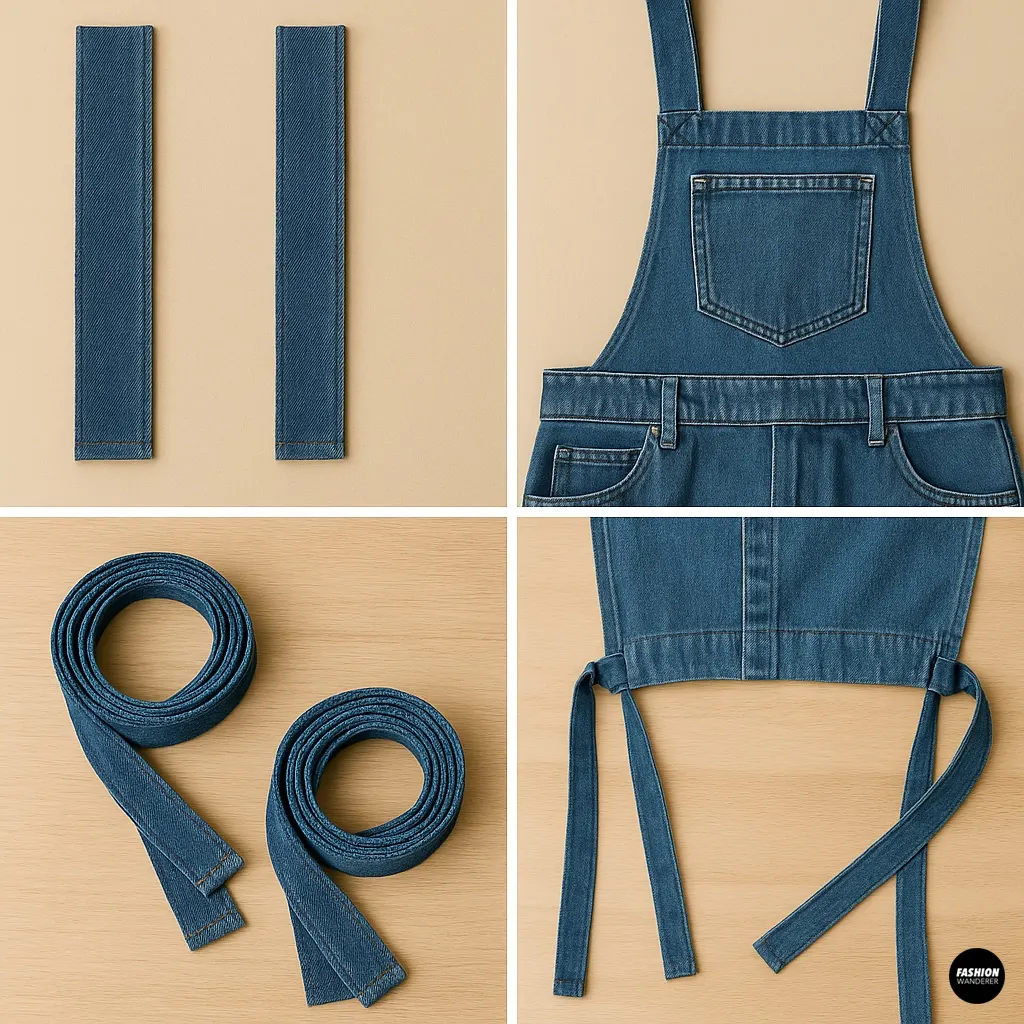
Use leftover denim from the pant legs or waistband to create:
- Two shoulder straps (approx. 18–22″ long, 2″ wide)
- Two back waist ties (approx. 20–30″ long, 2–3″ wide)
Fold each strip in half lengthwise (right sides together), sew along the edge, turn right side out, and press flat.
Attach:
- Straps to the top corners of the bodice (crossed or straight)
- Waist ties to the side seams where the bodice meets the skirt
Alternative: Use adjustable overall buckles, D-rings, or grommets for a modern touch.
Step 8: Try On and Adjust Fit

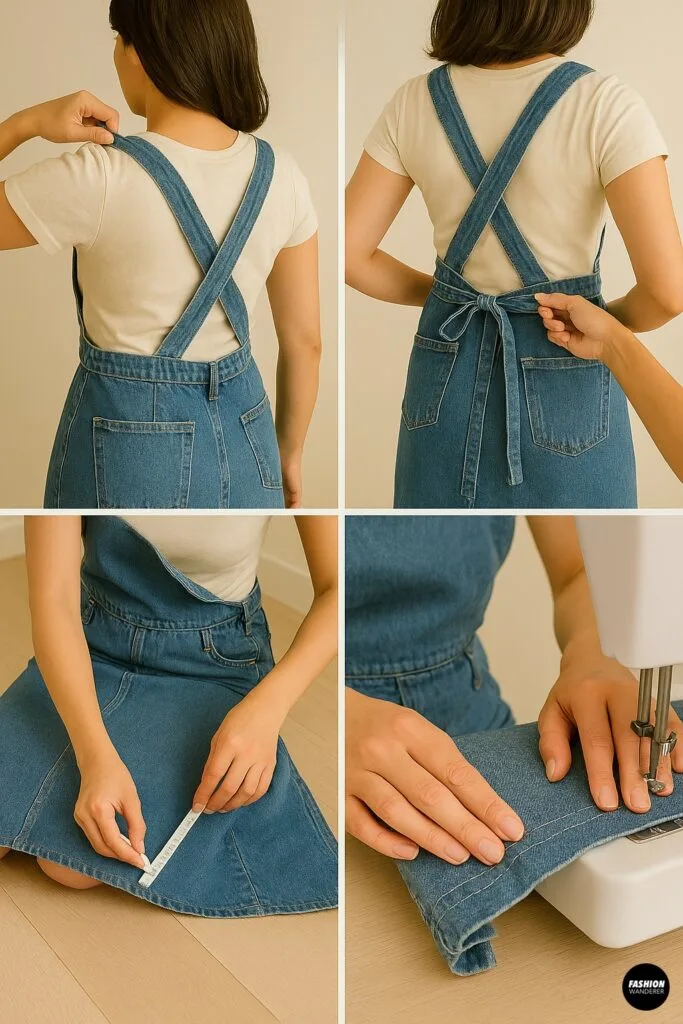
Try on the dress and adjust:
- Strap length for shoulder comfort
- Tie tightness for secure waist fit
- Skirt length by trimming or hemming
Add darts or elastic to the back if extra shaping is needed. Topstitch all exposed edges and reinforce stress points (like the ties) with a bar tack or zigzag stitch.
🧼 Care Instructions
- Machine wash on cold, gentle cycle
- Hang dry or tumble low
- Press with medium heat for a crisp look
- Avoid harsh bleach or high heat to preserve fabric quality
🌸 Design Variations
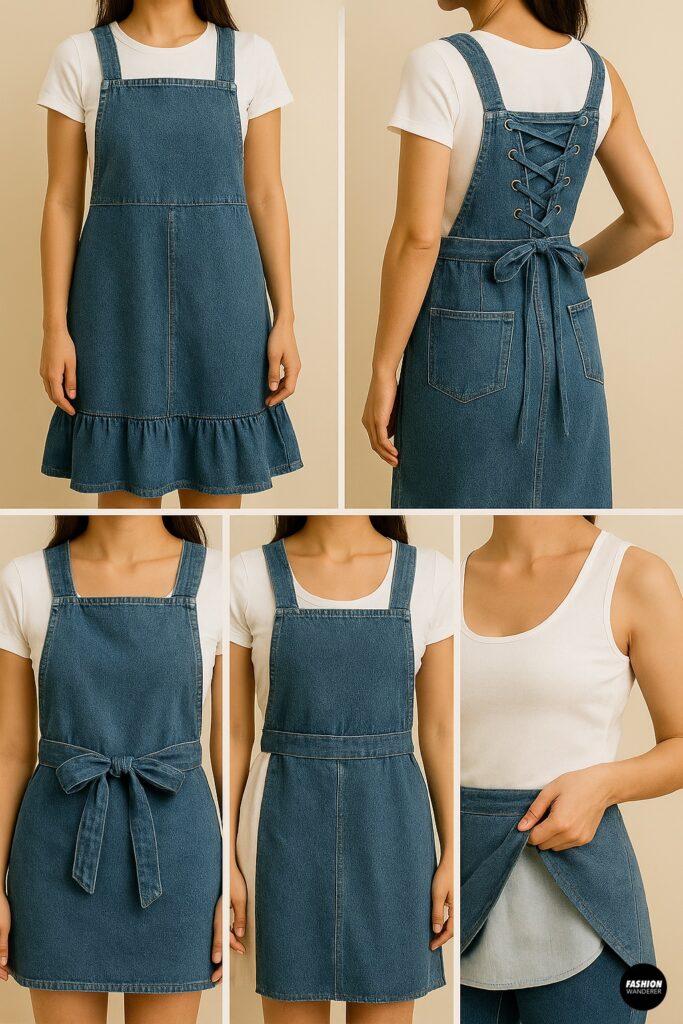

- Add a ruffle hem using leftover denim or contrasting cotton
- Insert side panels from another shirt for a color-blocked apron dress
- Use the waistband as a belt or decorative trim
- Add grommets for adjustable crisscross back lacing
- Sew in a lining for a smoother, softer finish
💡 Styling Ideas

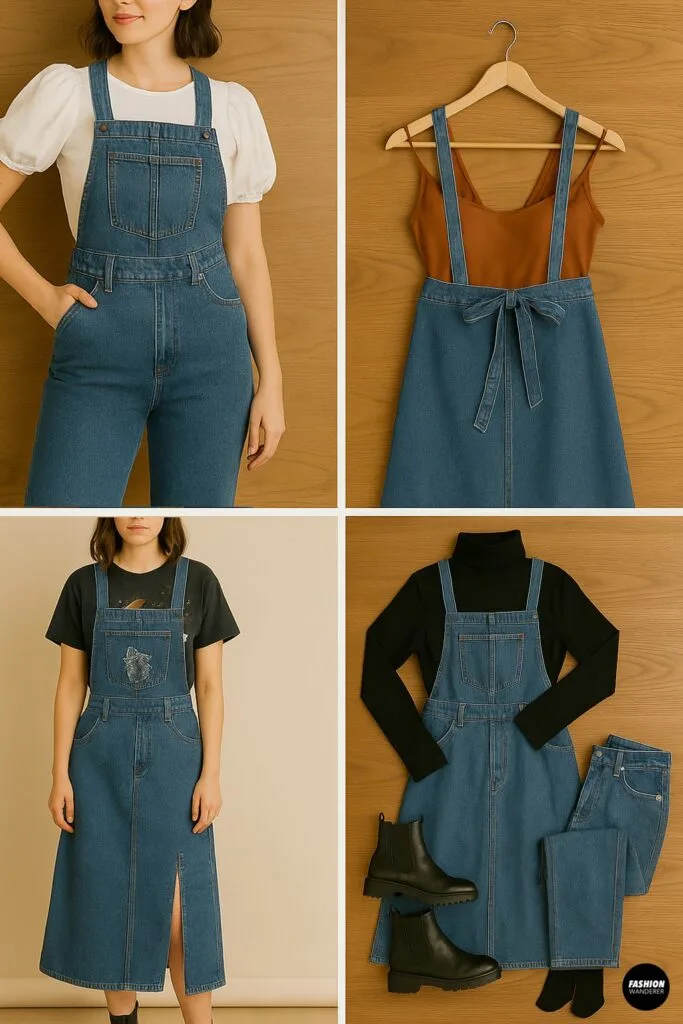
Your backless denim apron dress can be styled for multiple occasions:
- Layer over a white puff-sleeve blouse for a cottagecore vibe
- Wear over a swimsuit as a beach cover-up
- Pair with combat boots and a graphic tee for street style edge
- Toss it over a black turtleneck and tights for a fall-ready look
♻️ Final Thoughts: Sew Your Style & Save the Planet


This backless apron dress made from upcycled jeans is more than a fun sewing project—it’s a bold, eco-conscious fashion statement. You’re keeping textiles out of landfills while creating a piece you can truly call your own.
Best of all, this beginner-friendly DIY doesn’t require a fancy pattern or expensive materials. Just a pair of scissors, some stitching, and a little imagination.
Ready to transform your denim drawer? Grab your jeans and start sewing your new favorite statement piece today!
Trendy, Affordable Sewing Patterns for All Sizes


Tie Shoulder Jumpsuit Pattern


Palazzo Pants Sewing Pattern


Pocket Overall Romper Pattern


Wrap Maxi Skirt Sewing Pattern


Tie Back Top Sewing Pattern