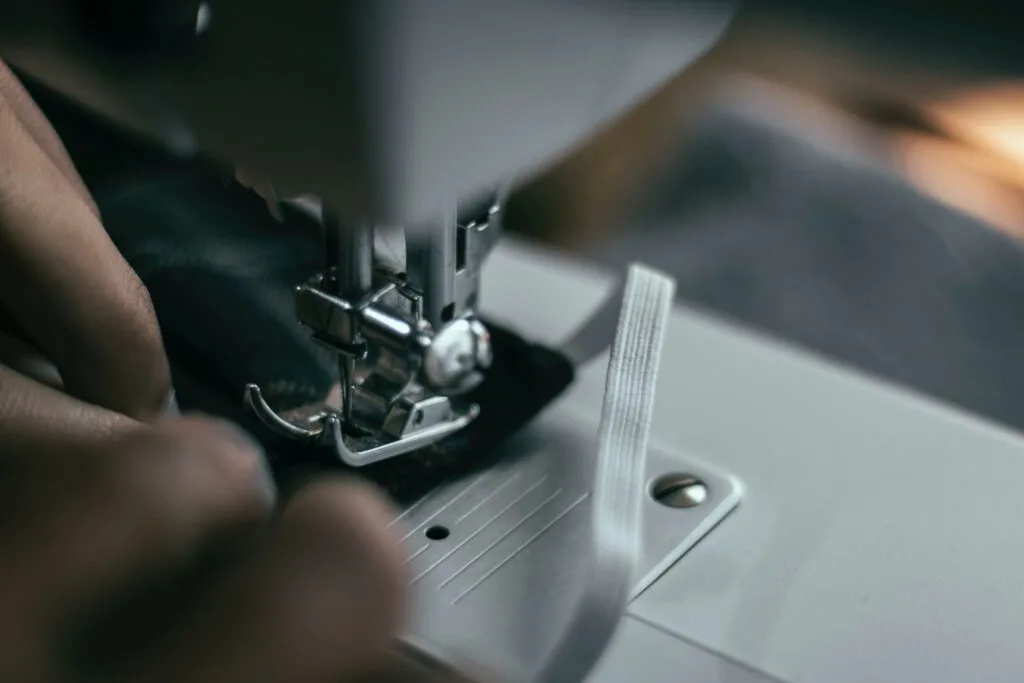
Do you know how to sew elastic easily? From puff sleeve to gathered waistband, elastic helps to make garments fit comfortably without needing zipper, buttons or tie closures.
Whether you have a Singer or Brother sewing machine, elastic is very easy to input by following these techniques and tips.
How do you sew elastic? When sewing elastic, a 1:2 or 1:3 elastic sewing ratio is commonly used. Mark four equal distances on the fabric and the elastic with a marker or pin, stretch the elastic to match the markings on the fabric as you sew zigzag stitch.
This guide covers everything there is to know about sewing elastic. Continue reading for step by step instruction, helpful sewing tips and detail answers to all the frequently asked questions about hot sew sew elastic the right way.
Sewing elastic ratio
The standard sewing elastic ratio for the length of elastic to fabric length can vary from 1:2 to 1:3, depending on the kind of ruffles you need. The lesser the length of the elastic, the more ruffles you will attain through the stitch.
Elastic ratio can also differ with the type of gathering you are looking to stitch. For a lot of gathering you will need less elastic.
On the other hand, a waistband will need elastic of a slightly bigger length. Simply follow the sewing pattern instruction to know the exact amount and type of elastic you need that suits best for the garment.
Tension for sewing elastic
For sewing an elastic, you may need to decrease the tension of the bobbin thread, otherwise it is left untouched. Generally, the upper thread tension is adjusted, but in the case of stitching elastic you have to decrease the lower thread tension.
The tension settings of your sewing machine must be just right, neither too taut and not too loose. You can test your tension by using a pencil.
Pull up the thread with your pencil, if the bobbin case falls too low, that means it is too loose. Whereas if the bobbin case doesn’t budge at all, then it means it’s too taut.
Make sure to thread the bobbin with correct thread using the right tension based on the fabric and elastic. Adjust to the right tension and test with scrap piece of elastic to avoid any issues as you sew the garment.

Best stitch for elastic
When it comes to the best stitch for elastic, zigzag stitch is the most popular stretch stitch recommended for beginner sewers. Modern sewing machines offer a basic zigzag stitch that works perfect.
Zigzag stitch is the most common stitch used for sewing elastic. While sewing a zigzag stitch with an elastic, follow the sewing pattern instruction and sew lengths of elastic directly to the wrong side of the garment.
- Finish the hem of the fabric first as indicated.
- Mark the seam allowances at the sides of the garment piece.
- Fold the fabric between the marks into four equal sections and pin to indicate the quarter subsections.
- Pin the elastic to the wrong side of the garment and match the pins on the elastic to the markings on the fabric.
- Stretch the elastic between the pins and hold the fabric with one hand and the other in front to let the feed dogs, move the fabric and stretch the elastic as you sew.
When sewing the ends of your elastic, simply overlap the ends of the elastic about ¼” or .64 cm to ½” or 1.3 cm, and use zigzag stitch to sew over 2 to 3 times.
Expert Advice: If you need more help to sew elastic to the fabric, consider replacing with the most useful sewing machine feet. An elastic foot will securely and evenly attach the elastic directly to the garment, this tool only works when the elastic is exposed and not for the casing method.
How to sew elastic waistband without a casing?
If you are sewing elastic waistband without casing, use the barn door technique to create a rectangle and sew a diagonal line from one corner to the other. This will help the stretch, and the elastic won’t come apart.
- Join the elastic into a circle shape and zigzag across the looped ends to sew them together firmly.
- Mark the elastic band and the garment opening in quarters.
- Match the quarters marks on both elastic and opening and stitch along the edge with serger or zigzag stitch. If you are using serger, pay close attention to avoid cutting the elastic band.
- Fold the elastic down.
- Stitch the edge with a zigzag stitch or straight stitch to secure and finish the elastic waistband without a casing.
Depending on the location the elastic is being sewn, but around the waist should be divided into quarters to include center front, center back, and the left and right side seams.
For neck, sleeve, or ankle, mark front and center back. In addition, fold these two points in half to find the mid-point on the sides.
How to sew elastic waistband with a casing?
Sewing waistband, sleeves, or ankles with a casing is great method for using thin or thick elastic to get fuller gathers. Since it does not require sewing directly to the elastic, select the braided elastic type for flexibility and softness.
- Press the top edge of the fabric over ¼”, and again by width of the elastic plus ¼” or 6 mm.
- Stitch around the casing close to the edge and leave a gap on one side.
- Thread the elastic using a safety pin, and slide it through the gap of the casing.
- Overlap the ends of the elastic and stitch to secure.
- Push the elastic inside the tunnel and stitch the tunnel closed to finish the casing.
If you find out there is twist in your elastic, cut the band apart, pull it out and sew it back together.
To get more stability and achieve a professional looking appearance, topstitch the elastic waistband on the side seams.
To evenly distribute the fabric gathering, stretch the elastic a few times and place pins around the fabric to ensure it is well distributed.
How to sew fold over elastic?
The fold over elastic method is recommended for stretch fabrics and not woven. If you end up using woven, it is mostly for decorative purposes instead of being a functional piece.
These types of elastic are widely used in swimsuit and underwear garments. Always use a pressing cloth to give a nice press with steam to make the fold over elastic sit flatter when sewn.
- Place the edge of the fabric on top of the fold over elastic so it covers half.
- Use 4.0 stitch length to baste the fabric and elastic.
- Fold the elastic along the center and wrap it over the fabric so the raw edges are enclosed.
- Stitch with a zigzag stitch to catch the edges of the elastic and stretch the fabric as you go.
Use the shiny side as the right side when you need to fold it in half to bind the edges of the fabric. The wrong side normally has a matte texture without a pattern.
When using exposed style, keep the matte side as the right side, ultimately depending on the garment of course.
How to sew shirring elastic?
From smocking dresses to sleeve cuff of blouses, shirring is a decorative gathering with abundant rows and gathering stitches. The effect is done with elastic thread and straight stitches.
Always apply shirring when the garment seams and hemming are completed.
- Start winding the elastic thread to an empty bobbin by hand, avoid stretching while winding.
- Mark the shirring lines on the fabric using fabric marking tools as indicated on the sewing pattern.
- Select 3.5-4.0 stitch length on the machine and start by backstitching at the beginning and end of each row.
- Always sew shirring all the way into the seam allowance.
- Slightly stretch the fabric as you sew each row.
- Continue adding rows of shirring until the whole section is complete.
Expert Advice: Start by decreasing the stitch length to zero and make the first couple of stitches instead of backstitching. Then, increase the stitch length to maximum about 3 to 4 width to continue each row.

Sewing Elastic Tips
Sewing elastic on the waistband, neck, or cuffs is easy and simple to do. With the help of the technical guide and sewing tutorial, you can add elastic to complete the garment without fail and the gentle gathers will give the clothes a comfortable fit.
- Take the elastic and start testing inside the casing, distribute the gathers evenly around the opening to give a snug fit.
- For a secure edge joining, use backstitch and form a square of stitches to attach the ends of the elastic.
- Never use old elastic thread that has been sitting around for years. The elastic thread loses its elasticity over time and has a tendency to degrade and break when stretched.
- Use a universal ballpoint machine needle for sewing through elastic with knit fabric.
- To securely attach elastic in place, use a serger machine to join the elastic and fabric.
Sewing Elastic: Final Thoughts
Elastic is everyone’s go-to material for waistbands, as it is comfortable without zipper and the least complex closure. Whether you work on wide elastic band or elastic thread, use this step by step tutorial with tips to make a professional look.
Elastic is used to accomplish a smocked dress, relaxed elastic wide leg pants, or even cute puff sleeve top to add to your DIY wardrobe. Elastic is used for decorating fabric, making accessories, or stitching a waistband.
Sewing an elastic can seem like one of the most satisfying tasks in the process of stitching with all the gathering and stretching. However, sewing elastic requires attention to every detail and you must be precise in measurements.
Since elastic is stretchy, it can cause you a little trouble with bunching thread or thread keeps breaking, especially if you don’t have the accurate measurements to guide you.
There are so many types of stitches that you can use with elastic because of its flexibility. Zigzag stitch is the most common stretch stitch used for adding elastic.
For each type of stitching, you have different elastics that may also vary in material to suit the purpose. There you have it, everything you need to know about sewing elastic, so feel free to test the different methods to find the perfect technique for the sewing project you are working on.
