Are you struggling with learning how to topstitch using a sewing machine? From decorative contrast colors to strengthening the seams, topstitch provides an important role when it comes to sewing a garment.
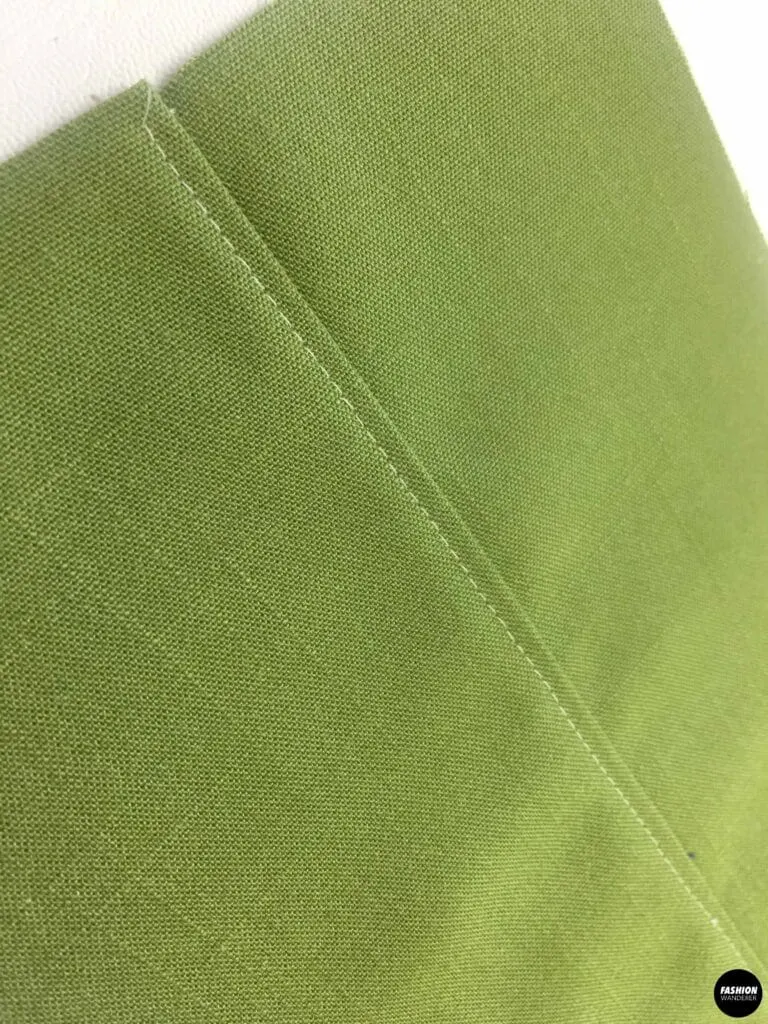
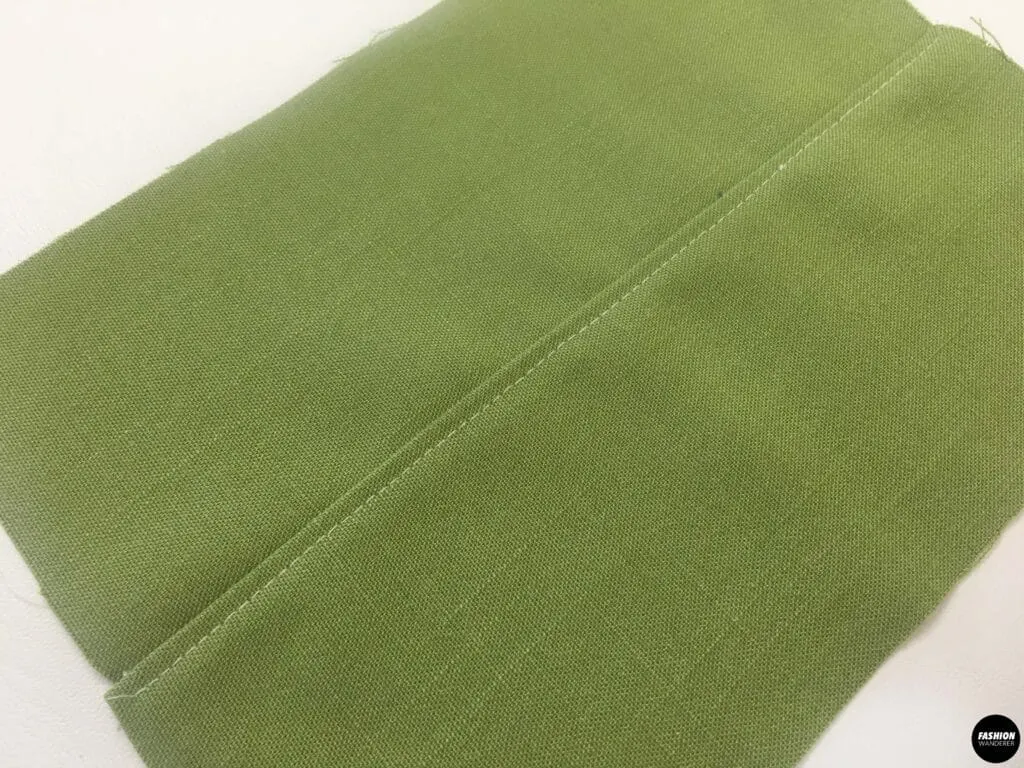
Sewing topstitch requires a technique to join fabrics in which the line of stitches can be functional or decorative. Topstitch is a type of stitch on a sewing machine and it can be seen from the outside.
How do you sew topstitch? Use all purpose sewing machine foot with a straight stitch about ¼” to ½” (6mm to 8mm) from the edge or seam. Adjust the stitch length to 3.0 or 4.0 to give a longer stitch length.
For accurate straight line, use a removable or disappearing ink pen to mark where to sew.
Topstitch is normally seen on the edge of a bag or garment like on hems, necklines, zippers, waistbands and pockets, to give a decorative finish to the edge. Additionally, the stitching secures the fabric and strengthens the item.
In this write-up, you will learn how to topstitch. Answered below are the frequently asked questions about topstitching and the best way to topstitch with a sewing machine.
What does topstitch mean in sewing
The literal meaning of topstitch is the stitch that can be seen from the outside of the garment or item. Topstitch is a decorative and functional stitching that can make any piece look more useful and beautiful.
Normally topstitches are used on the edge of the garments to give them a crisp look and a stronger finish. They also help in keeping the fabric in its place making it more durable.
The decorative stitching adds detail to features like neckline, waistbands, pockets and zippers on both garments and bags.

How long is a topstitch
The recommended length of topstitch on lightweight and medium weight fabric ranges from 3 mm to 4 mm, and contains 7-8 stitches per inch.
Depending on the fabric weight, the length of each stitch sewn by the sewing machine is known as stitch length. For lighter fabric use 3.0 mm and for medium and heavyweight fabrics, go with 3.5 mm to 4.0 mm.
Always adjust the stitch length and find the perfect length by testing on a scrap of fabric before sewing the garment. To change the length of a stitch, adjust the feed dogs so that you can control the length of fabric pulled with every stitch sewn.
What weight is topstitch thread
The thread weight or size of thread plays an important role for any sewing project. The thread weight will vary depending for each task and type of fabric.
A smaller weight number indicates a heavier thread. For a subtle look, use a regular to lightweight thread and select a heavier thread for more visibility.
In general, 12 wt thread is used to topstitch a handle for a bag, while a 40 wt polyester thread is suitable for a decorative topstitch along the hemline of a dress.
Ideally, heavy-duty threads are used to sew decorative and bold topstitches like sewing buttonholes and sewing buttons. This is for more durability and strength to hold the embellishment on the fabric.

Topstitch seam allowance
A seam allowance is an area between the line of stitching and the edge of the fabric while joining together two or more pieces of fabric. The seam allowance for topstitch can be ¼” to ½”. Depend on the sewing pattern, the seam allowance varies, however the topstitching is typically ¼” away from the seam.
It is very easy to sew topstitch along seams as the seam line can be used as a guide. The seam allowance for topstitch can depend upon the specifications of your design as well as your sewing skills.
Topstitch vs Straight stitch
Topstitch and straight stitch are easy to sew, still they can have several differences due to the use. Additionally, they both have a different preparation for the fabric as well as presser foot, needle, thread and technique to create the stitches.
The basic stitch used for sewing fabrics is the straight stitch, it is normally used to join together two pieces of fabric. To secure the ends of the seam, a few straight stitches are sewn in reverse at the start and end of the seam.
One or more rows of topstitch are normally sewn so that you can see them on the right side of the garment. The stitches are simple, but practical and decorative as they can be used to hold the layers of fabric in their place like used in attaching collars, pockets, cuffs, hems, and lapels.
Tips to sew topstitch with a sewing machine
When a visible line of stitches is sewn on a piece of fabric, then it is known as topstitching. Not only it is used for reinforcing a seam, but also for decorating the garment or item being sewn. The tips to sew topstitches include:
- A medium or heavy fabric holds easier without stretching and slipping while sewing topstitch.
- Iron the fabric before topstitching and press the seams on the fabric anywhere you want to topstitching.
- Change the sewing needle to one that is suitable for the fabric so that you can sew them without skipping stitches or breaking the needle. When choosing a needle, consider the density of the fabric and the thickness of the thread.
- To make topstitch visible of the fabric, choose a different color thread. Ideally, the thread should match or be a contrast to the outer fabric.
- To sew topstitch in a straight line along the seam, install a presser foot to guide along the edges of the fabric and make it easier to sew topstitch, or else you can mark with an erasable pen.
- After done with straight topstitching, don’t backstitch. Instead pull the threads to the back and knot to secure.
- Press after topstitching to meld the stitches into the fabric. Iron up and down rather than side by side to stretch out the seam. Add steam or water spray if needed.

Sewing Topstitch: Final Thoughts
Adding topstitch along the pocket flap or neckline gives both function and design element. It is great addition to garment sewing to hold the pieces together, bag making or even tp give more strength to the seams when attaching two pieces of fabric together.
It is easily done with a straight stitch by using regular sewing foot on a Singer or Brother sewing machine. All you need is correct needle, thread, and sewing foot to get the job done with a professional look.
Thread the machine with desired topstitch thread and set the stitch length for 3.0 mm for lighter fabrics and up to 4.0 mm for heavier fabrics.
Place your fabric under the presser foot and align the seam or edge with the needle location. Lower the presser foot and drop the needle into the fabric.
Sew along the seam or edges until the end, then lift the presser foot and raise the needle. Avoid backstitching and carefully pull out from under the foot to leave a tail before cutting to make it easier to tie a knot that will secure the stitches.
To complete puckering free topstitching, test the correct tension. Additionally, the upper and lower bobbin threads should be equally balanced and adjust the tension prior to topstitching.
With low tension, you may see loops on the other side. And with high tension, there can be straight loops on the wrong side of the fabric.
Practice, practice and practice some more to create a clean professional looking topstitch. Test on a scrap of fabric to warm up before topstitching on the real garment.
