
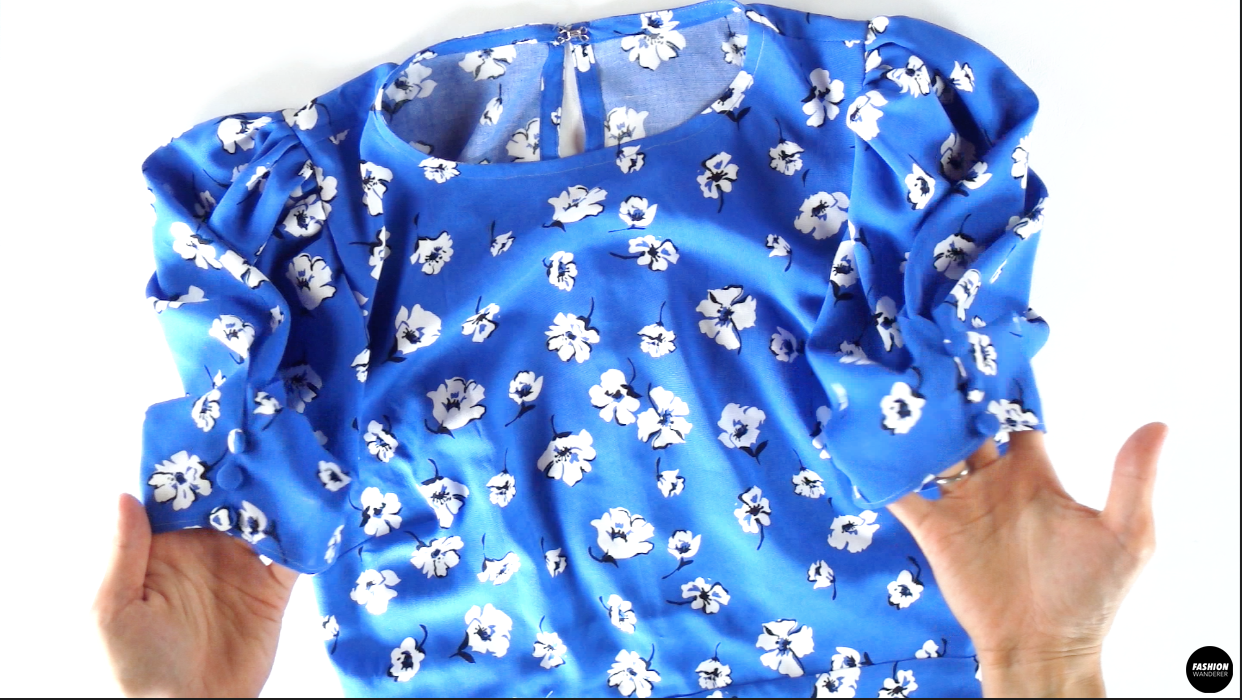
Can’t find a dress to achieve a cute and sophisticated look without sacrificing comfort? The Dawn dress features elevated puff sleeves with cover buttons that comfortably hug around the arm, and a slim fit and flare skirt.
This mini dress silhouette is perfect for solid or ditzy print fabric to create casual or date night look. Preferably sew the Dawn dress with poly or viscose crepe for year round wearability, but give it a more distinctive puff sleeve by using cotton or crepe de chine fabric.
How do you make buttoned puff sleeve mini dress? Prepare the fabric by washing, drying, and ironing to remove any wrinkles and ensure there is no damage on the fabric surface. Crepe fabric typically does not wrinkle easily, however use a light steam iron and avoid overheating the fabric and causing it to melt.
Fashion Wanderer sewing pattern includes preset seam allowance of ⅜” for every sizes. Download the Dawn pattern and choose the size, then follow the video sewing tutorial or review the instruction booklet for step by step instructions to complete the button puff sleeve mini dress.
Sewing patterns tend to look complicated and difficult to understand, however Fashion Wanderer offers easy to read sewing patterns to put together tops, dresses, and skirts. From assembling pdf patterns to finishing the garment with proper sewing techniques, our patterns include all the instructions you need.
Prior to sewing, review all the materials and get accurate body measurements at the bust, waist, and hips. Then, choose the correct pattern from the size guide to achieve a better fit.


DIY Button Puff Sleeve Mini Dress Sewing Pattern


You will love this DIY button puff sleeve mini dress because…
- Dawn dress sewing pattern includes US sizes from 0 to 18 for comfortable fit.
- Learn to sew tucks and gathering on sleeves.
- Apply cover button for decoration.
- Carefully transfer bust dart to fabric and sewing dart.
- Clean finish neckline with fabric inbinding.
- Easy ways to sew straight, especially with flimsy poly crepe fabric.
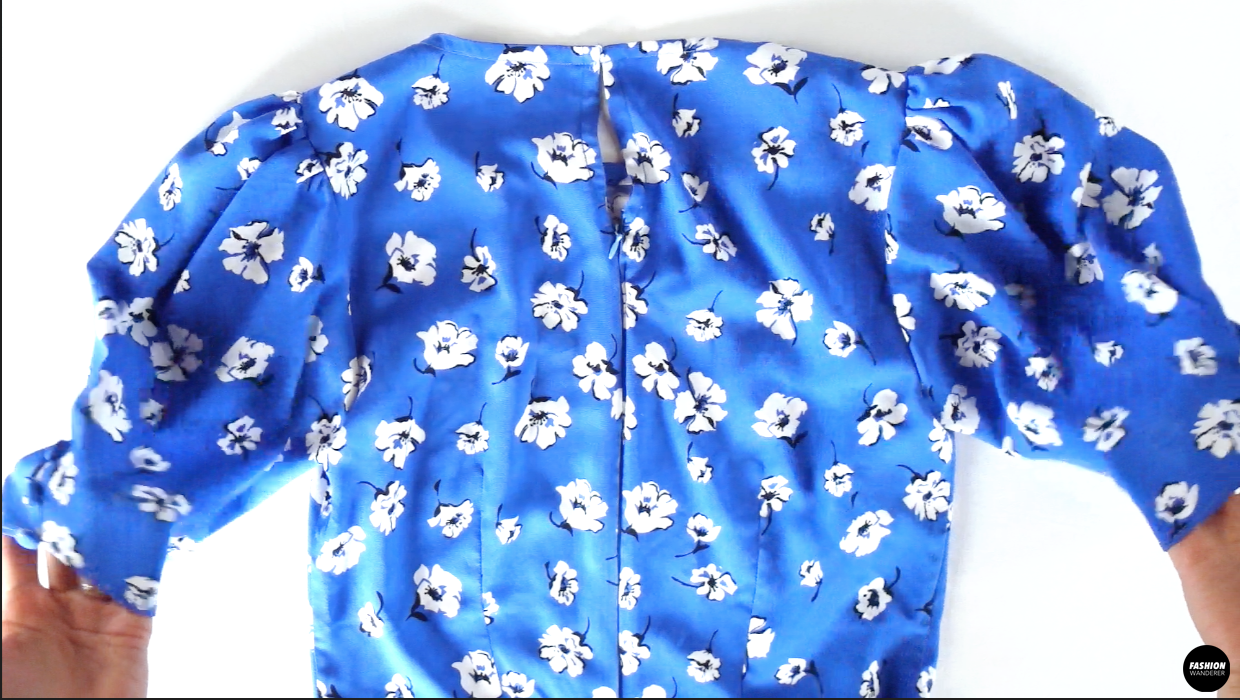
This modern pretty buttoned puff sleeve dress includes cover buttons along the puff sleeve ends that can be fixed, adjustable or simply remove for clean look. The back keyhole uses a mini silver hook and eye for a clean look, but can be modified into a tie string closure if you choose.
This casual day dress is challenging enough for beginner to explore pushing their skills to the next level. Follow this button puff sleeve mini dress sewing pattern and tutorial to make your own dress to add on to your DIY wardrobe.


How to make a button puff sleeve mini dress
From printing out to matching the lines, assembling the pdf sewing pattern is not easy. However, Fashion Wanderer sewing patterns are easy to start, read and put together.
Not every garment style measures the same, but this dress focuses on your bust, waist, and hip body measurement to select the right sewing pattern size.
Figuring out how much fabric for Dawn dress is determined by the width of the fabric you are going to use. Before purchasing or cutting the fabric, always refer to the instruction booklet to find out the exact amount.
It’s good practice and peace of mind to give yourself an extra ½ or ¾ yard to allow for wiggle room caused by sewing mistakes.
In this sewing project, pull out regular sewing needle, sewing machine, universal thread, zipper foot, and cover button kit to complete any details to sew cleanly.
Thread the sewing machine and bobbins properly to prevent skipped stitches or causing the threads keep breaking. Furthermore, know how old the sewing needles are if replacement is needed to achieve straight stitch line.
Always test your fabric for tension, stitch length, and type of stitches that are recommended on this tutorial.
DIY Button Puff Sleeve Mini Dress Tutorial Material:
- Dawn Dress Sewing Pattern
- Poly Crepe Fabric 2 yards for 60” width or 2½ yards for 45” width
- 18” Long Invisible Zipper
- Mini silver hook and eye x 1 piece
- Size ½ cover buttons x 6 pieces
- Sewing machine
- Serger
- Pins
- Ruler
- Water Erasable Pen
Transfer the bust darts on the right and left side of the bodice.
Fold the darts in half lengthwise and straight stitch.
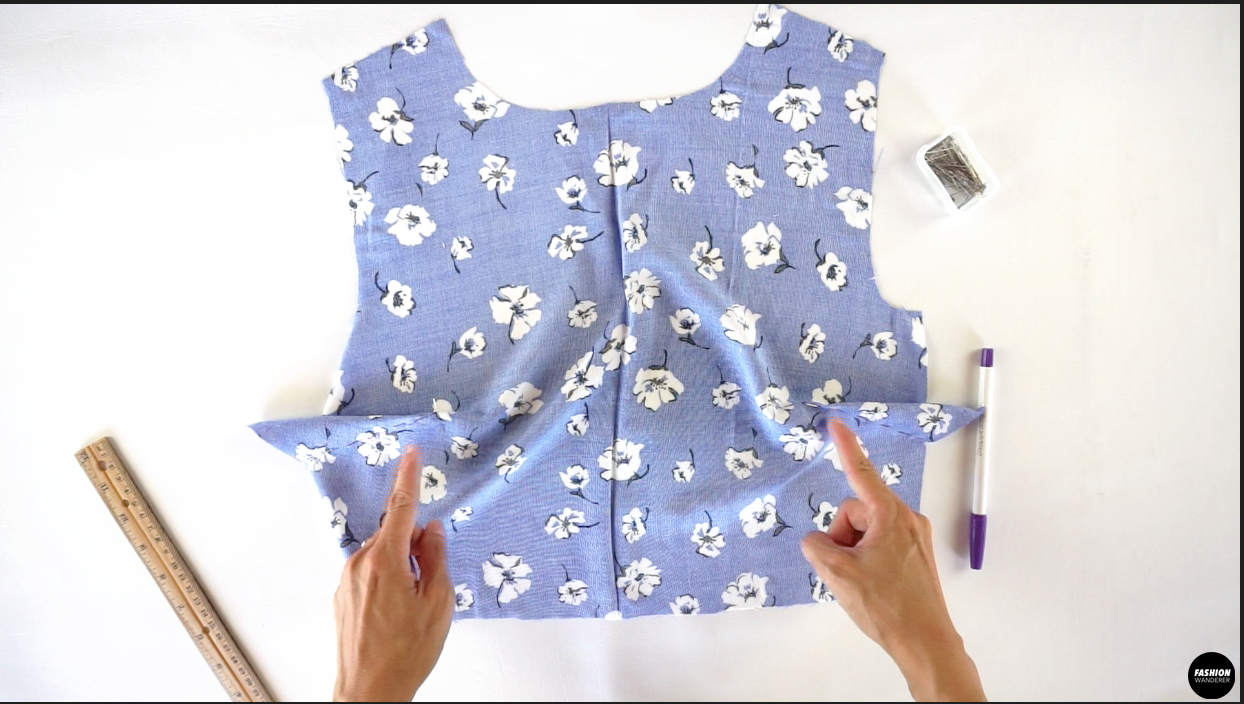
Transfer the back waist darts on both sides to the fabric.
Fold the darts to pin and straight stitch.
Place the right side of the front and back bodice pieces facing each other and stitch to close the shoulder and side seams, then finish with overlock stitch.
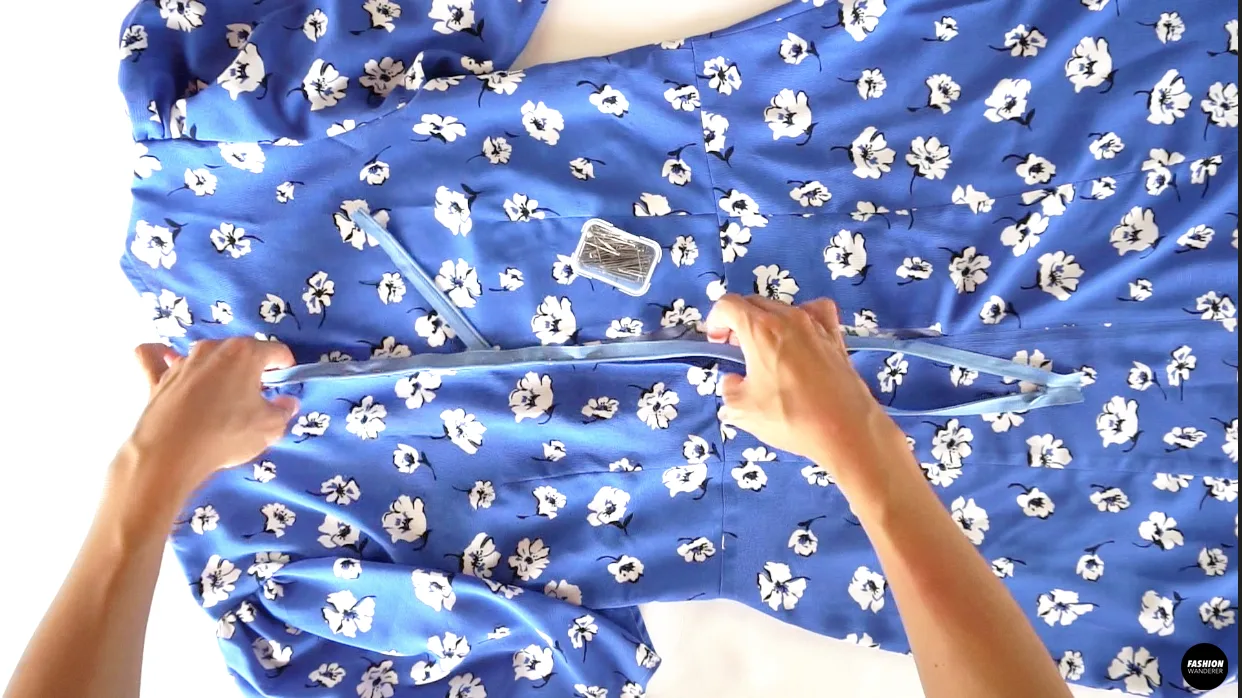
Make inbinding for neckline keyhole and use the remaining bias strap to place along the neckline.


Open the strap and edge topstitch along the seam.
Fold the strap inside and fold the raw edges again to sandwich and pin the neckline.
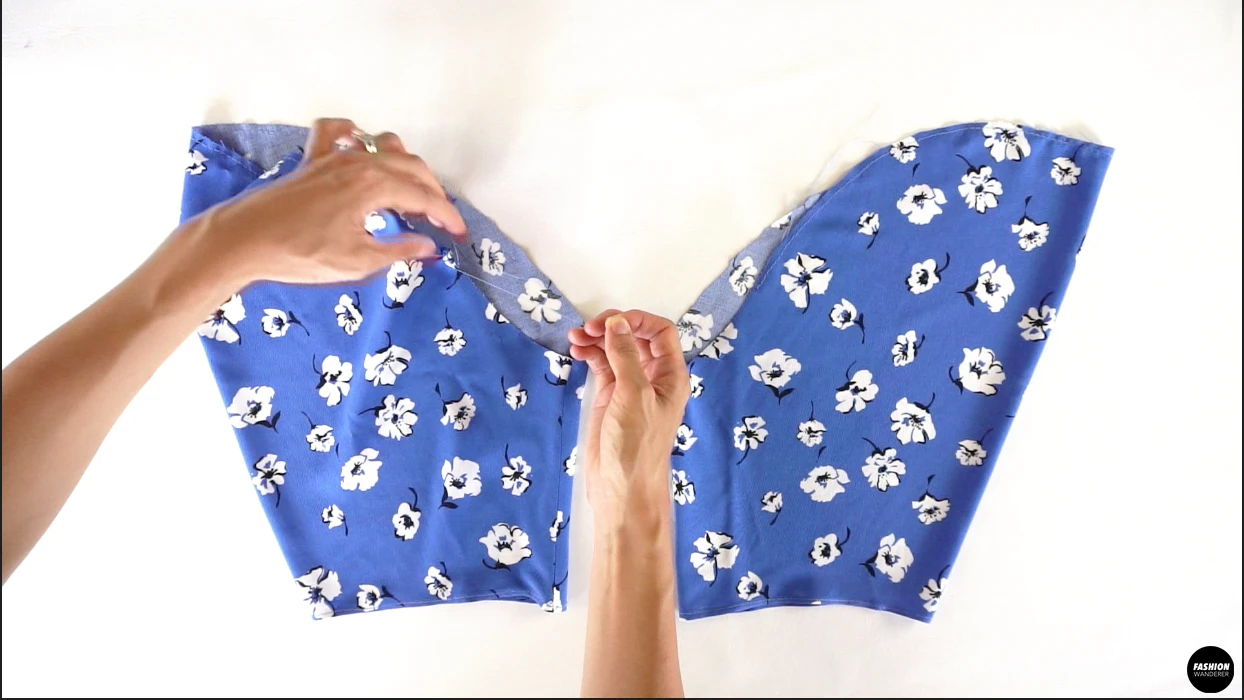
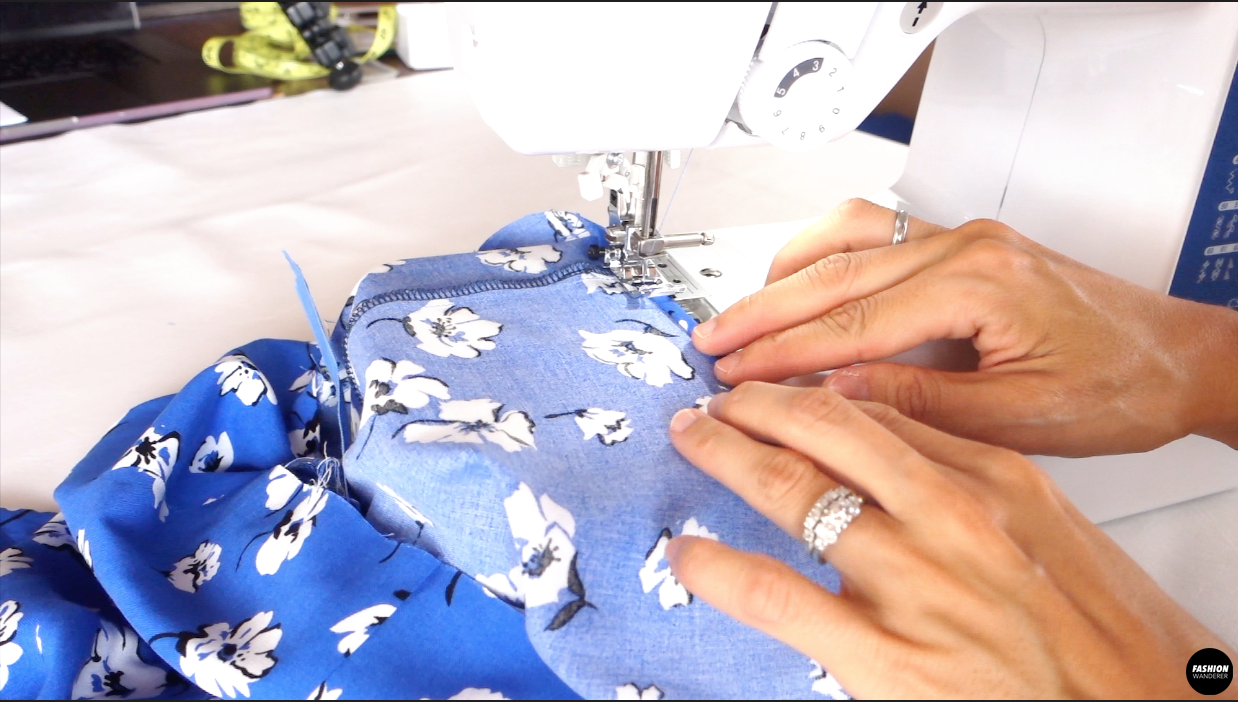
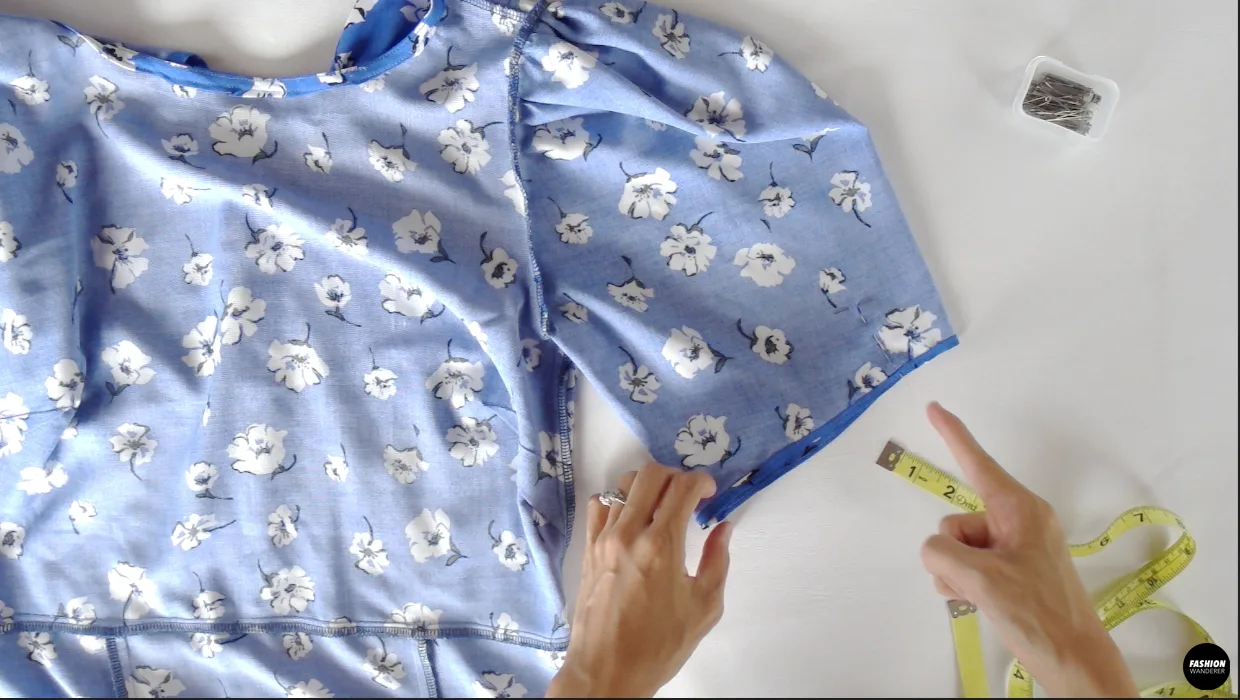
Adjust the stitch width to 5.0 and straight stitch notch to notch ¼” width along the sleeve edge.
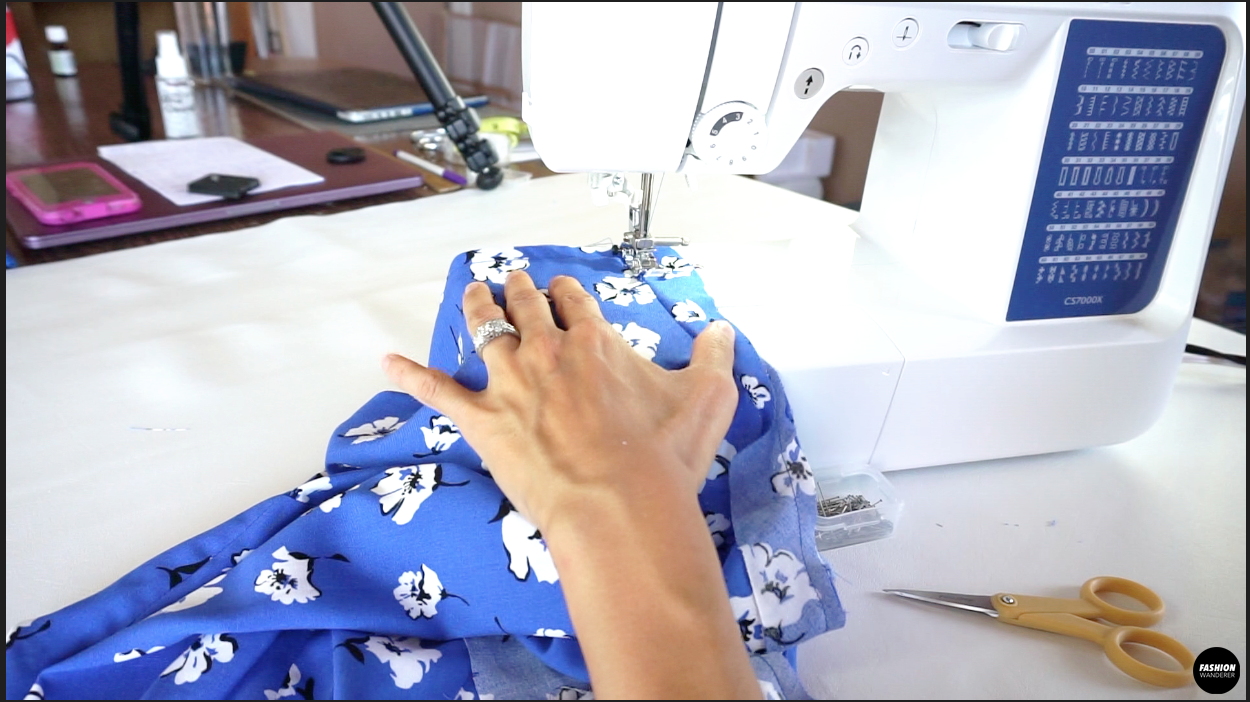
Fold the sleeve right side facing each other and close the underarm sleeve.
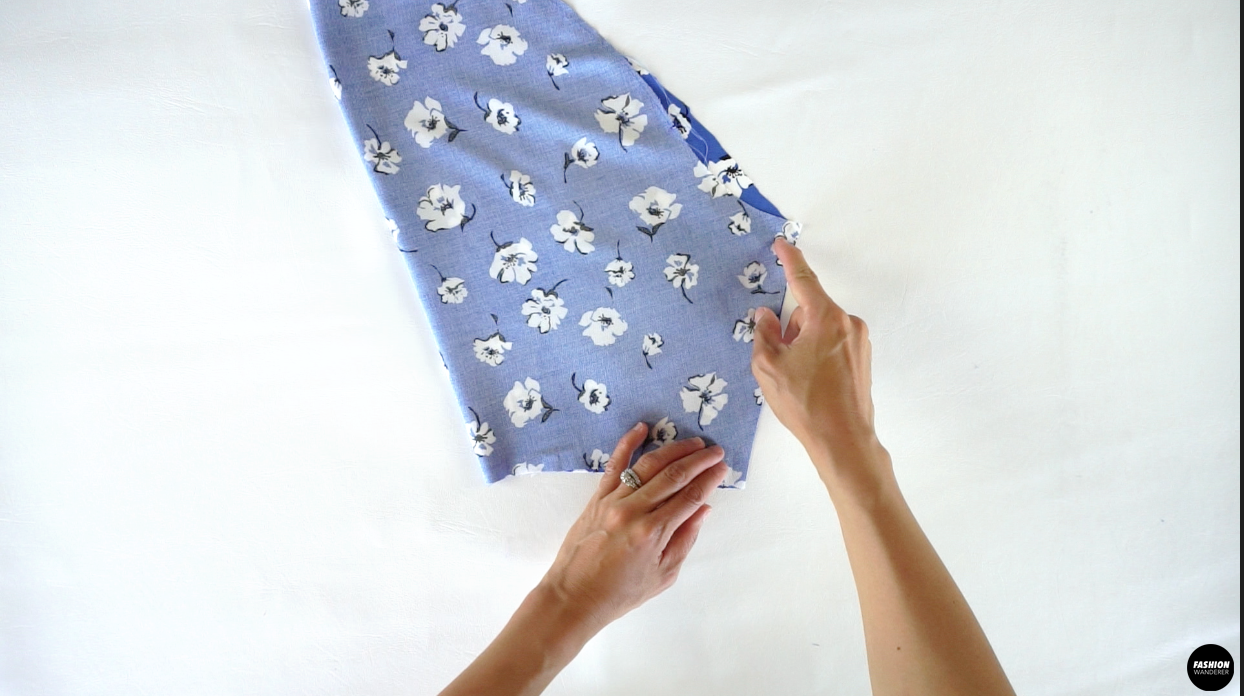
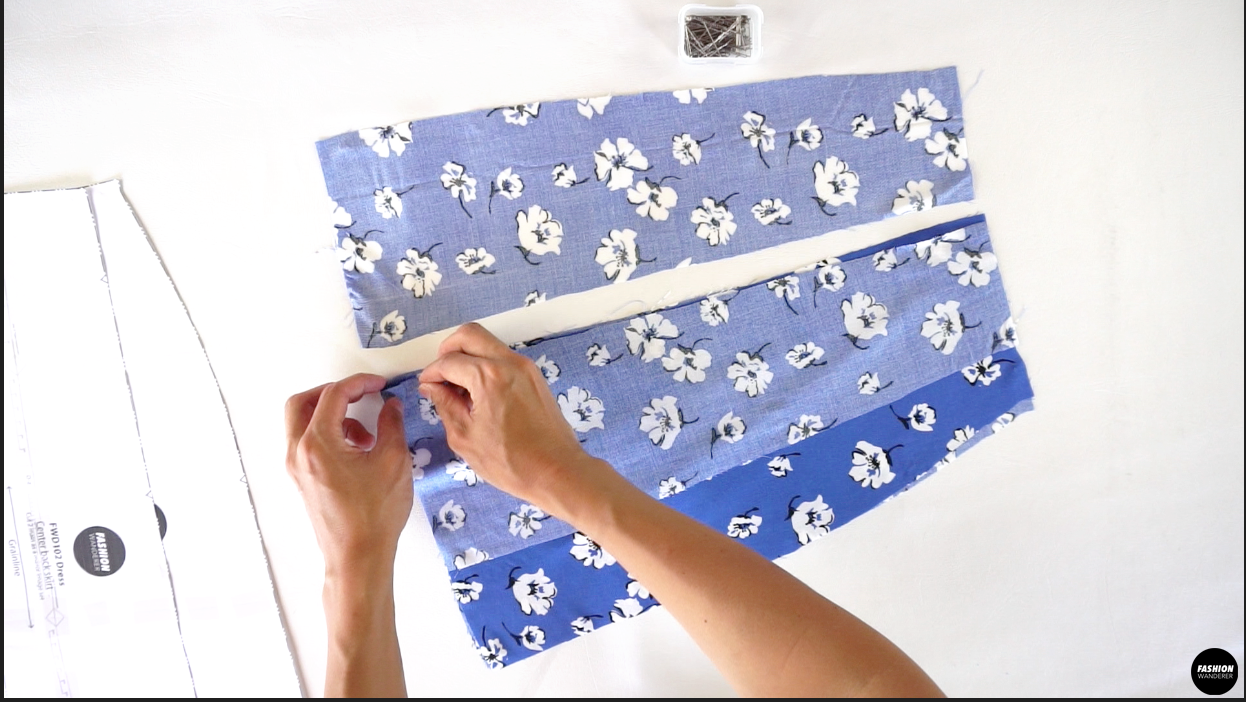
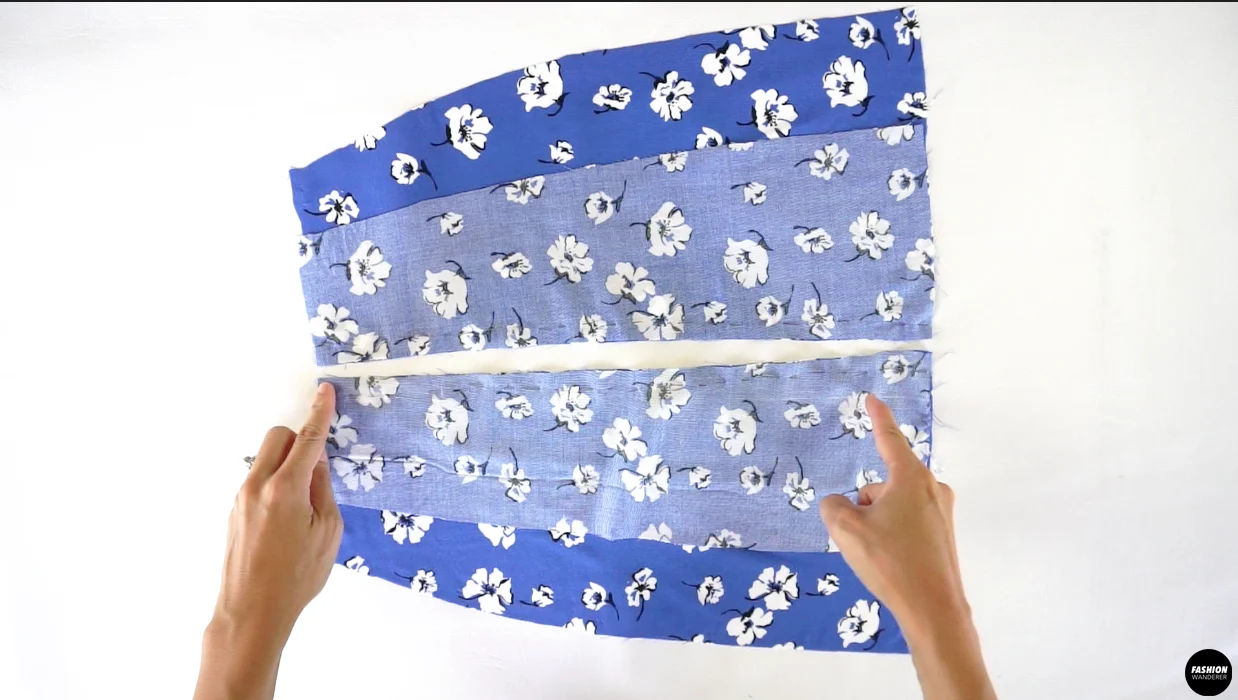
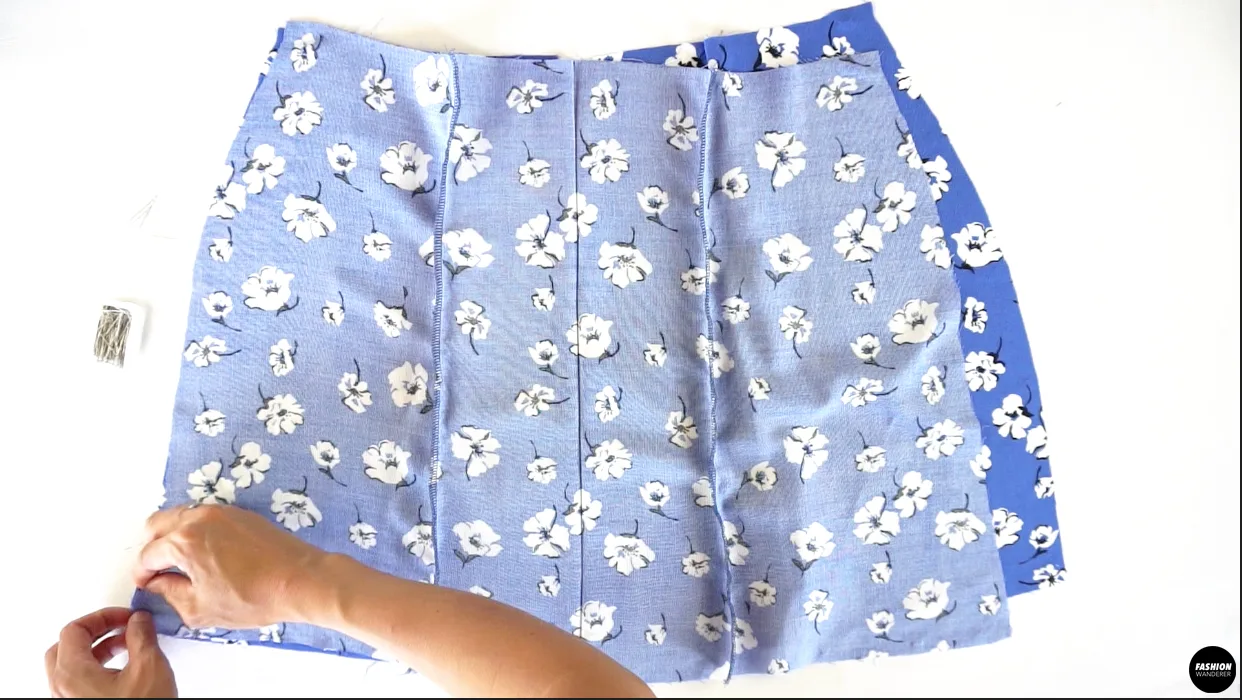
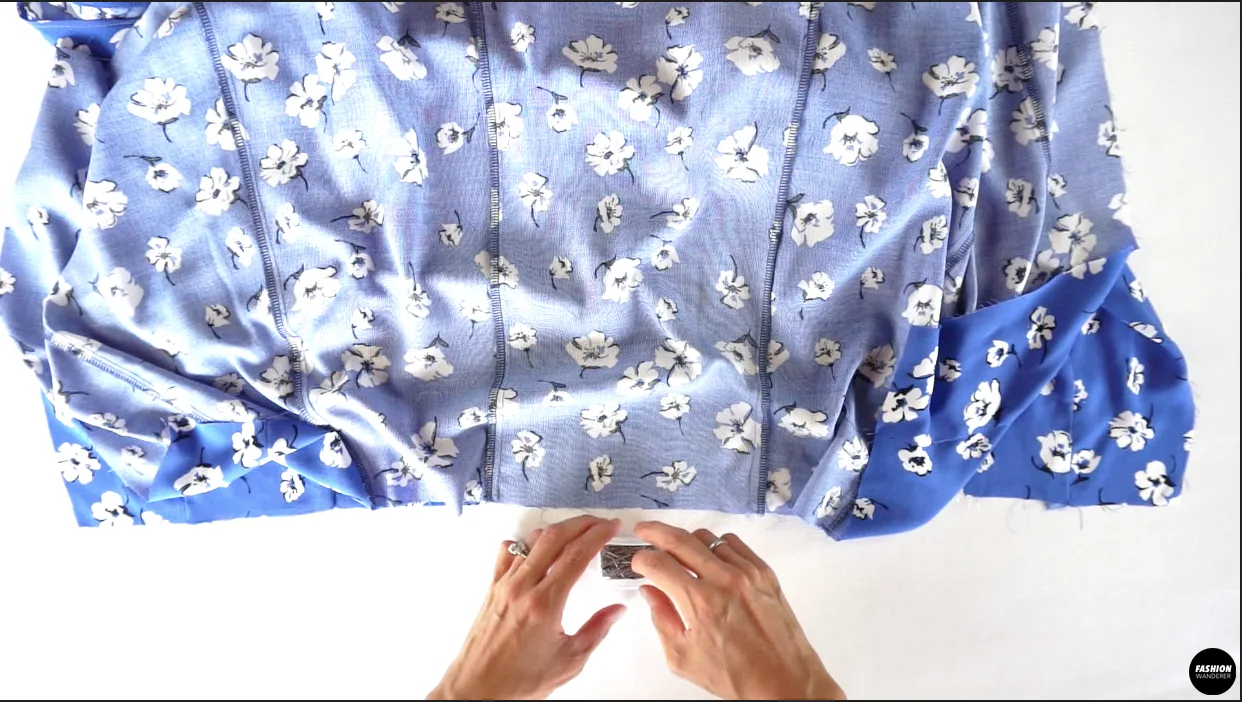
Place front and side skirt facing each other and sew the seams with ⅜” width seam allowance and overlock to finish.
Place the back and back side skirt pieces facing each other and sew the seams ⅜” width, then overlock to finish.
Join the front and back skirts together with ⅜” width seam allowance along the side and finish with overlock.
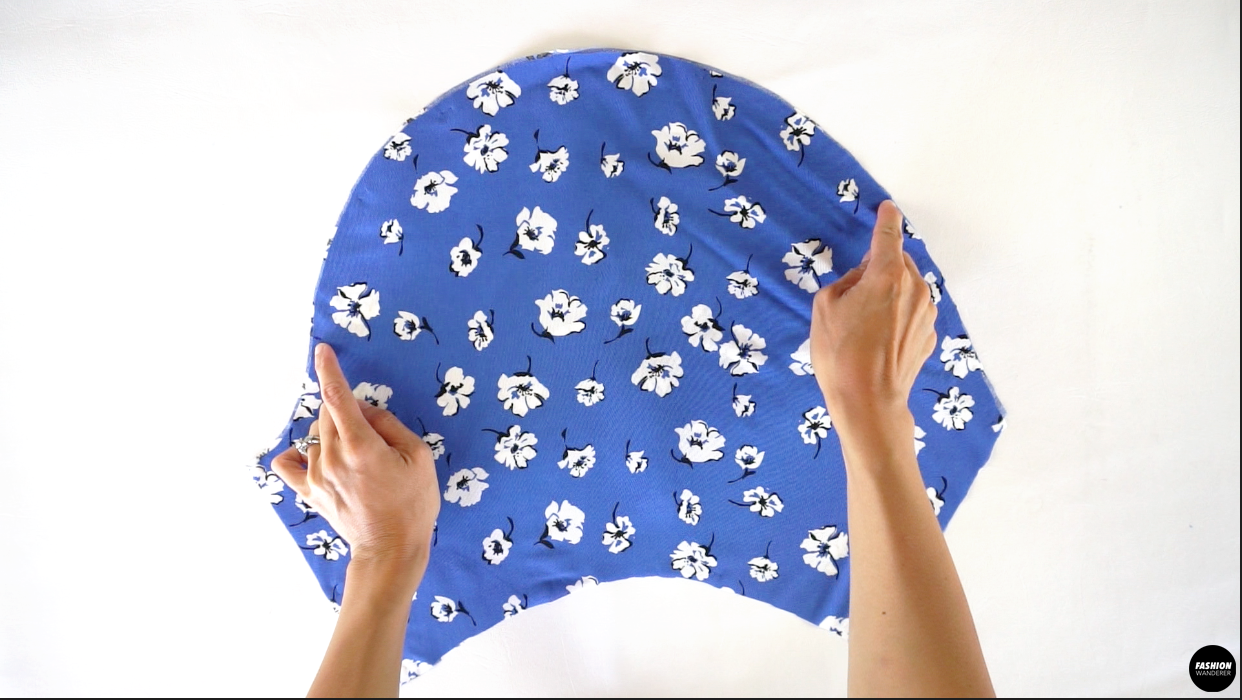
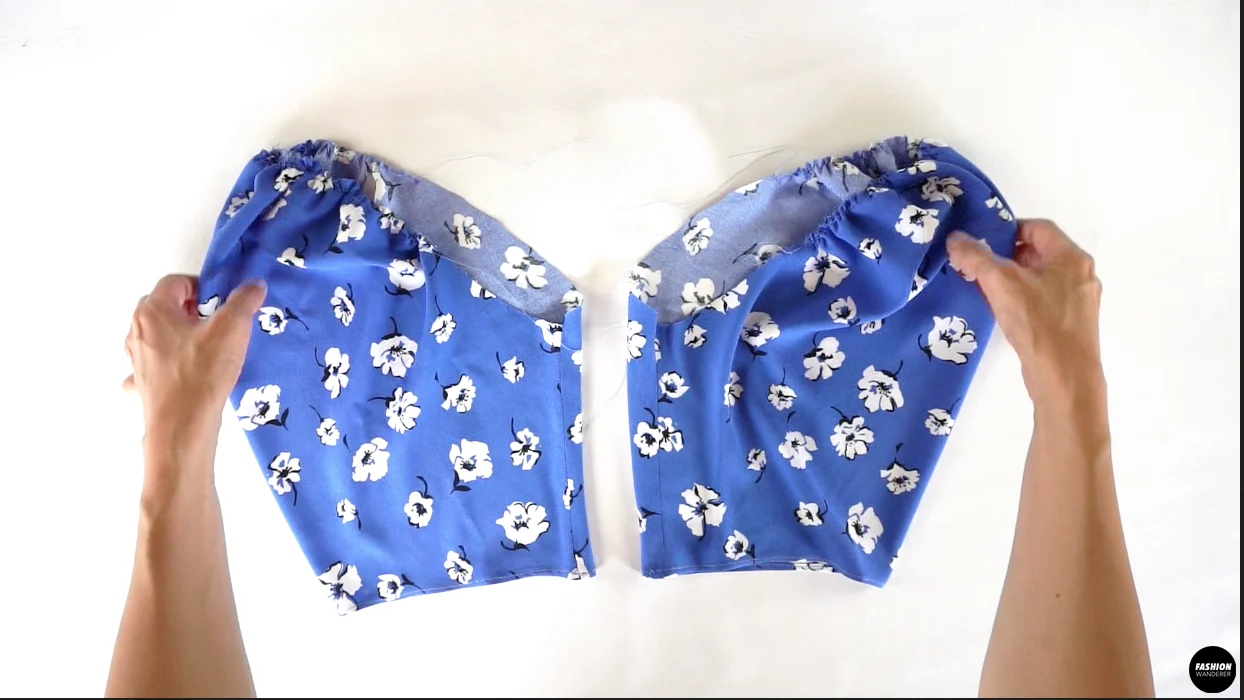
Gently pull the thread along the sleeve to create ease gathering.
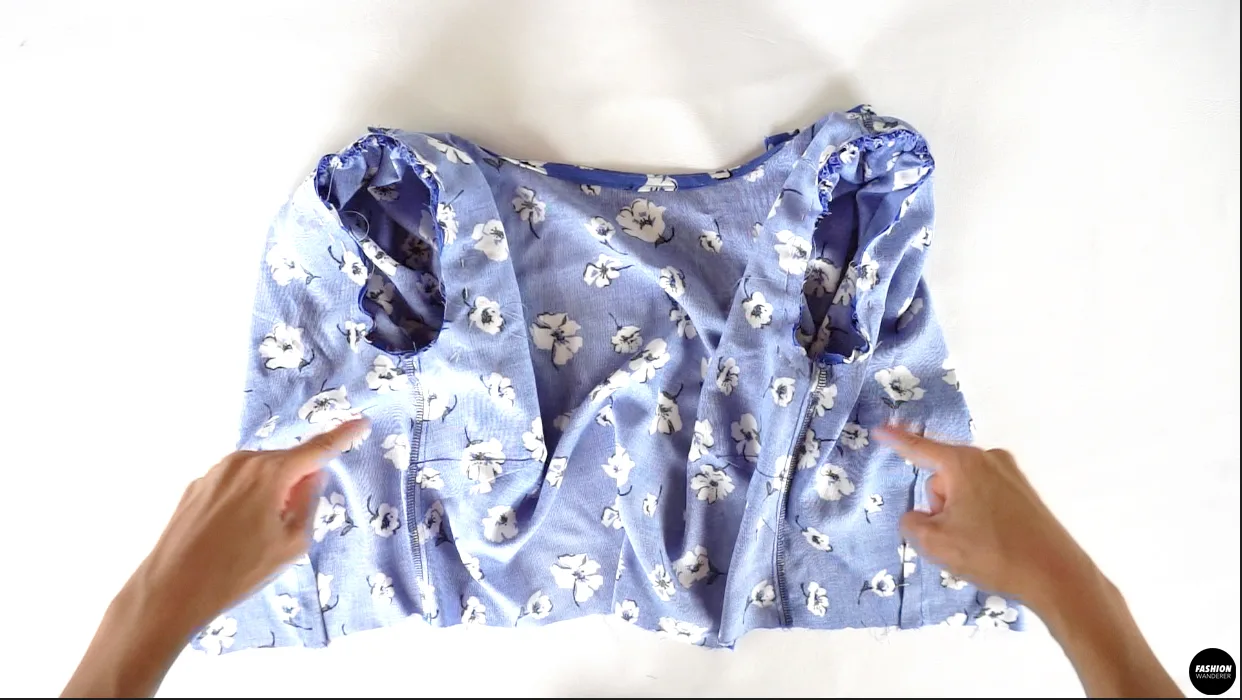
Slide the sleeve through the armhole of the bodice and match the notches to pin.
Sew around the armhole with ⅜” width seam allowance and overlock stitch to finish the edges.


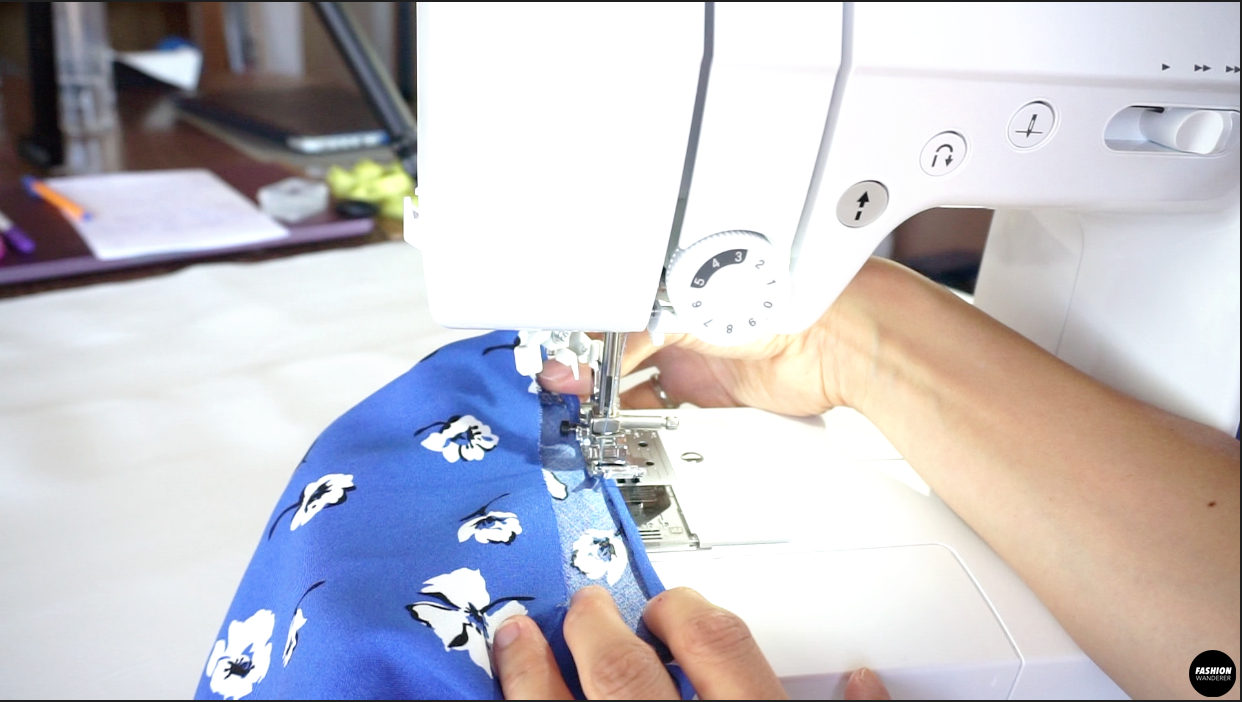
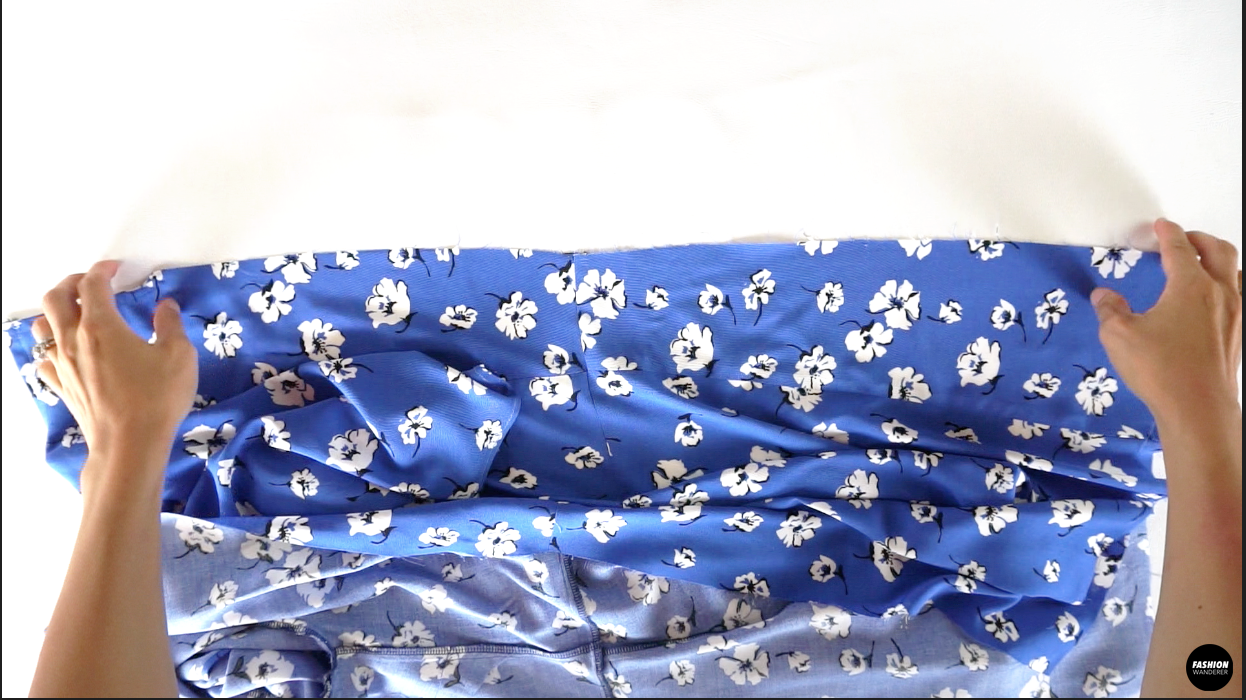
Place the right side of the bodice over the right side of the skirt. Stitch ⅜” width seam allowance and finish with overlock stitch.
Overlock stitch the edges of center back on both opening.
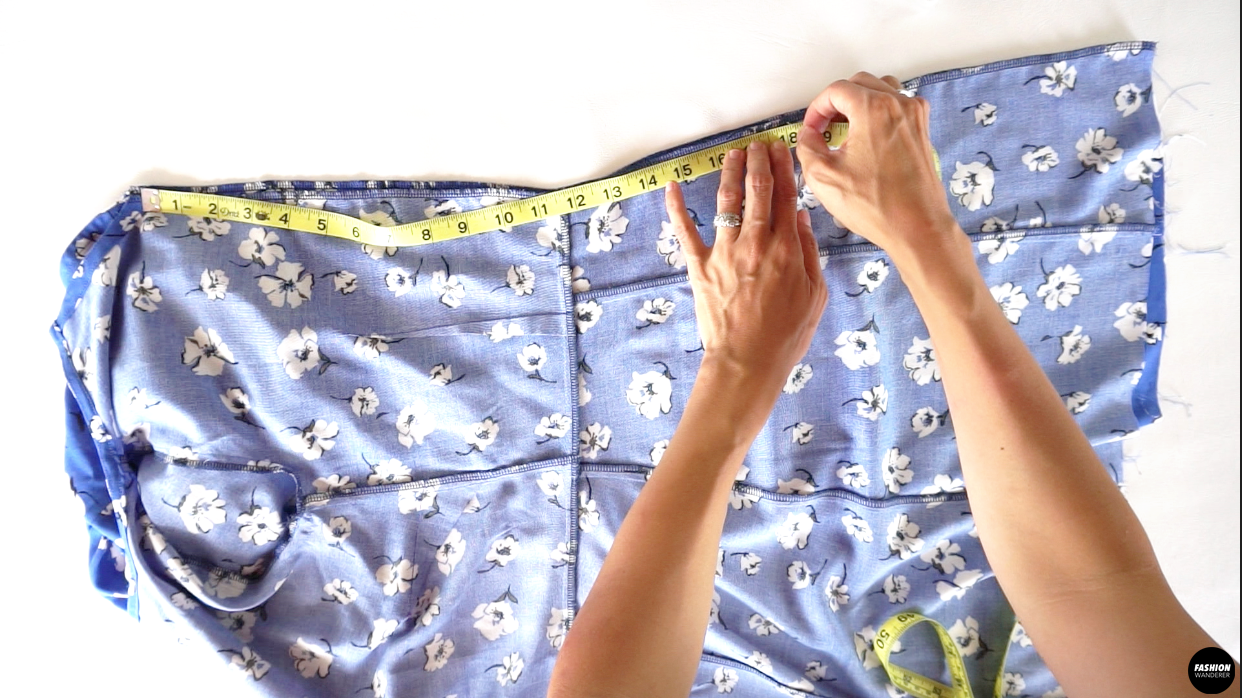
Measure 18” down from center back neckline and pin. Close the center back to the hem.
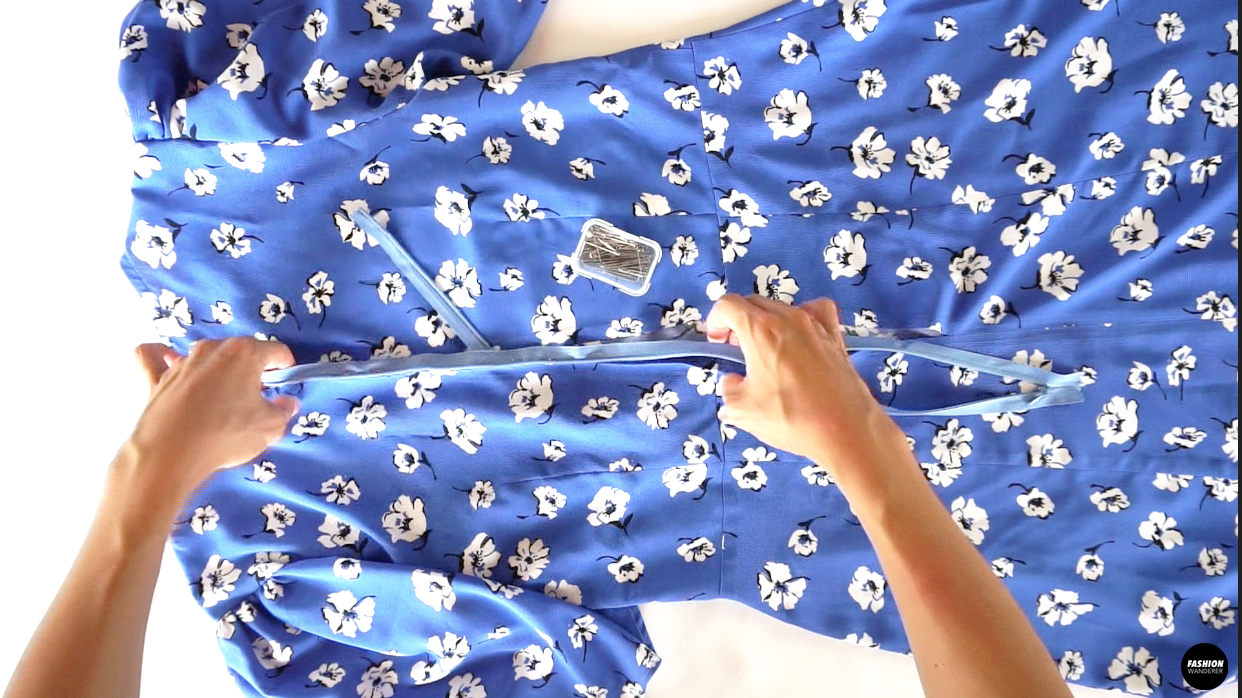
Open the invisible zipper and sew along the zipper tape.
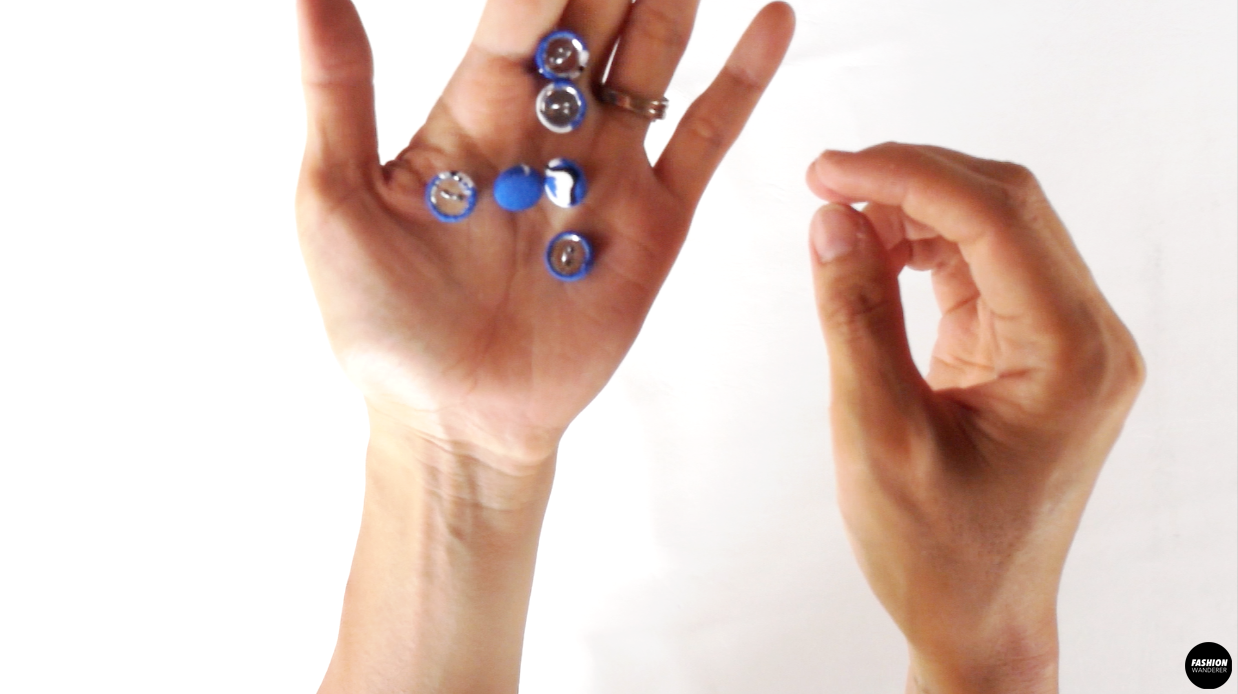
Create 6 pieces of cover buttons using the self fabric.
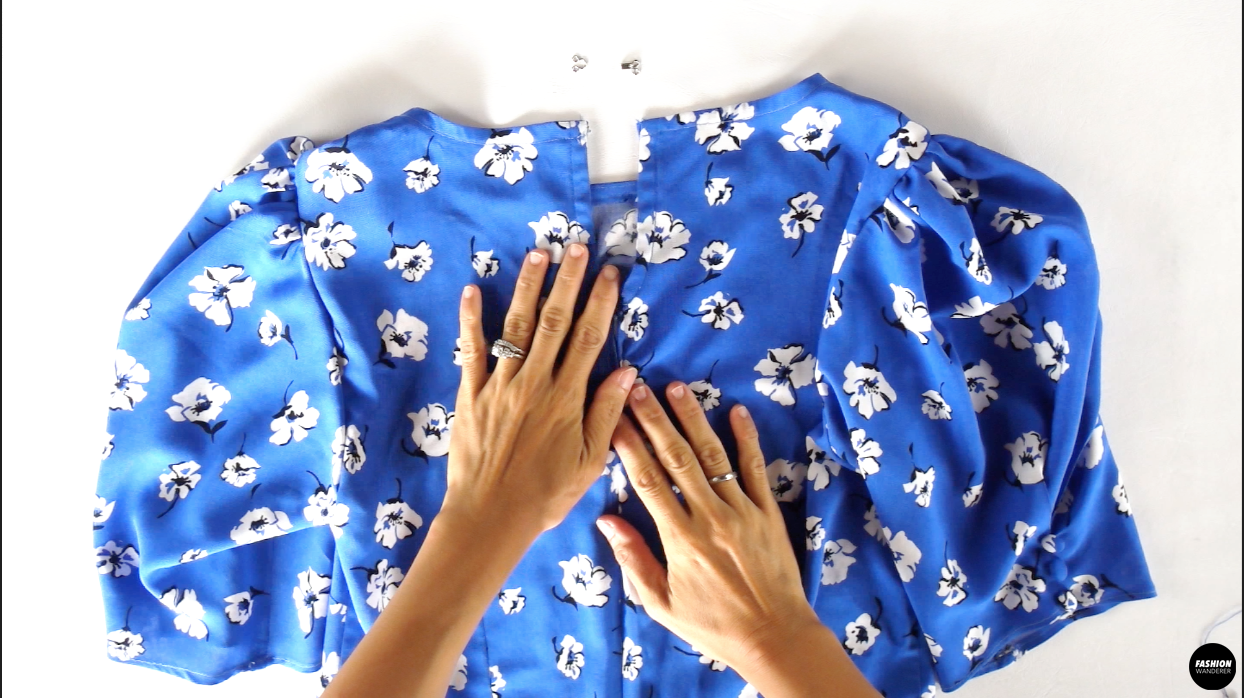
Turn the dress inside out, create the tucked notches and straight stitch lock in place.
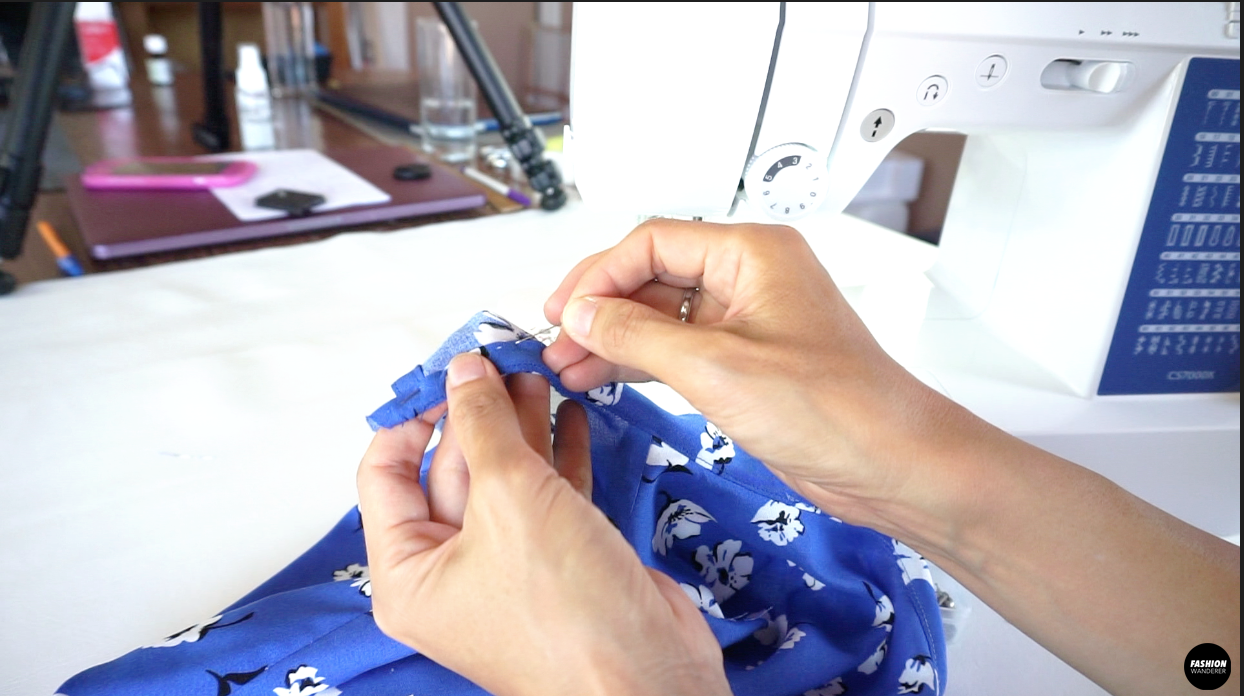
Hand sew 3 cover button pieces along the tuck on each sleeve.
Finally, hand sew the hook and eye on the neck keyhole opening at center back.


DIY Button Puff Sleeve Mini Dress Sewing Tips


Puff sleeve, zipper, gathering, tucks, and hemming, sewing a dress has lots and lots of steps in order to complete beautiful and darling garment. Without steps and sewing pattern to follow, this design is not an easy task.
When cutting out the sewing pattern, mark the notches to indicate and easily transfer to the fabric. This method will help you to assemble the fabrics together smoothly.
No matter what kind of fabric you choose, always use iron to press the seams, darts, inbinding, and hemming to add a touch of professional finishes.
- Sewing Needle: For any flimsy fabric like poly crepe, sharp needles are preferred to sew with. Go with the smallest needle, 70/10 is a great option to start with. This will give clean stitches due to a sharp point that punches through at an equal distance between the stitches.
- Thread: Use lightweight cotton or poly-cotton thread to sew poly crepe. Also, select similar color or match the background color of print fabric to find the right color of thread.
- Fabric: Known as the easiest fabric to sew, but prewash before lining up the fabric and keep an eye on the grain line to make sure the fabric does not shift while cutting.
- Stitches: When sewing poly crepe, small stitches such as 1.5 to 2mm or 12 to 15 stitches per inch is ideal.
- Cover buttons: It is easy to follow the cover button kit and template to create button covers to add on this dress. Easily hand baste the button along the tuck seam as indicated on the mini dress pattern.
- Zipper: This dress has invisible zipper closure at center back that requires a specialized presser foot to attach the invisible zipper. Due to it being hidden, the color of the zip does not necessarily matter, however stay close to the fabric color.
- Hook and eye: Hook and eye closure offers clean finishes around the neckline. It can only be sewn by hand and not by machine. Place the hook just barely ⅛” away from the edge and place the round eye on the opposite edge. Ensure they meet in the center back at equal distance to get clean closure.
In this tutorial, we will walk you through the steps to sew a Dawn dress using straight stitch to gather and tuck on the sleeves, hand sew cover buttons, and invisible zipper with hook and eye to clean finish.
Either print or solid, find your favorite fabrics to make Dawn dress with. And use the sewing instructions and video guide for in-depth sewing tricks and method to complete this cute and casual dress that you’ll love to wear all the time.


DIY Button Puff Sleeve Mini Dress
Looking for a new way to update a puff sleeve for your dress? If you are intermediate or beginner that wants a challenge, this dress will be a perfect sewing project to include to your DIY wardrobe. Review these step by step instructions to master sewing poly crepe fabric using gathering, invisible zipper and inbinding.
This Dawn dress features a hand gathered sleeve with tucks to give an elegant look. The cover button along the sleeve gives detail modern silhouette that looks pretty and casual with a snug fit and flare skirt style.
In addition, this mini dress includes a clean neckline with keyhole opening for a clean and modern design element. Follow me in the tutorial to complete this dress to wear for a casual daytime or date night outfit.
Materials
- Dawn Dress Sewing Pattern
- Poly Crepe Fabric 2 yards for 60” width or 2½ yards for 45” width
- 18” Long Invisible Zipper
- Mini silver hook and eye x 1 piece
- Size ½ cover buttons x 6 pieces
Tools
- Sewing Machine
- Thread
- Zipper Sewing Foot
- Fabric Scissors
- Measuring Tape
- Pins
- Water erasable pen
Instructions
For this Dawn dress tutorial, start by assembling the pattern pieces:
- 1 piece of Front Top
- 2 pieces of Back Top
- 1 piece of Front Skirt
- 2 pieces of Side Front Skirt
- 2 pieces of Back Skirt
- 2 pieces of Side Back Skirt
- 2 pieces of Sleeve
- 1 piece of Collar Inbinding
How to Sew Darts On Dress
- Turn the Front Top right side facing each other and fold along the center front.
- Use a pin to poke a hole and mark the bust dart location on the sewing pattern.
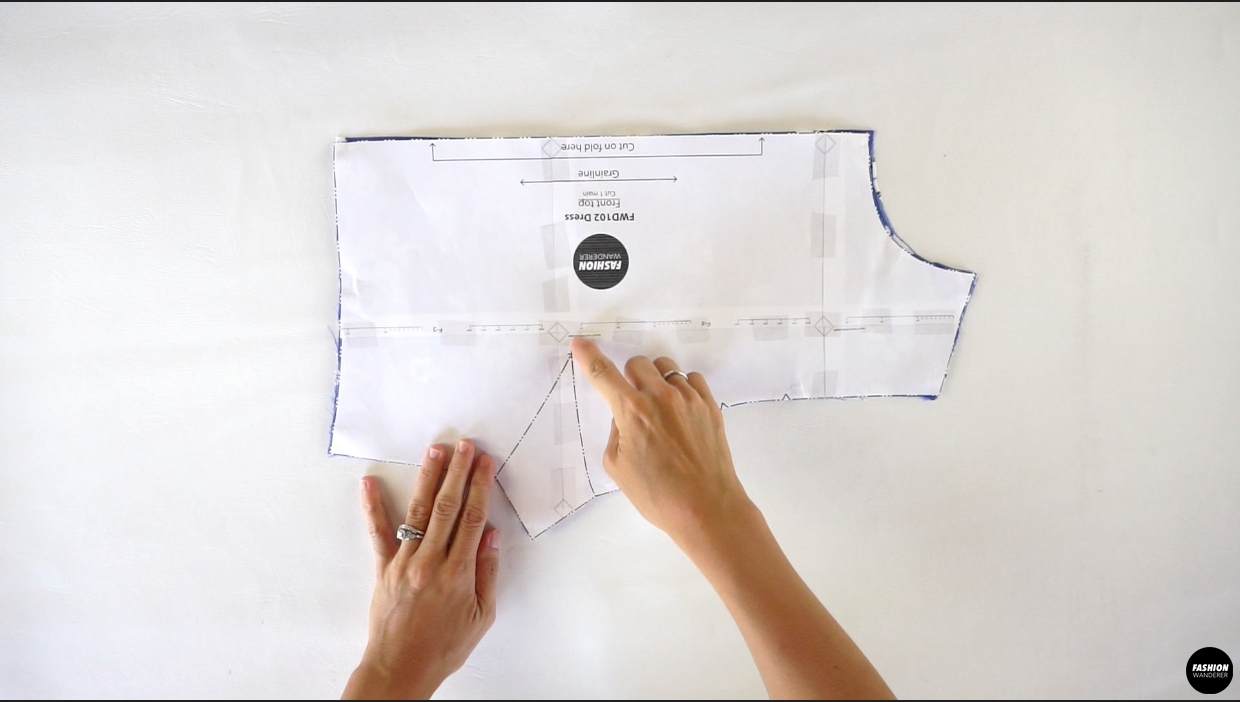
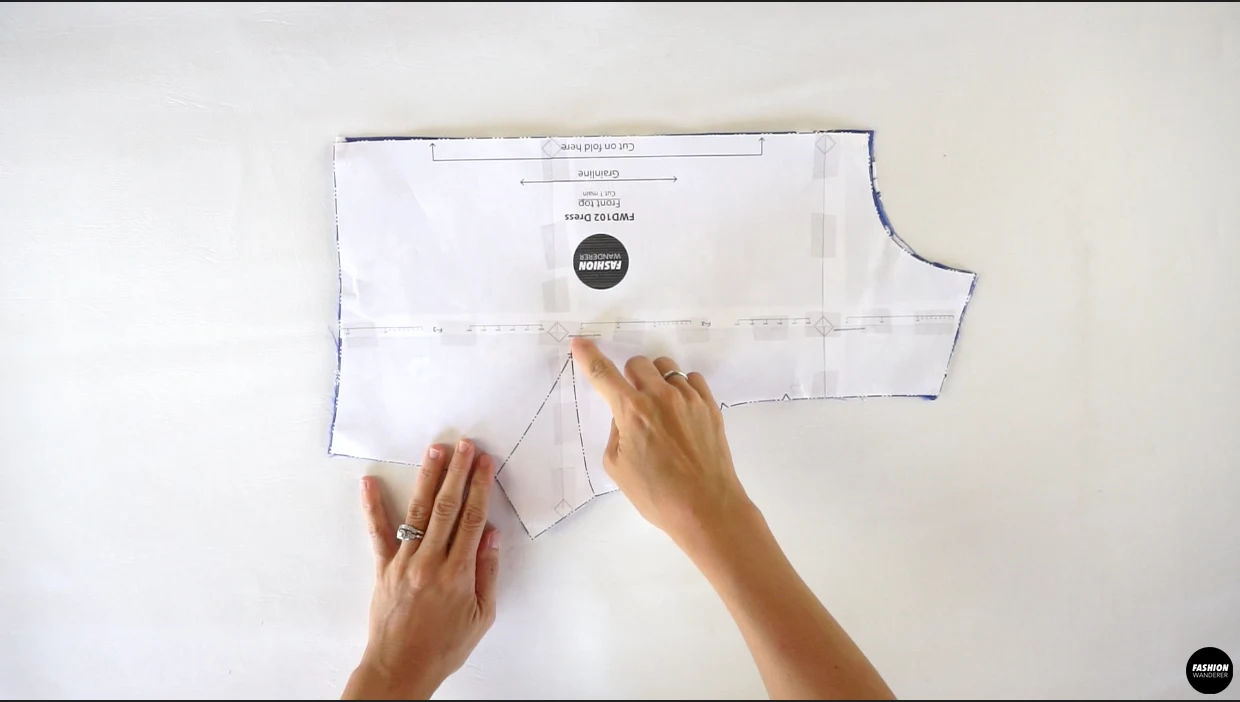
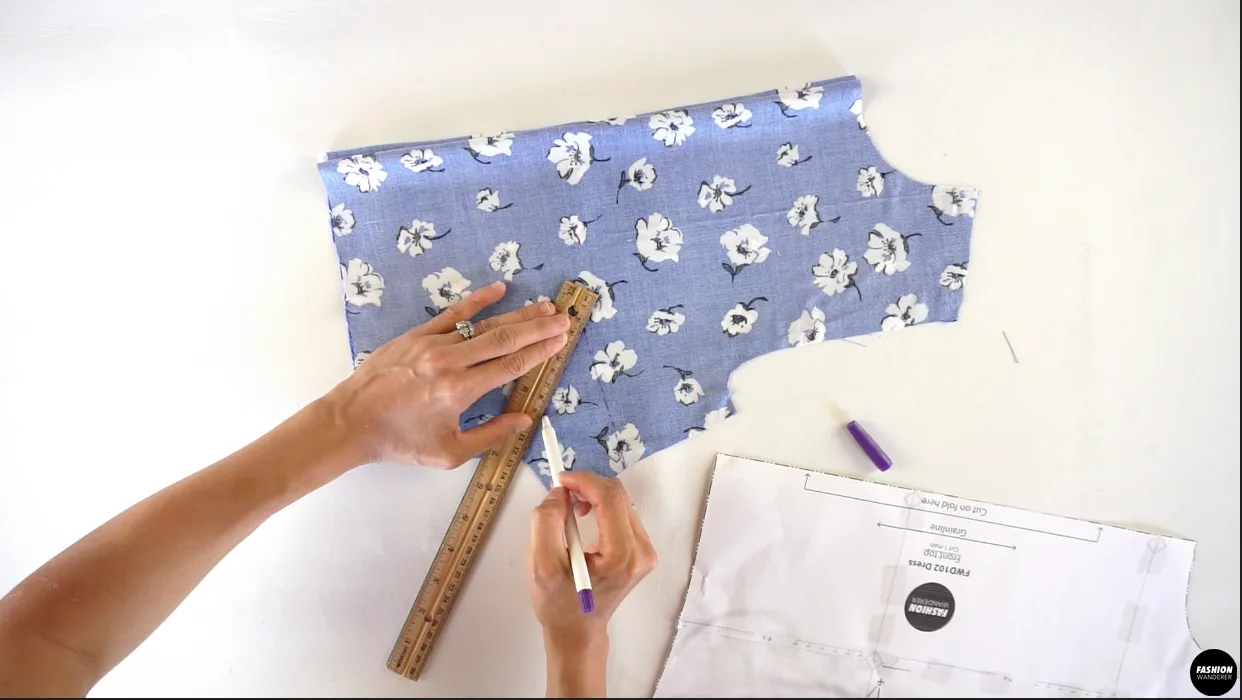
- Flip the sewing pattern wrong side up and pin through the hole to mark the points with water erasable pen.
- Use a straight ruler and connect the points. Do the same on the other side.

- Fold the bust darts in half lengthwise and pin along the pen line. Start straight stitching from the dart notch and end at the point without back and forth. Instead double tie the end.

- Press the bust darts toward the waist and set aside.
- Turn the Back Top right side facing each other to mark the waist darts.

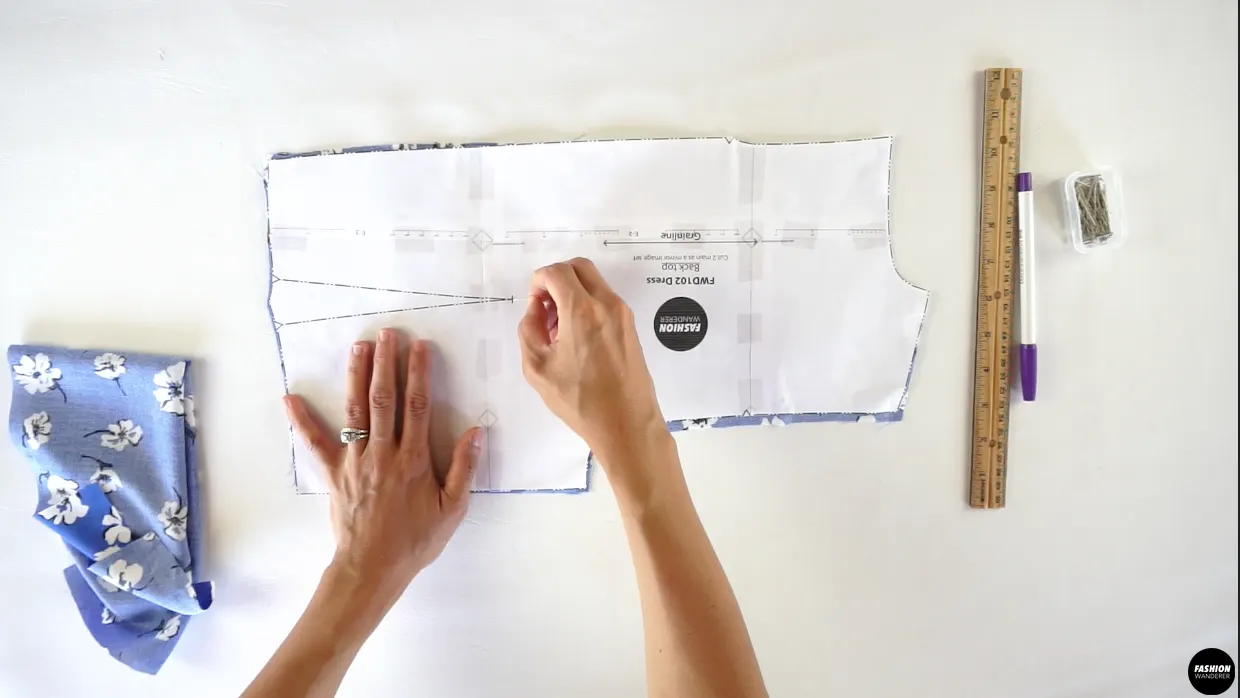
- Use pin to poke a hole to mark the dart location on the right side of the sewing pattern.
- Flip the sewing pattern wrong side up and pin through the hole to mark the points with a pen.
- Use a ruler to connect the points. Do the same on the other side.
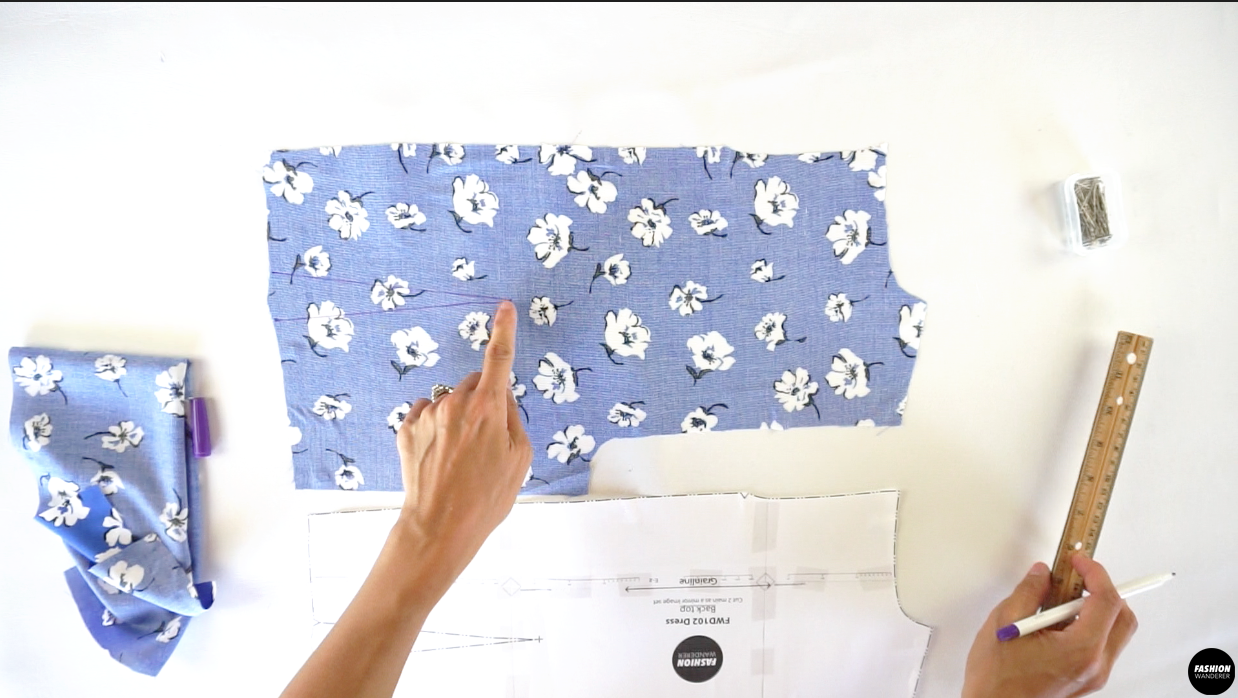

- Fold the darts in half lengthwise and pin along the pen line. Start straight stitching from the dart notch and end at the point without back and forth. Instead double tie the end.
- Press the waist darts toward the side seam and set aside.
How to Sew Top Bodice for Dress
- Place the right side of the front and back bodice pieces facing each other.
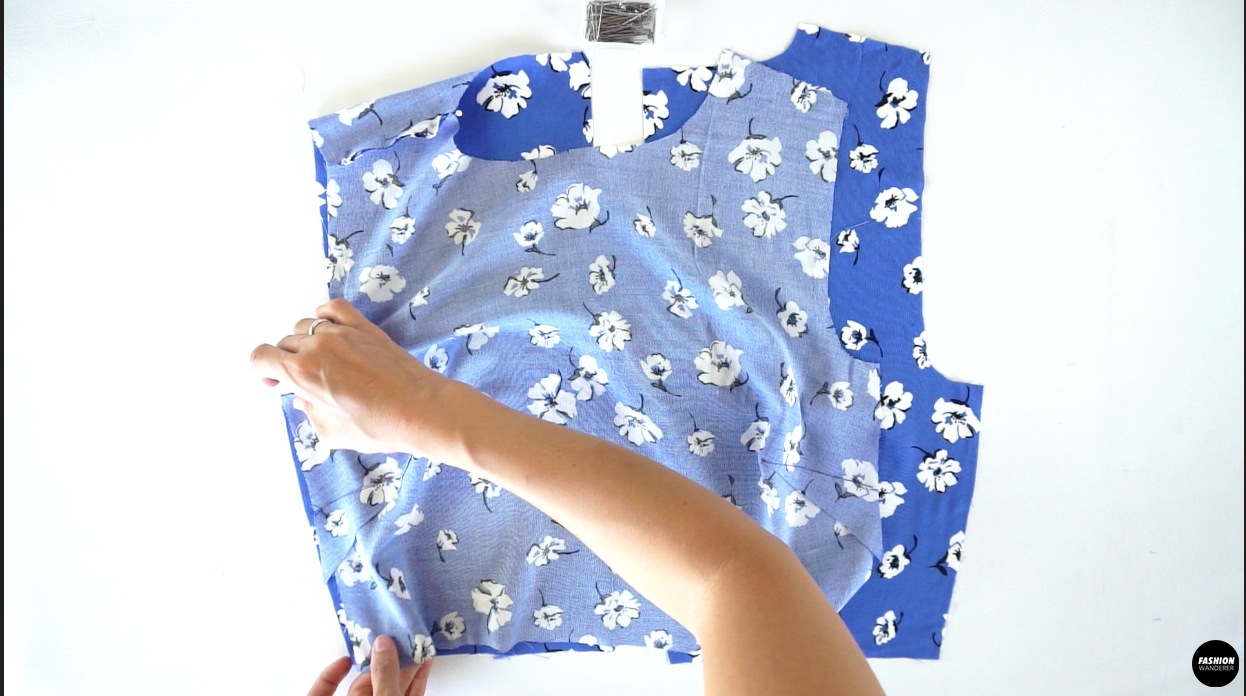

- Stitch to close the shoulder and side seams with ⅜” width seam allowance.
- Finish the seams with overlock stitch and press the seam towards the back bodice.
How to Sew Inbinding Along Keyhole and Neckline
- Create inbinding for neckline keyhole by placing the right side of strip on the right side of the back bodice.
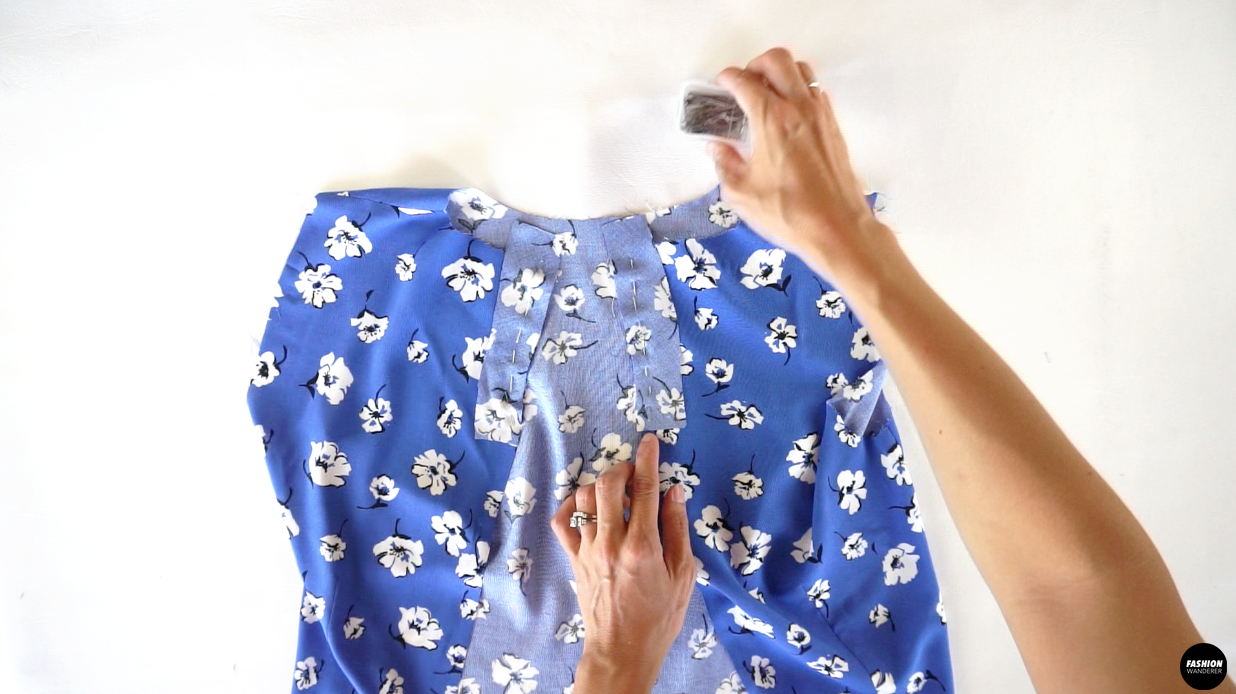

- Sew ¼”, then fold over inside, double fold the edge and edge topstitch to finish. If needed press to create clean finish look.


- Use the remaining bias strap to place along the neckline with the right side facing together, then pin and sew ¼” width straight stitch.
- Open the strap and edge topstitch along the seam on the right side of the bias strap.
- Fold over the strap toward the inside and fold the raw edges again to sandwich and pin the neckline. Edge topstitch and press to finish.

How to Sew Puff Sleeve with Tuck
- Adjust the stitch width to 5.0 and straight stitch notch to notch ¼” width along the sleeve edge.

- Fold the sleeve right side facing each other.
- Close the underarm sleeve with ⅜” width straight stitch and finish with overlock. Press the seam toward the back sleeve.

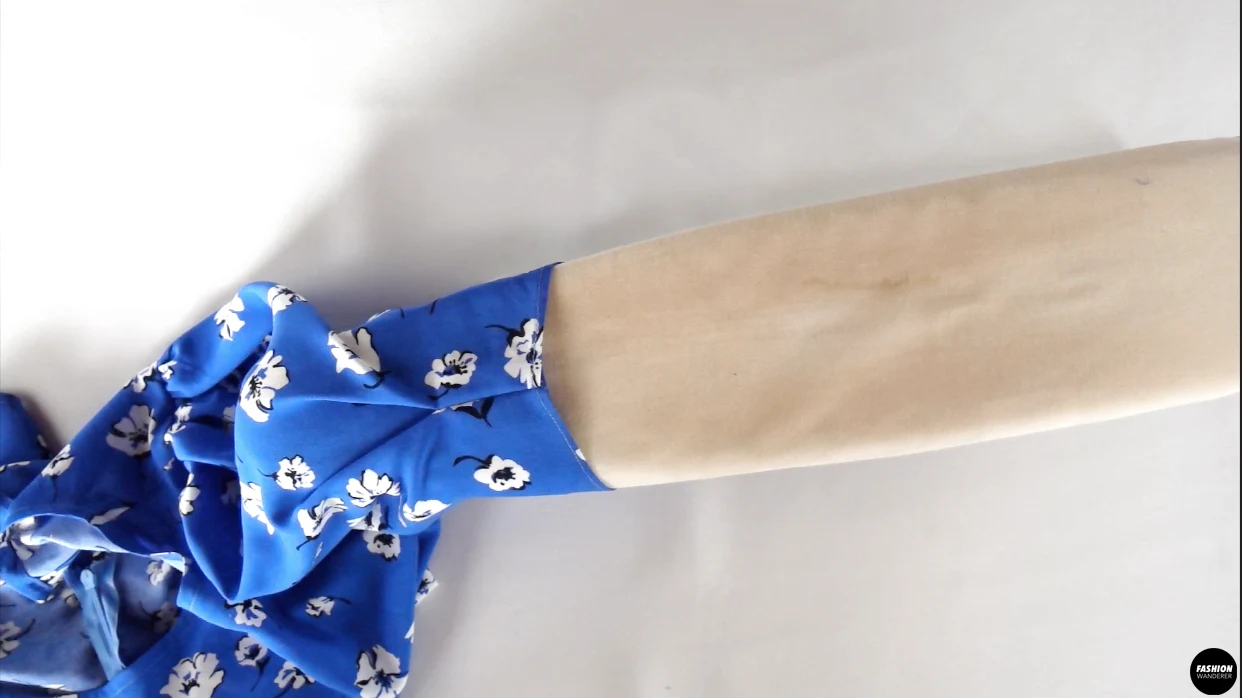
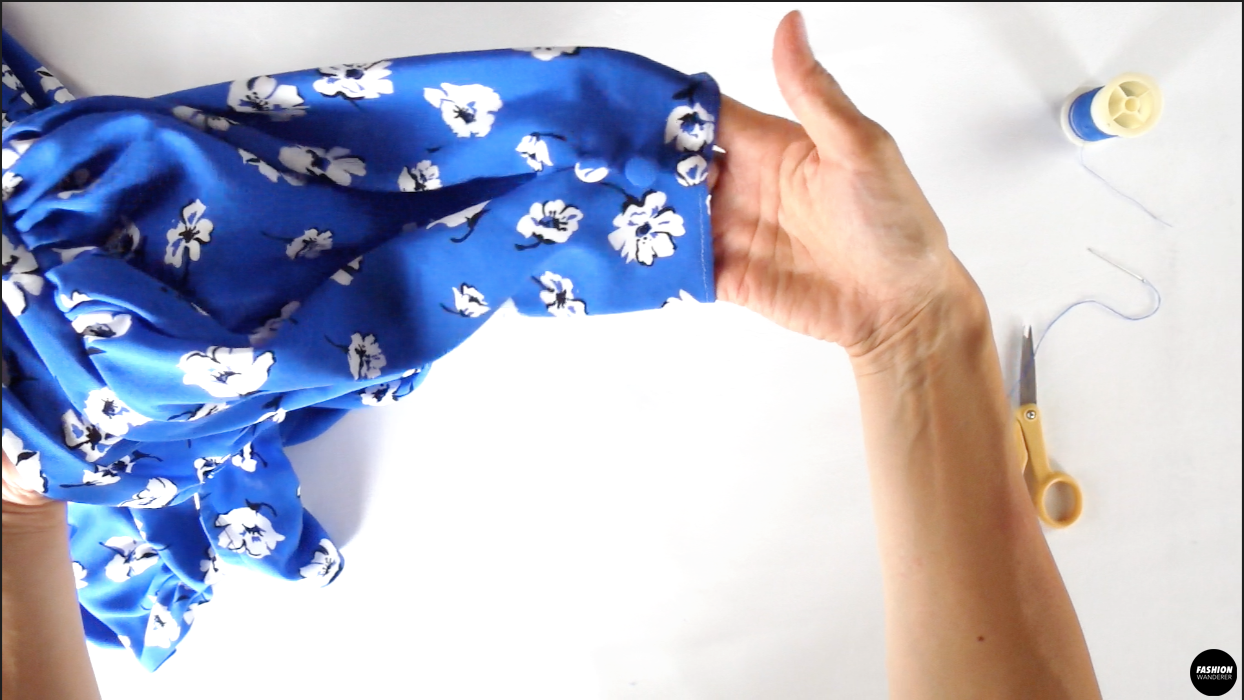
- Overlock the sleeve hem, then double fold ¼” width and topstitch to finish.

How to Sew Skirt Pieces of Mini Dress
- Place front and side skirt facing each other, then sew the seams with ⅜” width seam allowance and overlock to finish.


- Press the seam towards the side seams, and side seams towards the back.
- Place the back and back side skirt pieces facing each other, then sew the seams ⅜” width and overlock to finish.


- Press the seam towards the side seams.
- Join the front and back skirts together with ⅜” width seam allowance along the side and finish with overlock.

How to Attach Puff Sleeve to Bodice
- Gently pull the thread along the sleeve to create gathering.


- Slide the sleeve through the armhole of the bodice and match the notches to pin.


- Sew around the armhole with ⅜” width seam allowance and overlock stitch to finish the edges.

How to Join Top and Bodice
- Place the right side of the bodice on the right side of the skirt and pin along the waistline.

- Stitch ⅜” width seam allowance and finish with overlock stitch.

How to Sew Invisible Zipper on Mini Dress
- Overlock stitch the edges of center back on both openings.
- Fold the dress in half so the right sides are facing each other and center back seam is aligned.
- Lay the right sides of the back facing together, then measure 18” down from center back neckline and pin.

- Close the center back seam ⅜” width from pinned point to the hem. Press the seam open.
- Open the zipper and place the right side of the zipper to the right side of the dress and pin along the zipper tape to sew easily.
- Change the sewing machine to zipper foot and start sewing the zipper tape on both sides. Press the zipper opening to finish.

How to Complete Dawn Dress
- Create 6 pieces of button covers using the self fabric.

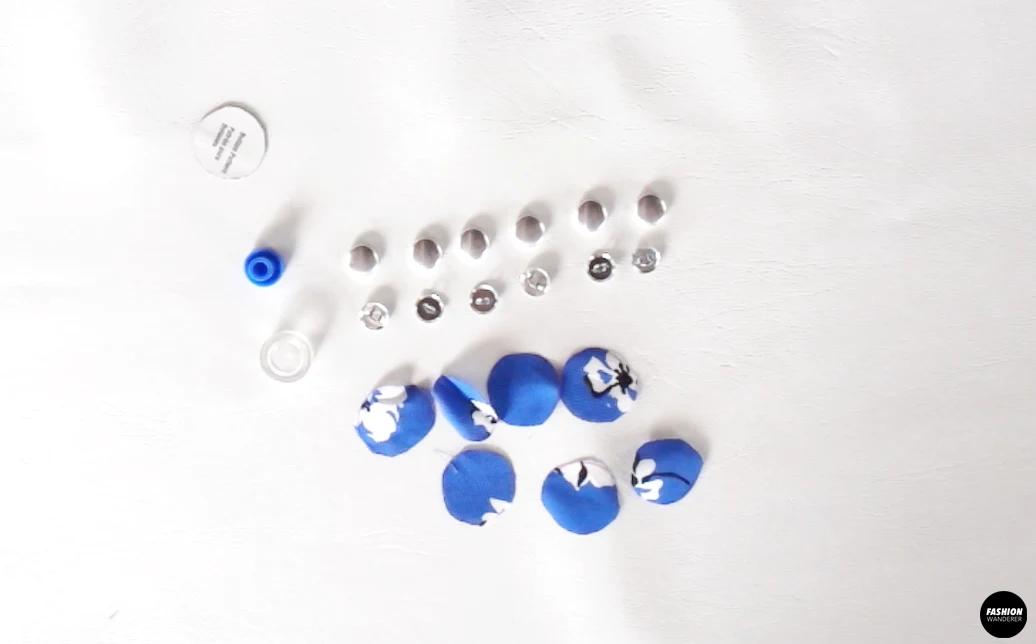
- Use the template and cover button kit to attach the fabric onto the round button.

- Turn the dress inside out and measure 3” away from the tuck notches and pin to straight stitch.

- Open the tuck and press with iron for a tuck release look.

- Hand sew 3 cover button pieces along the tuck on each sleeve.

- Lastly, hand sew the hook and eye on the opening of neck keyhole on the center back.


Recommended Products
As an Amazon Associate and member of other affiliate programs, I earn from qualifying purchases.


Trendy, Affordable Sewing Patterns for All Sizes


Tie Shoulder Jumpsuit Pattern


Palazzo Pants Sewing Pattern


Pocket Overall Romper Pattern


Wrap Maxi Skirt Sewing Pattern


Tie Back Top Sewing Pattern
Lana Hawkins
Thursday 14th of March 2024
Wow, superb blog layout! How long have you been blogging for? you make blogging look easy. The overall look of your site is magnificent, as well as the content!