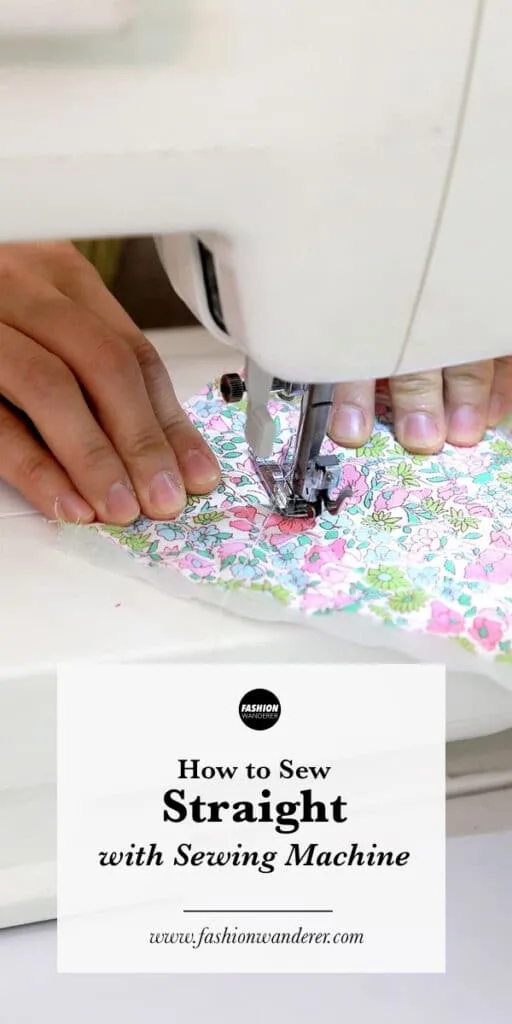
Are you having difficult time to sew straight with a sewing machine? After hours and hours of practicing, it seems that you never get a nice straight line.
As a beginner, you may find it a little intimidating to sew straight. When the stitching speeds up, the machine is faster and a bit more uncontrollable.
So, how do you sew straight with a sewing machine? Always set your seam straight to align your fabric as you sew. Focus on the seam guideline rather than the needle while keeping your fingers safe at all time.
With machine control and speed control, you can easily sew straight. It is also important to double check the condition of sewing needle to change to avoid crooked or skipping stitch.
Whether you have the best sewing machine or Serger for beginners, following these tips and tricks with some practice, you will soon see improvement in the ability to sew straight. With consistency, the skills can be confidently mastered.
With the help of the additional features from your sewing machine, and some practice using them, you can sew straight using your sewing machine. This article will provide all the answers to frequently asked questions about sewing straight, and how to easily achieve straight stitching every time you sew with a machine.

Why does my sewing machine not sew straight?
It is best to make use of a stitch plate for sewing straight. When your sewing thread is tightly pulled on the underside and an even stitch is not properly formed, then the tension in the top thread gets thrown off track. At times, lightweight fabrics also get tangled and drag down into the sewing machine.
To get a straight stitching, it is best to observe while you sew as the needle is moving consistently. Focus on the fabric and seam to guide a straighter sew.
Some primary issues for why your sewing machine does not sew straight:
- Machine gets jammed
- Machine skips the stitch
- Looping of the thread on the bottom or top side of the stitched fabric
- The bobbin thread pulls through the fabric’s top side
- Bunching of the thread
- Nesting of the thread
- Uneven stitches
- Breakage in the thread
Expert Advise: Make sure to thread a bobbin correctly to avoid any skipping stitches or bunching of the thread on the fabric that potentially damages the material you are working on. Also, after properly threading the machine it is recommended to test on a piece of scrap before continuing the sewing project.
What is the best stitch length for sewing a straight stitch?
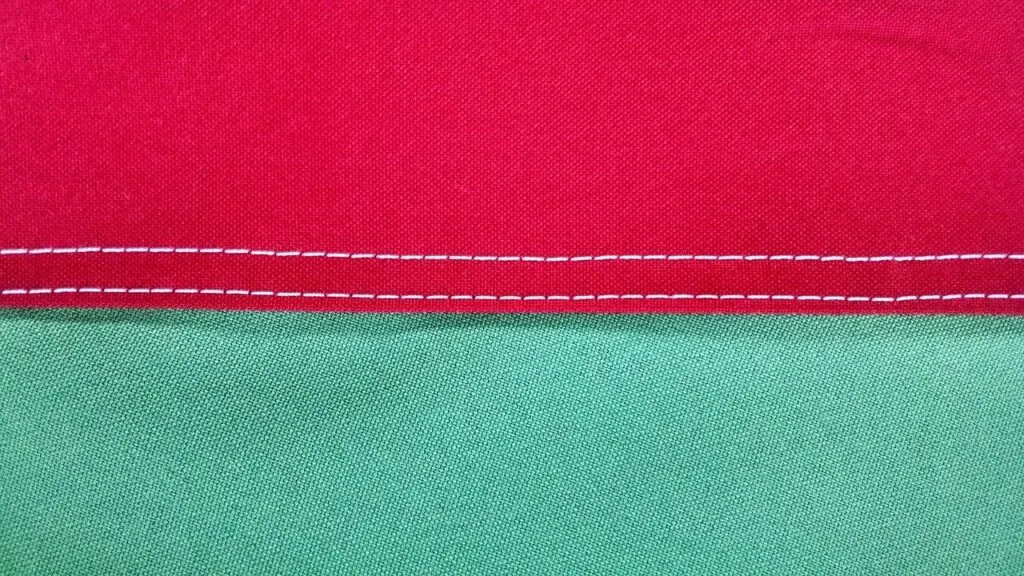
The best stitch length for sewing a straight stitch is 3-3.5mm. The most basic stitch employed in sewing is the straight stitch, and it is primarily used for joining two fabric pieces together with a seam.
Stitch length is the length of each stitch that is sewn with your machine. The stitch length is what controls the amount of fabric that is pulled in every stitch.
A shorter stitch length means less fabric pulled while a longer stitch length means more fabric pulled through. Stitch length defines the amount of fabric packed into every inch of a stitch, resulting in a tighter or a looser seam.
Shorter stitch, tighter the seam while a longer stitch gives looser seam. In other words, shorter stitch length gives permanent and stronger stitch while longer stitch implies temporary and weaker stitch.
The best recommended stitch length for straight stitching is 3mm to 3.5 mm.
What are the settings for a straight stitch on a sewing machine?
Each sewing machine has slightly different settings, whether you have Singer or Brother sewing machine. Always review the manual beforehand and adjust the stitch settings and tension to create perfectly straight stitches.
In general, basic settings for a straight stitch on a sewing machine are:
- Stitch tension to 4
- Stitch length set to 3.5 mm or 10 stitches per inch.
- Stitch width set to centered needle over the stitch plate.
A dial for stitch width moves the sewing needle right and left, set to zero for a straight stitch. However, this depends on your sewing machine.
The dial should be such that the needle is at the center of the plate to achieve a precise seam allowance. The seam should be set about 5/8”-1/4” (16mm-6mm) seam allowance to get a straight stitch, depending on the indications on the pattern you are following.
Tools for Sewing Straight
Some tools include masking tape, washi tape, sewing machine slide or grid, foot guide, zipper foot, ruler, and attachable seam guide.
The following tools are helpful in sewing straight:
- Edge/width of a presser foot: This will help you guide the stitch. It is advisable to set to ⅜ inches seam with centered needle position while ¼ inch seams with left positioned needle. Do not watch the needle.
- Washi tape/painters tape/elastic: Mark the seam guide with any of these tapes to get a guideline on the machine’s throat plate. Focus on the tape while sewing and avoid watching the needle. This will also give you a uniform width as the fabric edge is lined.
- Presser foot: Set the presser foot number to 1/16”, 3/16”, ⅛”, or ¼”. This will manage multiple fabric layers for a straight stitch.
Expert Advise: When in doubt, take time and sew unhurried. Slowing the machine will help you control the speed and stitch line more efficiently.

Sew Straight Guide
Whether you are sewing seams or finishing a seam on the hem, here are general guiding steps to sew straight.
- Ensure the stitching line is parallel to the fabric edge and the edge is straight.
- Use presser feet for topstitching straight with ease.
- Position the sewing needle at a specific distance that you wish to stitch from the edge. The recommended distance is 1mm off the edge.
- Carefully lower the foot and adjust the screw, align the guide with the edge.
- Focus on the guide and do not watch the needle.
- The fabric should be held taut without pushing or pulling.
- Do not sew quickly.
Best Tips for Sewing Straight
Developing sewing skills for a straight stitch comes with time and practice as you are teaching muscle memory and the movement between your hands. But there are some tips to sew straight with sewing machine which will get you there quicker and easier.
Even if you’re an advances sewer or beginner, use correct type of pins to sew over the sewing machine to join two pieces together in a crop stitch line. Continue keep reading to learn new tricks and techniques for sewing a straight line with a machine.
Some of the best tips for sewing straight are:
- Attach a sewing machine slider or grid for better guidelines.
- Sew straight mat, tools or ruler should be adhered to the machine bed with the help of masking tape.
- Apply masking tape on the machine bed to easily adjust the seam allowance.
- Make use of a guide with a sewing machine foot. This helps in stitching the edge at a fixed distance close to the projecting edge.
- Try a zipper foot to sew straight adjacent to a zipper. It comes in handy when attaching pom-poms, piping, and bulky trims.
- Make use of an attachable seam guide. This will make your sewing easier by following the seam guide for a straighter sew.
- Alter the position of the sewing needle, preferably at the center of the stitch plate to sew straighter.
Make sure to watch the needle as you go. By doing so, you won’t sew over your fingers. Also, it helps to have the fabric lined up with the appropriate seam guide.
Sew Straight with Sewing Machine: Conclusion
Sewing straight with a sewing machinecan be easy if you practice with consistency as a beginner and follow some tips and techniques as you progress to develop muscle memory in your hands.
The above tips and guide will help you to sew straight with ease. With the help of some tools and helpful tips, this task is made even easier.
A straight stitch is a basic stitch used to join fabric together with a simple seam. A smaller stitch length will give you a stronger stitch as it packs the fabric closer and tighter, which ultimately makes it easier to sew straight.
There you have it, everything you need to know bout sewing a straight stitch with a sewing machine. Have happy sewing!
