
Do love to make bags from scratch and looking for another style to add to your bag collection? Follow the step by step sewing tutorial to sew a bucket bag with drawstring using canvas fabric.
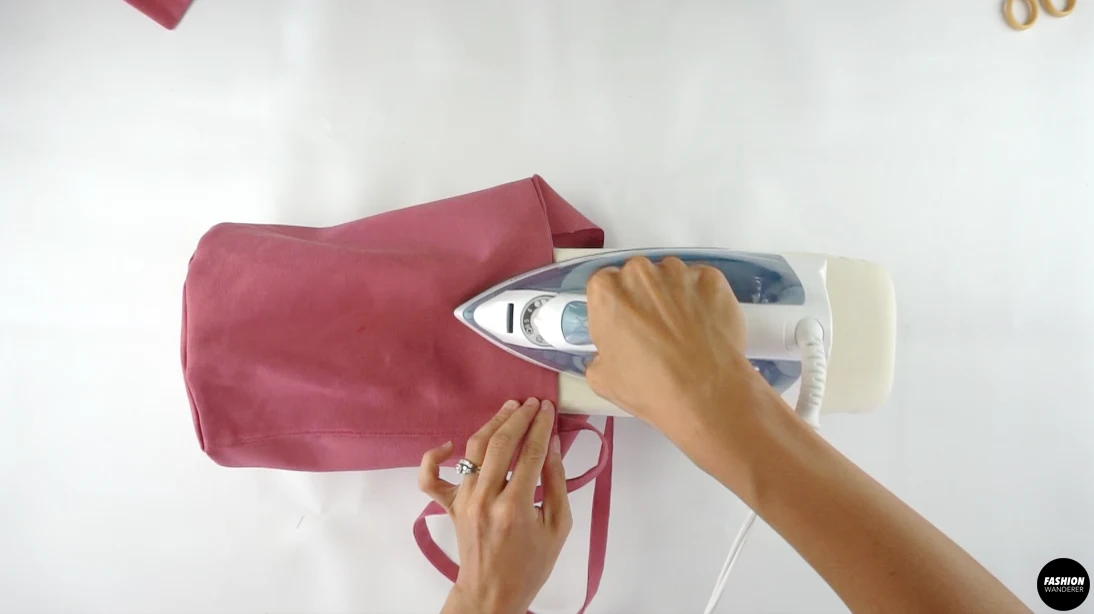
How do you make a homemade bucket bag? Lightly press or wash and air dry the fabric before cutting the sewing pattern pieces. This works well for heavy canvas fabric to soften and make it easier to sew.
Use the sewing patterns to cut out each piece and sew follow the instructions. Add the hardware to give a functional and professional finish to the DIY bucket bag.
Are you looking for sewing project ideas using canvas fabric? From circle purse to tote bag and backpack from old jeans, there are easy patterns to improve your sewing skills and have fun making stylish accessories.
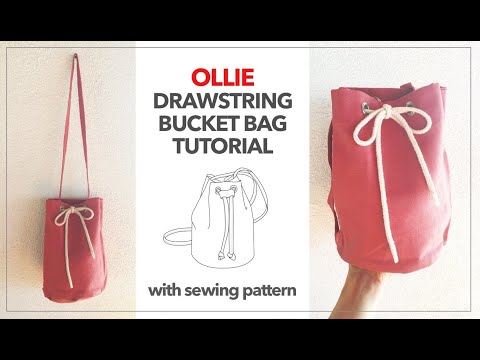
This tutorial includes everything you need to know to make a bucket bag from scratch. This Ollie bucket bag sewing pattern includes measurements for all pieces and sewing tips with detailed instructions to complete the bag making project.


DIY Canvas Bucket Bag Sewing Pattern


You will love this DIY canvas bucket bag because…
- Bucket bag tutorial comes with accurate measurements for you to follow.
- Learn how to sew canvas duck fabric by using right sewing needle and thread.
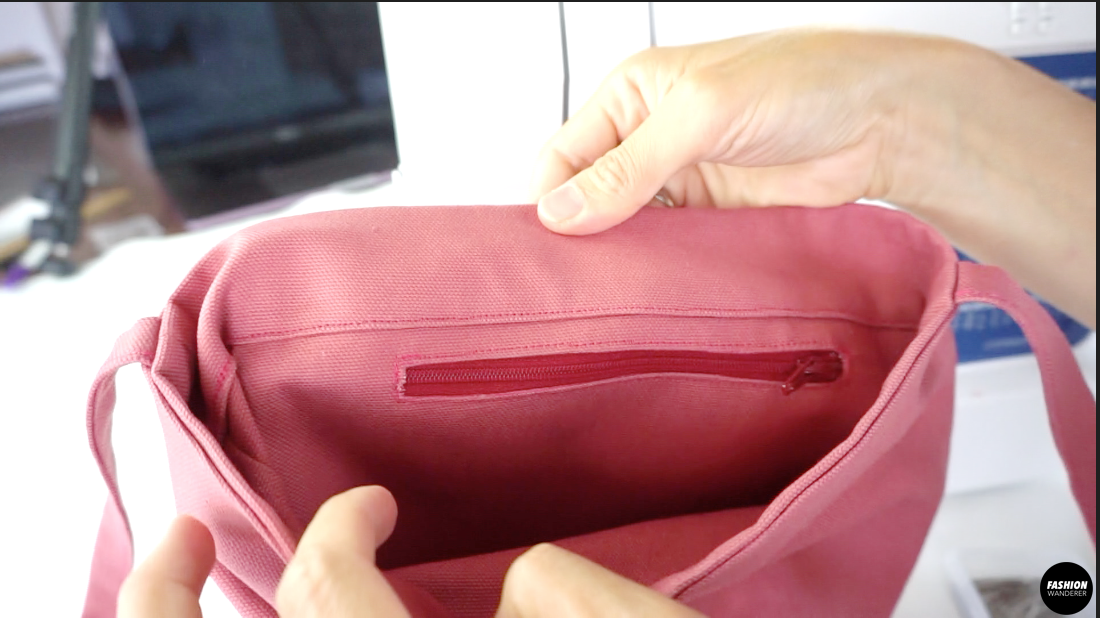
- Add zipper closure to inner pocket.
- Perfect sewing project for beginner and intermediate skill level.
- Properly apply grommets on the bag opening.
From inner zippered pocket to adjustable drawstring opening, this bucket bag offers functional design with enough space to carry day time essentials including cellphone and wallet.
Use this DIY bucket bag tutorial and sewing pattern to customize with different color and fabric content of your choice to make features like inner zip pocket, drawstrings, and shoulder strap.


How To Make A DIY Canvas Bucket Bag With Drawstring
With the right thread, needle size, and bucket bag sewing pattern, you will be able to execute a well finished bag with strong seams and inner finishes. Go with canvas duck fabric that is medium to heavy weight for extra durability.
DIY Bucket Bag Tutorial Material:
- Ollie Bucket Bag Sewing Pattern
- ½ yard of Medium to Heavyweight Cotton Canvas Fabric
- 8 pieces Size 10 Grommets
- 5” Long Zipper
- Braided Drawstring
- Measuring Tape
- Heavy Duty Sewing Machine
- Disappearing Fabric Pen
- Ruler
- Pins
- Fabric Scissors
How do you make an Ollie bucket bag?
Starting with pattern pieces and additional hardwares to add-on, this bucket bag design looks complicated and like it may require advanced level sewing experience. But no need to worry because there are step by step instructions with a video tutorial to help guide you along.
Before getting started, always test the fabric choice by finding the correct stitch length and tension with your sewing machine for best results.
Review the sewing instructions and use the sewing pattern to create drawstring bucket bag that you feel proud of.
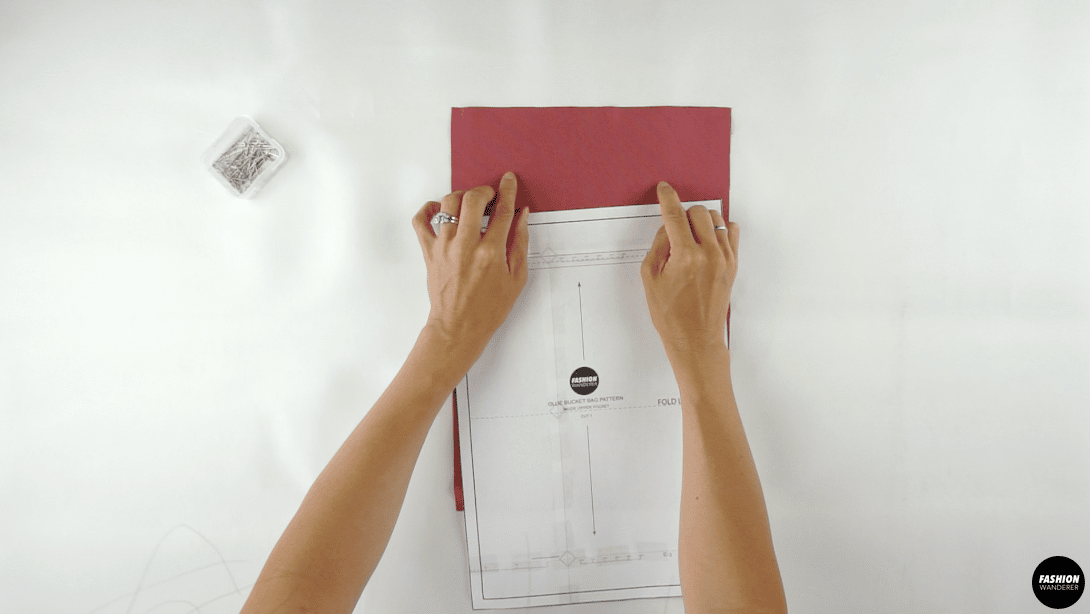
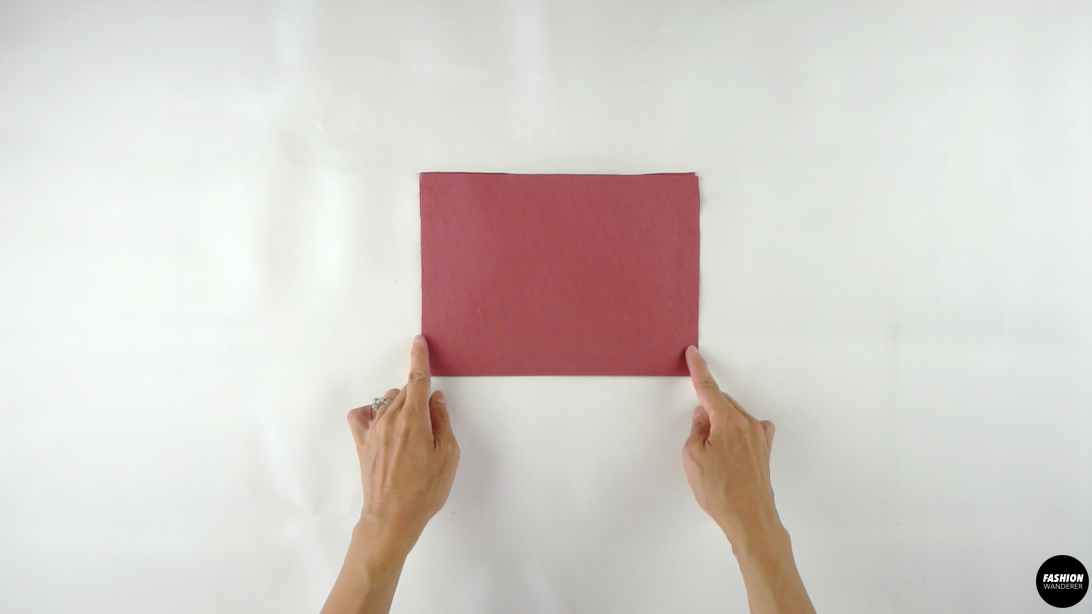
To make a DIY bucket bag, start by cutting out the pattern pieces.
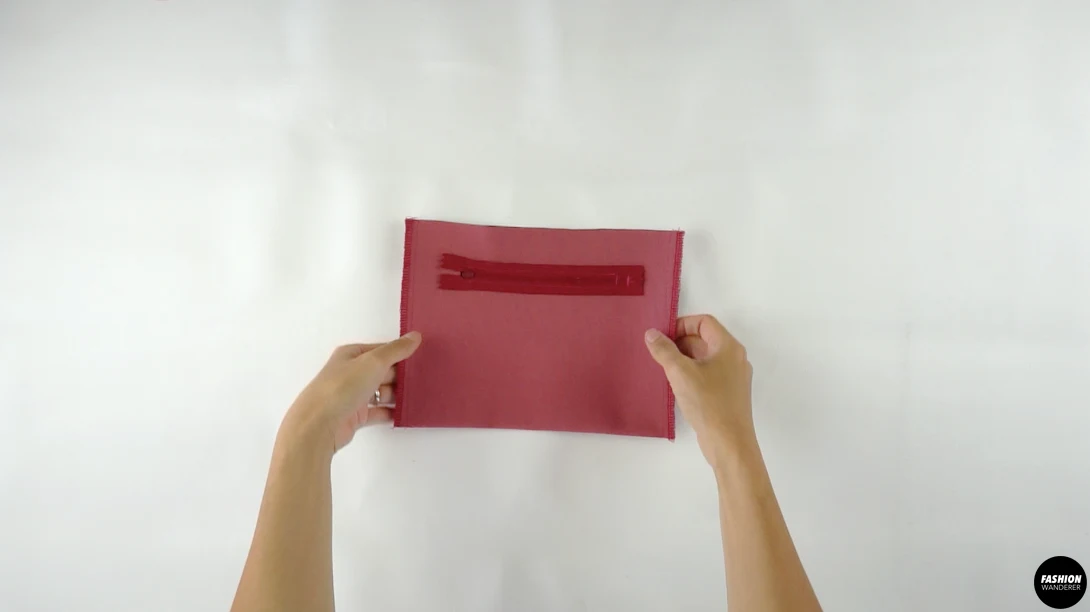
To sew the zipper pocket, copy with water erasable pen and stitch around the opening. Use sharp scissors and cut center line and triangle points, then topstitch zipper inside the opening.


To sew the bucket bag, sew wrong side facing together, then place the right side of the bottom pattern piece with right side of side pattern piece facing each other and pin around the circle. Straight stitch around the circle bottom and overlock to finish.
To make the shoulder strap, double fold lengthwise, pin to secure and edge topstitch.
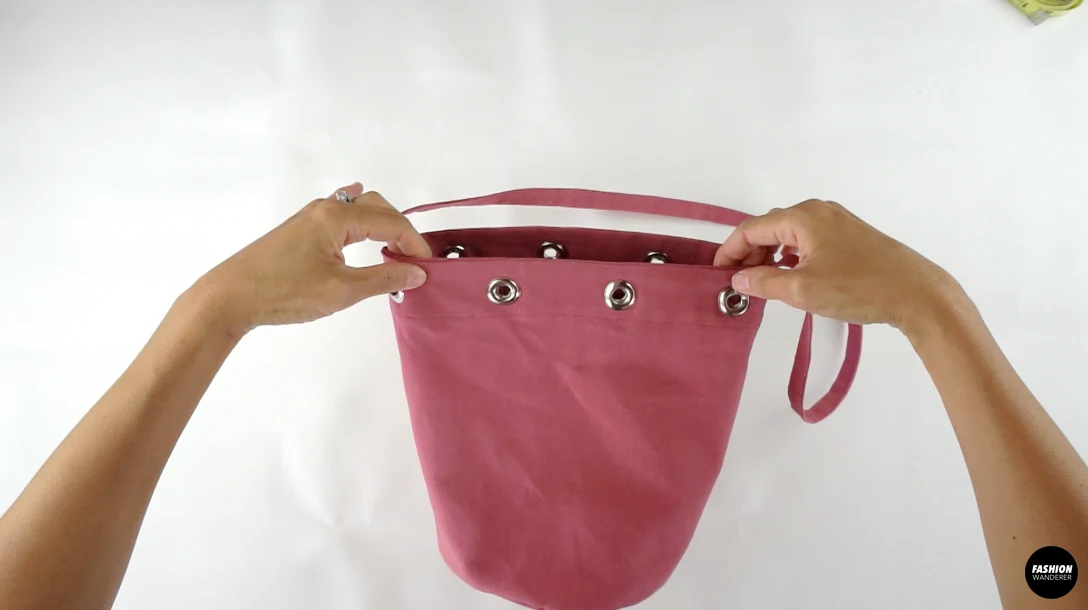
To sew opening facing on the bag, sew the opening facing in half lengthwise, slide the opening facing pattern piece to match the seams. Pin to secure and straight stitch around the bag opening.


To add grommets to bucket bag, mark the position along the opening of the bag, cut out the holes, and secure the grommet using a hammer.
To sew drawstring tunnel, fold the drawstring tunnel piece on both sides, edge topstitch both sides and topstitch along the center.


DIY Canvas Bucket Bag Sewing Tips


From make-up bag to wallet, carrying a compact and stylish purse is a great idea. It is a must-have fashion item that goes well with many outfits in your DIY wardrobe.
Adding grommets and zipper may intimidate s beginner, but when it comes to sewing, all you need is to learn straight stitch and overlock or binding to make a clean and professional finish. So, review these sewing techniques to help you complete a high quality looking bag.
Get ready to prepare these supplies and choose the color of canvas fabric to sew this cute bucket bag sewing pattern. If you are new to sewing cotton fabric, I’ve put together sewing tips including how to finish seams and sewing pockets to complete this DIY drawstring bucket bag yourself.
- Sewing Needle: When sewing duck canvas fabric, select sewing needle size number 100/16 or 120/18. This numeric sizes are different types for particular fabrics, especially with heavyweight, tough fabrics such as thick leather, canvas, and upholstery fabrics.
- Thread: When sewing canvas fabric, choose heavy duty thread or thread that is made from polyester, cotton-wrapped polyester or cotton. These are strong threads that are durable and keep seams intact.
- Stitch: Adjust the sewing machine to 3 to 3.5 stitch length for canvas fabric. It works best with heavy duty or thick fabrics. Additionally, it makes a nice looking stitch for easily sewing through multiple layers.
- Hardware: Incorporating grommets to weave the strap through is the easiest way to close and secure the bag opening. It is functional and adds design element to the bag.
- Zipper: Adding zippers on the pocket keeps belongings secure as well as looks professional. Use a metal zipper for look, but plastic zippers are generally easier to sew.
DIY Ollie Drawstring Bucket Bag
Have you ever sewn a bucket bag with a drawstring? If you are new to sewing and looking for beginner level bag making project, this drawstring bucket bag will be easy to follow and the perfect fashion item to add to your DIY wardrobe.
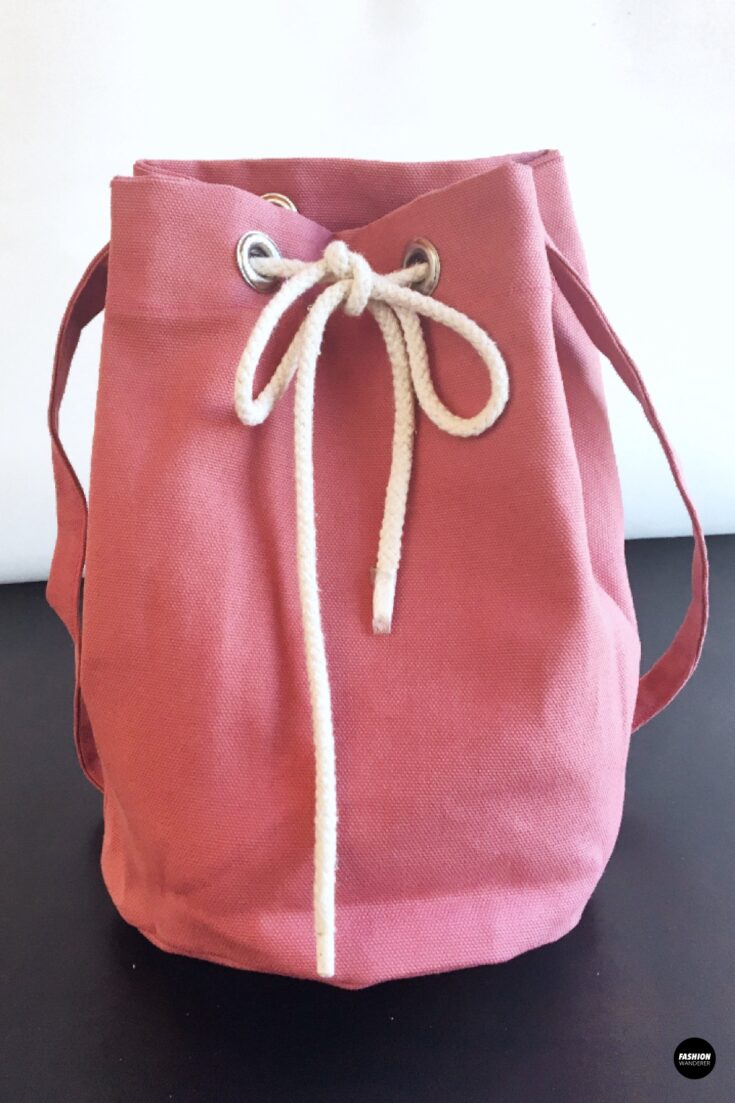
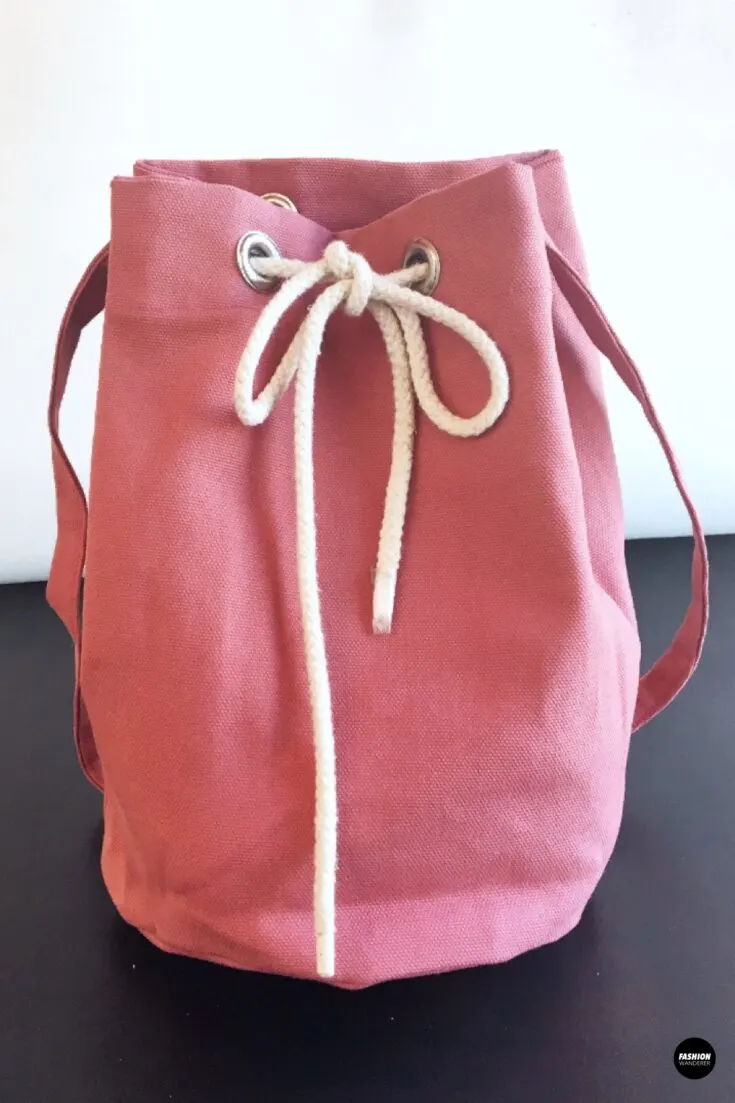
This Ollie bag features cylinder bottom with drawstring closure, shoulder strap, and hidden zippered pocket. It is compact size to carry phone, wallet, and small make-up pouch.
From adjustable closure to additional inside pocket, this bag includes functional and clean design elements. Take time and follow these step by step instructions to learn how to sew canvas fabric with straight stitch and attach a zipper.
Follow along the video tutorial and use the sewing pattern to guide you to accomplish this bag!
Materials
- Ollie Bucket Bag Sewing Pattern
- Cotton canvas fabric up to ½ yard of 59”/150cm width of fabric and up to ¾ yard of 45”/ 115cm.
- 8 each #10 Grommets
- 5" Gunmetal Zipper
- 30" Braided Drawstring
Tools
- Sewing Machine
- Thread
- Zipper Sewing Foot
- Fabric Scissors
- Measuring Tape
- Pins
- Water erasable pen
Instructions
For this Ollie drawstring bucket bag tutorial, start by assembling the pattern pieces:
- 1 piece of Bottom
- 1 piece of Side
- 1 piece of Inside Zipper Pocket
- 1 piece of Opening Facing
- 1 piece of Drawstring Tunnel
- 1 piece of Shoulder Strap
How to Sew Zipper Pocket
- Copy the stitching line for the zipper pocket opening with water erasable pen.

- Adjust the stitch length to 2.5-3.0 length and stitch around the rectangular opening. If the fabric is flimsy and lightweight, use interfacing to secure when cutting.
- Mark the center line and draw little triangle lines on the both ends.
- Use sharp scissors to cut the center line and triangle points. Be careful not to cut through the stitching outline.
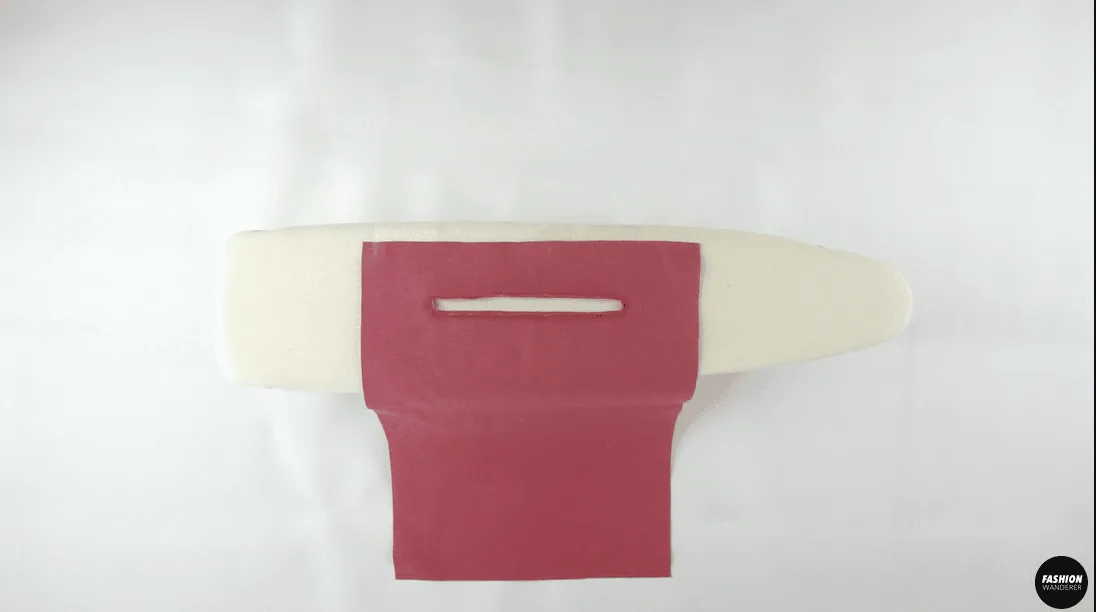
- Flip the cut fabric toward inside and iron flat to create clean rectangular space.
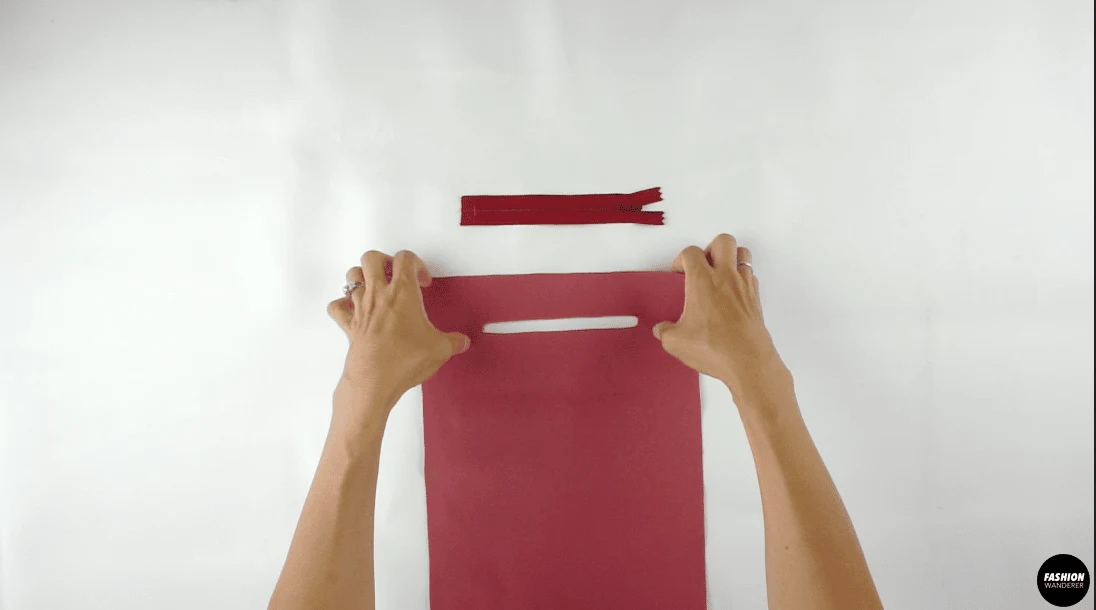
- If the zipper is longer like mine, cut it short and leave about 1” longer than the opening. Straight stitch back and forth along the zipper teeth to secure the end.
- Place the zipper face-up underneath the opening. Pin it in place to hold it. Ensure the metal ends of the zipper are inside of the opening.

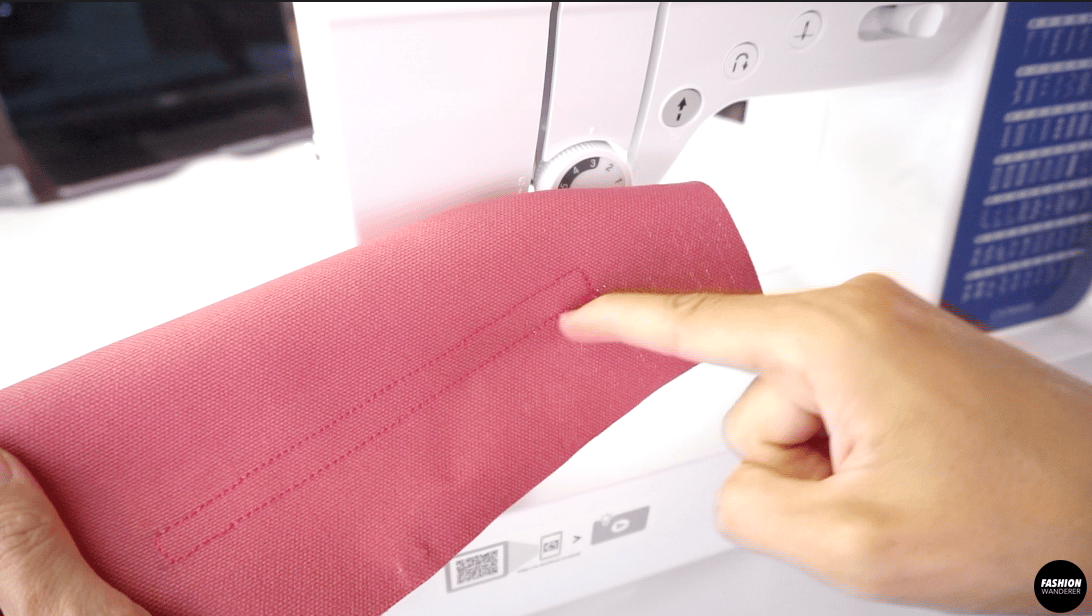
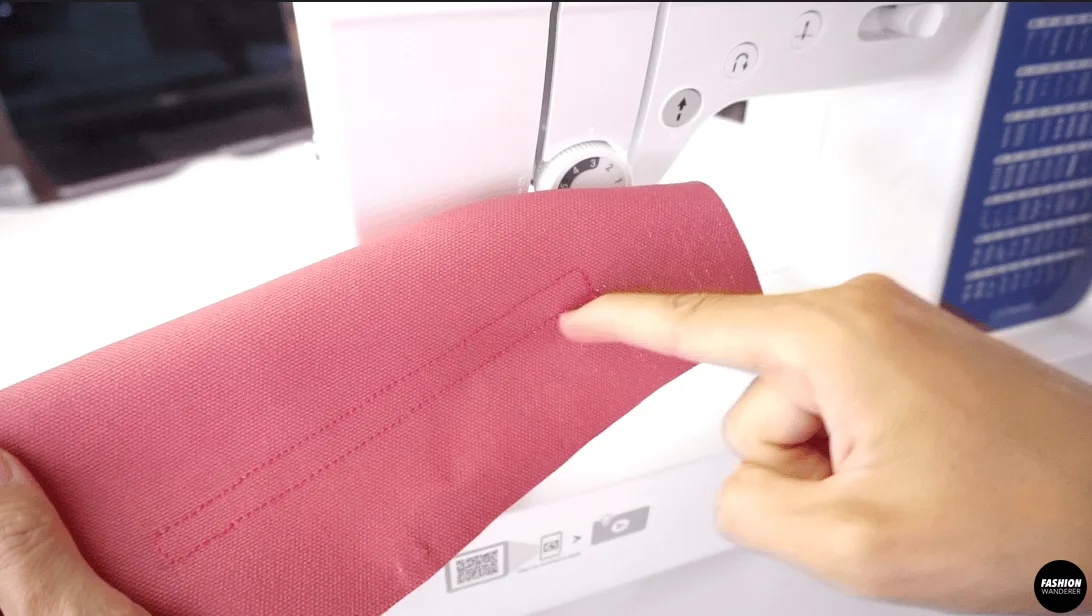
- Change your sewing machine with zipper foot and stitch ⅛” all the way around the fabric, then edge topstitch. When sewing the corners, hand turn the wheel if necessary.

- Fold the pocket in half wrong side facing each other and stitch all the way around the edges with ⅜” seam allowance, and overlock to finish the raw edges.
- Flip the pocket inside out and iron all around.

How to Sew Bucket Bag
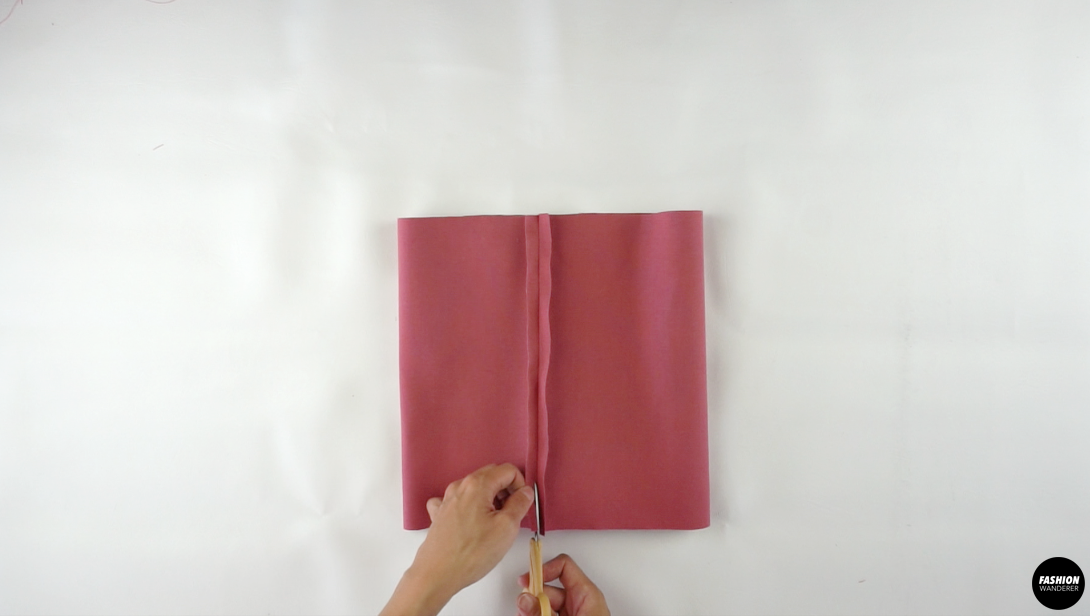
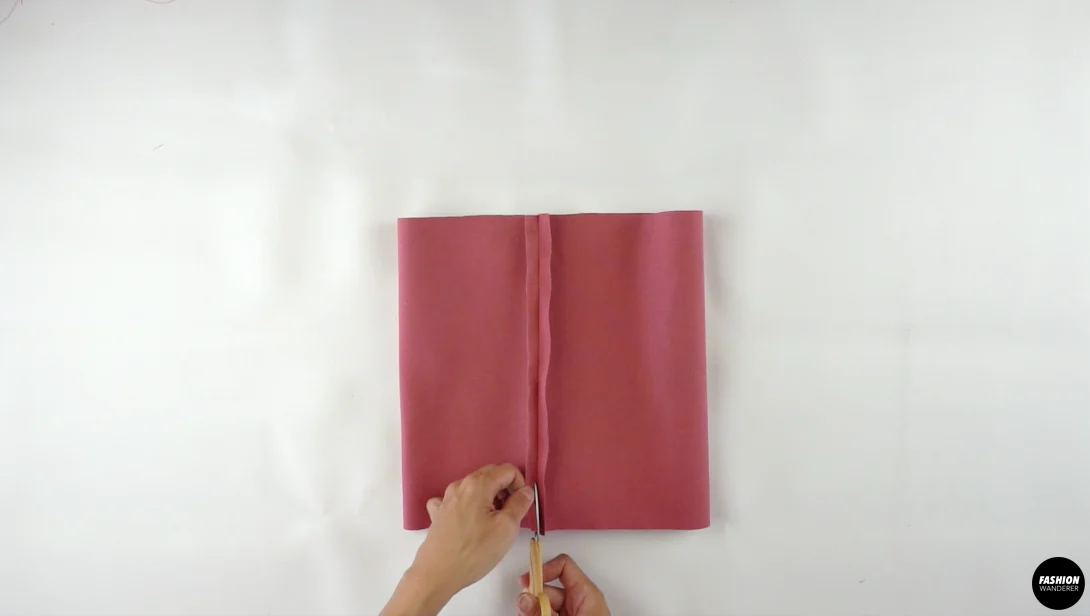
- Fold the side pattern wrong side facing together and sew ⅜” seam allowance.
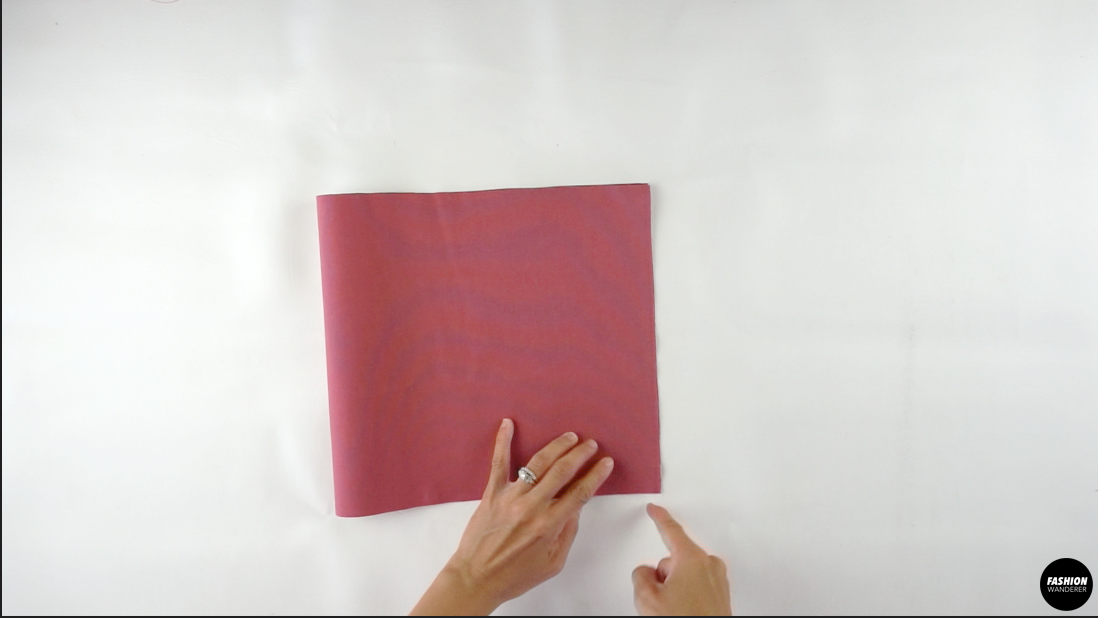

- Trim one side of seam allowance to ⅛” width. Double fold the seam to wrap around the cut seam allowance and straight stitch along the folded line to secure.
- Place the right side of the bottom pattern piece with right side of side pattern piece facing each other, then pin around the circle.
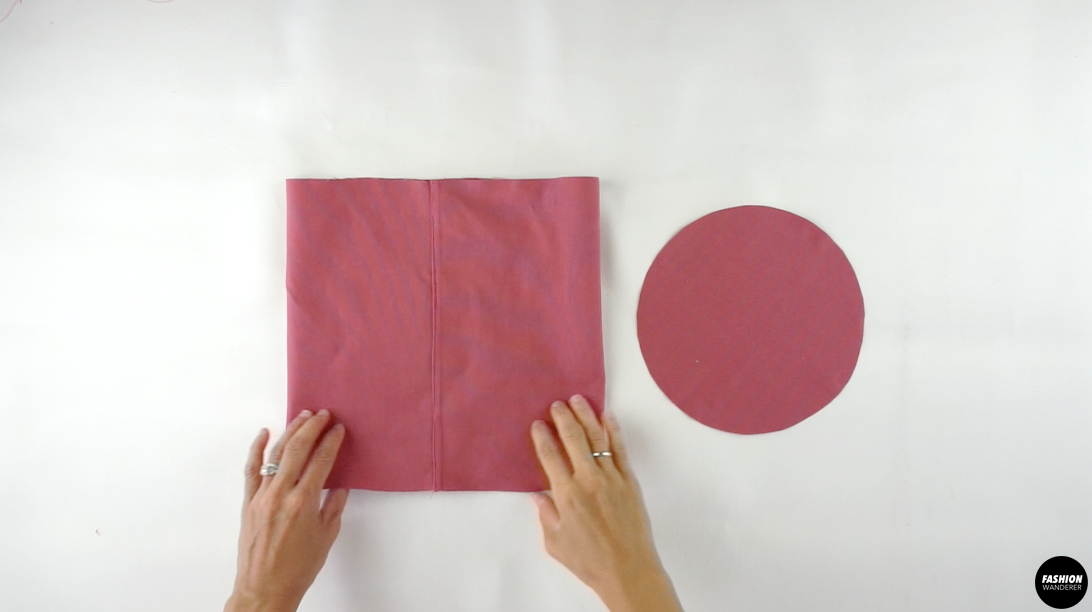
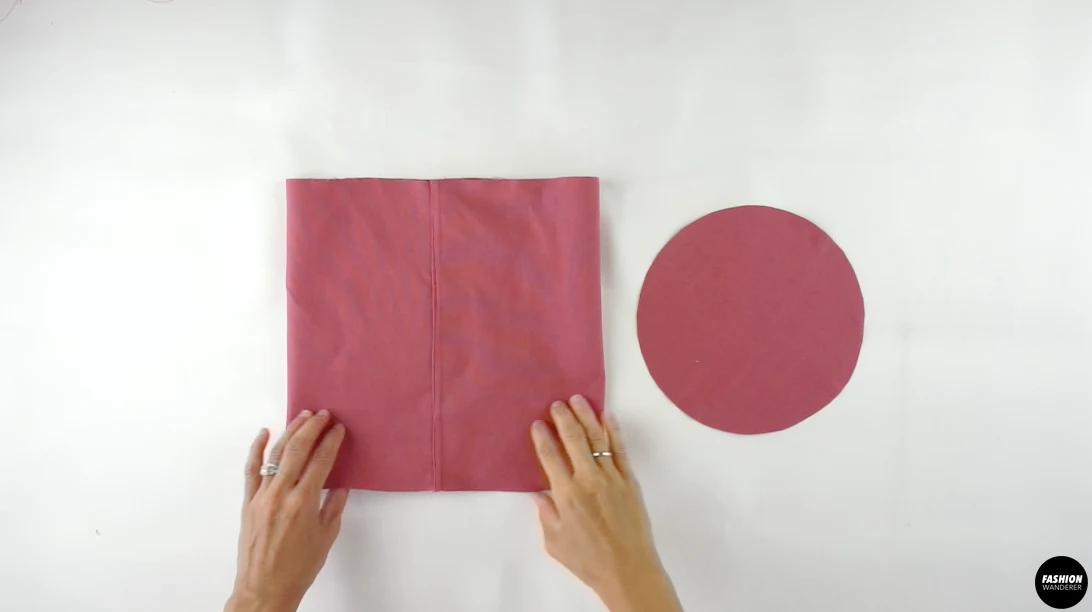
- Straight stitch ⅜” seam allowance around and overlock to finish.
- Flip the bag inside out and iron if needed.
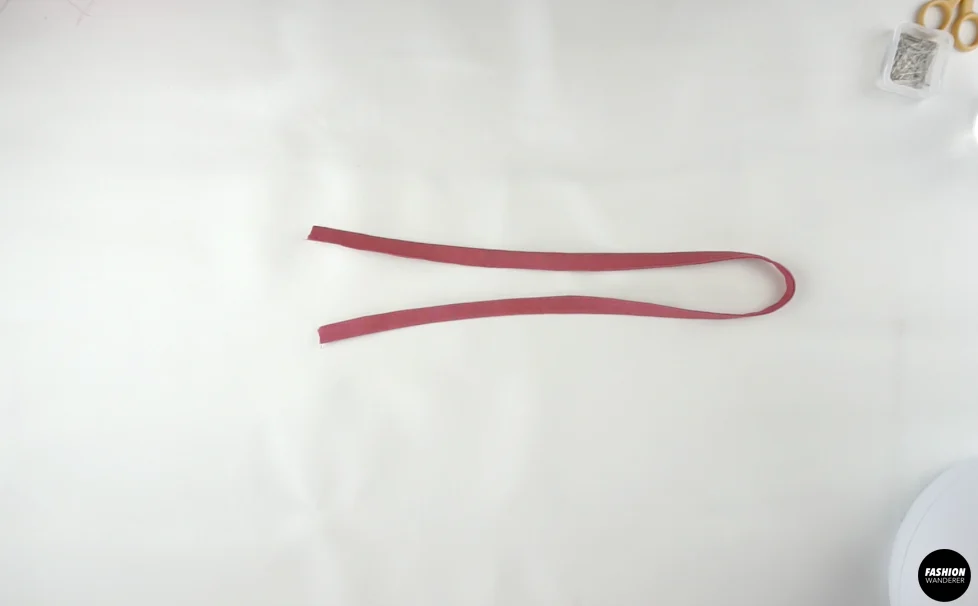
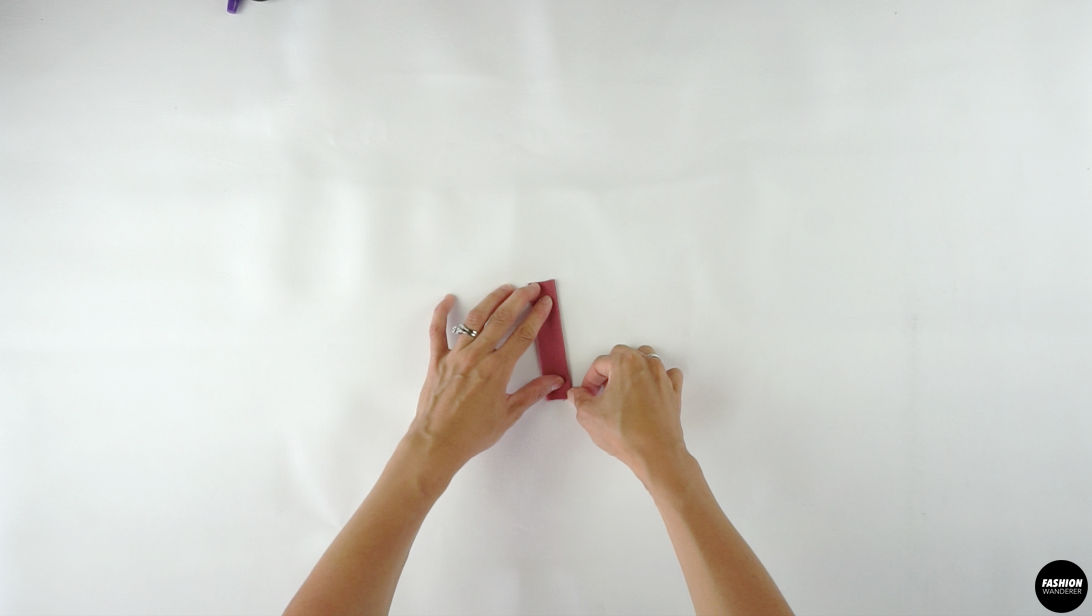
How to Make the Shoulder Strap
- Fold ¼” on both sides, and then fold the strap in half lengthwise and pin for easy sewing.
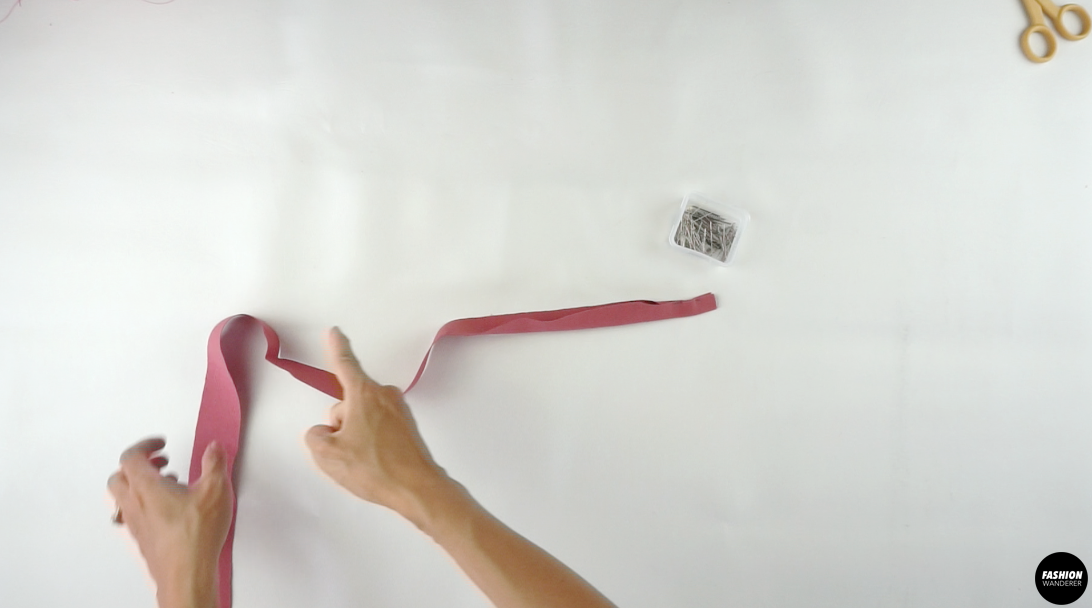

- Edge topstitch on one side of the shoulder strap for a clean finish.

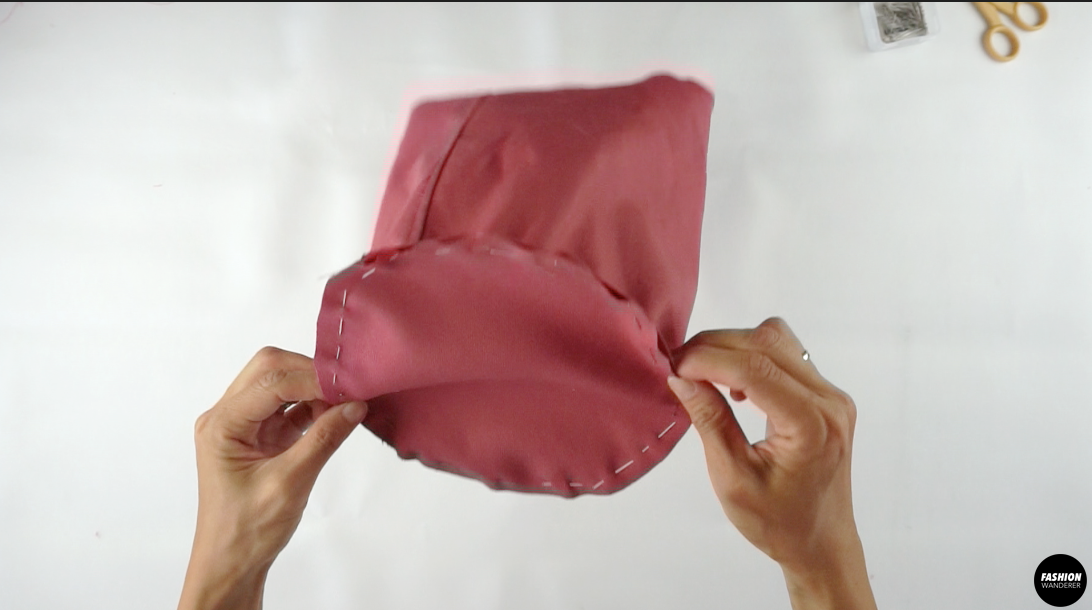
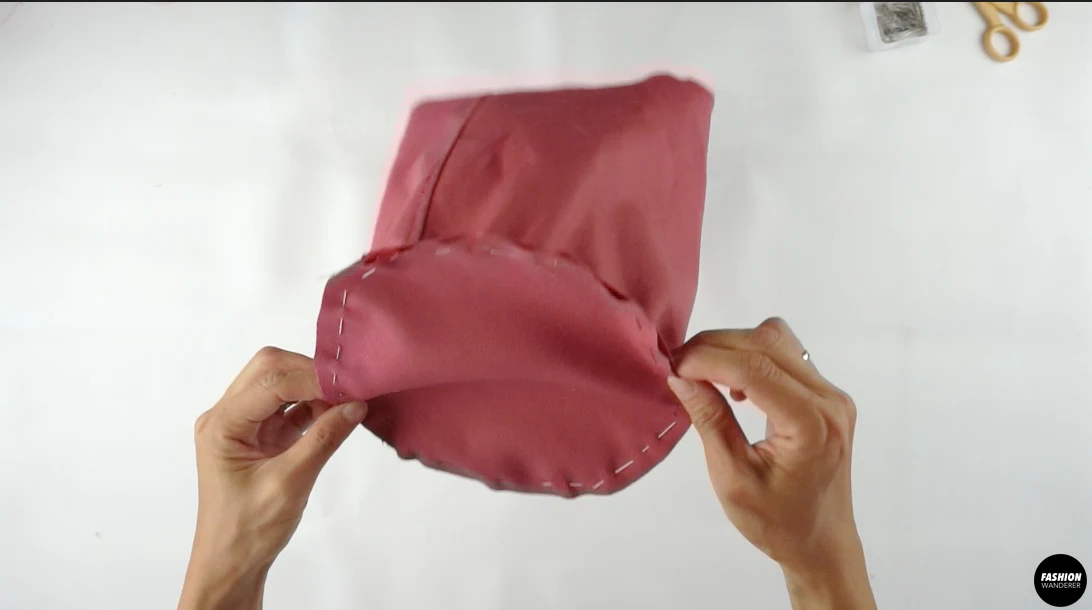
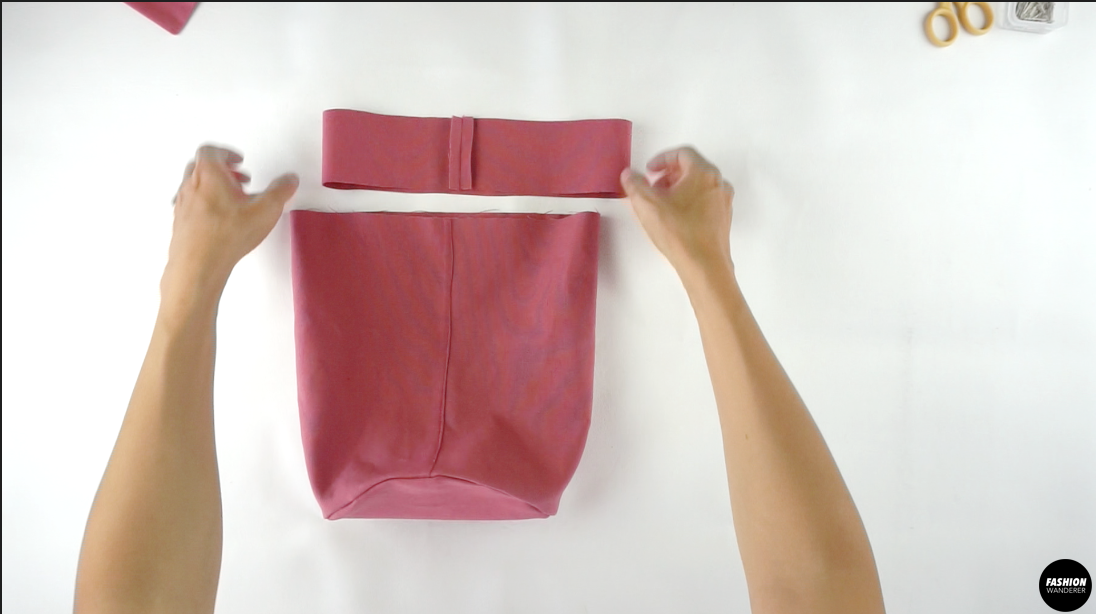
How to Sew Opening Facing to the Bag
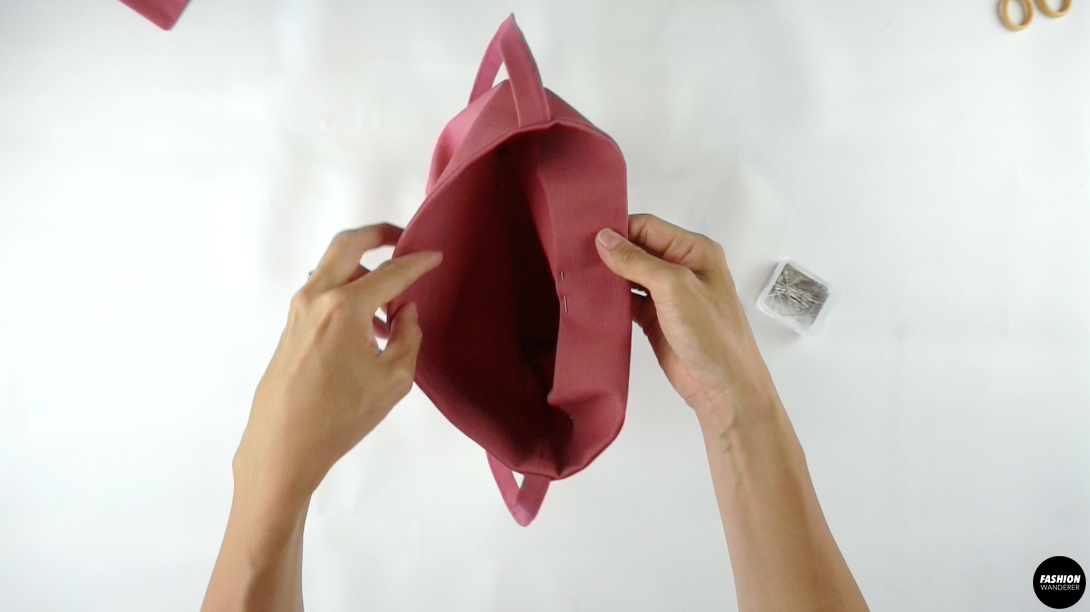
- Along the opening of the bag, fold the opening facing in half lengthwise right side facing each other and sew ⅜” seam allowance to make a loop.
- Slide through the opening facing pattern piece to the side pattern piece right side facing each other and match the seams.

- Pin around the opening and insert the shoulder strap in-between the facing and bag using the seam of the bag as a marker.

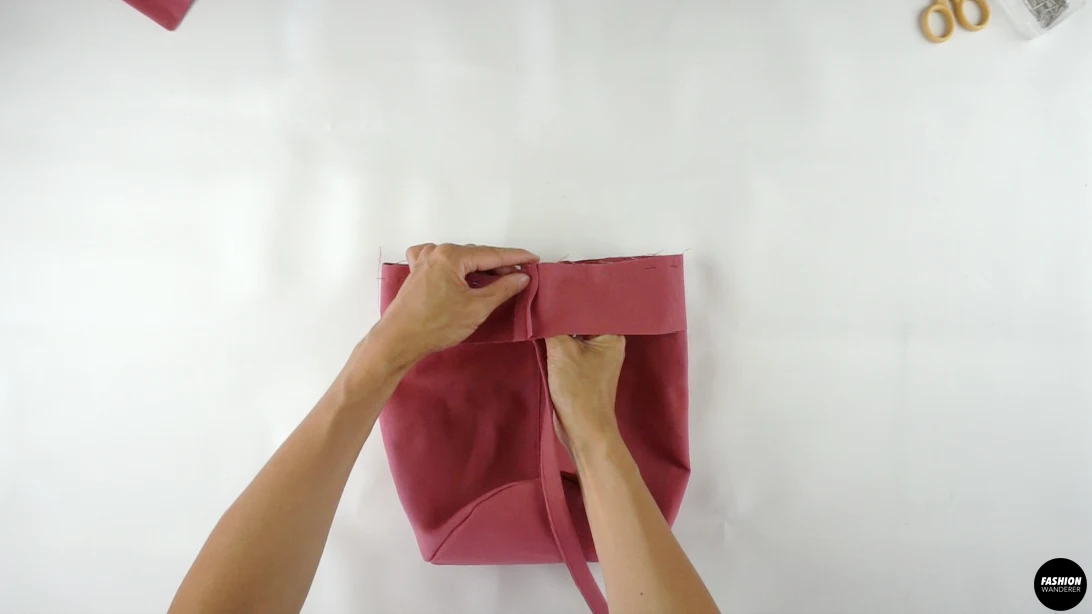
- Straight stitch ⅜” width seam allowance around the bag opening.
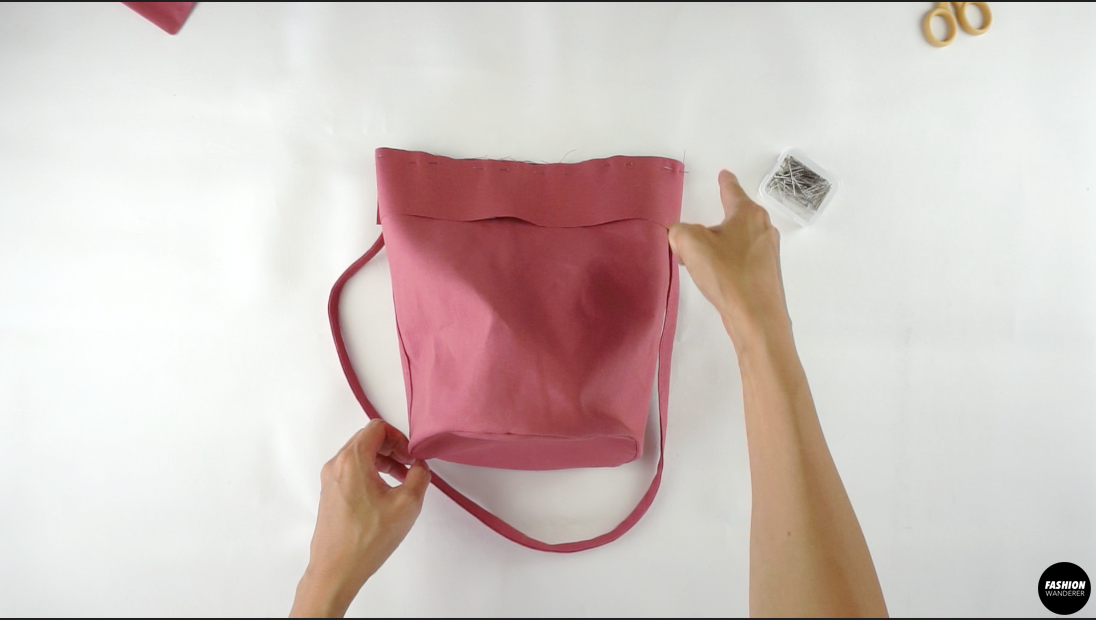
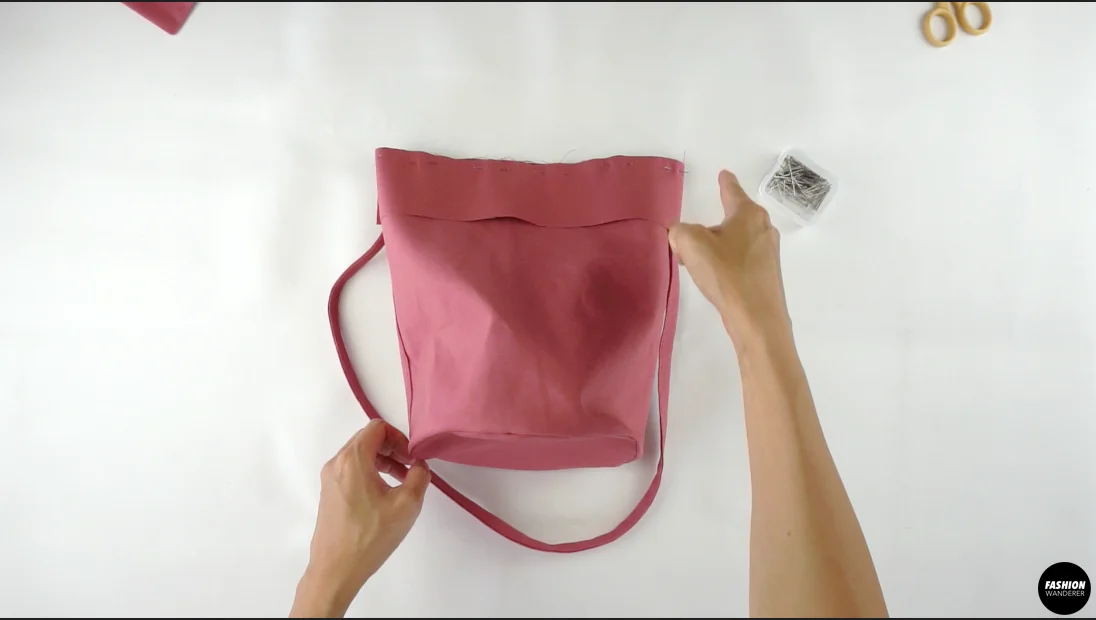
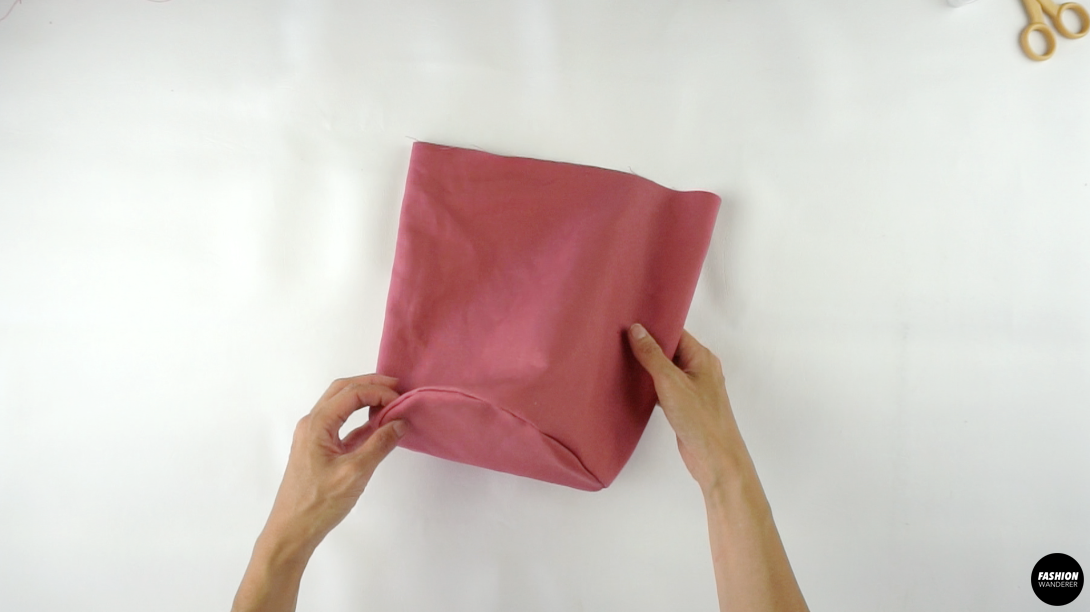
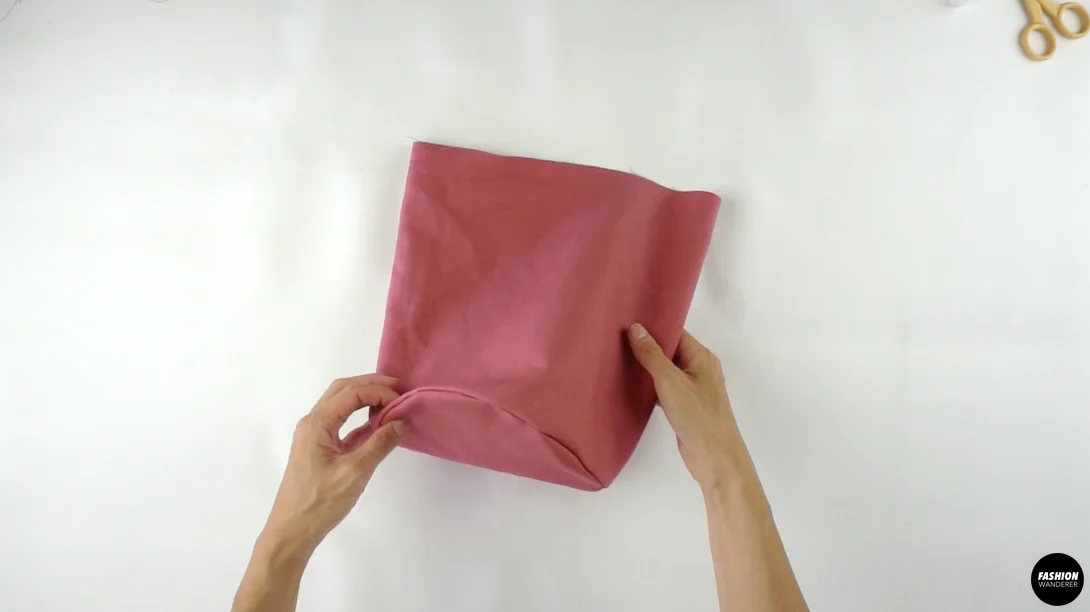
- Fold over the facing inside and open the seam. Iron along the seam facing down.

- Fold the facing entirely toward the inside and iron to clean finish the opening edges.

- Fold the bottom facing ¼” towards inside and insert to sandwich the inner pocket in-between the facing and bag.
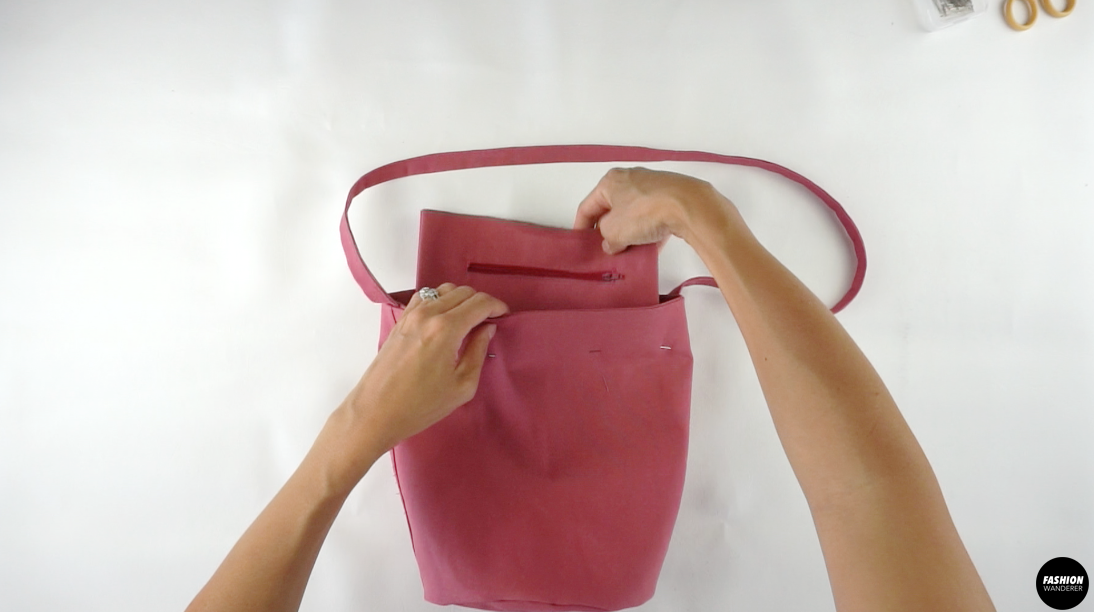

- Pin around the bag and topstitch to secure the facing.

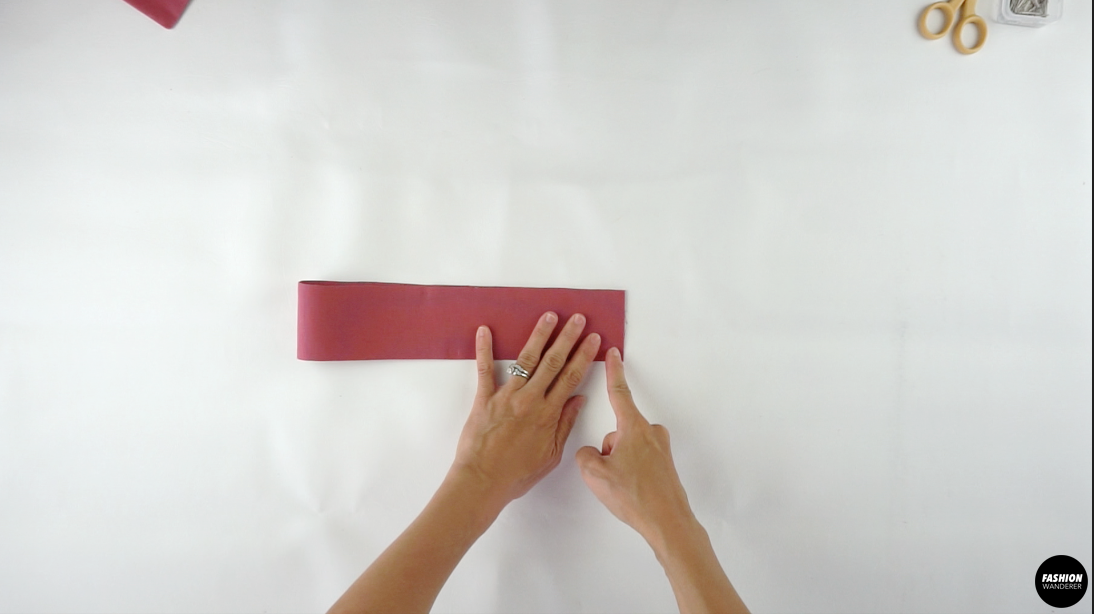
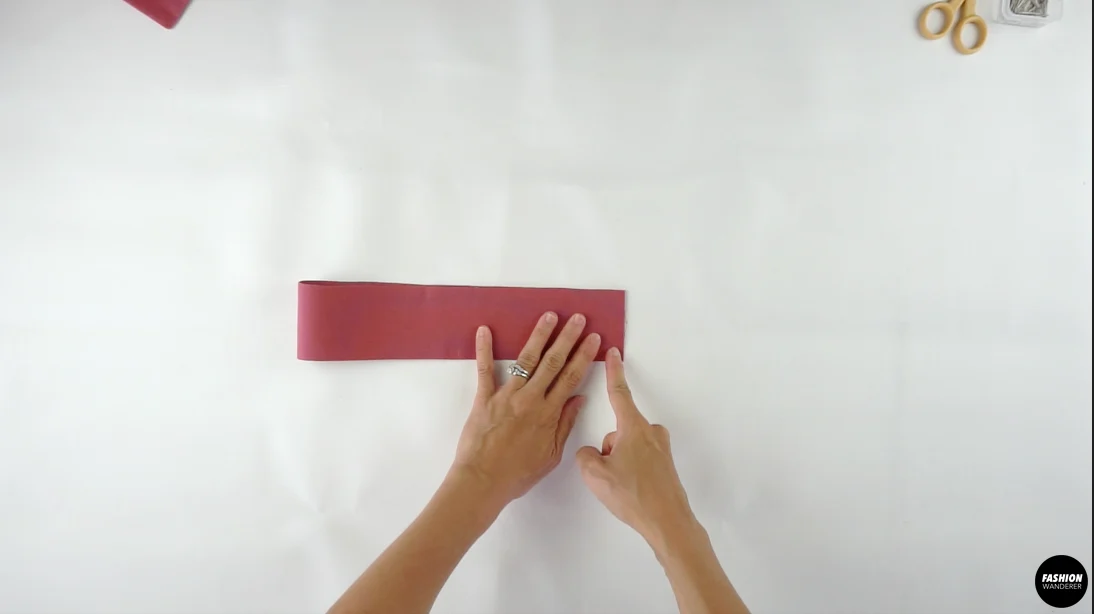
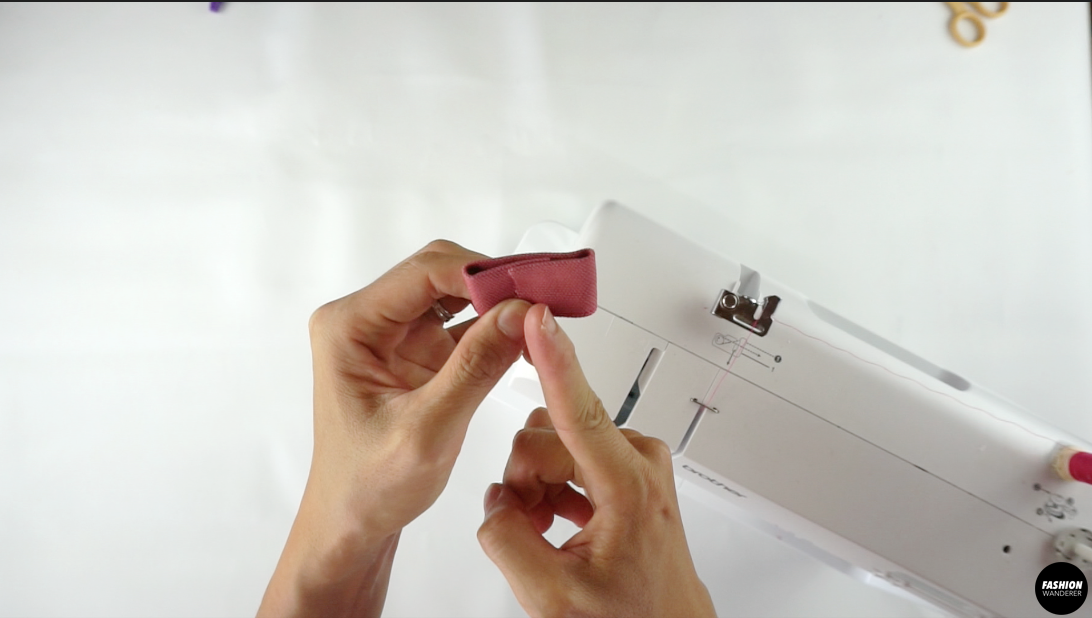
How to Sew Drawstring Tunnel
- Fold the drawstring tunnel ¼” on both sides, and then fold in half wrong side facing each other.

- Edge topstitch along both sides.
- Fold the drawstring tunnel piece to create 2 holes and topstitch along the center.

How to Add Grommets to Bucket Bag
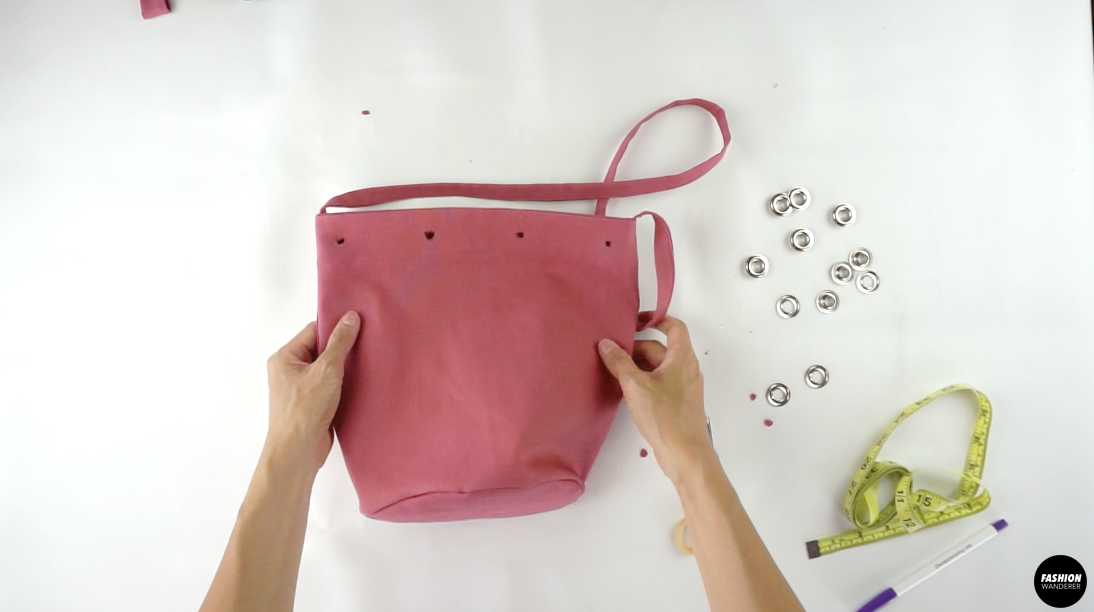
- To attach grommets to the bag opening, use eyelet inside hole to mark the position along the opening of the bag.
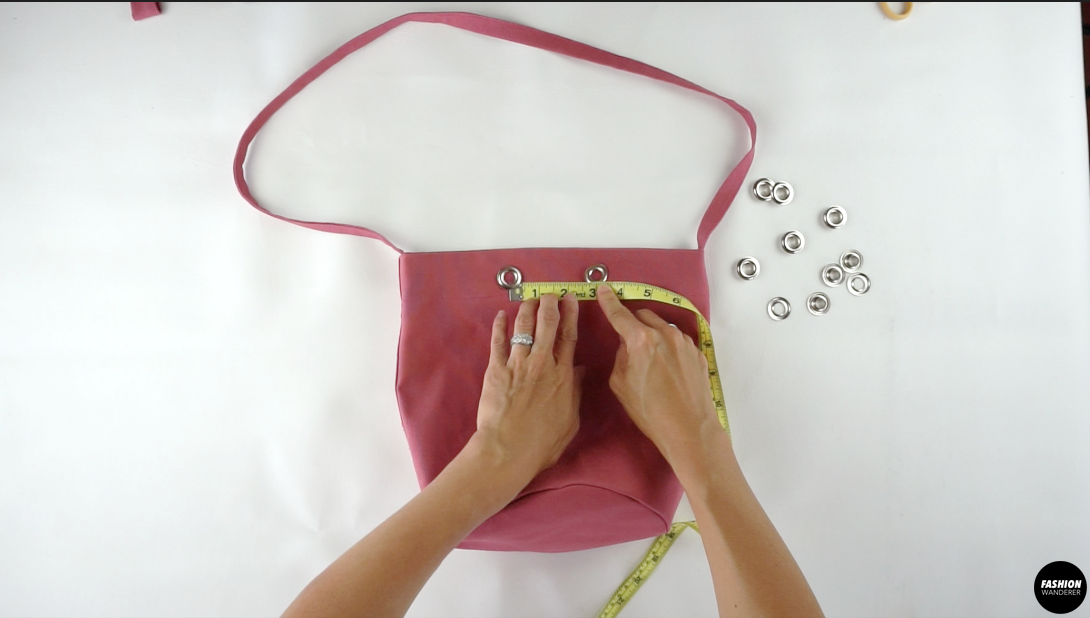
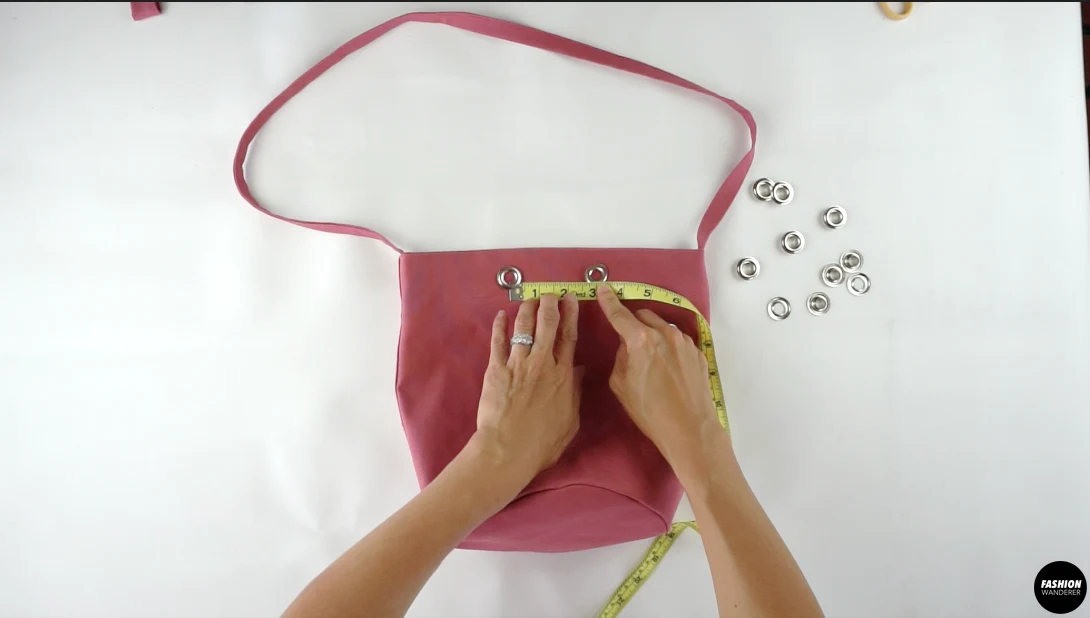
- From center front 1½” away on each side is the starting point of two grommets. Ensure the eyelet holes in the front are 3” apart from each other and away from the seam.
- Mark with erasable pen and cut out the holes and copy the holes to the back and back side of the bag.

- Cut out the holes on the back side of the bag.
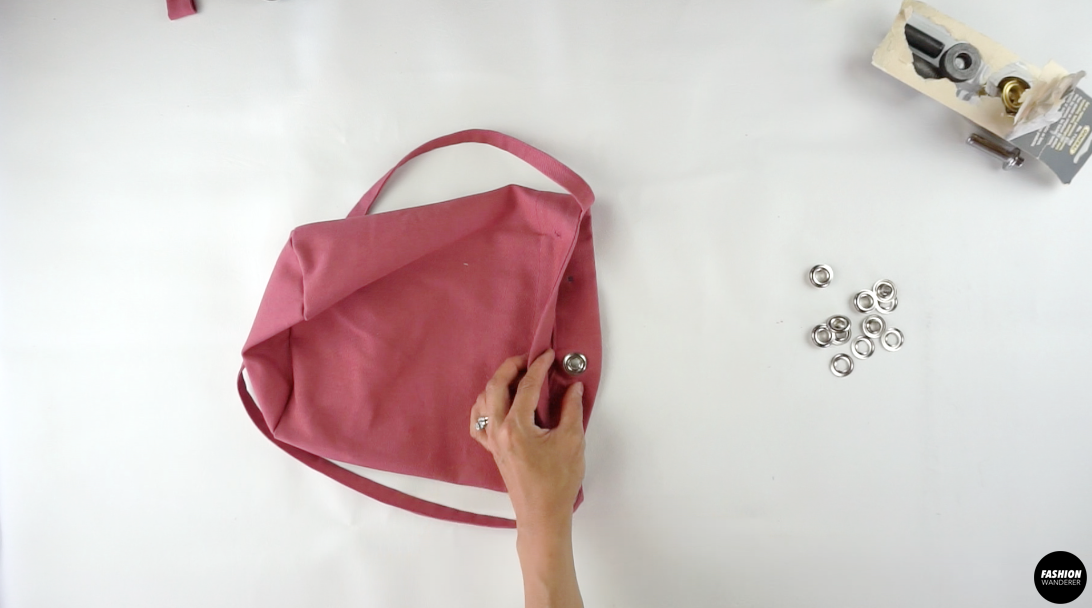
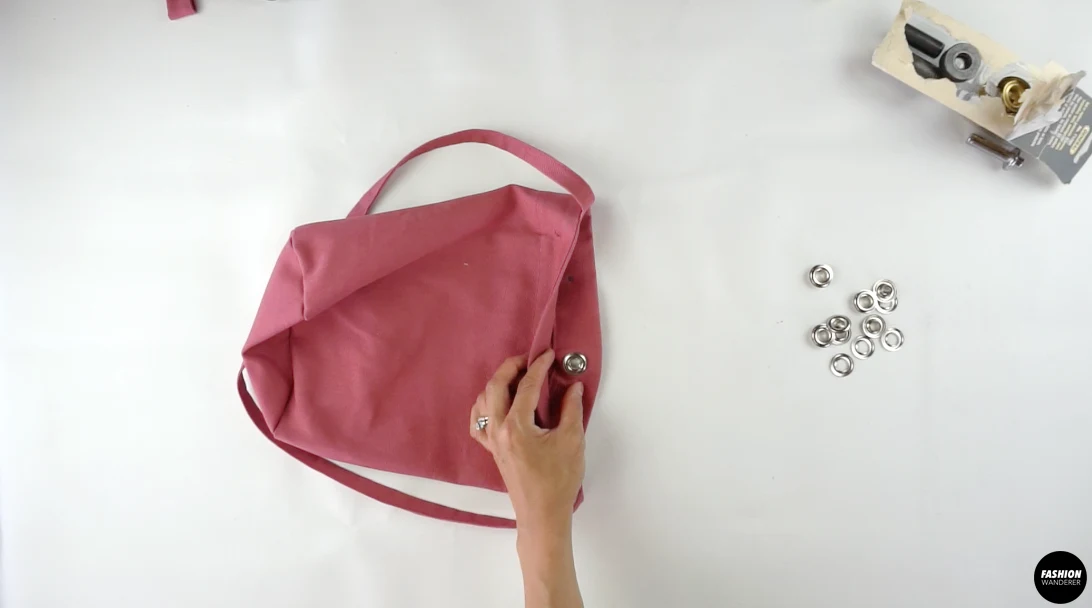
- Position the grommet and use a mallet to secure in place.
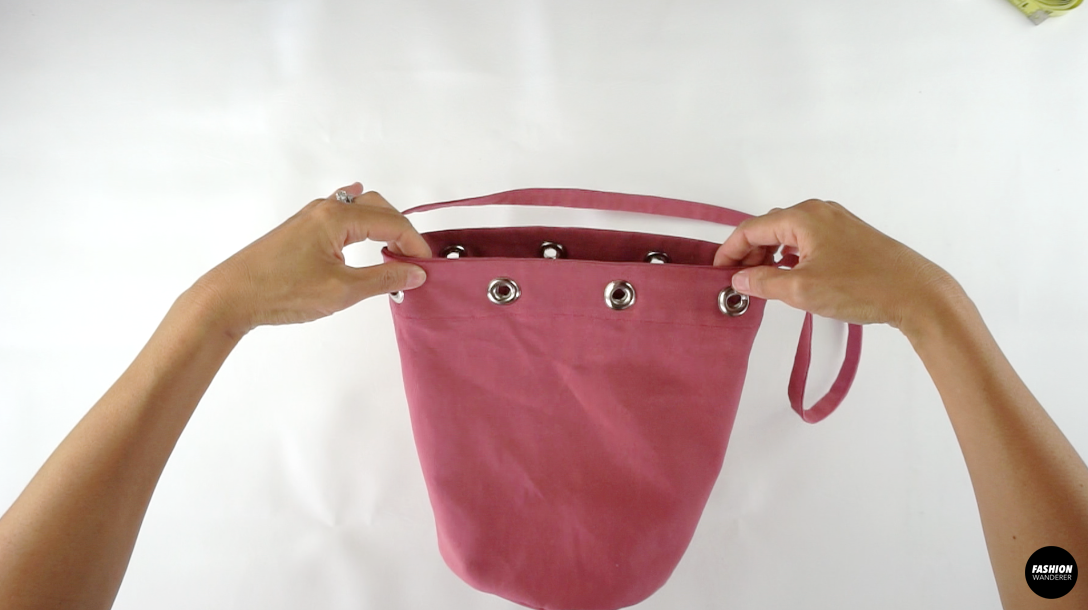
To finish the DIY bucket bag, insert the ends of drawstring through the grommets and weave through to the other end. Slide both ends of drawstring through the tunnel and tie a knot to close the bag opening.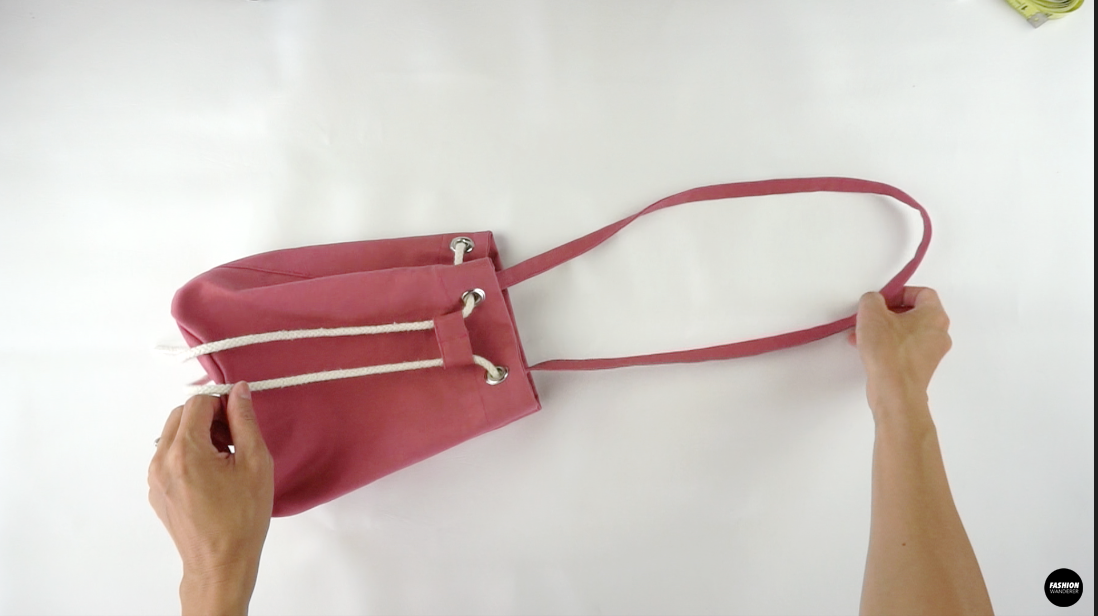

Recommended Products
As an Amazon Associate and member of other affiliate programs, I earn from qualifying purchases.


Trendy, Affordable Sewing Patterns for All Sizes


Tie Shoulder Jumpsuit Pattern


Palazzo Pants Sewing Pattern


Pocket Overall Romper Pattern


Wrap Maxi Skirt Sewing Pattern


Tie Back Top Sewing Pattern