
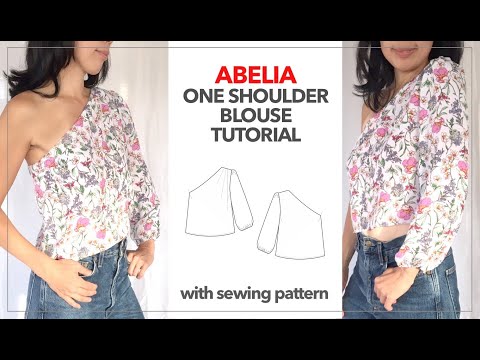
Do you own a one shoulder garment? Or have a favorite leftover fabric that is less than a yard? The Abelia blouse features elastic cuff puff sleeves that evenly distribute the gathering with a loose fit.
This blouse top is beautiful when made with either print or solid fabric to create different looks for each season. However, be aware of the quality and content of the fabric as a drapey and soft fabric gets the best results instead of being too sheer or flimsy.
How to make one shoulder sleeve blouse? Review the fabric care instructions and pretreat a poly fabric by washing, drying, and pressing if needed before cutting and sewing.
Fashion Wanderer sewing patterns are ready to sew, which means they have ⅜” width or 0.95 cm seam allowance included on each piece. Download the Abelia blouse pattern, pick your size to start sewing by following the video tutorial and step by step instructions to complete the top.
Including neckline facing, adjustable waist tie and elastic tunnel puff sleeve cuff, these three design elements make up the Abelia top. Follow the blueprint for better results and fit without issue.
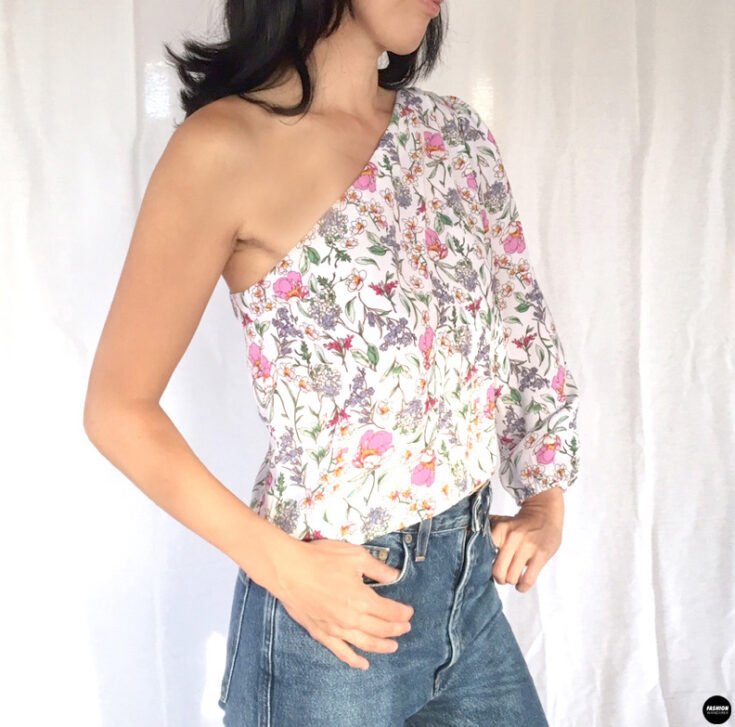
Create this modern and fashion forward one shoulder sleeve blouse with easy to read Fashion Wanderer sewing patterns. It is elegant and beautiful piece to add to your DIY wardrobe and dress down with casual jeans or dress up with a cute skirt.


DIY One Shoulder Sleeve Blouse


You will love this DIY one shoulder sleeve blouse because…
- Abelia blouse sewing pattern includes US sizes from 0 to 18 for wide range of fit.
- Create tunnel to insert elastic for making puff sleeve around the cuff.
- Clean finish neckline by attaching facing.
- Proper way to attach fusible interfacing around the neck opening.
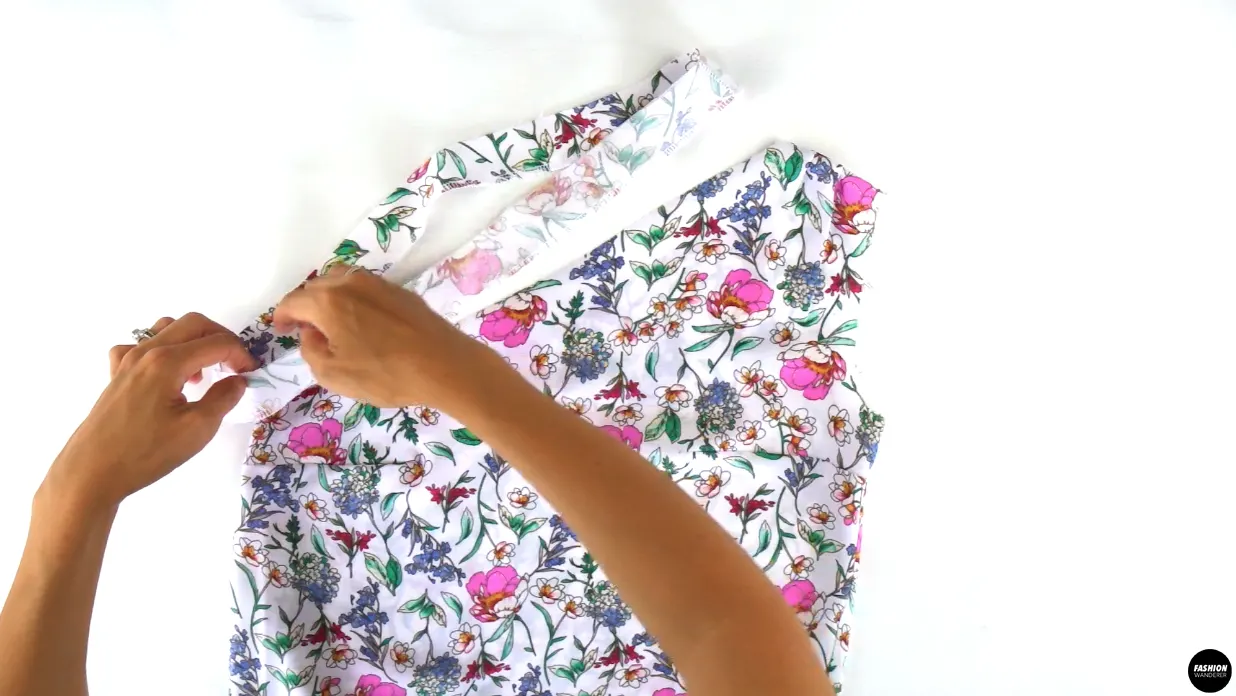
- Make adjustable waist tie to style the outfit in many ways.
- Mastering straight and overlock stitch on drapey fabric.
- Evenly distribute gathering around the sleeve top by adjusting the stitch length.
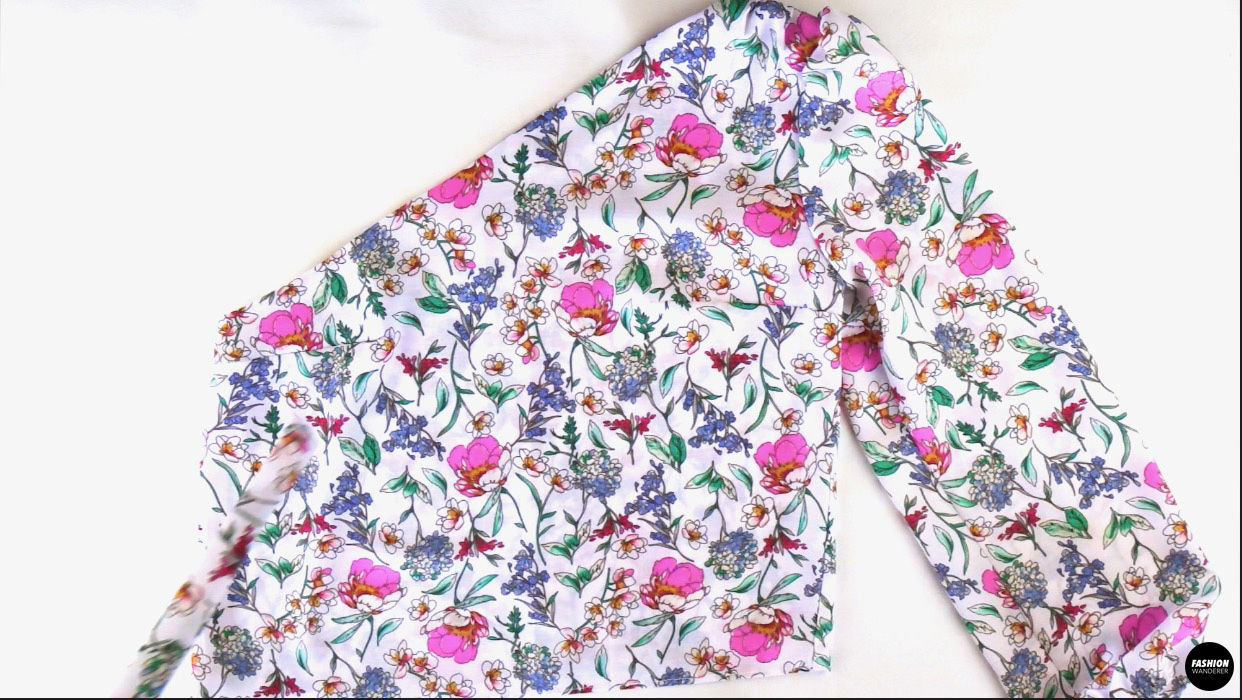
This modern and elegant one shoulder sleeve blouse includes elasticized cuff, clean neckline, and adjustable waist tie to create a variety of fun looks.
Beginner friendly sewing project to master straight stitch and learn tips to make garments look high-quality.
Once you choose to make Abelia blouse, find your perfect fit along the bust and waist based on accurate body measurements and using the size guide.


How to make a one shoulder sleeve blouse top
Numerous printed pages of sewing patterns can be overwhelming. Every Fashion Wanderer sewing patterns uses an easy to read method to assemble the pdf sewing patterns regardless of the paper size.
If you have remnant fabric that is less than 1 yard, this blouse will be perfect candidate to try. However, be aware of the fabric width, it can determine how much fabric you actually need to make this blouse.
The instruction booklet and tutorial always recommends fabric yardages based on the width. But in case of emergency, prepare extra ½ to ¾ yards for peace of mind.
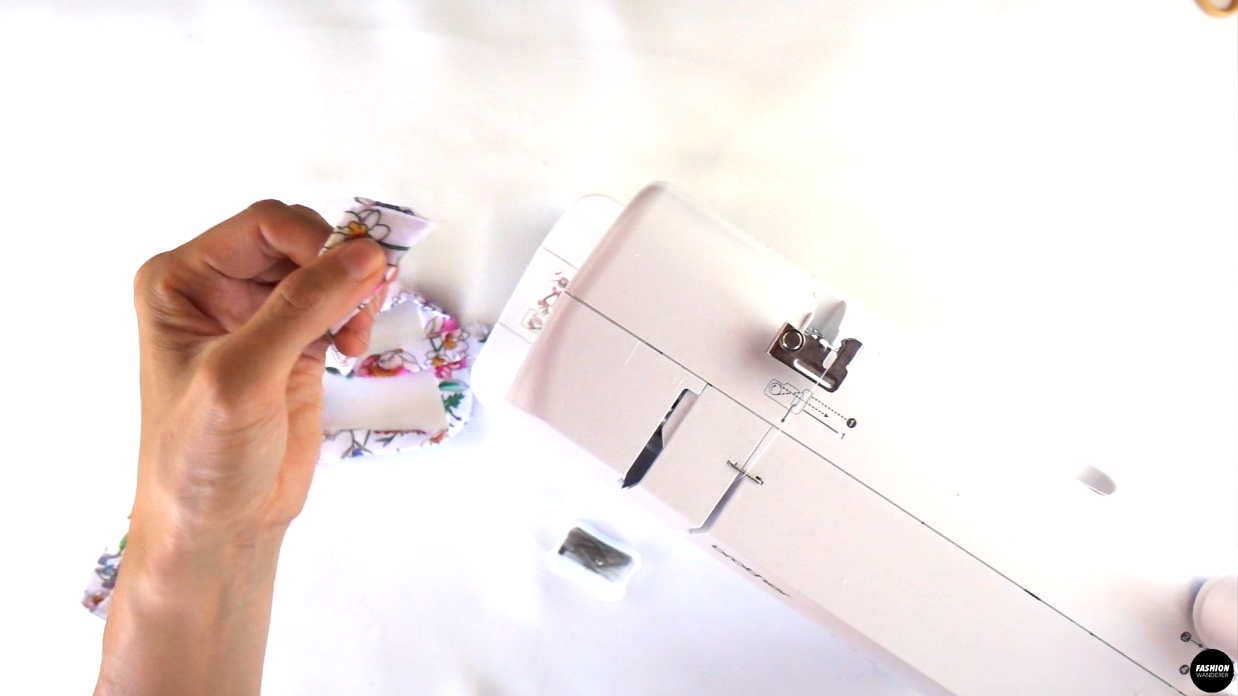
After selecting the fabric and getting the sewing patterns ready, ensure your sewing machine is properly threaded and the sewing needle is up-to-date to prevent threads keep breaking while you sew any stitch.
Review the instruction booklet for thread tension and stitch length for best results.
DIY One Shoulder Sleeve Blouse Tutorial Material:
- Abelia Blouse Sewing Pattern
- Poly Linen Blend Fabric ¾ yards for 60” width or 1 yards for 45” width
- ¼” width elastic
- Fusible Interfacing
- Sewing machine
- Serger
- Pins
- Ruler
- Water Erasable Pen
Sew bust darts on blouse.
Close and sew shoulder tucks, following the notches on the sewing pattern.
Straight stitch ¼” to keep the tucks in position.
Assemble one shoulder blouse with the Front Top and Back Top pieces facing each other.
Straight stitch along the shoulder seam and both side seams.
Make the neckline facing with fusible interfacing and iron to press.
Gently press to melt the interfacing to the wrong side of the fabric.
Overlock the raw edges on the bottom of the Front and Back neck facing.
Lay right side of the Front Top Neck Facing and Back Top Neck Facing with the right side against each other, sew and overlock to finish.
Next, join the neck facing to the blouse with right side facing each other.


Adjust the sewing machine to 5.0 stitch length and sew notch to notch along the edge of the sleeve.
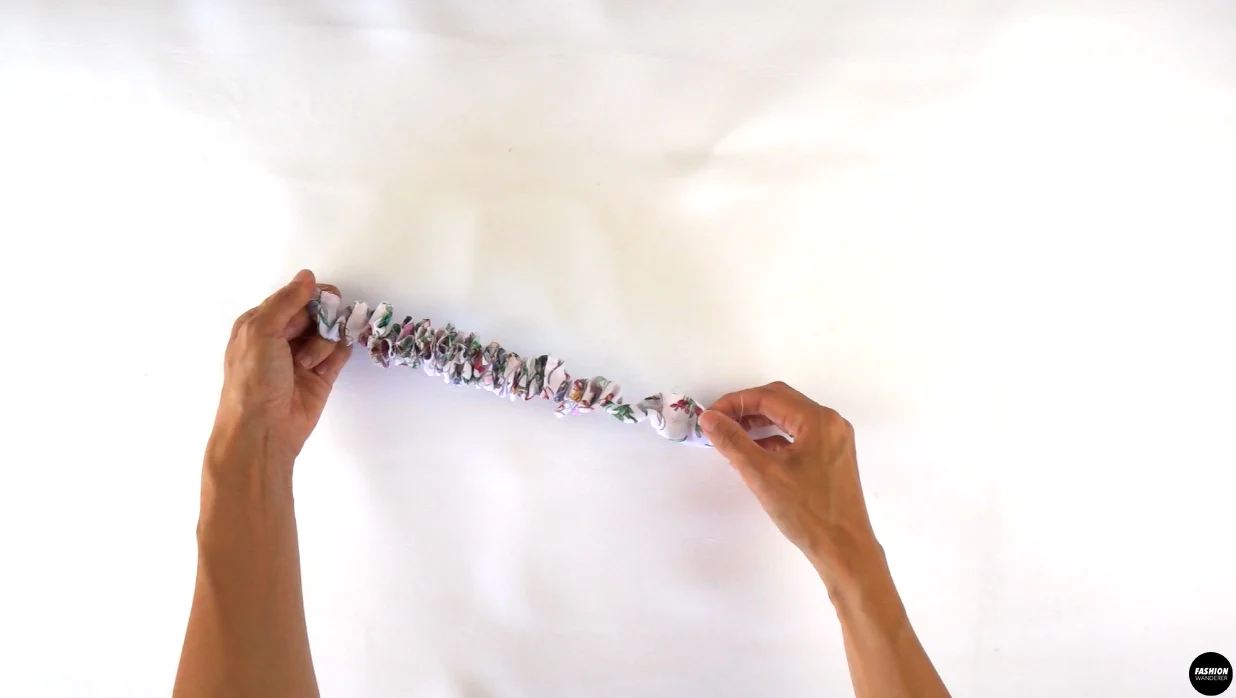
Gently, pull the thread on the top of sleeve to create even gathering.
Double fold the sleeve hem and edge topstitch to make an elastic tunnel.
Attach the right side of the sleeve to the right side of the bodice.
Finish the one shoulder long sleeve blouse by double folding the hemline and sew straight stitch.


DIY One Shoulder Sleeve Blouse Sewing Tips


From elasticized sleeve cuff to one shoulder neckline, this blouse has both feminine and modern design elements. Following instructions with a help of a sewing pattern as blueprint is the best way to execute and minimize mistakes.
To help you have a smooth and easy sewing project journey, use the below sewing tips and review them prior to starting. Always practice tension and stitches on a test piece of fabric beforehand.
- Sewing Needle: Ensure the needle end is sharp and not dull in order to prevent from skipping stitches. And for any polyester or crepe, use 80/12 or 90/14 for light to medium weight fabric.
- Thread: Go with polyester thread or all purpose thread to sew. Avoid any natural fibers with polyester thread. This type of thread is durable and long-lasting when sewing polyester.
- Stitches: Most sewing machines have an automatic polyester setting and does not require adjustment. Manually adjusting is also doable, make sure the upper tension sits around 4 as a standard.
- Elastic: Other than directly joining elastic to the fabric, creating a tunnel to insert the elastic is a quick way to achieve loose and even gathering around the cuff. When joining the ends of elastic, overlap and zigzag stitch to prevent popping.
- Fusible Interfacing: Depending on the content of the fabric, always avoid steaming to attach fusible interfacing on the fabric. Lightly pad instead of gliding the iron for best results.
In this tutorial, you will learn ways to follow and understand sewing tips and method to sew Abelia blouse. The elastic tunnel and adding interfacing to create nice crisp neckline is a great way to level up your sewing skills to make high quality garments.
Whether poly crepe or light weight linen blend, find fabric you love to work with to sew Abelia blouse. Download the sewing pattern and watch the video tutorial to guide you in right direction to accomplish this modern blouse to add to your DIY wardrobe.

DIY One Shoulder Sleeve Blouse
Do you have a fun print, but have less than a yard of fabric? If you are looking to save your favorite fabric by following a fun sewing project idea, this Abelia one shoulder sleeve blouse is perfect piece to try.
The step by step instruction shows detailed methods to accomplish a one shoulder top. The design features a long length shift blouse with clean neckline and adjustable waist tie to style however you want.
In this tutorial, all the sewing details are super beginner friendly and helps to understand the basic sewing method to create professional and clean looking garment. The Abelia top sewing pattern will help you add a fun and stylish blouse to pair with jeans or skirt from your DIY wardrobe.
Materials
- Abelia Top Sewing Pattern
- Poly Linen Blend Fabric ¾ yards for 60” width or 1 yards for 45” width
- ¼” width elastic
- Fusible Interfacing
Tools
- Sewing Machine
- Serger
- Thread
- Fabric Scissors
- Water Erasable Pen
- Measuring Tape
- Pins
- Loop Turner
- Iron
Instructions
For this Abelia one sleeve blouse tutorial, start by assembling the pattern pieces:
- 1 Piece of Front Top
- 1 Piece of Back Top
- 1 Piece of Front Top Facing
- 1 Piece of Front Top Neck Interfacing
- 1 Piece of Back Top Facing
- 1 Piece of Back Top Neck Interfacing
- 1 Piece of Waist Tie
- 1 Piece of Sleeve
How to Sew Bust Dart On Blouse
- On the right side of the Front Top sewing pattern, use pin to punch through the dart point.

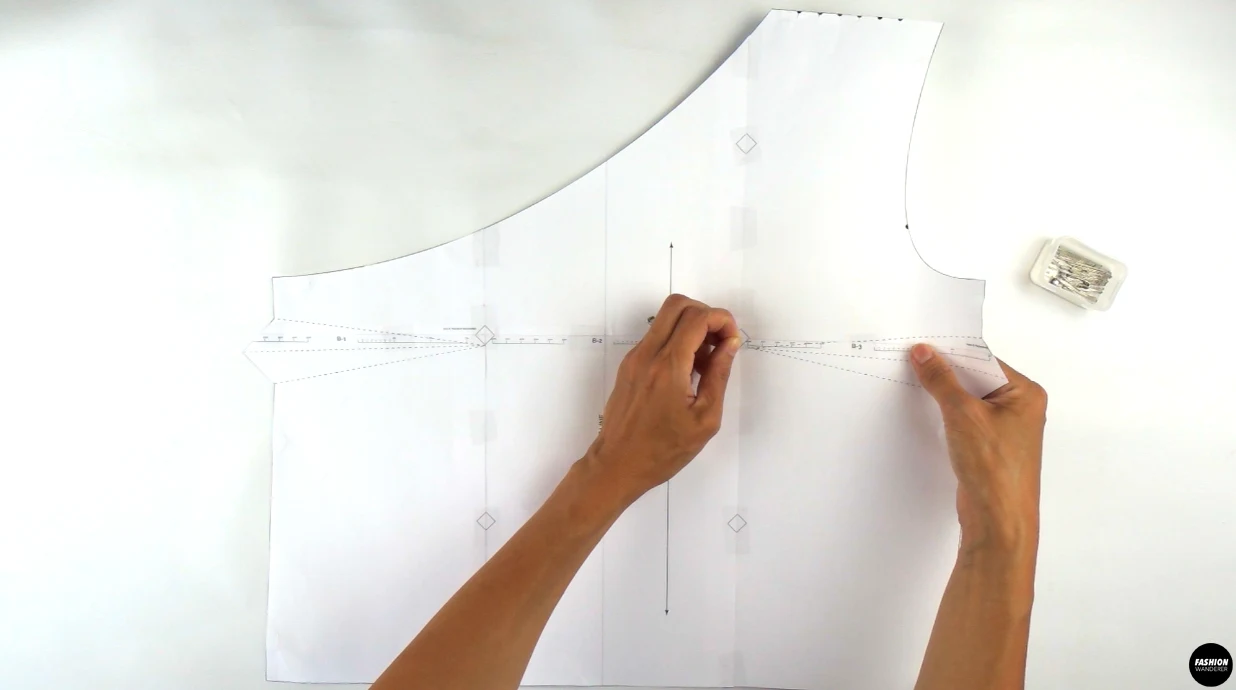
- Flip the paper pattern to the wrong side and transfer the punched hole to the fabric.

- Use water erasable pen and ruler to connect the notches of dart leg and pin point on both sides.

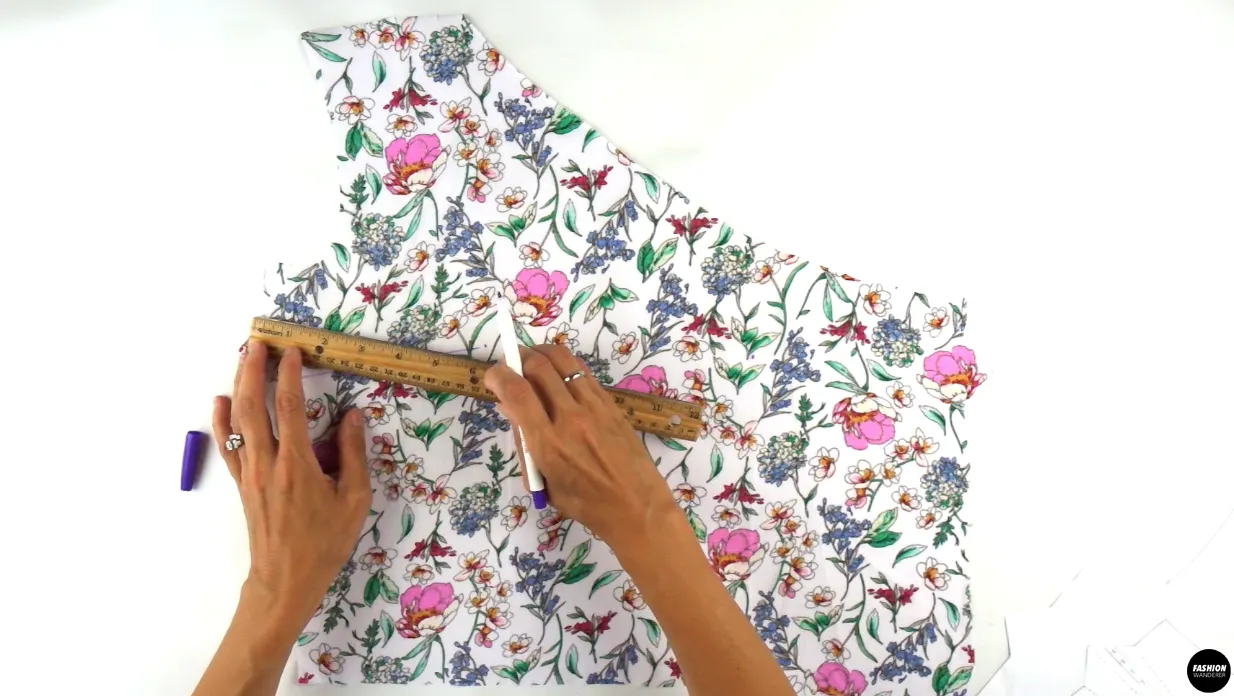
- Fold the bust darts on the wrong side of the fabric on half lengthwise to match the dart legs to each other and pin.

- Start straight stitching from the bust dart notch and end at the point without back and forth. Double tie the end of the threads.


- Press the dart facing toward the hem.

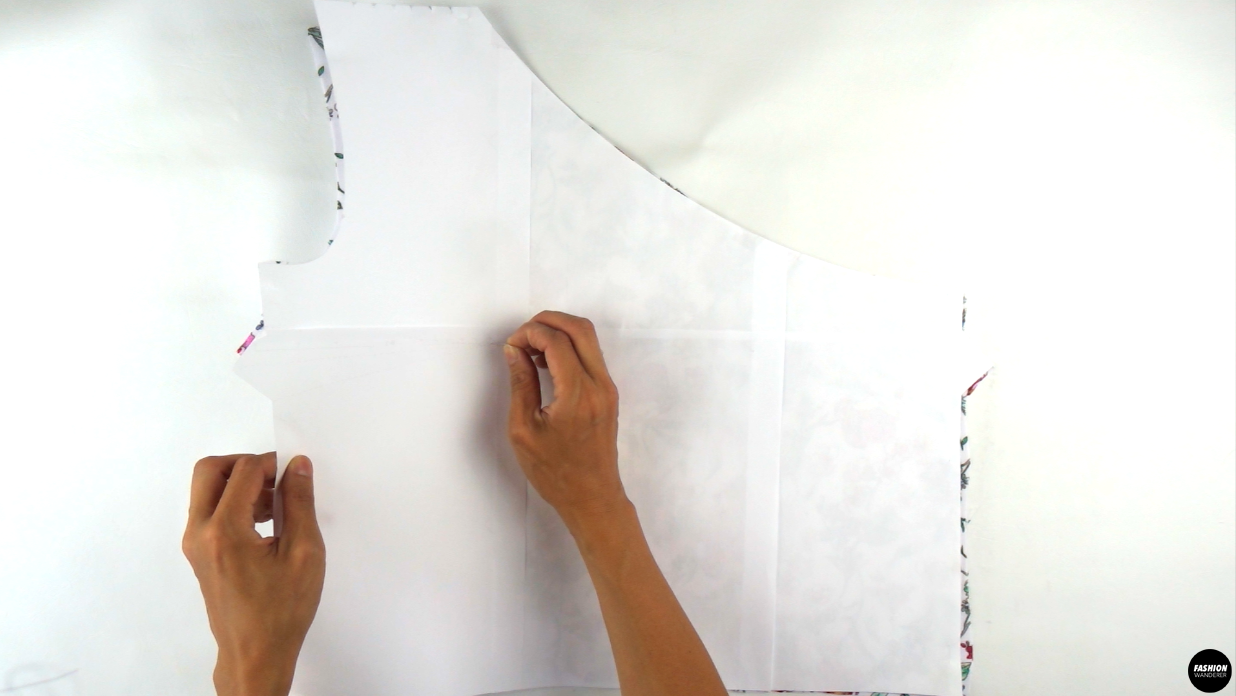
How to Close and Sew Shoulder Tucks
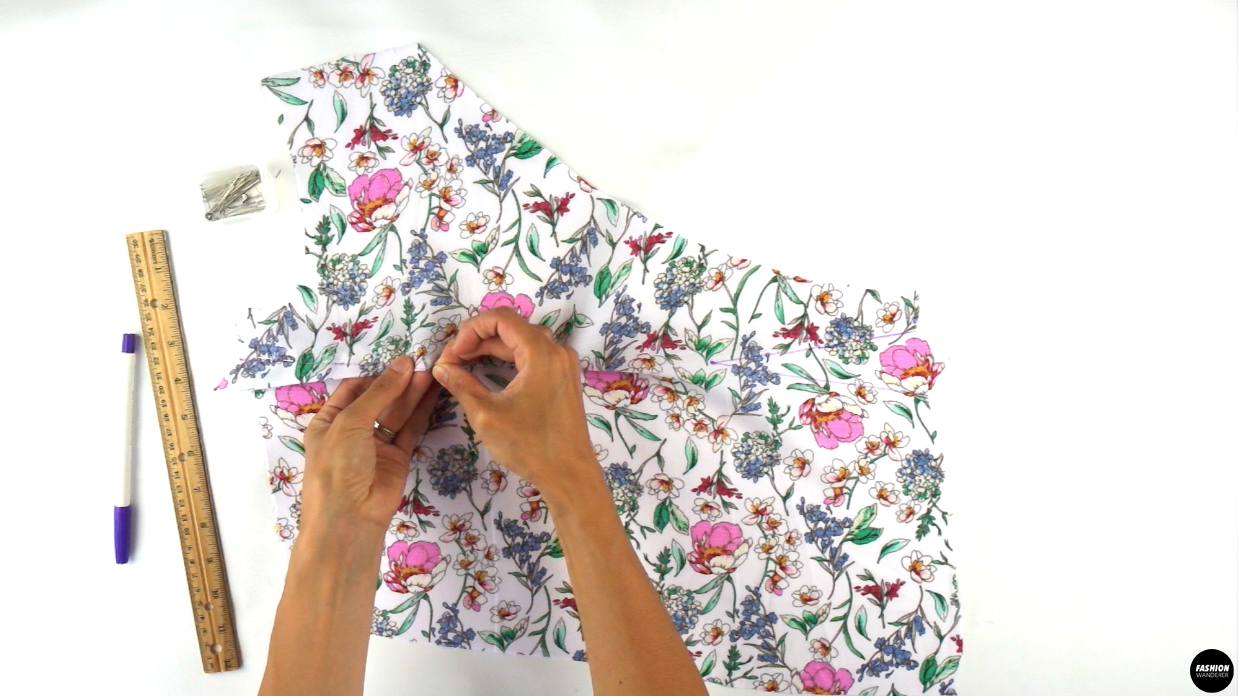
- Follow the sewing pattern and notches on the shoulder and fold towards the neck and away from the armhole to pin 2 tucks.

- Straight stitch ¼” to keep the tucks in position and lightly steam press the beginning of the tucks.
How to Assemble One Shoulder Bodice
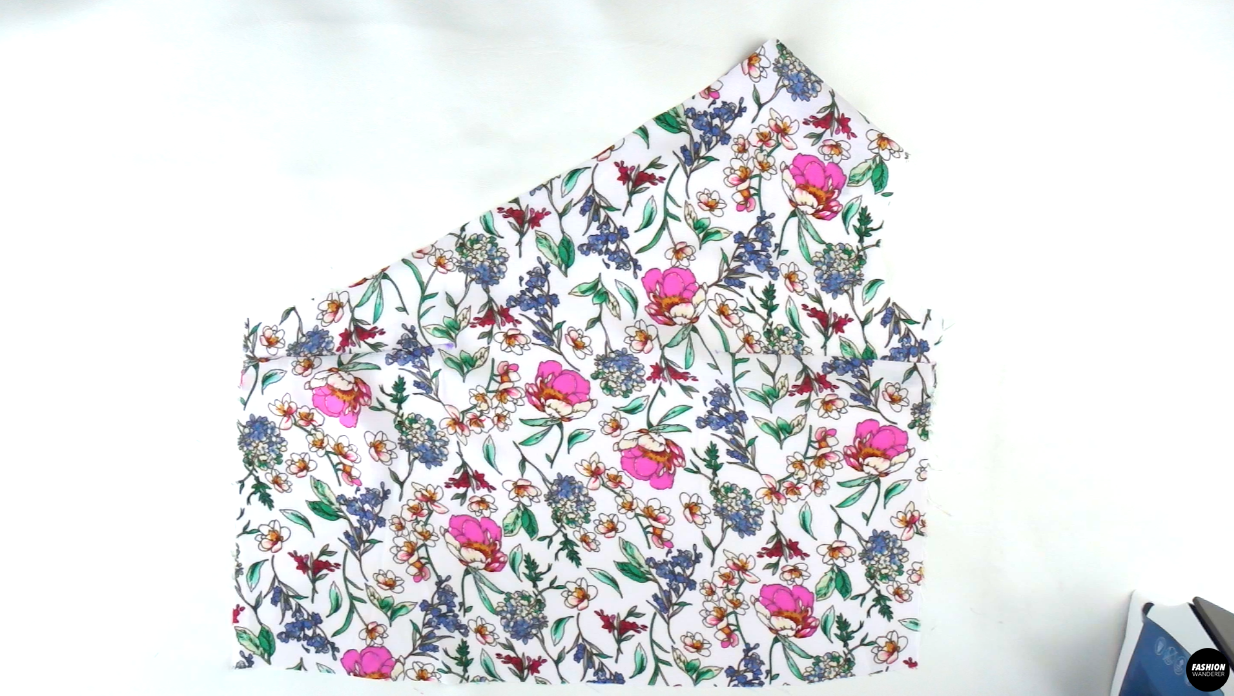
- Place right side of Front Top and Back Top pieces facing each other.

- Straight stitch along the shoulder seam and both side seams with ⅜” width seam allowance and overlock to finish. Press the seams facing back and set aside.
How to Make Neckline Facing
- Prepare fusible interfacing of Front Top Neck Interfacing and Back Top Neck Interfacing and press with iron without steam. Gently press to melt the interfacing to the wrong side of the fabric.


- Overlock the raw edges on the bottom of the Front and Back neck facing.


- Lay right side of the Front Top Neck Facing and Back Top Neck Facing against each other and pin to sew ⅜” width seam allowance with overlock to finish. Press the seam toward the back piece.
How to Join Neck Facing On Bodice
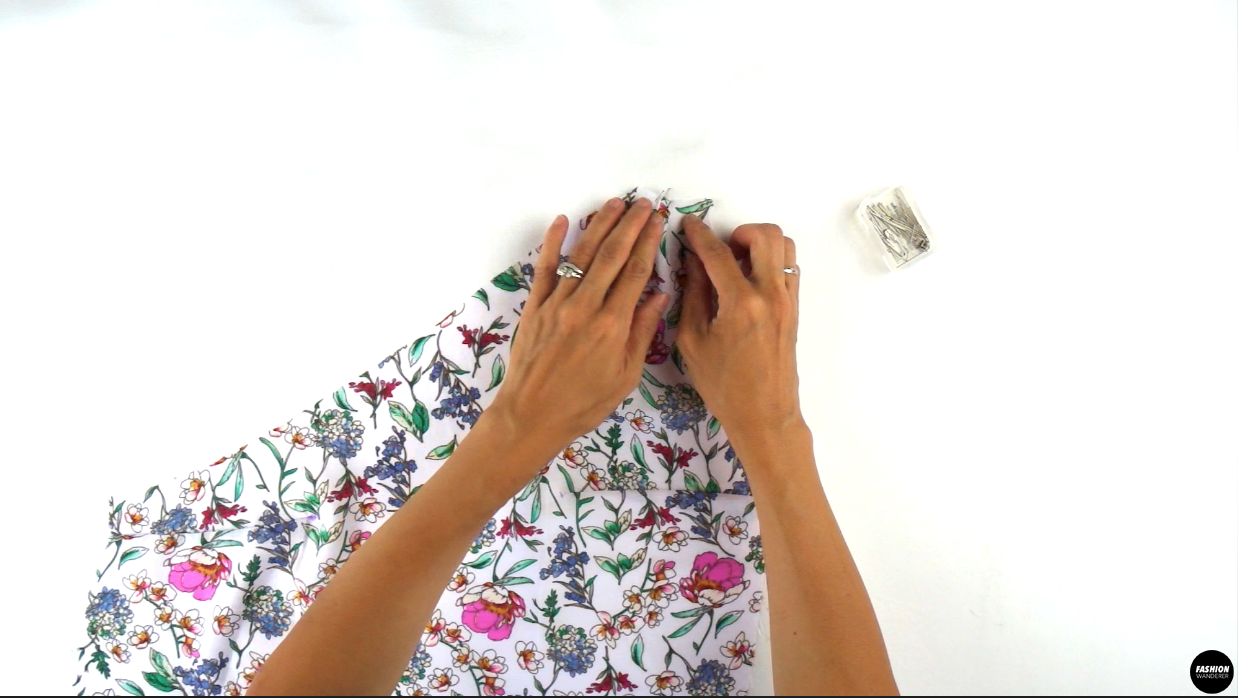
- Slide the Neck Facing to the Bodice right side facing each other and match the side seams together.

- Pin around the Neck opening and straight stitch ⅜” width seam allowance. Open the facing and edge topstitch on the Facing piece. Fold over the Facing toward the inside and press with an iron.

How to Make One Shoulder Long Sleeve
- Edge straight stitch ¼” width with 5.0 stitch length from front sleeve notch to back sleeve notch.
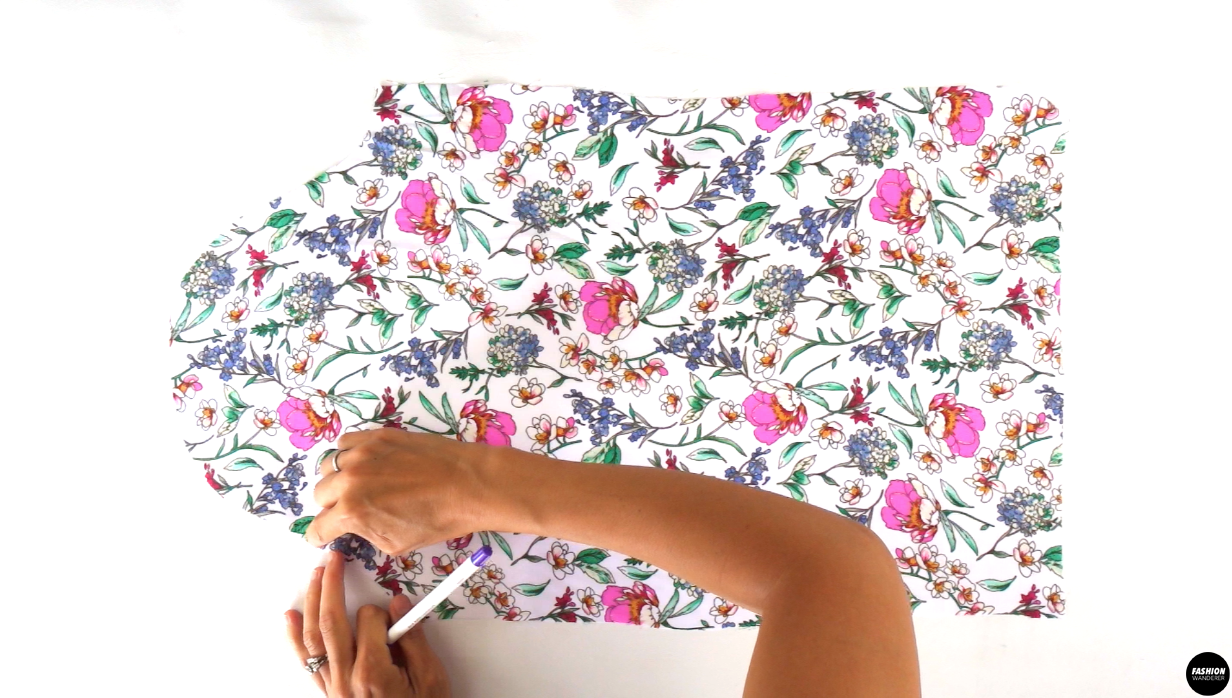

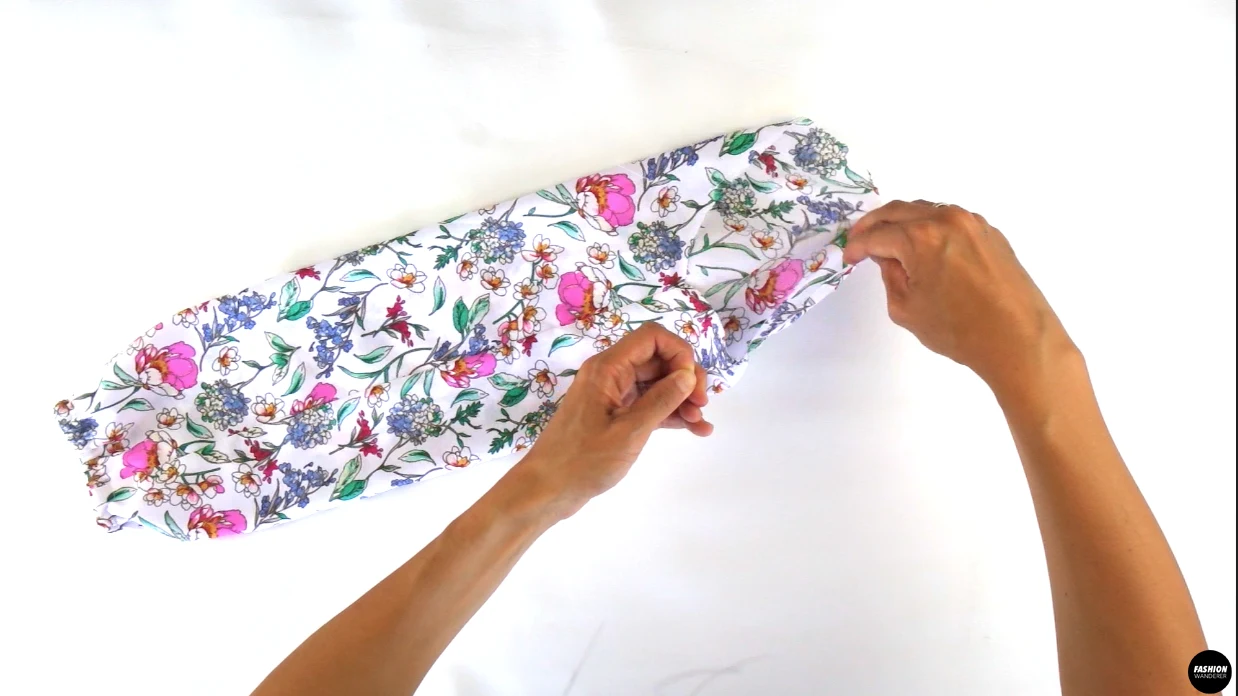
- Fold the sleeve in half lengthwise right side facing each other and pin along the underarm seam. Straight stitch ⅜” width and overlock to finish.
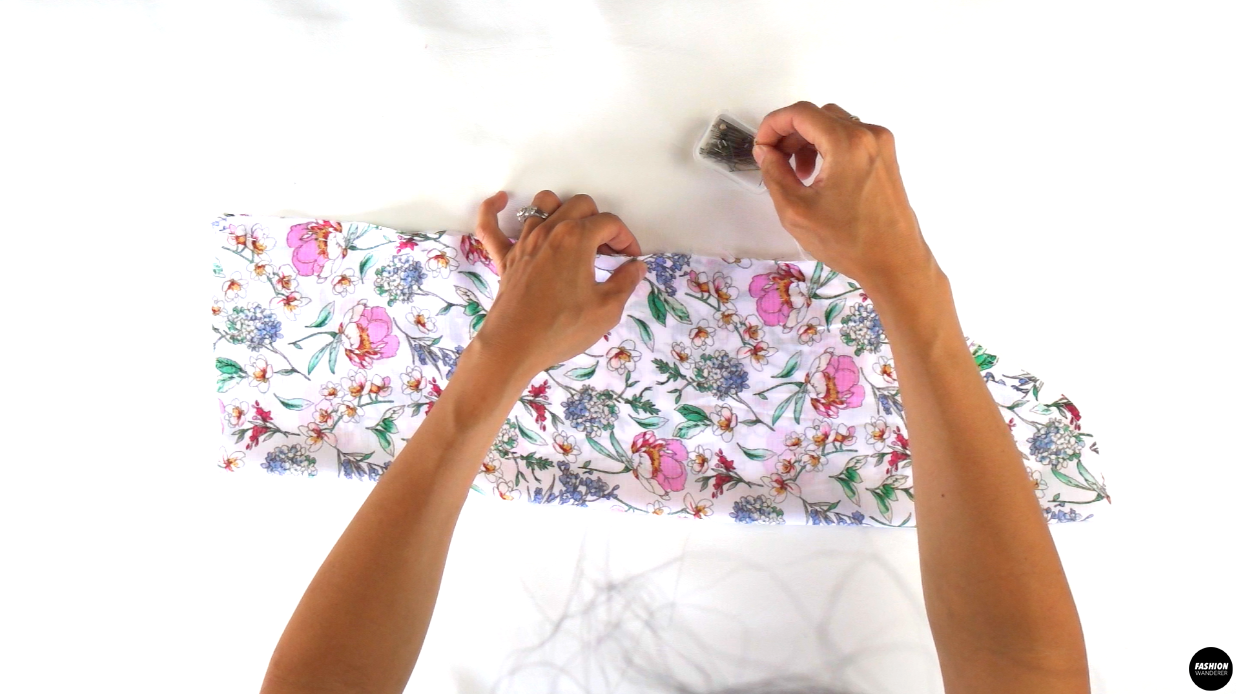

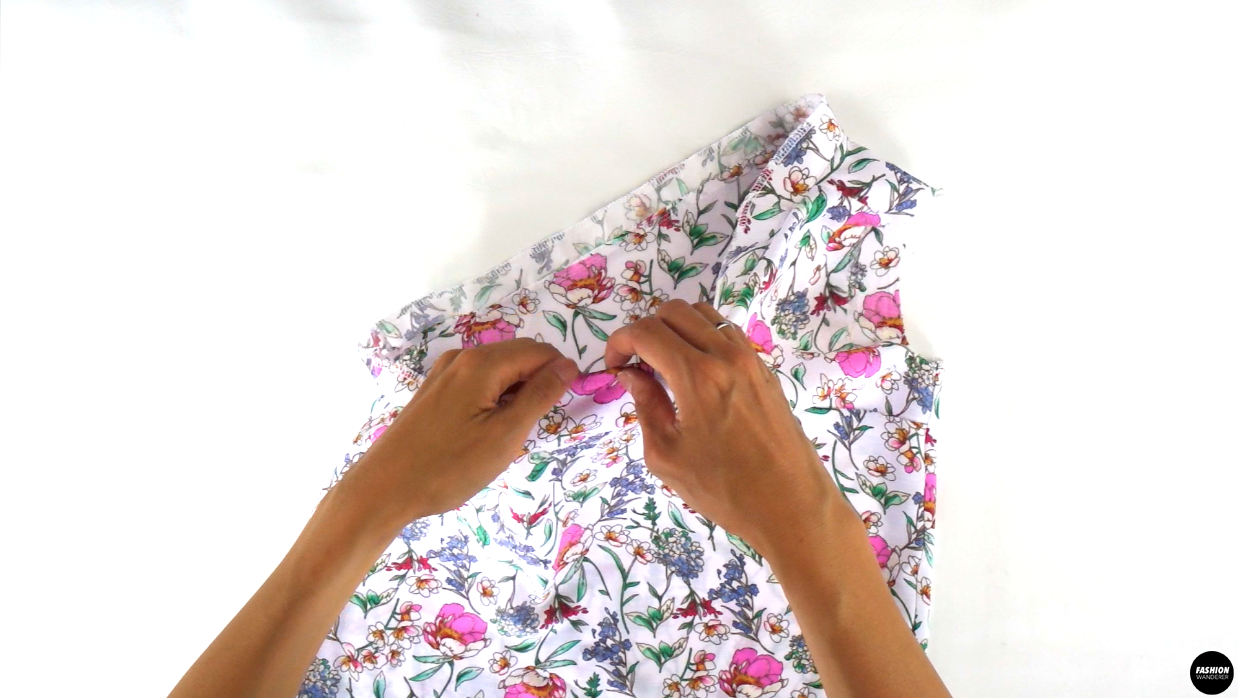
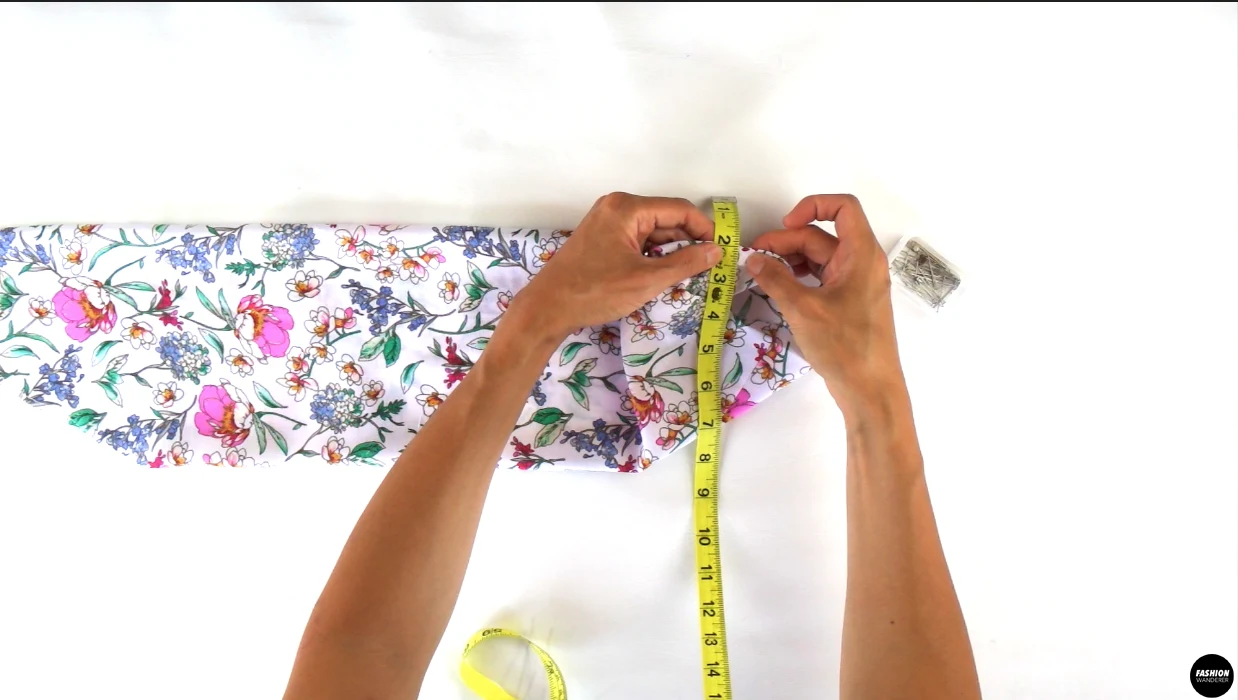
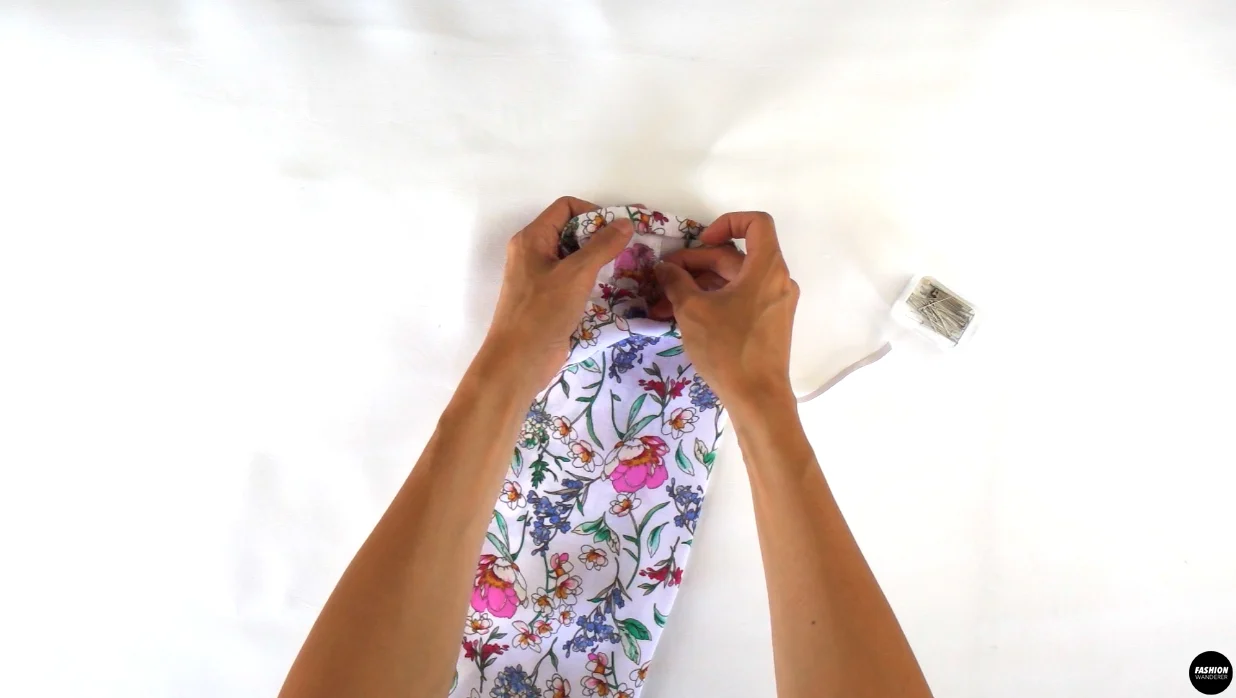
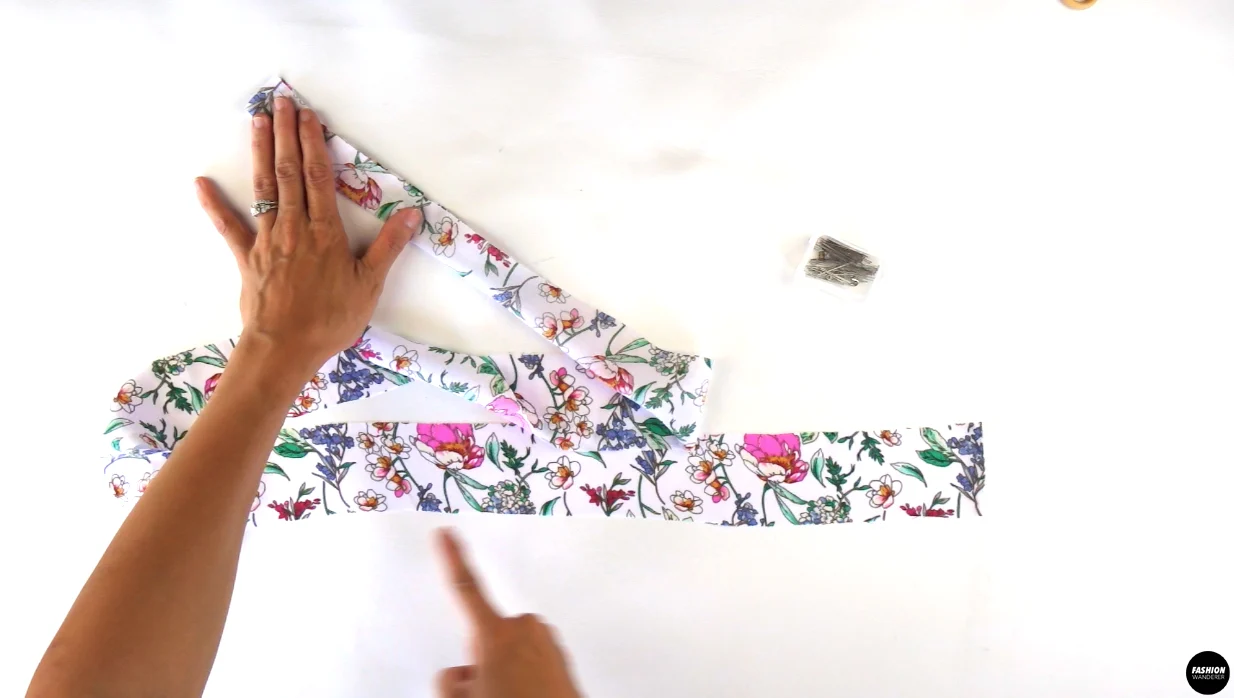
- Double fold the sleeve hem ½” width and edge topstitch to create a tunnel for the elastic band. When sewing around the sleeve opening, leave about 1 to 1½” gap to insert the elastic.

- Slide the elastic through the tunnel around the sleeve opening. Overlap the elastic piece for ¼” to ⅜” and zigzag stitch to join. Close the 1” gap on the tunnel by continuing and connecting the straight stitch.

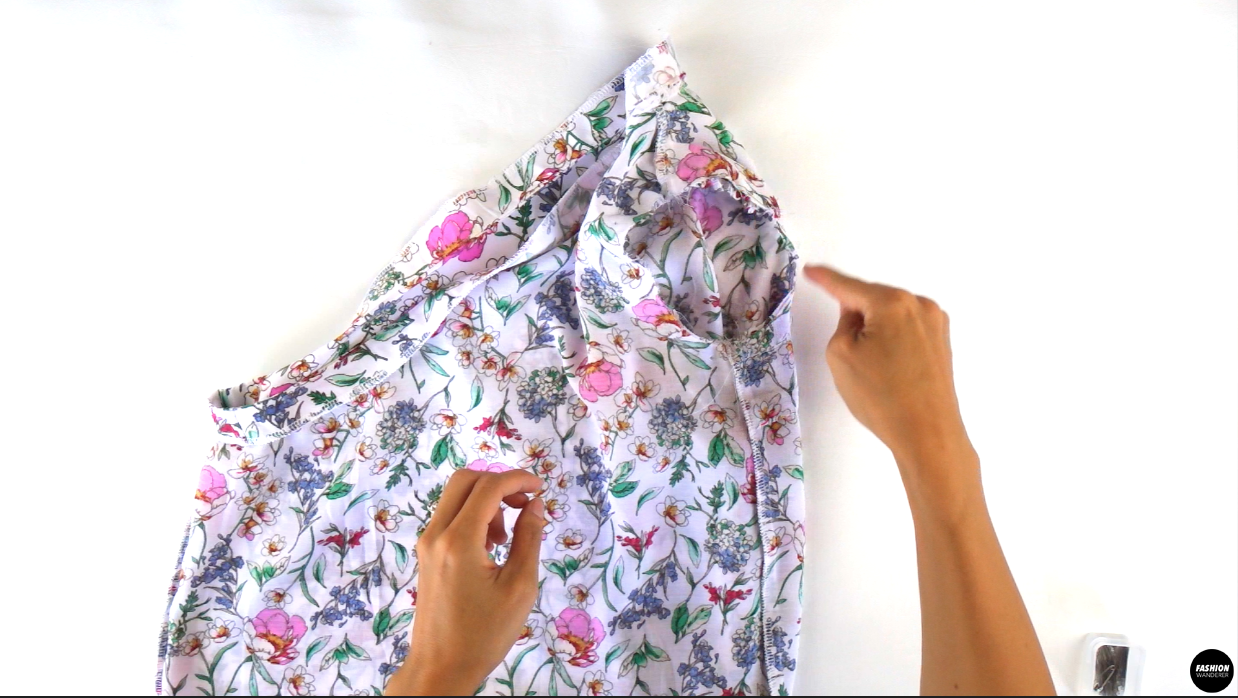
- Gently, pull the thread on top of the sleeve to create even gathering.

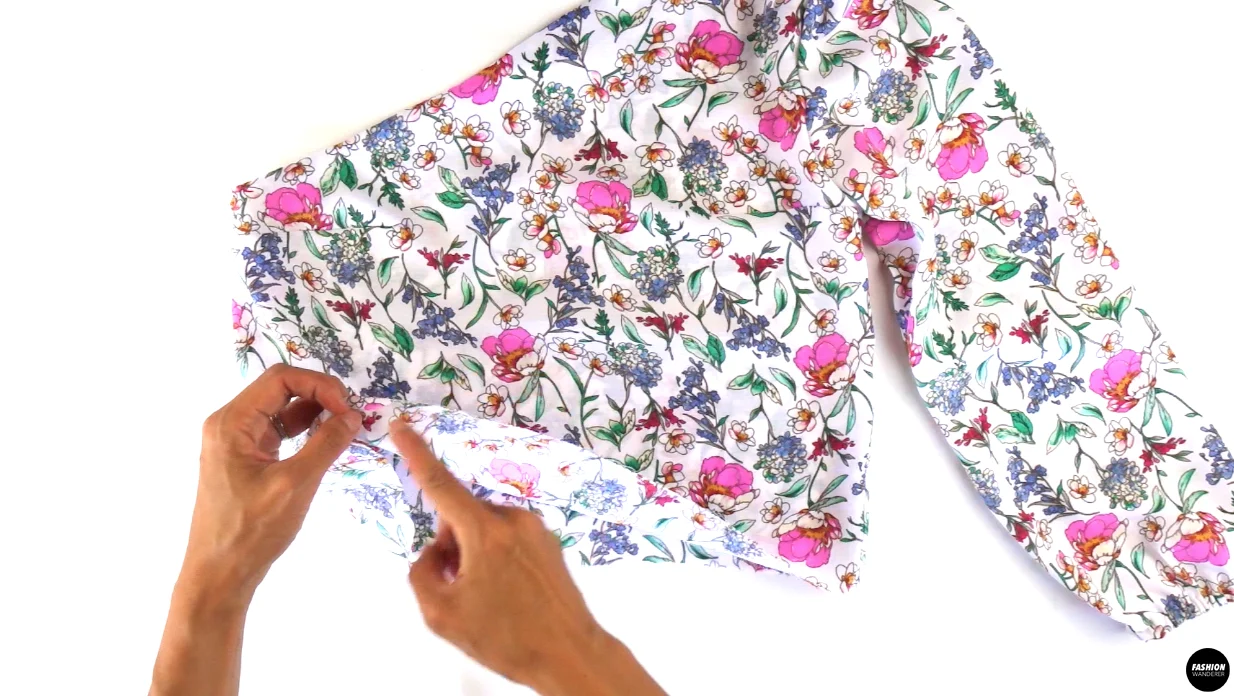
- Slide the right side of the sleeve to the right side of the bodice and pin around the armhole to sew ⅜” width seam allowance and overlock to finish the raw edges.

How to Finish One Shoulder Long Sleeve Blouse
- Double fold the hemline about ¼” width and straight stitch around. Press the hem and set a side.

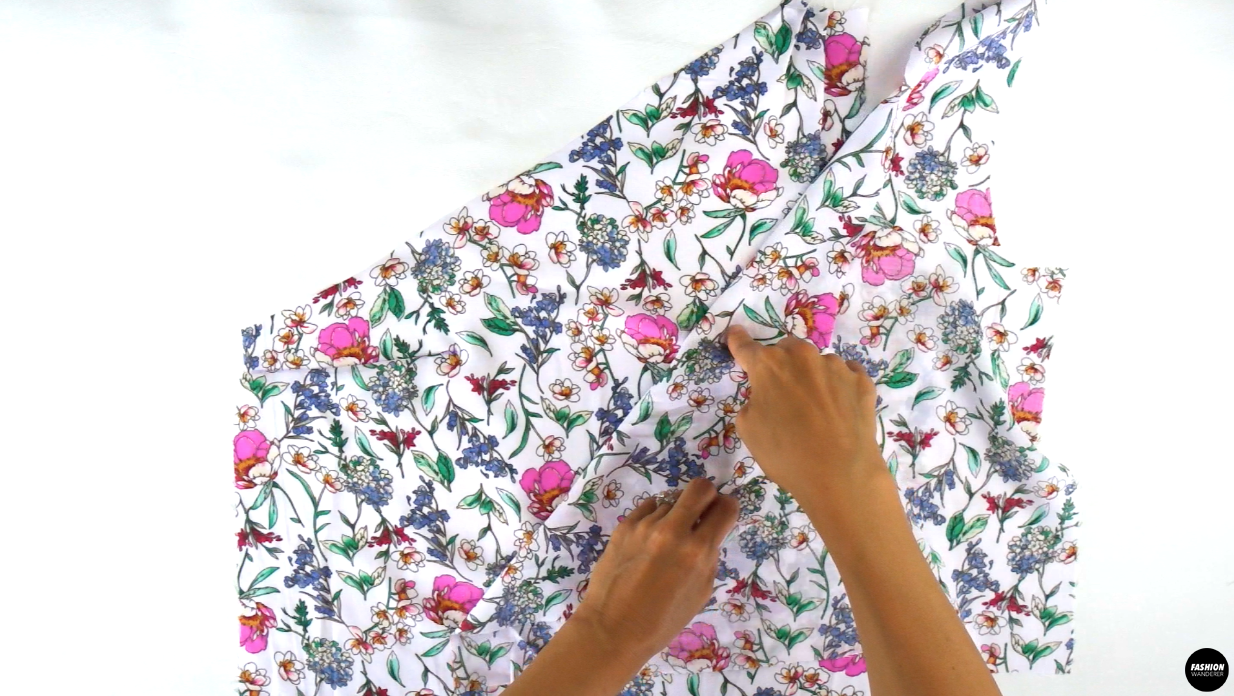
- Fold the waist tie piece lengthwise right side facing each other and sew ¼” width straight stitch.

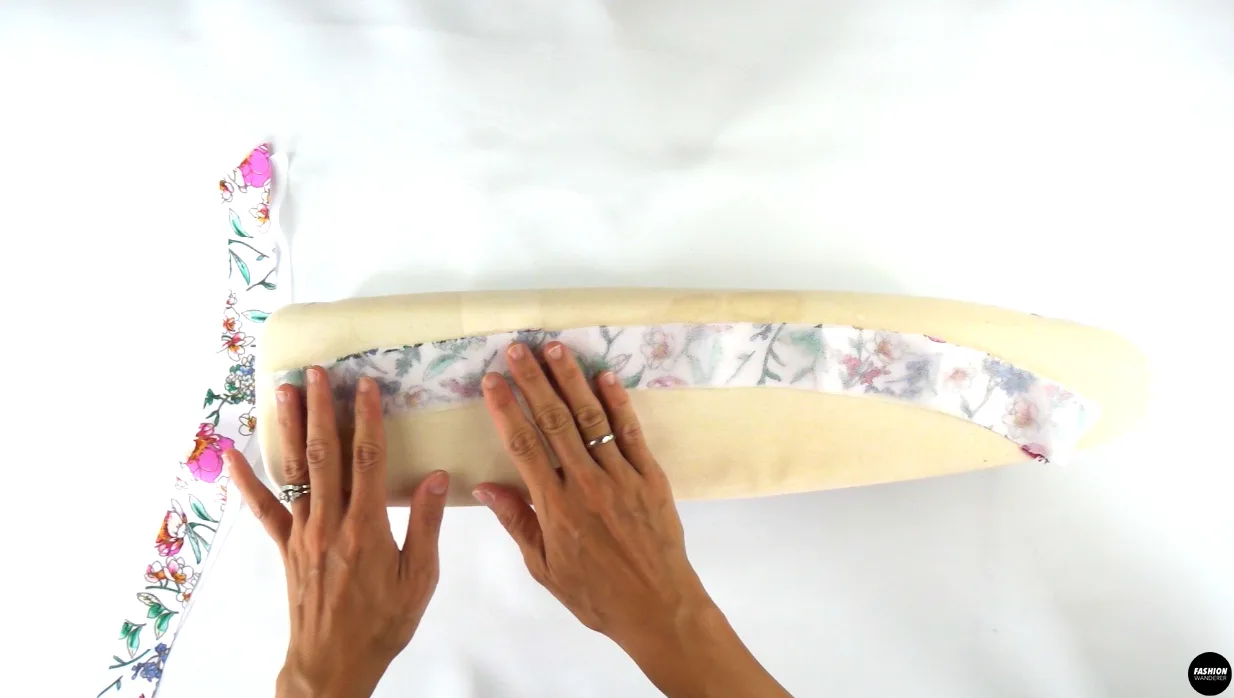
- Use a loop turner to flip the tie inside out.

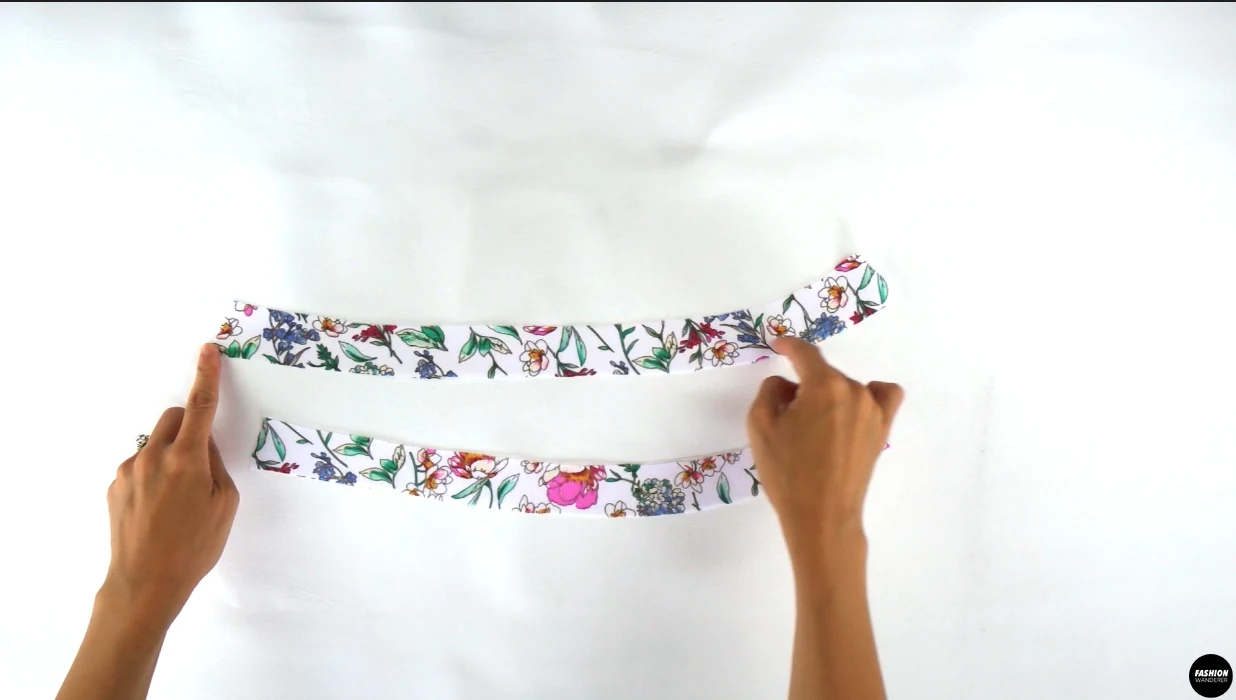
- Slide both ends of the tie opening ¼” inside and edge topstitch.

- Give a gentle press all around the one shoulder long sleeve blouse and enjoy your new outfit.

Recommended Products
As an Amazon Associate and member of other affiliate programs, I earn from qualifying purchases.


Trendy, Affordable Sewing Patterns for All Sizes


Tie Shoulder Jumpsuit Pattern


Palazzo Pants Sewing Pattern


Pocket Overall Romper Pattern


Wrap Maxi Skirt Sewing Pattern


Tie Back Top Sewing Pattern
Dorothy Wong
Saturday 24th of February 2024
Keep up the fantastic work!