
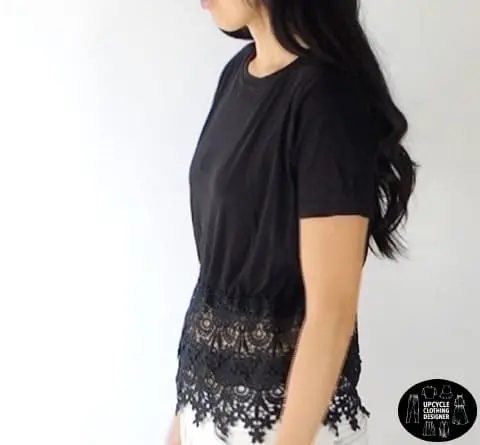
This upcycle clothing tutorial demonstrates how to make a DIY lace peplum top from a t-shirt. Learning how to upcycle is a fantastic way to fill your wardrobe with unique and personalized styles.
I kept the finished look of this lace peplum top very clean. The the elastic band allowed the silhouette to snug gracefully against the body and the lace added a delicate touch. For this project, a classic white t-shirt and white lace can also be substituted for the black color.
The basic principles of upcycle clothing hold true for every project. Recycle old clothes into something new to wear. This DIY lace peplum top is a no sew t-shirt refashion that uses the best fabric glue for clothes instead of sewing with thread.
T-shirt upcycle ideas are a fantastic place to learn thrifted transformations. Turn old tees into new styles by understanding cool t-shirt cutting ideas and a simple t-shirt reconstruction styles.
When you understand the principles of upcycled clothing, the creative opportunities become endless. In fact, you can make mini skirts, crop tops and stylish workout wear using a plain old tee.
Step up to the challenge with me! Let’s push our boundaries and recycle old t-shirts into new clothing so that you can continue to enjoy wearing classic pieces without throwing them away.
More No Sew T-Shirt Upcycle Projects:


What are peplum tops?
Peplum is a short strip of gathered fabric that flares outwards and is often attached to the waist of a woman’s blouse, jacket, skirt or dress.
This no sew lace peplum t-shirt upcycle is easily one of my favorite tops because the classic style pairs well with so many outfits. I hope you also found inspiration within this refashion project.


How do you measure peplum?
Start by determining the length of the peplum piece you desire for the garment. The standard length of a peplum piece is 5″-8″.
Then, measure up from the bottom hemline to adjust for the height of the peplum piece and mark with chalk. Add 1/4″ seam allowance, draw a straight line across and then cut.


Does peplum hide tummy?
Peplum pieces are a great way to hide the tummy. In addition, peplum can add accent or curve to those who lack voluptuous features.
Peplum does a fantastic job at hiding a belly, but also gives volume to those who need a little support. Therefore, if you have too much junk in the trunk, don’t be afraid of covering up with a peplum dress, skirt or top.

How To Make A Lace Peplum Top Without Sewing
This DIY lace peplum top turned into a beautiful piece that every woman must have in her closet. Follow along with the step-by-step instructions to learn how to make a peplum top without sewing.
I recommend a boxy t-shirt style for this no sew tutorial. You will be adding elastic to the waistline in order to give a ballon shape to the silhouette. As a result, the lace peplum really accentuates the figure and gives a classy touch.
Materials
- T-shirt
- 2 ½" Wide Lace Tape Trim
- ⅘" Elastic Band
- Fabric Glue
Tools
- Fabric Chalk
- Measuring Tape
- Ruler
- Scissors
Instructions
- First, measure the length of your t-shirt from top to bottom. Your waistline is around 17” from the neckline opening, so you will mark a dotted line across the t-shirt at this point. Cut the entire shirt along the dotted line.
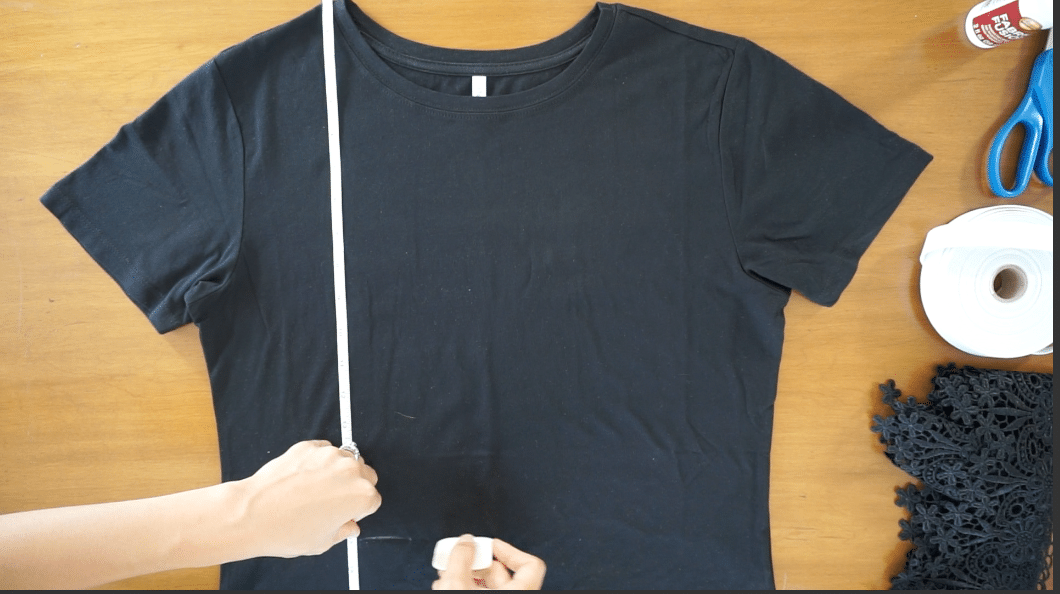

Measuring tip: Start measuring from the seam where neckband is.
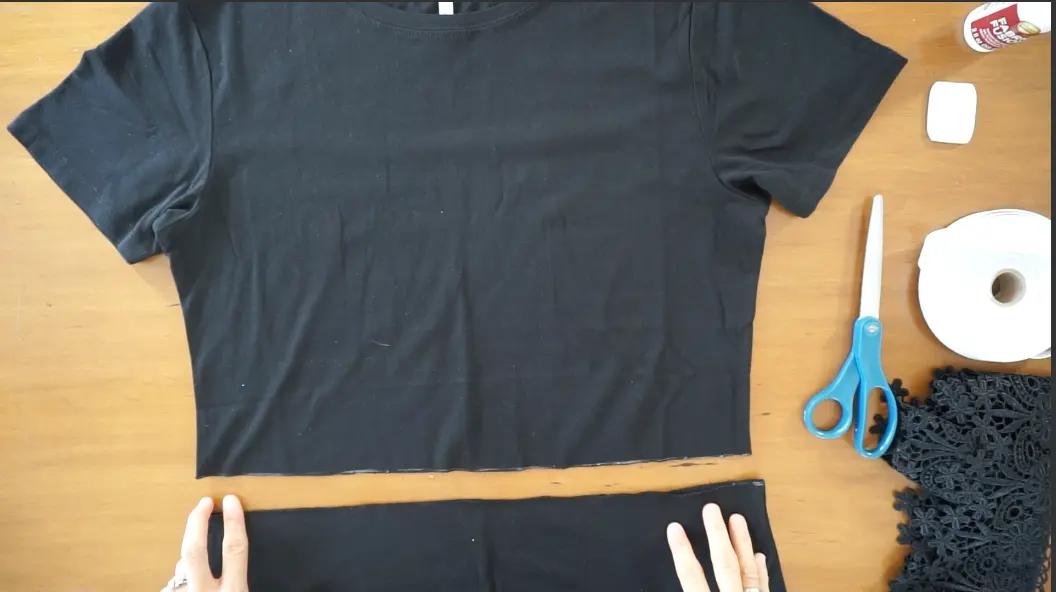
- Measure the new waistline and multiply it by 2. Mine is 18”, so my conversion factor is 36” total.

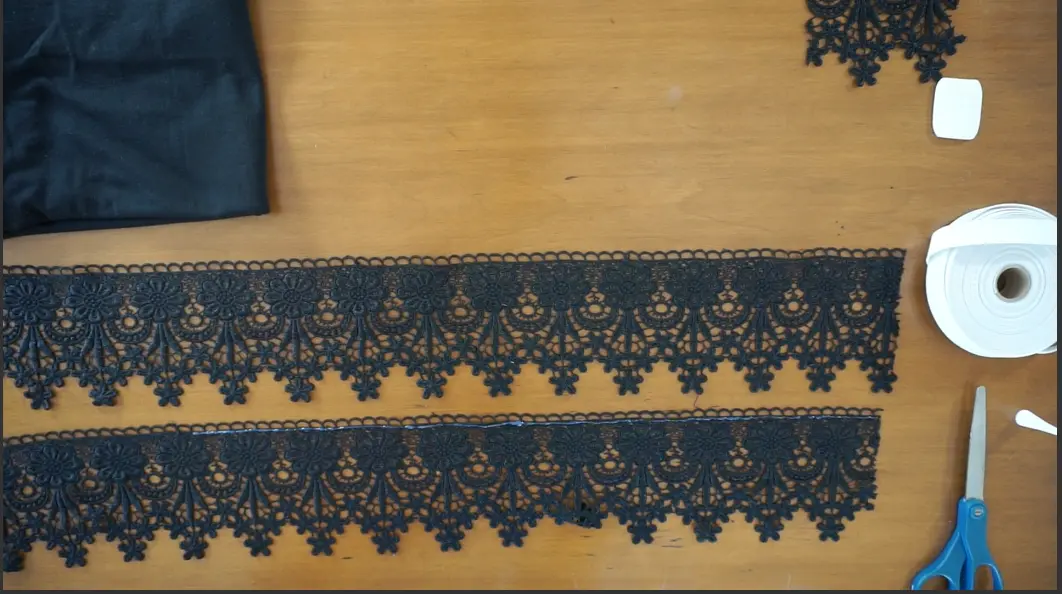
- Next, you want to measure and cut your lace trim.Since I made a double lace layer in this tutorial, I cut 2 separate 36” pieces of lace. When you cut, give ¼” extra room on each because you will glue the lace pieces together to attach them to the waistline.
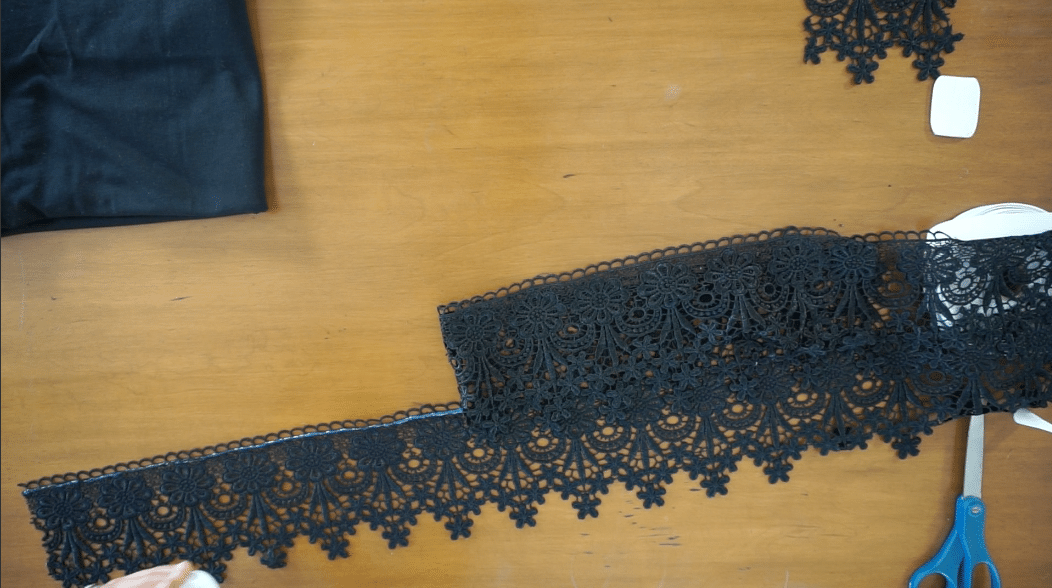

- Now that you have 2 separate lace tape trims, you want to attach them together with fabric glue by overlapping the lace together about ⅘” to 1”.
No sew hack: Make sure you let them dry completely before you touch them. Not all glue is created equal, so read the glue instructions carefully. - To attach the elastic waistband, I made my band length 27”. This gave a relaxed balloon silhouette shape when I wear it.
Measuring tip: I recommend that you measure around your own belly button and add 2"-3” to create your own elastic waistband measurement.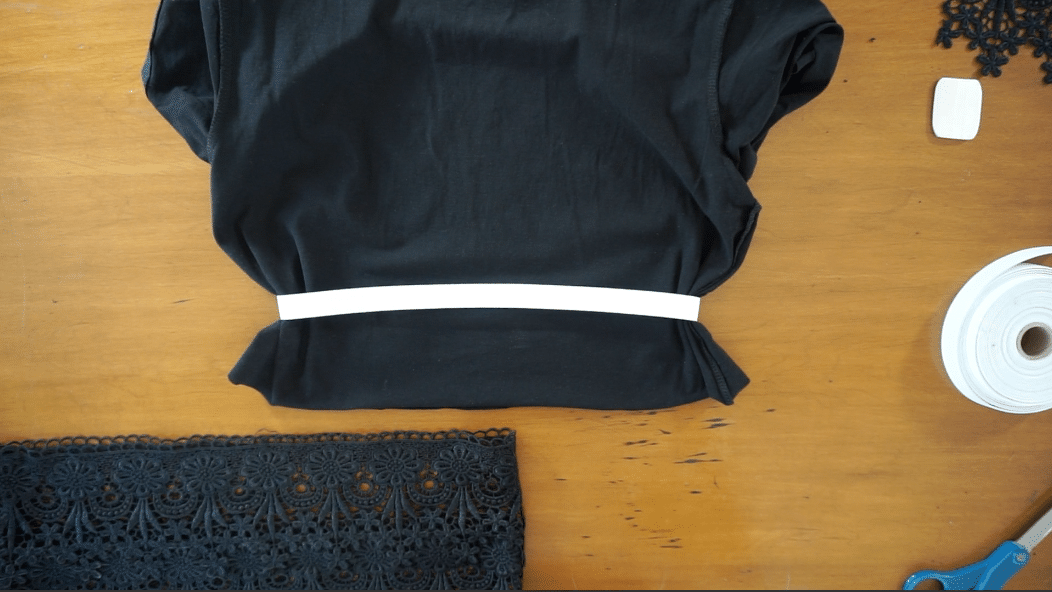
- Before cutting, give ¼” extra length because we are overlapping the elastic in order to glue it together.
Pro tip: Make sure the elastic is completely dried before you attach to the t-shirt.
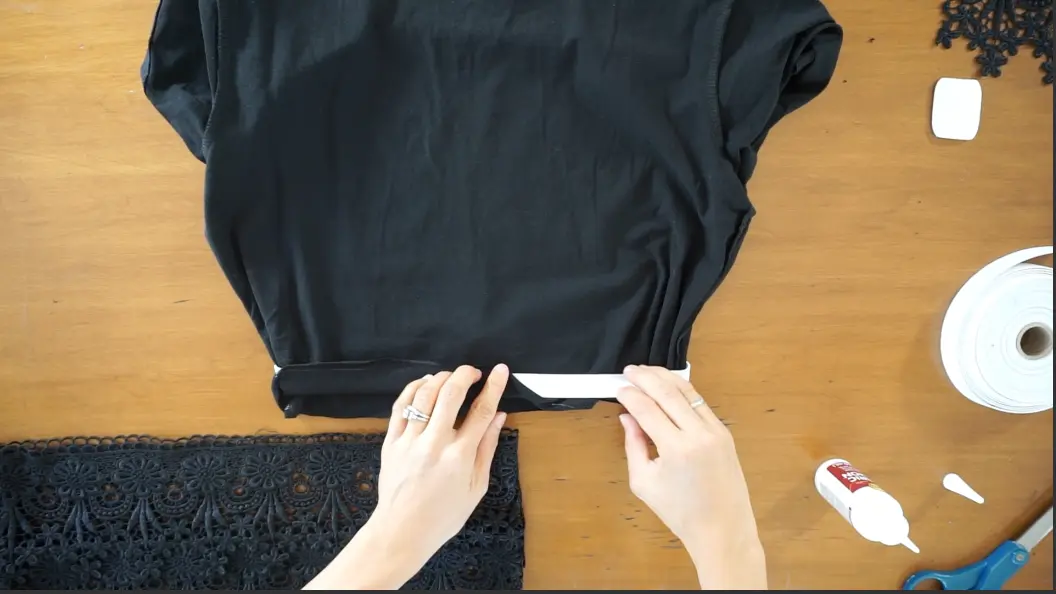
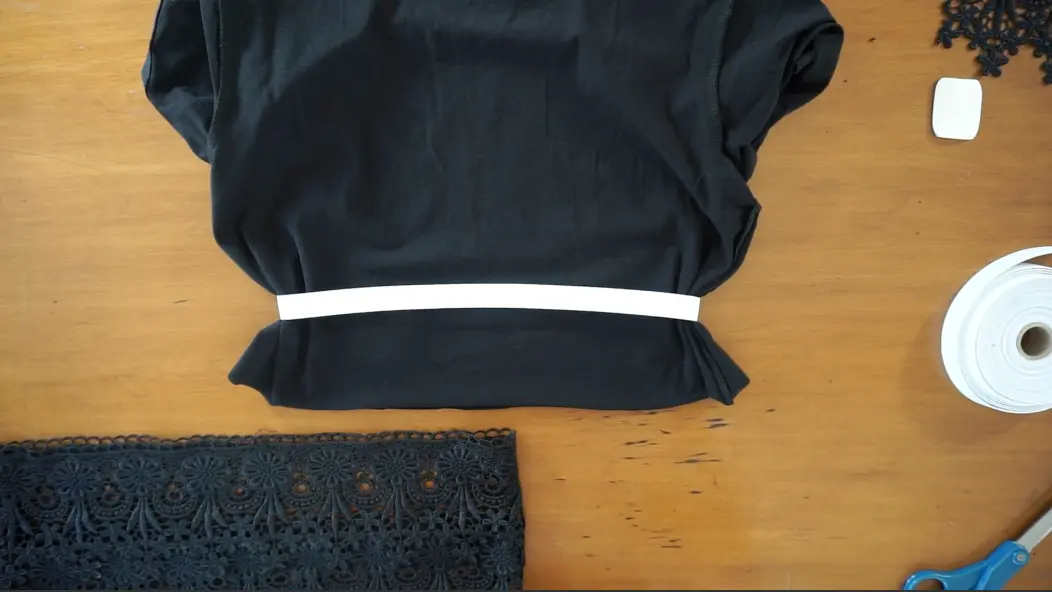
- Let’s flip our t-shirt inside out for the next step! Slip the elastic around the t-shirt towards the bottom hemline. Next, glue around the hemline about ¼” from the bottom edge of the t-shirt. Then, wrap the elastic with the t-shirt hem.
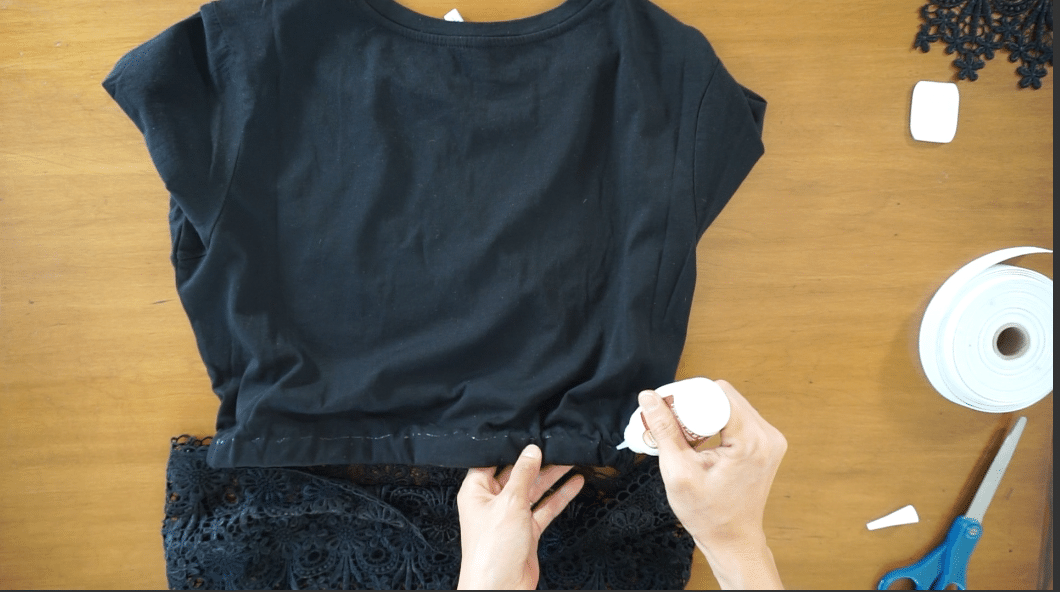
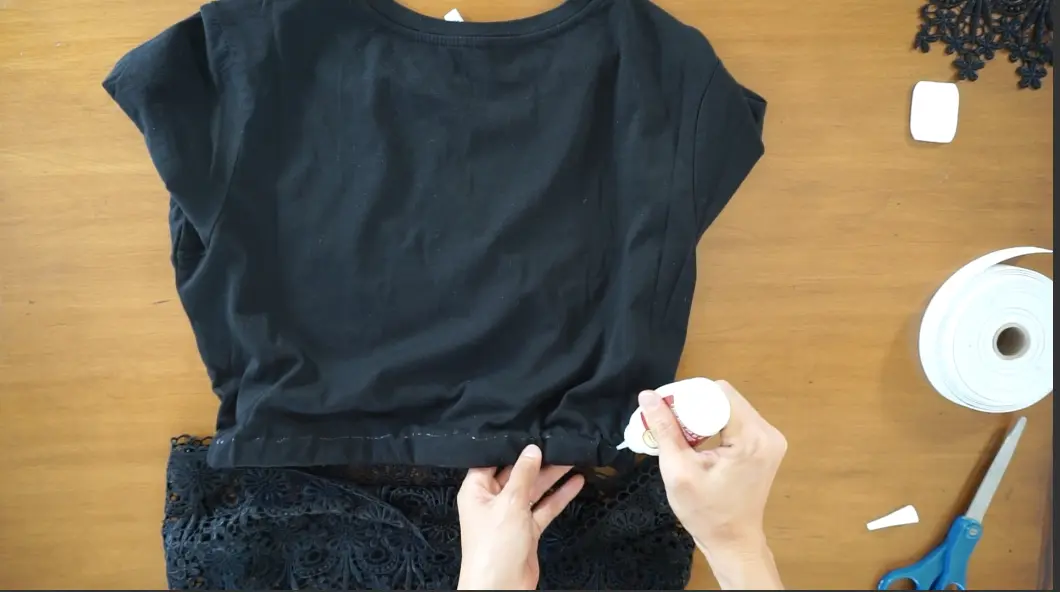
No sew hack: Make sure the fabric is glued properly around the t-shirt. This step takes a little time and patience to finish cleanly. - To attach the lace, notice that the t-shirt has a smaller opening because you have now attached the elastic. So when you glue the lace, I recommend also stretching out the t-shirt to properly glue all around the edge.
Pro tip: Be patient and work on a small part at a time to completely let it dry. I recommend gluing just above the elastic and not on the elastic itself. The lace will also hold together better on the t-shirt rather than the elastic itself.
Notes
For this lace trim peplum DIY no sew t-shirt refashion, I chose a boxy black t-shirt that is 55% cotton and 45% modal. The smooth feel and shiny appearance complimented the lace tape trim.
If you have something similar that is great, but that's perfectly fine if you don’t. A 100% cotton t-shirt will also work for this project as well.
Recommended Products
As an Amazon Associate and member of other affiliate programs, I earn from qualifying purchases.


Trendy, Affordable Sewing Patterns for All Sizes


Tie Shoulder Jumpsuit Pattern


Palazzo Pants Sewing Pattern


Pocket Overall Romper Pattern


Wrap Maxi Skirt Sewing Pattern


Tie Back Top Sewing Pattern
Marianne
Friday 13th of May 2022
SOOO EXCELLENT !!!!! THANX-O-X
Soonjoo
Friday 13th of May 2022
Thank you very much :)