
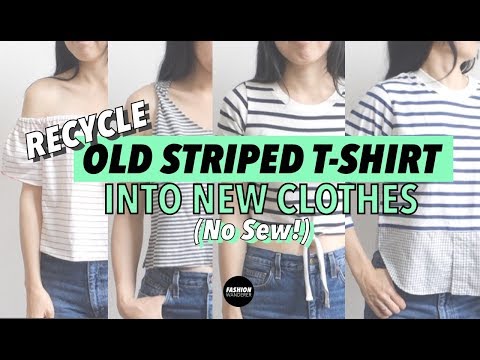
Using simplified no sew techniques, this refashion tutorial shares how to make a DIY off the shoulder t-shirt. Turn an old tee into a new style by following along with these simple upcycle steps.
This project uses no sew reconstruction to transform a t-shirt into this DIY off the shoulder top. However, understanding the basics of how to cut off the shoulder t-shirt helps you to further understand this project.


When it comes to the best t-shirt upcycle ideas, there are many exciting inspirations to choose from. From sewing for beginners to no sew hacks, there are many funs ways to cut a shirt.
How do you recycle old t-shirts into new clothes? Find your favorite upcycle clothing and push your creative boundaries.
There is nothing like wearing personalized and unique outfits. No sew t-shirt refashion is a fantastic place to begin the journey of recycling old clothes into new looks.
Turn old clothing into exciting new styles that you look forward to wearing. In the end, there is nothing like wearing upcycled clothing and being able to say, “Yes, I made that!”


This DIY off the shoulder t-shirt has an elastic band that helps the garment snug nicely on your shoulders. Are you ready for the challenge? Grab an old tee and lets get started!
Recycle Old T-Shirts Into New Clothes Without Sewing:

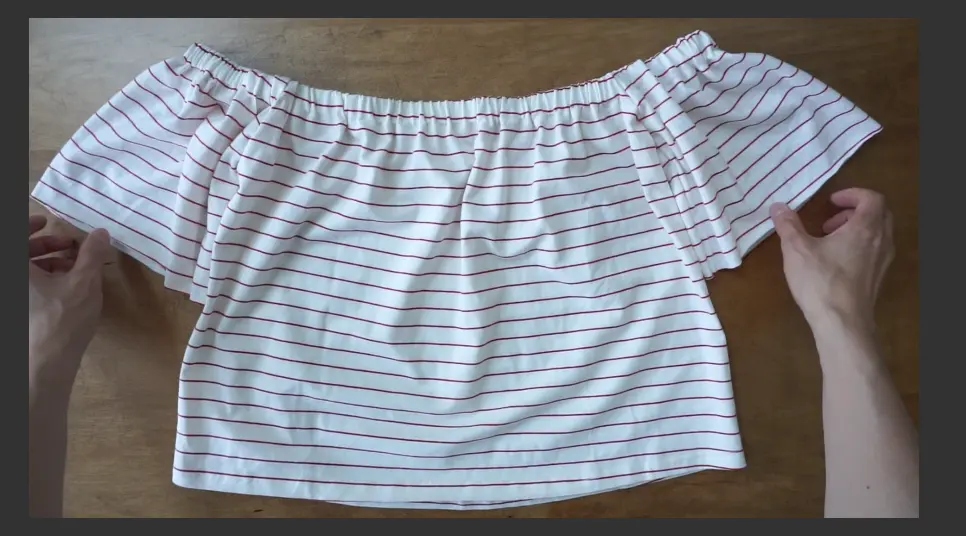
DIY Off The Shoulder T-shirt
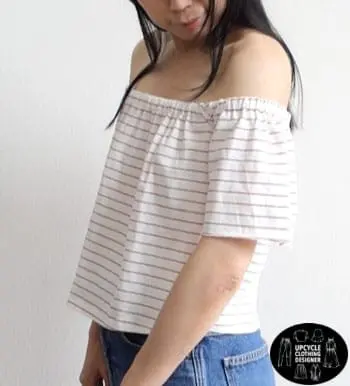
Here is a cute DIY off the shoulder t-shirt that is made from an old tee. It’s a perfect summer piece to wear with denim shorts or jeans to create an adorable outfit on a casual day.
The elastic band hugs gently around your shoulders to great a secure fit. Wear as a off the shoulder top or even as a one shoulder top.
Materials
- Striped T-shirt Dress
- 1” width Elastic Band
- Liquid Stitch
Tools
- Fabric Chalk
- Measuring Tape
- Ruler
- Scissors
Instructions
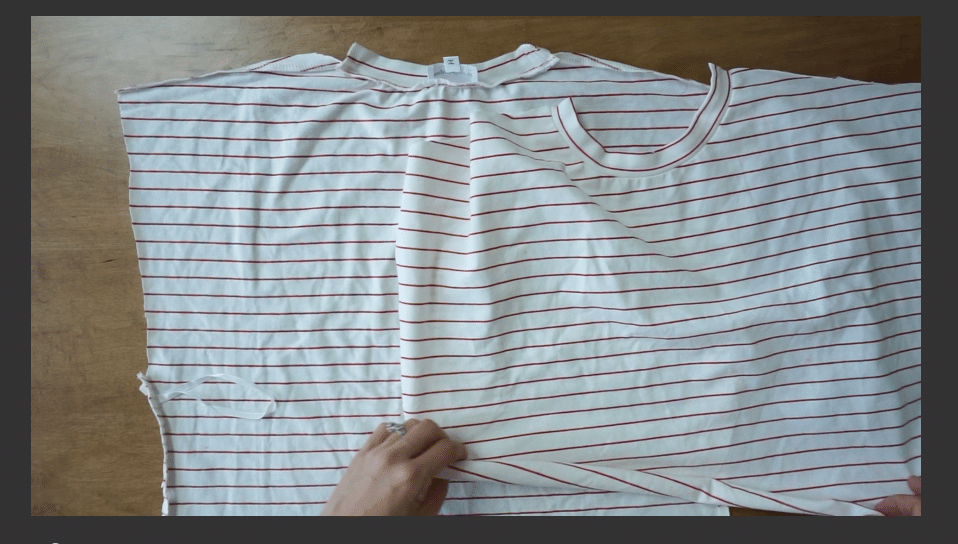
- To make a cropped shirt, measure 16” up from the bottom of the hem and mark a dotted line across the shirt.

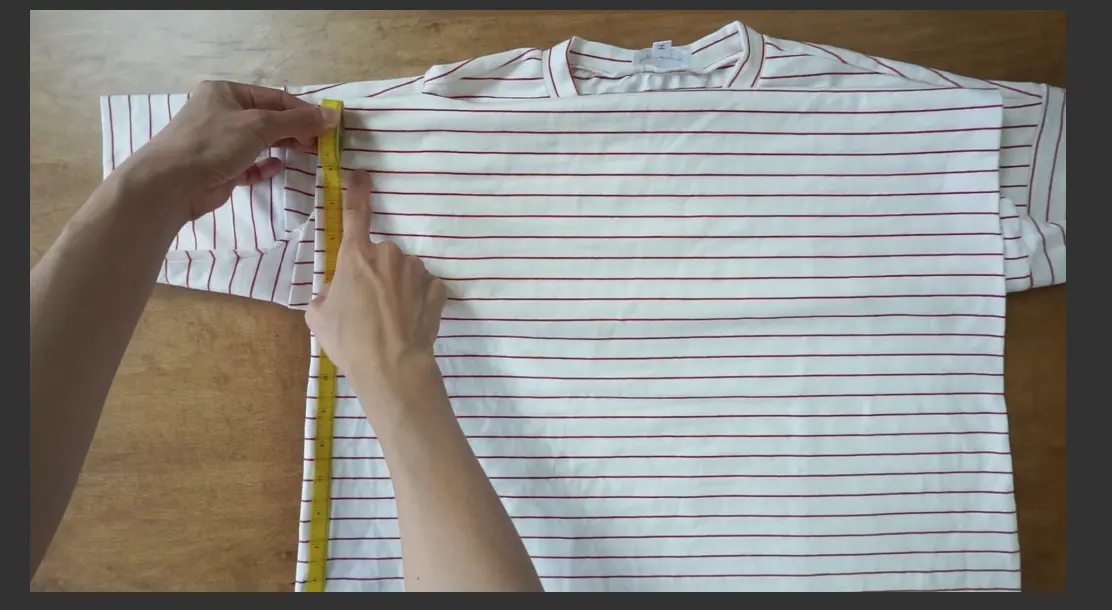
Follow the stripe pattern and cut along the line.
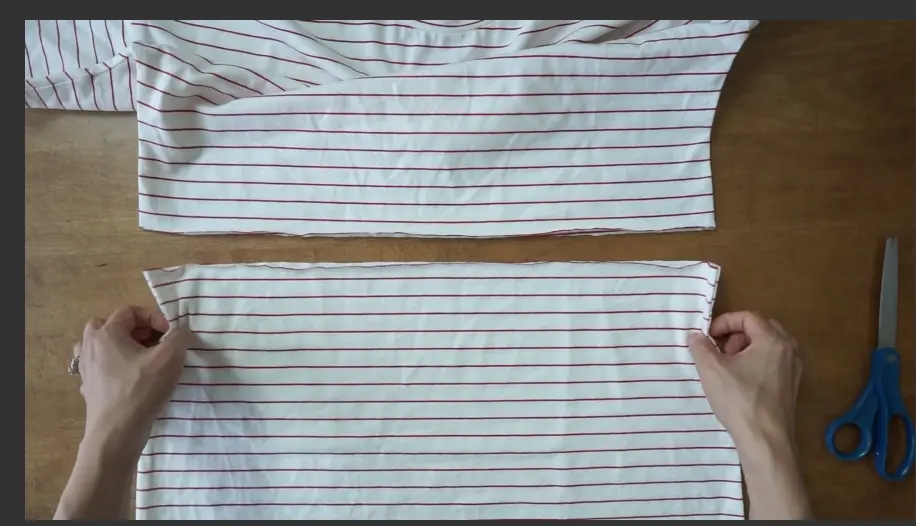
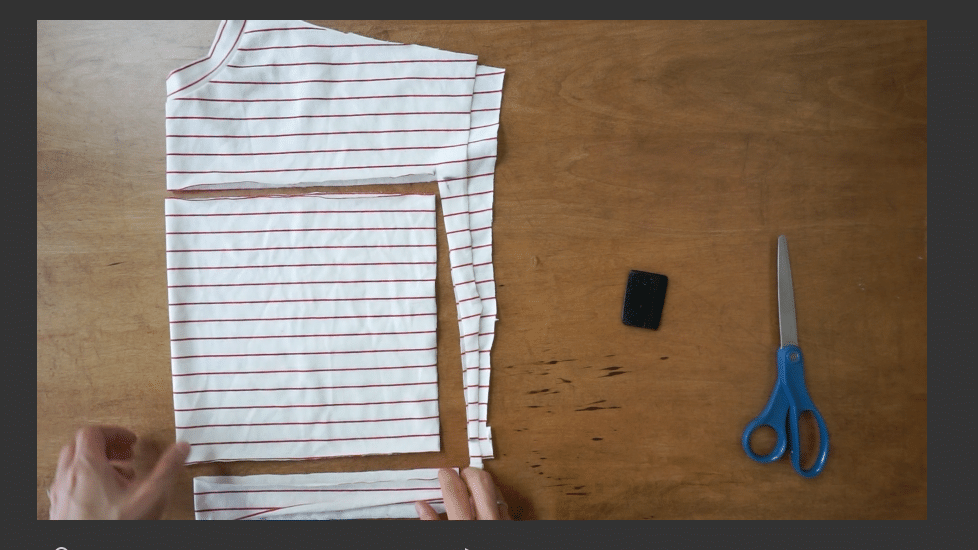
- Next, cut off both sleeves, and also cut open both side seams and shoulder seams. As a result, you have much more fabric to work with.

- Fold the panel in half with the inside facing out. Match the stripes so you have an even look.

- From the folded line, measure 9” x 9"and draw a square and cut along the chalk mark.
Helpful hint: Use a measuring tape and follow along the stripe pattern.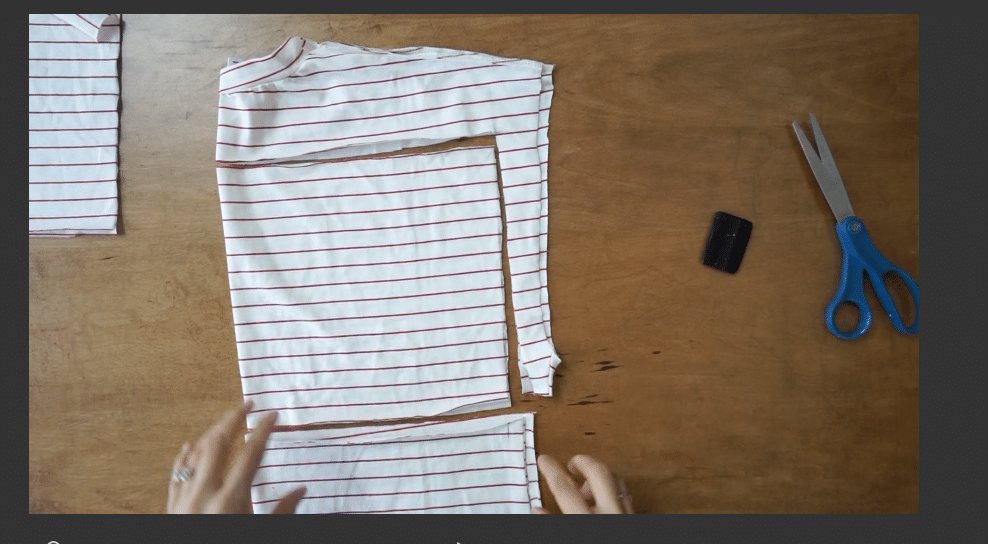

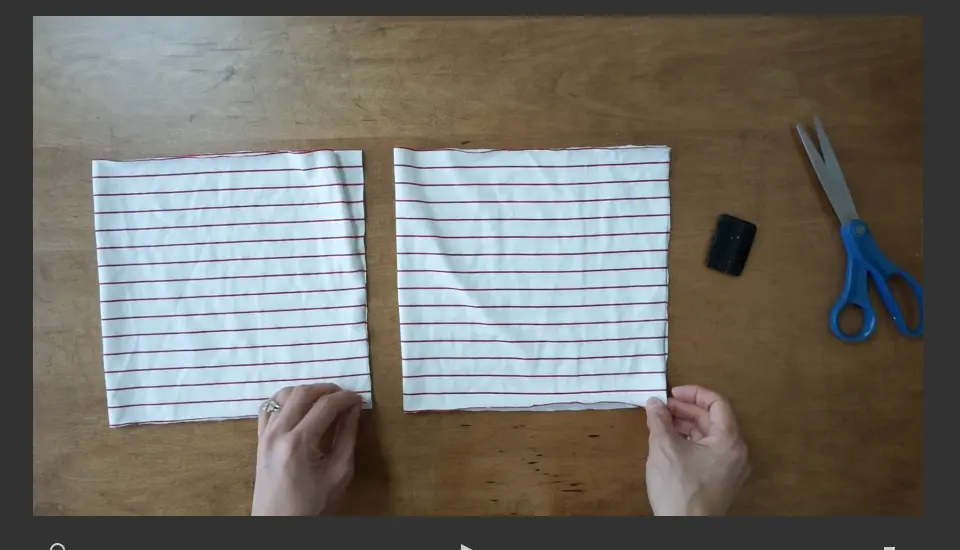
- Do the same with the other piece of fabric. So now, you have two pieces 18” x 9” rectangles for each sleeve.

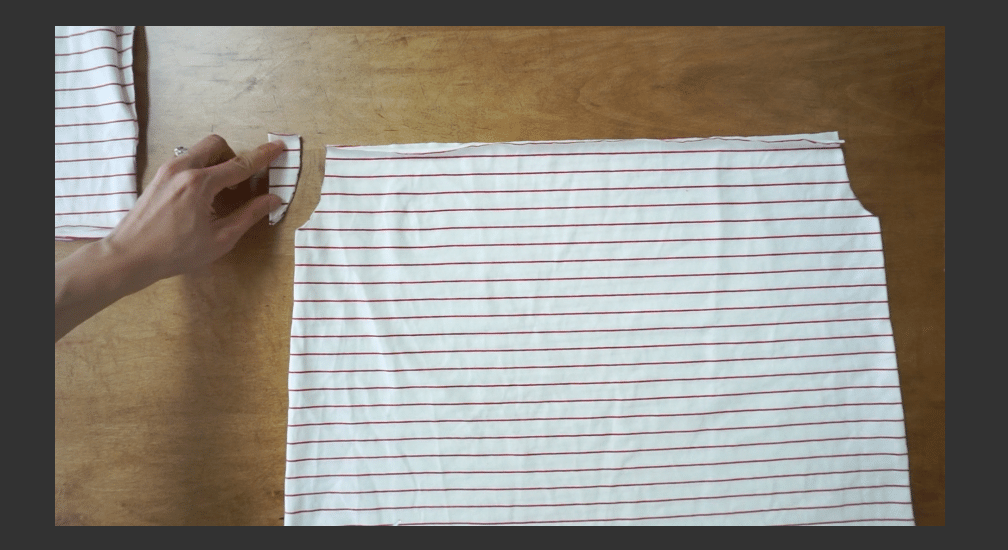
- Next, keep the hem finish of the original shirt as your new shirt hemline. Using the tape measure, start 1” away from the side seam and mark with the chalk. Then, measure 3” down and mark with chalk. Draw a smooth curve line and cut along the chalk mark. This is your new under armhole for the sleeve. Do the same for the other side.

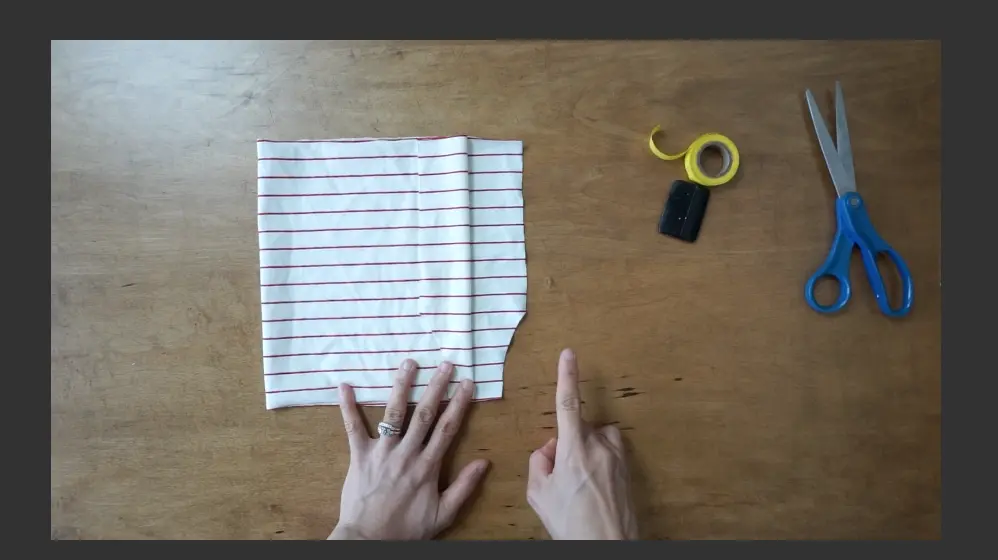
- Grab the sleeve pieces and measure 1” away and 3” down from the raw edges, mark with chalk. Draw a smooth curved line and cut along the mark.

- Make sure the sleeves are folded with the wrong sides facing together. Now, join the side seam of the sleeve with the curve line using fabric glue. Let it dry completely for about 2 minutes and then turn the sleeve right side out.


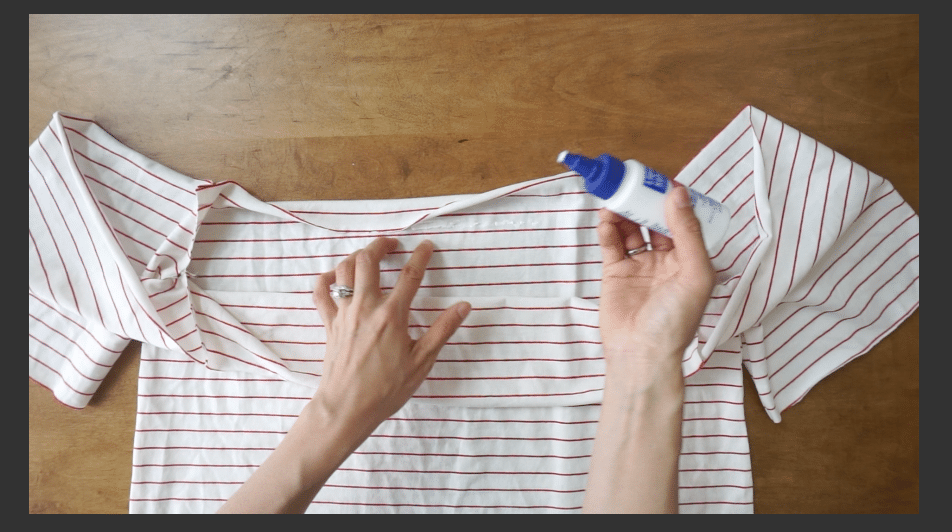
- To join the body and sleeve, lay the body and sleeve armhole flat so it creates a “U” shape. Match the lines of both pieces to glue about ¼” width along the curve line. Again let it dry completely.

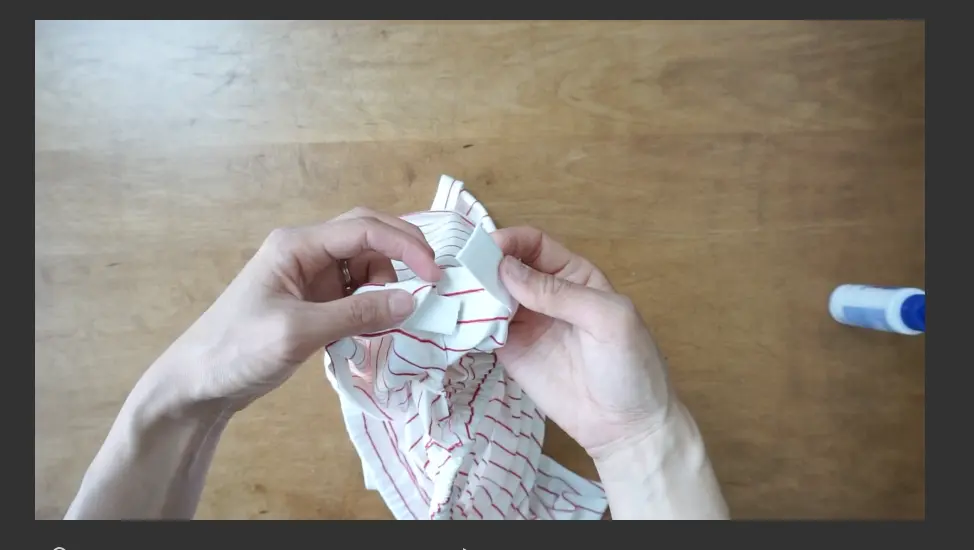
- To make a tunnel for the elastic band, you’ll need to fold the top part of the shoulder about 1 ¼" and glue about ¼” width. At the end, leave a 2” opening to insert the elastic band into the tunnel.


- Slide the elastic into the opening and push the band so it goes around the tunnel. Overlap the elastic and glue the ends together.

- Finally, close the opening to finish the no sew refashion off shoulder top.

Notes
I chose a pinstriped t-shirt dress that was 98% cotton and 2% spandex. Because when adding elastic inside, cotton makes the shirting more rigid and keeps the voluminous silhouette better than rayon spandex fabric.
Try to find a cotton spandex blended knit shirt dress for this project. It greatly improves the finished look of the garment.
Recommended Products
As an Amazon Associate and member of other affiliate programs, I earn from qualifying purchases.


Trendy, Affordable Sewing Patterns for All Sizes


Tie Shoulder Jumpsuit Pattern


Palazzo Pants Sewing Pattern


Pocket Overall Romper Pattern


Wrap Maxi Skirt Sewing Pattern


Tie Back Top Sewing Pattern
Annie
Saturday 2nd of July 2022
Can you sew it instead of using glue?
Soonjoo
Saturday 2nd of July 2022
Absolutely, it'll produce a longer lasting, more permanent result.