Do you know how to finish a seam easily so that it looks professional? Finishing a seam neatly not only makes your garment look store-bought quality, but also keep the edges from fraying.
Seam finishes are not elaborate or advanced, they can be achieved by beginner level sewers as well. Whether you have a sewing machine or Serger, you can achieve great looking seam finishes with these techniques.
How do you finish a seam? A seam finish is done to secure and cut the seam edge to avoid it from unraveling, creating a mess, and fraying. Two of the primary seam finishes are plain or unfinished.
Finishing a seam is perfect for preventing unraveling fabrics like bonded and stable knit fabrics. Finish a seam to make a garment clean and give a professional look to the garments exterior.
If you are beginner and looking for quality sewing practices, start by understanding your Singer or Brother sewing machine to achieve the professional finished garment anytime.
Why is it necessary to neaten a seam?
A seam finish provides tidy and neat insides to any garment made with woven or knit fabrics. A finished seam prevents the fabric from unraveling which can weaken the stitch eventually causing the garment to fall apart.
In addition, the importance to have a neat seam is to:
- Providing strength to a seam
- Avoid fraying and unraveling
- Minimizes bulky appearance
- Offers a decorative aspect to the garment insides
- Offers clean and neat garment stitching
- Employed for hemlines to give a finished fabric edge and necklines.
- Add shapes such as darts that contour the waist, bust lines, and hips.
- Hide the edges of fabric either for practicality or aesthetic purpose.
- Gives longevity to the fabric stitch and seam.
Expert Advice: When applying finishing touches on any seams, make a habit of pressing seams with proper techniques and direction to smooth out the joints on the garment.
What is the fastest way to finish a seam?
When working on a sewing project, you may look for easy and quick ways to finalize the garment and be able to wear them as soon as possible. There are 2 quick ways to finish seams with a complete straight stitch so that you achieve a professional look.
In general, the fastest way to finish a seam on a raw edge is to sew a parallel line. Sew the seam using the seam allowance indicated on the sewing pattern.
After this sew about 1/8 inch away from a straight line off the raw edge. Maintain short stitches to reduce fraying.
Here are the 2 primary fast techniques to finish seam are:
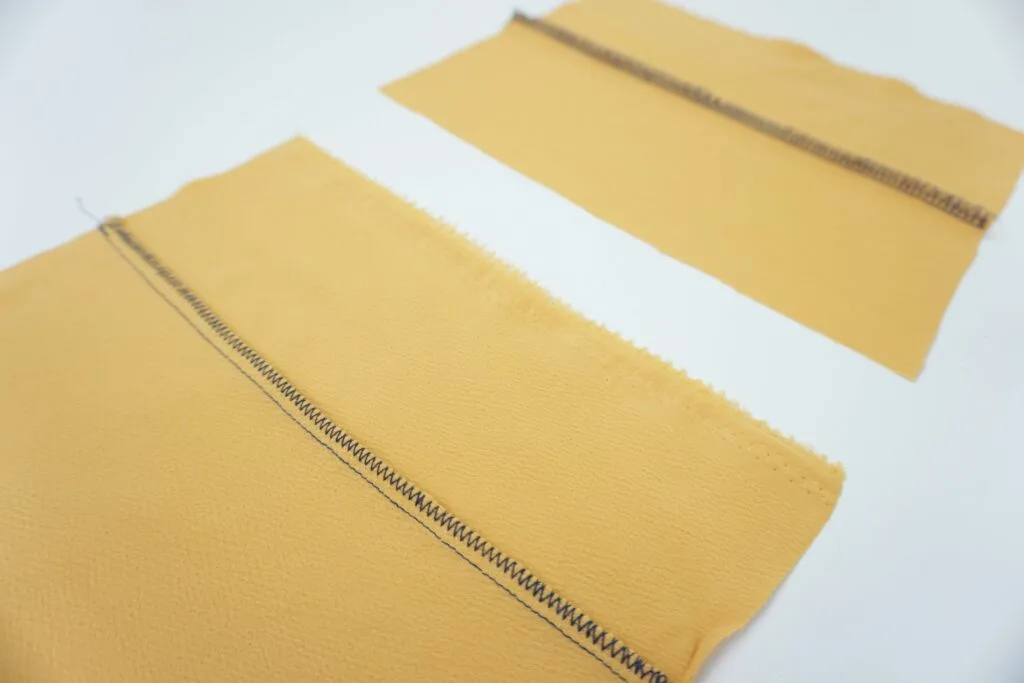
- Zigzag Stitch- After sewing the seam, zigzag the seam allowance together and trim the extra. No hassles of pressing and extra tools are required. For thicker fabrics, it is recommended that seam allowances are zigzagged separately.
- Using a serger- This multi-thread tool trims the allowance and sews a seam along with encasing the raw edge in a go. The seam is clean and fast.
Setting up proper tools to sew seams for fabrication is important. Depending on the sewing machine and stitching method you choose, make sure to put on the correct sewing foot to accomplish zigzag stitch on regular or serger machine.
Also, if you are working on knit fabric, replace the sewing machine needle with ballpoint needle to complete the inside seams and hems.
What is the difference between stitch and seam?
Stitches and seam types are very important for any garment. The terms are used interchangeably in pattern instructions and step by step tutorials.
However, these terms are not the same and each has its own meaning and value.
A stitch is an individual formation of thread that joins 2 or more fabrics, a sheet of fabric or a piece of fabric and a sheet together. While a seam is a line or collection of stitches where 2 or more fabrics/sheets are joined with the help of stitches.
In other words, a stitch is an interlacing of thread in a specific repetitive configuration while a seam is a line of stitch to join the fabrics.
- As nouns, the difference between the two is a seam is a folded and stitched fabric piece while a stitch is a pass of a needle during sewing.
- As verbs, the difference is that a seam is to combine while a stitch is a thread stitched in.
What are the types of seam finished?
From zigzag to bound stitch, there are many types of finishing seam methods. With limited tools and resources, you may be concerned with being able to achieve all the finishing with a basic sewing machine for beginner.
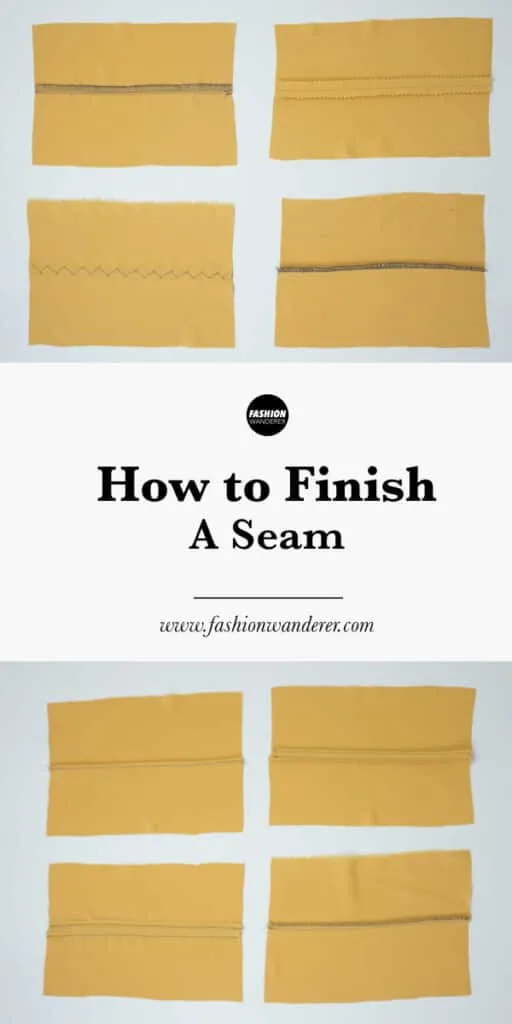
Depending on your comfortability, there are 10 types of seams finishes for you to choose from:
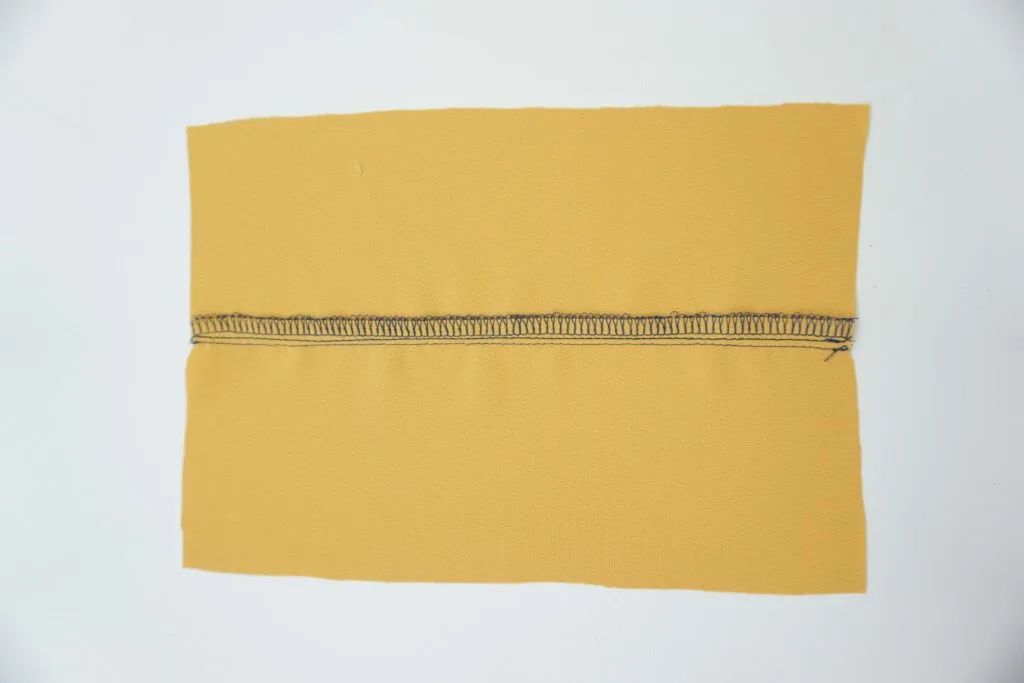
Double Stitched- This seam is sewing stitches in a second row around 1/16” off the original seam. It could be a zigzag or a straight stitch. It is generally sewn on curled material.
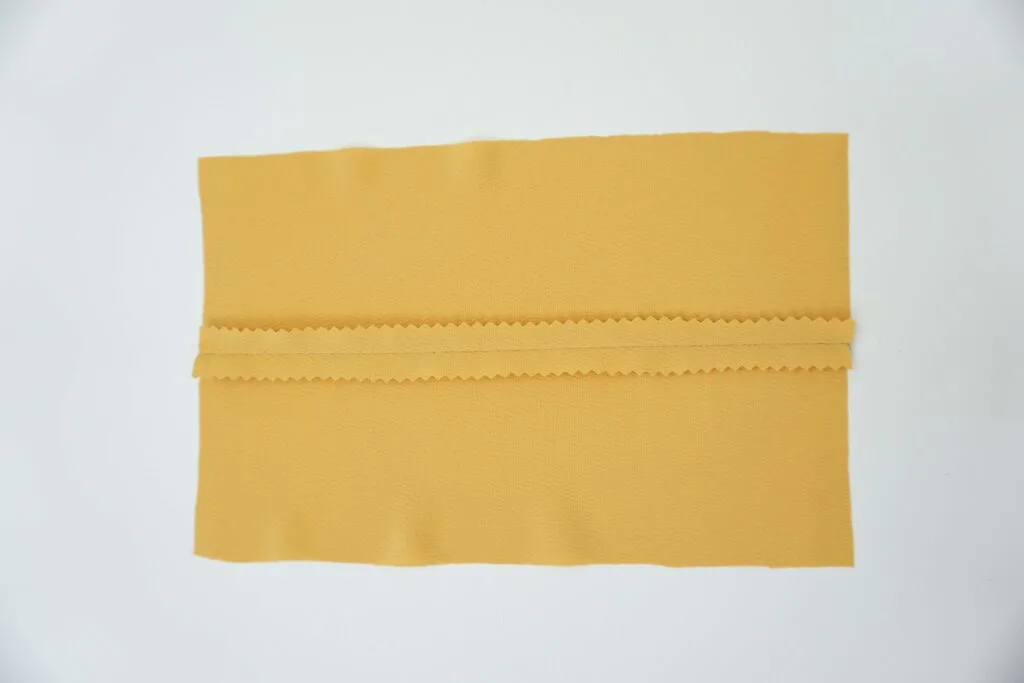
Pinked- This type of seam is provided by cutting the seam edges with pinking shears. It is simple, fast, and easy, however it does not suit raveling material such as satin.
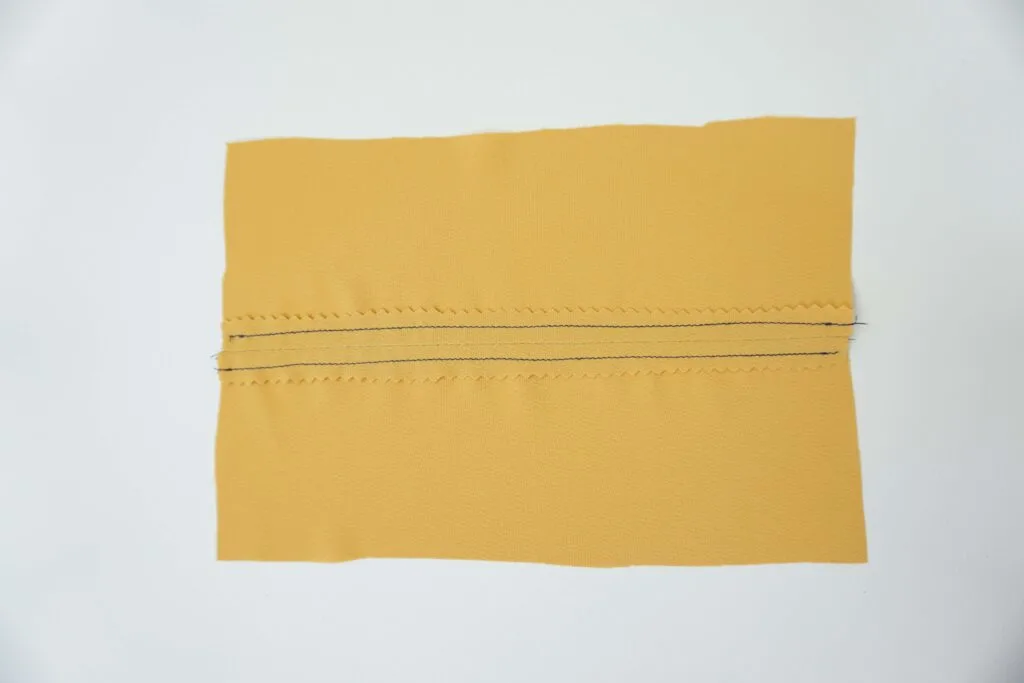
Stitched- Fabrics are put together in a row of stitches and then use pinking shears to trim the raw edges. It is not appropriate for raveling fabrics.
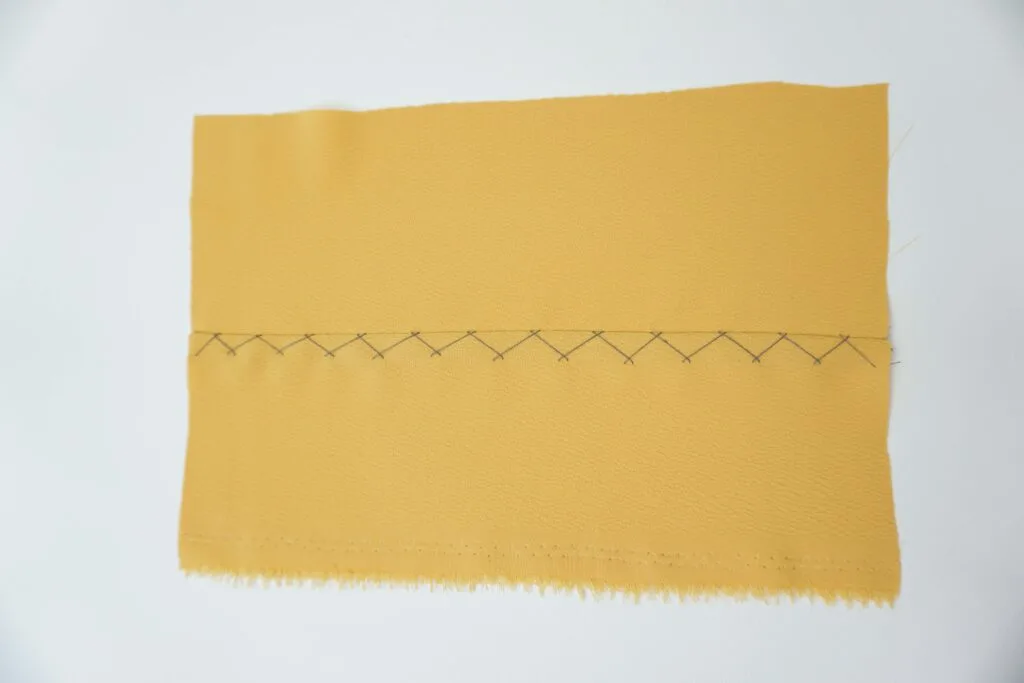
Herring Bone- Fold the edges flat and work with a herringbone row of stitches. It is ideal for heavy outerwear fabrication.
Hem Stitched- Raw edges are pressed after folding and stitched with a hemstitch. It is similar to herringbone stitch and shows the stitch line on the right side to give a decorative look.
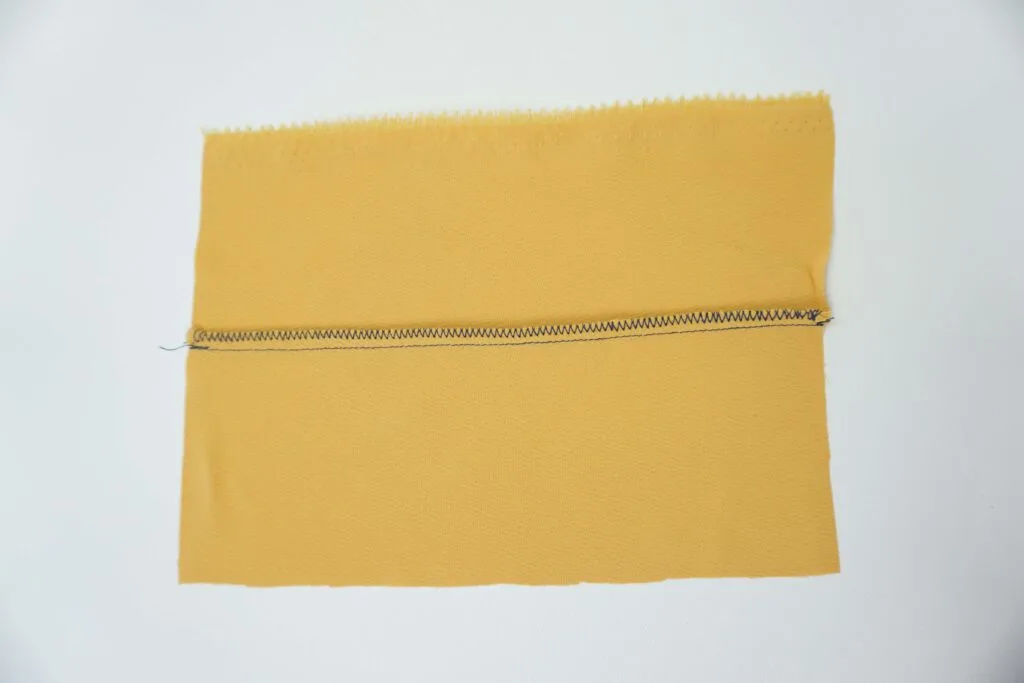
Overcast- The overcast finish works well for both thick and thin fabric. First a plain seam is made while the raw edges are finished with overcast stitches. It is recommended to use along the armhole, yoke, and in certain hemline situations.
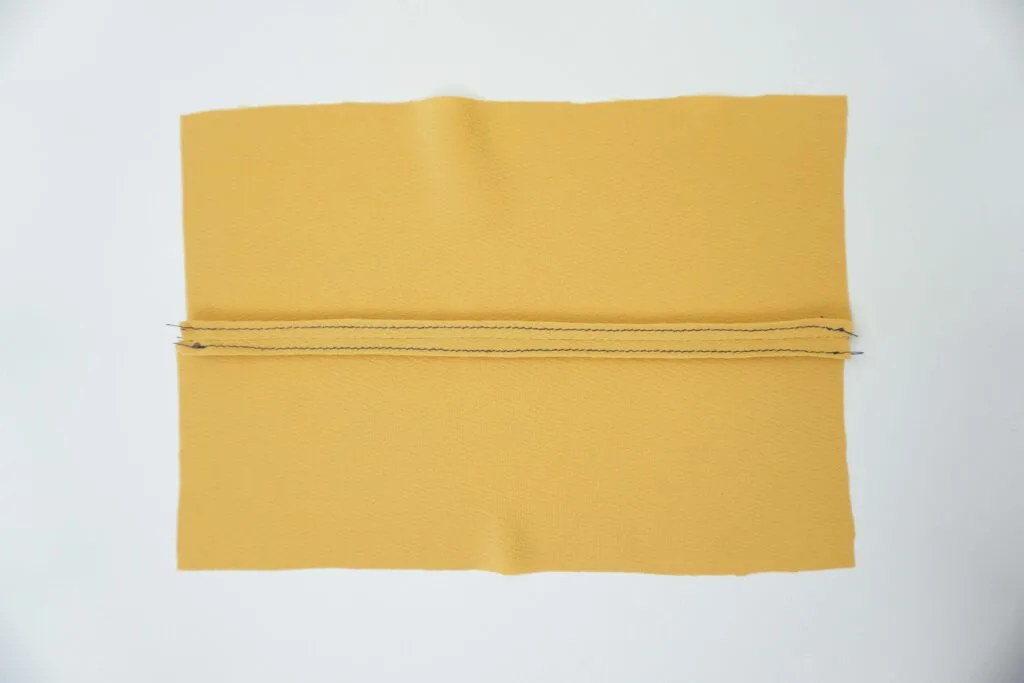
Edge Stitched- The raw edges are pressed open and folded about ⅛” down with a row of topstitch done without attaching to the garment. Due to the thickness of the seams, avoid using it on curved seams.
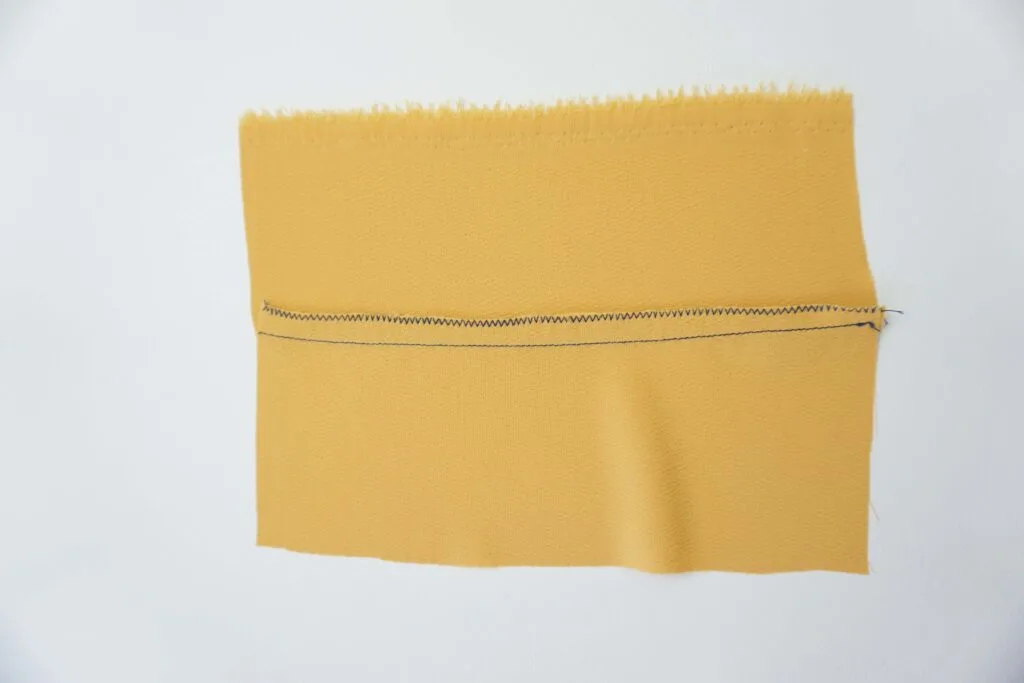
Zigzag- Hold the seam edges together and use row of a zigzag stitch with Serger or regular sewing machine. It works on any fabric including fur material.
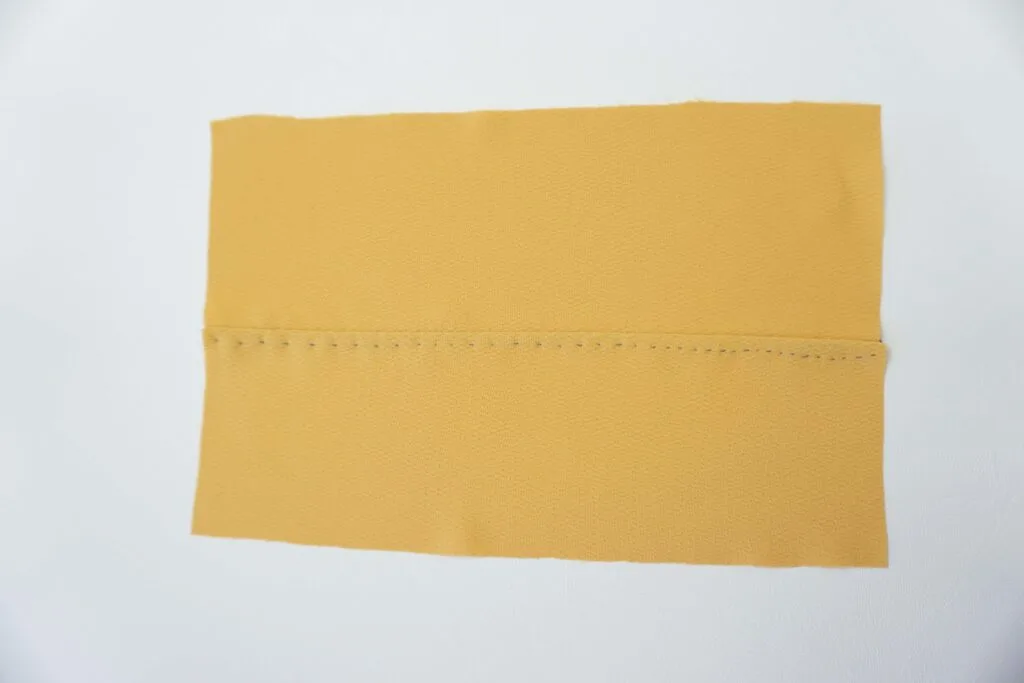
Bound- Stitch around the wrong side on the open seam with a stitch along the seam line. Make sure the wider side of the tape is underneath. The bound seam finish technique is great for unlined coats or jackets to give clean finish inside.
Net Bound- If you are working with delicate fabrics, use the net bound seam finish technique. Insert folded covering which are typically nylon or a net strip of fabric along the seam and sew.
Seams possess raw edges that can fray and unravel. These raw edges should be finished to avoid separating using different methods including double stitching, hemstitching, bound finish, and a zigzag stitch, all depending on the garment and fabrications.
How to finish a seam by hand
Sometimes when working with a new type of fabric, you aren’t comfortable using the machine to finish the seam. Depending on your experience or limitation on the machine itself, you may easily finish seams using hand stitching.
To finish a seam by hand, you need to cut the seam allowance to about ⅛ inches. With every stitch, hold a thread from the fabric body to ⅛ inches from the fabric seam. Afterwards, pass the needled thread through the allowance just over the seam.
Here is how to finish a seam by hand step by step instruction:
- Cut down the seam allowance to ⅛” from the indicated original allowance.
- Catch 1 thread from the body of the fabric ⅛” from the seam and then pass the needle through the seam allowance just above the seam to overcast both seams.
- Continue the seam by catching a single thread of the main fabric each time.
- When the edges are completely bound, then the seam is finished.
When you are using basic hand stitching to finish the seam, loop through an existing stitch, backstitch, and hide the knot technique. These method will hold the thread secure on the garment so that it will not lessen or unravel.
How to finish seams without a serger?
As a beginner with limited tools, you may find it difficult to achieve professional looking finished seams without owning a serger machine. If you are on a budget, there are a few ways to finish seams using pinked, zigzag, turn and stitch, machine overcast, french, bound or net bound seam finishings.
However, to imitate the serger stitches, here are step by step instructions on how to finish seams without a serger:
- Prepare sewing thread of garment color and sewing machine.
- Set the sewing machine to zigzag stitch with a short stitch-1.5mm length and 2mm width. Adjust according to your choice and fabric type.
- Align the seam edges for the needle to prevent striking to close to the seam edge. This will also avoid bunching up of the sewing thread.
- Use zigzag seam finish by beginning from one seam edge. Then, zigzag stitch uniformly all along the edge until the end.
- The ending should be nice and professional. The zigzag pattern should be neat and clean.
- Repeat the process on the other side. This will provide a neat finish on both sides of the edge.
- Trim the small amount of seam edge that is not stitched. You can use normal scissors to do this as it will prevent the outer edges from fraying.
- The outer edges of the garment should be reinforced using a zigzag pattern.
Finishing a Seam: Final Thoughts
To avoid fraying, unraveling, and loosening of stitches, you ought to finish a seam the correct way. They are particularly essential for woven, knits and raveling fabrics.
A seam finish will provide the fabric with a neat and clean look without creating any mess. They also provide your garment with a decorative appeal and professional external and internal fabric look.
The best way to finish a seam is with a serger. It gives a clean look with a professional closure to the raw edges.
However, there are ways to finish a seam without a serger by using different sewing machine stitches like zigzag, bound, herringbone and so forth as described above. Furthermore, you can hand stitch the seam so that you don’t use a sewing machine.
There you have it, everything that you need to know about finishing a seam. Follow the sewing tips discussed above and you will be able to achieve a professional look for all your seam finishes.
