
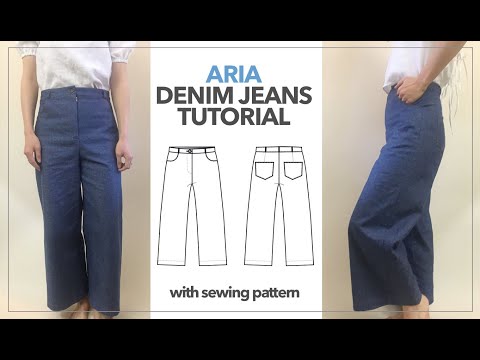
Have you tried to make high waist wide leg jeans from scratch? This sewing pattern makes it easy to sew jeans with a perfect fit all around.
From snugged high waist to wide leg silhouette, this Ari jeans is the perfect addition to your DIY clothing wardrobe.
How to make high waist wide leg jeans from scratch? Start by pre-washing and ironing the denim fabric. Lay the Ari jeans sewing pattern along the selvage of the folded fabric to begin cutting.
Simply, follow the sewing instructions to assemble the front and back pocket, waistband, zipper and button closure.
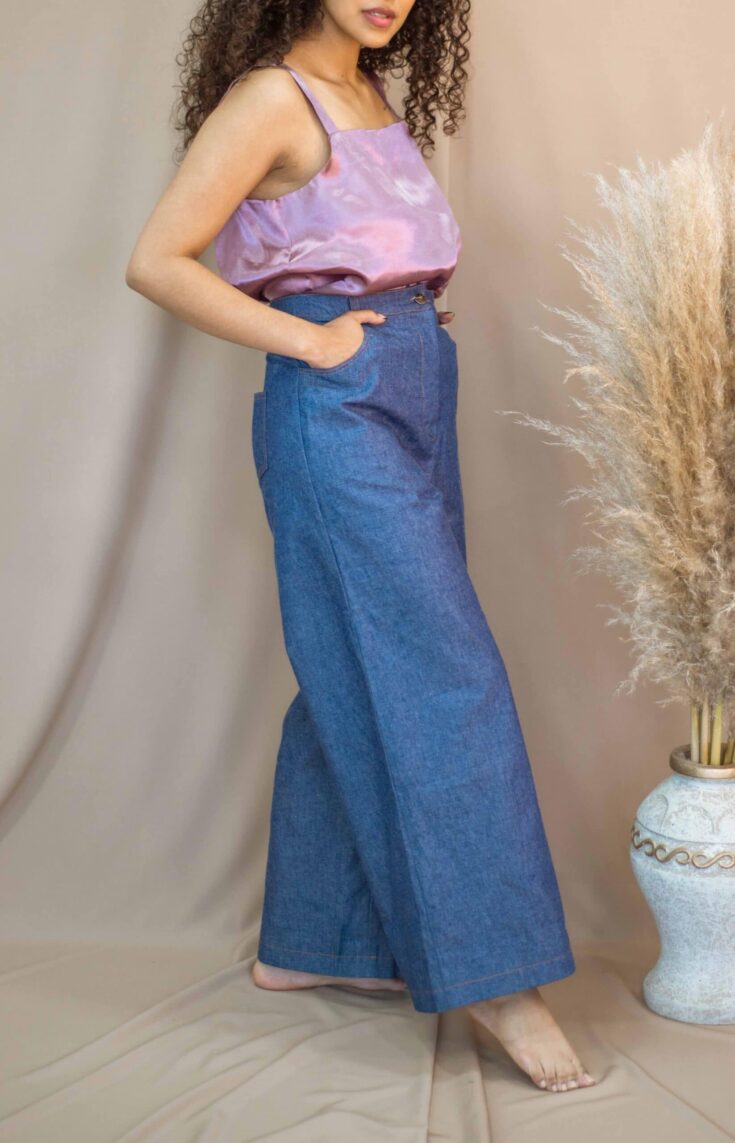
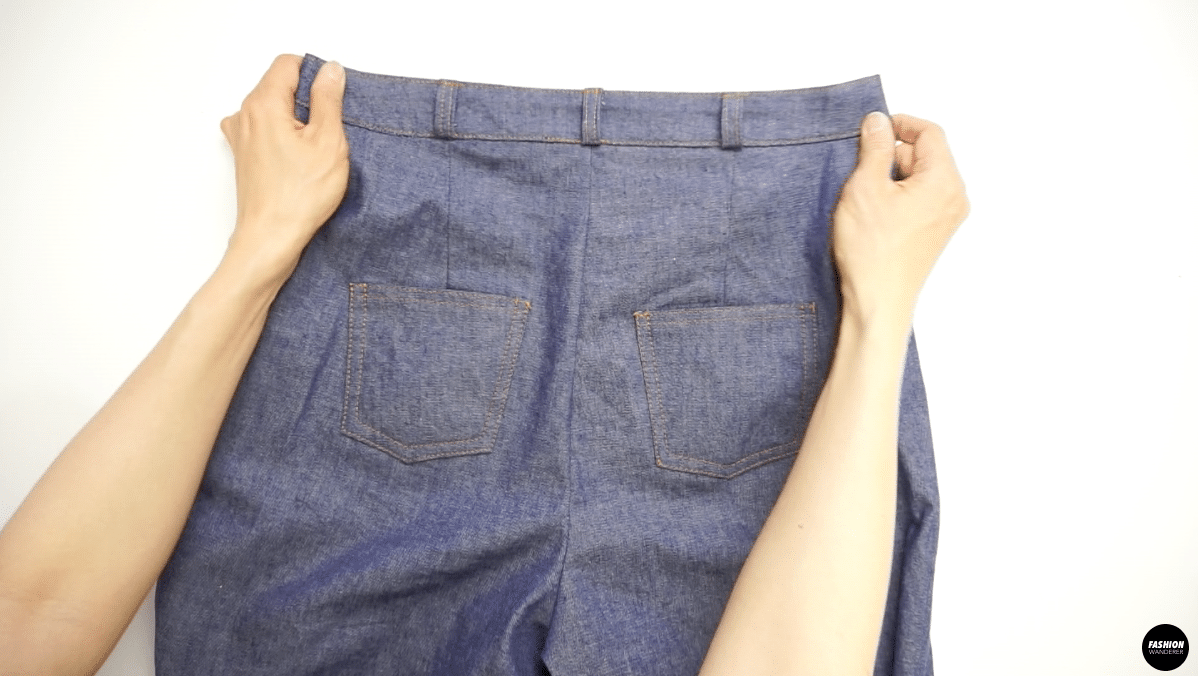
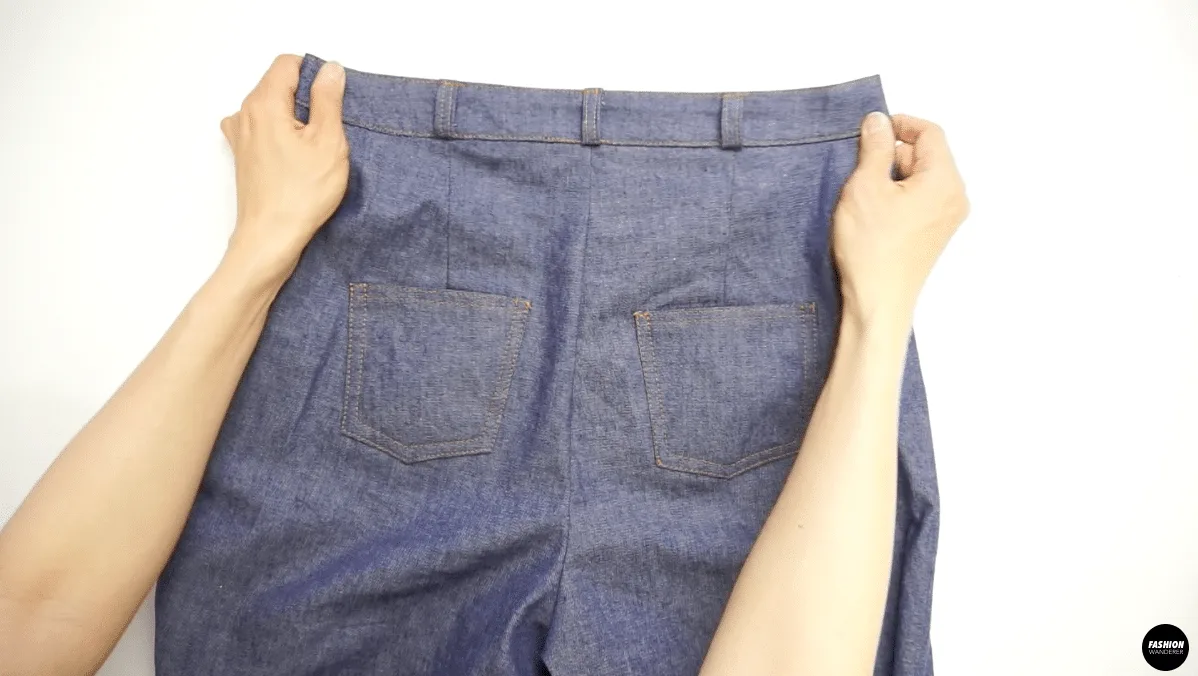
The high waist and hips fit like a glove with the flare at the hemline to give you a slim and elongated silhouette. This pair of jeans has a cute back patch pocket and belt loops to insert your favorite belt or belt bag of your choice.


High Waist Wide Leg Jeans Sewing Pattern


You will love this DIY denim jeans because…
- The Ari jeans sewing pattern comes in measurements ranging from size 2 to 12.
- Use correct jeans sewing needle and heavy duty thread to accomplish strong seams.
- Add contrast color thread for topstitches along the waistband, pocket, and hem for a professional look.
- Easy-to-follow sewing project for beginner and intermediate level sewers.
- Learn how to insert zipper with zipper fly piece properly.
Use this DIY high waist wide leg jeans tutorial and sewing pattern to customize the length of the DIY jeans to give the look you are after.
Simply download the Ari jeans sewing pattern and select medium weight non-stretchy denim fabric to make your own jeans from scratch. Always test the stitching on fabric scraps to adjust tension and stitch length that works best for your material.


How to make high waist wide leg jeans
To make a pair of high waist wide leg jeans from scratch may sound time consuming. However, the perfect fitting sewing pattern and detailed step by step instructions will help you to reduce the sewing time and avoid any mistake.
How long does it take to make a pair of high waist wide leg jeans? In general, preparation time is about 45 minutes to cut pattern and fabric including the interfacing that needs to be added to the waistband. On the other hand, assembling the jeans together will take about 3-4 hours based on your experience.
Check the thread on the bobbin and replace the universal needle with a heavy duty needle to prevent broken needles or change the needle if it is dull before starting to sew the durable fabric.
These simple preparations can save you tons of time, prevent sewing difficulties and reduce going back and forth.
DIY High Waist Wide Leg Jeans Tutorial Material:
- Ari Jeans Sewing Pattern
- Medium Denim Fabric 2½ yards for 60” width or 3 yards for 45” width
- 1 piece of ⅞” or 24mm Jeans Tack Button
- 7” or 18 cm #5 Brass Close-End Jeans Zipper
- ½ yard or 30 cm of Medium Weight Iron On Fusing
- Measuring Tape
- Disappearing Fabric Pen
- Ruler
- Pins
Gather all the sewing tools and thread options to get it started. If it is your first time to sew denim fabric, this sewing project is perfect exercise to improve your sewing skills.
To help you guide through this tutorial, I’ve put together important sewing tips and step by step instructions to accomplish this DIY high waist wide leg jeans from scratch.
To make a DIY high waisted wide leg jeans, start by cutting out the pattern pieces and the interfacing.


Attach the pockets on the front leg pieces.
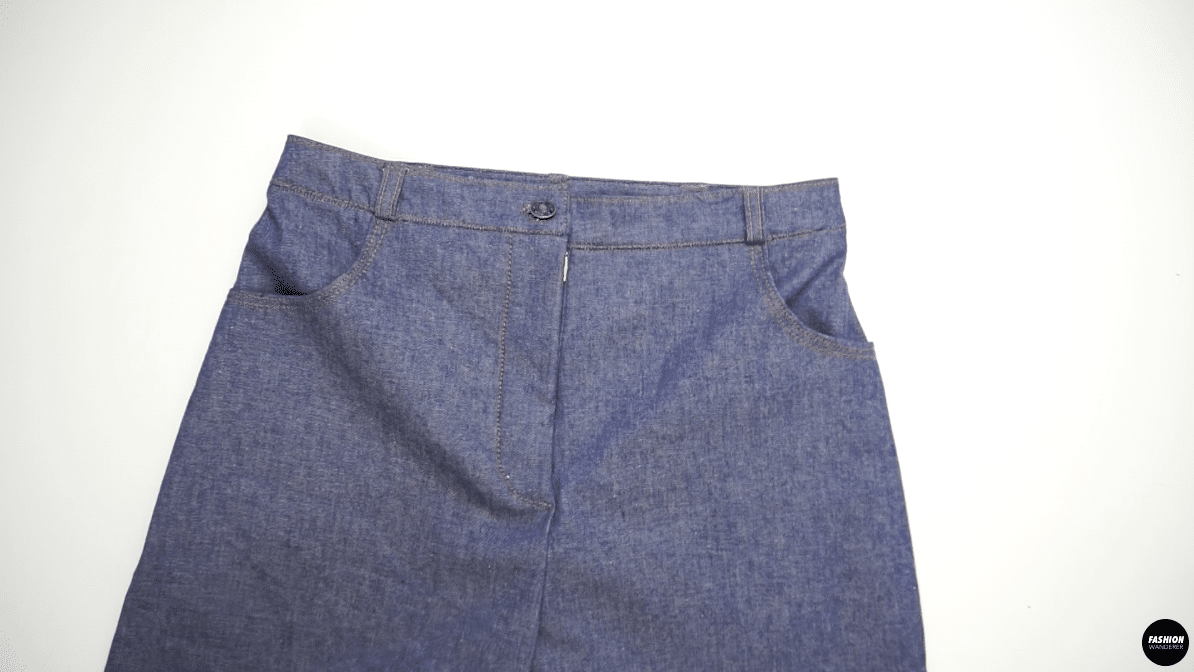
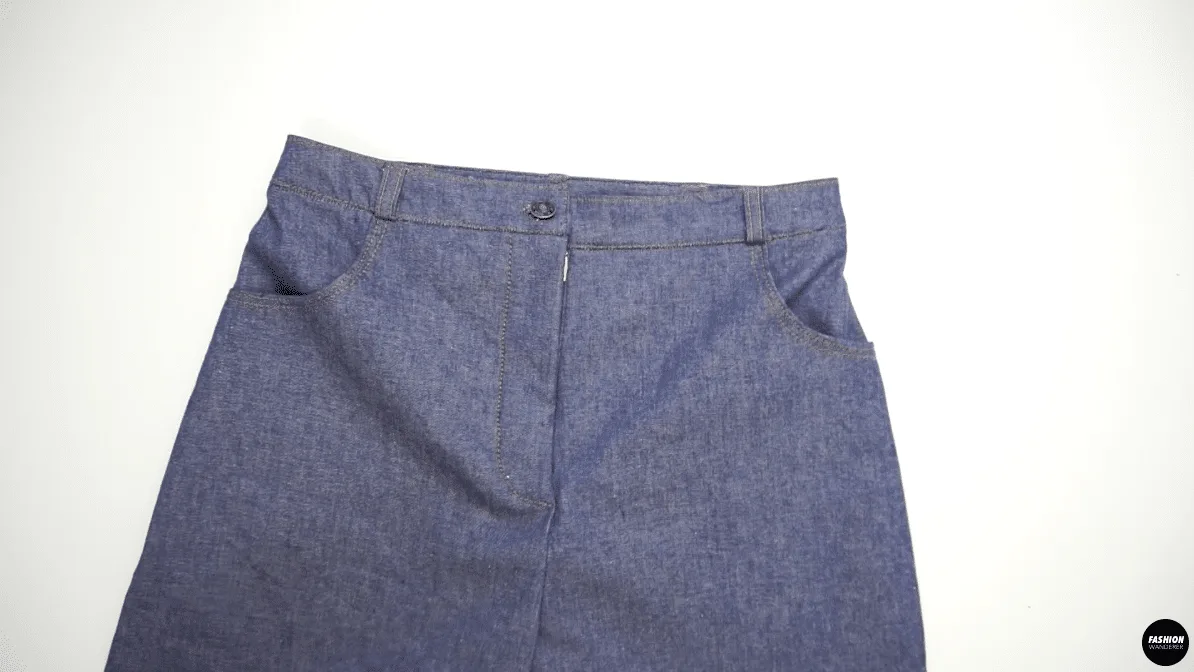
Sew the zipper fly in place and join the zipper to the fly.
Locate the dart and join the leg pieces with the right side facing together.


Fuse the interfacing to the wrong side of the waistband pieces.
Attach the waistband to the top of the jeans.
Mark the tack button and buttonhole in the waistband.
Edge topstitch with contrast thread for a professional finish.


DIY High Waist Wide Leg Jeans Sewing Tips


Making jeans that fits you perfectly around the waist, hips, and leg length is crucial. A good pair of jeans are essential and must-have fashion items that you can dress up or down for any occasion.
Other than using a Serger to finish overlock seams and straight stitch to join the seams together, there are other features you need to be aware of to complete this denim jeans with a professional look. In addition, learn the proper way to sew zipper and jeans tack button with these sewing tips and helpful tricks.
- Sewing Needle: To sew denim, you need the correct sewing needle to handle thick fabric when sewing a seam or finishing a seam. Depending on the weight and thickness of the denim fabric, the needle size varies. For medium weight, use 90/14 and alternatively select 100/16 for heavyweight denim.
- Thread: Using heavy duty thread with a strong needle for the denim thickness is key. Make sure to sew topstitch or zigzag stitch with cotton covered polyester thread to give more strength and long lasting durability.
Don’t forget to adjust the tension. Ideally the denim is up to 6 and if it is too high it may pull the topstitch into a flat line. If adding contrast topstitch for decorative purposes, use regular thread in the bobbin for smooth stitches. - Stitches: The best stitch for jeans is overlock to clean up the frayed edges. The 3-thread overlock stitch is all you need to sew inside seam. In addition, adding straight stitch next to zigzag stitch will provide more security.
- Zipper: When sewing jeans, the zipper is called a fly or also known as a fly front with covering over and inside the opening. Choose a size #5 brass close-end jeans zipper and make sure the zipper tape matches the jeans for a clean and professional look.
- Fusible Interfacing: If you are using light to medium weight denim, use light fusible interfacing. However, there is no need for thick interfacing because denim fabric has enough stability by itself.

How to make High Waist Wide Leg Jeans Step By Step
Adding zipper with zipper fly, side pocket and back pocket features, it may look advanced and difficult to make high waisted wide leg jeans from scratch. For best results, always test the tension, stitch width and length on a denim scraps before getting started.
Simply download the Ari jeans sewing pattern and sew along the detailed step by step sewing instructions to turn your denim fabric into cute high waist wide leg jeans.
Materials
- Ari Jeans Sewing Pattern
- Medium Denim Fabric 2½ yards for 60” width or 3 yards for 45” width
- 1 piece of ⅞” or 24mm Jeans Tack Button
- 7” or 18 cm #5 Brass Close-End Jeans Zipper
- ½ yard or 30 cm of Medium Weight Iron On Fusing
Tools
- Sewing Machine
- Serger
- Measuring Tape
- Fabric Scissors
- Disappearing Fabric Pen
- Ruler
- Pins
Instructions
For this Ari denim jeans tutorial, start by assembling the pattern pieces:
2 pieces of Front Legs
2 pieces of Back Legs
2 pieces of Pocket Facing
2 pieces of Pocket Bag
1 piece of Fly
2 pieces of Fly Shield
2 pieces of Front Waistband Left Hand Side
2 pieces of Front Waistband Right Hand Side
2 pieces of Back Waistband
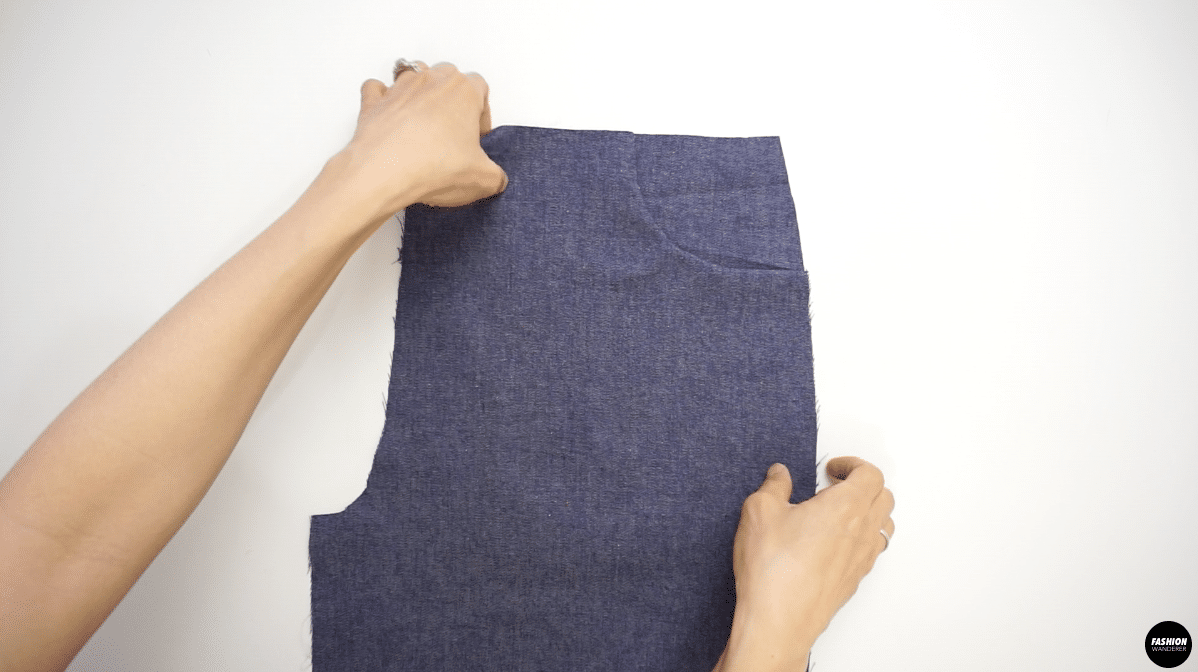
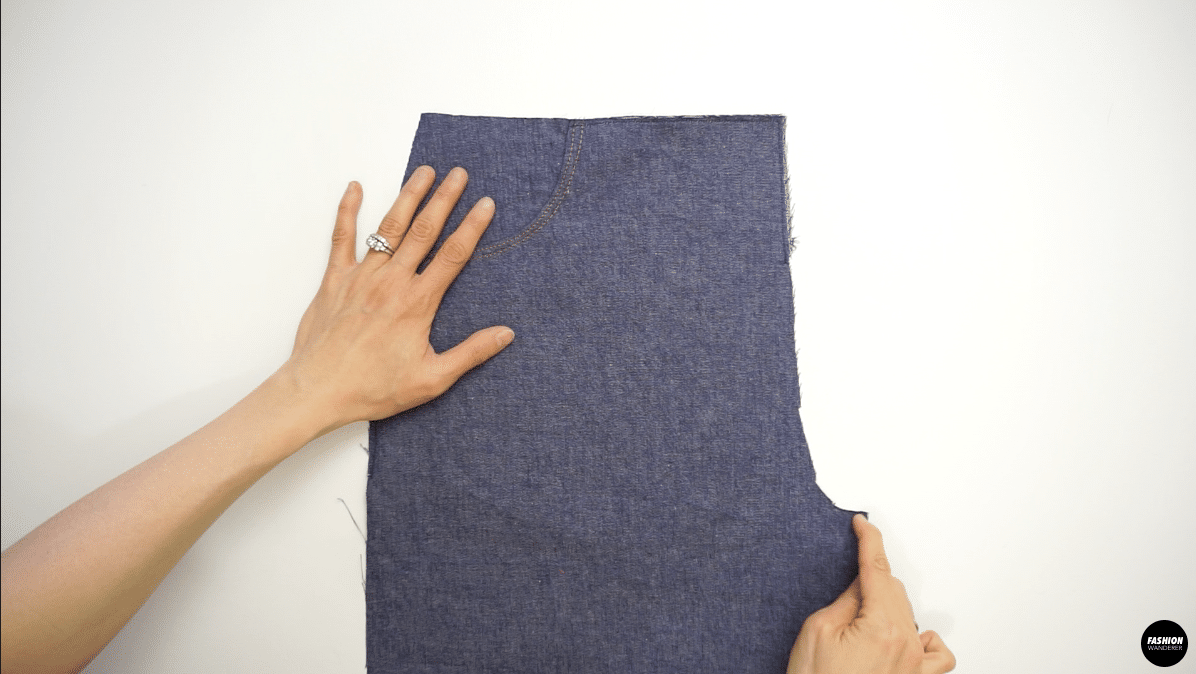
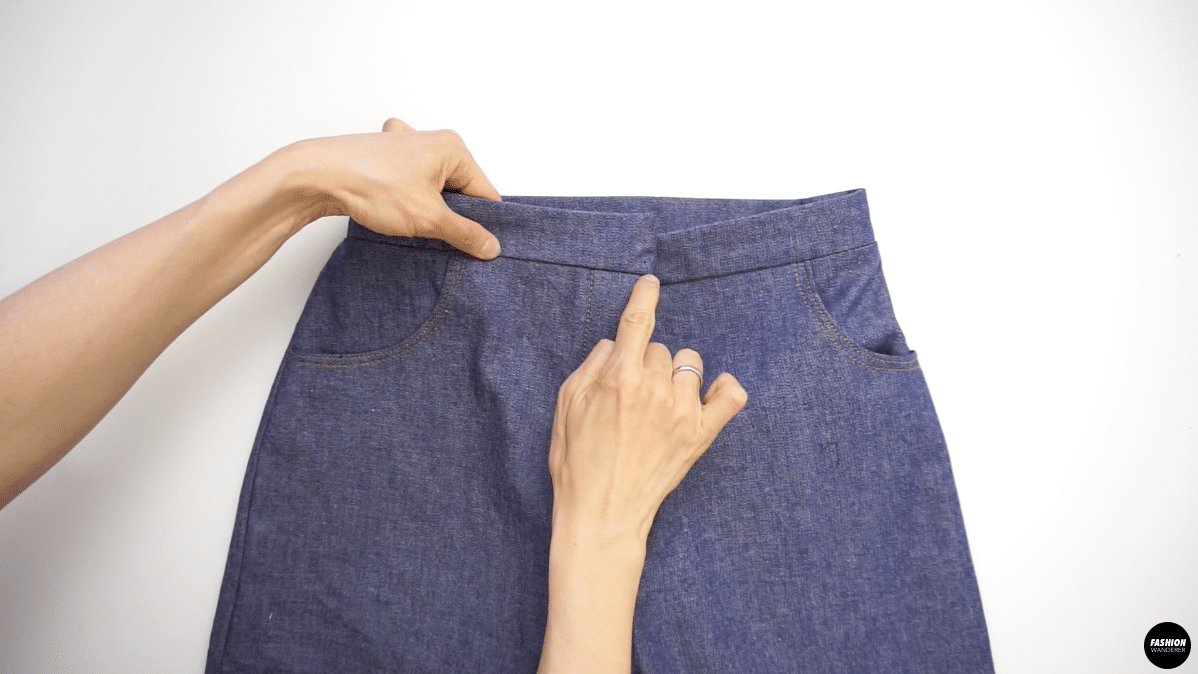
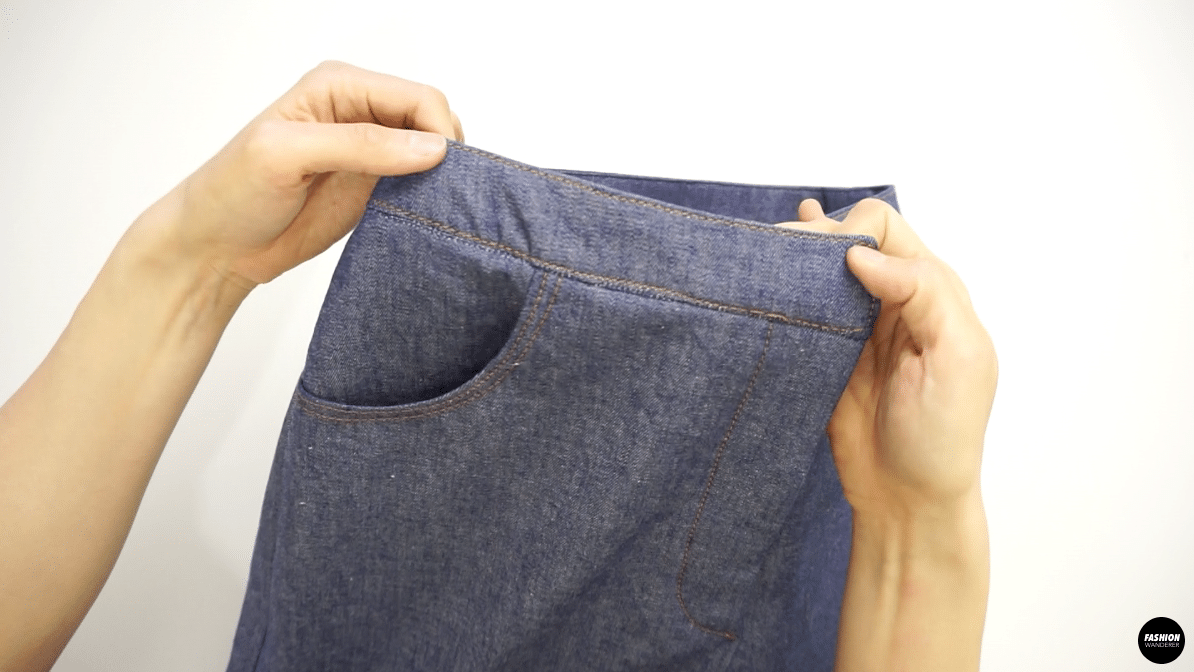
How To Sew Front Pockets
- Place the pocket facing to the front leg piece with right sides together.

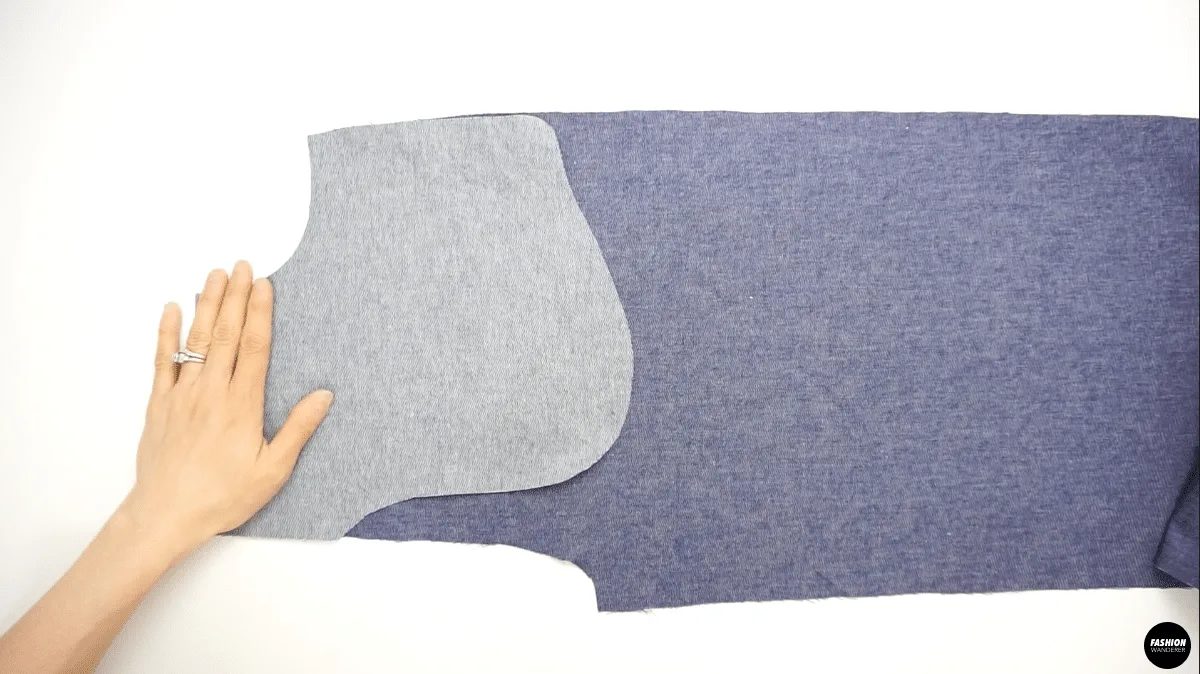
- Topstitch ⅜” seam allowance.
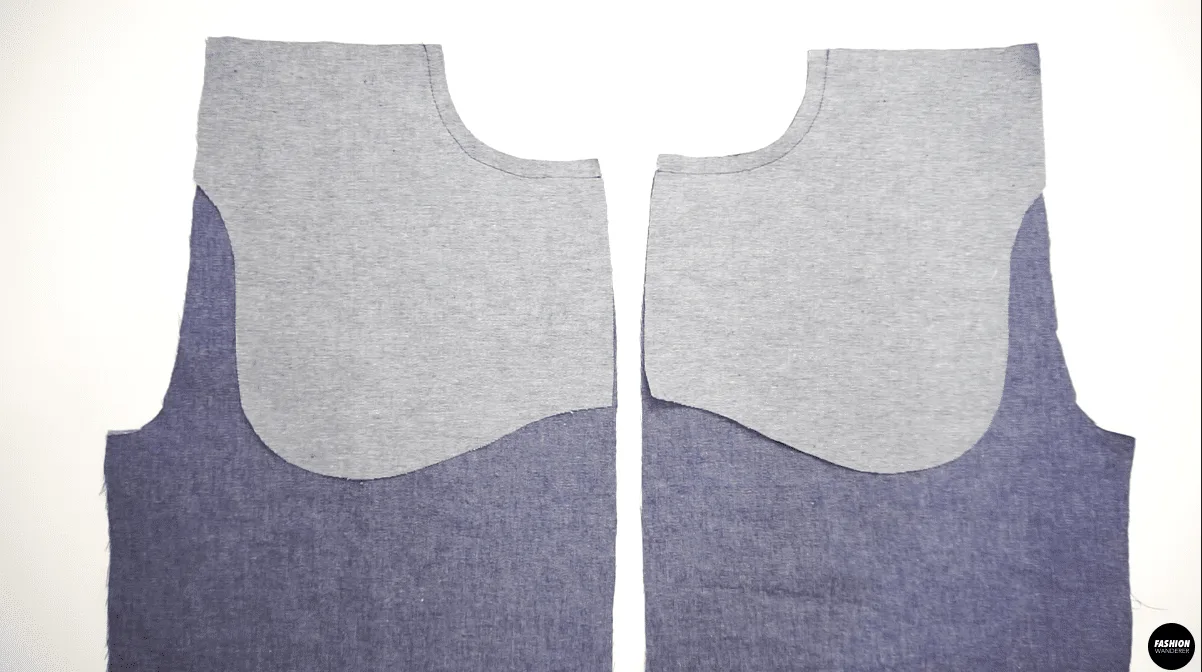
- Trim the extra seam allowance into ⅛” around the curve.
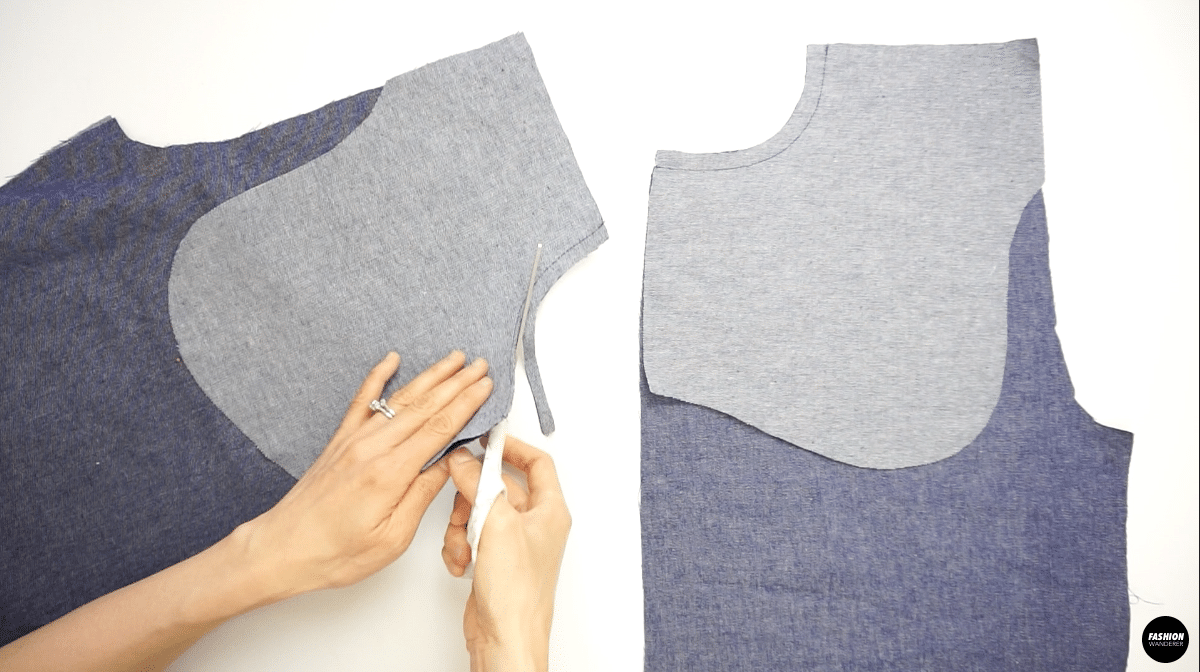

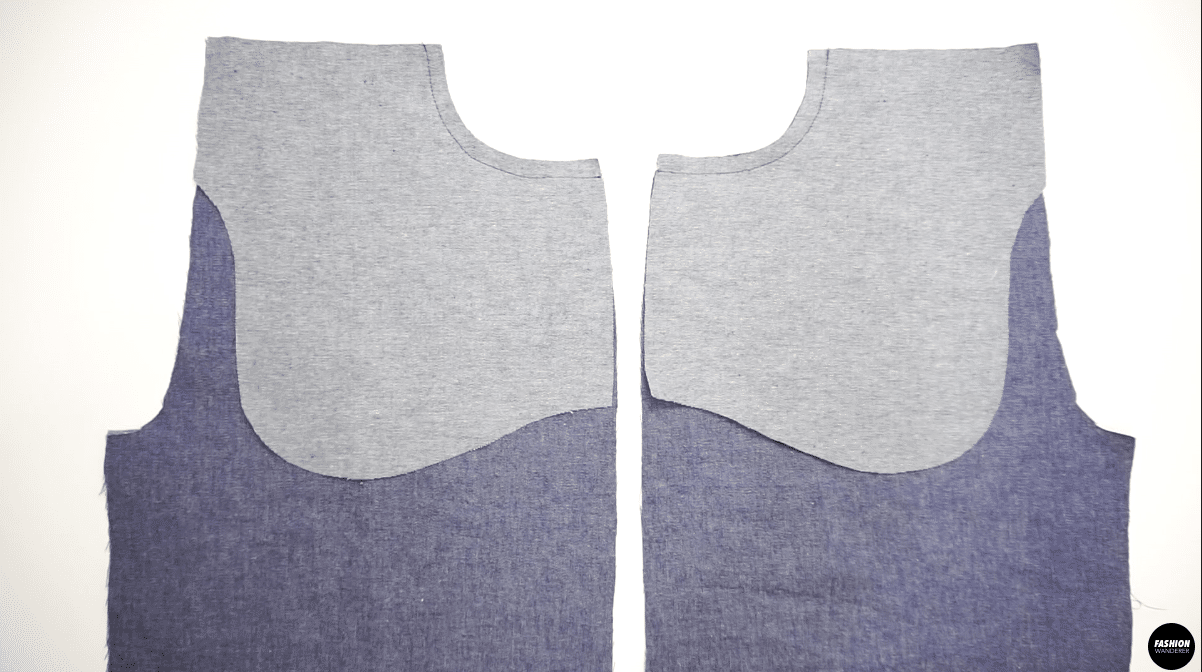
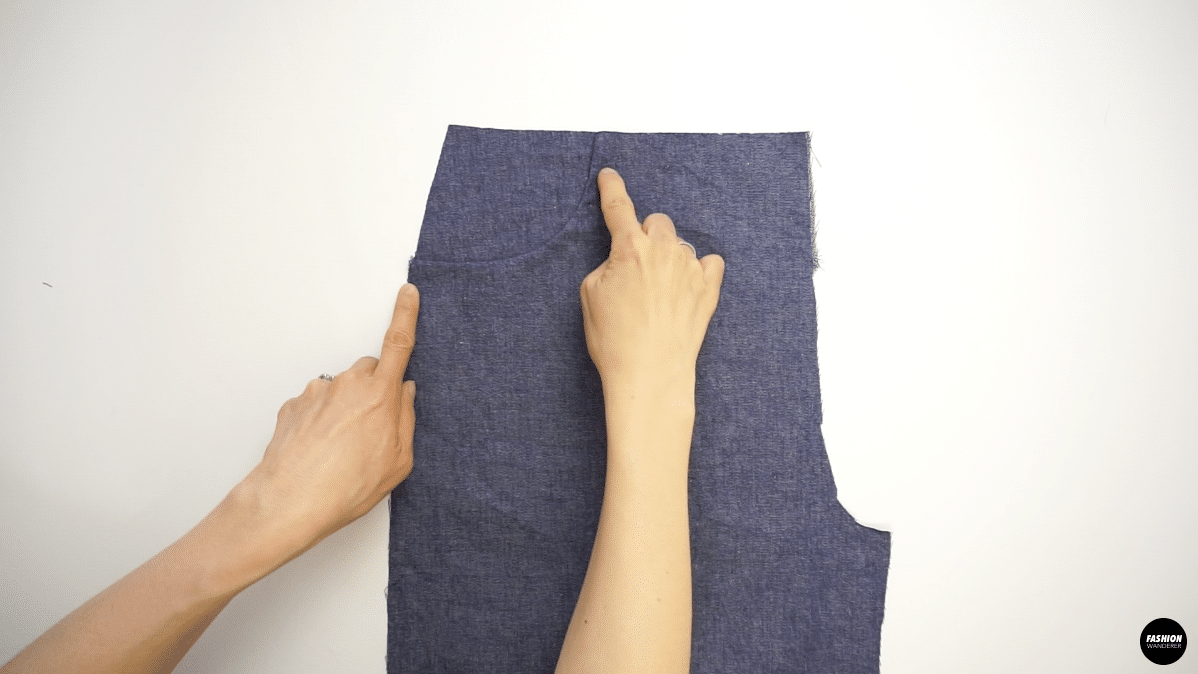
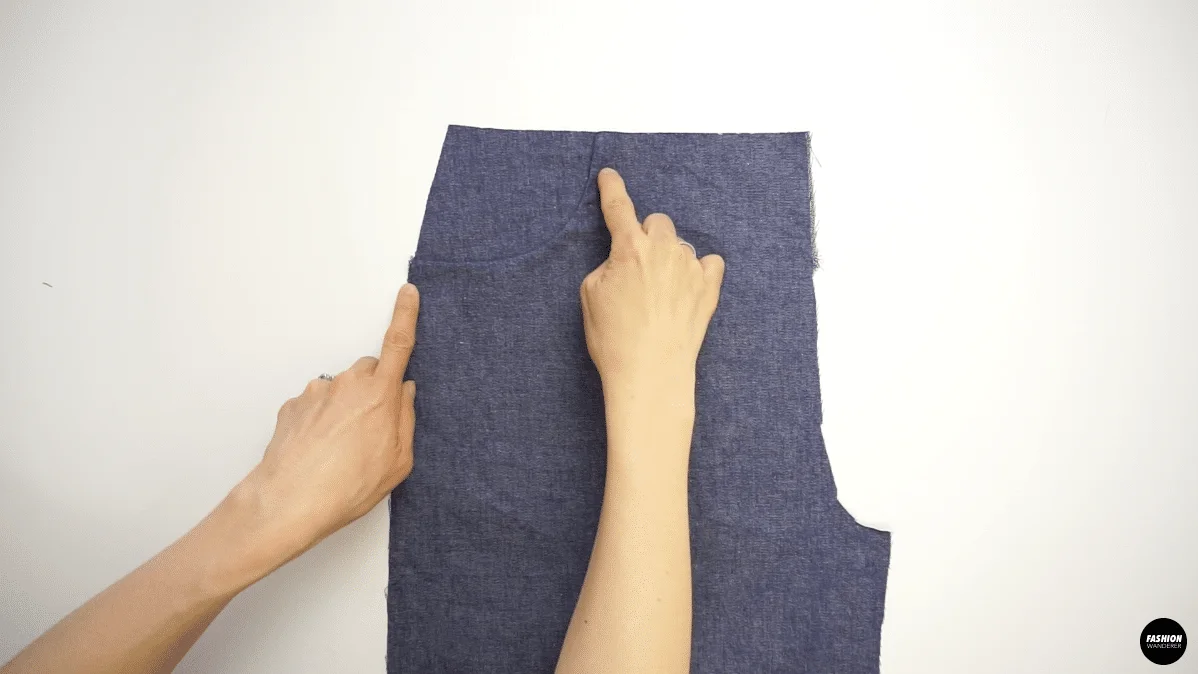
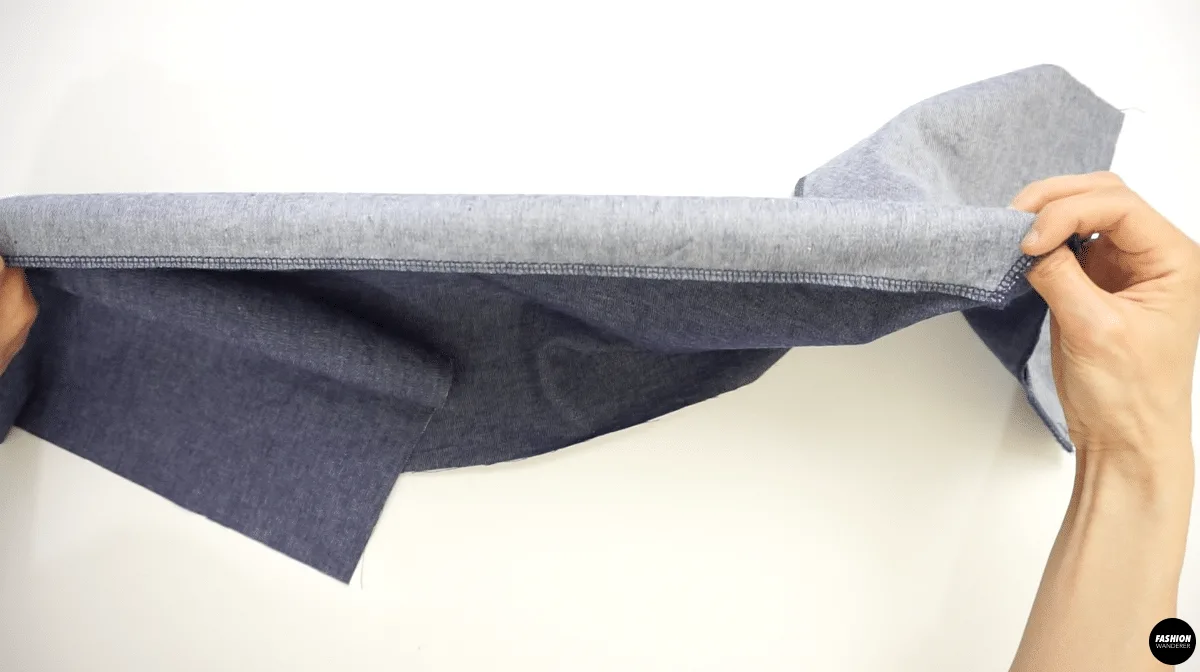
- Open the seam towards the pocket facing and edge topstitch.

- Place pocket bag and pocket facing right sides down and stitch the bottom with a ⅜” zigzag stitch.

- Topstitch ¼” along the pocket bag and pocket facing to the pants to prevent from moving around.

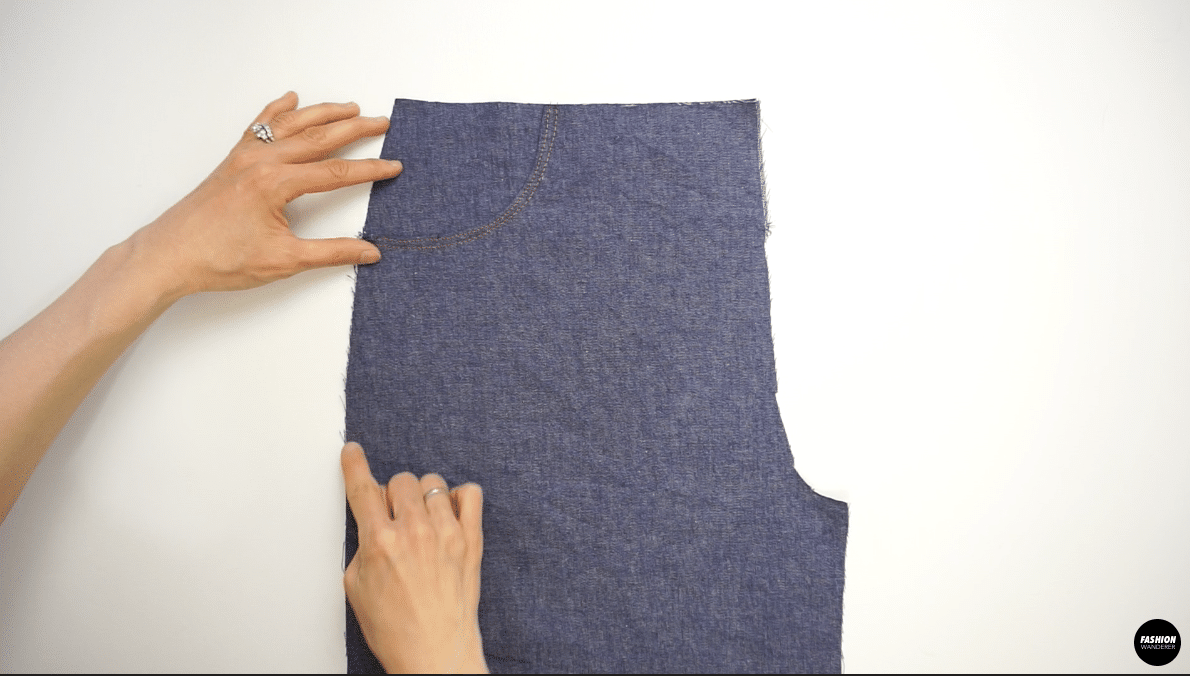

- Zigzag stitch both front leg starting from the cloth to inner leg.


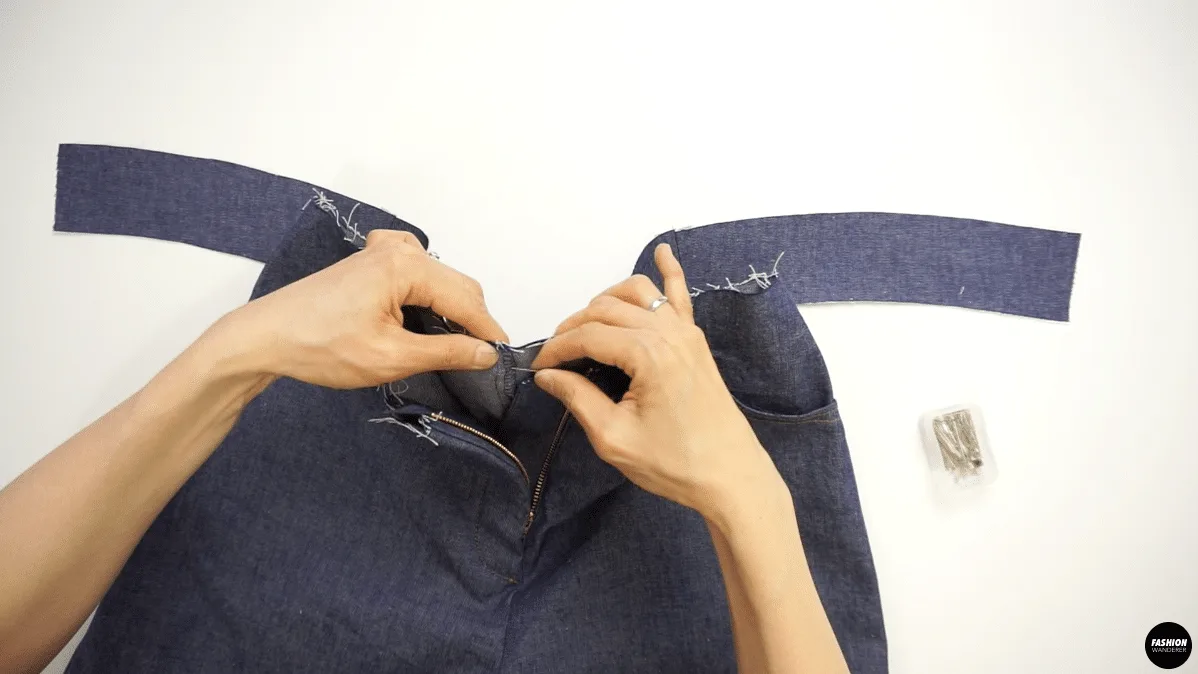
How To Sew Fly Front
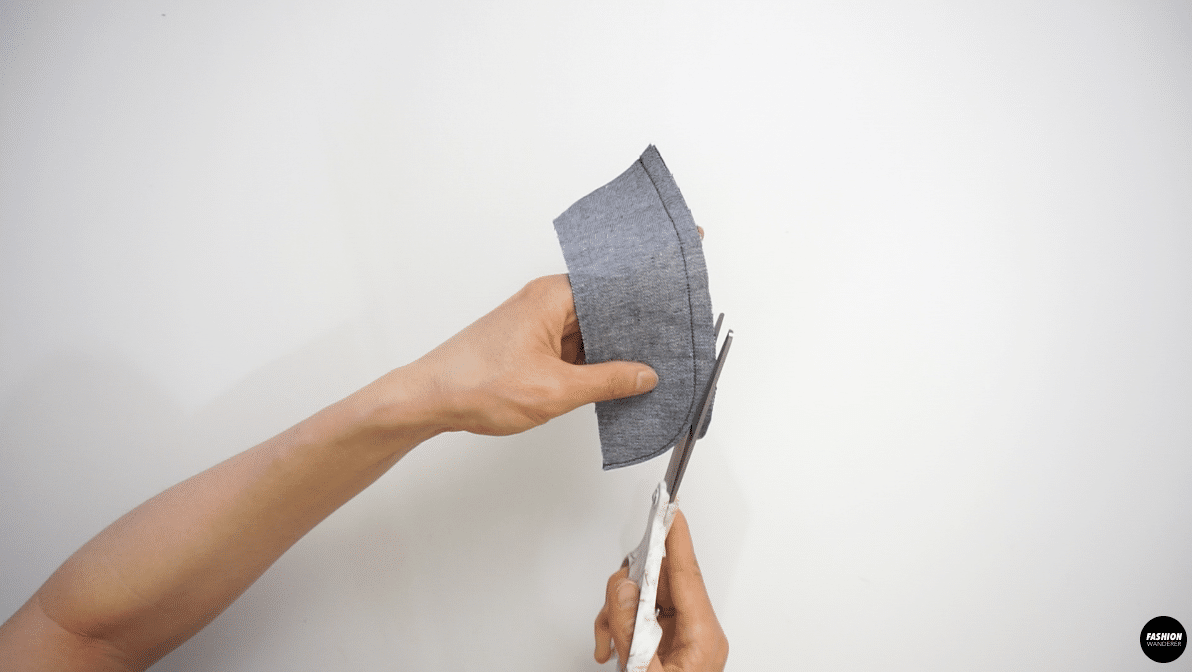
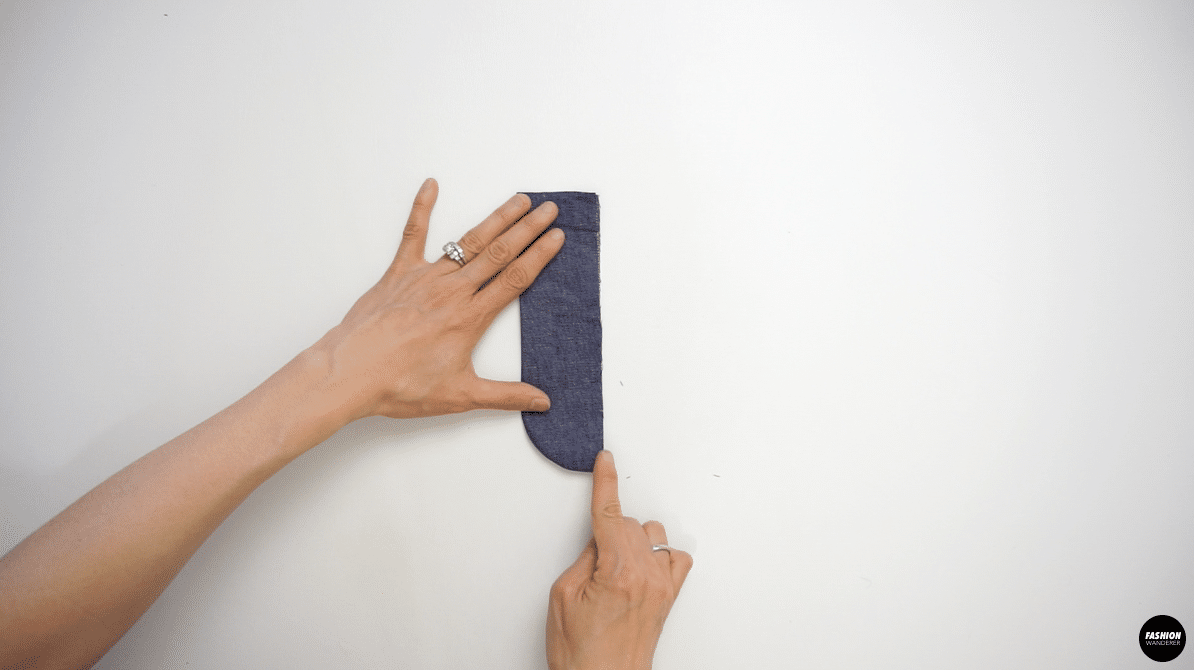
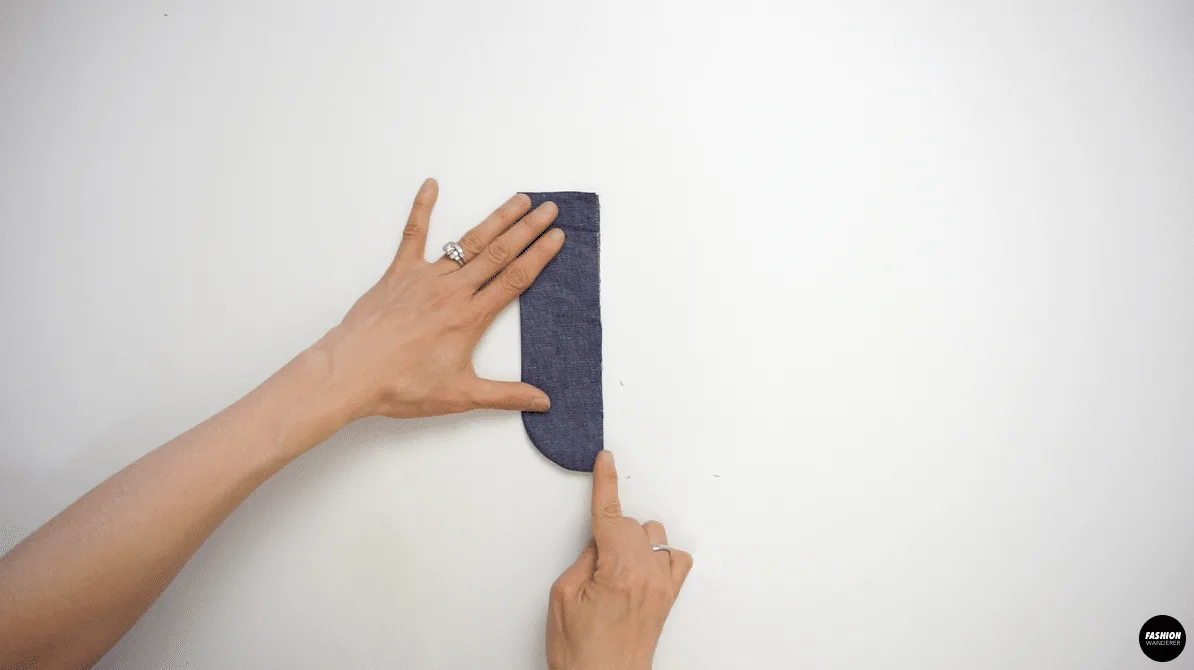
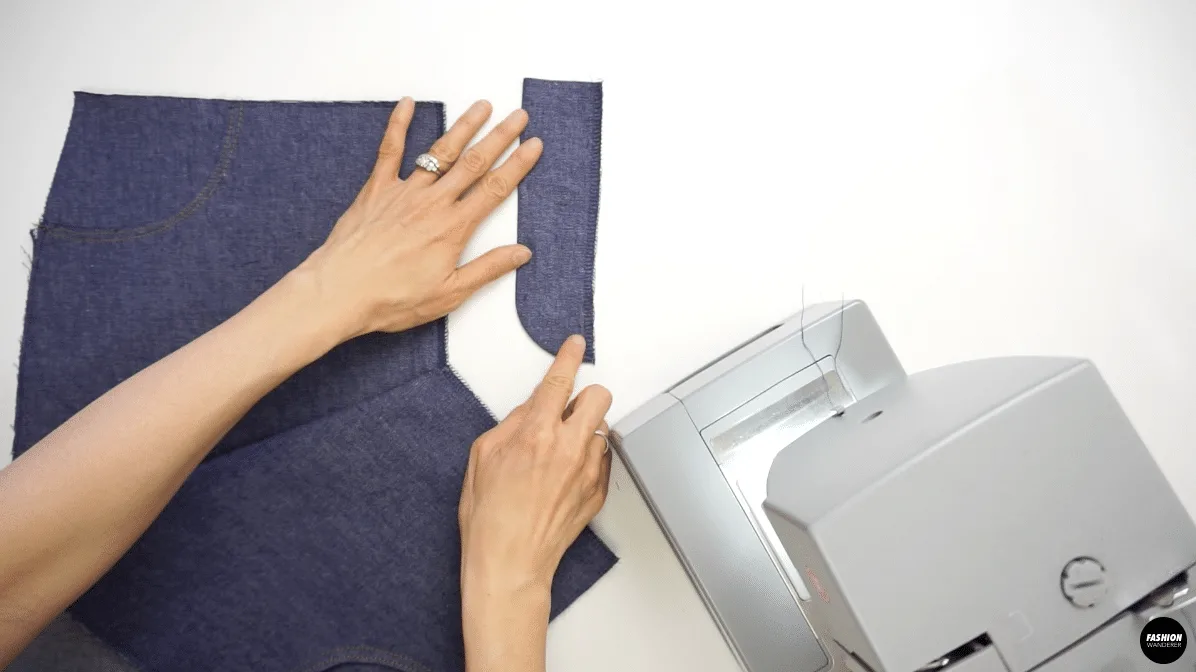
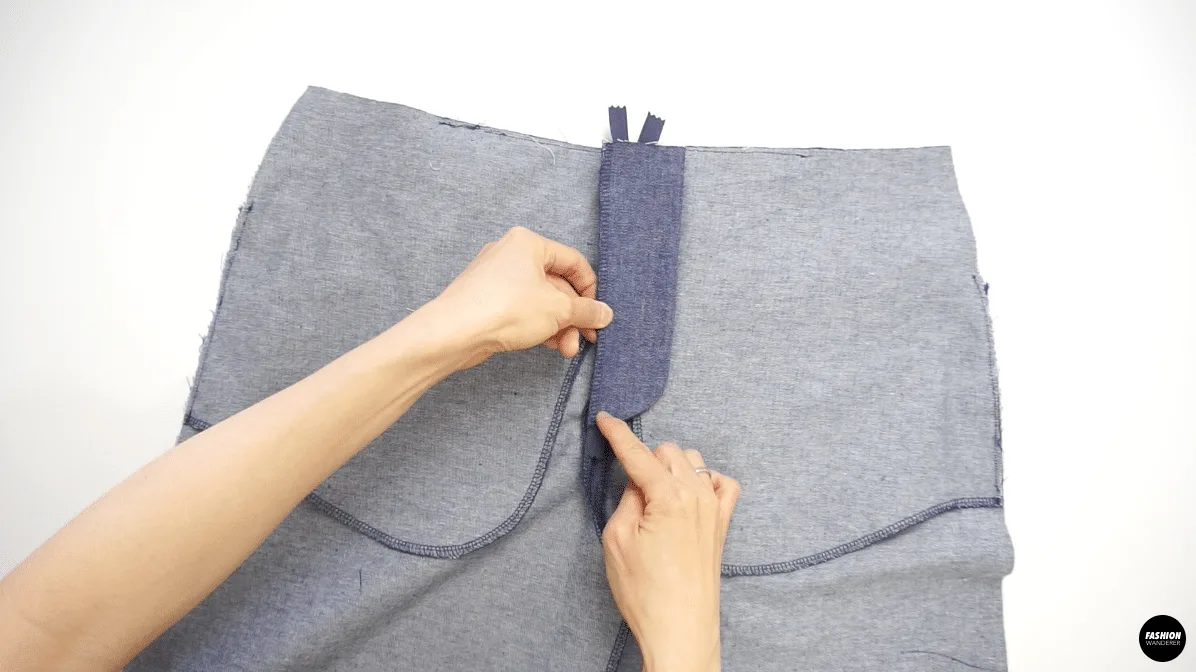
- Place 2 pieces of fly shield facing right side together and stitch ⅜” along the curved side.

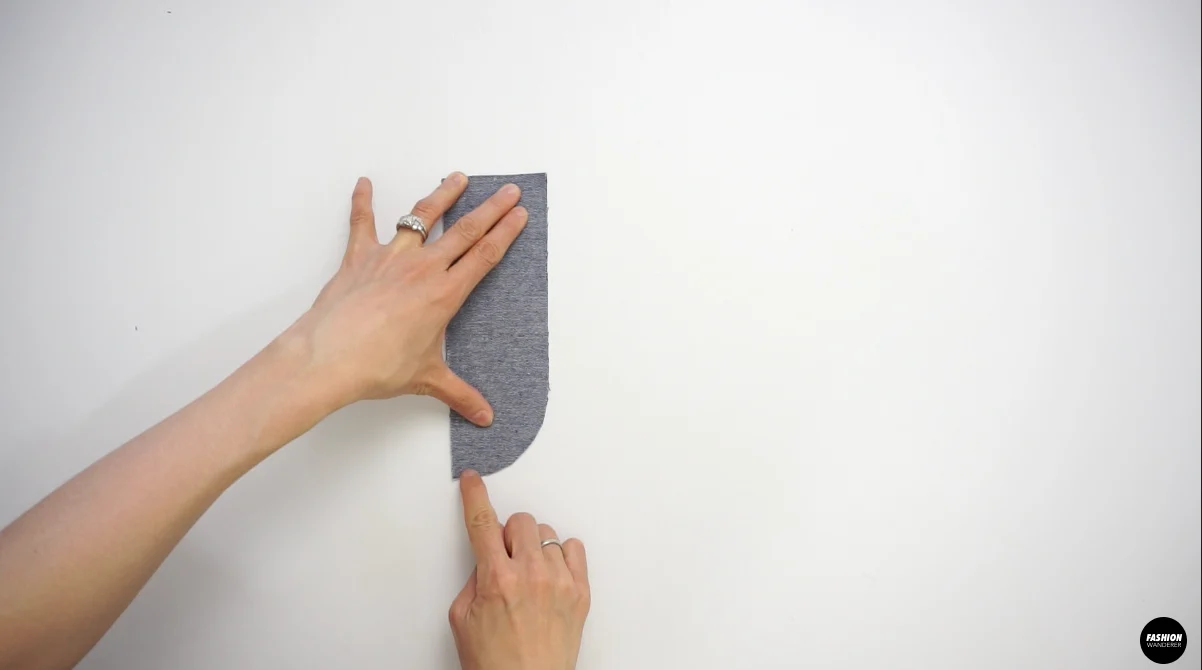
- Trim the seam allowance to ¼” and turn the fly shield right side out and press.

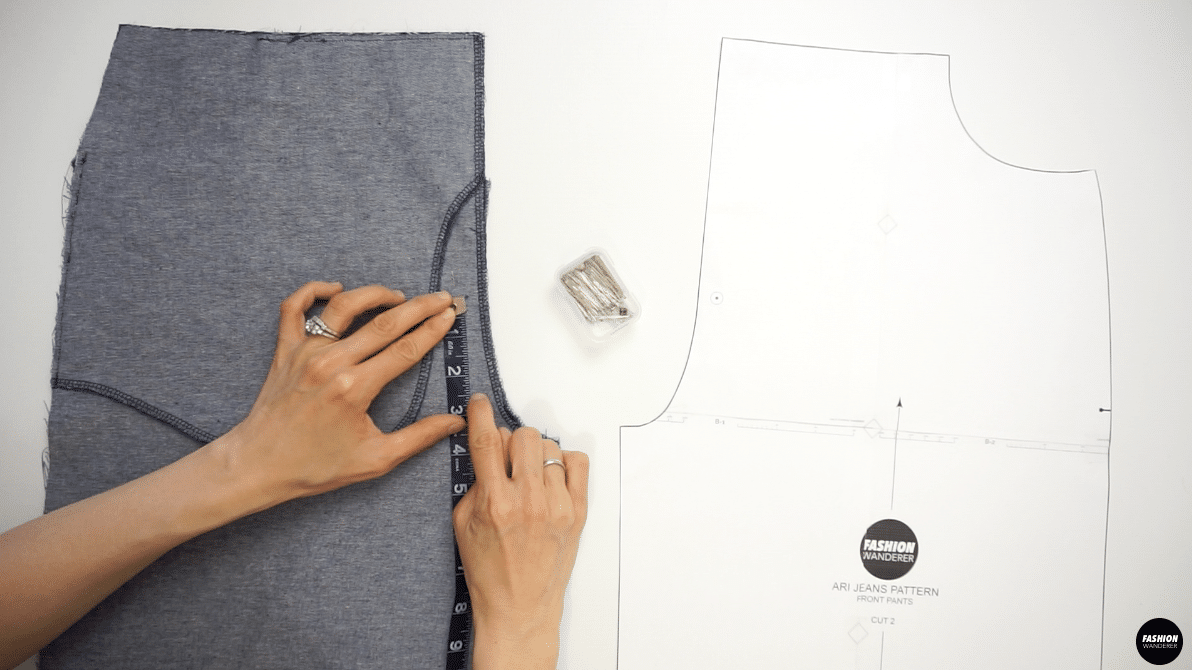
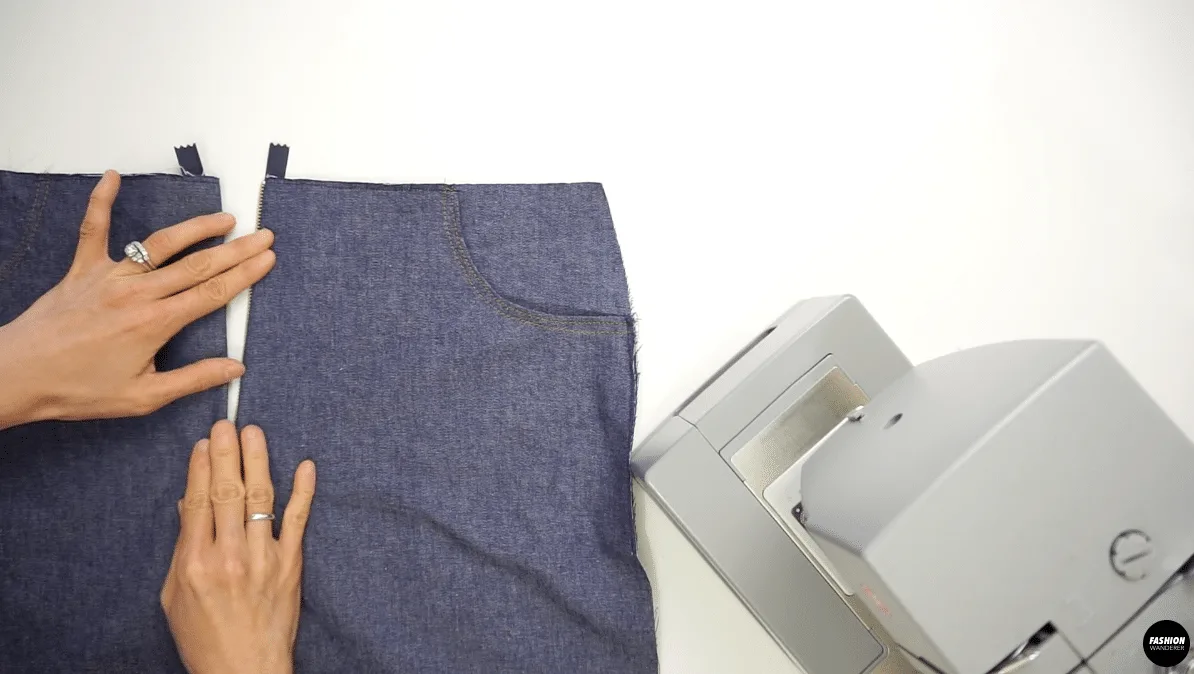
- Pin the front legs right side facing each other and stitch ½” seam allowance from the 2½” mark.

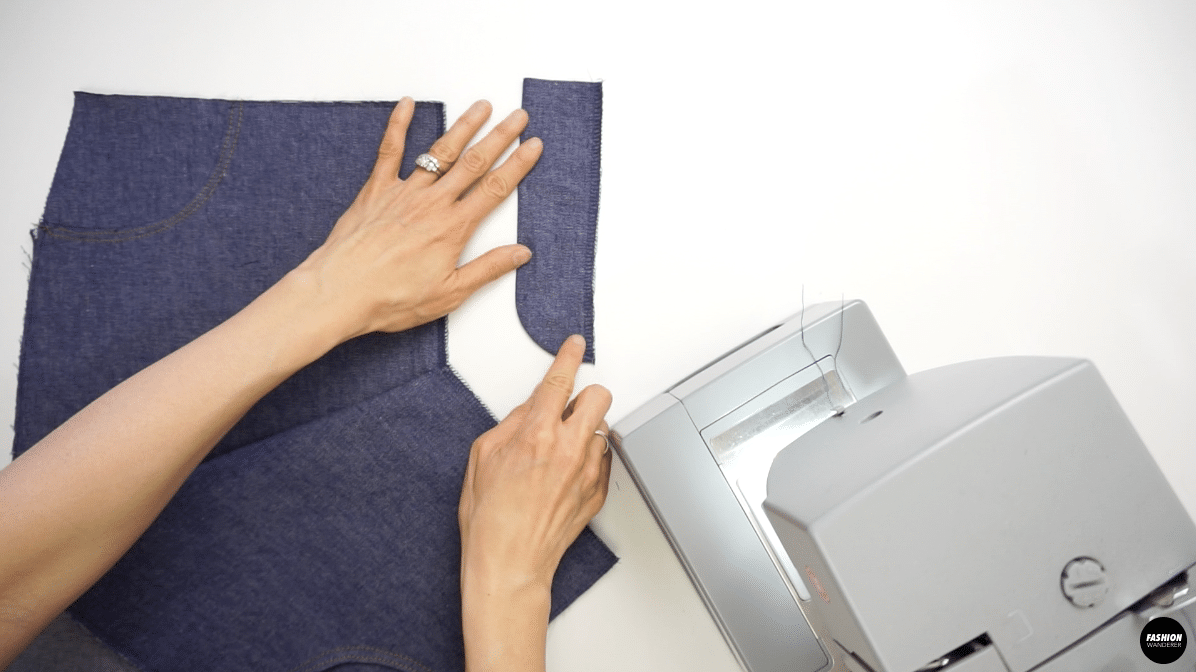
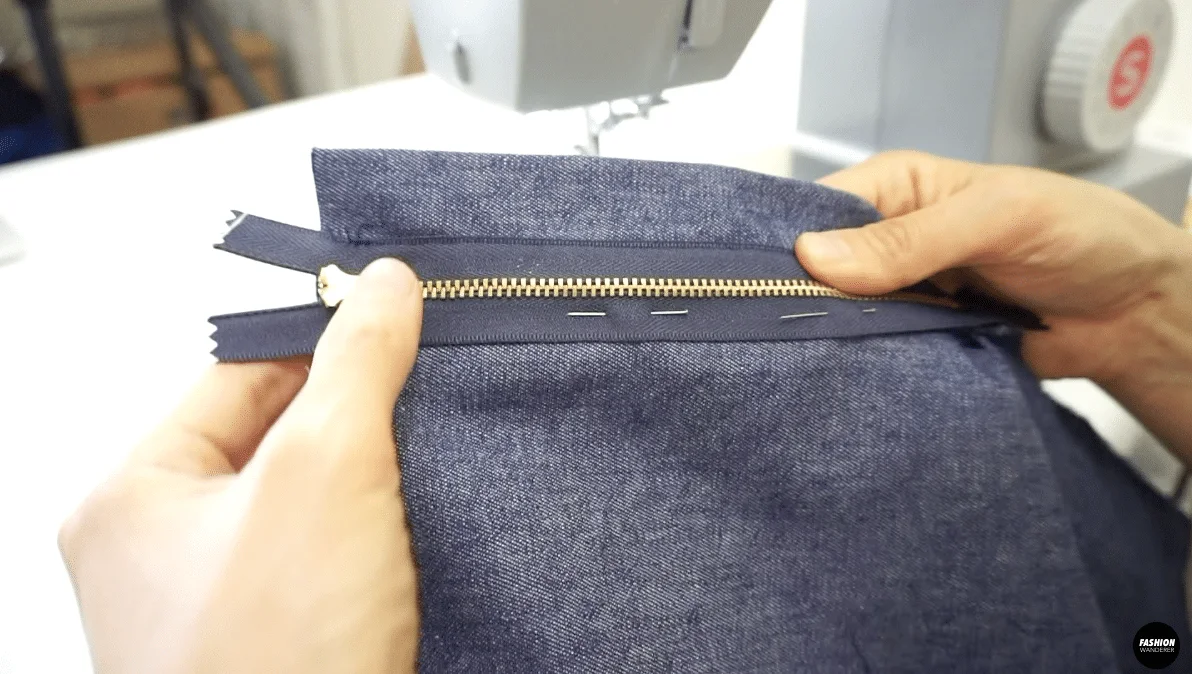
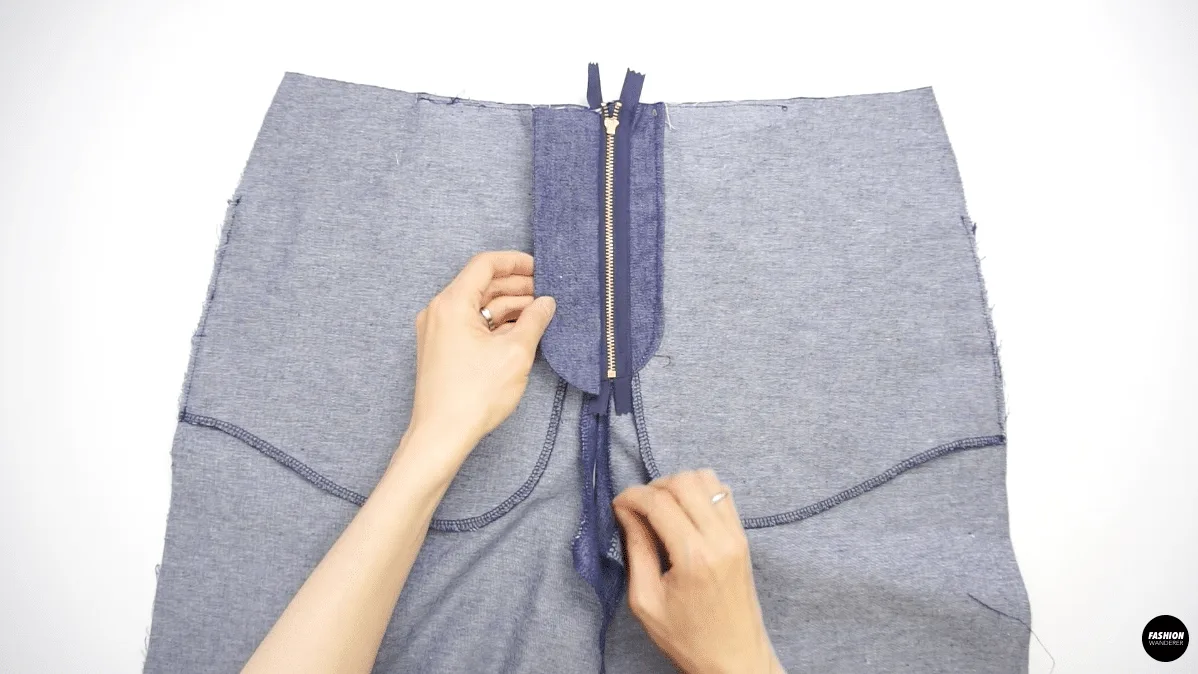
- Place the zipper face down on the fly and align the edge of the zip tape with seam between the front leg and the fly.
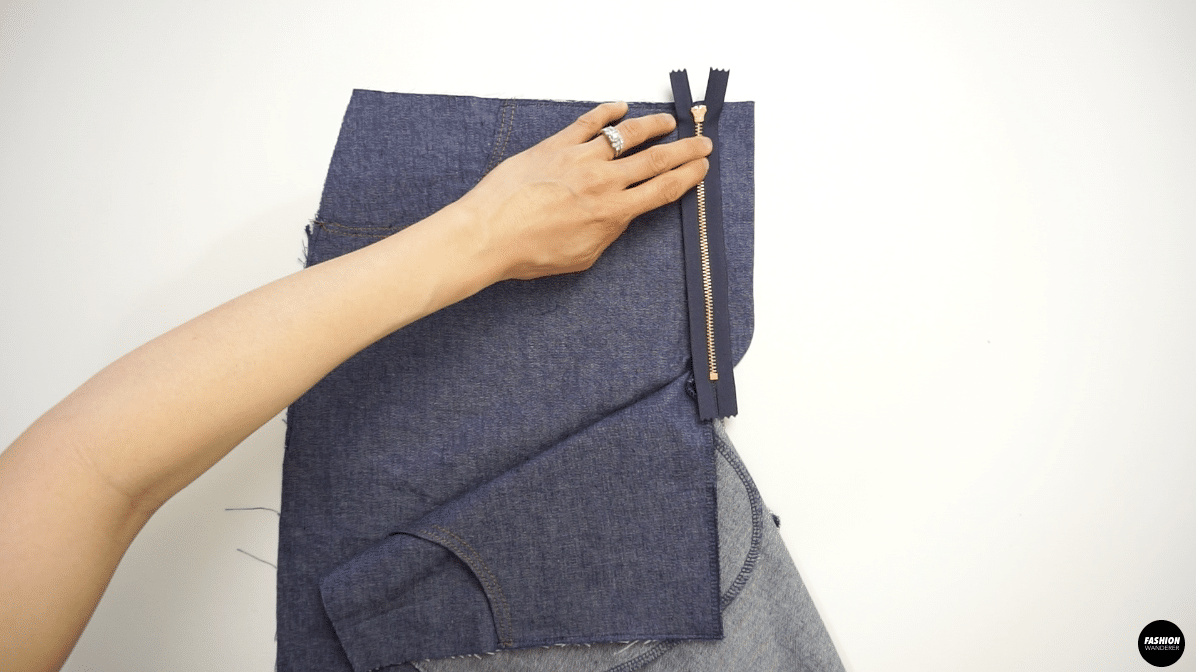
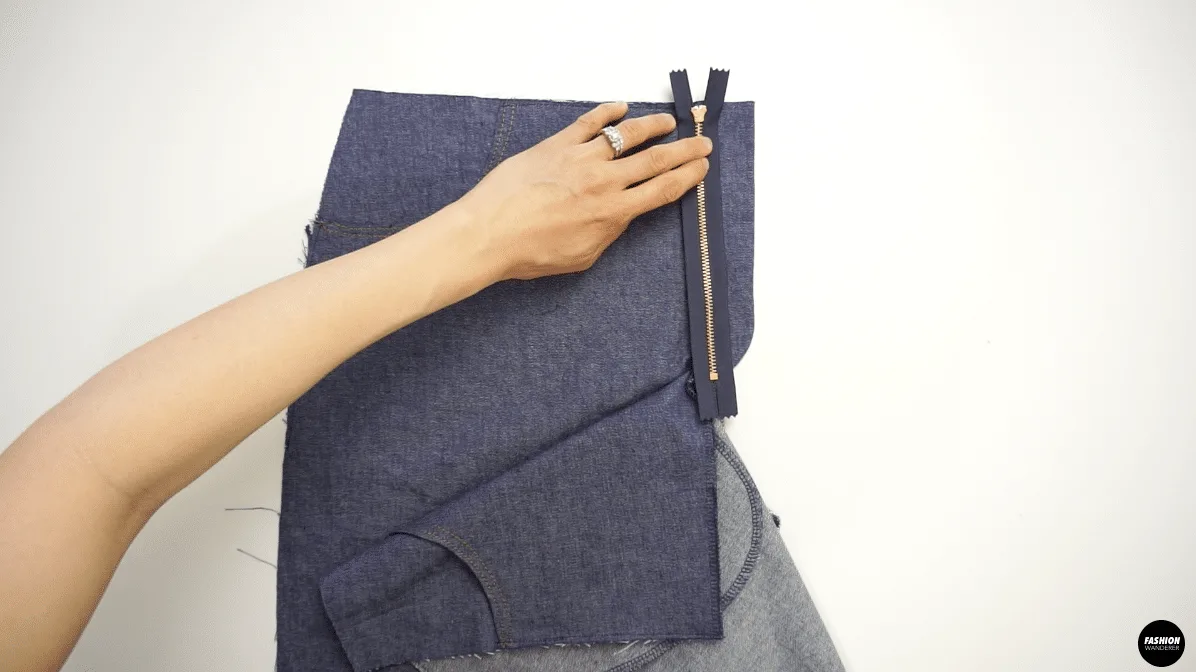
- Stitch down the right side of the zip close to the zipper teeth and second row of stitching on the edge of the zipper tape.
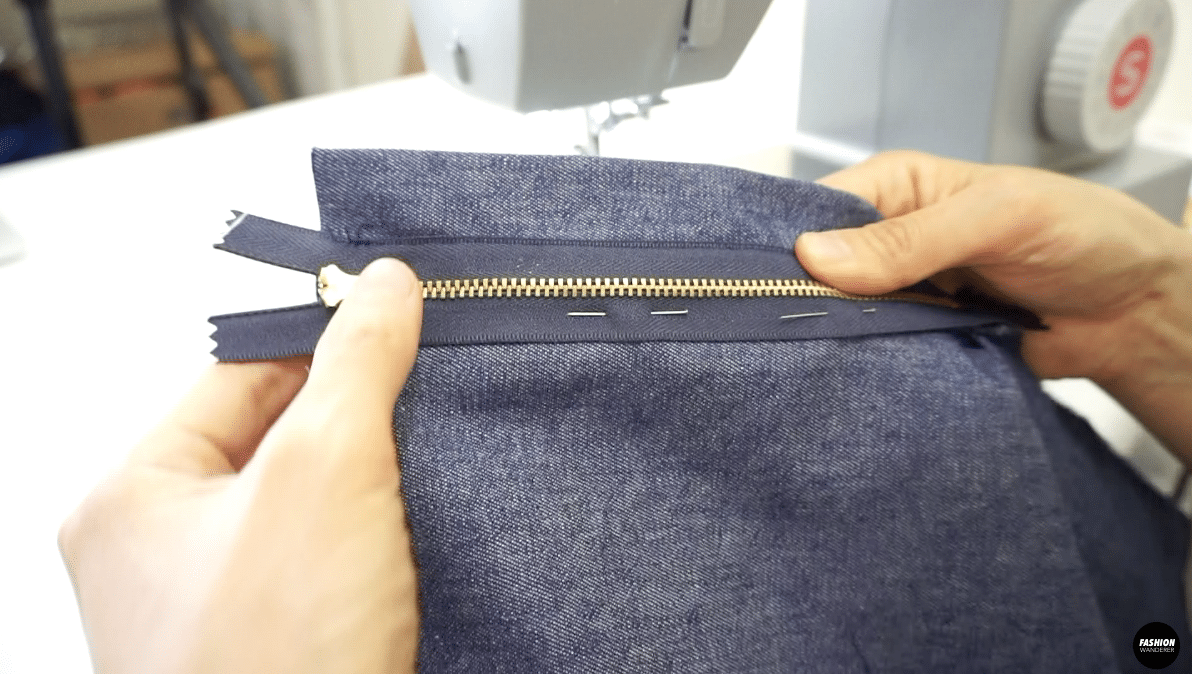
- Turn the pants right side up, mark the curve with erasable pen and topstitch with contrast thread.
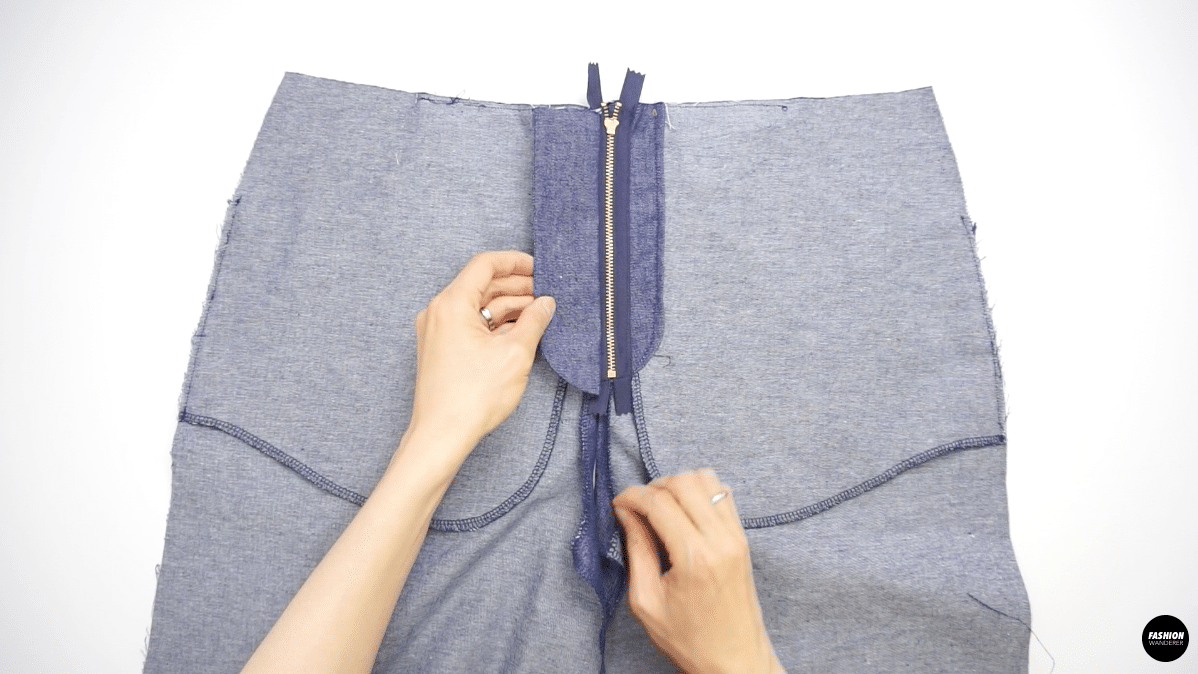
- Open the zipper and fold the left side of the pants close to the zipper teeth and edge topstitch.

- Open the seam and place the fly piece to stitch from top to the notch with ½” seam allowance.

- Trim the seam allowance on fly about ¼” and flip to the right side and press.
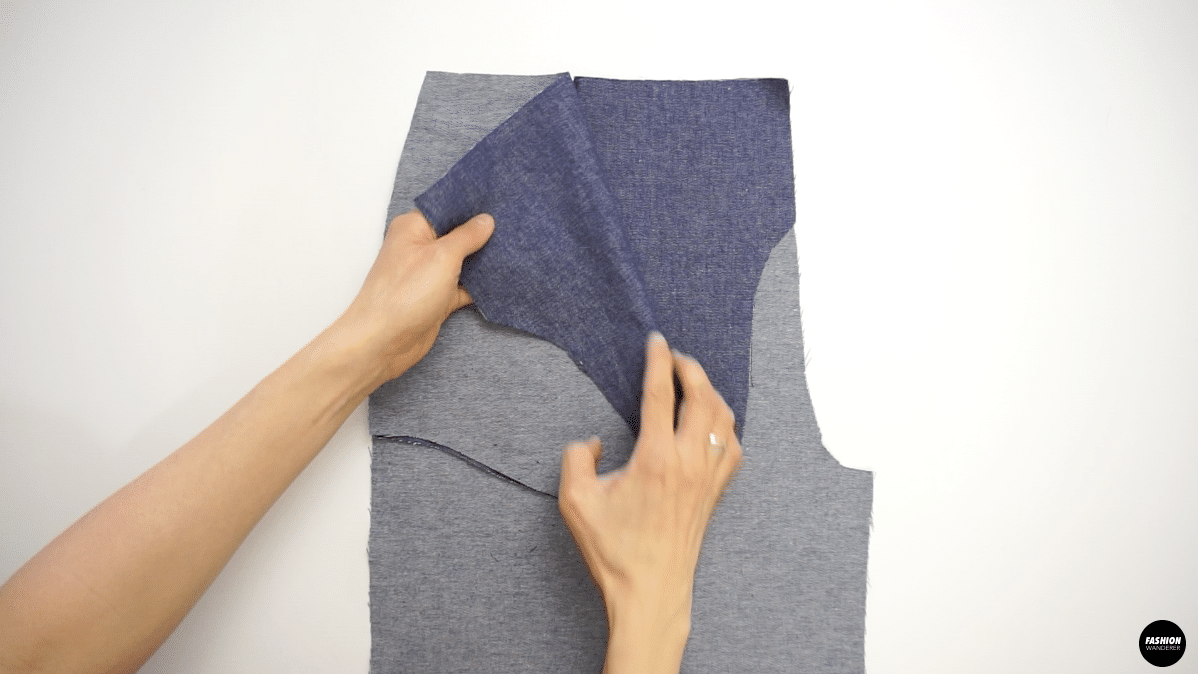
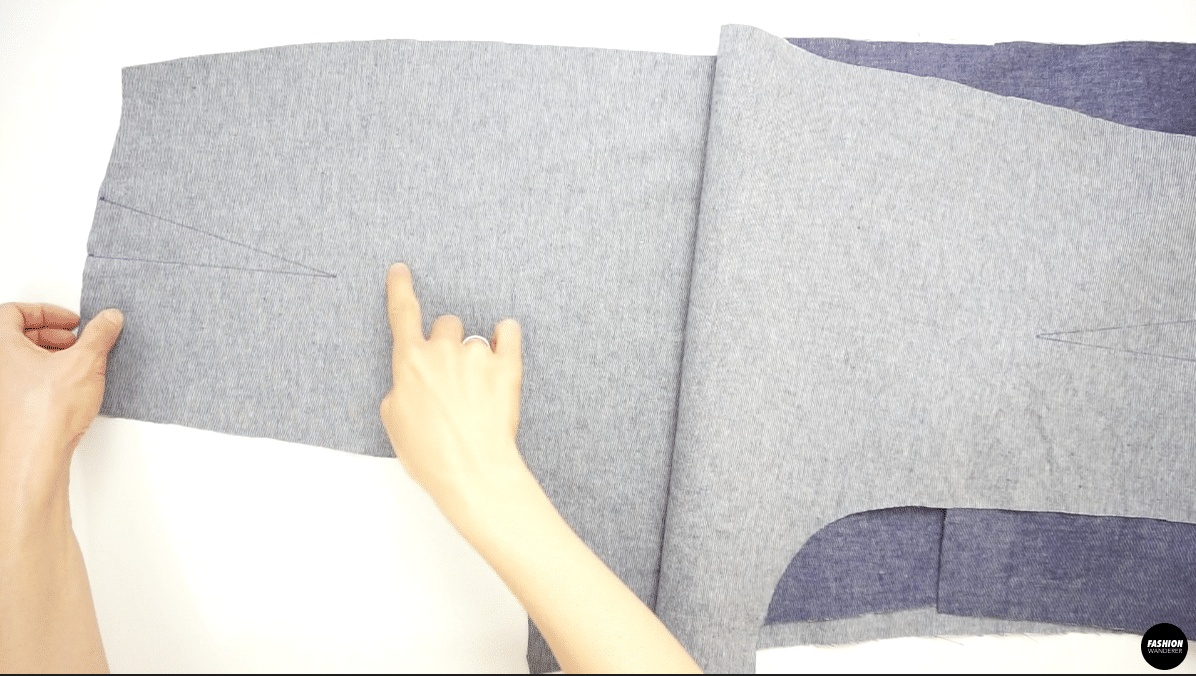
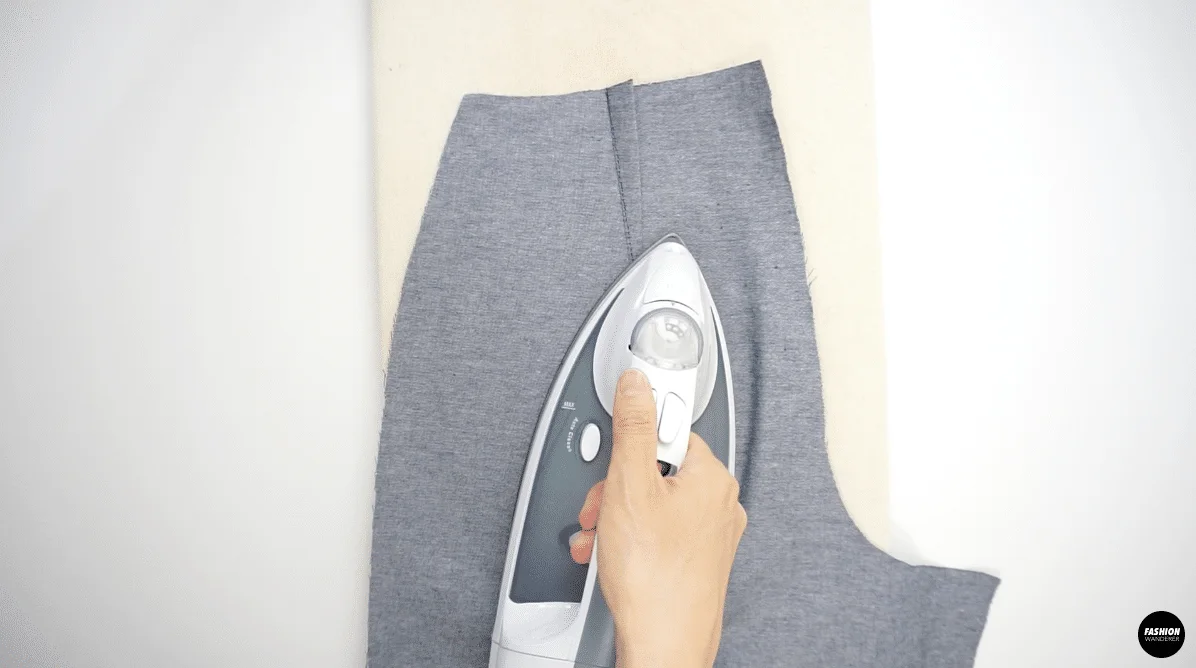
How to Sew Jeans Darts
- Use erasable pen to mark the dart location and use a pin to locate the correct dart point.

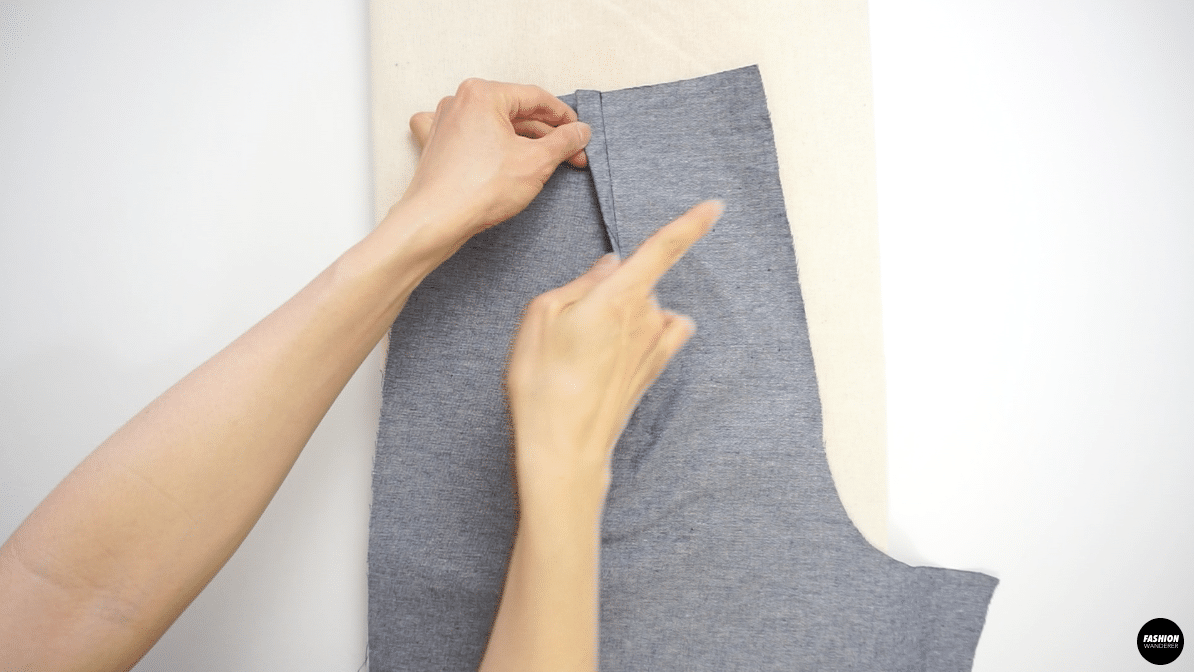
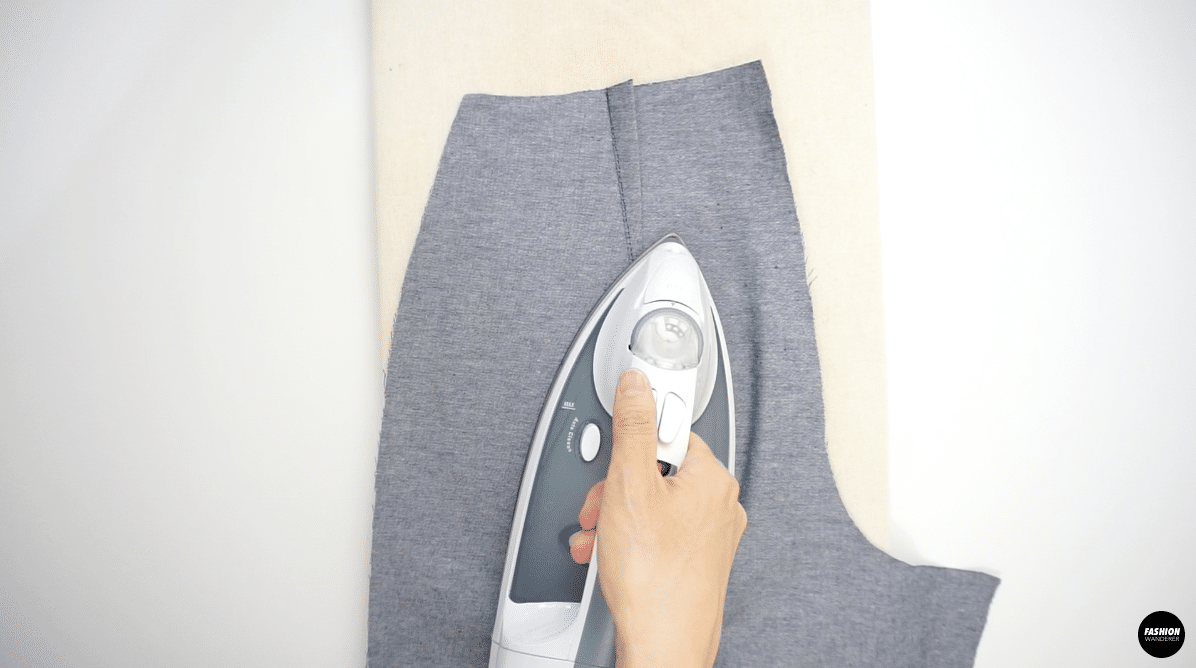
- Stitch along the marked stitch line to sew, and press the dart towards the center back.

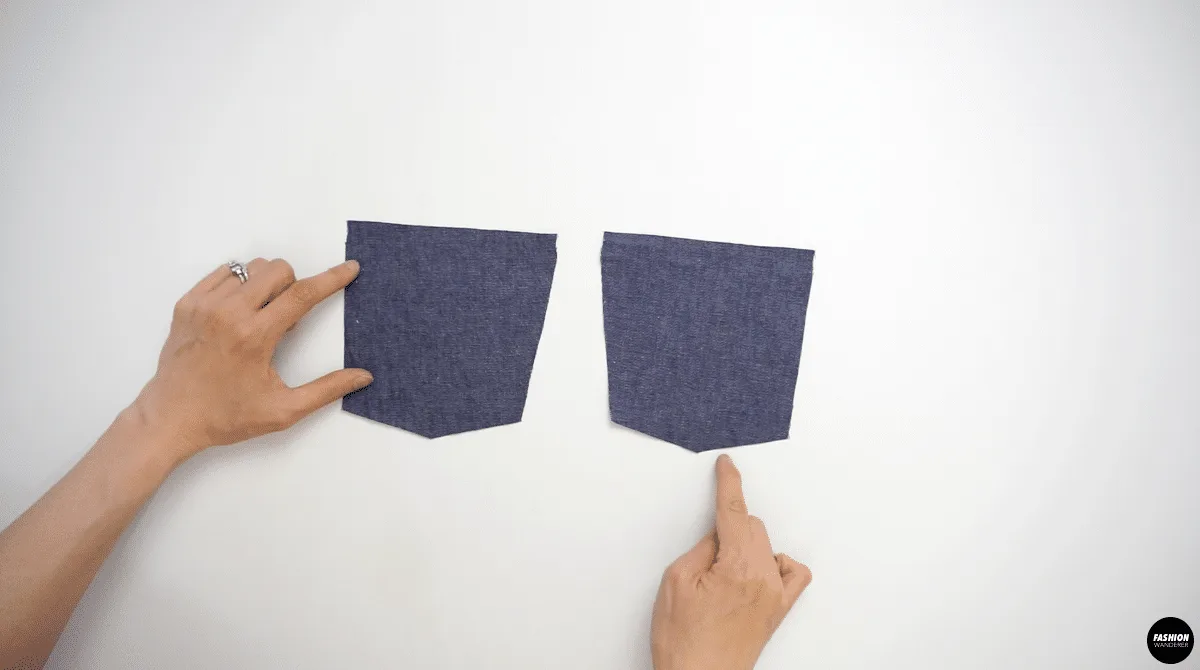
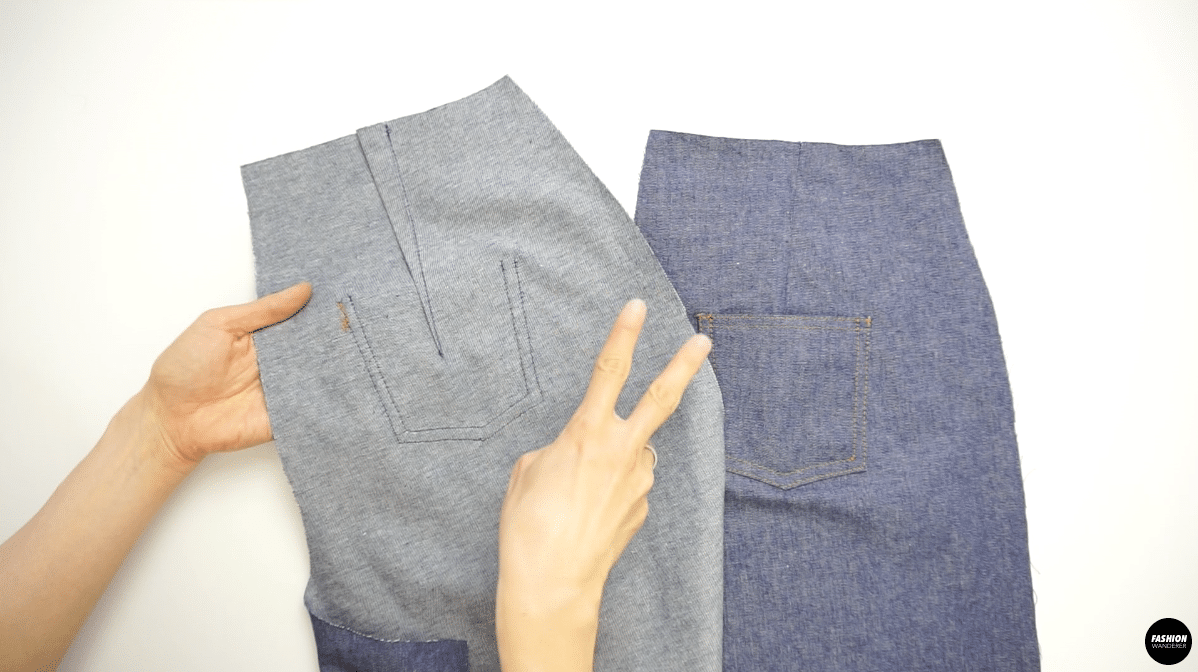
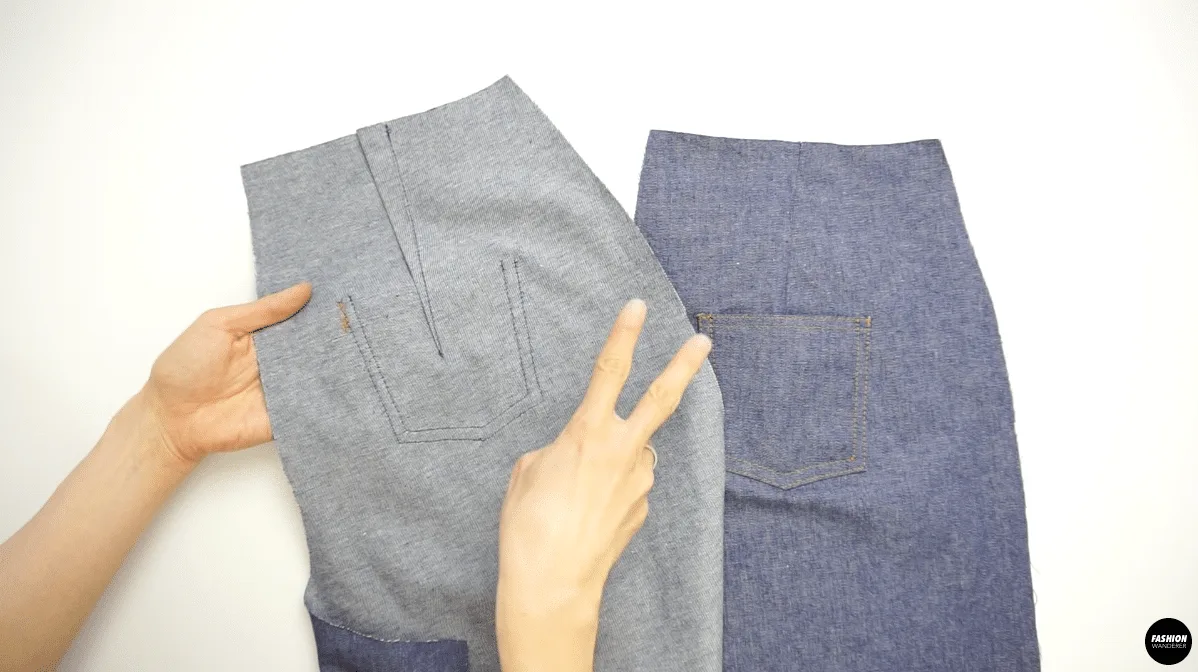
How to Sew Back Pockets
- Zigzag stitch all five sides on both of the back pocket pieces.

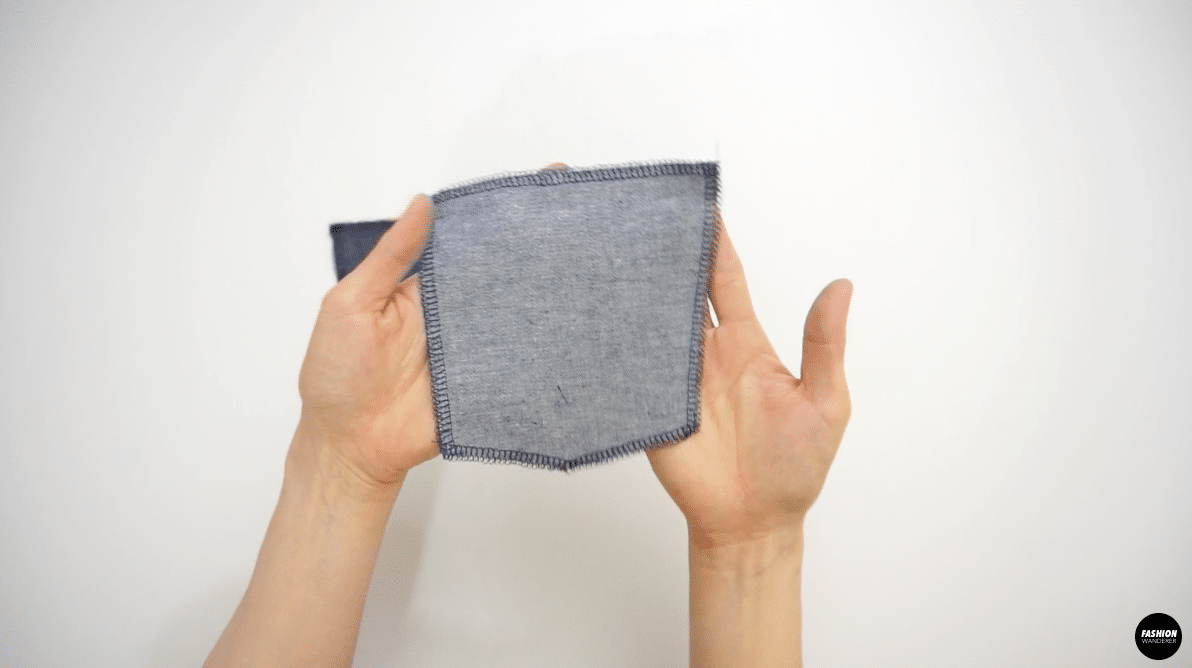

- Fold ½” of the top edge on the back pocket.
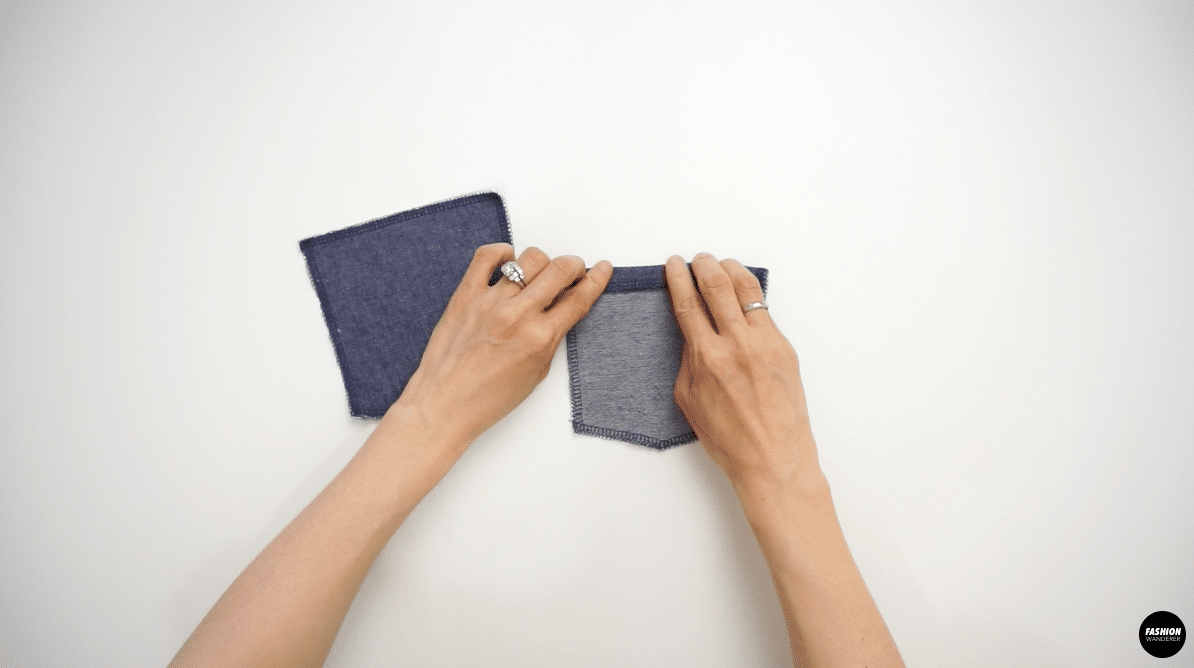
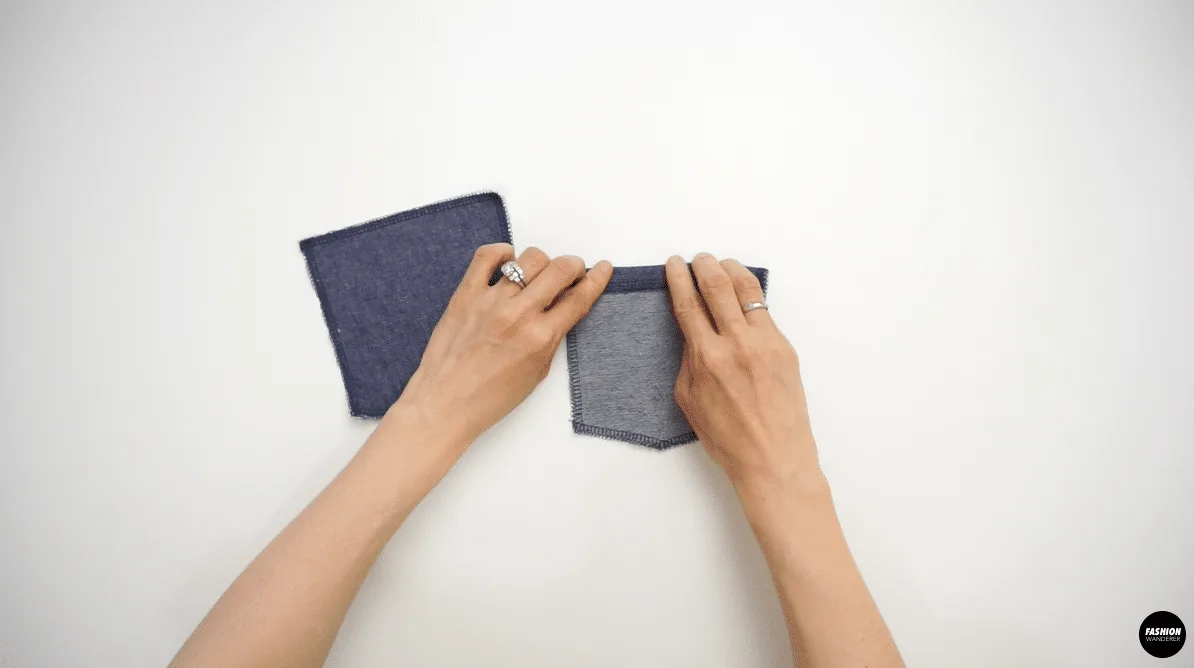
- ¼” press all sides of the back pocket and double edge topstitch ⅛” apart.


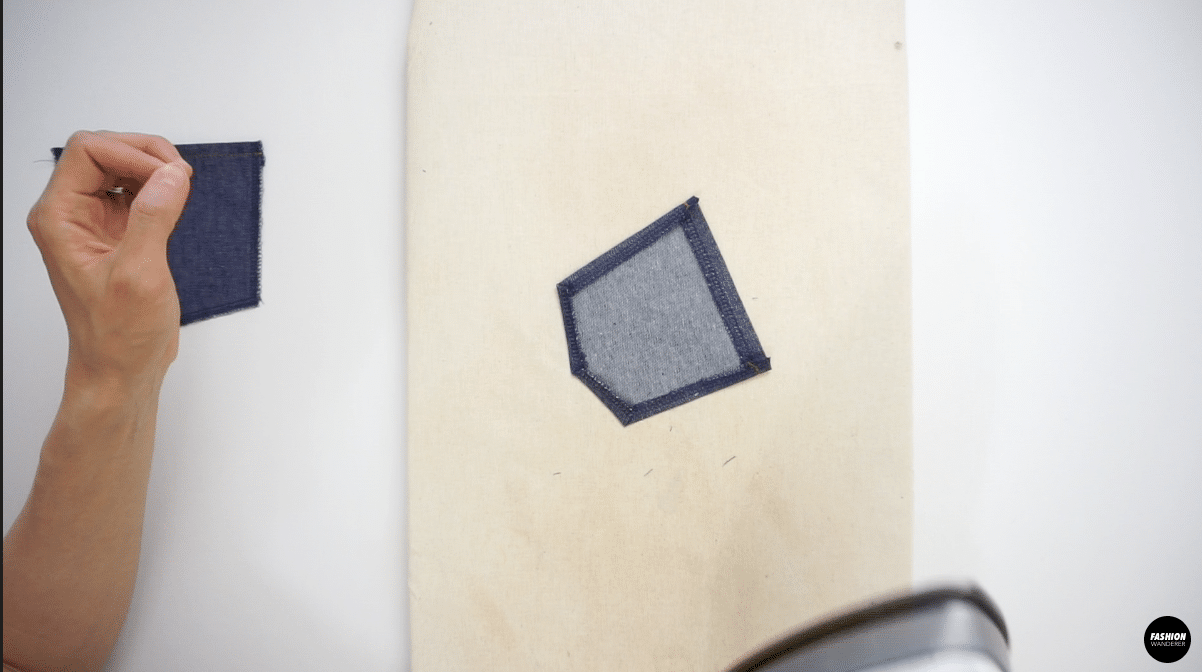

- Measure placement of back pocket on back side of jeans
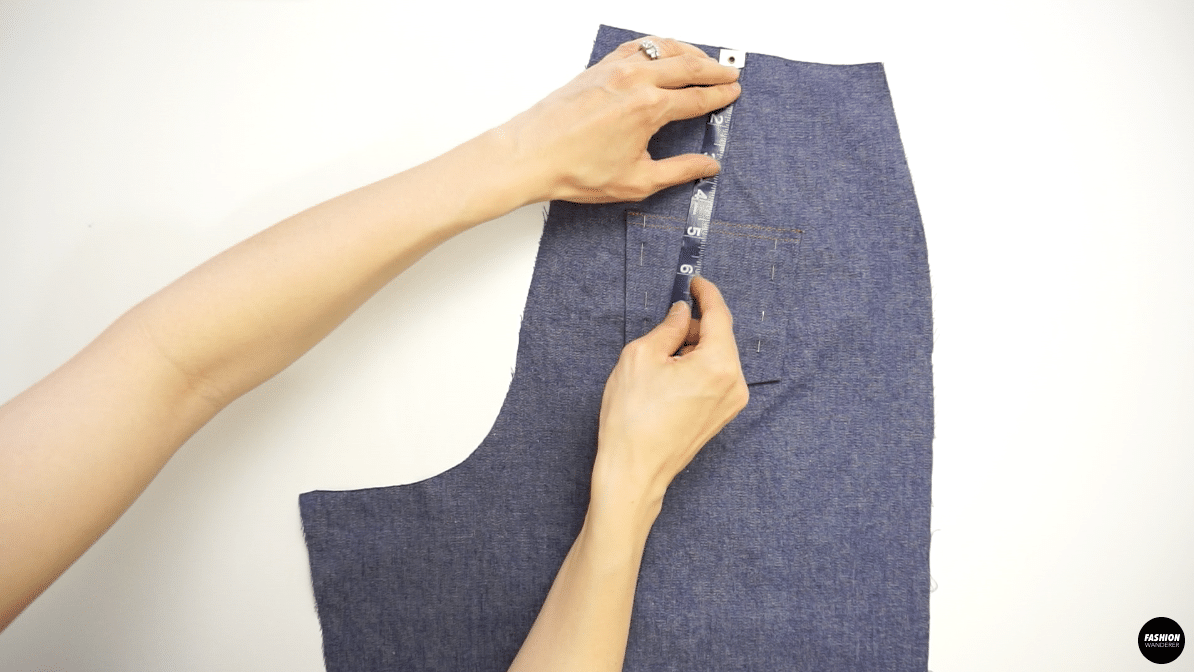
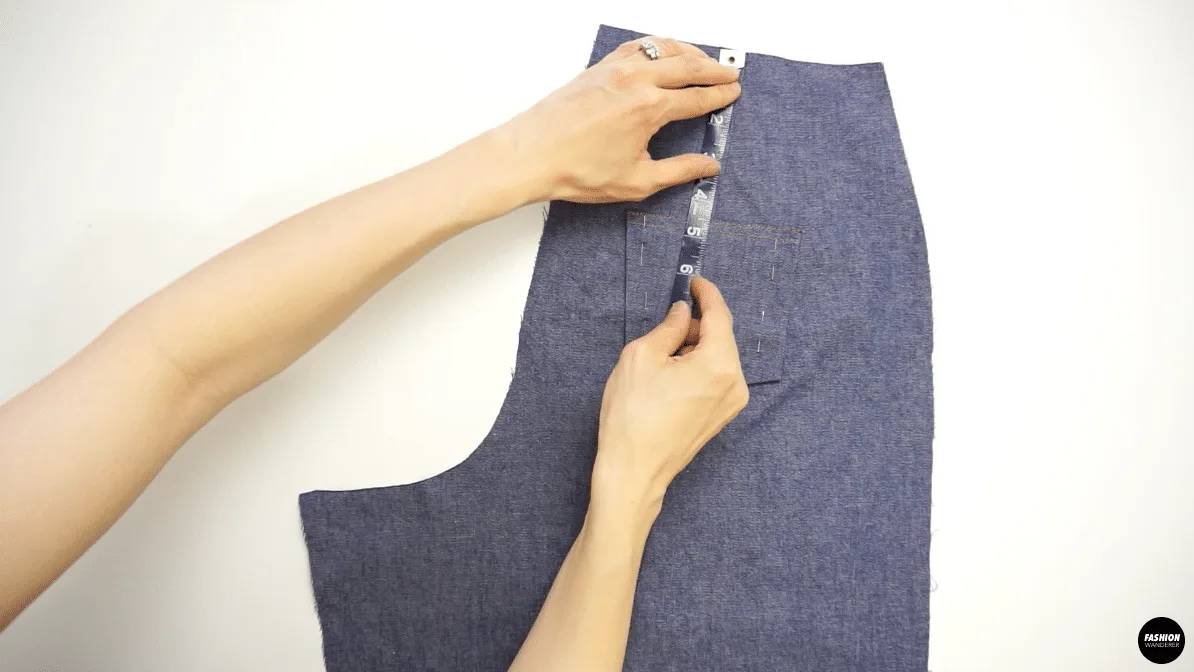
- Attach both back pocket pieces
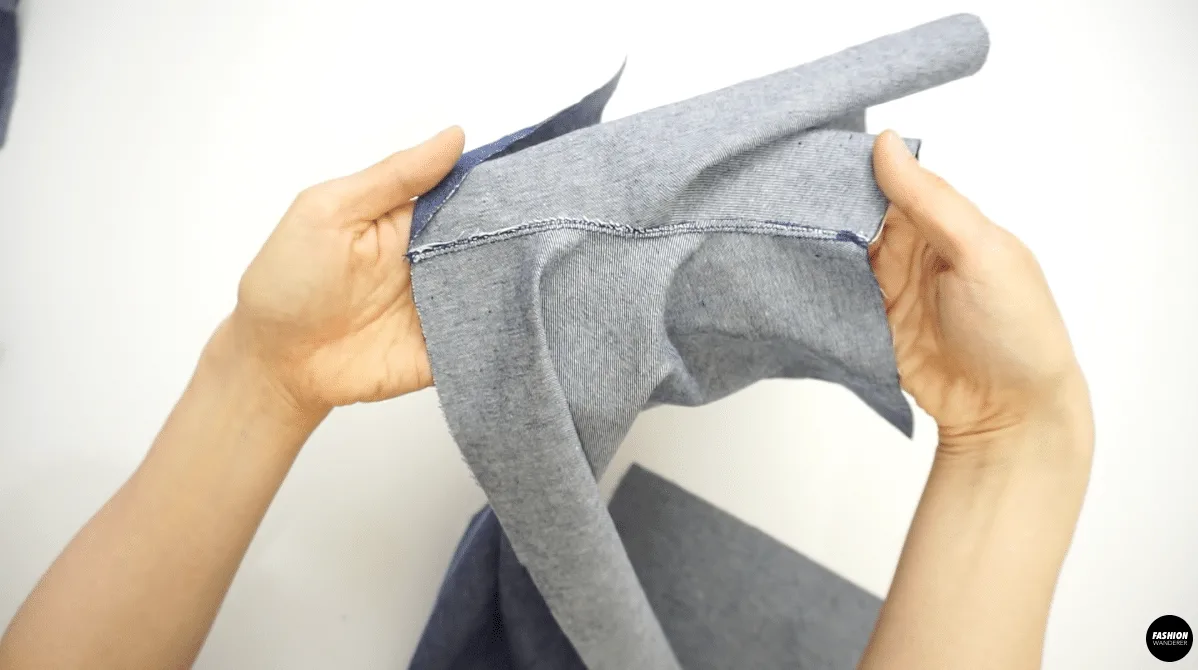
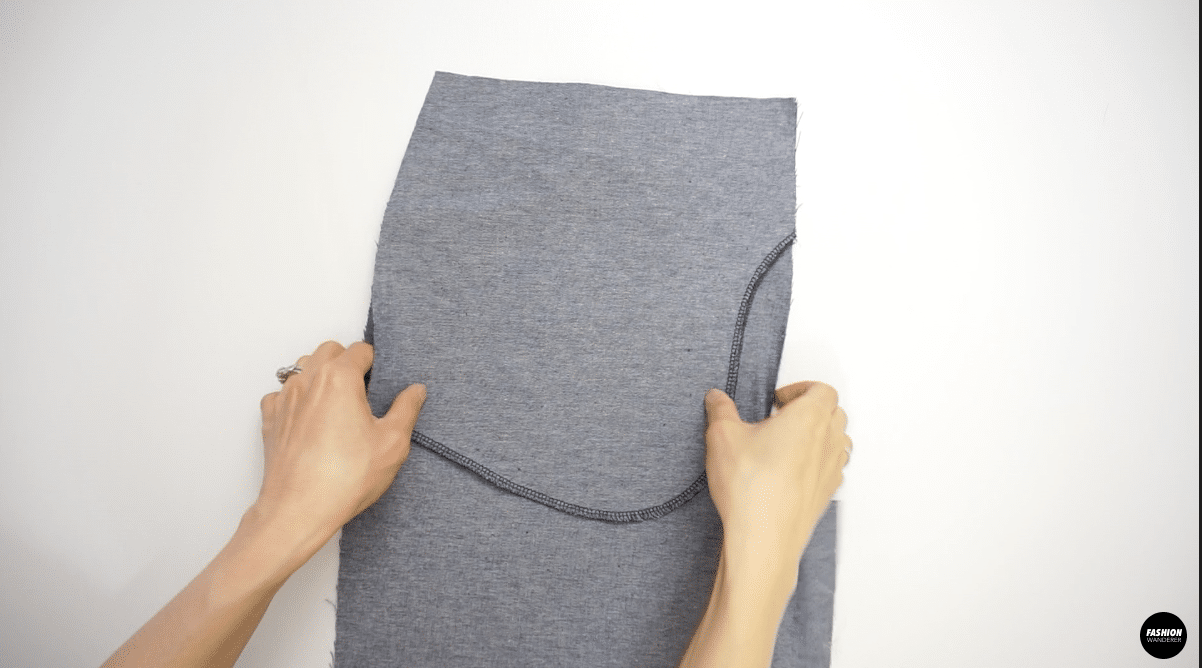
How to Assemble Denim Jeans
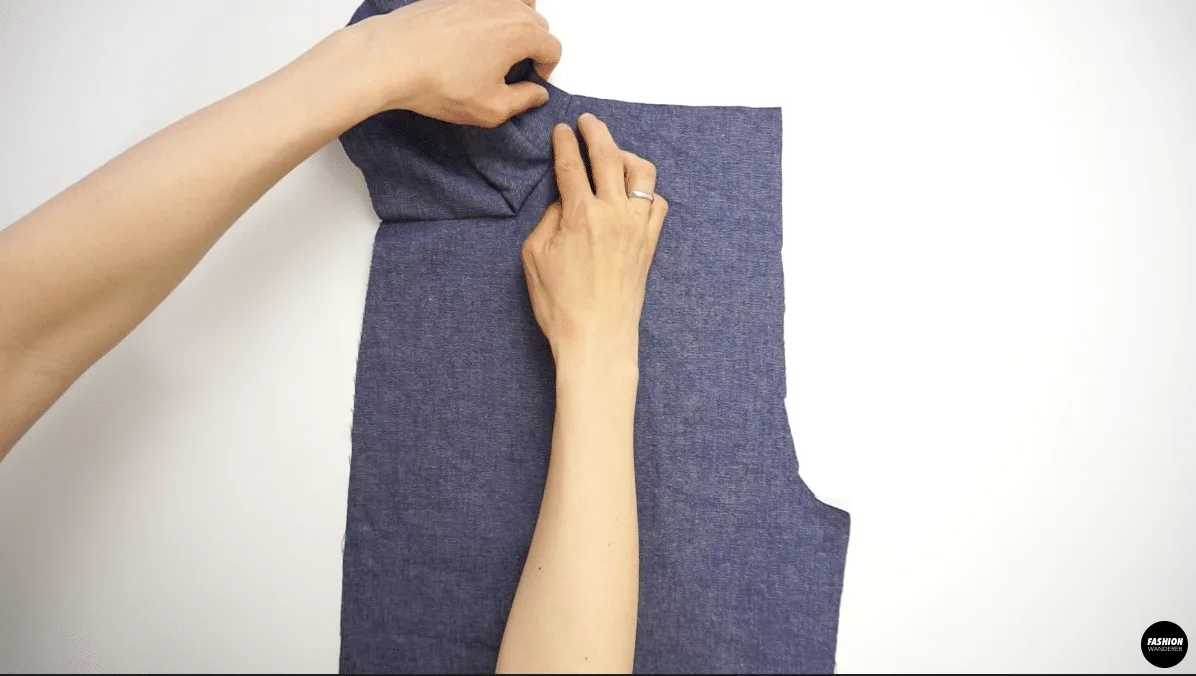
- Place right sides facing together for back and front leg pieces.
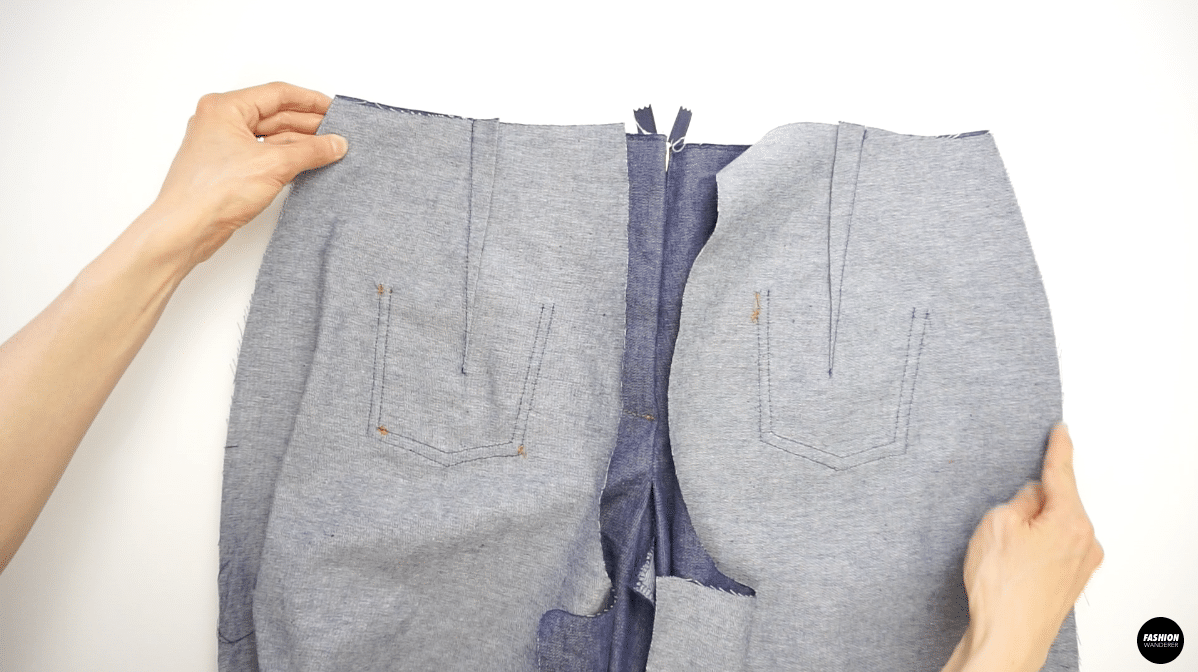

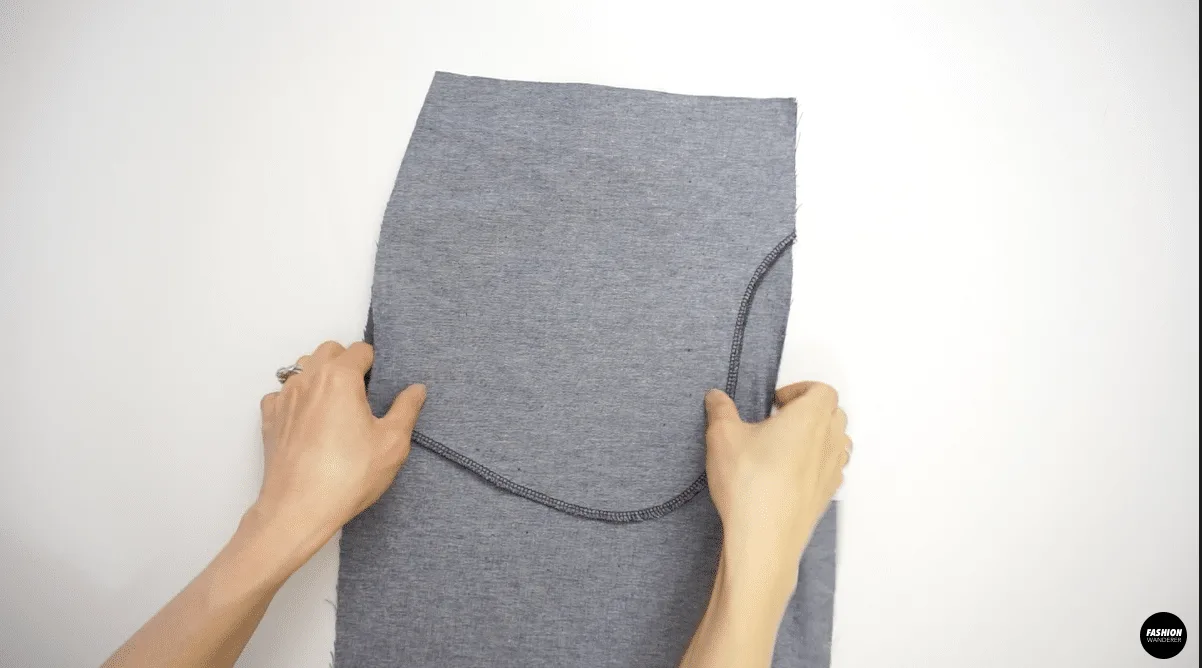
- Stitch side seams with ½” seam allowance and zigzag stitch to finish.

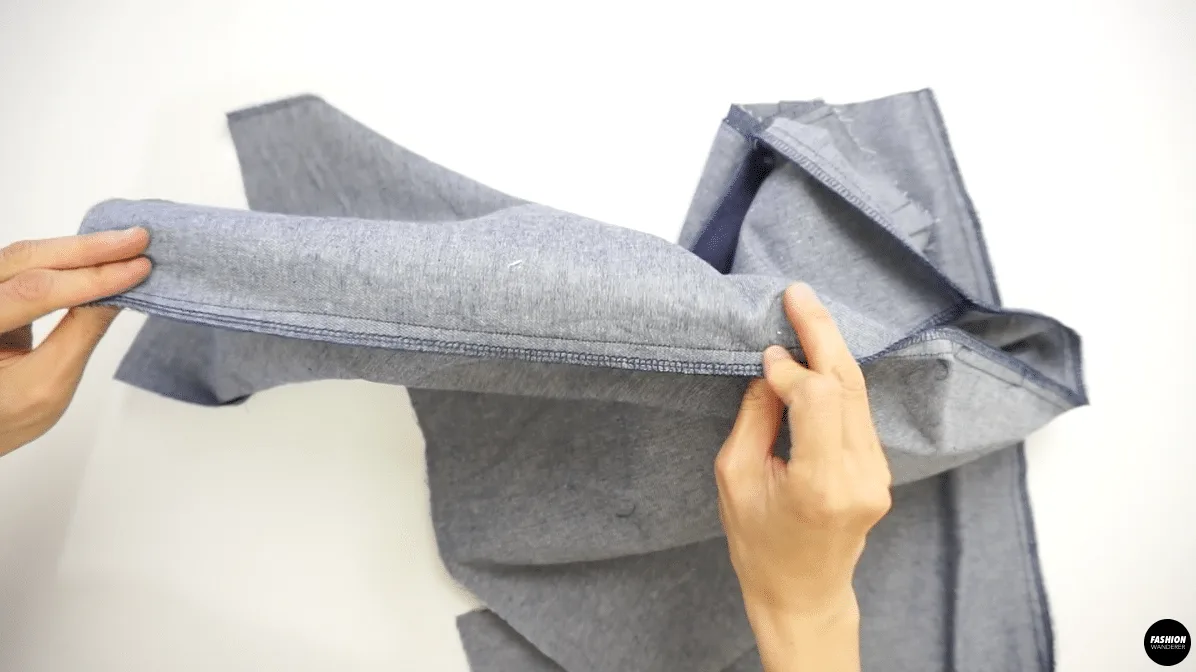
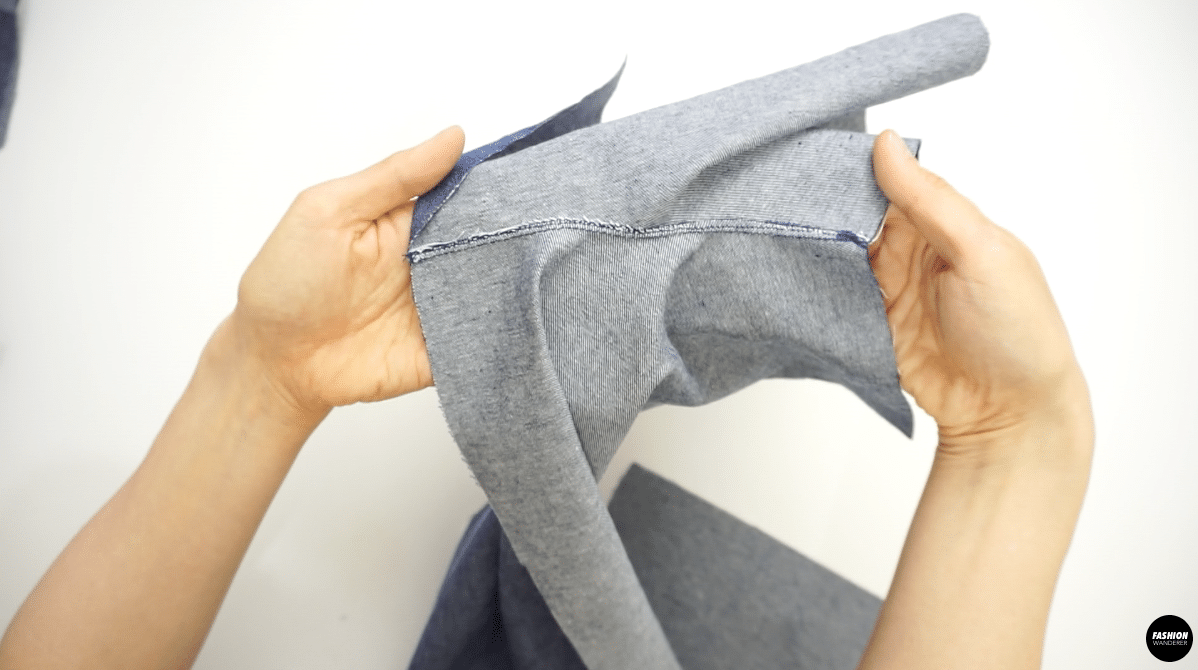
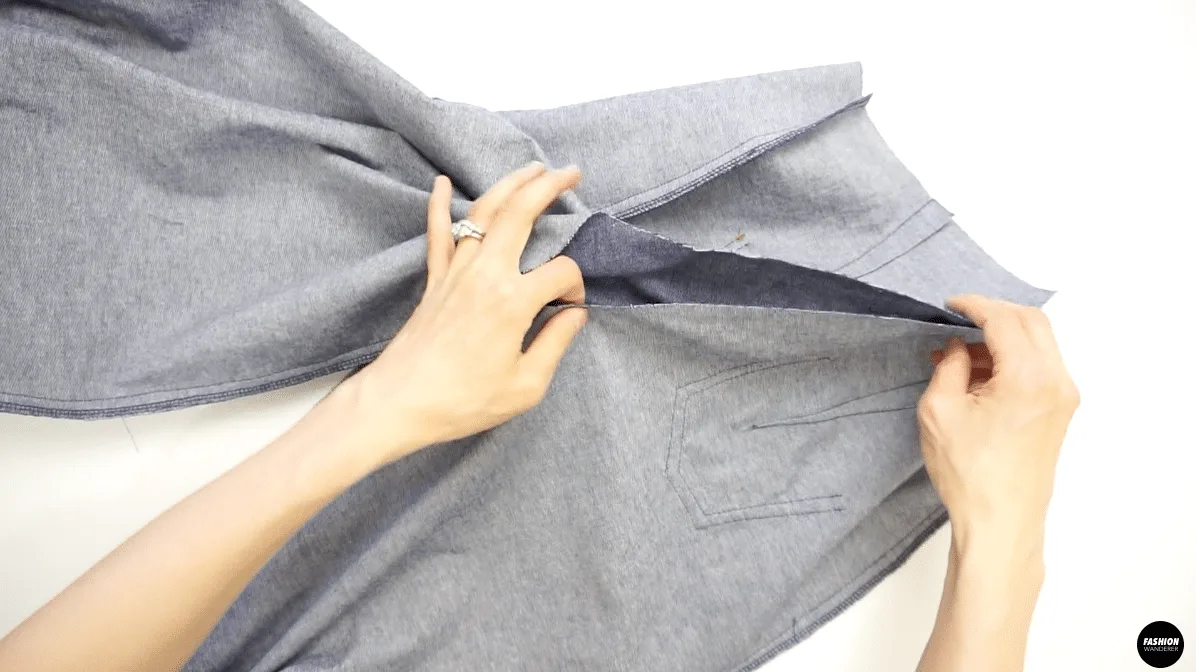
- Stitch with a ½” seam allowance and sew inner leg seam of front and back leg.
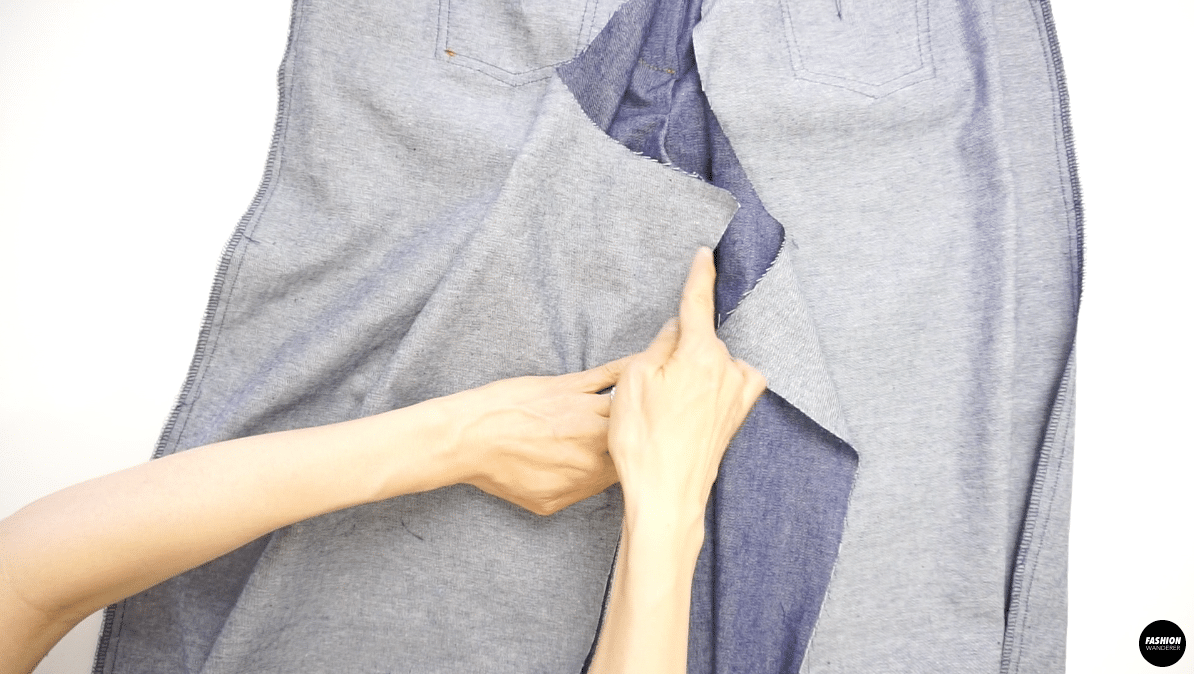
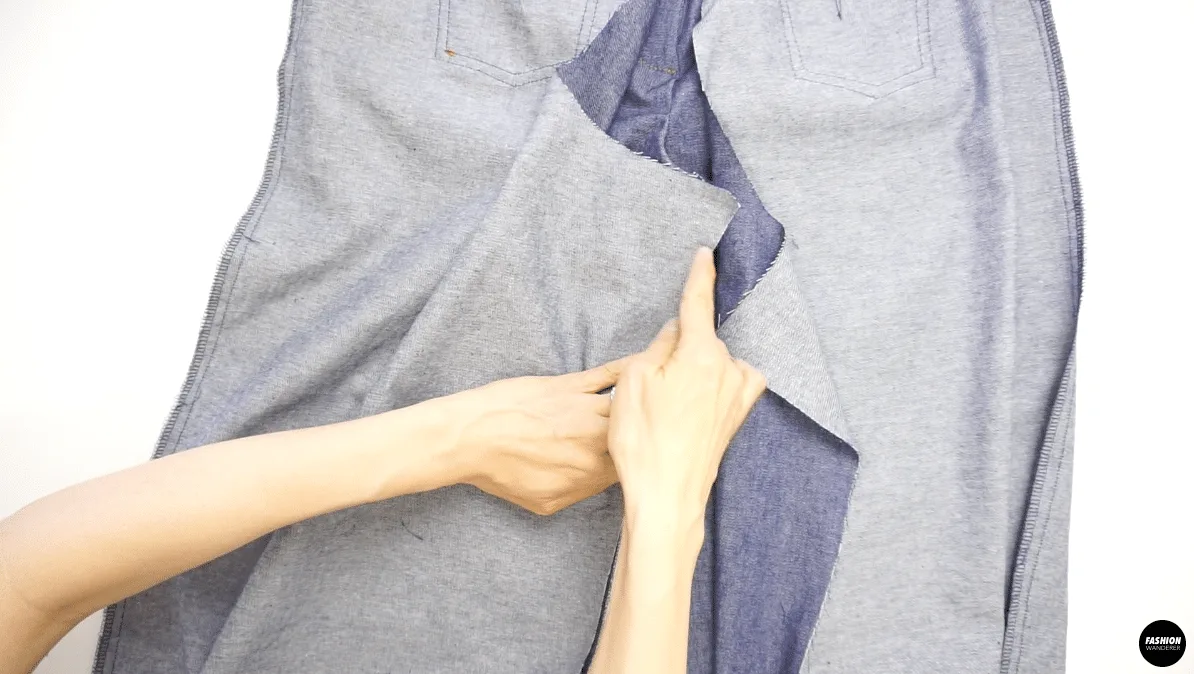

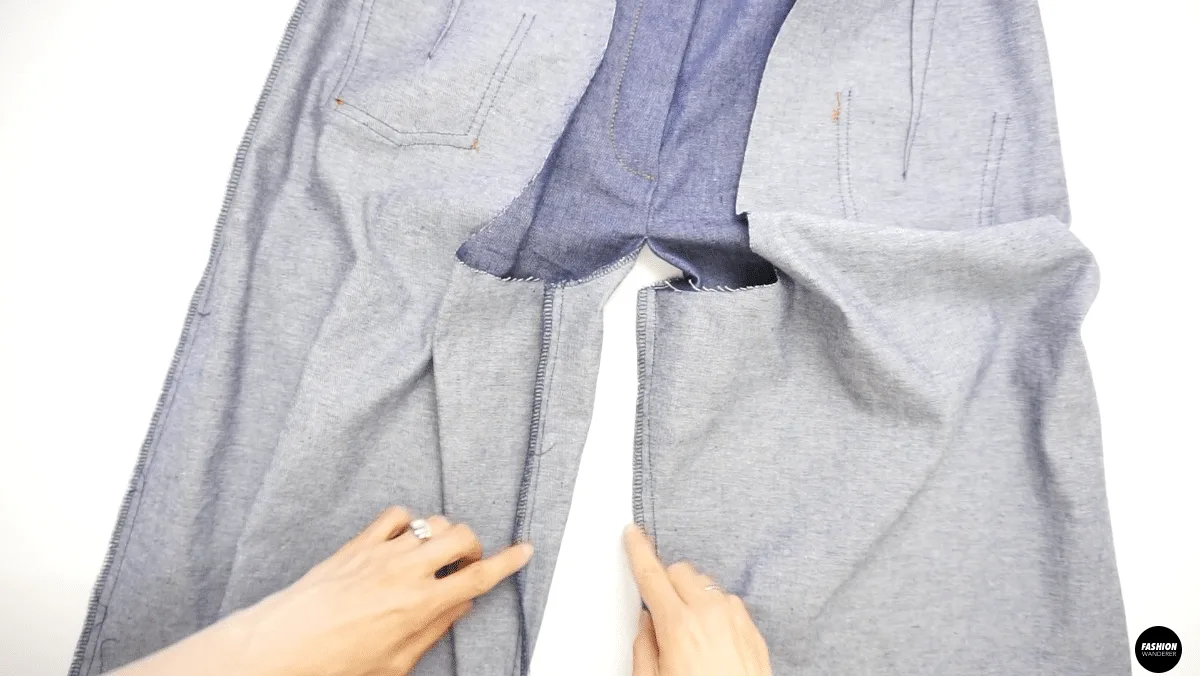
- Stitch ½” seam allowance along the crotch from the point you stopped sewing to the center back waist.


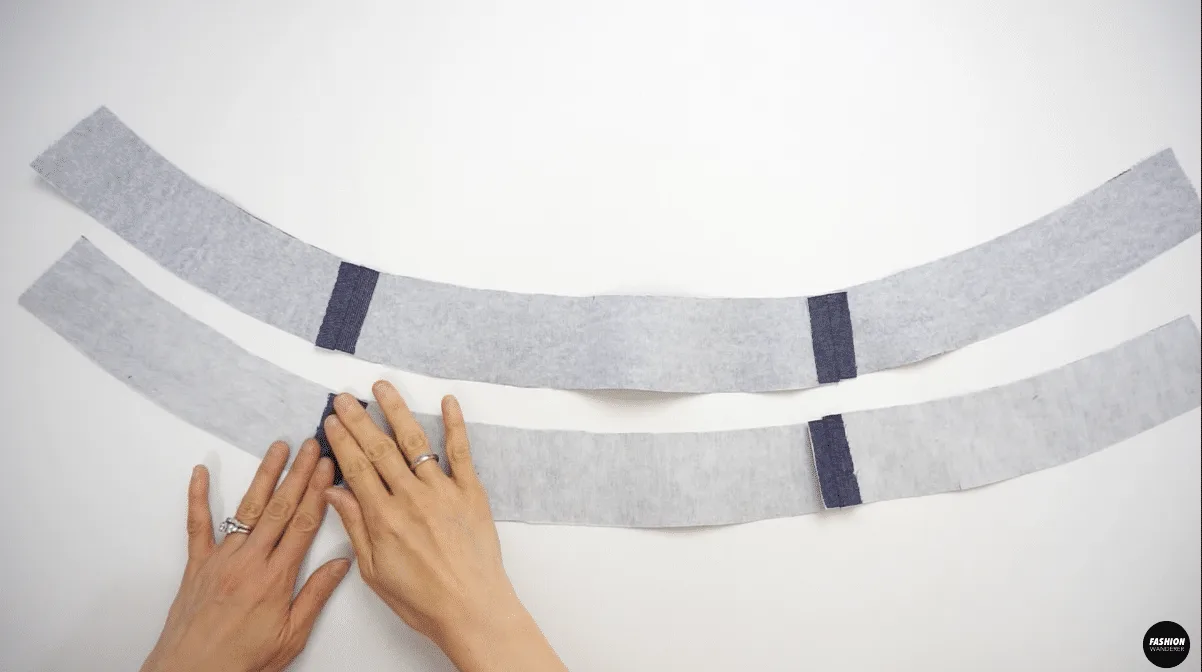
How To Fuse Interfacing On Waistband
- Cut out the interfacing to match the left front, right front, and back waistband pieces.

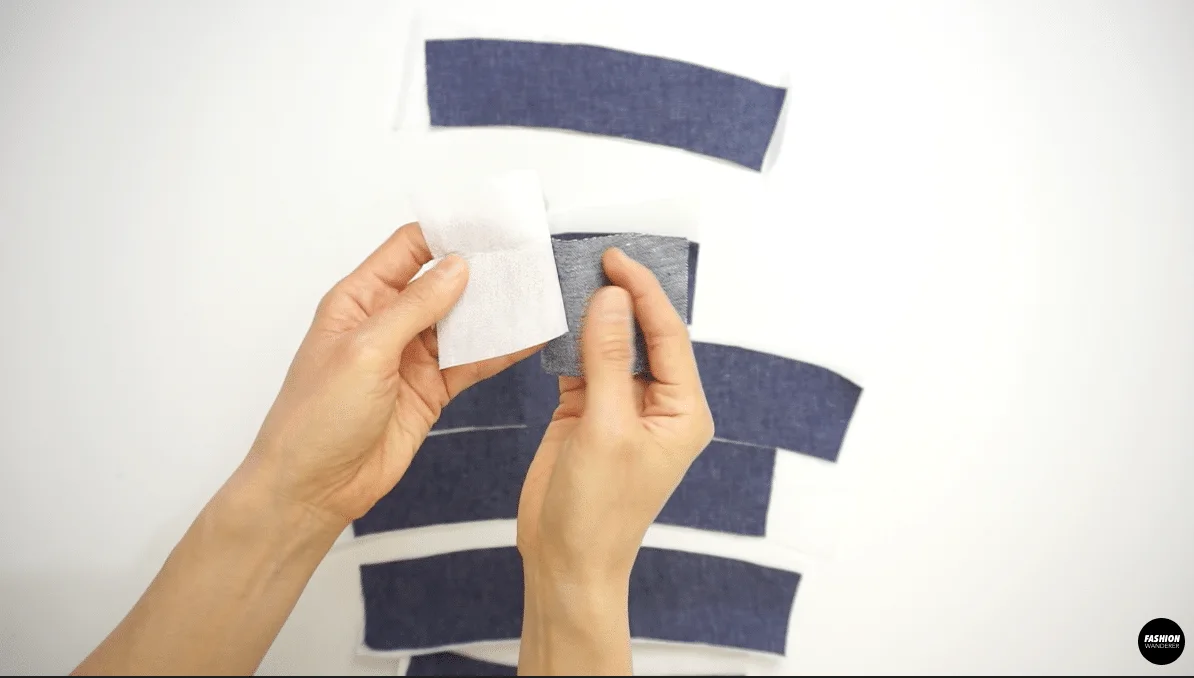
- Place the fusible side of the interfacing on the wrong side of the fabric.
- Press with hot steam or dry iron, and keep the iron in place for 10-15 seconds.

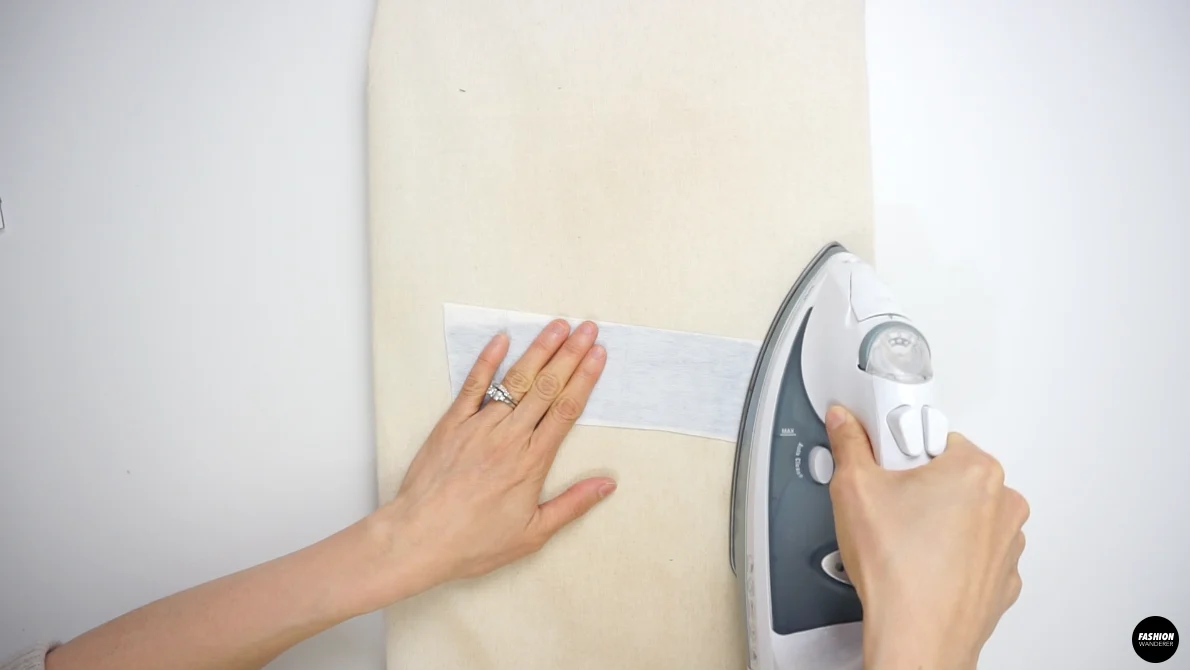
- Repeat until all areas of the interfacing have been fused to the waistband.
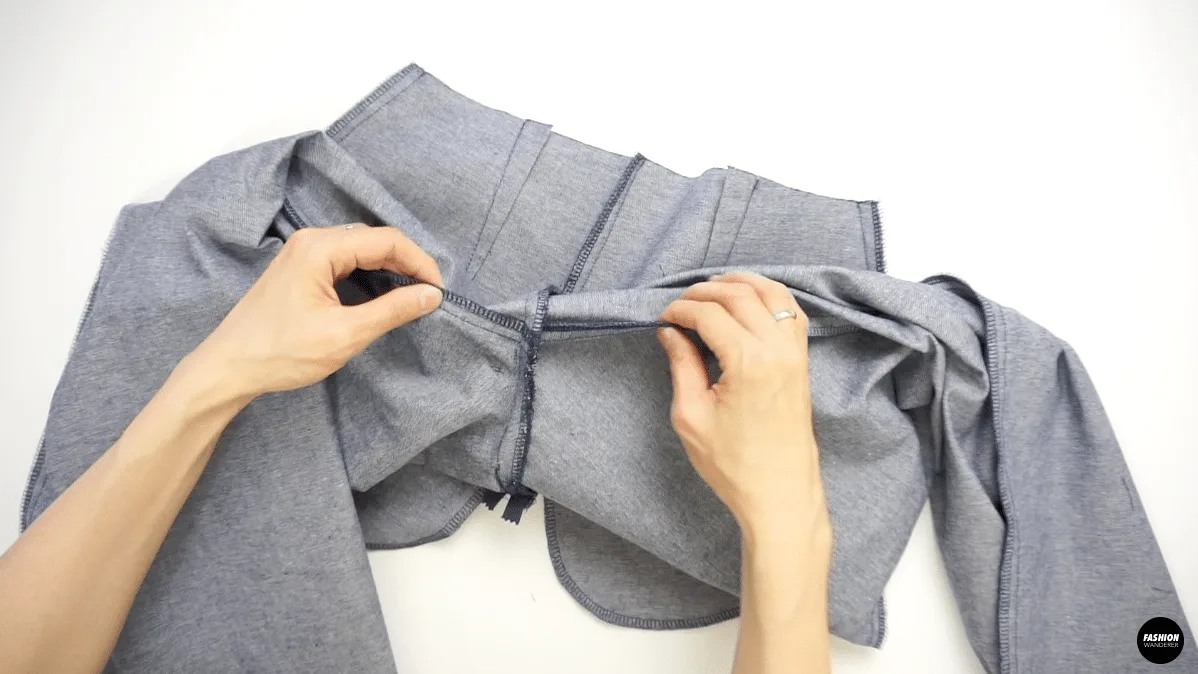
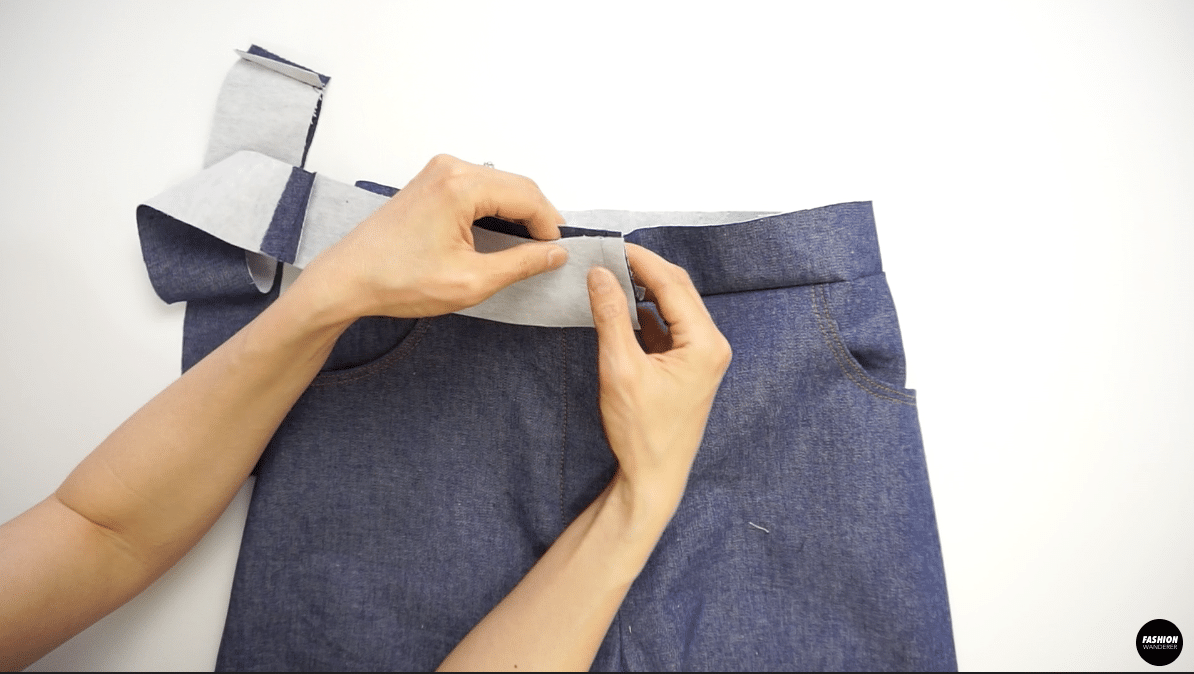
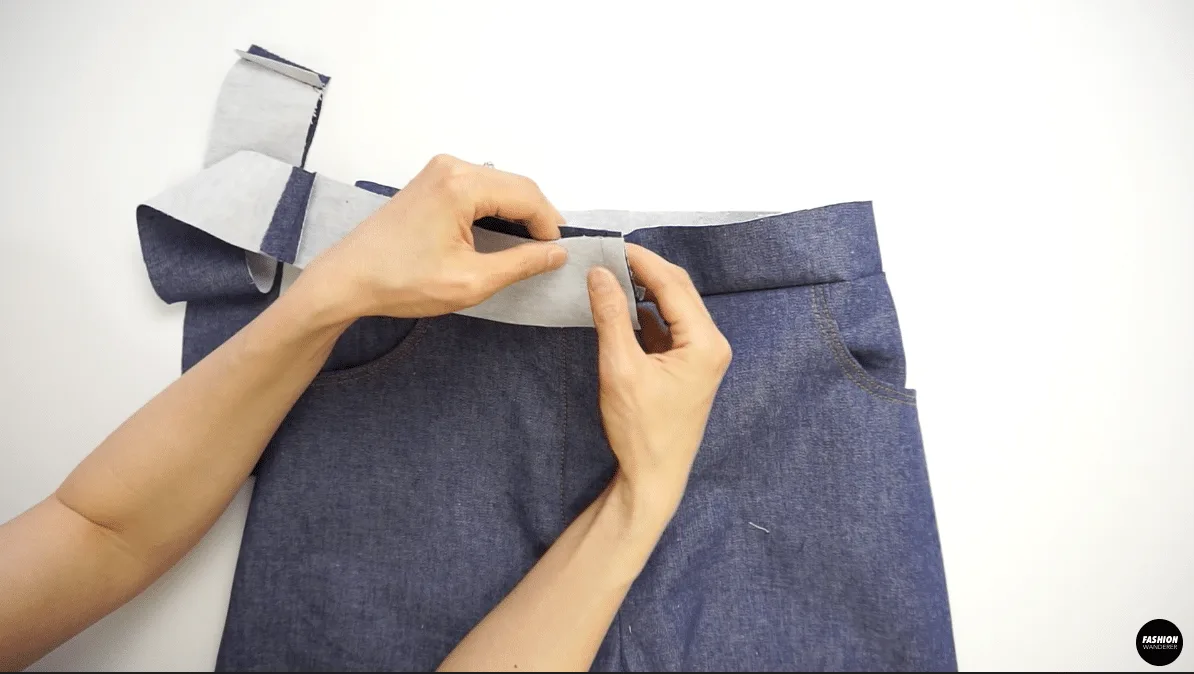
How To Assemble Waistband
- Place the back waistband right side up and position the left and right side front waistband; stitch each side with a ½” seam allowance.
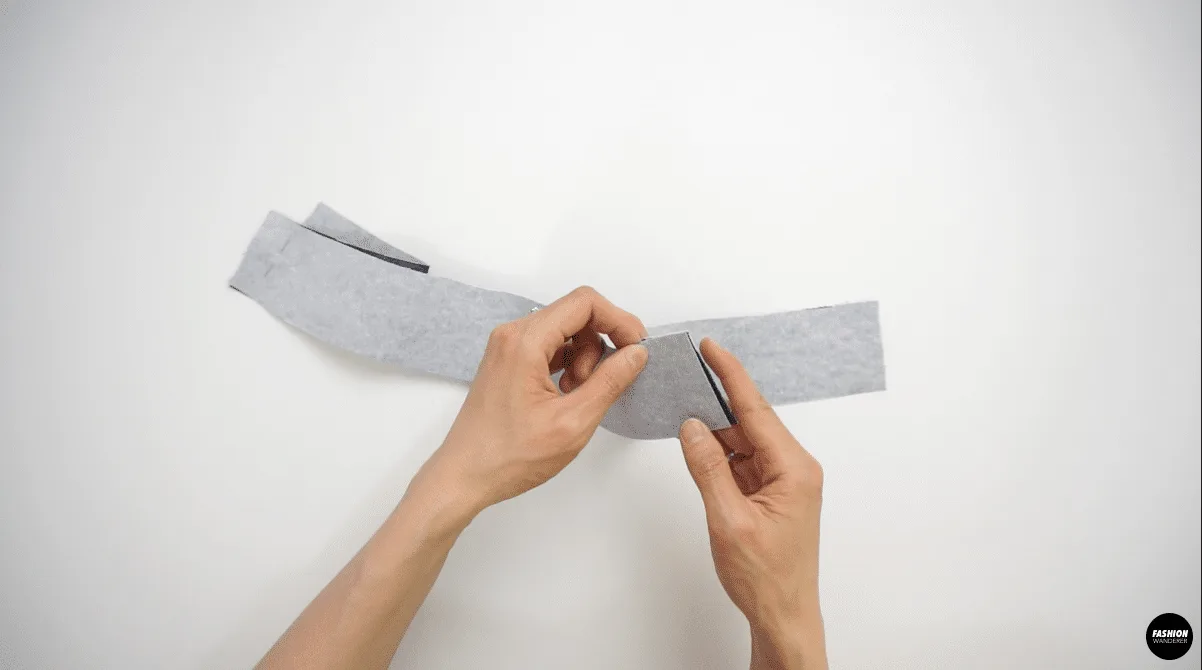
- Open up the seam allowance and press.

- Place the inner waistband facing each other and stitch ⅜” seam allowance.


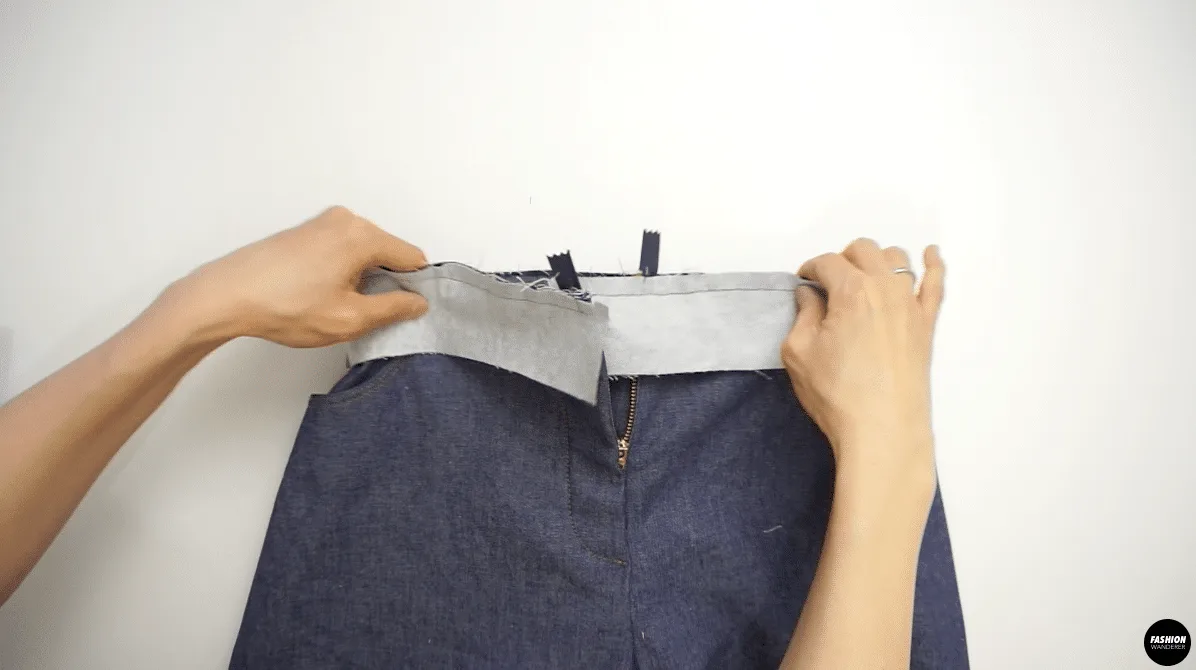
- Fold over and place the outer waistband facing each other and stitch ⅜” seam allowance.
- Trim down at the corner of the waistband on both sides.
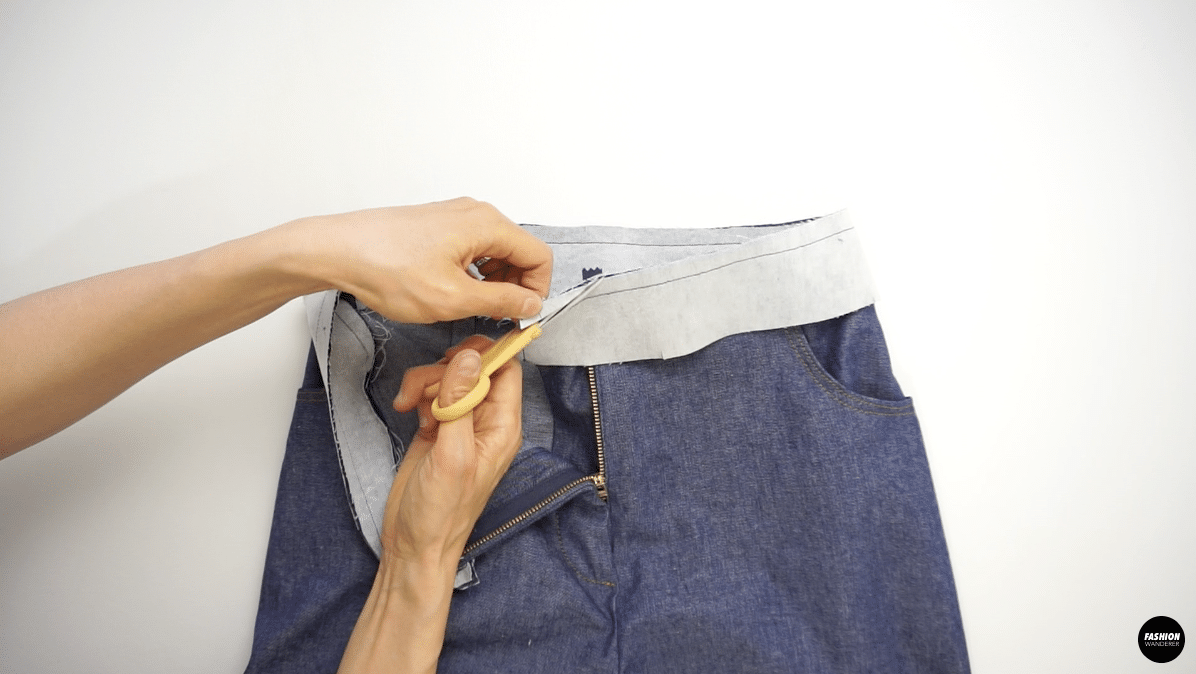
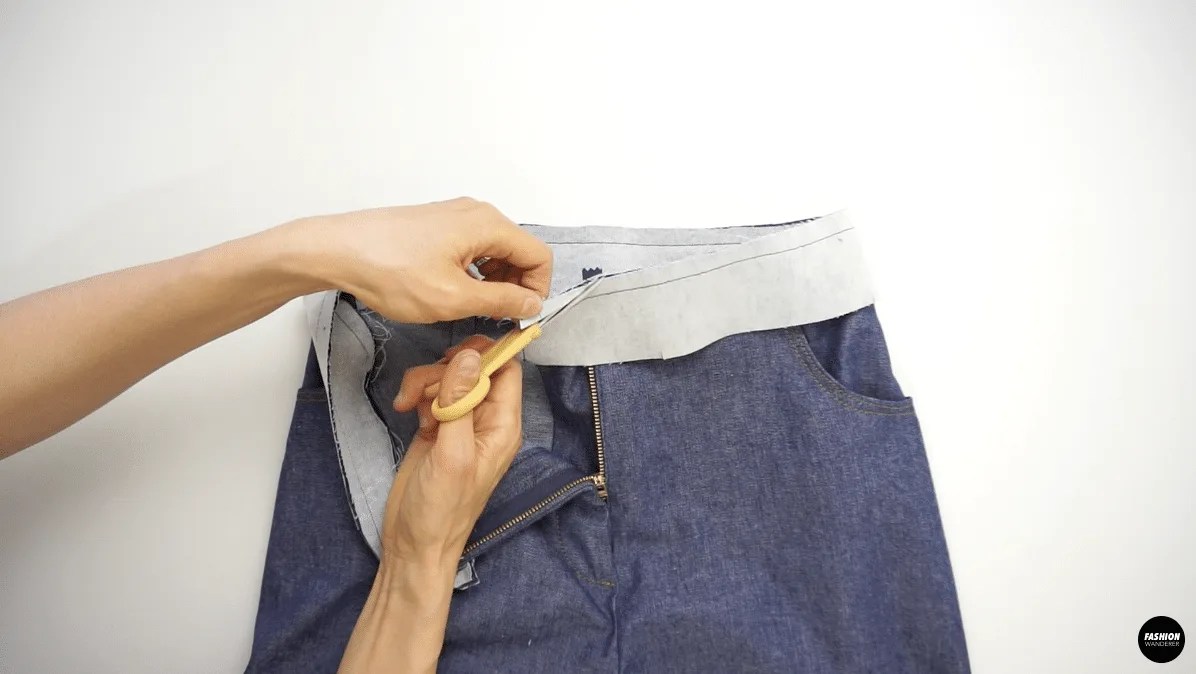
- Flip the waistband inside out and press with the iron.

- With contrast color thread, edge topstitch all around the waistband.

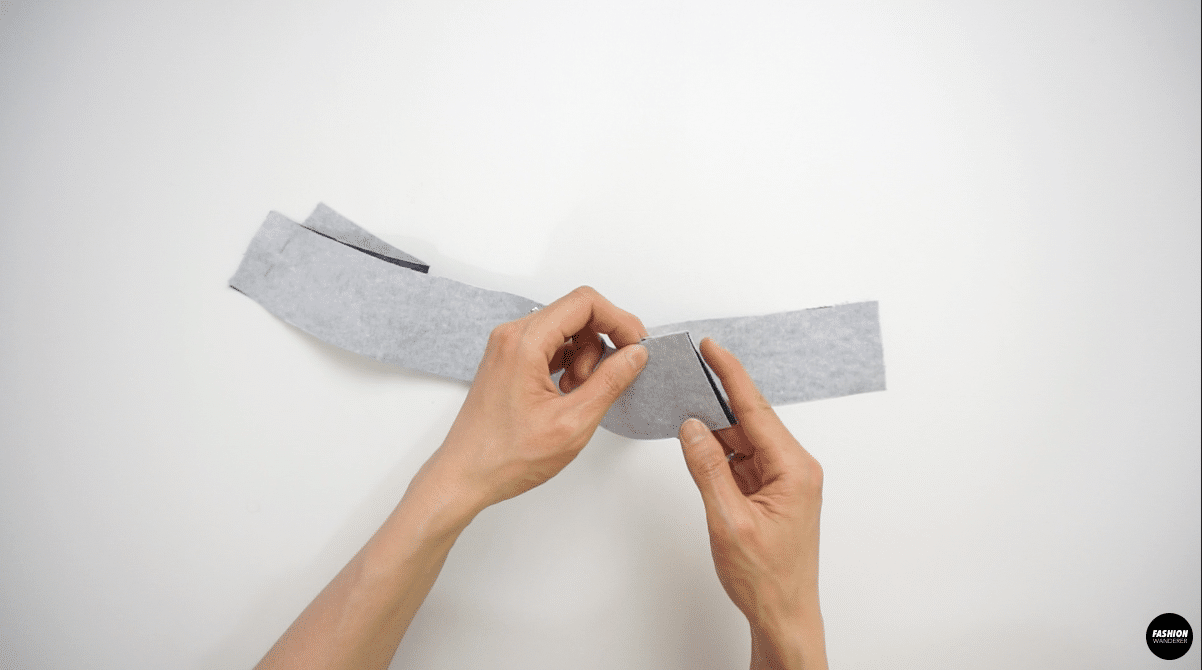
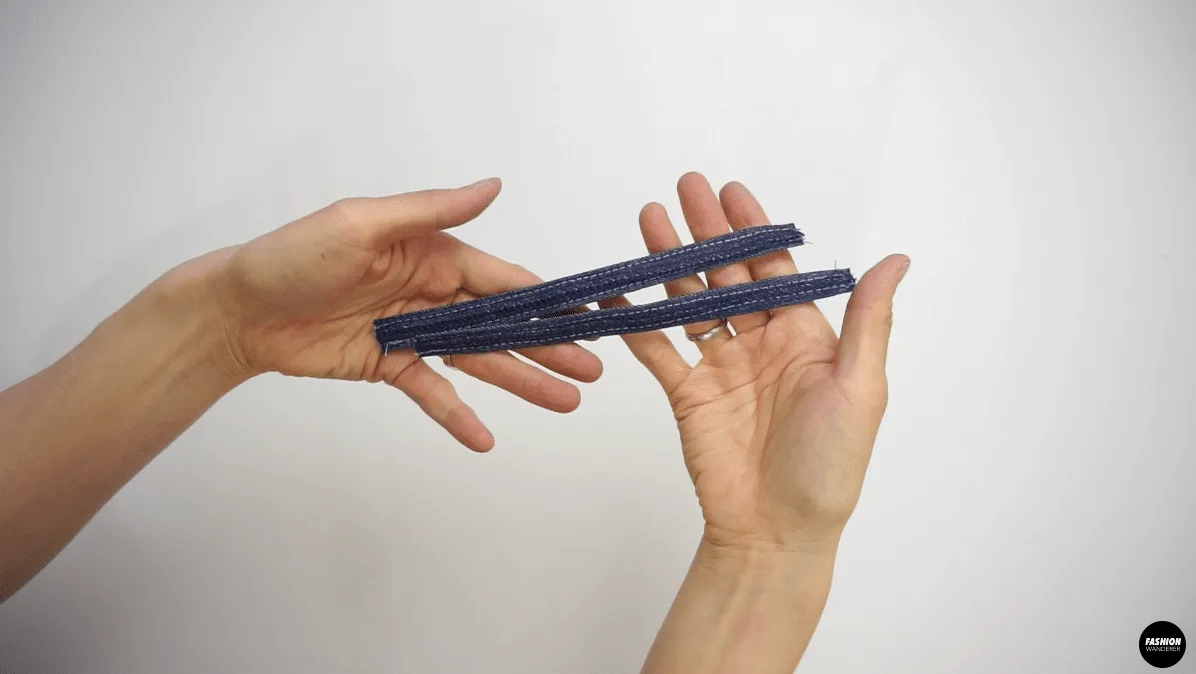
How to Sew Belt Loops
- Zigzag stitch the belt loop pieces lengthwise.
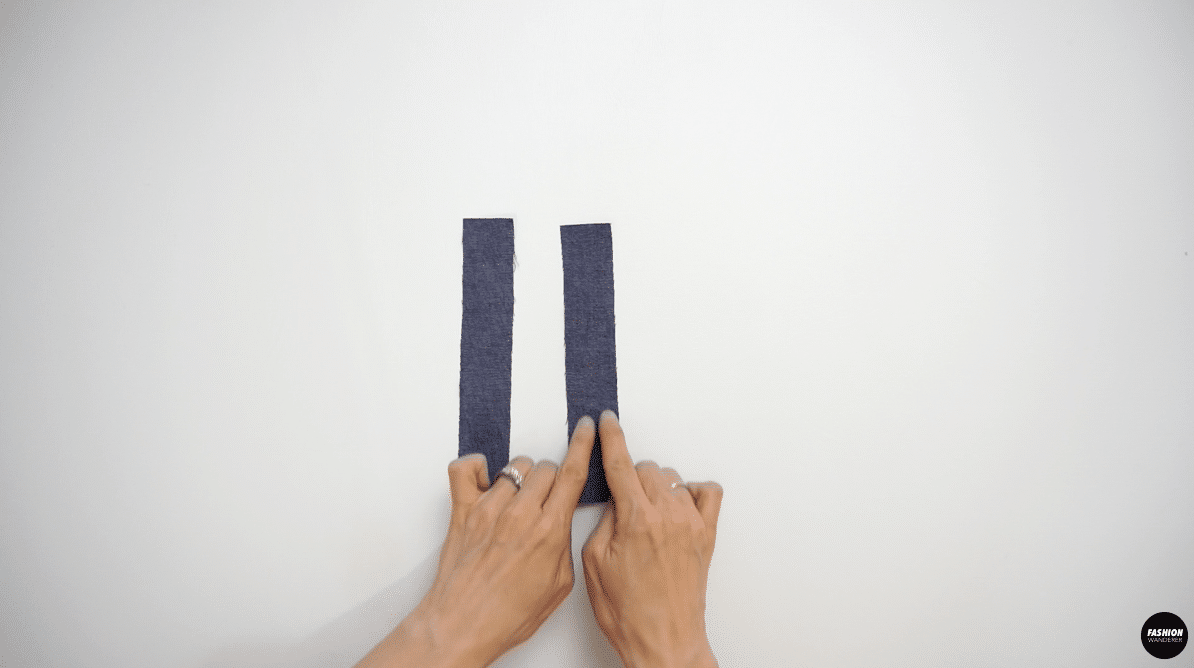
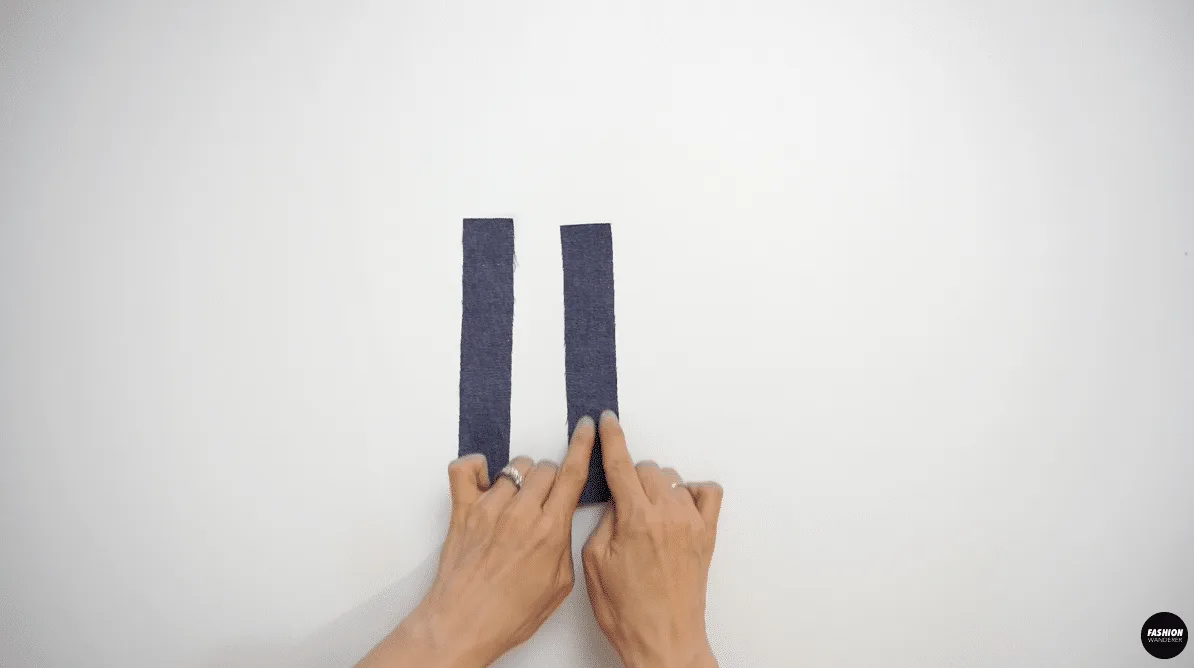
- Fold the belt loop wrong side facing each other and ¼” overlap each other. With contrast thread, edge topstitch ⅛” lengthwise.

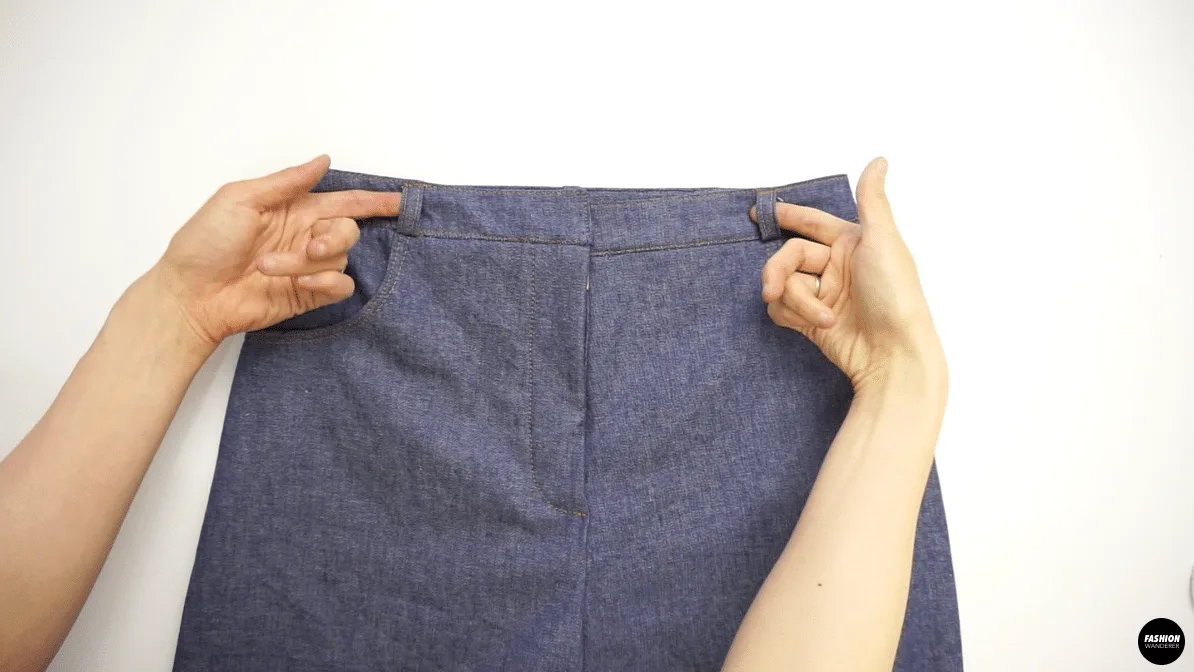
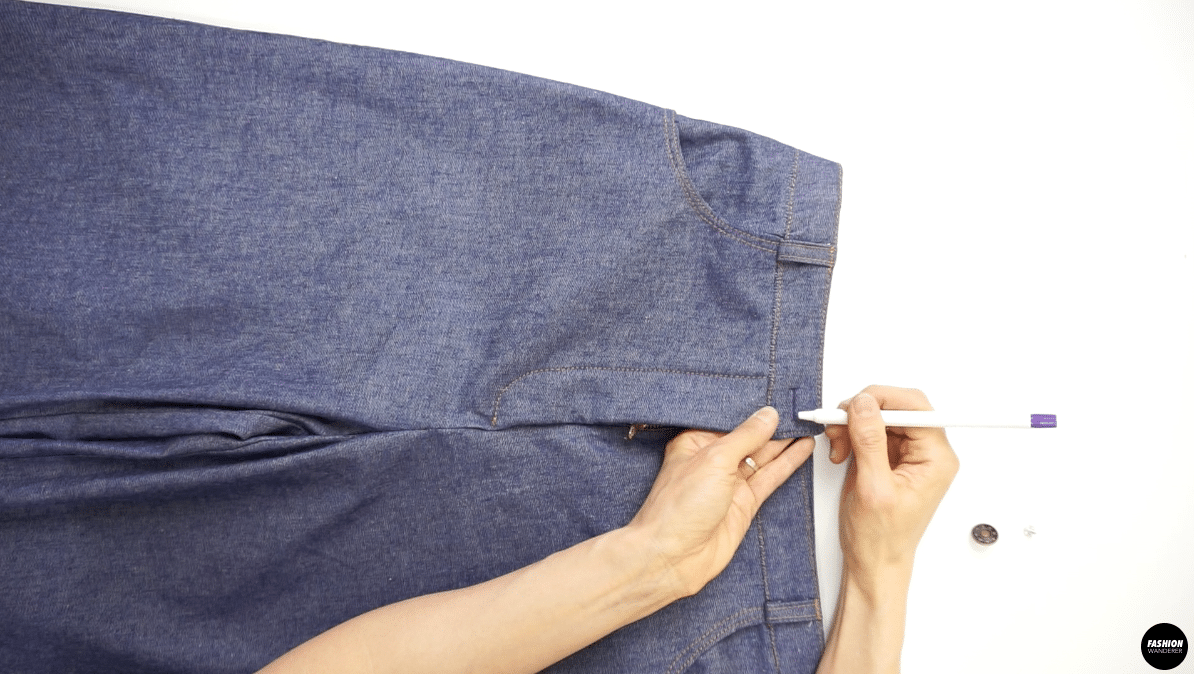
- Fold the belt loop on top and bottom to match the starting point of the pants pocket, then edge topstitch ⅛” to secure.

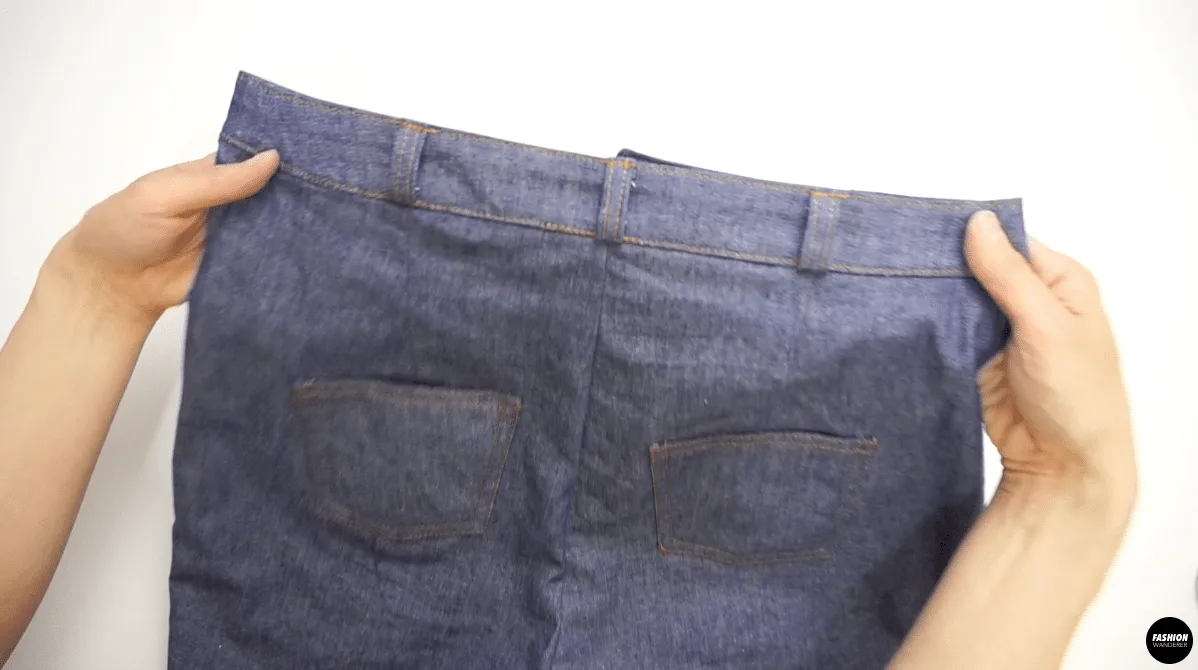
- Do the same on the center back and next to the dart on the back of the pants.

How To Finish Denim Jeans
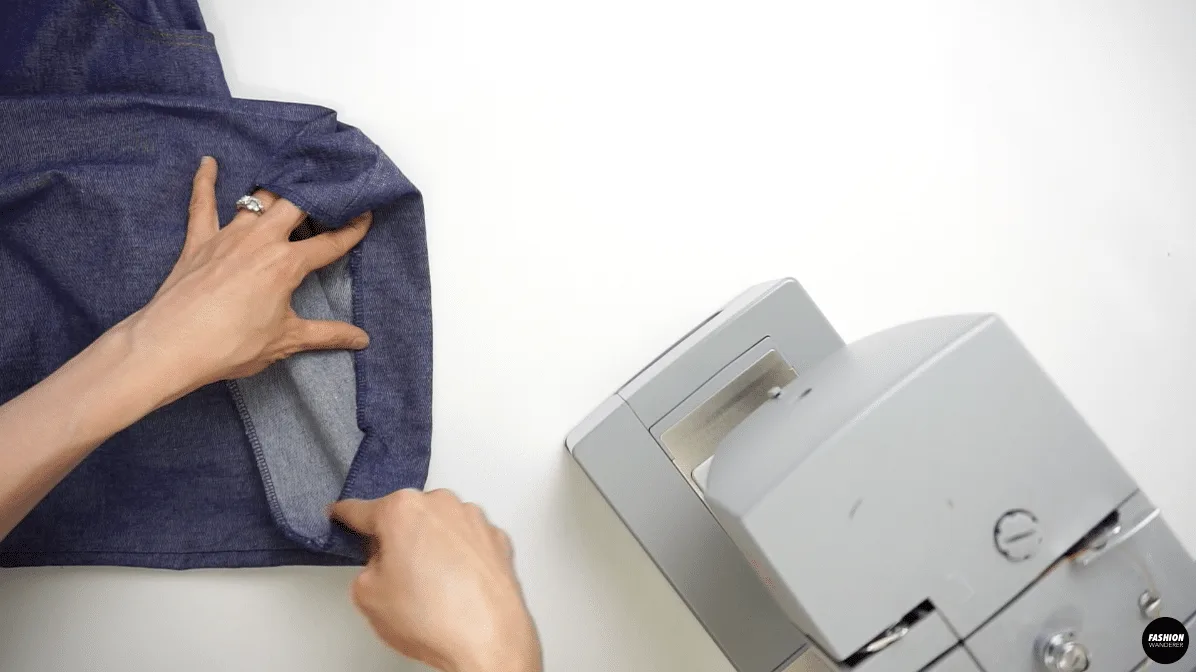
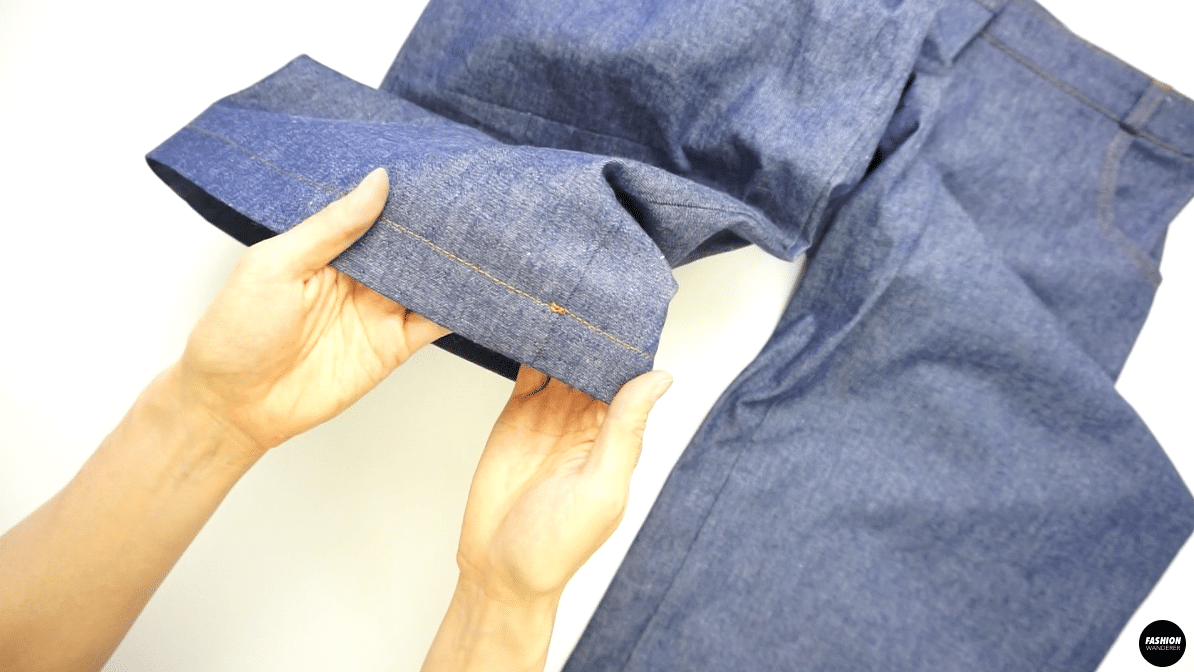
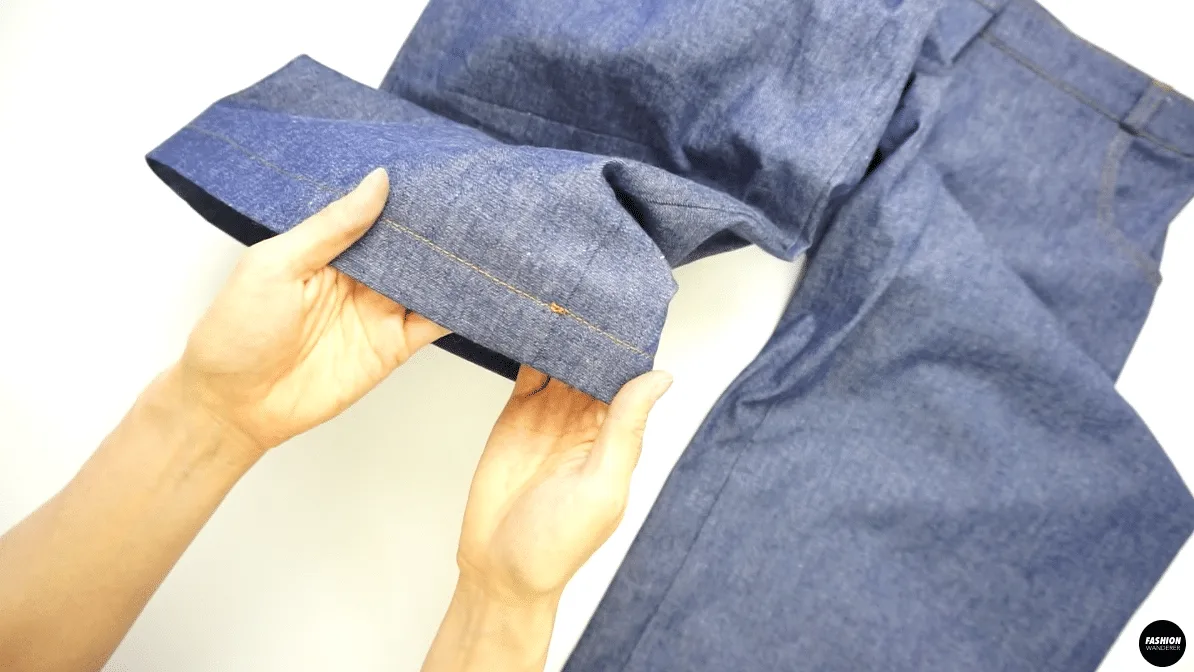
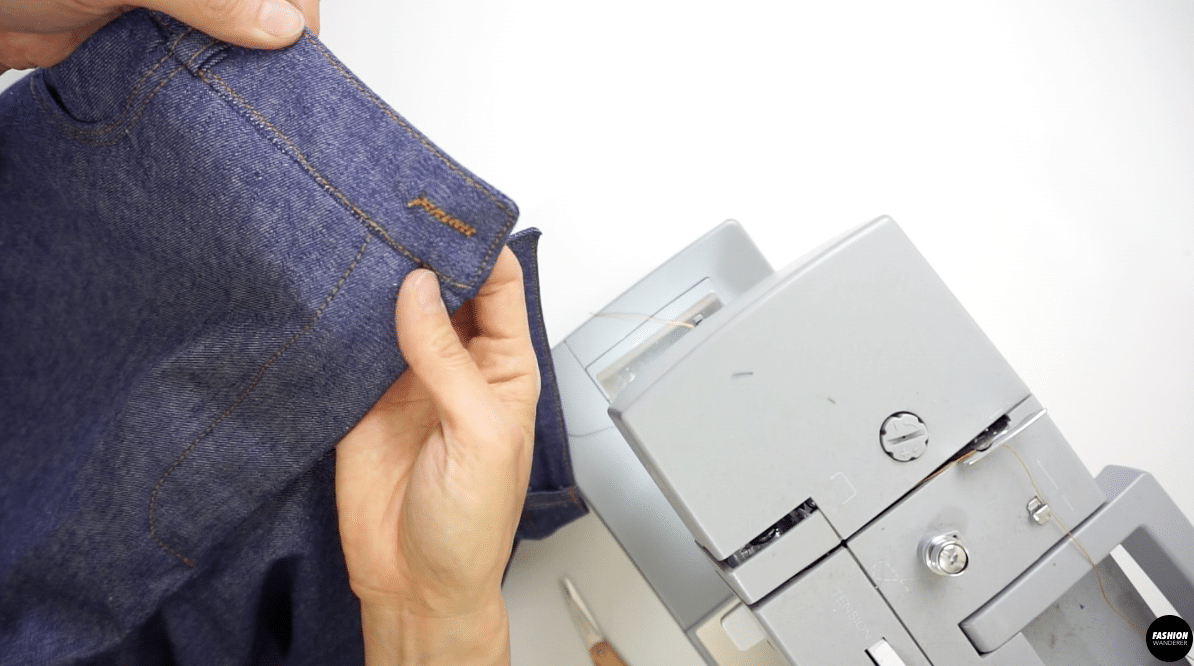
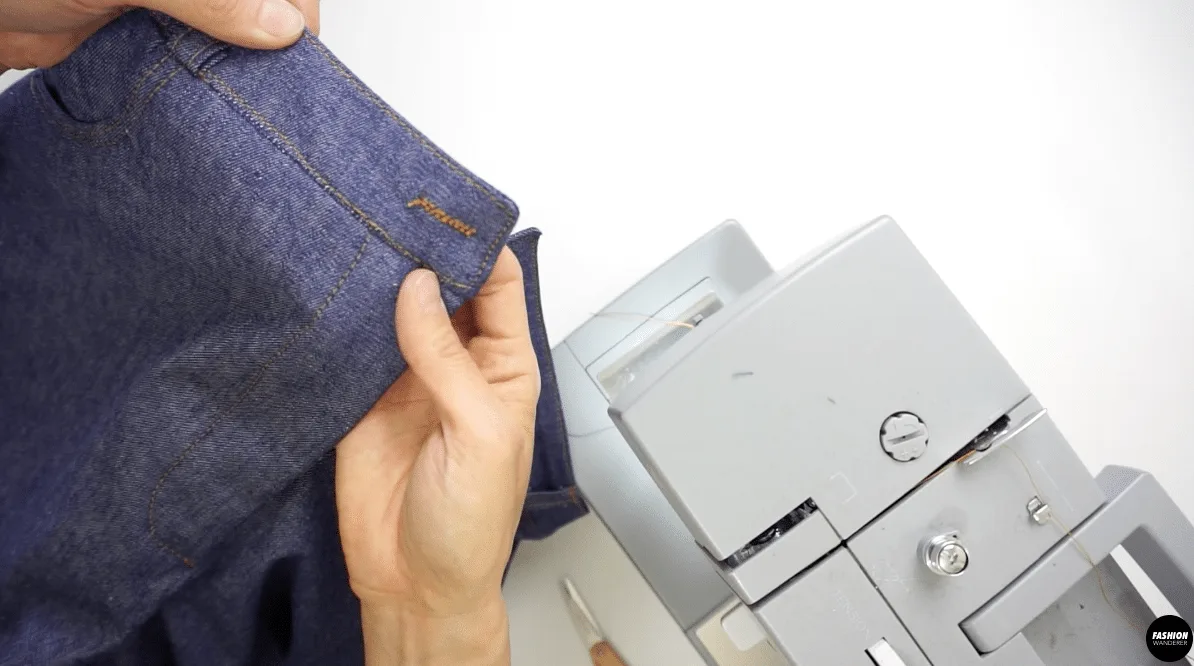
- Finish the leg hem with zigzag stitch and fold 1½” and edge topstitch.

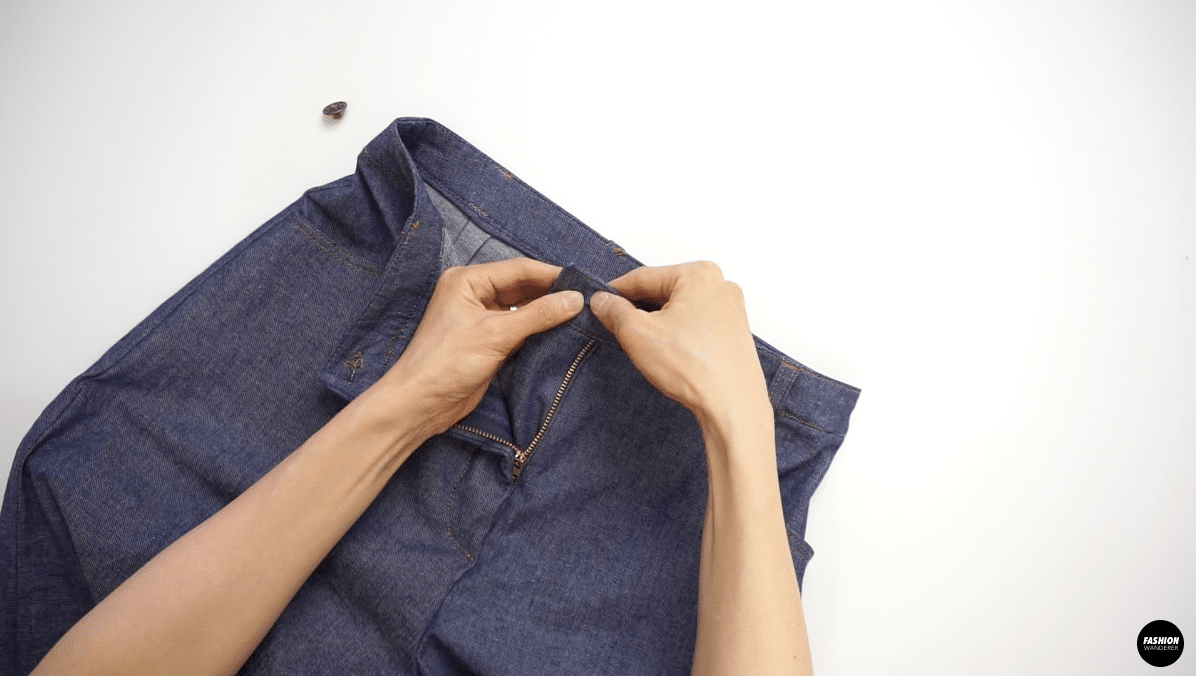
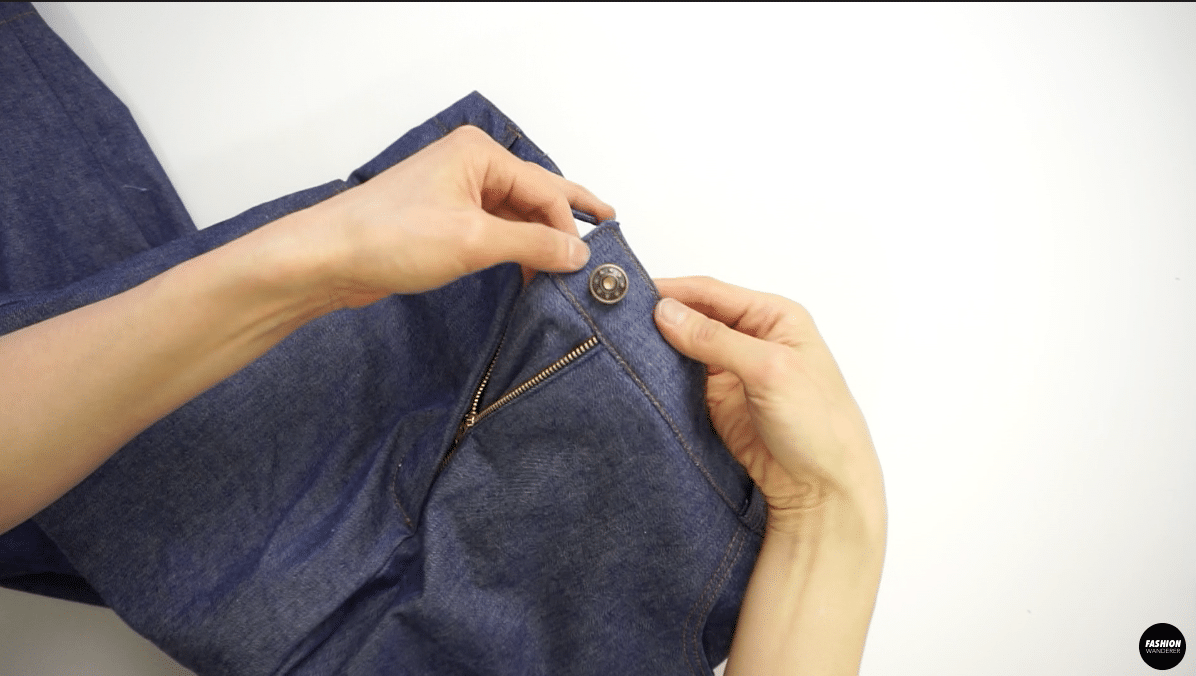
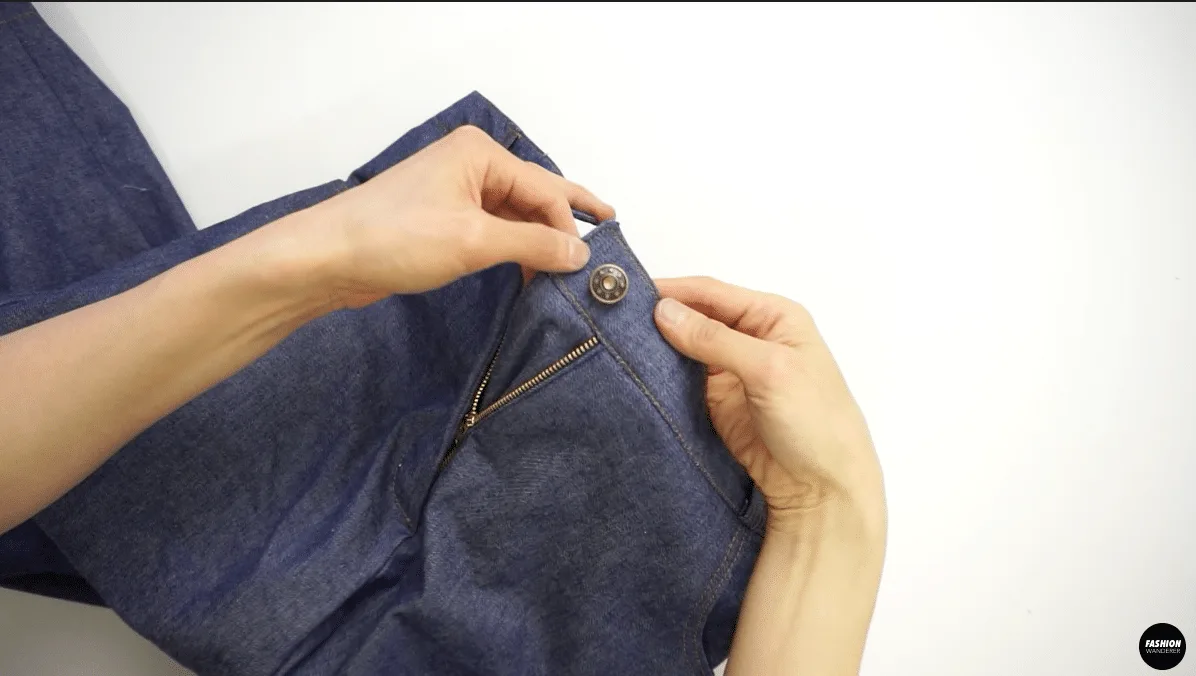
- Mark the width of the jeans tack button on the waistband for buttonhole.

- Mark the location for the jeans tack button.

Recommended Products
As an Amazon Associate and member of other affiliate programs, I earn from qualifying purchases.
-
 Brother CS7000X Computerized Sewing and Quilting Machine, 70 Built-in Stitches, LCD Display, Wide Table, 10 Included Feet, White
 -
Brother CS7000X Computerized Sewing and Quilting Machine, 70 Built-in Stitches, LCD Display, Wide Table, 10 Included Feet, White
-
 Brother Serger 1034DX Overlock Machine
 -
Brother Serger 1034DX Overlock Machine
Trendy, Affordable Sewing Patterns for All Sizes


Tie Shoulder Jumpsuit Pattern


Palazzo Pants Sewing Pattern


Pocket Overall Romper Pattern


Wrap Maxi Skirt Sewing Pattern


Tie Back Top Sewing Pattern