
Do you have loose and worn out shoulder straps on your favorite camisole top? Transform the top into pearl strap cami that you can continue to wear over and over again.
If you have more than one knit camisole top, then I have the perfect upcycle projects for you. I’ve put together knit cami top refashion ideas for you to easily repurpose your old clothes into on-trend styles.
From pretty pearl beads to elegant scoop neckline, the cute summer top is easy to wear with midi skirt for casual day. Add this top to your DIY wardrobe to fill your closet with trendy and fashionable upcycled clothing that you made.
Whether you have adjustable slider shoulder strap or spaghetti strap without a slider, you can use both for this tutorial. Ultimately, the straps will not be used and will instead be replaced with a DIY pearl shoulder strap.
Replacing shoulder strap is easiest and quickest method to revamp existing clothes. The DIY strap tank top from t-shirt used ¾” elastic band that was perfect for working out, and the Reformation inspired spaghetti strap high neck tank top used elastic cord to give a modern and edgy look.


You will love this DIY pearl strap cami top because…
- No sewing machine is required.
- Learn how to make a pearl bead shoulder strap.
- Use body measurement to resize new shoulder strap length.
- Proper ways to thread beads with a needle.
- Attach new shoulder strap by hand sewing.
In order to make pearl strap cami top, choose the type and shape of pearl beads you want to use. You can use oval shape or ball shape and any size as you wish.
For this beaded shoulder strap tutorial, I chose to interchange between two different sizes. Be creative, there is no right or wrong way to execute this beaded strap design!


Adding beaded embellishment is great method to upgrade old clothes. If you have basic camisole dress, consider mimicking the design from this cherry beaded dress for a cute look to wear all summer long.
Save the adjustable bra strap for an upcoming upcycle project, the shoulder straps can be super handy if you are making a DIY camisole top or strappy summer dress. By doing so, you will save time, money and no longer need to make the piece from scratch!
How to make pearl strap cami top?

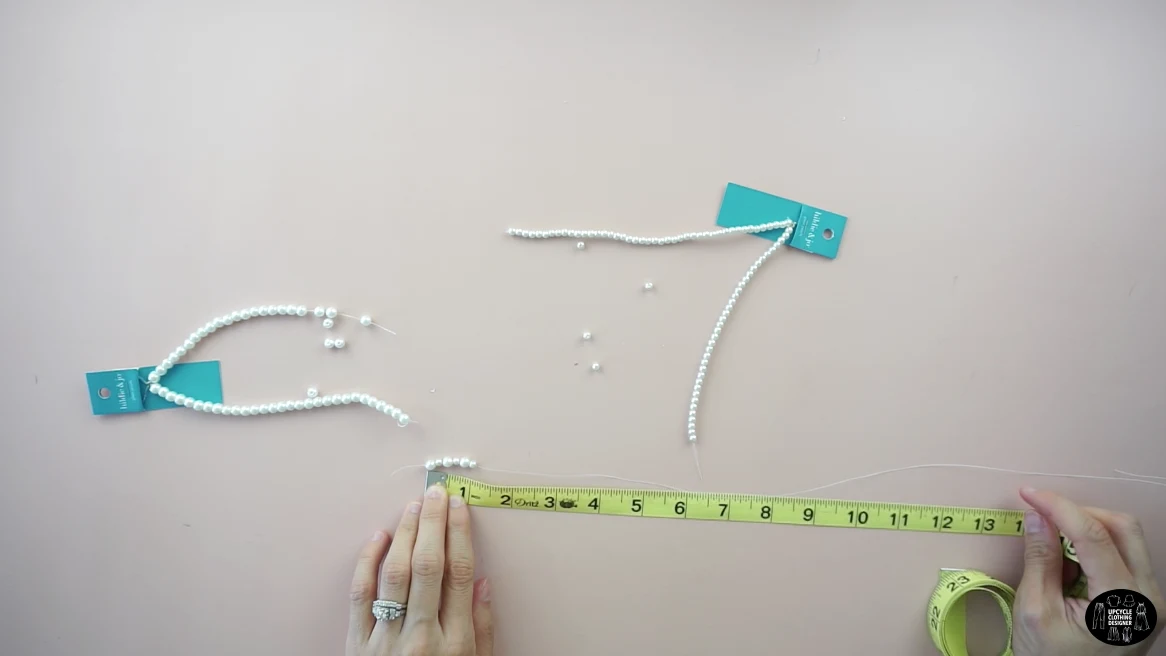
When upcycling cami top by adding with pearl shoulder strap, I recommend to take your body measurement for clothing. Measure from the high point of neckline to the back side of neckline.
Since we are going to make shoulder strap that is not adjustable, you may consider giving an additional 1” to 2” room to find the right length for you.
Review your measurement and compare with this tutorial. Slightly modify if you needed to fit you perfect.
This beaded shoulder strap project doesn’t require much tools to complete. Simply pull out a couple of essential gadgets from your sewing kit and let’s get started!
DIY Pearl Strap Cami Top Materials:


- Knit Camisole Top
- Pearl Trim
- Bead Needle
- Fabric Chalk
- Measuring Tape
- Scissors
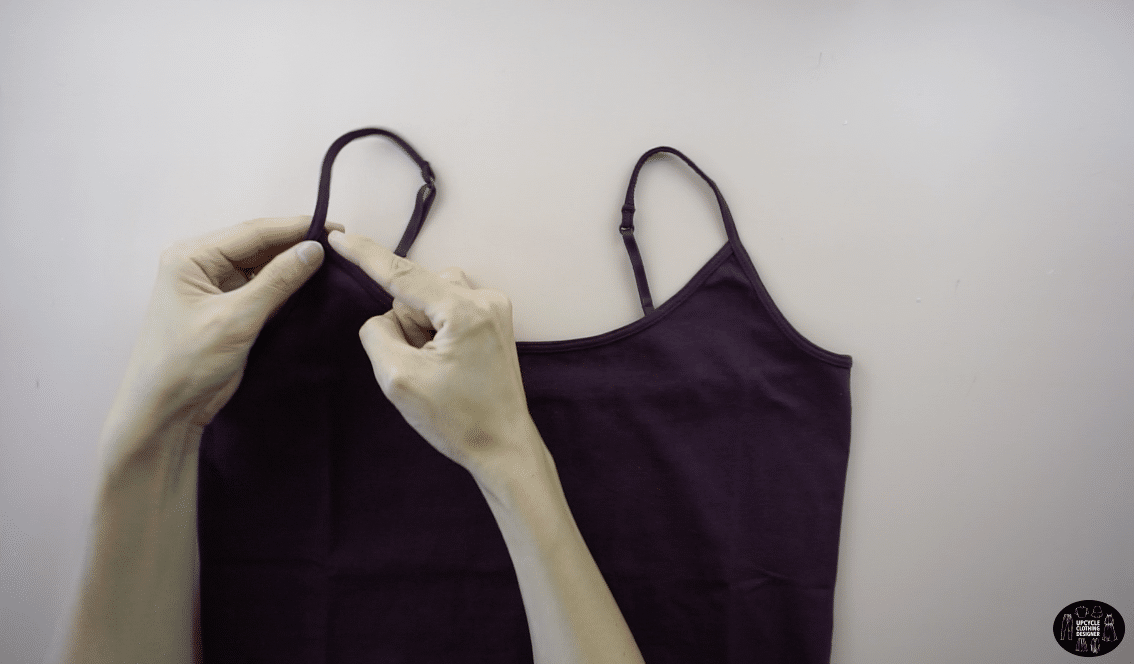
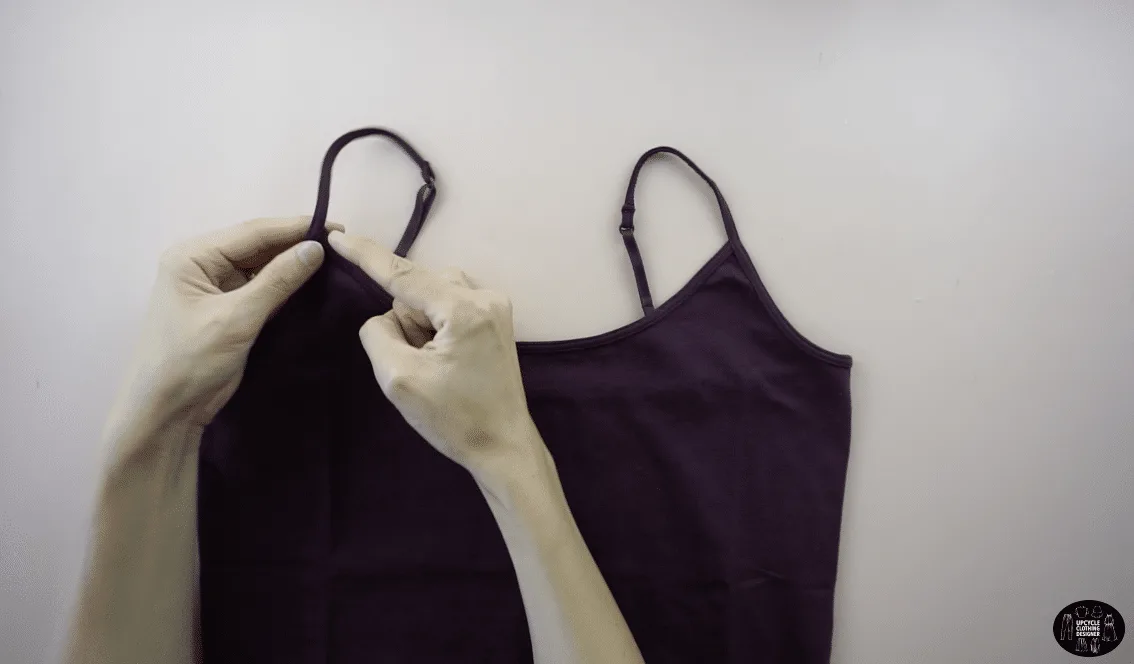
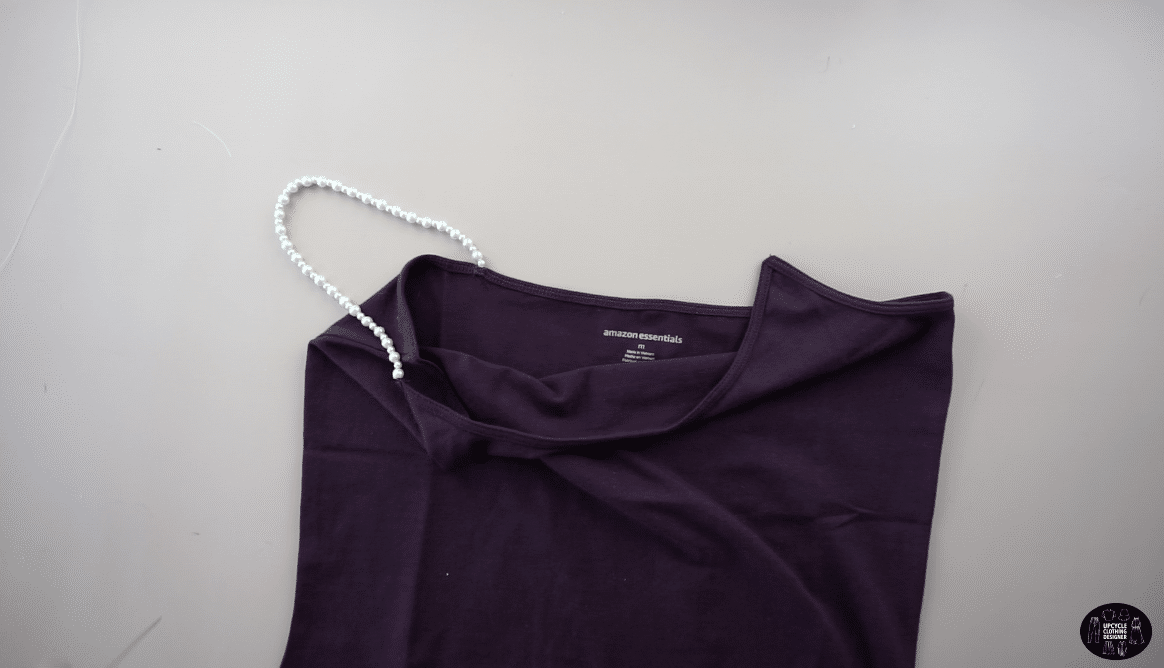
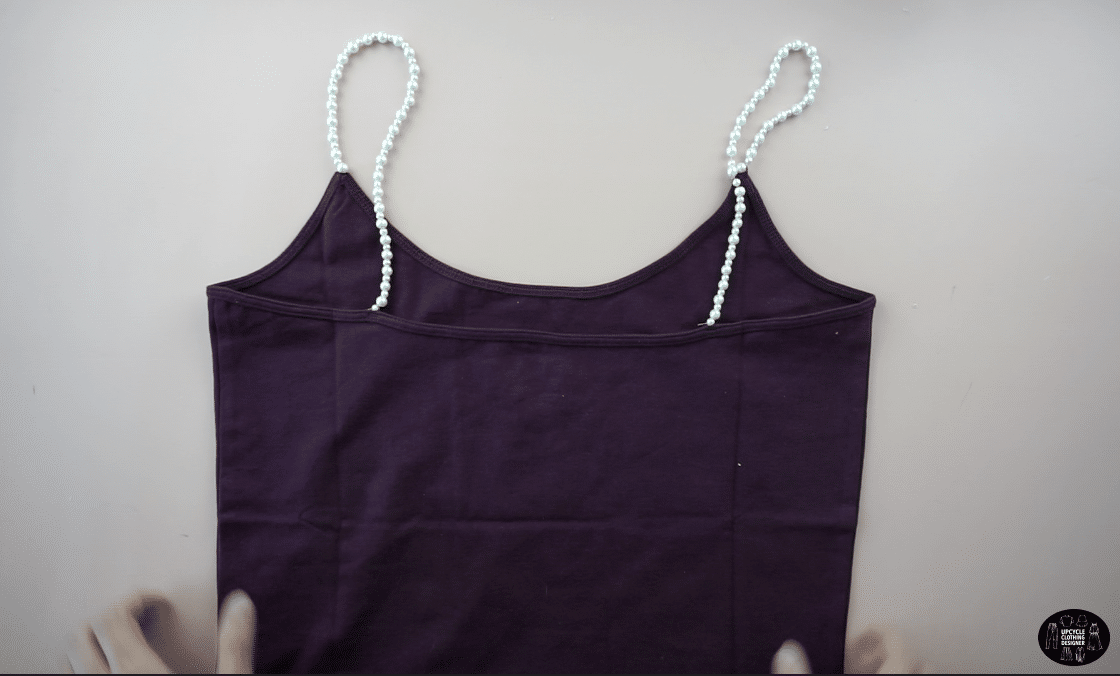
To make a pearl strap camisole, start by laying the top flat.
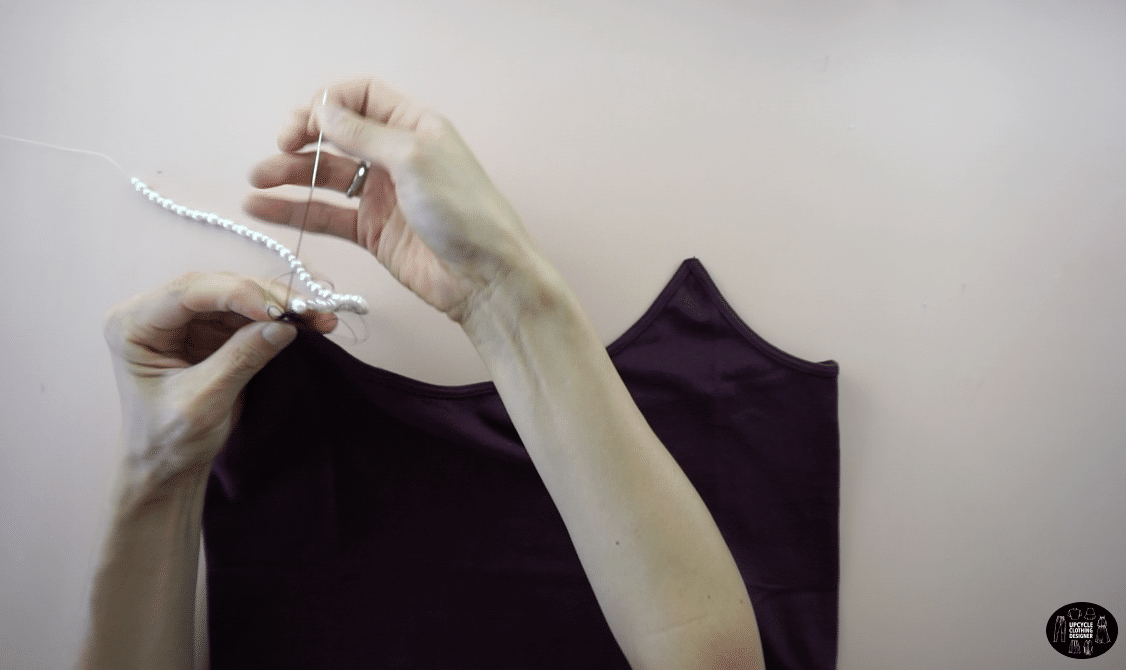
Use pearl beads to make a shoulder strap.
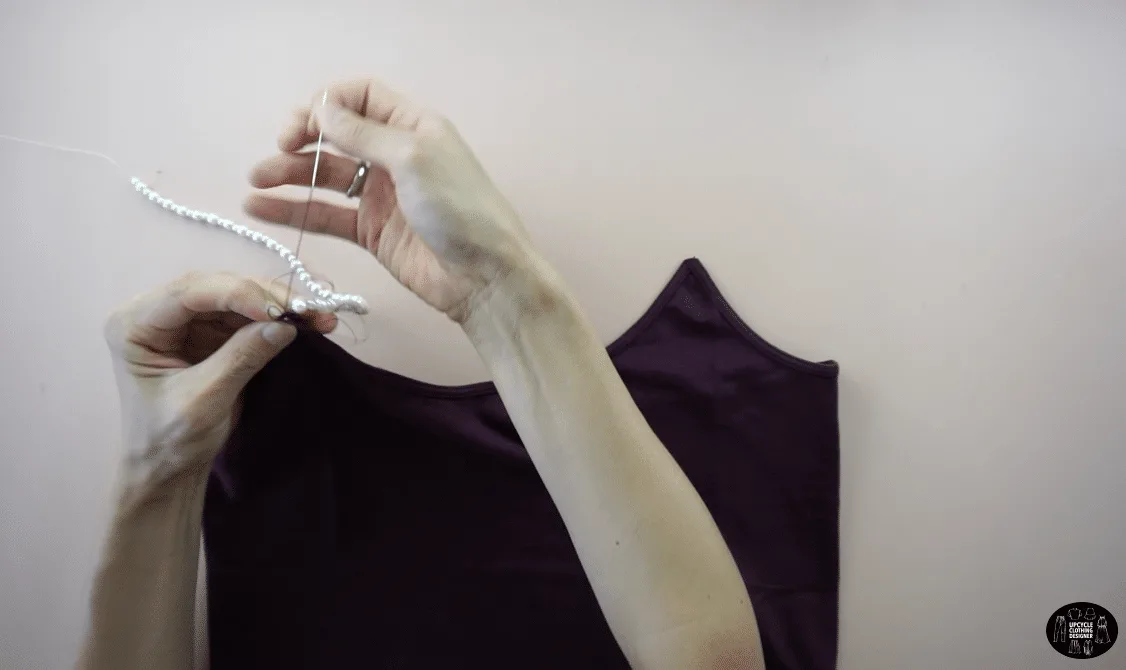
Slide the beads through the needle onto the clear thread.
Interchange between the big pearl and small pearl until you reach the end of the shoulder strap.
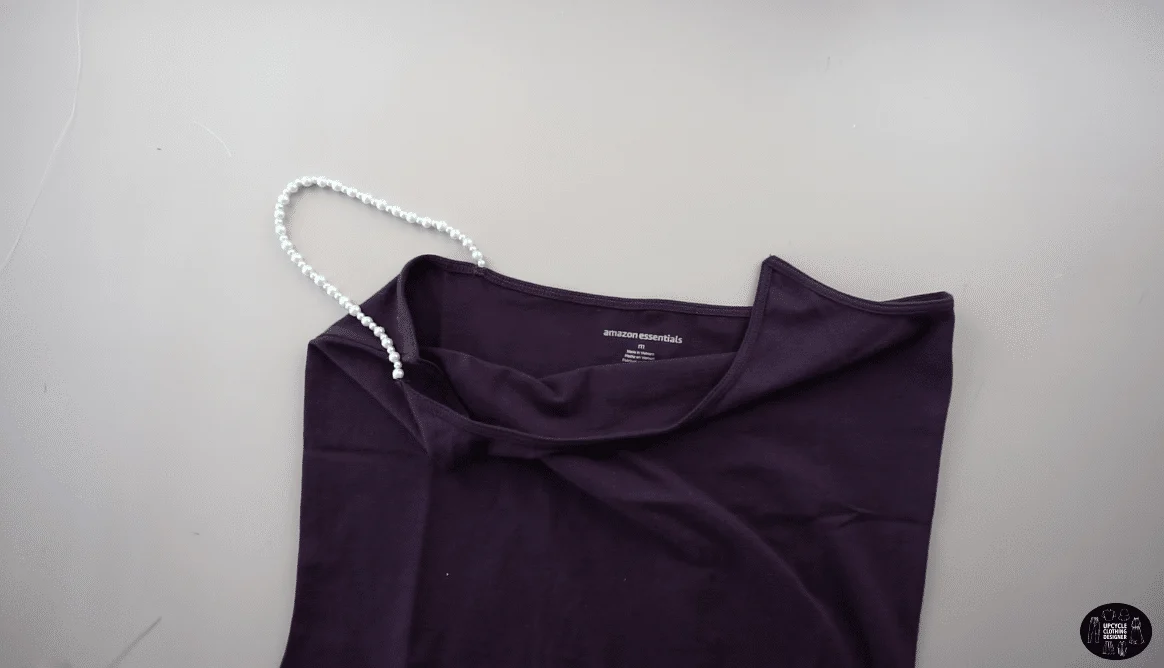
Hand sew the strap to attach the pearl strap to the bodice to finish the pearl strap cami top refashion idea.


DIY Pearl Strap Cami Top Hand Sewing Tips:
This DIY pearl strap cami top doesn’t require a sewing machine. All you need is needle to hand weave the beads in place, then join the strap to the bodice by hand sewing them together.
Here are must-know hand sewing tips and techniques for you to read prior to starting the project:
- Needle & Thread: Use a beading needle and sturdy thread when working with the pearls. Choose the right size needle depending on the hole size. For the thread, go with the original thread or clear beading thread that won’t break easily.
- Measuring Tape: When measuring the shoulder strap for the pearls, make sure to use measuring tape instead of ruler. It has flexible increments and is also longer than 12” standard ruler length.
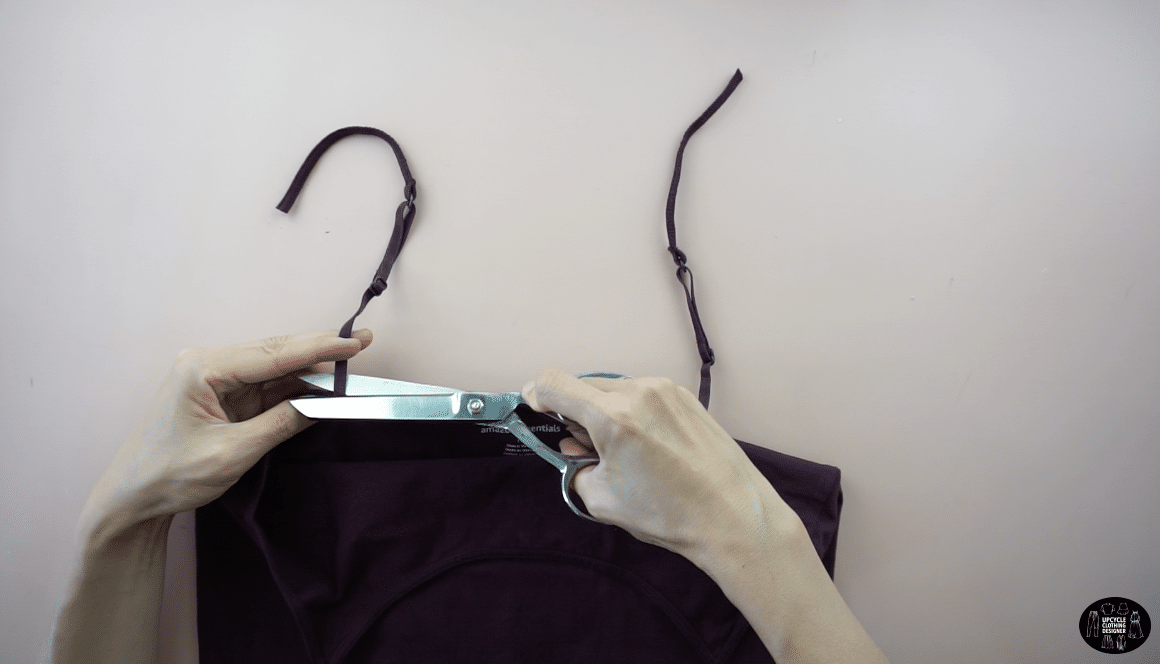
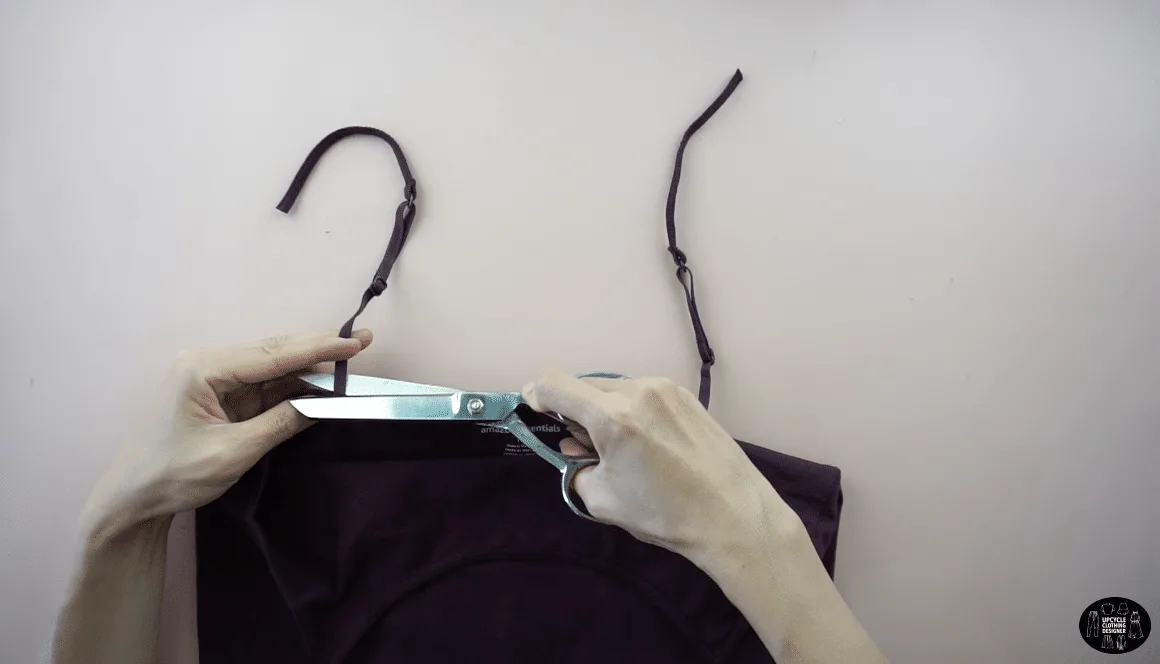
- Fabric Scissors: Whether you cut off the bulky shoulder strap or strong gel type fish-line string, use sharp fabric scissors to glide through the fabric with ease.
- Beads: The pearl beads come in ball or bugle shaped, so choose the ones that you love the most. Create a unique and personalized top that you will thoroughly enjoy wearing.
- Wax: If you are using tiny beads with regular thread, run your thread through a wax like beeswax or thread magic. By doing so, it makes it lot easier to insert through the needle.
More upcycle camisole top projects for your next DIY refashion:


How To Sew DIY Pearl Strap Cami Top
Repurpose your old camisole into a fashionable pearl strap cami top. Follow the step-by-step instruction with guided video tutorial. It’s super easy and quick transformation that will upgrade the look.
Materials
- Knit Camisole Top
- Pearl Trim
Tools
- Bead Needle
- Fabric Chalk
- Measuring Tape
- Scissors
Instructions
- For this DIY pearl strap camisole, start by laying the top flat.
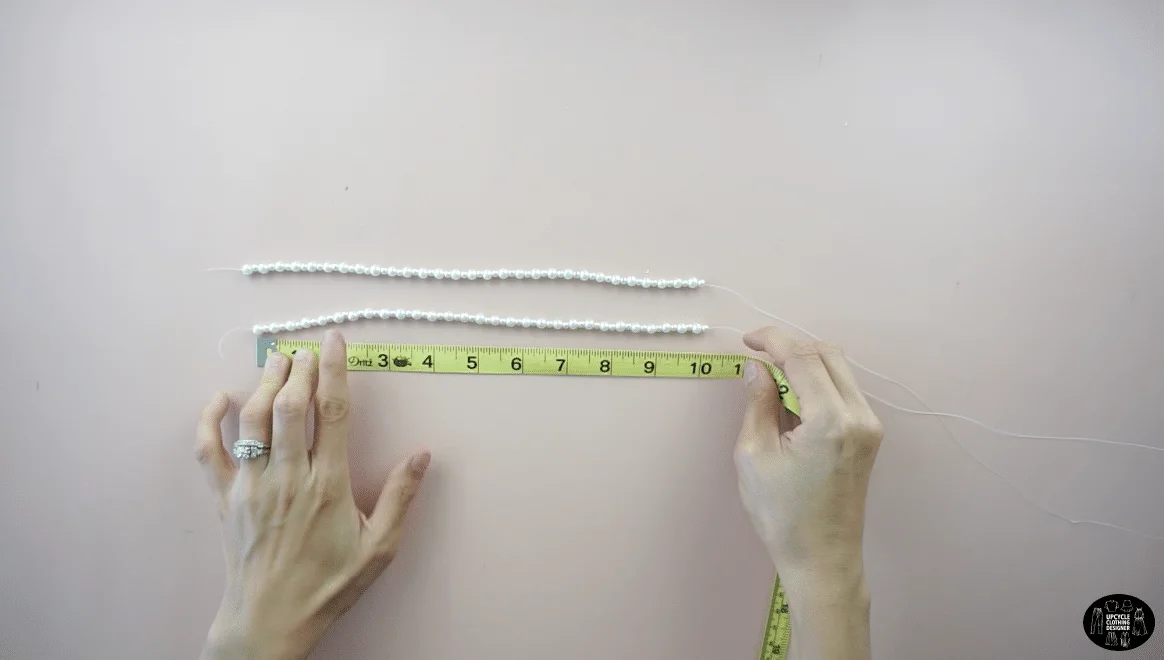
- I chose two different sizes of pearl beads to make the new pearl beaded shoulder strap. You can do the same as I did, or keep the pearls all one size.
- To make the pearl shoulder strap, cut the pearl string and group the different size beads together.
- Use a clear beading thread and slide the end of the string through a beading needle.
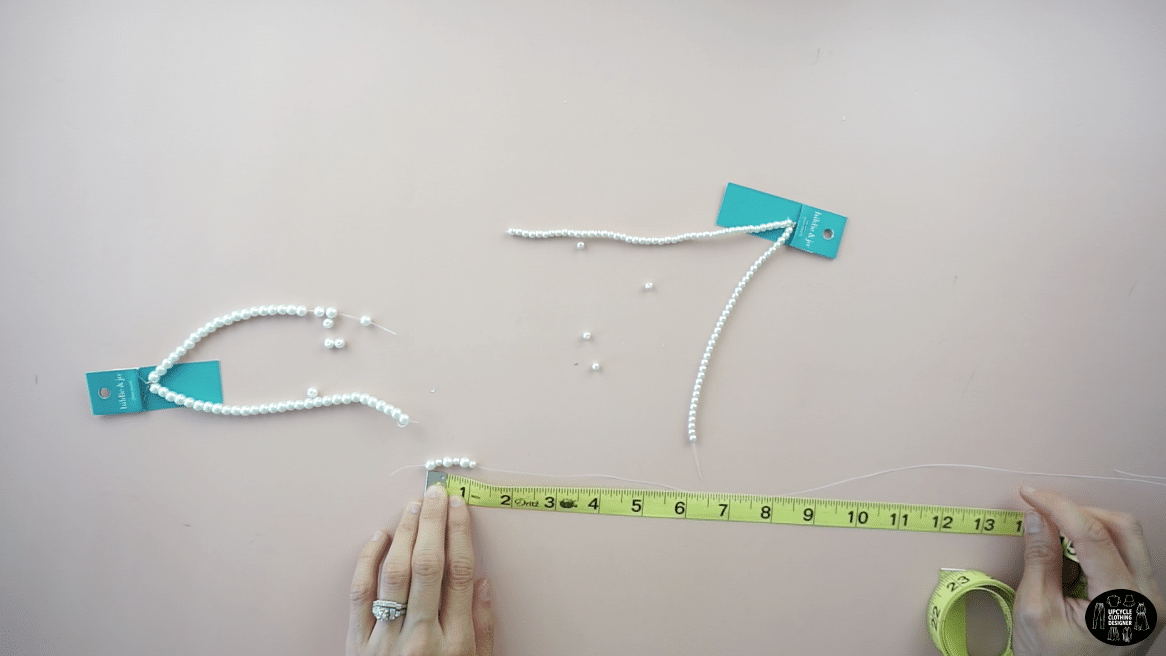
Interchange between a large pearl and small pearl until you reach the end of the new shoulder strap.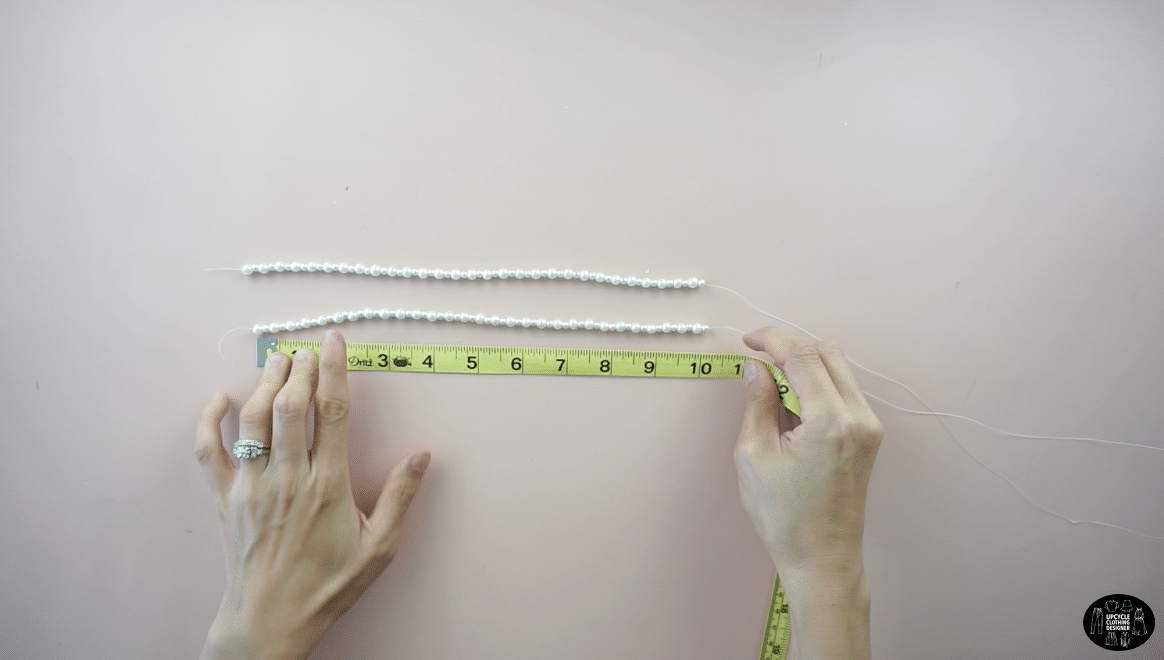
- Cut off the original shoulder straps of the camisole.
- To attach the pearl strap to bodice, hand sew the strap on the front and back to finish the DIY pearl strap cami top.

Recommended Products
As an Amazon Associate and member of other affiliate programs, I earn from qualifying purchases.


Trendy, Affordable Sewing Patterns for All Sizes


Tie Shoulder Jumpsuit Pattern


Palazzo Pants Sewing Pattern


Pocket Overall Romper Pattern


Wrap Maxi Skirt Sewing Pattern


Tie Back Top Sewing Pattern