
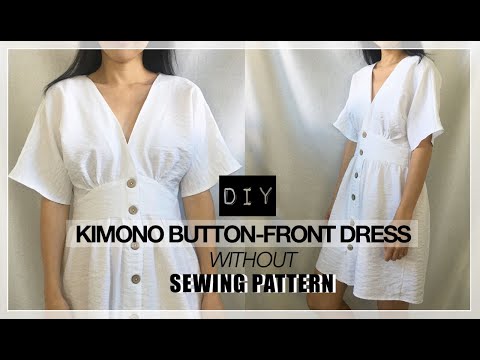
Have you tried to make a button-front kimono dress from remnant fabric scraps? From deep V-neckline to oversized kimono sleeves, this dress is a pretty mini length that is perfect for the summer season.
This wide sleeve silhouette is another popular design that is trending everywhere. Follow the tutorial to make a dress without a sewing pattern, all you need are the measurements and step-by-step instructions.
Whether you have solid or printed fabric, you can easily make a dress from scratch without following a sewing pattern. Give this dress making project a try and make this wide sleeve kimono dress for yourself.


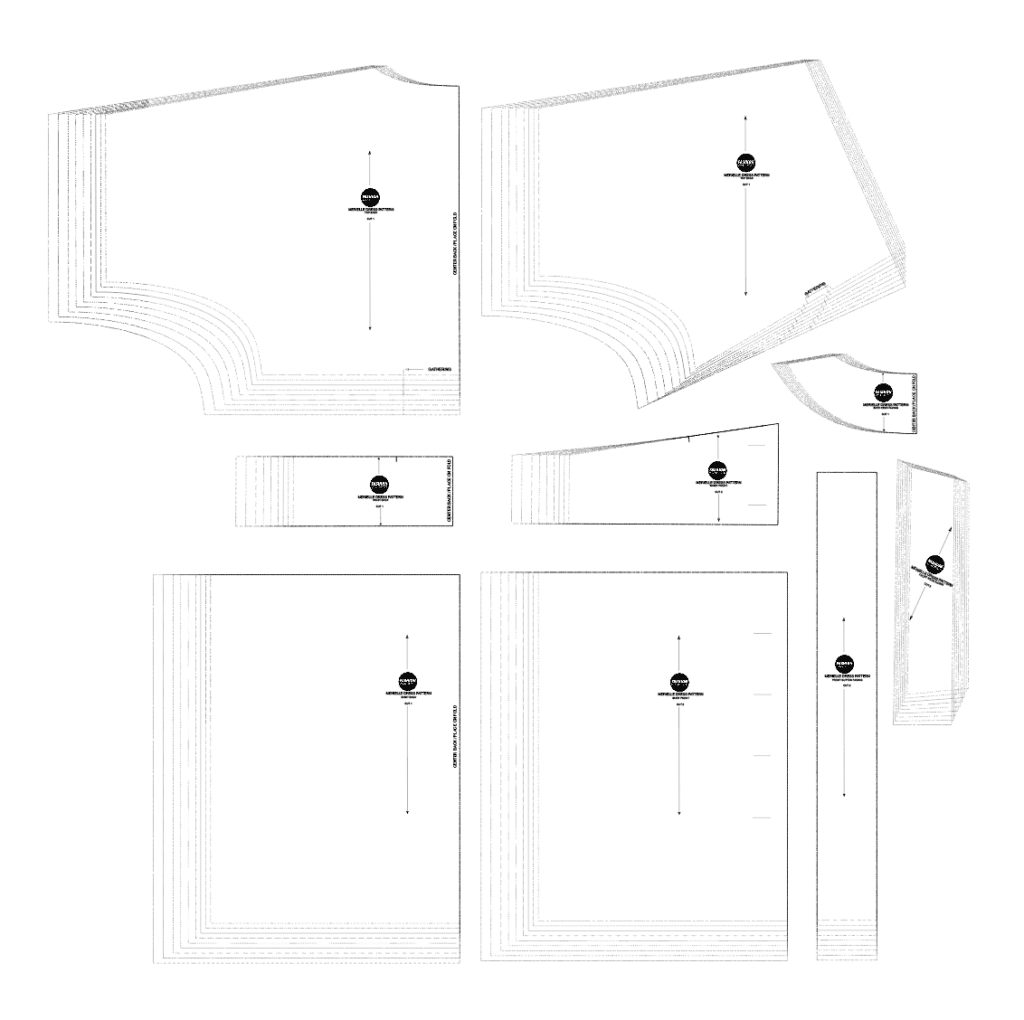
Kimono Dress Sewing Pattern


You will love this DIY kimono button-front dress because…
- No sewing pattern needed for this dress silhouette.
- Learn the easy way to sew linen fabric.
- Clean finish the front and back neckline with facing.
- Use overlock stitching to finish all internal seams.
- Hand sew buttons in place.
- Create a button placket
- Use sewing machine to add buttonholes.
For this easy DIY dress tutorial, I used a crepe surface linen blend fabric. The crepe texture is pebbly, but smooth enough when worn. In addition, the medium weight material is thick enough that I do not need a lining to make this white kimono dress.


How much fabric do I need to make a kimono sleeve button-front dress?
For this diy kimono dress tutorial, you will need to measure the torso, waist and the desired skirt length to replicate this look. Whenever you are following my DIY clothing tutorials, always take body measurements for clothing before cutting and starting to sew.
The best part is this dress, you may extend the length to convert it into a midi or floor length maxi dress of your choice. Even with the regular torso length, you may want to adjust the deep plunging neckline to create a slight babydoll silhouette.
To make a mini length button front kimono dress from scratch, you will need about 1½ yards of fabric. Again, depending on your sizing and the width of the fabric, you may need more or less than I used for making this tutorial.
Plan your project in advance by having your body measurements written down. Before you start cutting, make sure you have plenty of fabric ready to make the magic happen!
With this in mind, properly thread the sewing machines with the matching color thread and pull out couple of essential tools from your sewing kit to get the party started!
DIY Kimono Button-Front Dress Materials:


- Kimono Dress Sewing Pattern
- 1½ yards of Linen Fabric
- 32L Wooden 4-Hole Buttons
- Sewing Machine
- Overlock Machine
- Fabric Chalk
- Measuring Tape
- Ruler
- Fabric Scissors
Make the front piece of the kimono dress and use it as a guide for the back piece of the kimono dress.
Make facing for the back piece and the center chest pieces.
Make the high-low waistband, back waistband and front button facing.
Add shirring to the center front pieces and center back piece.
Attach the front pieces to the high-low waistband and the back piece to the back waistband.
Attach the front pieces to the back piece.
Hem the kimono sleeve opening and the dress opening.
Add shirring to the waistline of the dress piece.
Hem the neckband facing.
Attach the neckband facing to the neckline and the front button facing to the center opening.
Add buttons to the center opening of the kimono dress to finish this DIY button front kimono dress.
DIY Kimono Button-Front Dress Sewing Tips:


In this DIY kimono dress without a sewing pattern tutorial, you will learn to sew cotton linen the right way. Have your fabric pieces cut to the right measurements
Here are the sewing tips and tricks that you need to complete this cute summer dress so that you can successfully add it to your DIY summer wardrobe:
- Sewing Machine: Set your sewing machine to stitch length at 2.5 or 3. Lightly balance the tension and also test the stitch length on a scrap of linen before actually sewing the dress.
- Needle & Thread: Use a machine needle between size 10 and size 14, Depending on the weight of the linen, a lightweight or all purpose thread will work great.
- Sewing Foot: When creating buttonholes, change the regular foot into a mechanical buttonhole presser foot. Also adjust the stitch and tension to the right size for your buttons.
- Overlock Stitch: Linen fabric frays a lot compared to other fabrics, so you must clean finish the edge to keep the fraying away. There are many ways to hem linen, however I often use a simple zigzag stitch or an overlock machine to close the seams. Not only does it help to stop fraying, but also makes the edges sit flat.
- Buttonhole: When making a buttonhole, give an extra ⅛” on either end to make a bit more room. If your linen is thin or slippery, place a piece of tissue paper or any other stabilizer underneath the fabric while stitching. Afterwards, tear away the stabilizer when you are finished stitching the buttonholes.
More DIY clothing made from scratch:


How To Make A Kimono Dress Without A Pattern
If you are new to sewing, following a sewing pattern can be somewhat intimidating. In this tutorial, I share easy ways to make an oversized kimono sleeve dress without a sewing pattern.
The oversized sleeves, deep plunging neckline and button-front kimono dress is super chic and perfect for the summer season. So, follow this dress making tutorial and bring your dream summer wardrobe to life!
Materials
- 1½ yards of Linen Fabric
- 32L Wooden 4-Hole Buttons
Tools
- Kimono Dress Sewing Pattern
- Sewing Machine
- Overlock Machine
- Fabric Chalk
- Measuring Tape
- Ruler
- Fabric Scissors
Instructions
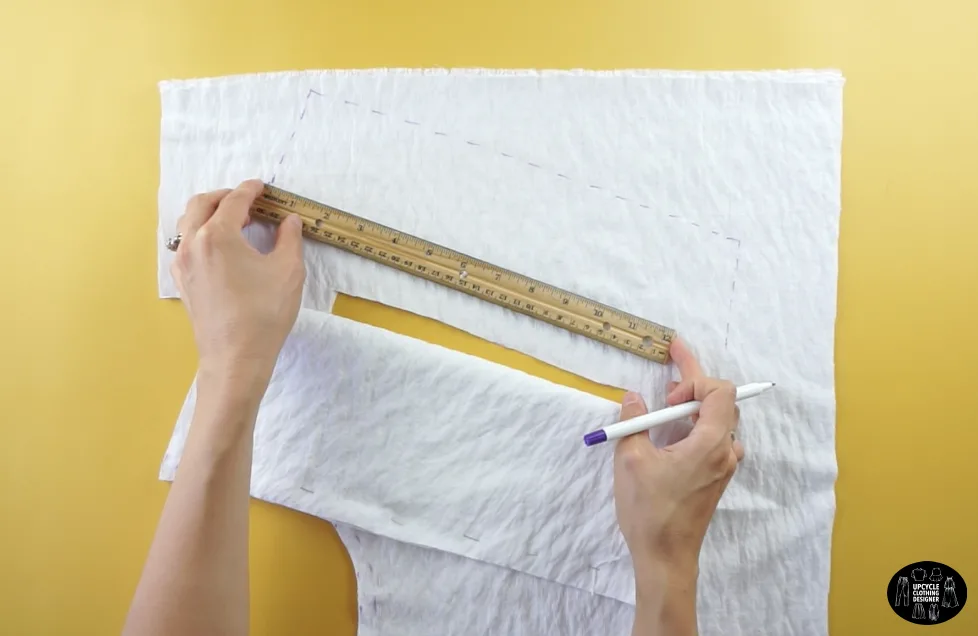
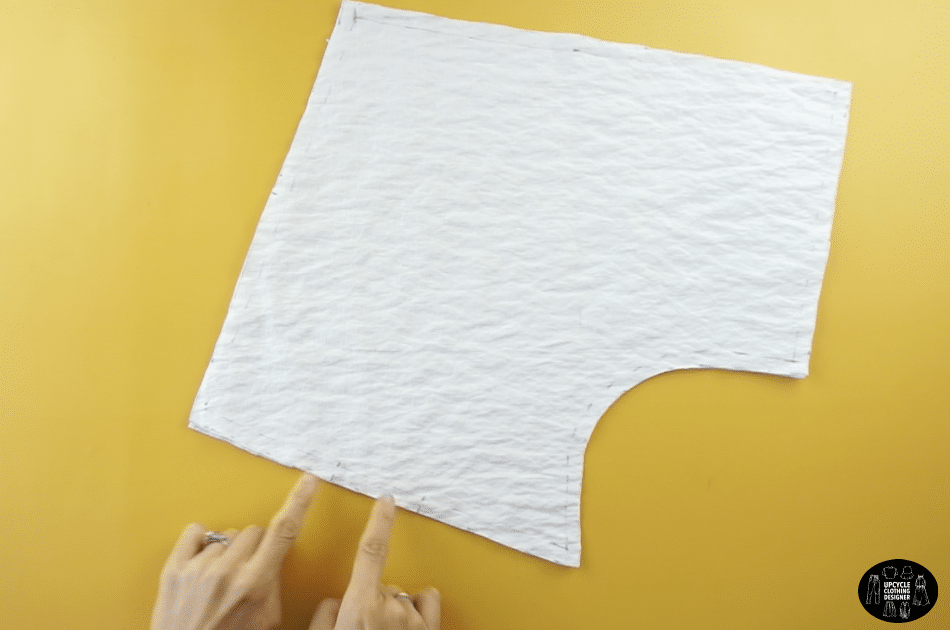
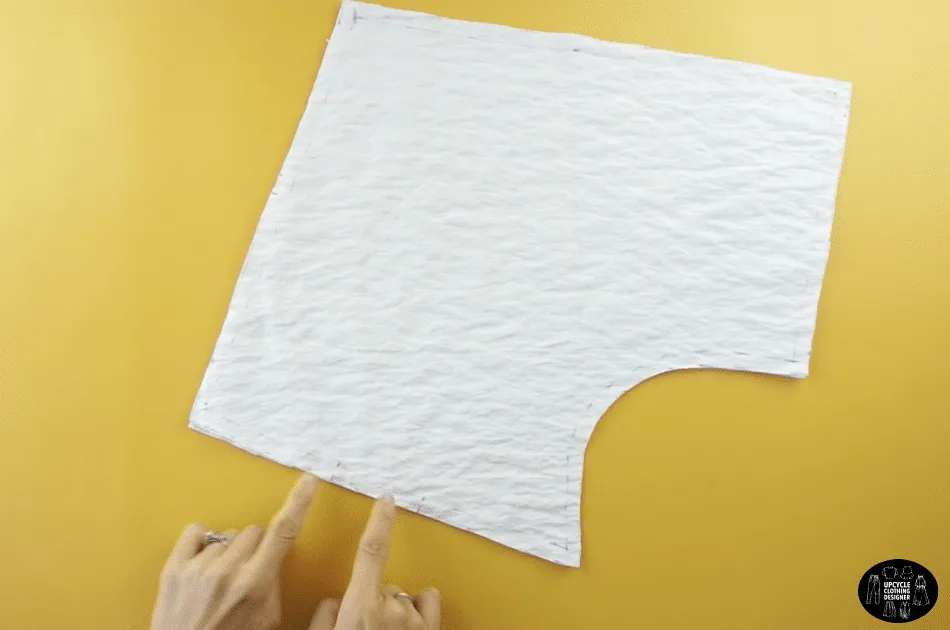
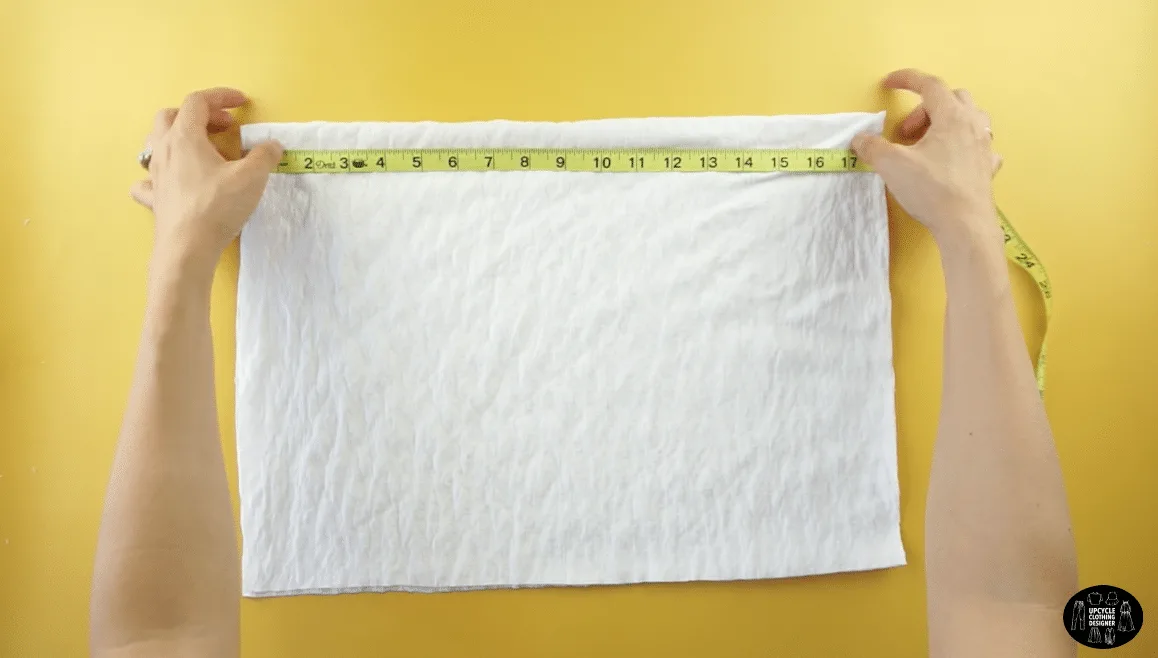
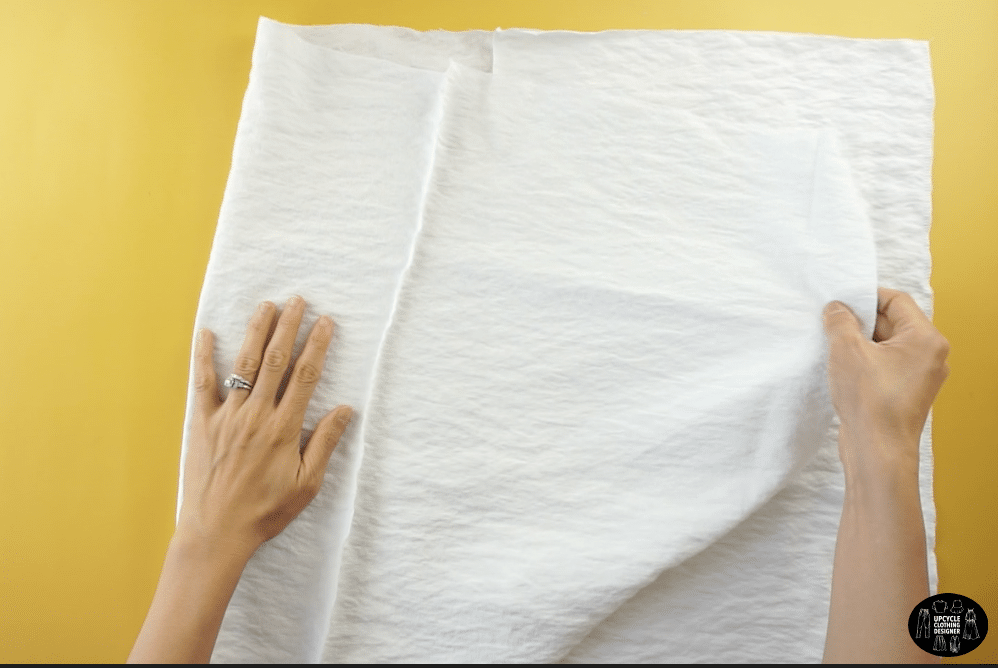
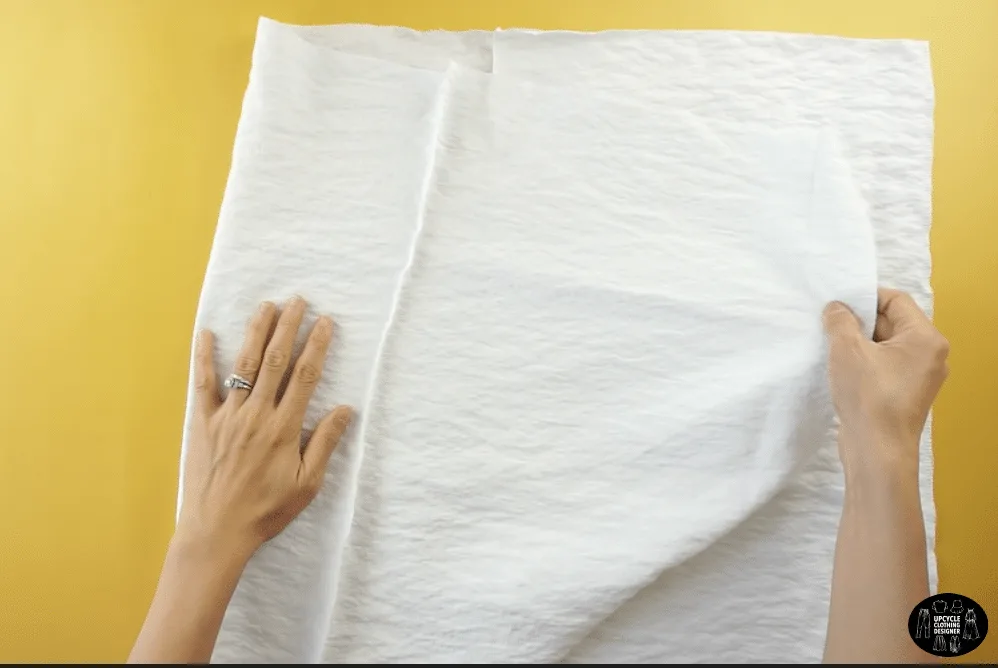
- To make the front piece of the kimono dress, fold a piece of fabric in half, and square off the top edge.
Mark the center chest opening at 4”,
and mark the armhole opening at 10”.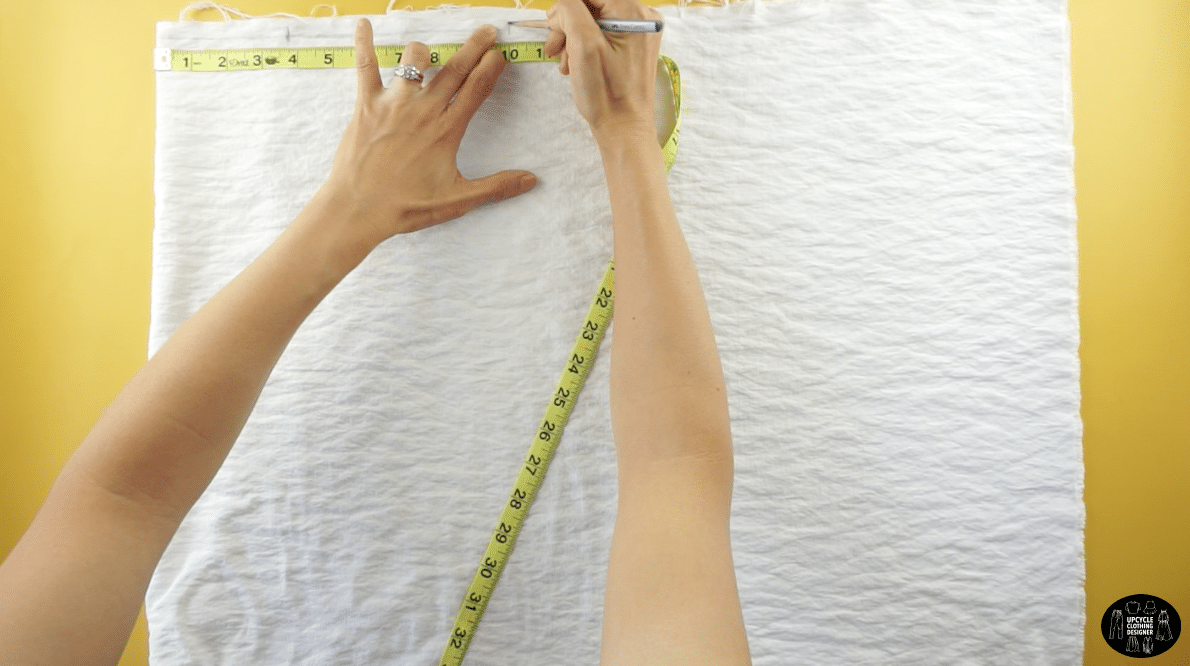

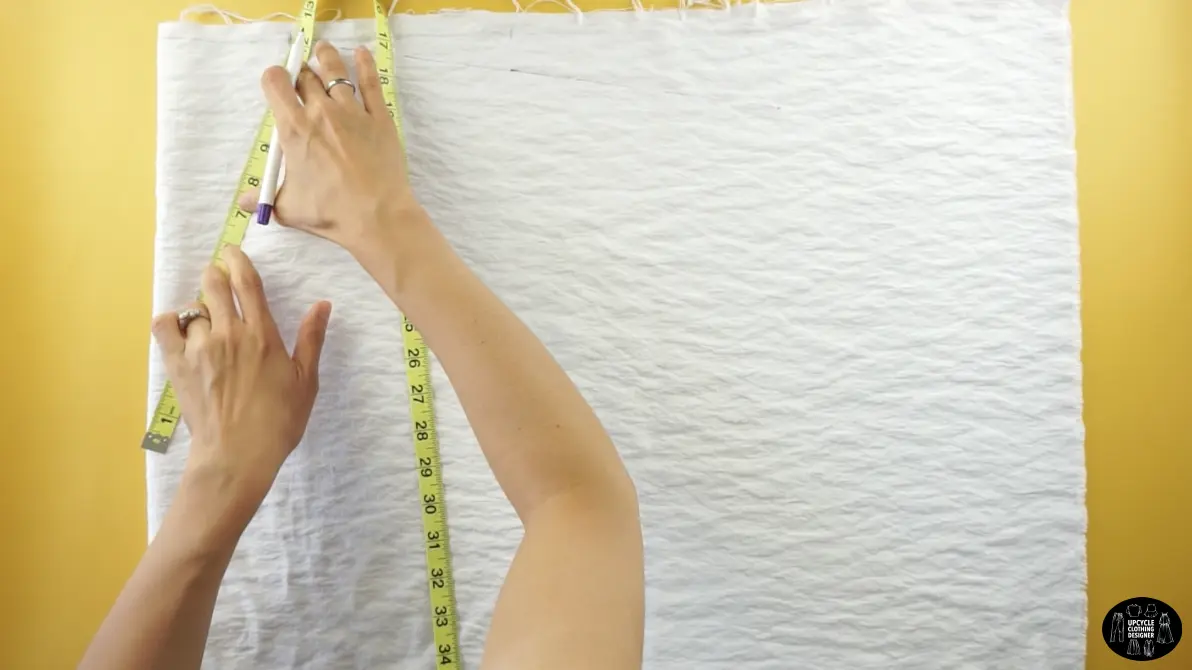
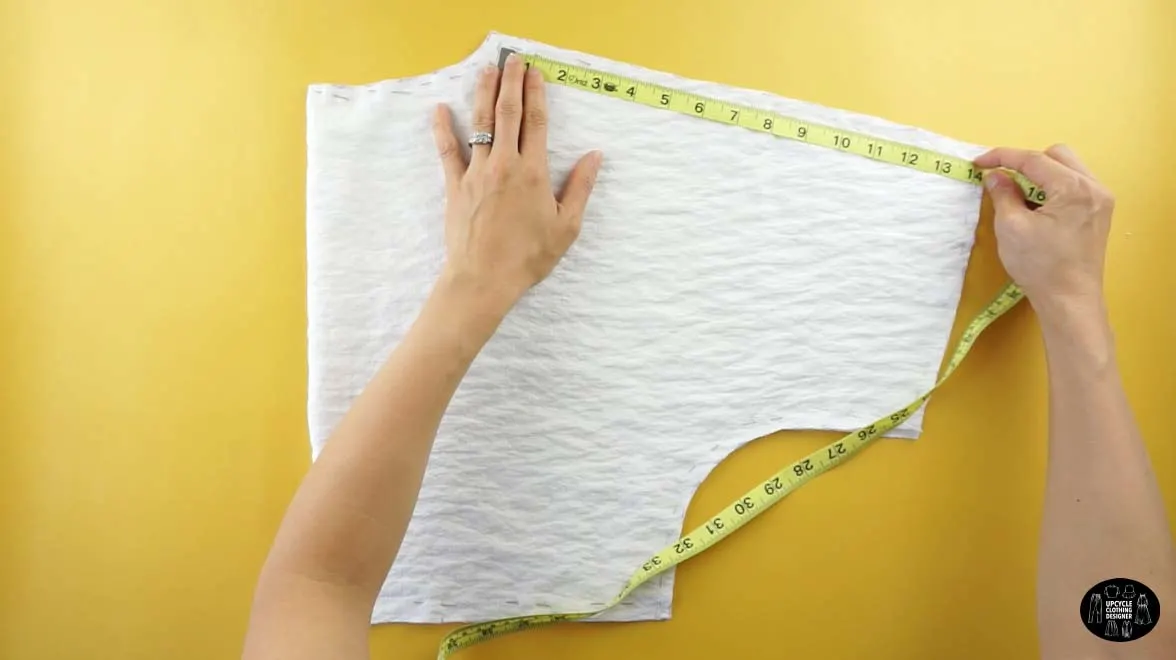
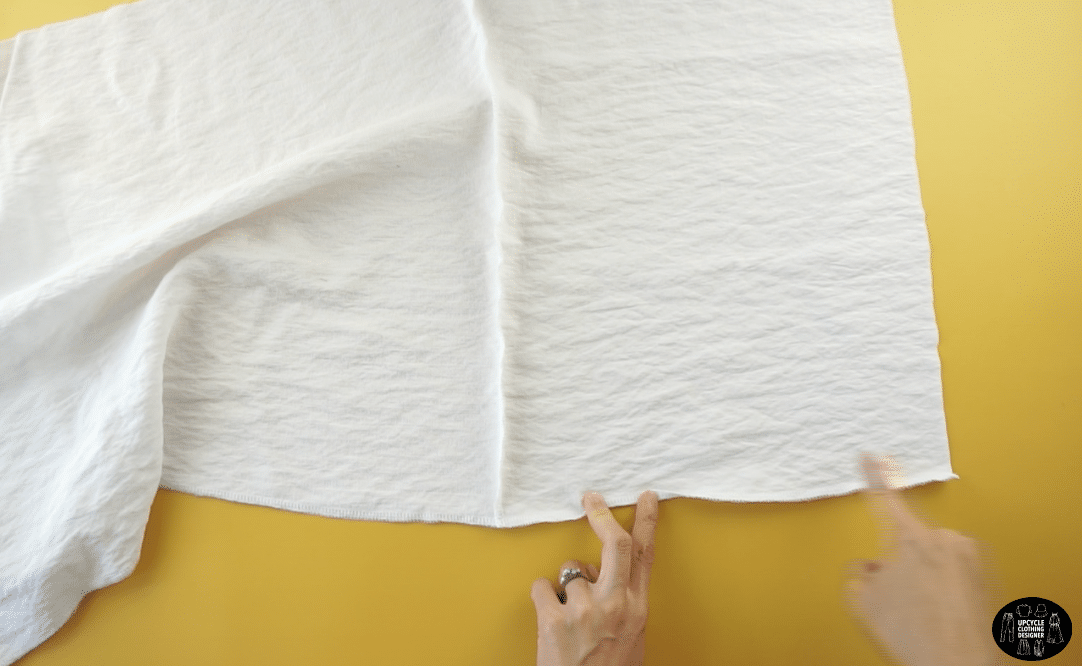
- To measure the sleeve length, drop the shoulder 1”, and measure 14” away from the center.

- To measure the center chest opening, measure 10” down the side.
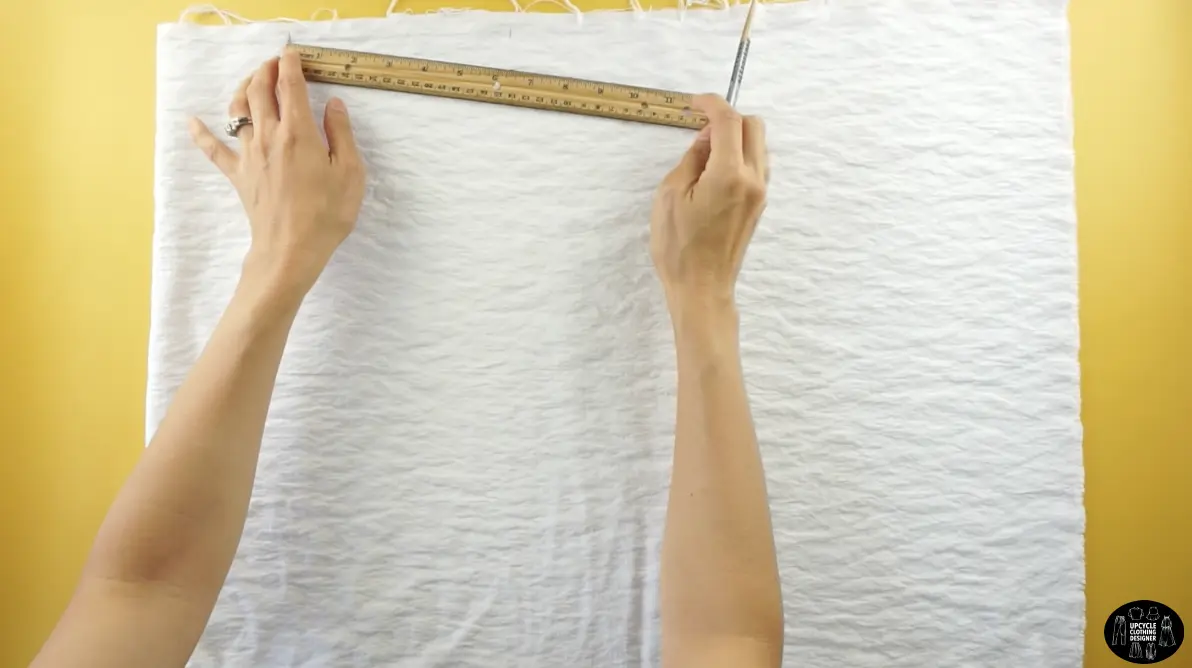
Draw a diagonal line to the top edge of the center chest opening.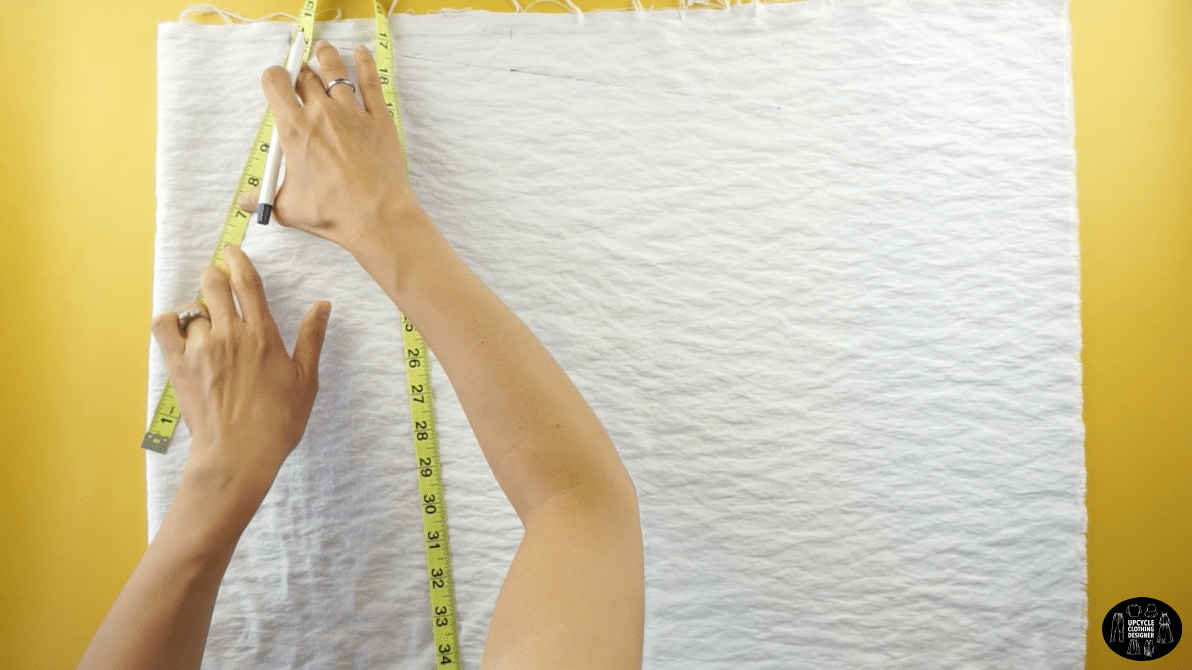
- To measure the kimono sleeve opening, measure an 8” width.
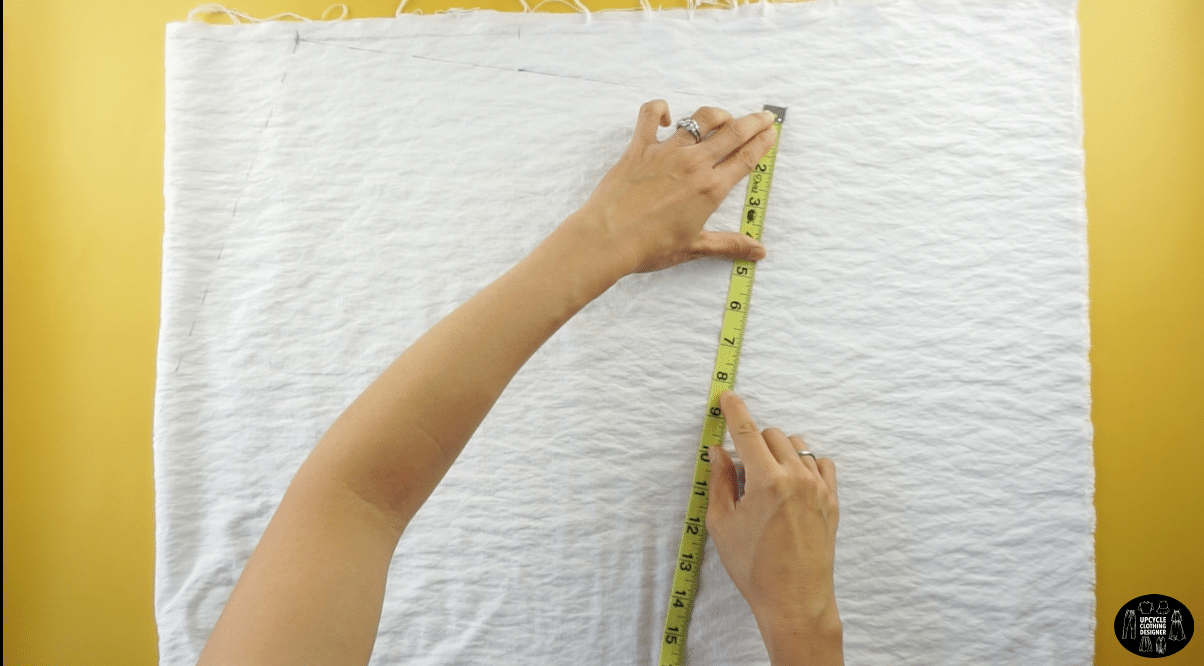

- To measure the waistline of the dress, measure 15” down from the top edge.
Then, measure 10” away from the side edge.
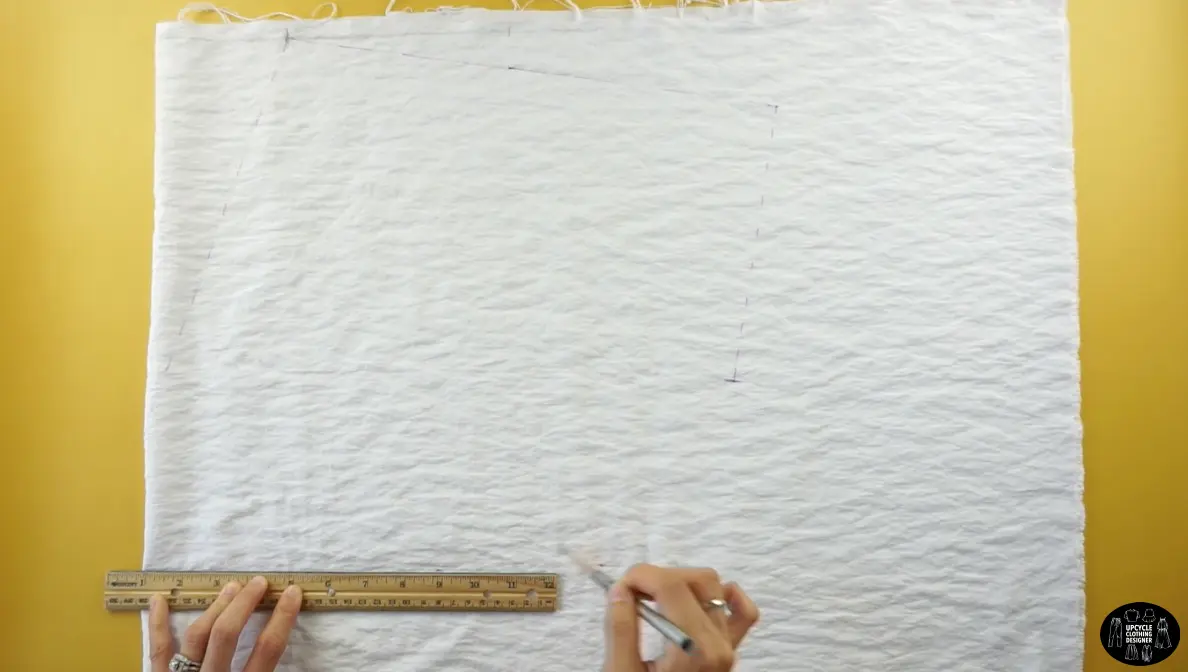
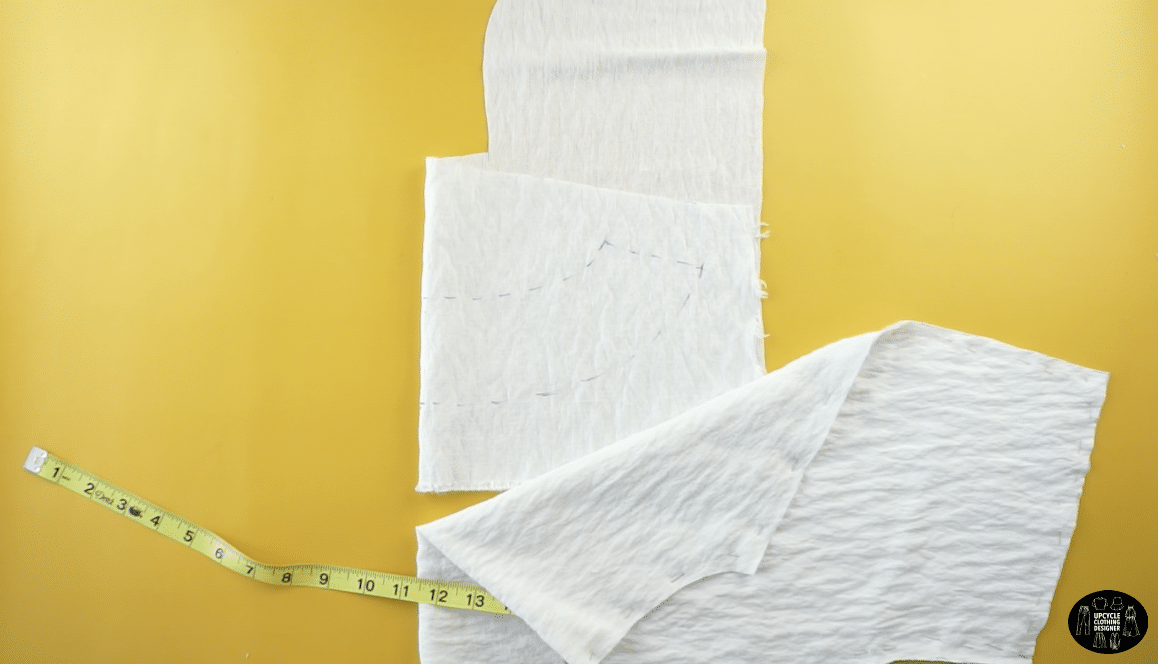
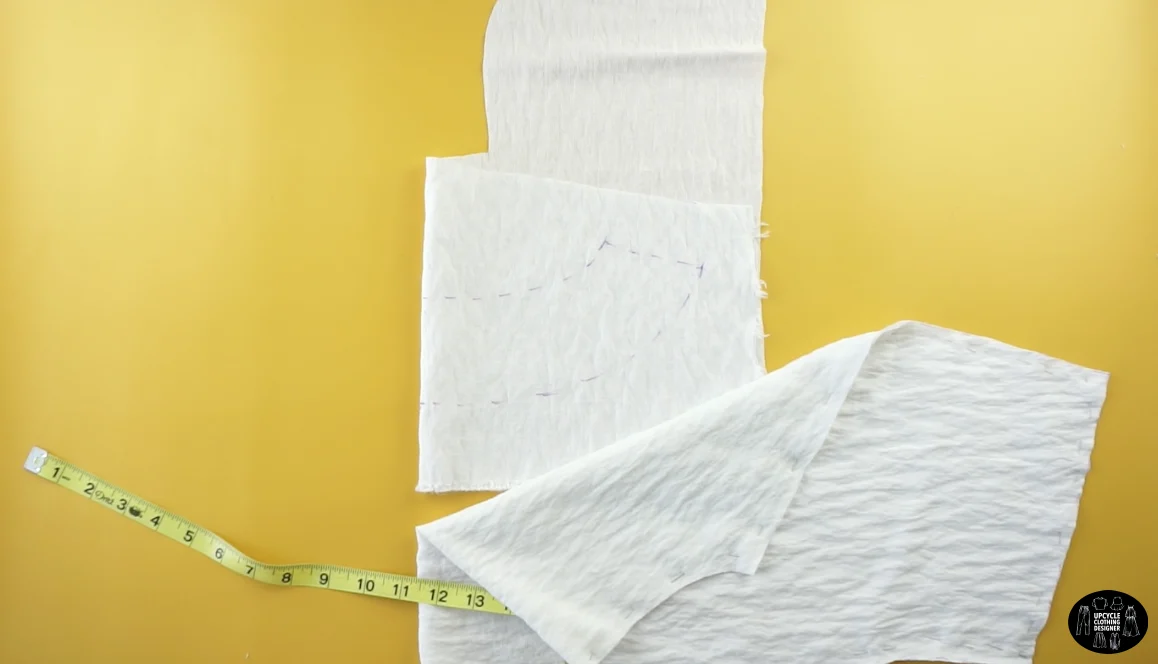
- To measure the underarm, measure 3” up and draw a smooth curved line to the bottom of the sleeve opening.
- To measure the high-low under bust waistband, draw a line from the bottom of the center chest opening to the underarm.


Pin the fabric to make even cut lines.
Add ½” seam allowance on all side,
and cut to make both front pieces of the kimono dress.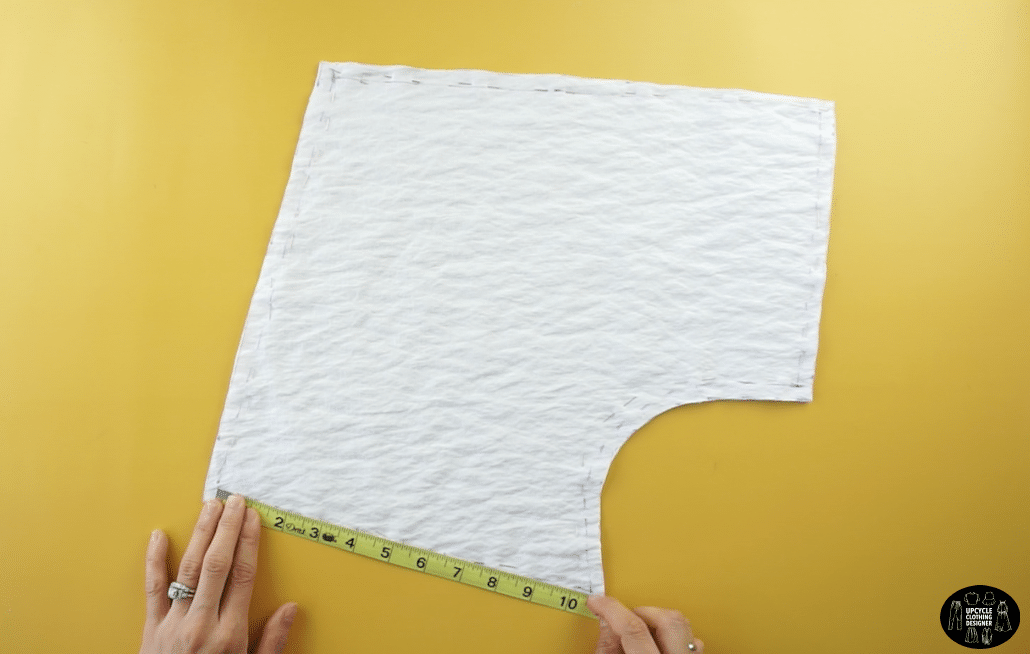

- To make the back piece of the kimono dress, fold a piece of fabric in half.
Use the front piece as a guide. - To measure the back neckline, drop the neck opening 1”, and draw a smooth curved line.

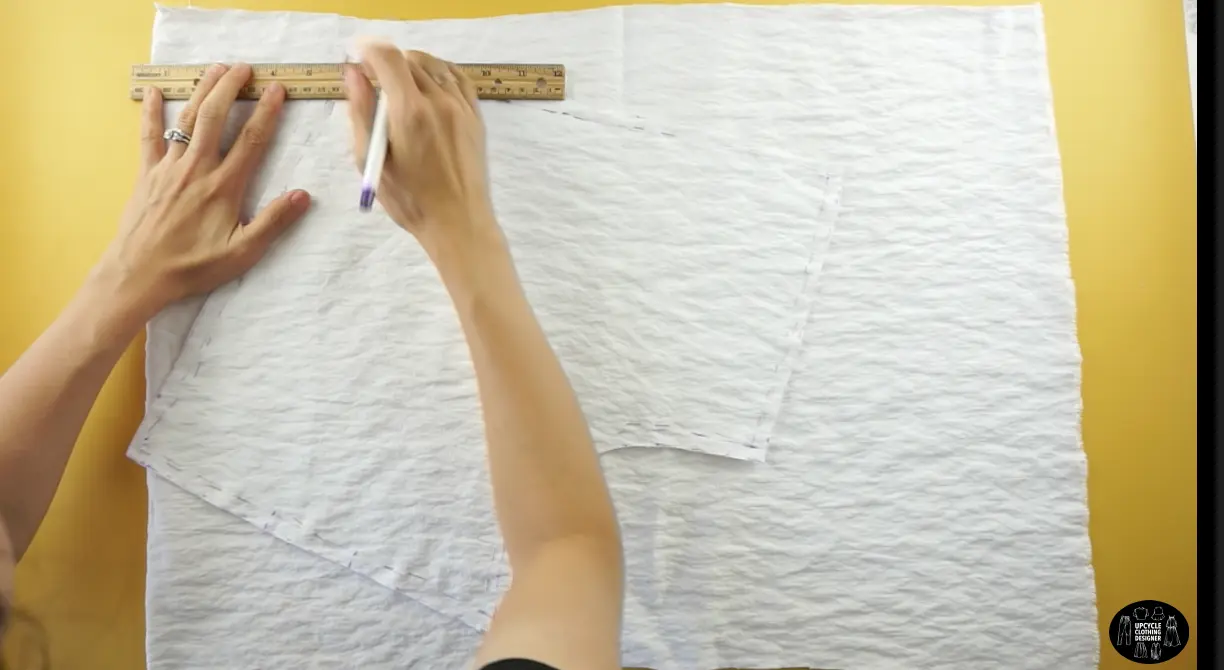
- To measure the back waistband, draw a straight line across.
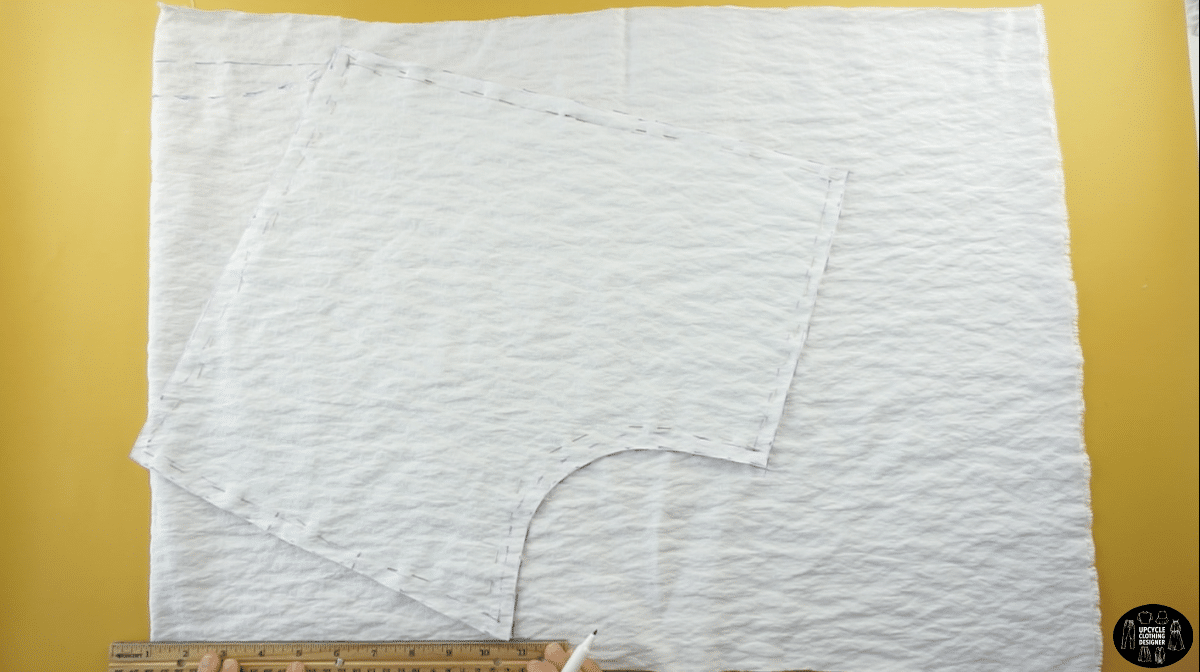
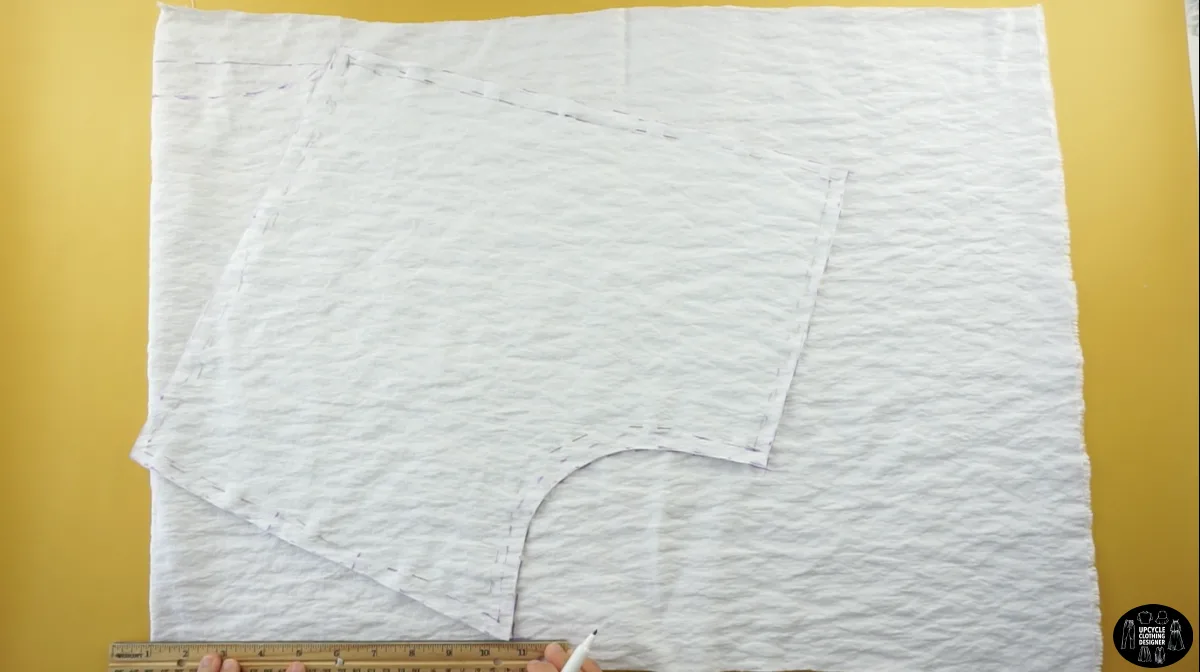
Pin the fabric, and cut to make the back piece of the kimono dress.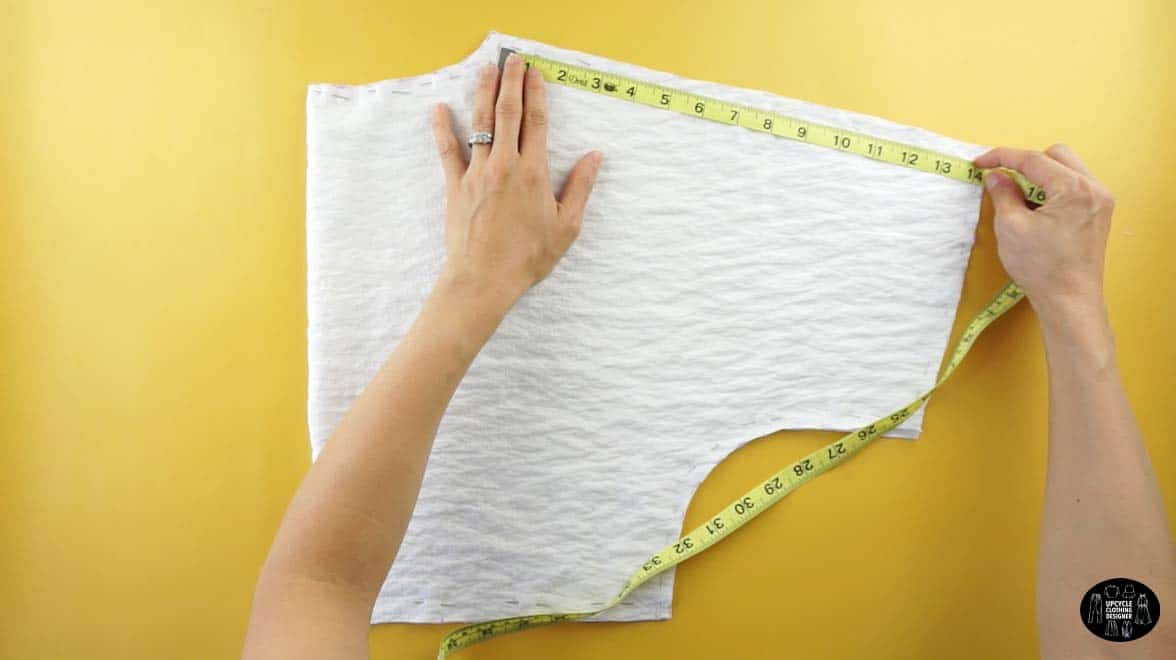
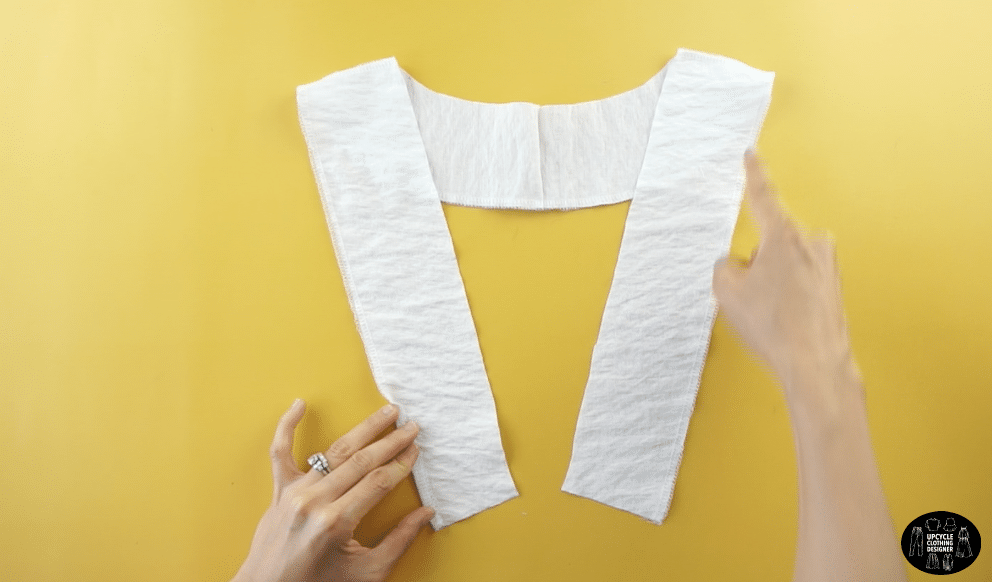
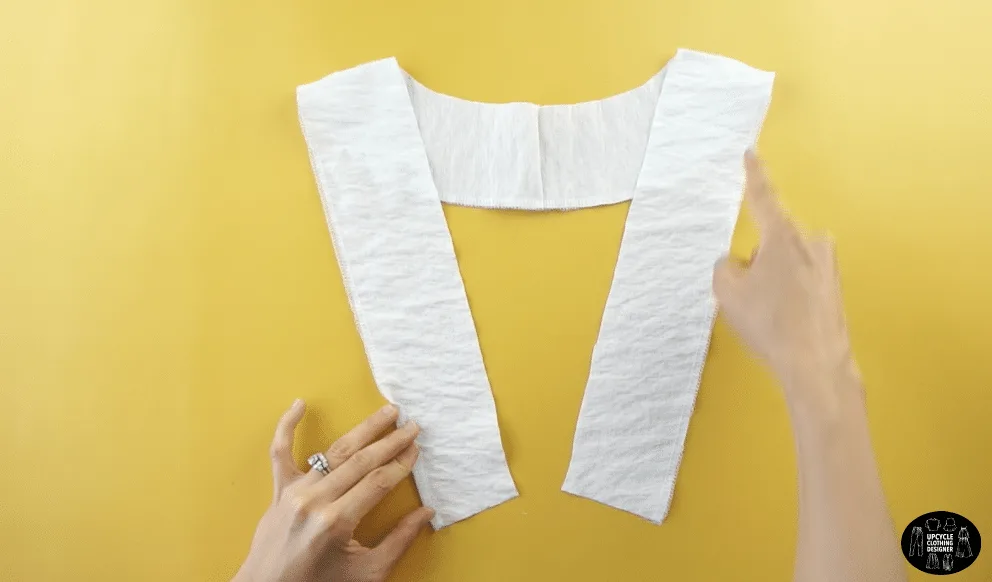
- To make facing for the back piece, fold a piece of fabric in half and copy the top 2½” of the back piece neckline.
Pin the fabric, and cut to make the facing for the back piece of the dress. - To make facing for the center chest pieces, fold a piece of fabric in half and copy the inside 3” of the center chest piece opening.

Pin the fabric, and cut to make the facing for the center chest piece of the dress.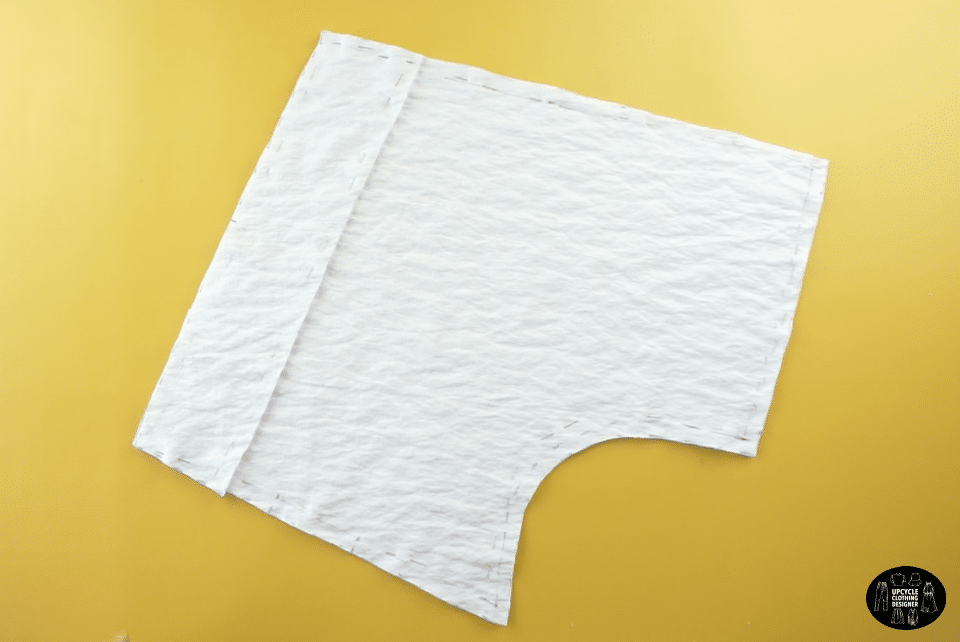

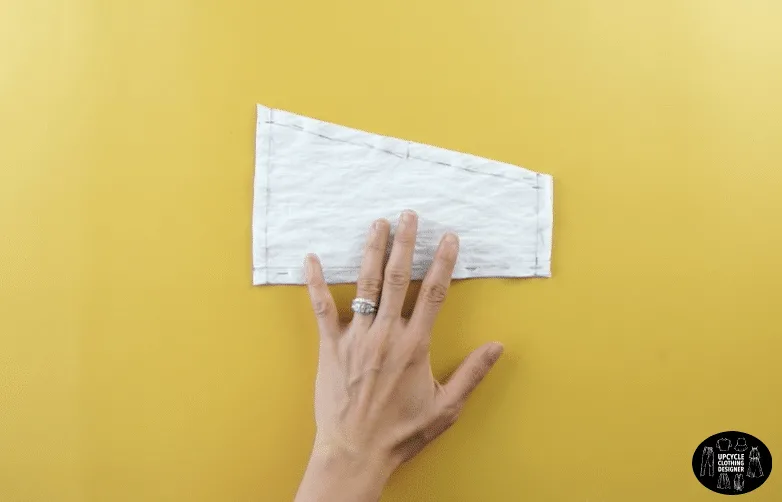
- To make the high-low waistband, draw a straight line on one side and a perpendicular line across the bottom.


The high side is 4”, and the low side is 2½”.
Draw a straight line to connect the high-low waistband.
Add ½” seam allowance on all sides, and cut to make the high-low waistband piece.
Copy to make 4 pieces in total.
- To make the back waistband, fold a piece of fabric in half.
Draw a straight line across the top edge.
Mark 2½” down the fold edge, and then draw line parallel to the top edge.
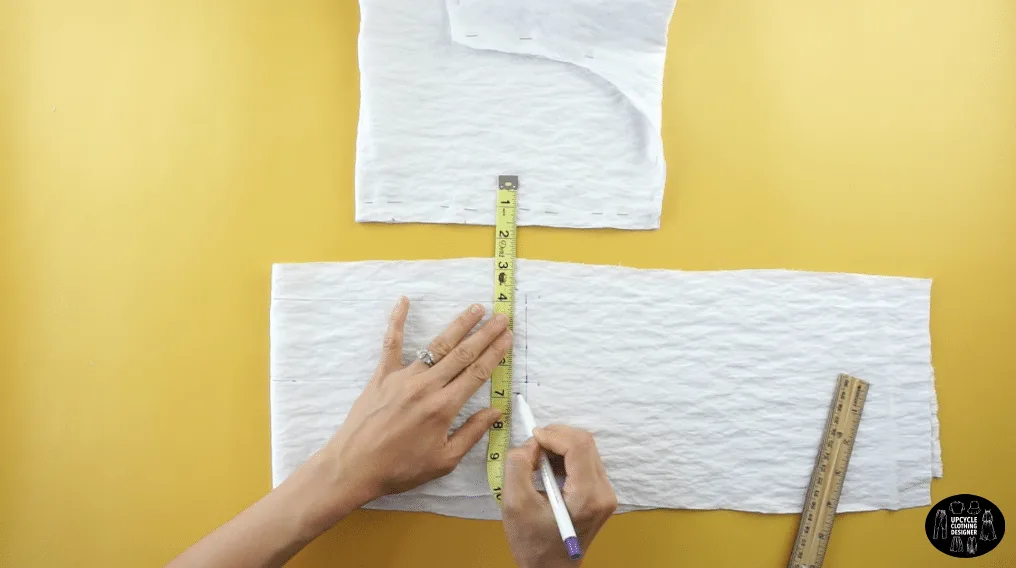
Mark 8” away from the folded edge.
Draw a straight line to connect the points, add ½” seam allowance on all sides, and then cut to make the back waistband.
Copy to make 2 pieces in total.

- To make the front button facing, measure two 2” x 23” pieces of fabric.


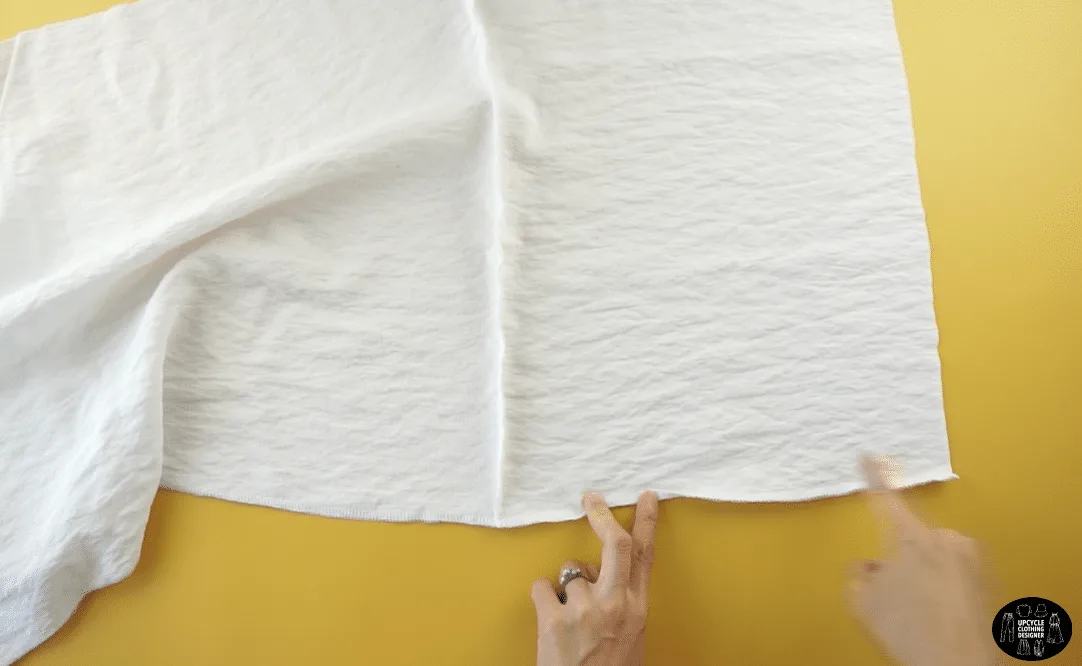
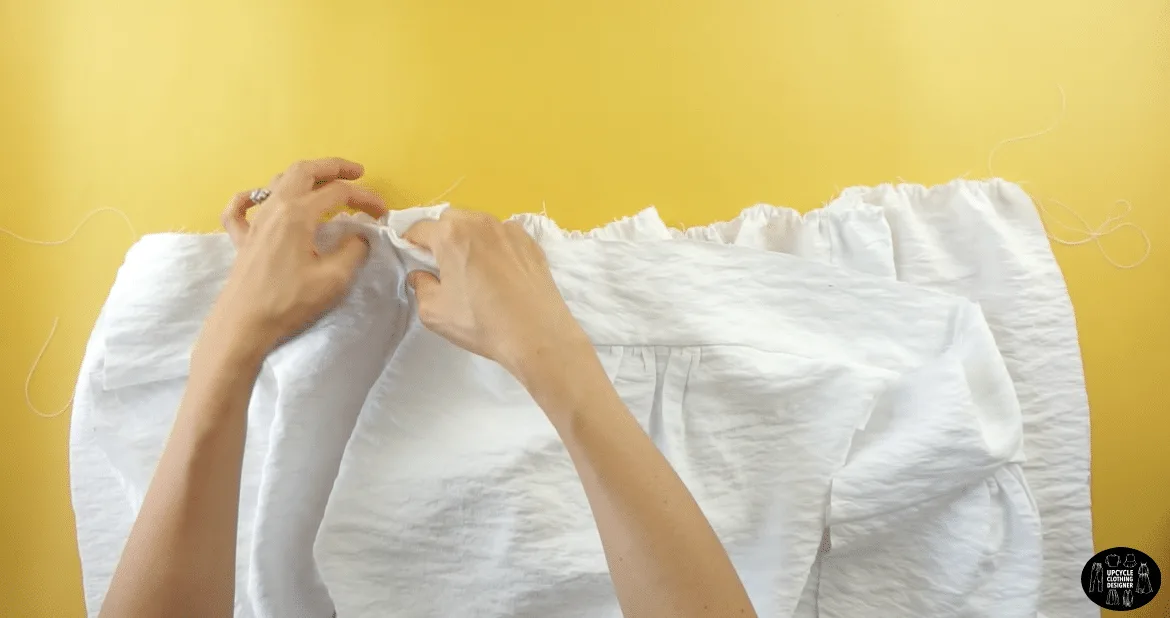
- To add shirring to the center front pieces, use a wide stitch with and sew 4” along the bottom edge.
Pull on the back thread to create bunching with the fabric on both front pieces.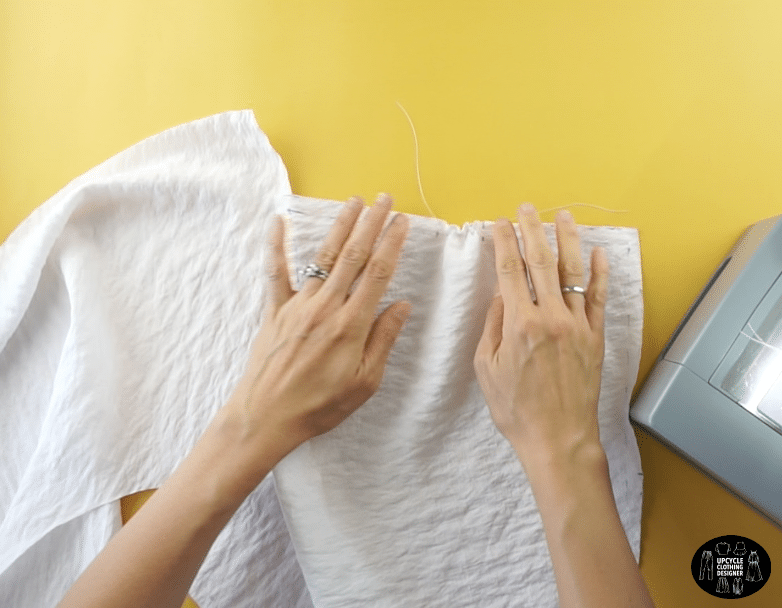
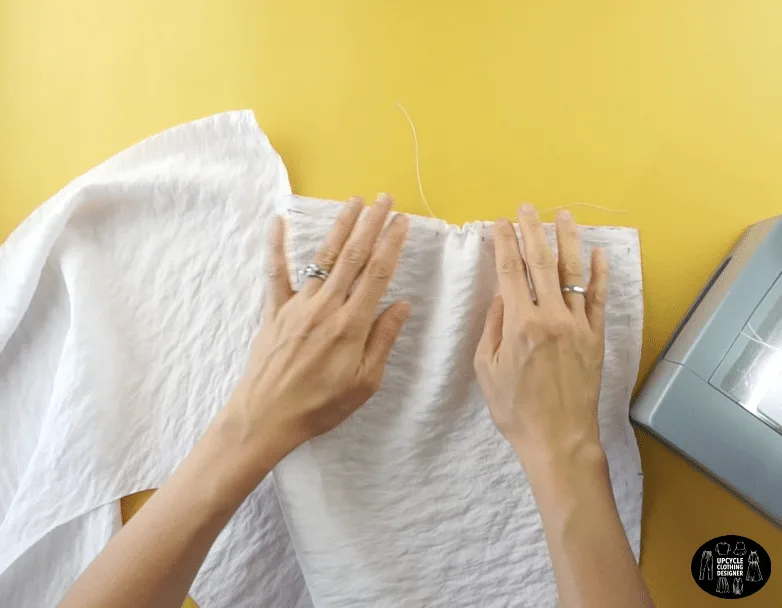
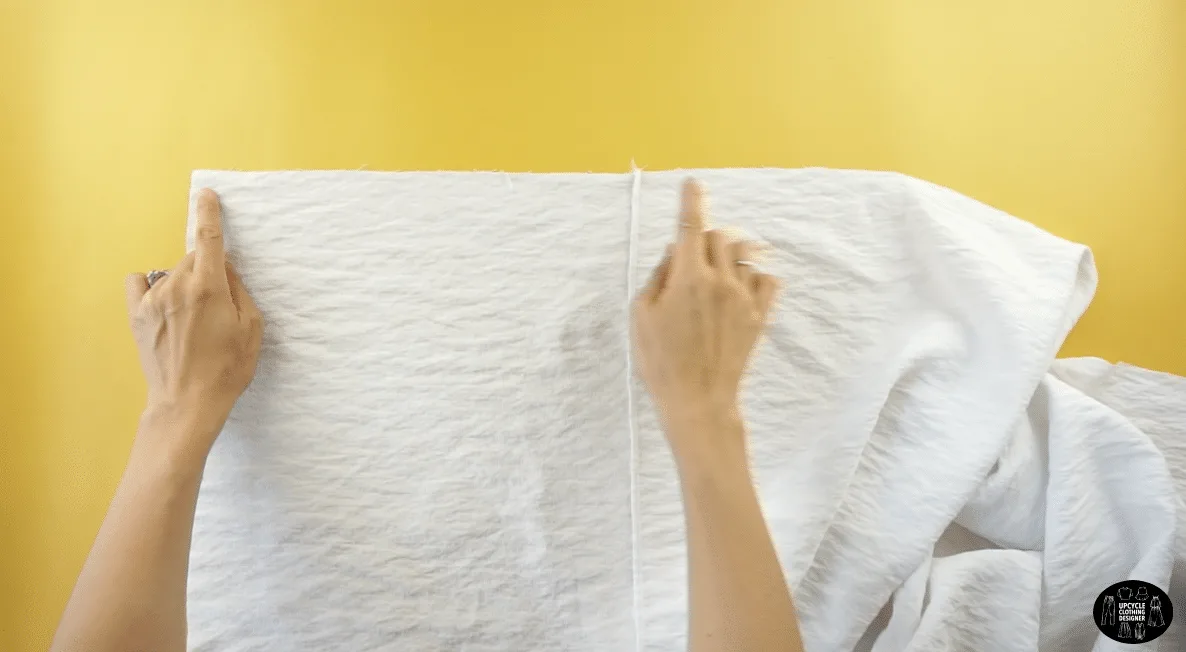
- To add shirring to the center back piece, use a wide stitch width and sew 8” along the bottom edge.
Pull on the back thread to create bunching with the fabric on the center back piece.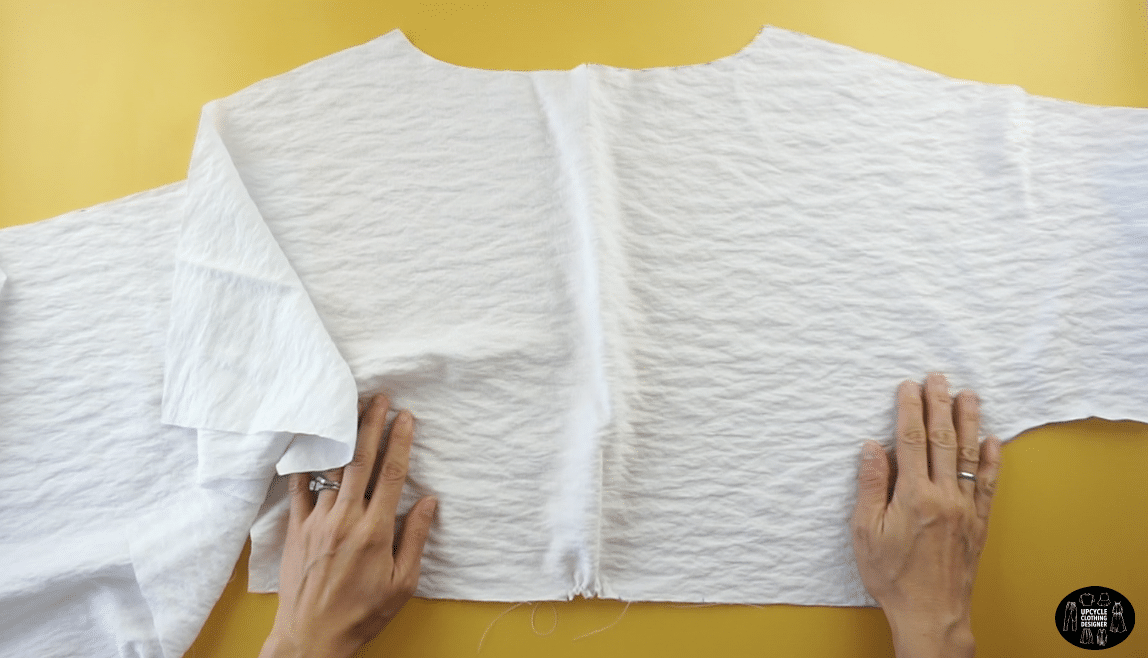
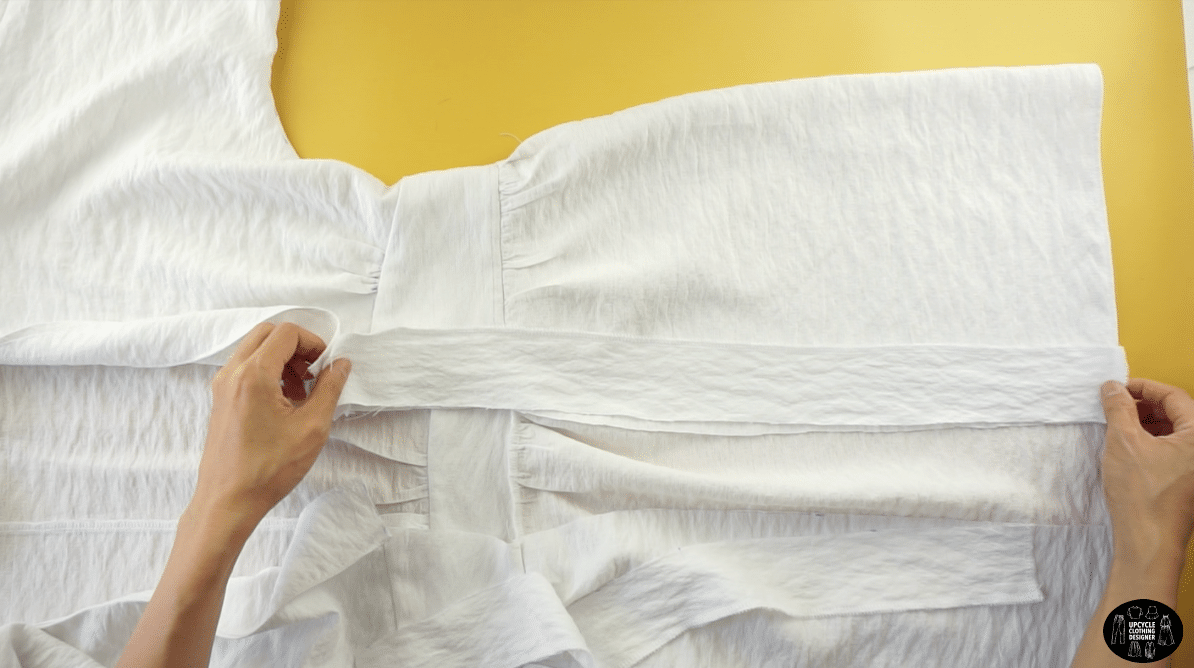
- To attach the front pieces to the high-low waistband, stitch along the edge with the right sides facing each other.
Then, add the facing pieces to the high-low waistband for extra support.
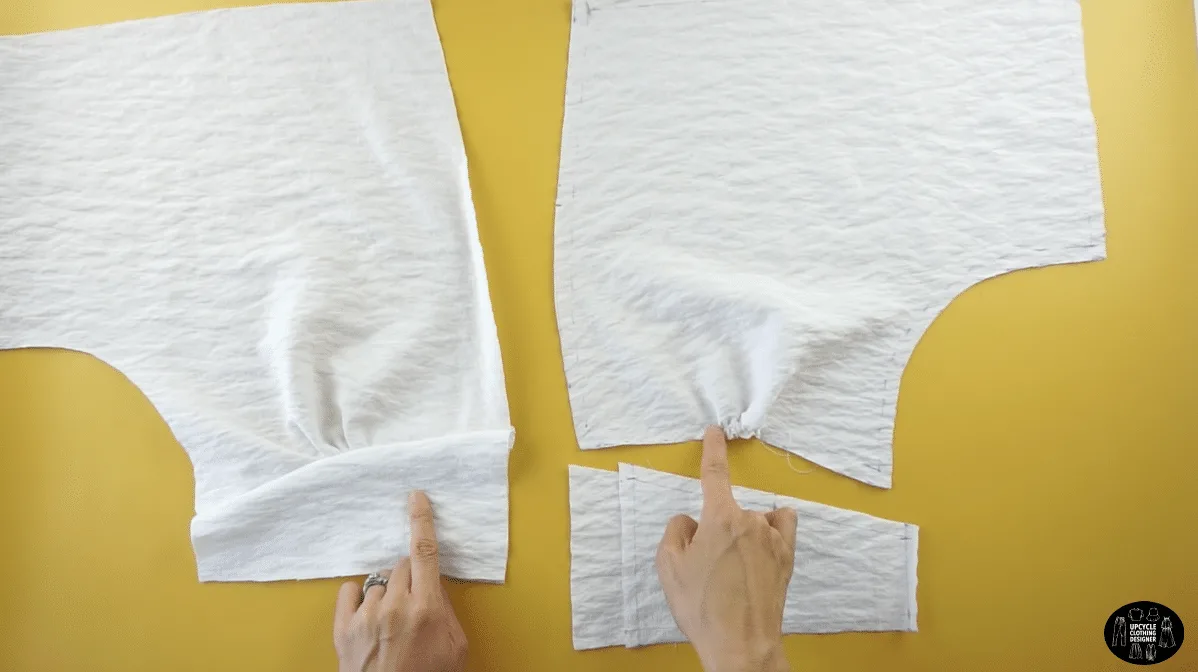
- To attach the back piece to the waistband, stitch along the edge with the right sides facing each other.
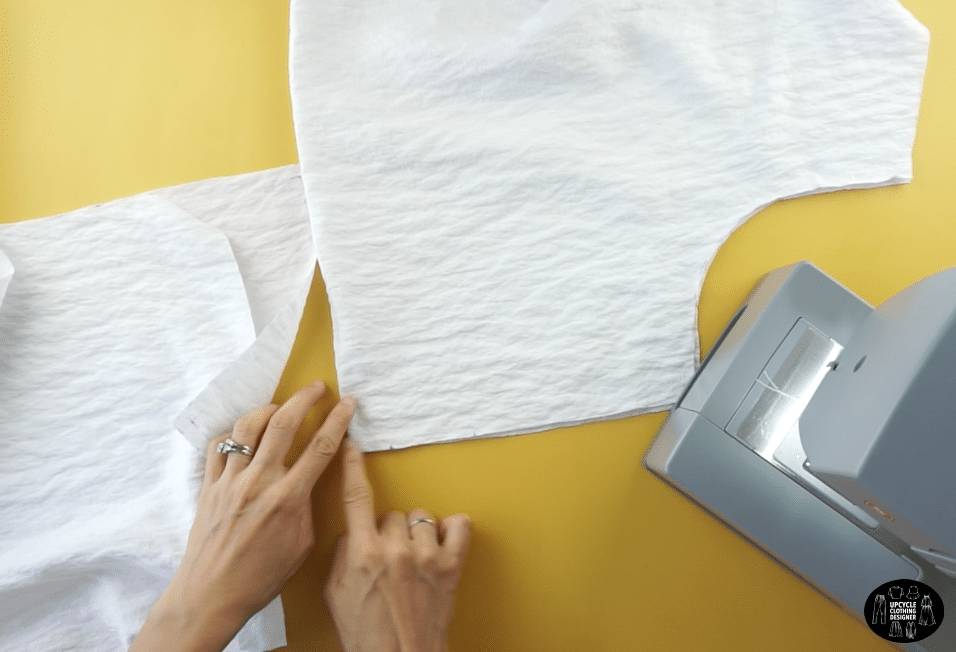
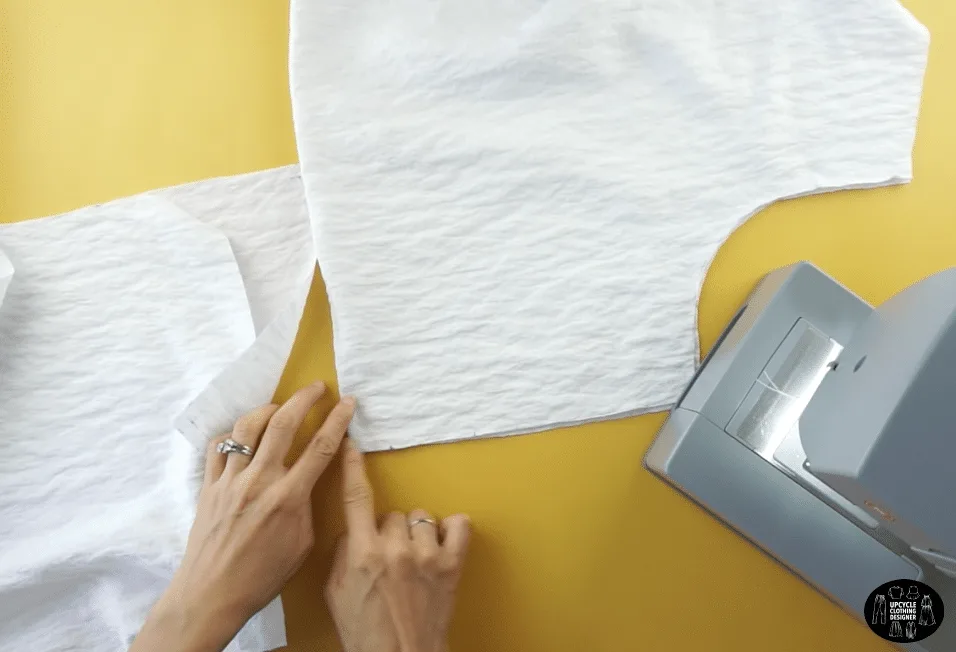
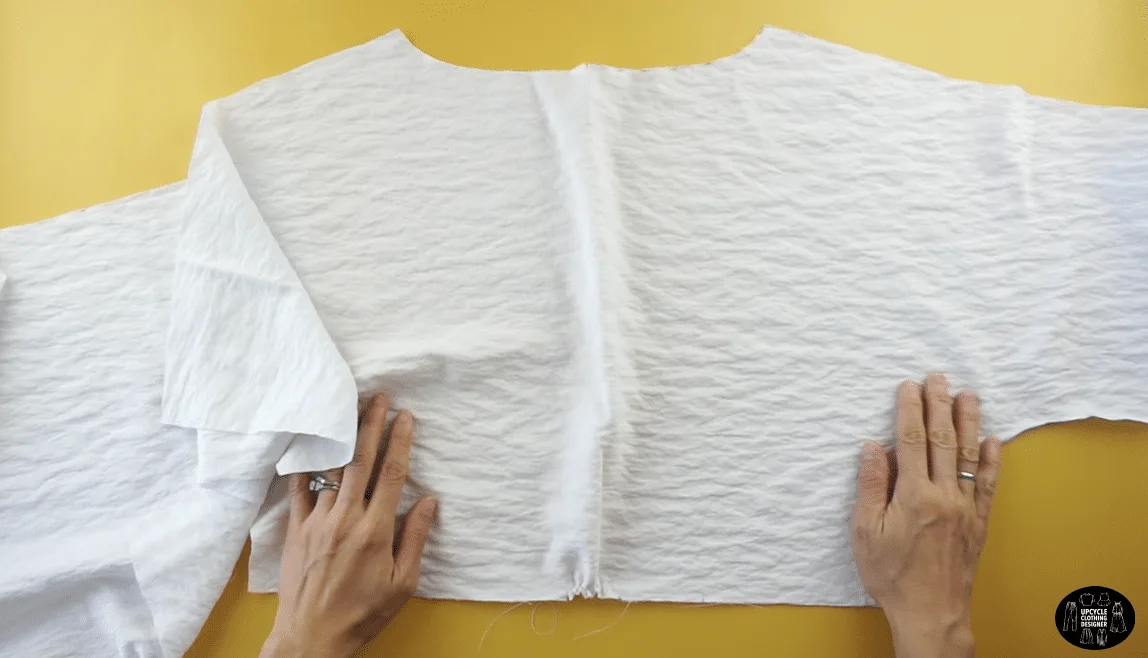
Then, add the facing pieces to the waistband for extra support. - To attach the front pieces to the back piece, stitch along the shoulder seams and side seams with the right sides facing together.
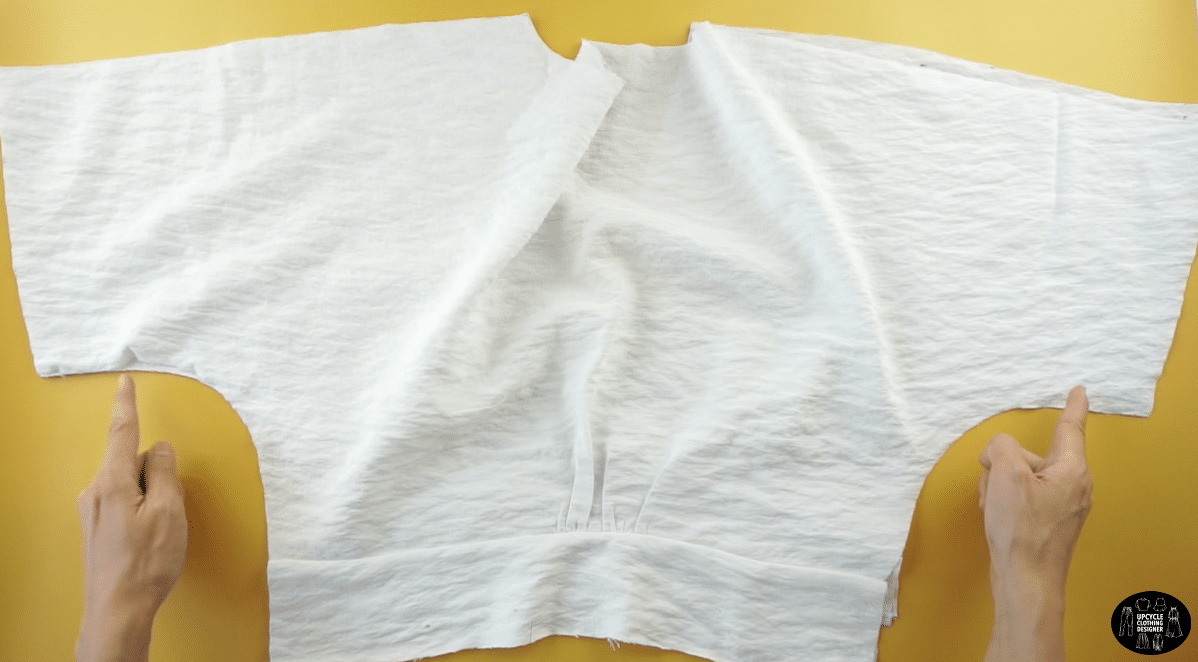

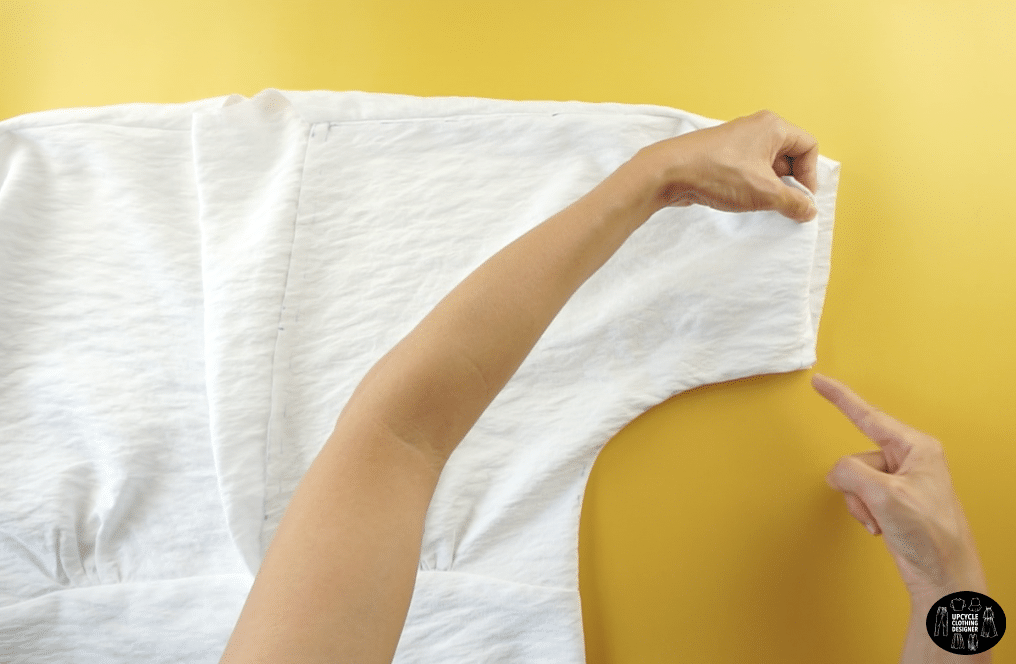
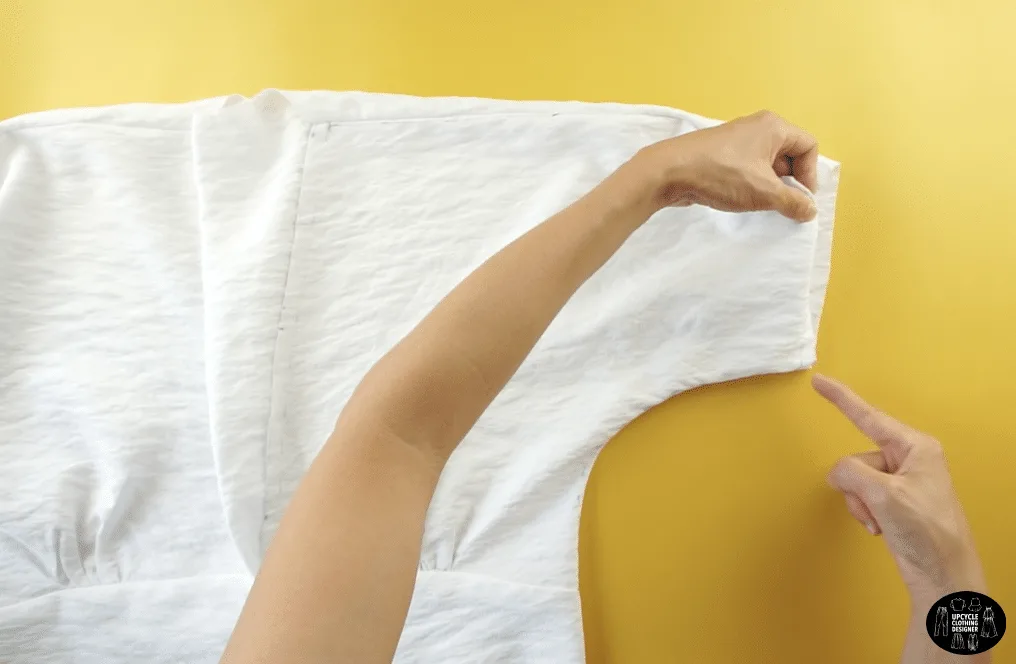
- To hem the kimono sleeve opening, ¼” fold and stitch around the edge.
- To make the back bottom of the kimono dress, fold a piece of fabric in half and measure 13” x 18”.

- To make the front bottom pieces of the kimono dress, cut two 13” x 18” pieces of fabric.
- To close the side seams of the dress bottom, use overlock stitch.
- To hem the dress opening, ¼” fold and stitch around the hemline.
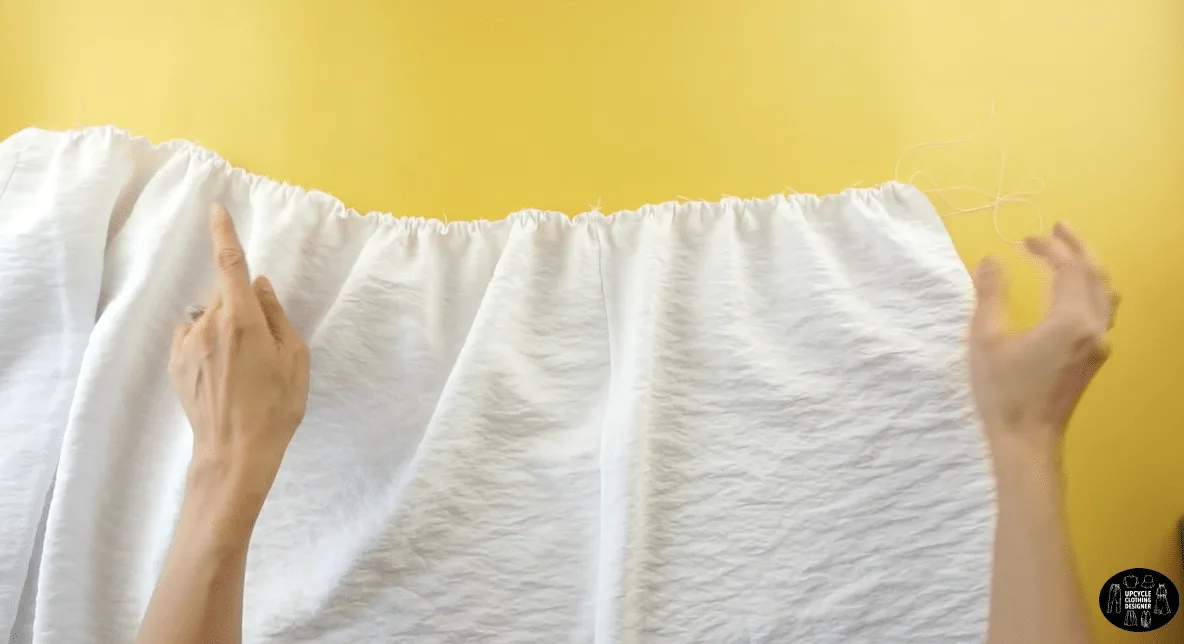
- To add shirring to the waistline of the dress piece, use a wide stitch width and sew along the top edge.

Pull on the back thread to create bunching with the fabric around the waistline of the dress piece.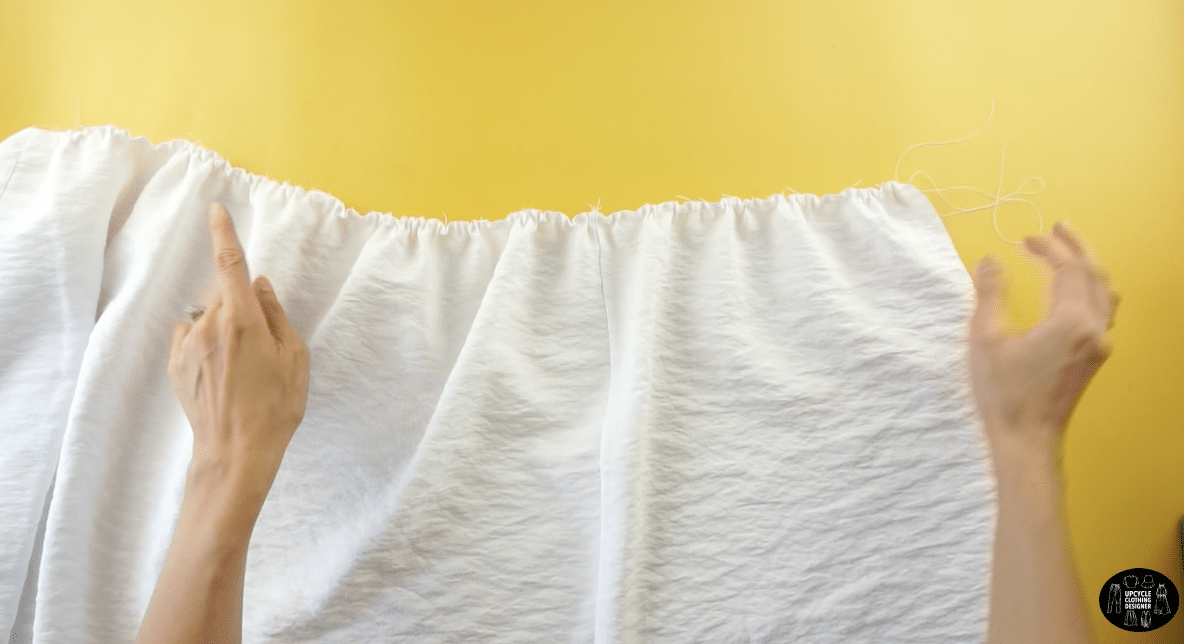
- To attach the top bodice to the dress bottom, sew around the waistband with the right sides facing together.

- To hem the neckband facing, ¼” fold and stitch around the edge of the neckband.
- To attach the neckband facing to the neckline, pin to secure and sew along the edge.


- To attach the front button facing to the center opening, pin to secure and sew along the edge, then finish with topstitch.

- To add buttons to the center opening of the kimono dress, mark the placement,
and then hand sew the buttons in place.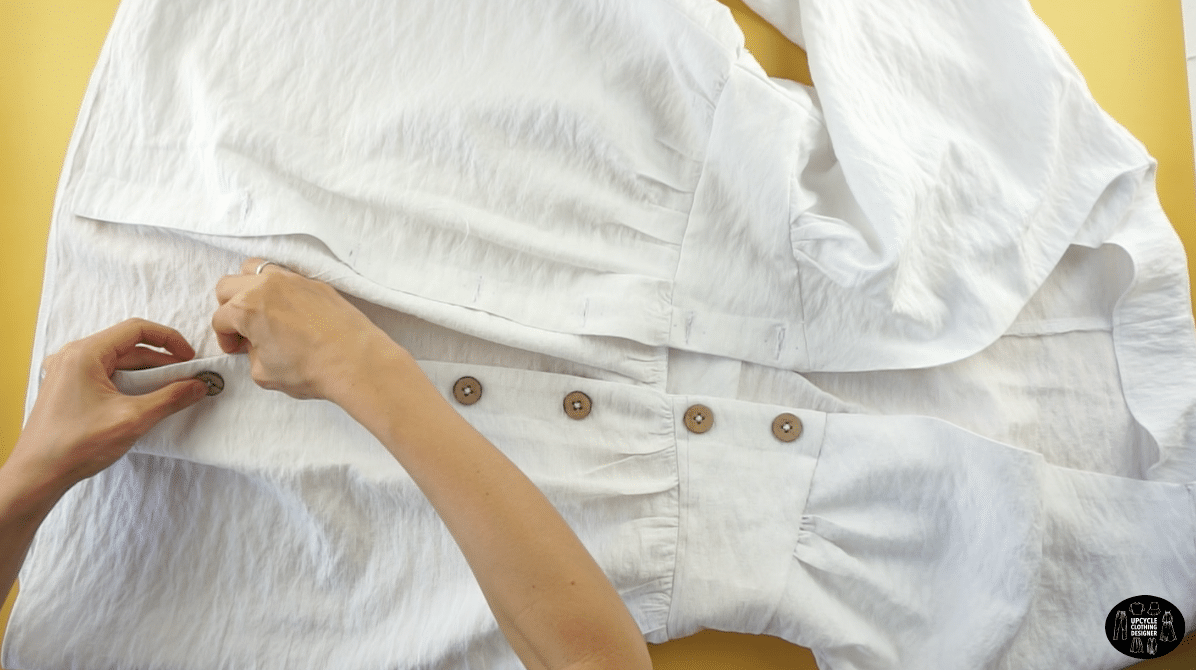
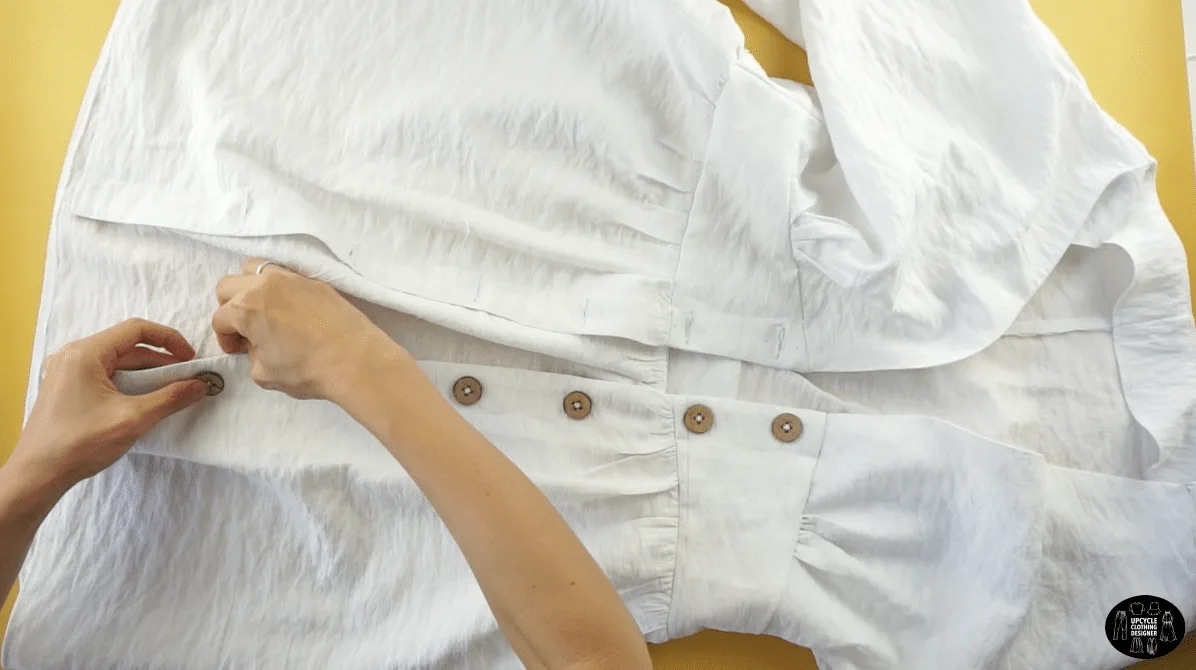
Line up the buttonholes and fasten the closure to finish this DIY button front kimono dress.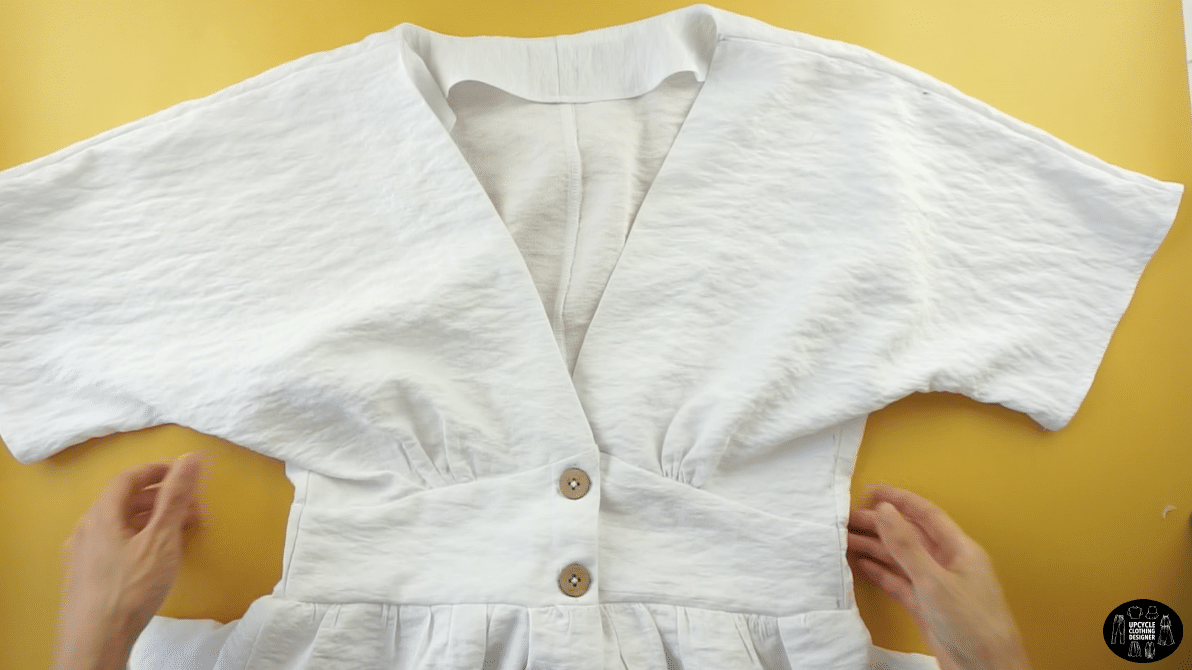

Recommended Products
As an Amazon Associate and member of other affiliate programs, I earn from qualifying purchases.


Trendy, Affordable Sewing Patterns for All Sizes


Tie Shoulder Jumpsuit Pattern


Palazzo Pants Sewing Pattern


Pocket Overall Romper Pattern


Wrap Maxi Skirt Sewing Pattern


Tie Back Top Sewing Pattern
Tamanna
Saturday 27th of November 2021
I really really wanted to make this, but need help with the directions to change which measurements in each step, or where to change the length of the dress, etc. My measurements are bust 29, waist 23, hips 33. This looks like a fun easy DIY and I am an experienced sewer!
Soonjoo
Saturday 27th of November 2021
Thanks for the feedback. You can follow my video tutorial and there is a sewing pattern available if you need further help. Don't hesitate to reach out if you have specific questions that I can assist you with.
Angela
Wednesday 18th of November 2020
hi! love this tutorial so much! I am planning to do this, but I would want to make the sleeves longer. Do I just elongate it or do I have to make a separate piece for it? I am considered new at sewing, so I need a little help here 😁
Soonjoo
Thursday 19th of November 2020
Hello Angela, Thank you for reaching out. It's best to keep the sleeves as one piece because it will drape more nicely. Let me know if you have any other questions along the way. Would love to see how your Kimono dress turns out when you finish. Warmly, SoonJoo
Lucy
Wednesday 30th of September 2020
This looks great! I’m just confused on the measurements! Mine are Chest - 39 1/2 inch Waist 37 1/2 inch Hips 38 inch I’m excited to make this!!
Soonjoo
Thursday 1st of October 2020
Hi Lucy,
Sure ! I can try to walk you through how to input your measurement into the Button-Front Kimono dress. For this diy kimono dress, you will need to adjust the chest and waist measurement. My measurement is chest: 34, waist: 27, and hip: 39. Hope this helps you to resize the dress making tutorial to your size.
Many viewers have expressed interest in copying this design. I am in the process of making a sewing pattern and tutorial for this style. This is my Etsy shop if you are interested in checking it out!
Tee
Friday 4th of September 2020
You mentioned to take our measurements before hand but I it's not clear what measurements we would need or how to use them for this
Soonjoo
Saturday 5th of September 2020
Hi Tee,
Sure ! I can walk you through how to input your measurement into the Button-Front Kimono dress. For this diy dress, all you need is bust, hip and chest measurement. My measurement is chest: 34, waist: 27, and hip: 39. If your measurement is same as me, go ahead and follow the tutorial.
If all the measurements are 1” bigger, then add about 1/4” all along the chest, waist, and hip including the sleeve opening. And if it is 1 1/2”-2” bigger than my measurement, add 3/8”-1/2” all along the chest, waist, and hip measurement of mine. But if you have 1” smaller compared to my measurement, then subtract 1/4” all along the chest, waist, and hip including the sleeve opening.
Hope this helps you to resize the dress making tutorial to your size. If you still have difficulty to resize, you can provide your measurements and I can help you make the necessary adjustments. Let me know how it turns out!
Veronica Eguia
Friday 7th of August 2020
Beautiful! Can this also be made from a men's button down?
Soonjoo
Saturday 8th of August 2020
Thank you so much! Yes, great idea! I think you can make it from a men's button down and use the button placket as the center front opening! If you attempt it, I would love to see how it turns out!