
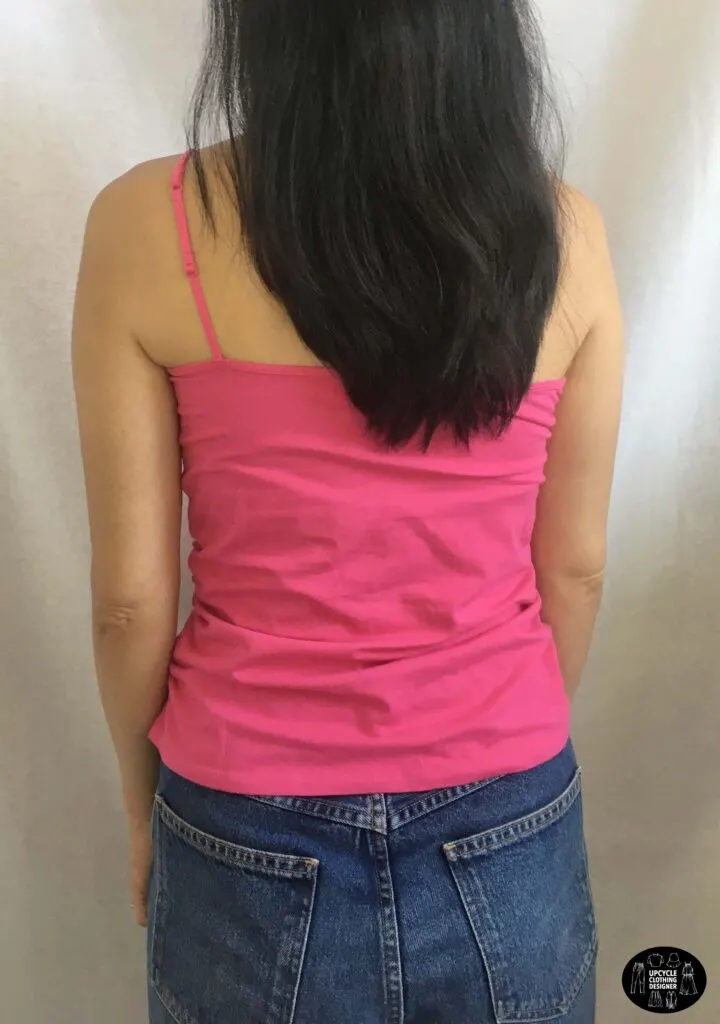
For this DIY one shoulder shirred cami tutorial, I used basic knit camisole top that I’ve been wearing as a layering piece. I no longer wear these classic essential, so I decided to make a series of trendy knit cami top refashion ideas that are easy to follow.
From one shoulder silhouette to side shirring detail, it’s perfect top to pair with baggy pants or low-rise jeans with an edgy and sporty look. Add this one shoulder shirred cami top to your DIY wardrobe to create modern street style outfit.
If you are into different sleeve type and unique silhouettes, you will also enjoy this one shoulder crop top from t-shirt. The asymmetrical neckline is super unique and cool.
Do you know how to upcycle clothes? It really doesn’t have to be complicating, you can gather inspiration from your favorite garments and transform old clothes into stylish pieces.


You will love this DIY one shoulder shirred cami top because…
- Learn how to modify a neckline and reuse the existing binding to sew it all back together.
- Add elastic strap to create side shirring.
- Easy upcycle project for beginners with a store-bought quality finish.
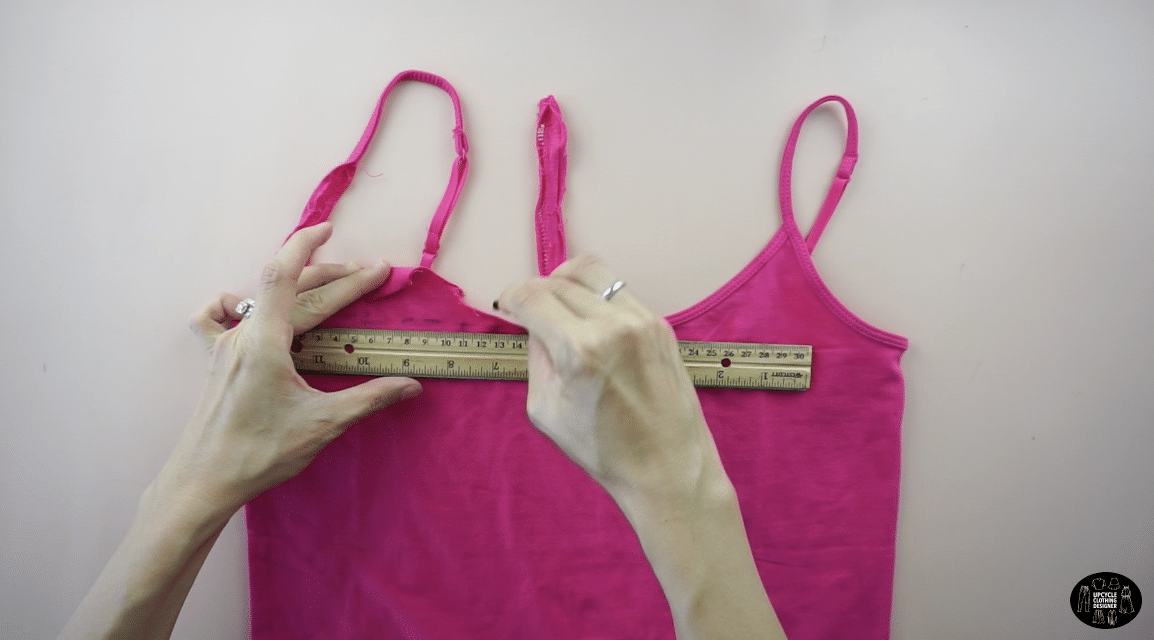
- Use your body measurement to accurately size the shoulder strap and length of the top.
- Learn to sew knit material with a sewing machine.

In order to modify existing camisole top into a one shoulder neckline and adjustable length, all you need the proper measurements to follow these steps. If you have a camisole that is full length, it’s perfect to add elastic insider to create fabric bunching.
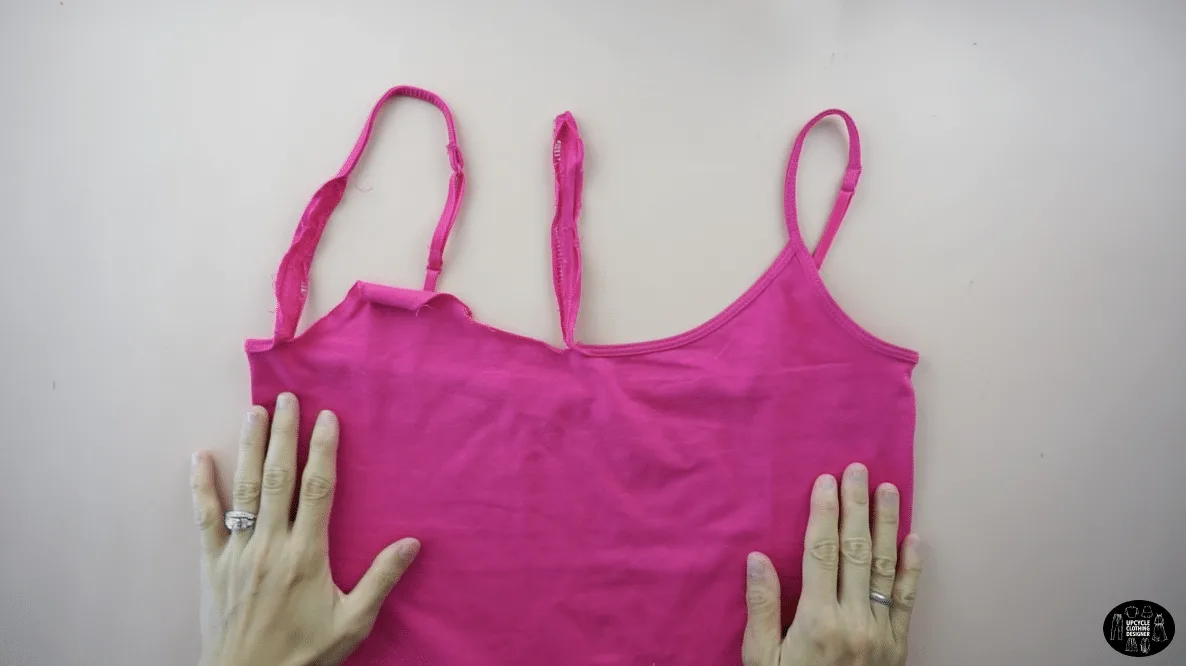
Since we are only using one shoulder strap, save the other strap with adjustable trim for next upcycle project.
How to make one shoulder shirred cami top?

Whether you are using solid or printed camisole, I recommend one that has binding around the neckline. When you cut out the shoulder strap from one side, sliding on the existing binding and sewing it all back together is so easy instead of making new binding from scratch.
Follow the steps to take body measurements for clothes so that you get an accurate sizing. This will ensure that the upcycled cami top fits you perfectly.
Prepare your cami top to make this chic one shoulder shirred top with the right tools from your sewing kit. Adjust the tension and use a wide stitch width on your sewing machine. Let’s get started!
DIY One Shoulder Shirred Cami Top Materials:


- Knit Camisole Top
- ¼” Width Elastic Band
- Sewing Machine
- Fabric Chalk
- Measuring Tape
- Ruler
- Scissors
Use a seam ripper to remove the neckline binding from the center to the side seam only on one side.
Draw a line from center front to the side seam.
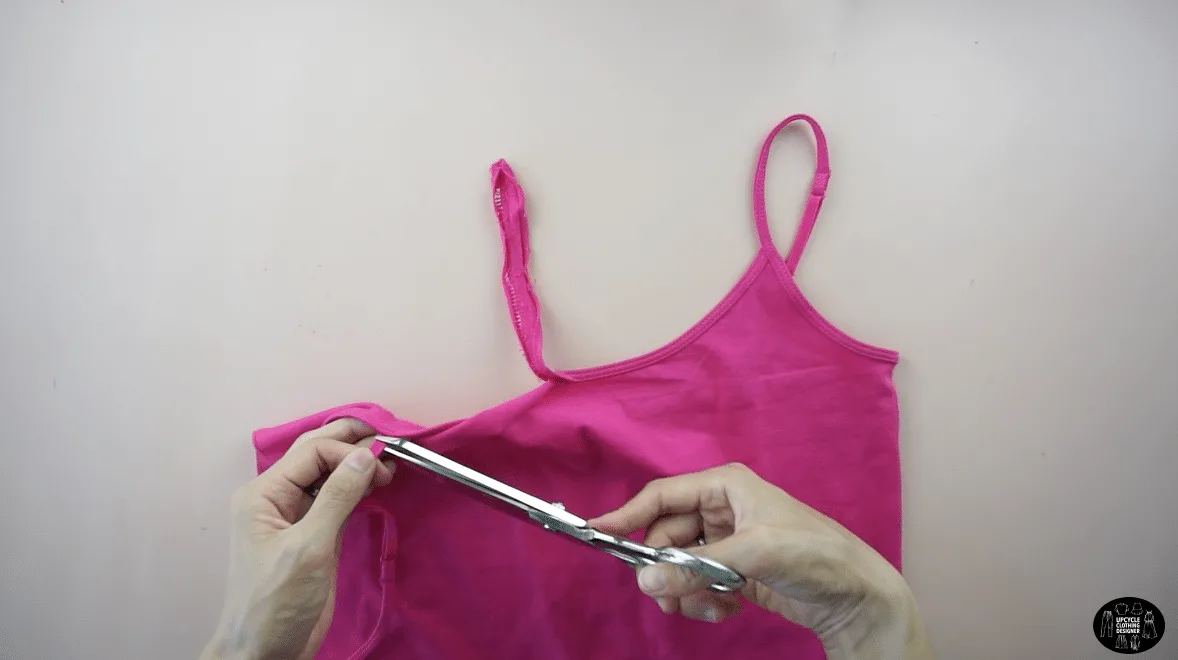
Cut to create the new one shoulder neckline.
Slide the binding back into the new neckline and topstitch to secure.
Remove the one shoulder strap by cutting the front and back with scissors.
Topstitch ¼” elastic bands along the side seam to complete the one shoulder shirred cami top.


DIY One Shoulder Shirred Cami Top Sewing Tips:
Use basic knit stitching to attach an elastic band to create bunching along the side seams. This one shoulder shirred cami top doesn’t require special sewing technique.
Review the tutorial and don’t skip the sewing tips listed below to guide you through each foolproof step.
- Sewing Machine: Adjust the stitch length and tension when sewing knit. I setup the sewing machine with 2.5 stitch width and tension 3 for this DIY tutorial. Depending on the weight of the knit, test on a scrap piece of fabric to find the right setting for you.
- Needle & Thread: If your camisole top is medium weight and not too slippery, you may continue using a universal sewing needle. However, for any flimsy or thin knit fabric, I prefer using a ballpoint knit sewing needle. This will help you to avoid making extra holes while stitching.
- Elastic: Start going back and forth double stitching before you stretch the elastic to sew straight along the side seam. By doing so, the starting point is secured and you can easily stretch while sewing without ripping the stitches.
- Fabric Chalk: Remove the binding then drawing the new neckline afterwards. It’s best to use erasable fabric chalk instead of a pen. The ink tends to bleed on the fabric and it’s hard to erase. Have light color and dark color fabric chalk to draw new sewing or cutting lines.
- Measuring Tape: The camisole has a slight curve waistline and hemline which is sometimes difficult to measure and make it even. I recommend using ruler for straight lines and a measuring tape to give proper the measurements along curved lines.
More upcycle camisole top projects for your next DIY refashion:


How To Sew DIY One Shoulder Shirred Cami Top
Simply follow the video tutorial, step-by-step pictures and detailed instructions to accomplish this one shoulder shirred cami top.
You will learn to modify the existing neckline and reuse the original neck binding for a clean finish without messing up. So, if you haven’t sewn knit before, this will be great beginner level sewing project to boost your confidence.
Materials
- Knit Camisole Top
- ¼” Width Elastic Band
Tools
- Sewing Machine
- Fabric Chalk
- Measuring Tape
- Ruler
- Scissors
Instructions
- For this DIY one shoulder shirred cami, start by laying the top flat.

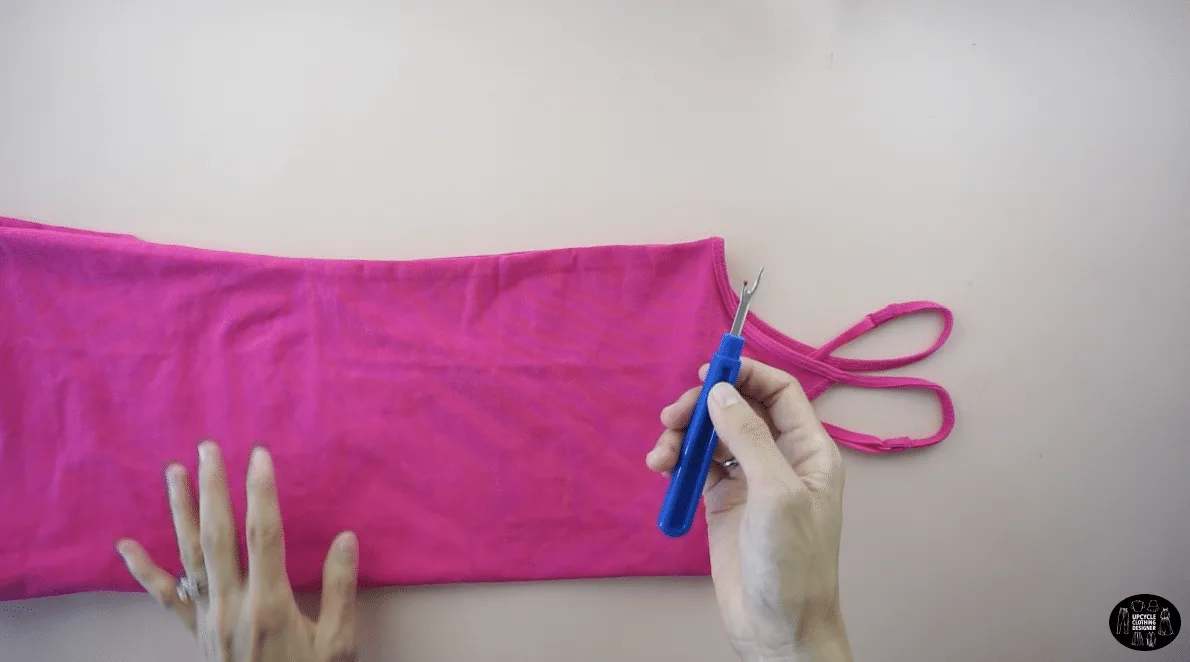
Use a seam ripper to remove the neckline binding from the center to the side seam only on one side.
- Draw a straight line across,

and cut to make a new neckline on one side.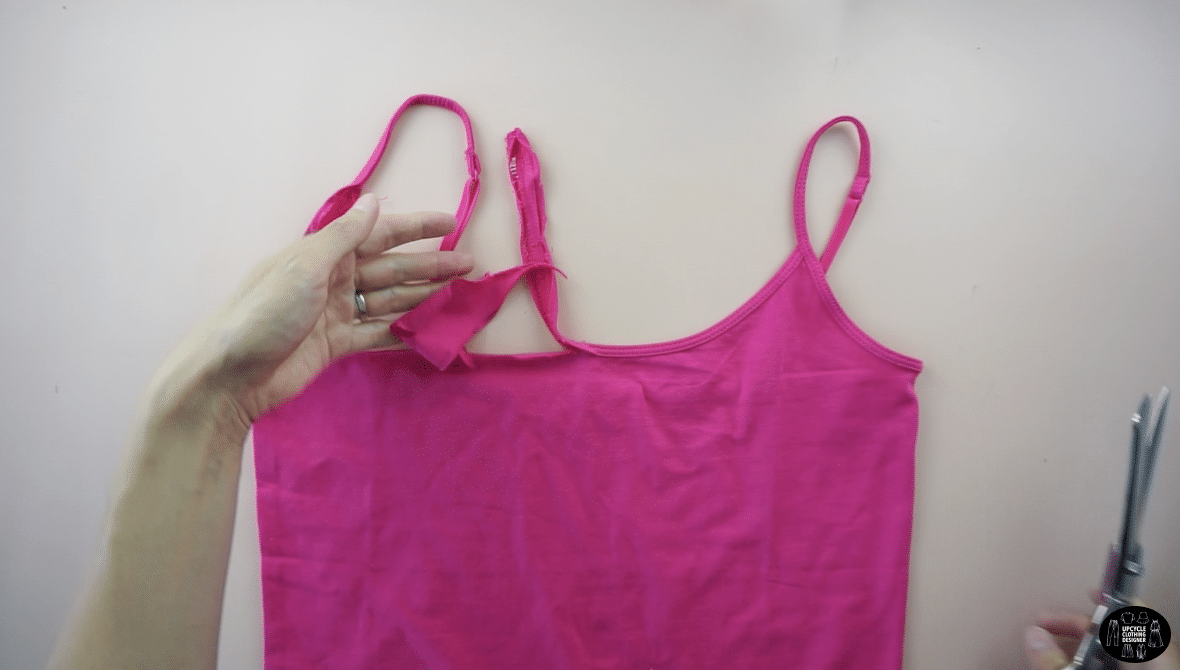
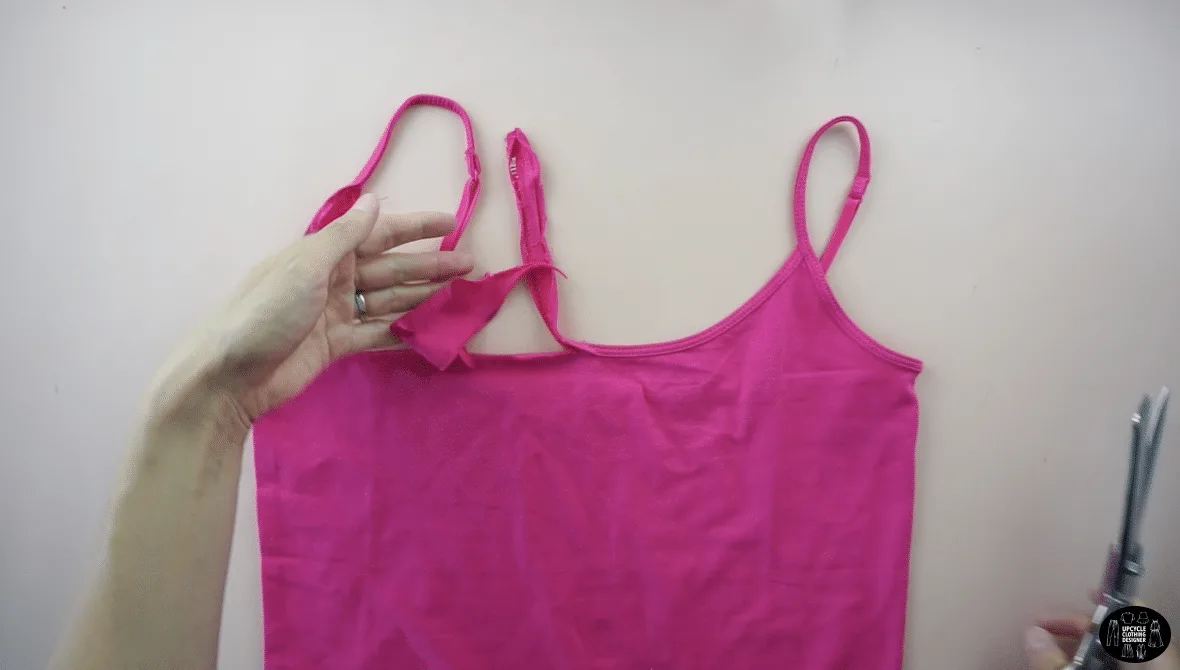
- Cut off the one shoulder strap in the front and back.

- Slide the binding into the new neckline,


pin to secure,
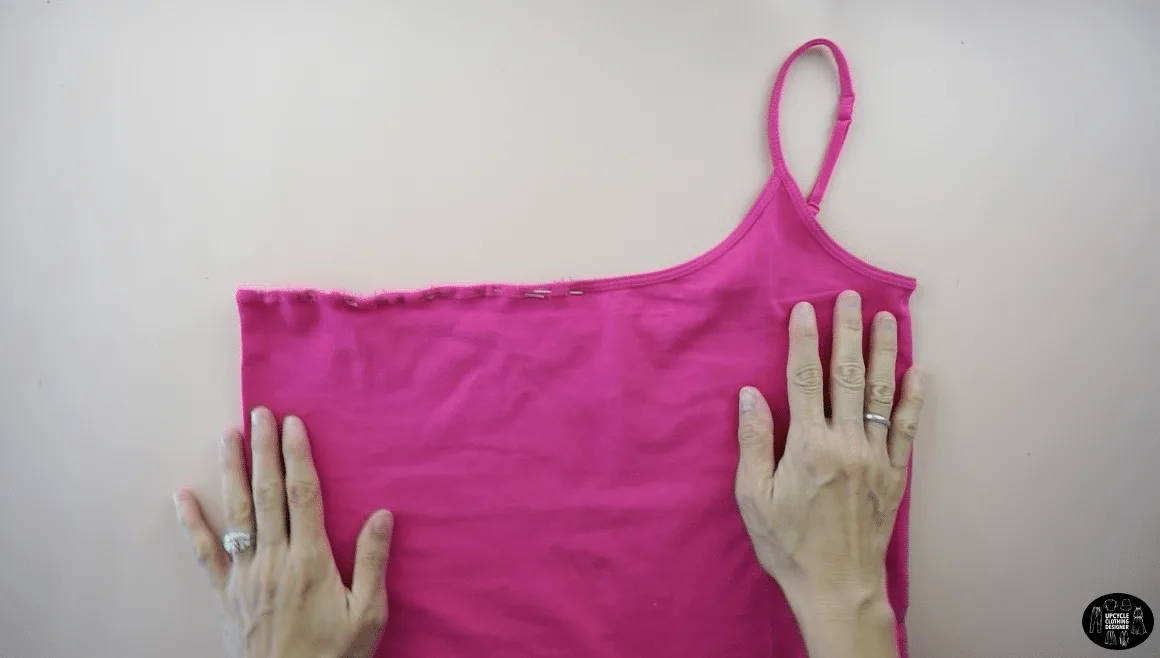
and topstitch to complete the new neckline.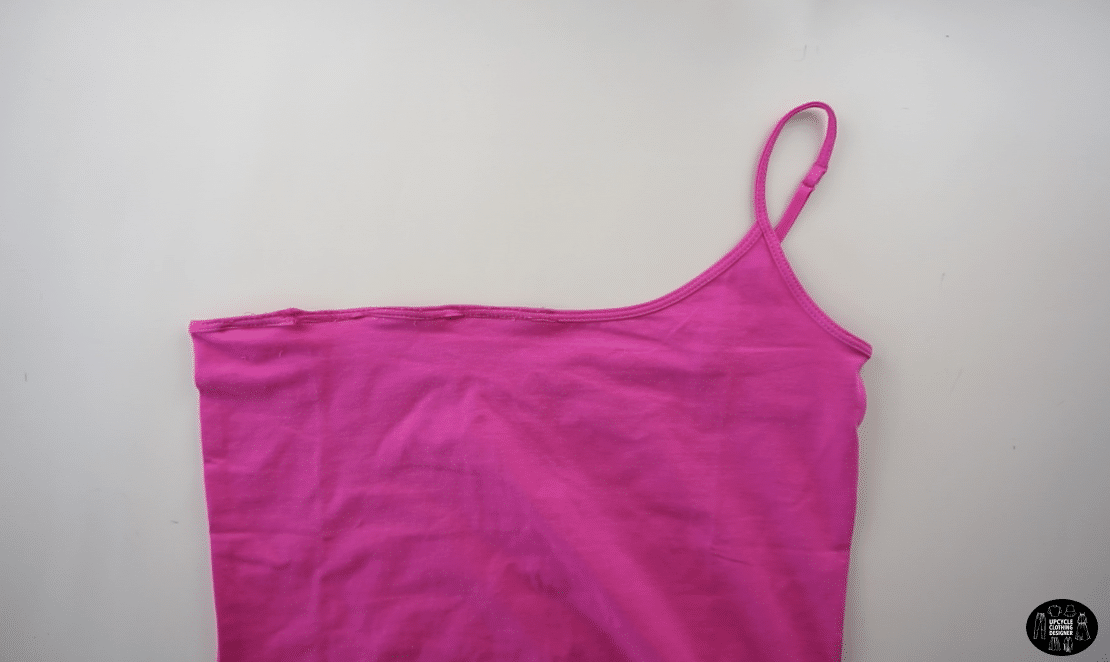

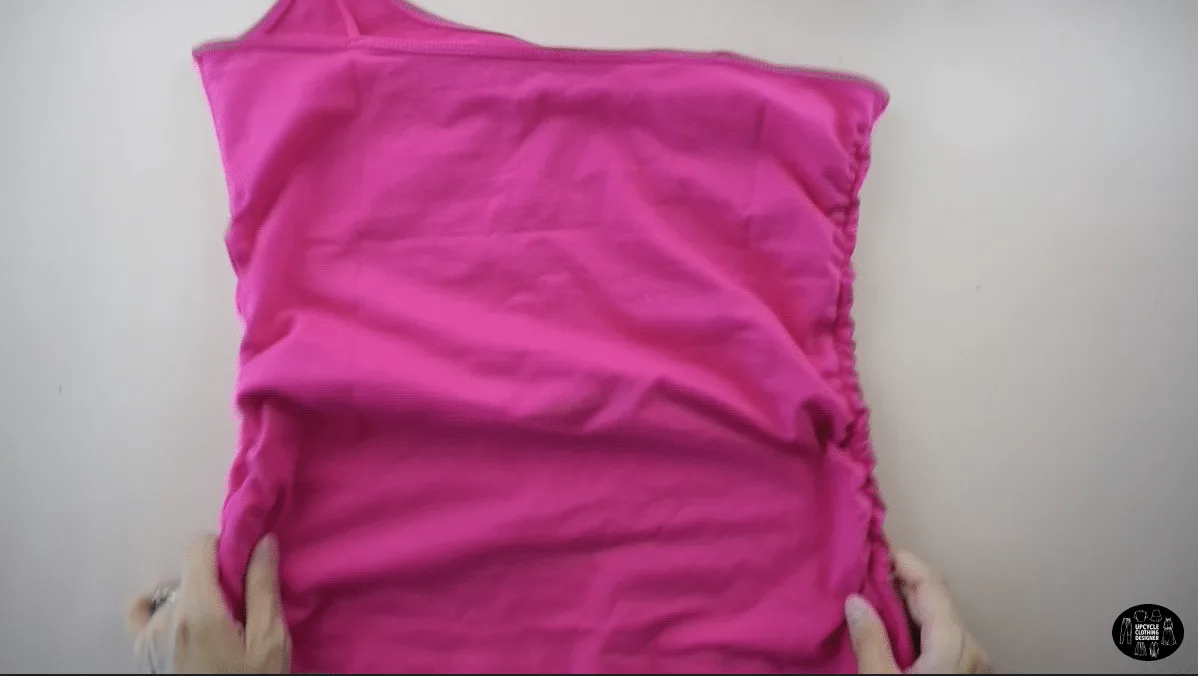
- To make side shirring, flip the cami top inside out.
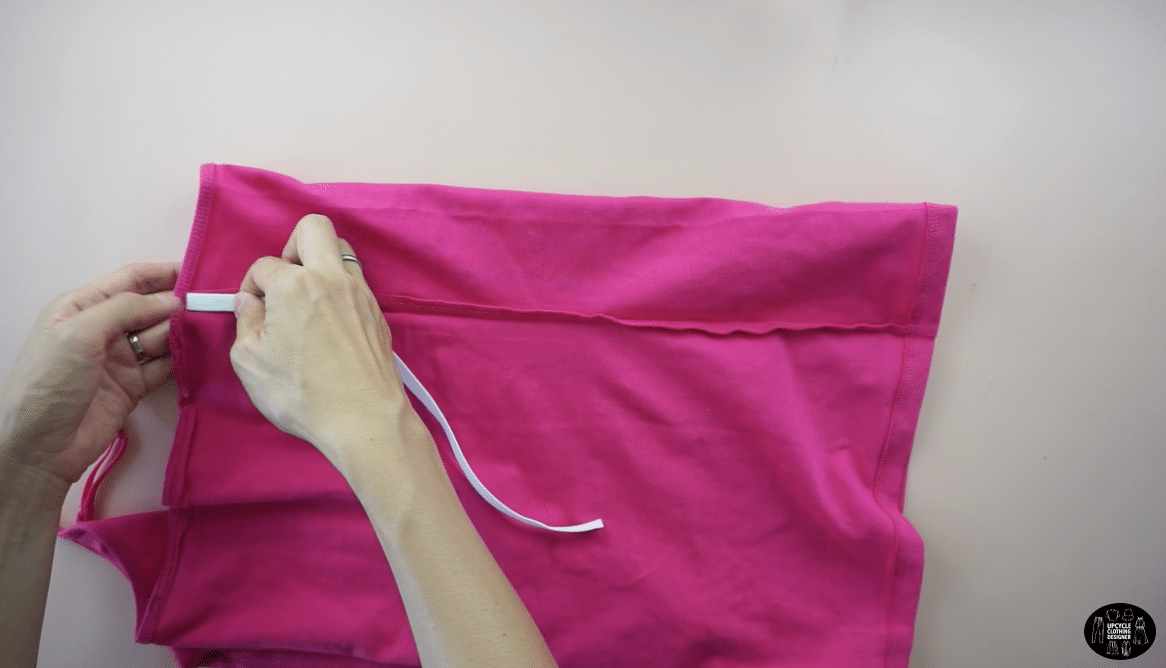

- Cut two 12” long pieces of ¼” wide elastic band.
Pin the elastic along the side seam underneath the armhole.
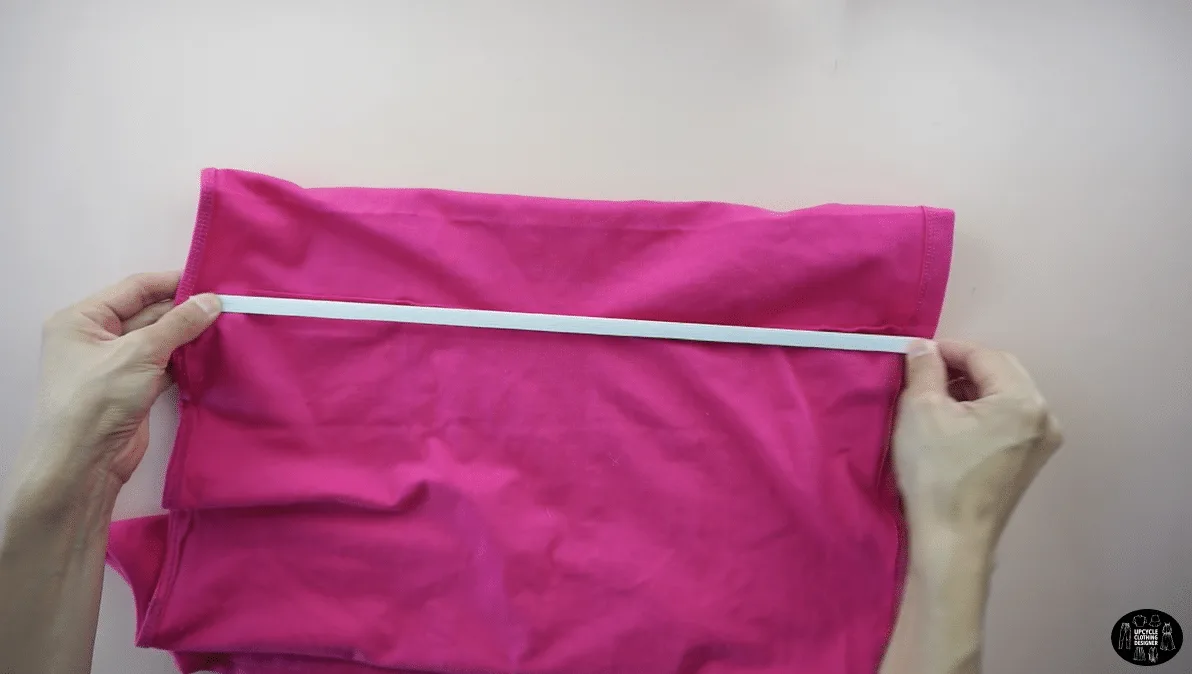
- Stretch the elastic until the hemline,

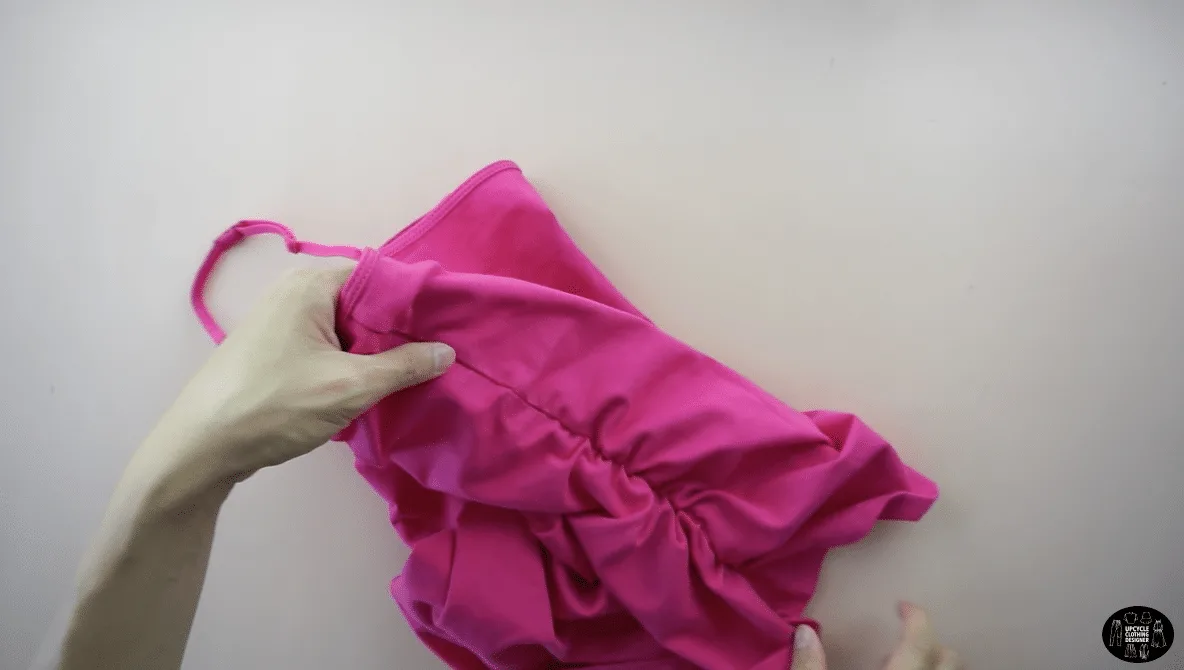
and topstitch along the side seam to finish the one shoulder shirred cami top.
Recommended Products
As an Amazon Associate and member of other affiliate programs, I earn from qualifying purchases.


Trendy, Affordable Sewing Patterns for All Sizes


Tie Shoulder Jumpsuit Pattern


Palazzo Pants Sewing Pattern


Pocket Overall Romper Pattern


Wrap Maxi Skirt Sewing Pattern


Tie Back Top Sewing Pattern