
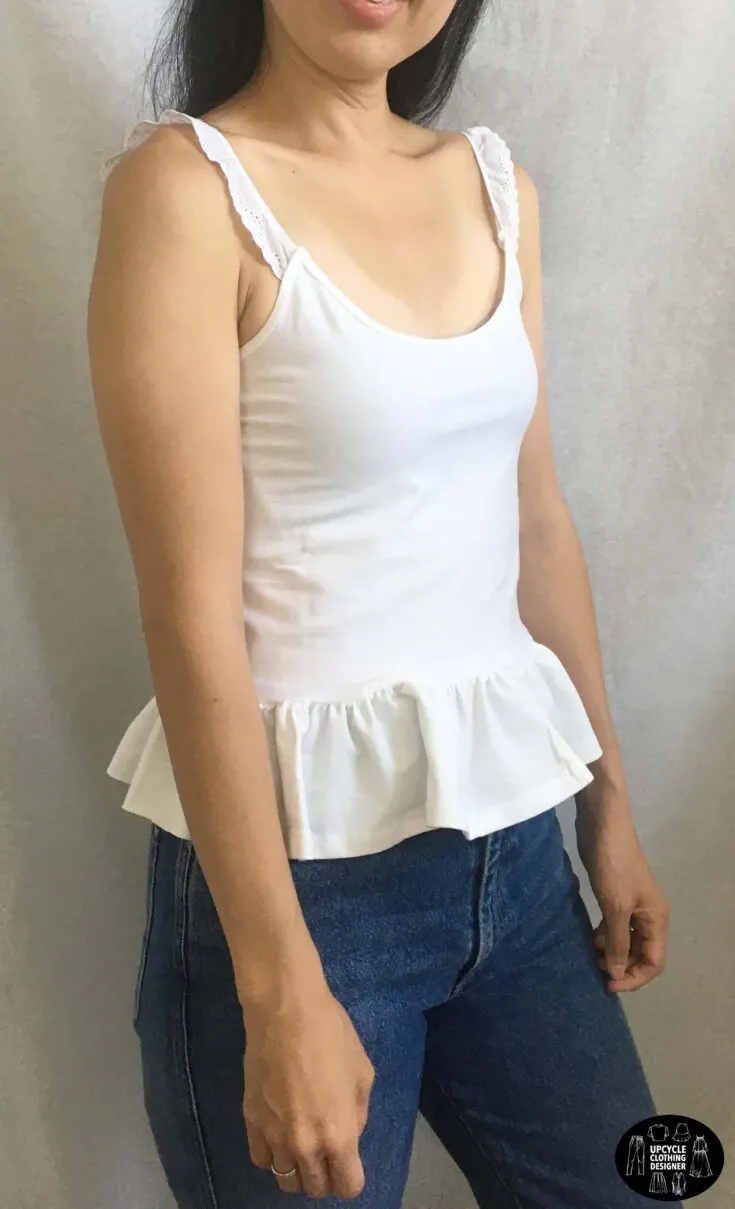
Do you have an old knit camisole top that you no longer wear anymore? Add cute frill eyelet trim along the hemline to make a DIY peplum cami top that is a perfect summer top.
If you have more than one cami top to upgrade, I’ve put together easy knit cami top refashion ideas for you to try this week.
Wear the stylish tops with denim shorts for a casual look. Build a DIY wardrobe filled with upcycled clothing that resembles the styles and trend you enjoy most.
Knit camisoles are a classic essential and a great layering piece, that is why I chose them for this series. It’s basic white color trim, therefore I don’t need to dye the eyelet to match the color of the cami.


You will love this DIY peplum cami top because…
- Learn how to attach trim to an existing garment.
- Make manual ruffles to lengthen the top.
- Easy transformation project that can be done in less than 10 minutes.
- Use body measurement to size the length of the hemline and shoulder strap.
- Input your measurements to modify the camisole top to fit you perfectly.


If you love peplum style tops, then you’ll also enjoy the DIY lace peplum top. The double layer crochet lace trim wraps around the bottom of old t-shirt, it’s a great way to revamp your old clothes.
Also, my original camisole has adjustable bra strap and slider that I didn’t use in this project. Save the extra side because it can be handy for a future project.
How to make peplum cami top?

If you are using a colorful camisole top, you may need to dye the eyelet trim to match the top color to give a unified look. If this is too much for you, simply use white cami to make the project much easier.
In order to make this cute peplum camisole top with eyelet trim detail, you do need one measurement so that the top correctly fits your upper torso. Use this tutorial for how to take your body measurement for clothing, and grab the measurement of high point shoulder to waist to adjust the new length.
I have a slightly longer upper torso, so my measurements in this tutorial might not work the same for you. Grab your measuring tape and fill out the correct numbers you need!
Wash and give a press couple of time to plan your sewing project to get started. Grab a couple of necessary tools from your sewing kit, and setup your sewing machine to do this upcycle project!
DIY Peplum Cami Top Materials:


- Knit Camisole Top
- Eyelet Trim
- Sewing Machine
- Fabric Chalk
- Measuring Tape
- Ruler
- Scissors
To make a DIY peplum cami top, measure 8” up from the hemline.
Draw a straight line across and cut.
Measure 4” from the hemline of the scrap fabric, draw a straight line and cut to make the peplum piece.
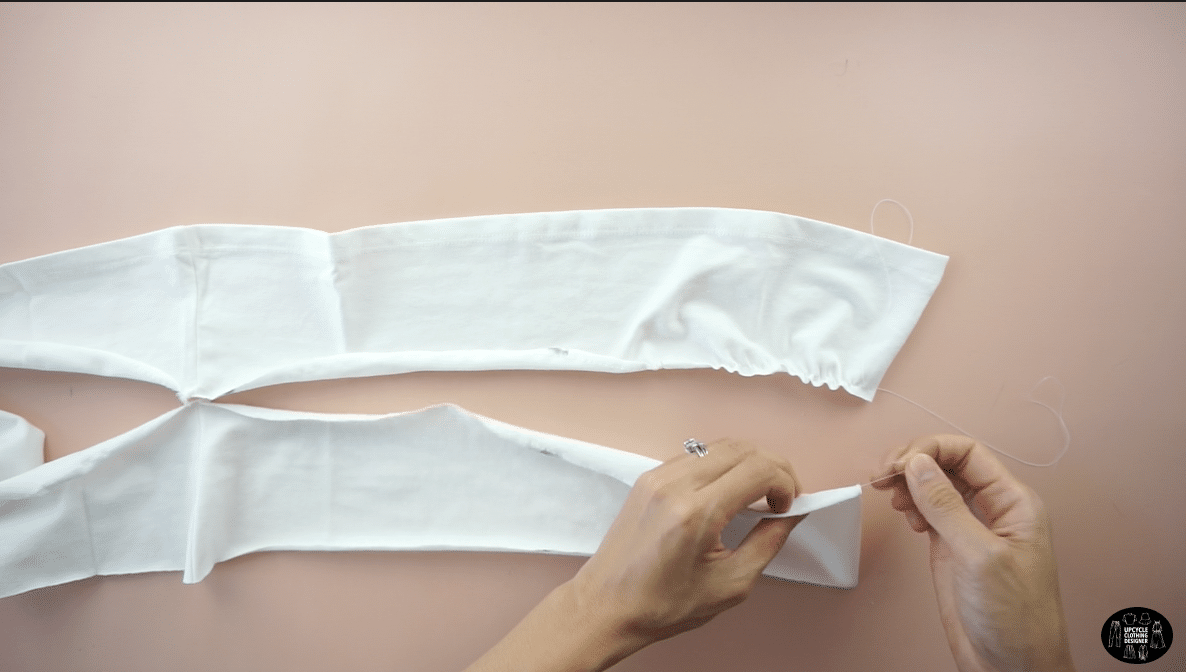
Use wide stitch width with loose tension to make the ruffle hemline.
Pull the back thread to manually gather the fabric and create shirring.
Attach the peplum piece to the waistline of the bodice with the right sides facing together.
Prepare two pieces of 13” long eyelet trim to make eyelet trim shoulder strap.
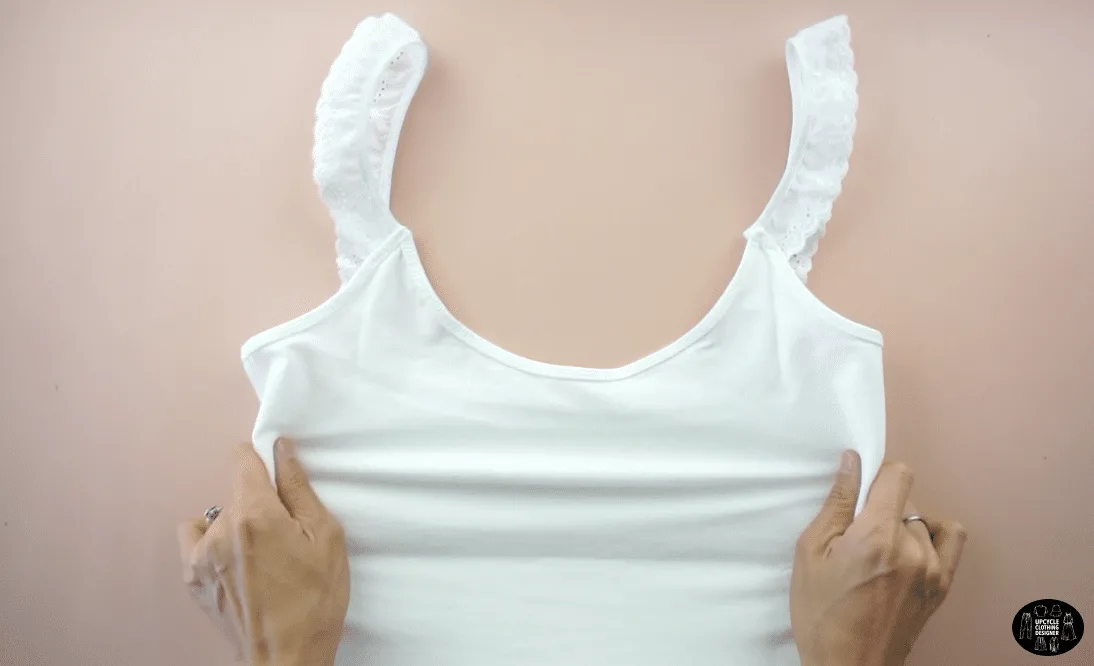
Cut off the original shoulder straps and replace with the eyelet trim to finish the peplum cami top refashion idea.


DIY Peplum Cami Top Sewing Tips:
This DIY peplum cami top require very basic stitching technique and shirring method to complete the hemline. There are many ways to accomplish shirring manual or automatic methods.
Review these helpful hints to guide you with an easy way to upgrade your old clothes.
Here are the peplum sewing tips you need to know before getting started:
- Sewing Machine: When sewing knit for the first time, hold the upper and bobbin threads behind the pressure foot when you start stitching if you start to see skipping. This will prevent the machine from eating up the fabric.
- Needle & Thread: Depend the type of knit fabric, start with an 80/10 universal needle. If you see the needle skips or runs in the fabric, change to a stretch needle or a jersey needle with polyester blend thread.
- Ruffles: To make manual shirring, change the stitching width to 5 and loosen the tension. Simply pull on the back thread to create bunching in the fabric.
- Fabric Chalk: Use fabric chalk to draw new cut lines for the hemline. Draw short lines instead of long line to avoid fabric slide or movement.
- Measuring Tape: The length of the camisole is measured from the highest point of the neckline, that is where the shoulder strap is located, which is different than on a regular t-shirt. So, find your upper torso measurement and subtract the strap length to get the cami length. Then use the measuring guide to create a new waistline measurement.
More upcycle camisole top projects for your next DIY refashion:

How To Sew DIY Peplum Camisole Top
Follow the step-by-step picture instruction and video tutorial to complete this upcycle sewing project. It’s easy, beginner friendly and a totally foolproof refashion.
If you have been only wearing camisole tops as layering piece, then it’s time to give a face lift and wear it as a top during the hot summer season.
Materials
- Knit Camisole Top
- Eyelet Trim
Tools
- Sewing Machine
- Fabric Chalk
- Measuring Tape
- Ruler
- Scissors
Instructions
- For this DIY peplum cami tutorial, start by laying the top flat.
Measure 8” up from the hemline, which goes to the narrowest part of my waist.
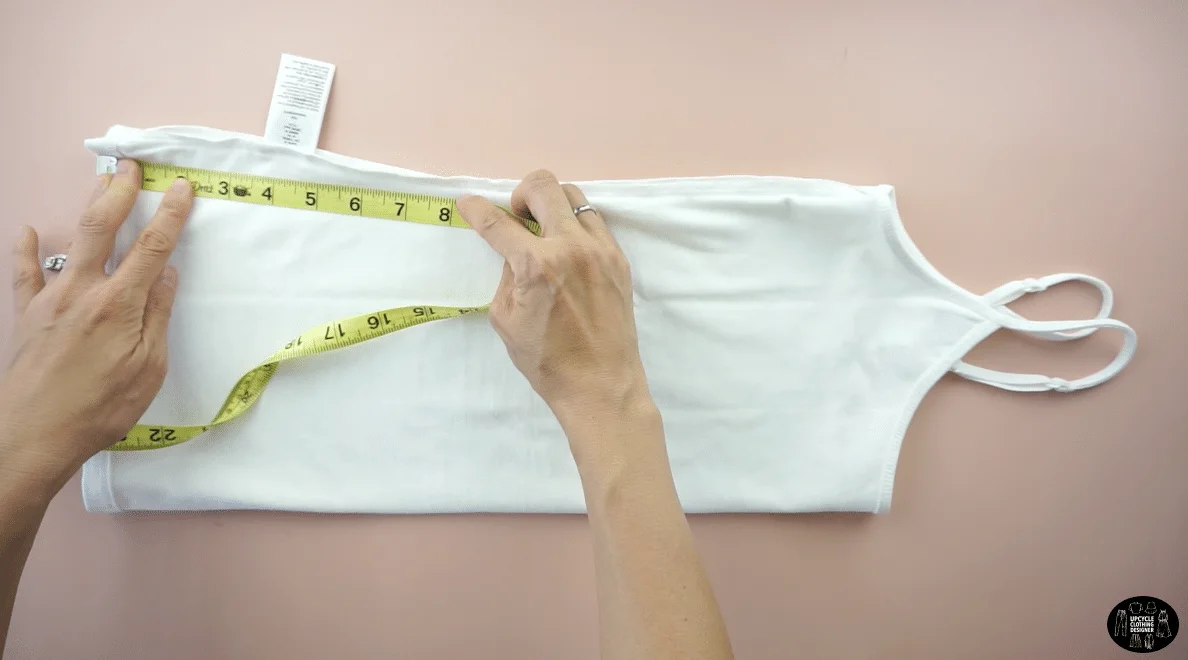
Draw a straight line across and cut.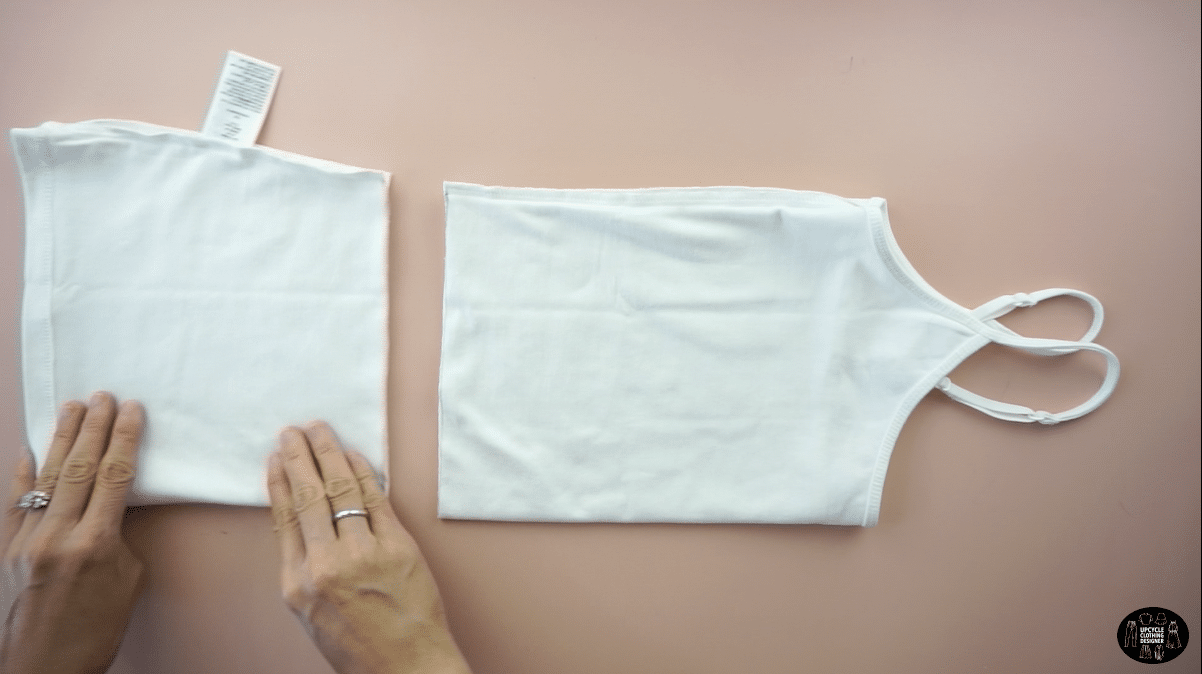

- To make the peplum piece, measure 4” up from the hemline, draw a straight line across;
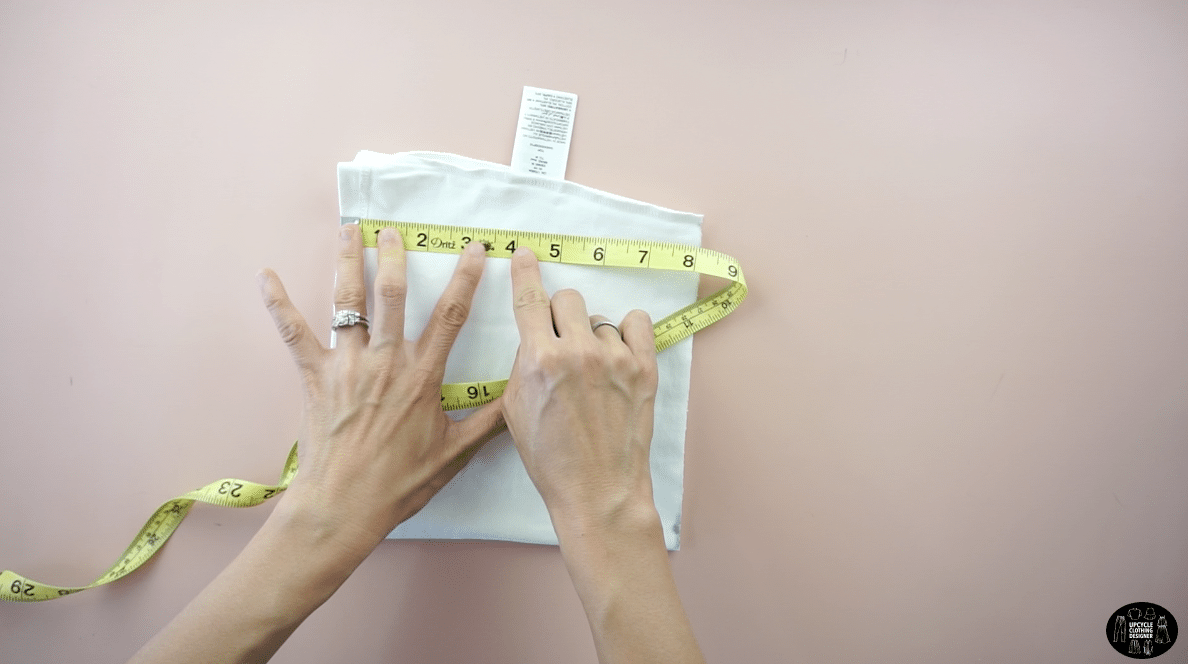

and cut.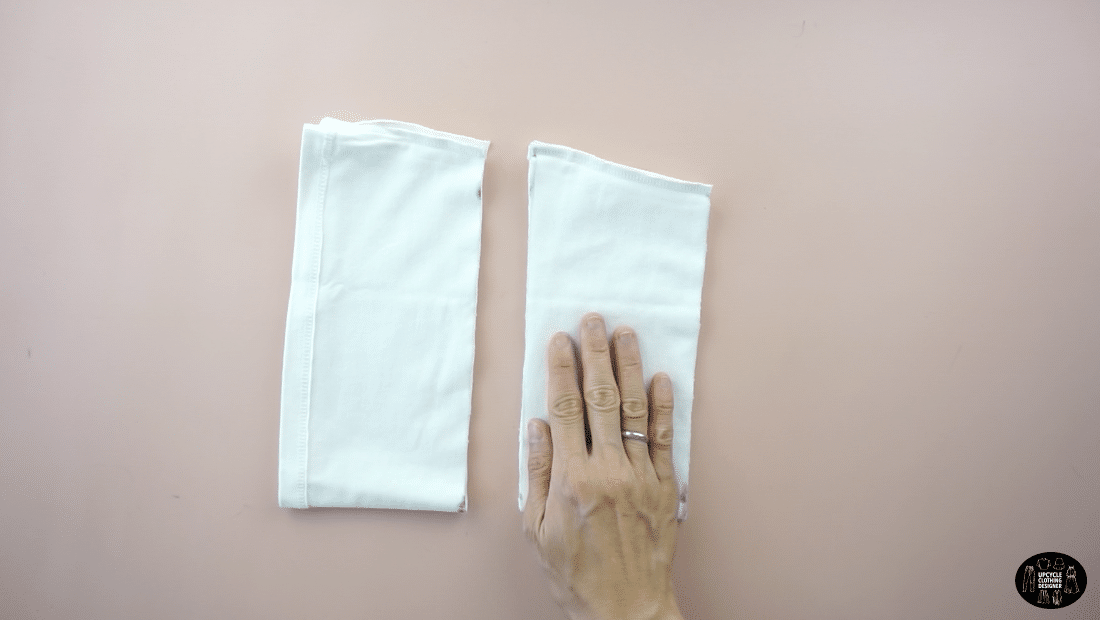

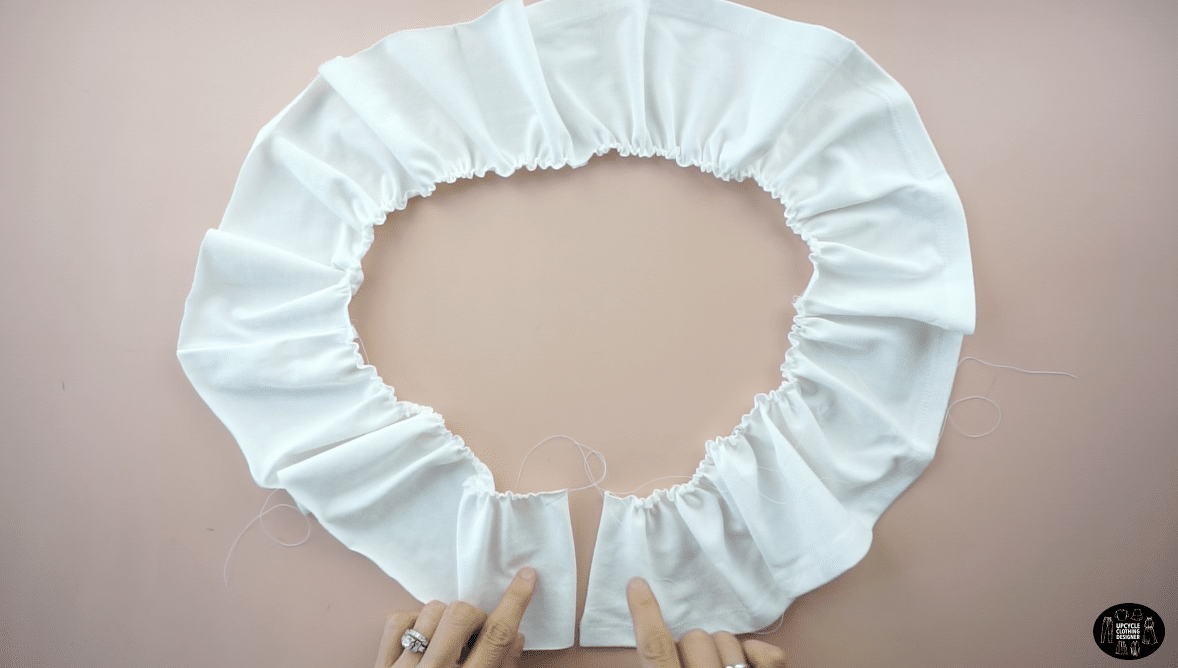
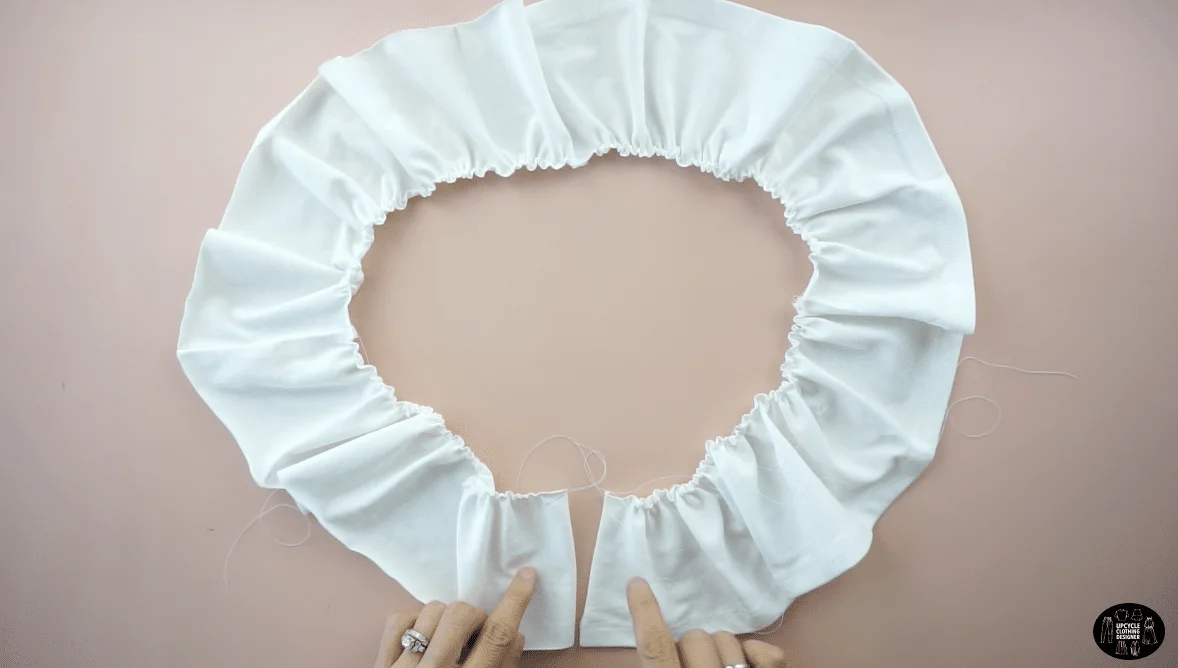
Then, cut open one side seam of both pieces.
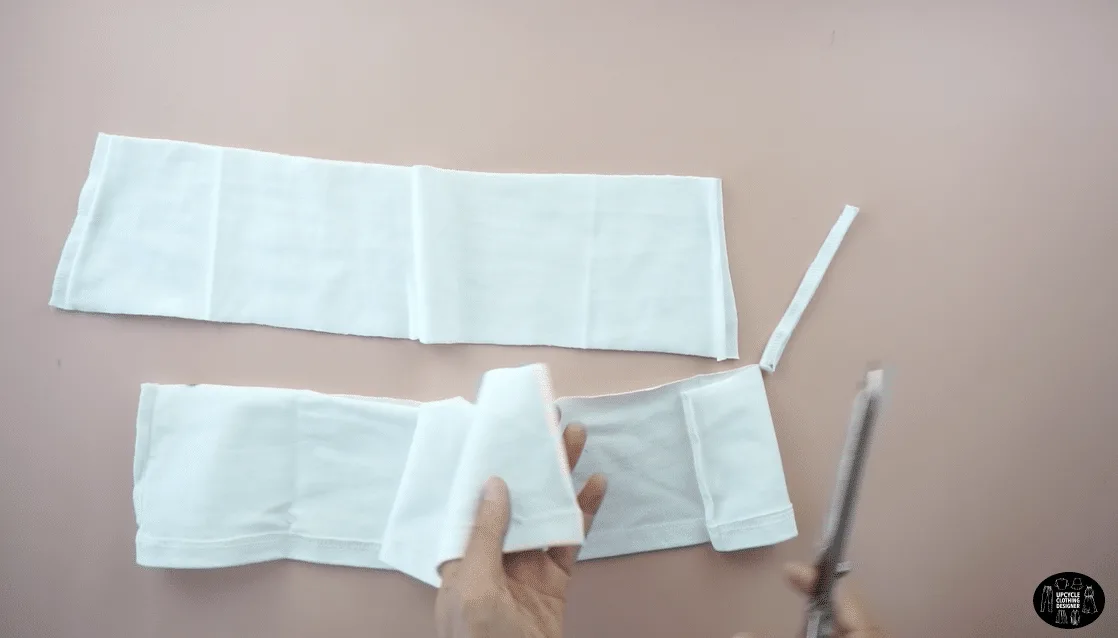
Attach one side together to make the peplum piece.
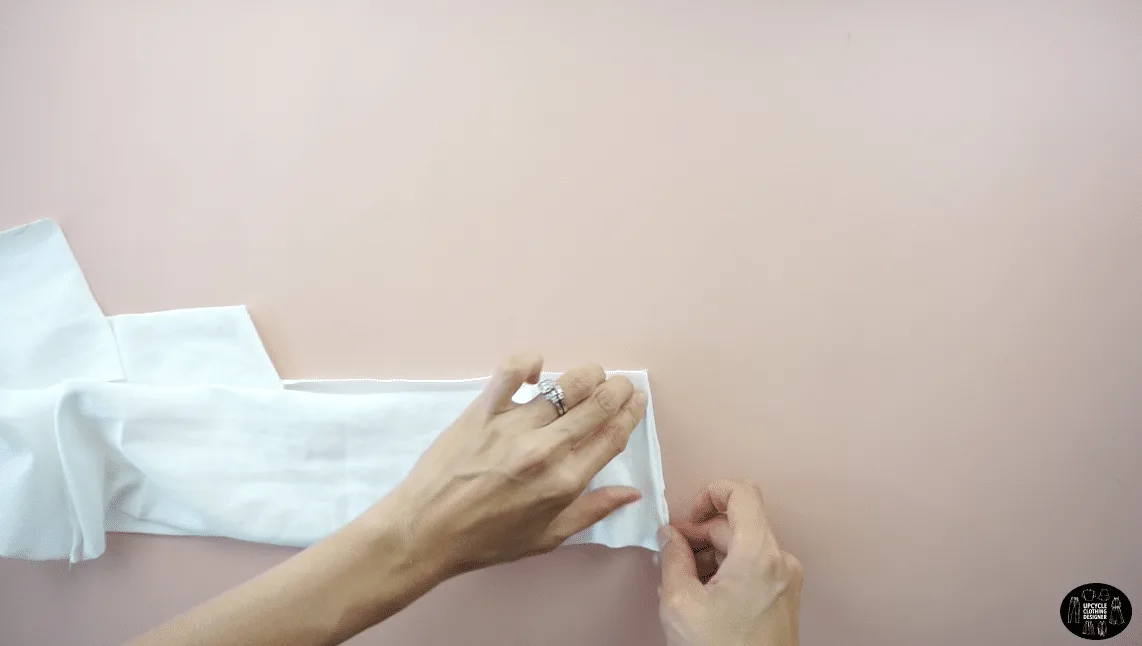
- To make ruffles on the peplum piece, adjust the stitch width and sew a straight stitch along the top edge with loose tension.

- Pull the back thread to manually gather the fabric and create shirring.

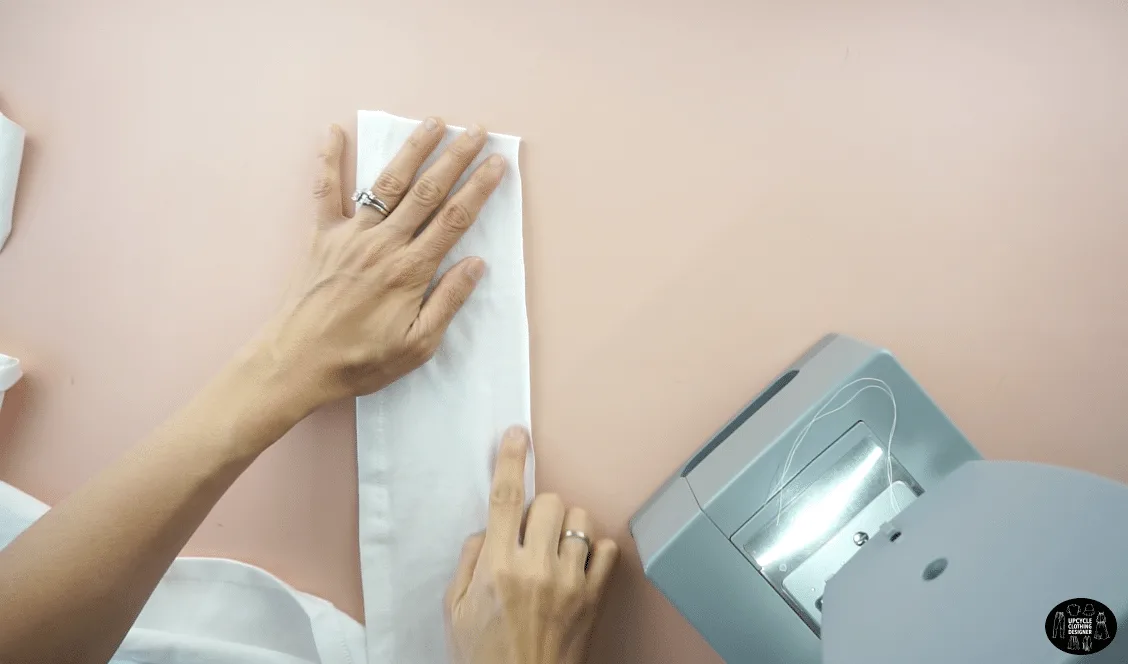
- Reattach the other end of the peplum piece by using overlock stitch along the side seam.
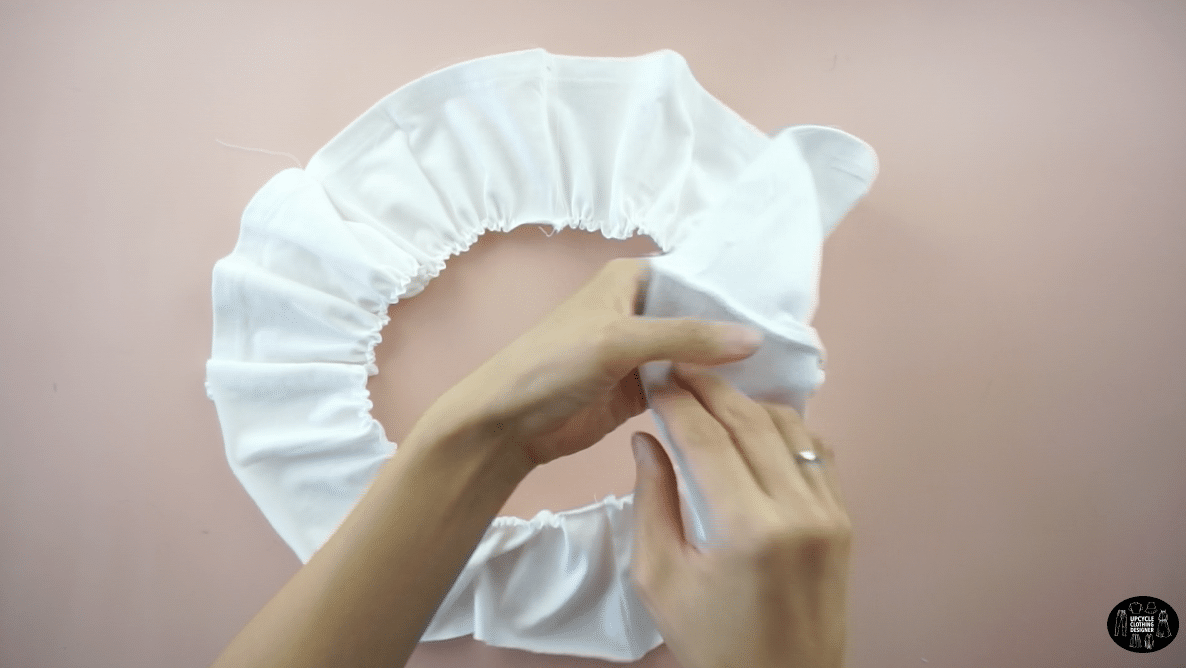

- To attach the peplum piece to the bodice, slide the ruffle piece into the top piece with the right side facing each other.
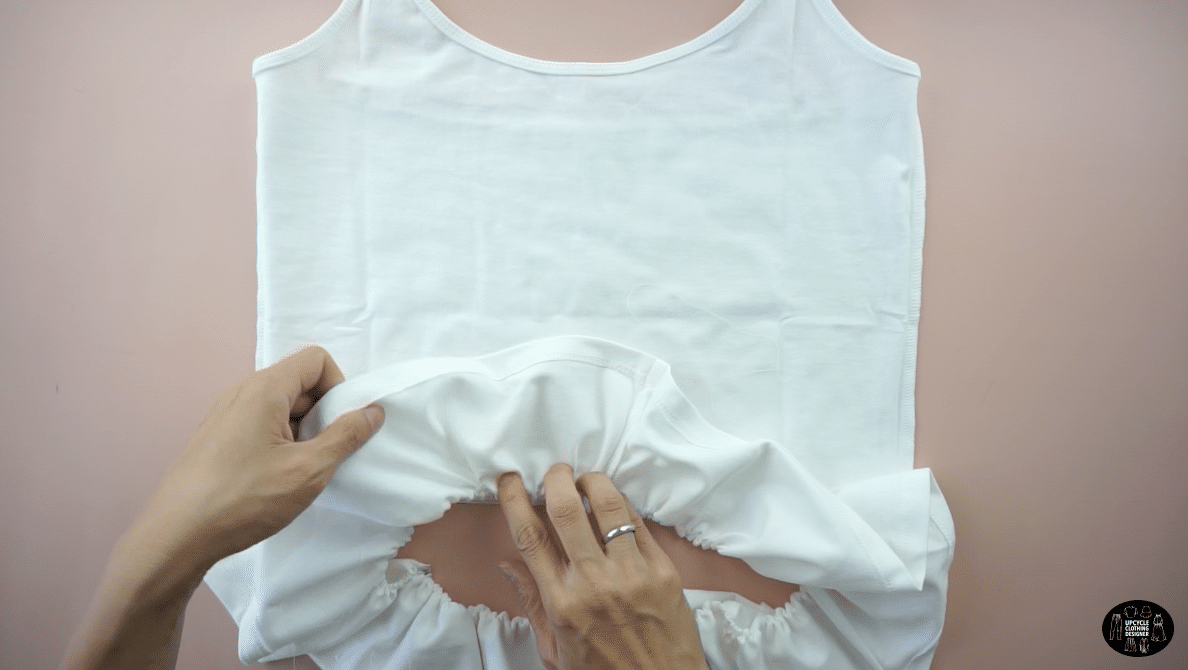

Pin to secure,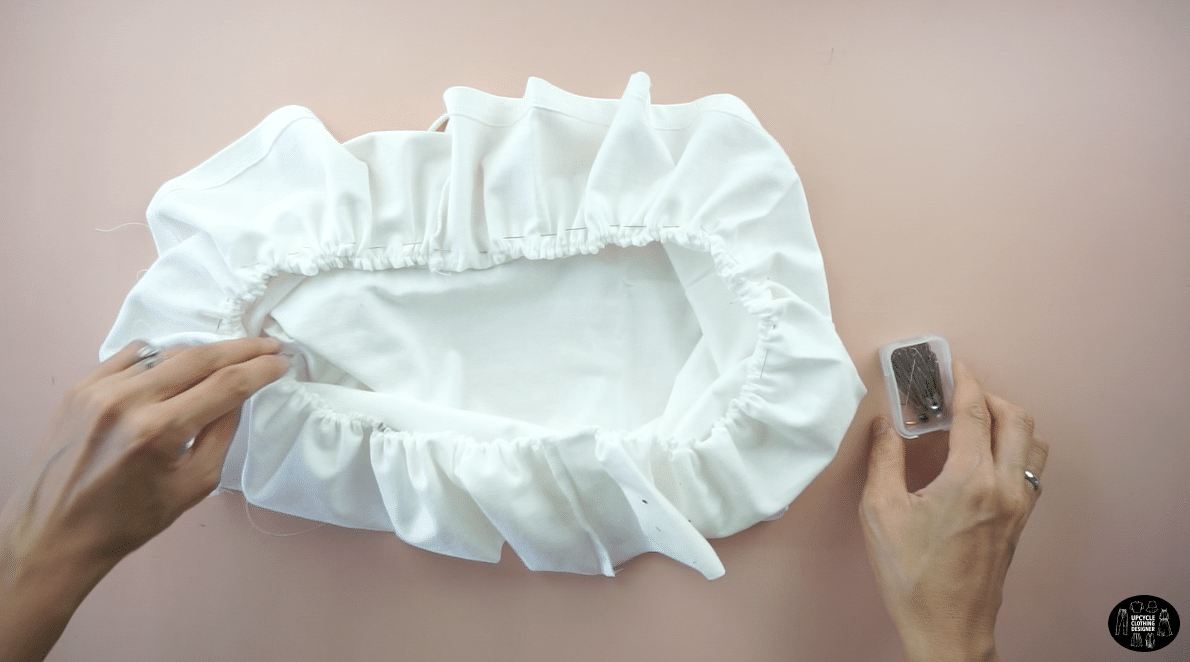

and overlock the waist seam to attach the pieces together.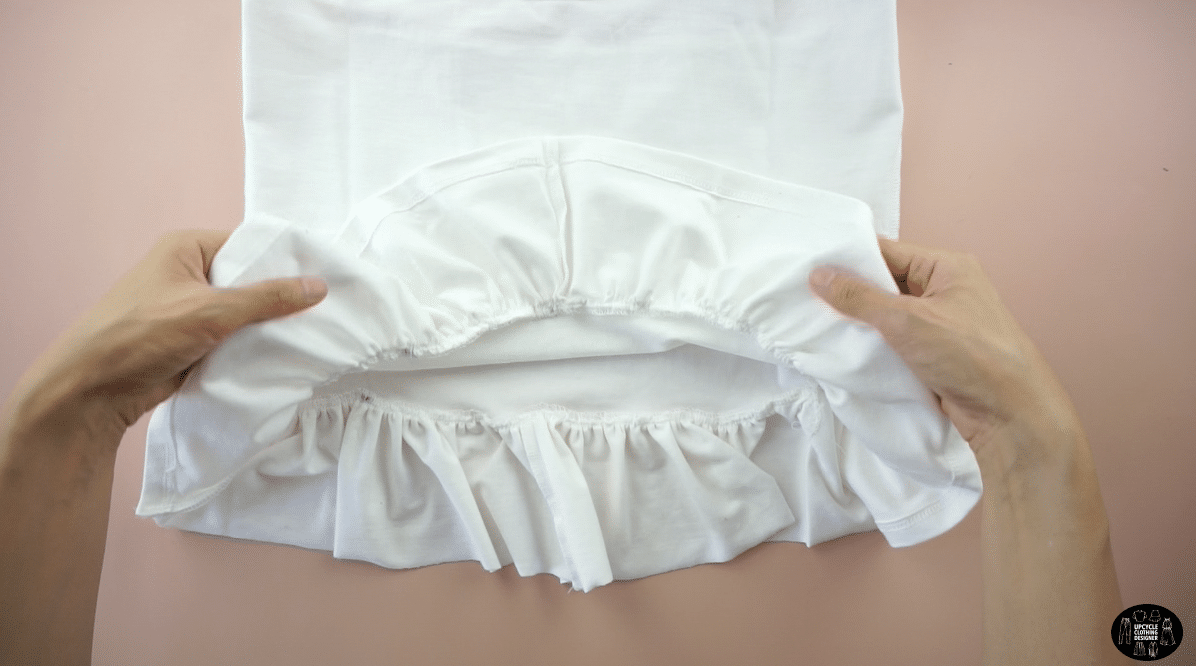

- To make eyelet trim shoulder strap, prepare two 13” long pieces of eyelet trim.

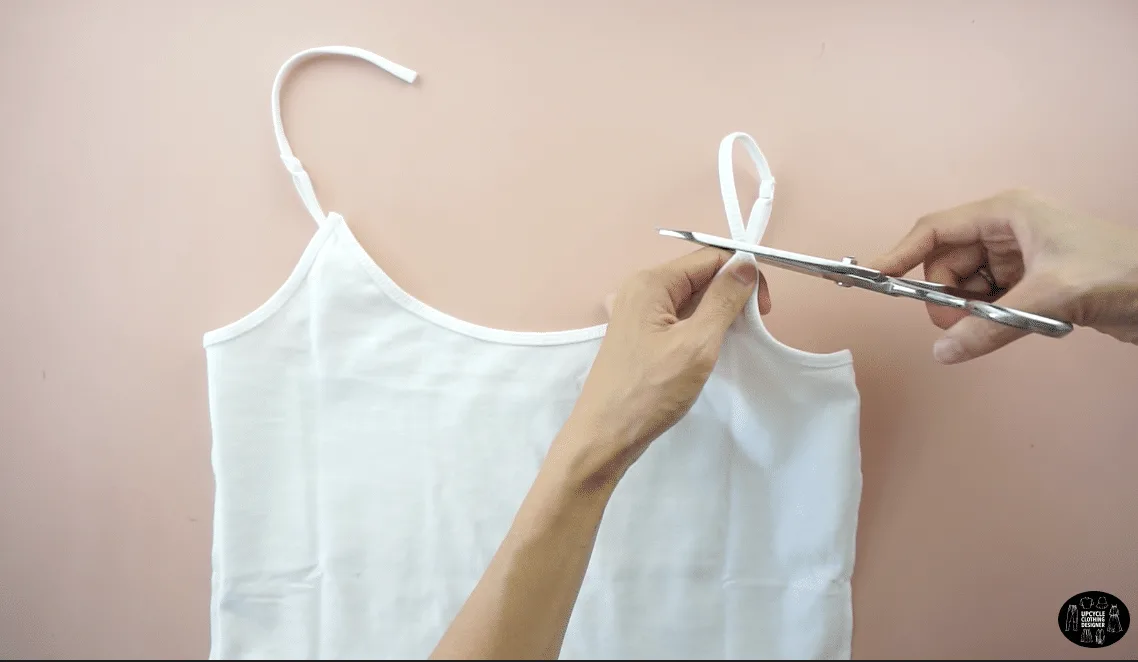
Cut off the original shoulder strap and replace with the eyelet trim.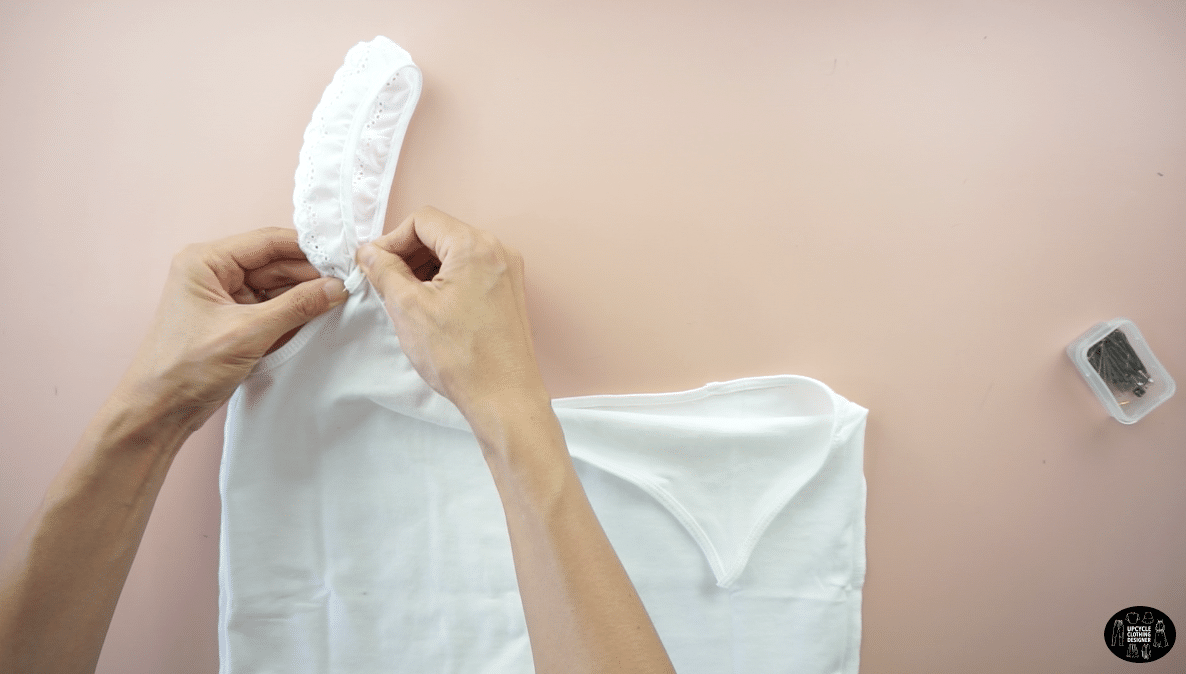
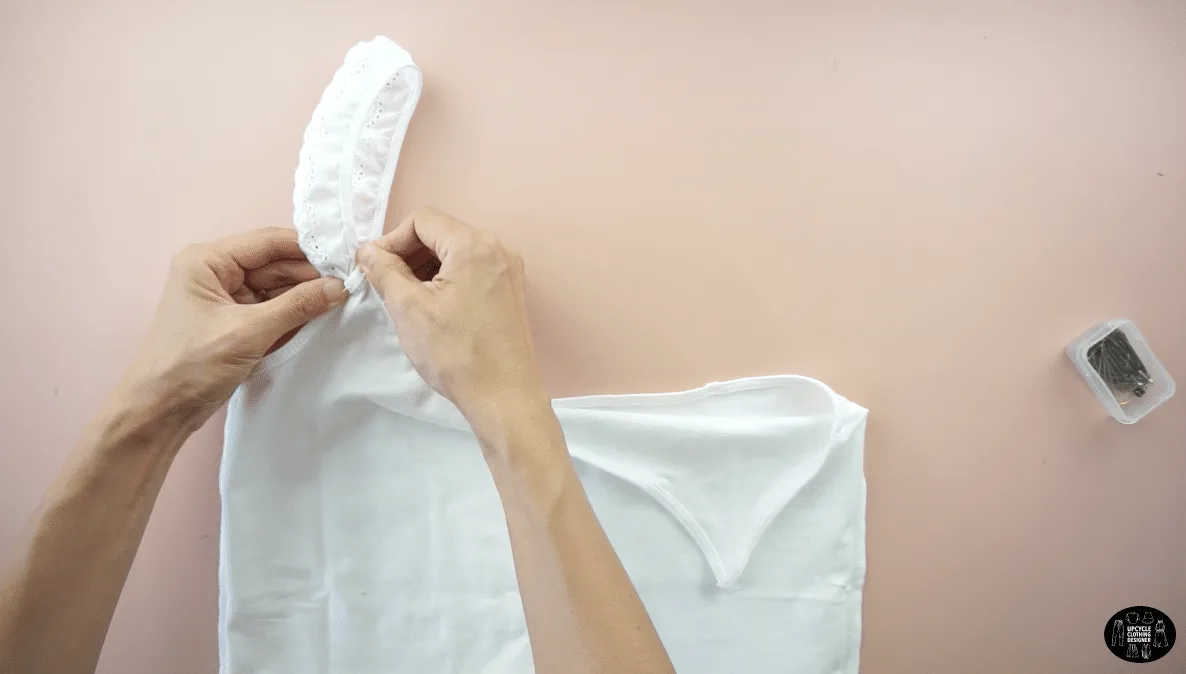
Topstitch to secure the new eyelet shoulder straps in place to finish the DIY peplum cami top.
Recommended Products
As an Amazon Associate and member of other affiliate programs, I earn from qualifying purchases.


Trendy, Affordable Sewing Patterns for All Sizes


Tie Shoulder Jumpsuit Pattern


Palazzo Pants Sewing Pattern


Pocket Overall Romper Pattern


Wrap Maxi Skirt Sewing Pattern


Tie Back Top Sewing Pattern