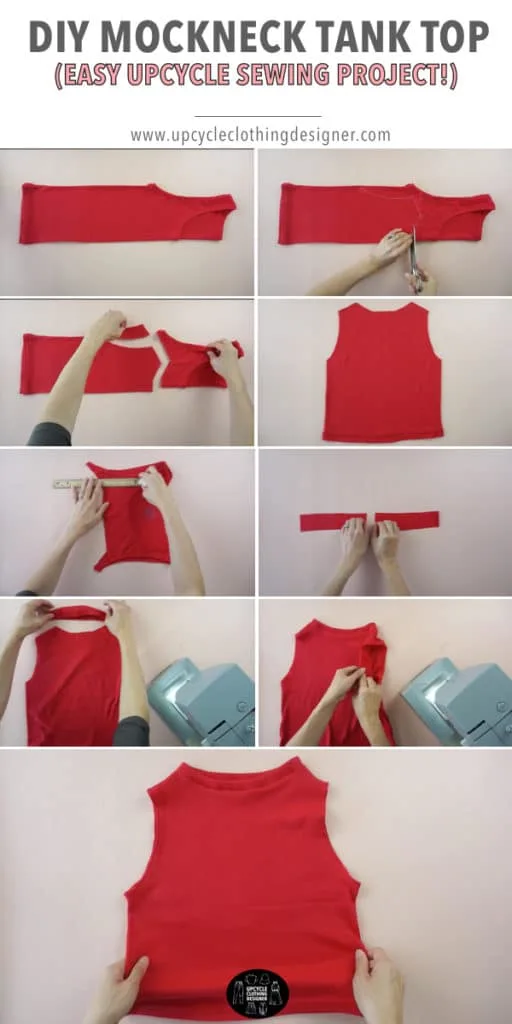
Are you looking to change the neckline of your old clothes? Here is a trendy and fashion forward DIY mock neck tank top that you definitely need to try!
I find it super easy when using a ribbed knit tank top because it is easy to sew. Even if you make a mistake, the textured surface won’t show too much. Precisely the reason why I love to upcycle tank tops into a variety of fun and modern styles!
The mock neck is not as high as a traditional turtleneck, so you can actually wear this style as a year-round layer piece. The slight elevated neckline gives a breathable and comfortable look without resembling winter clothes.

You will love this mock neck tank top because…
- Learn how to change neckline on knit tank top.
- Understand how to sew an armhole and joining neck piece.
- Use any colored tank top to make this project.
- Perfect beginner level to learn how to sew knits.
- Easily modify the style to make the neckline higher or lower if you wish.
The double folded mock neck piece works well with ribbed knit to give a comfortable stretchy feel. As a result, you don’t need to make keyhole opening in the back to allow your head to fit through.
You also may like these no sew t-shirt refashion projects. Save these inspirations for later to have fun with and build a stylish wardrobe that you can wear forever!
Transform your old clothes into fashionable new styles. Learn a few key techniques and you can also make upcycled clothing that is worth your time and effort.
How to make DIY Mock Neck Tank Top?
Master your knit sewing skills by learning how to make this DIY mock neck tank top. All you need is time and an old tank top to make the magic happen!
To begin the refashion process, you will need to take body measurements for clothes. Once you have completed the task, size up your old tank top and make sure you have enough fabric to attempt the mock neck transformation.
Plan ahead so that you can gather together the essential materials from your sewing kit. Before you get started, read through the sewing tips I’ve listed below so you don’t make unnecessary mistakes along the way.
DIY Mock Neck Tank Top Materials:
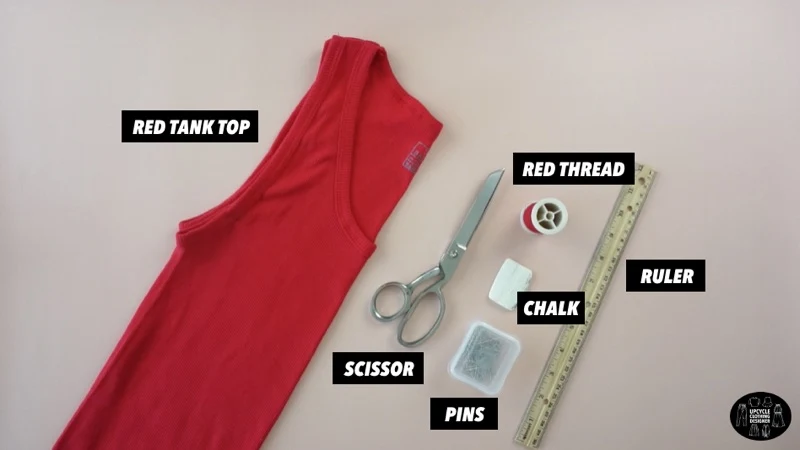
- Tank Top
- Thread
- Fabric Chalk
- Scissor
- Pins
- Ruler
Fold the top in half lengthwise.
Lay your favorite shirt on top, and trace the neckline and shoulder seam with fabric chalk. Cut the body shape.
Use an excess piece of fabric to cut two 2” by 8” rectangles to make the mock neck.
Pro tip: Adjust the width depending on how high you want the mock neck piece. This will result in a 1” high neck band but you can raise or narrow the neckline based on your personal preference.
Attach the two pieces together with topstitch on both sides.
Join the new shoulder straps with topstitch.
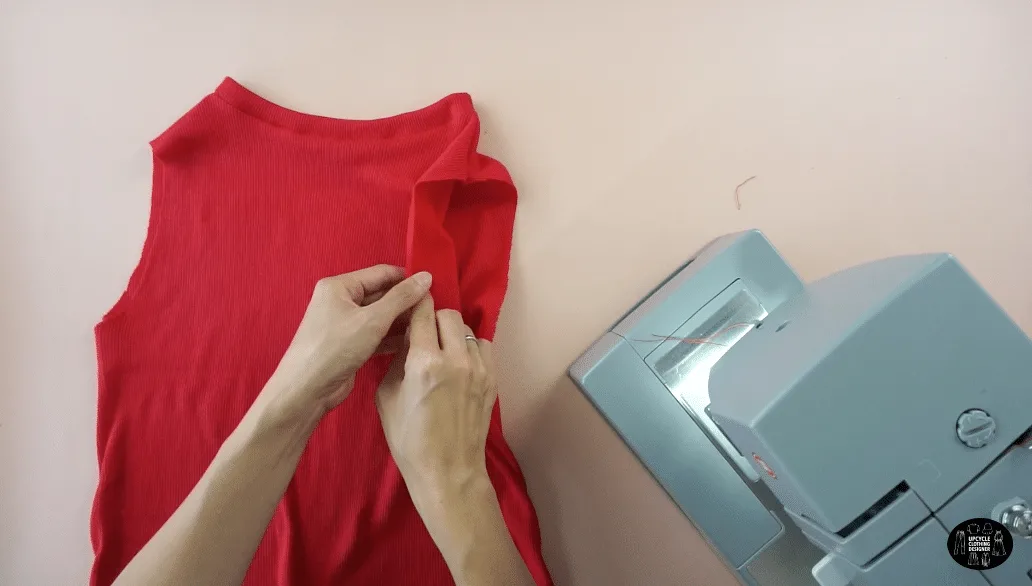
Pin the mock neck piece around the neck opening, and topstitch and zig zag stitch both sides for a clean finish.
Double fold 1/4” and topstitch around the arm opening to complete this diy mock neck tank top.
Below are detailed instructions along with step-by-step photos for you to easily follow along!
DIY Mock Neck Tank Top Sewing Tips

Review these DIY mock neck tank top sewing tips to make the process even easier. I’ve put together simple and straight forward sewing tips to help you complete this chic and trendy tank top that you will enjoy wearing when its warm out.
- Type of stitch: A zigzag stitch is a perfect way to join the neckline and neck piece together. Making sure the stitch length is 1.5 with a width of 5. This setting closely mimics the look and function of an overlock stitch.
- Tension: If you don’t have a walking foot, try to decrease the pressure of the foot. This will help prevent puckering of the fabric.
- Needle: Use a ballpoint needle to help to avoid damaging the knit fabric when sewing.
- Thread: When sewing knit, you don’t need to use special thread. A regular polyester thread has a slight amount of stretch. Just be sure to stay away from cotton thread because it can break when pulled to tightly.
More tank top upcycle projects for your next DIY fashion:
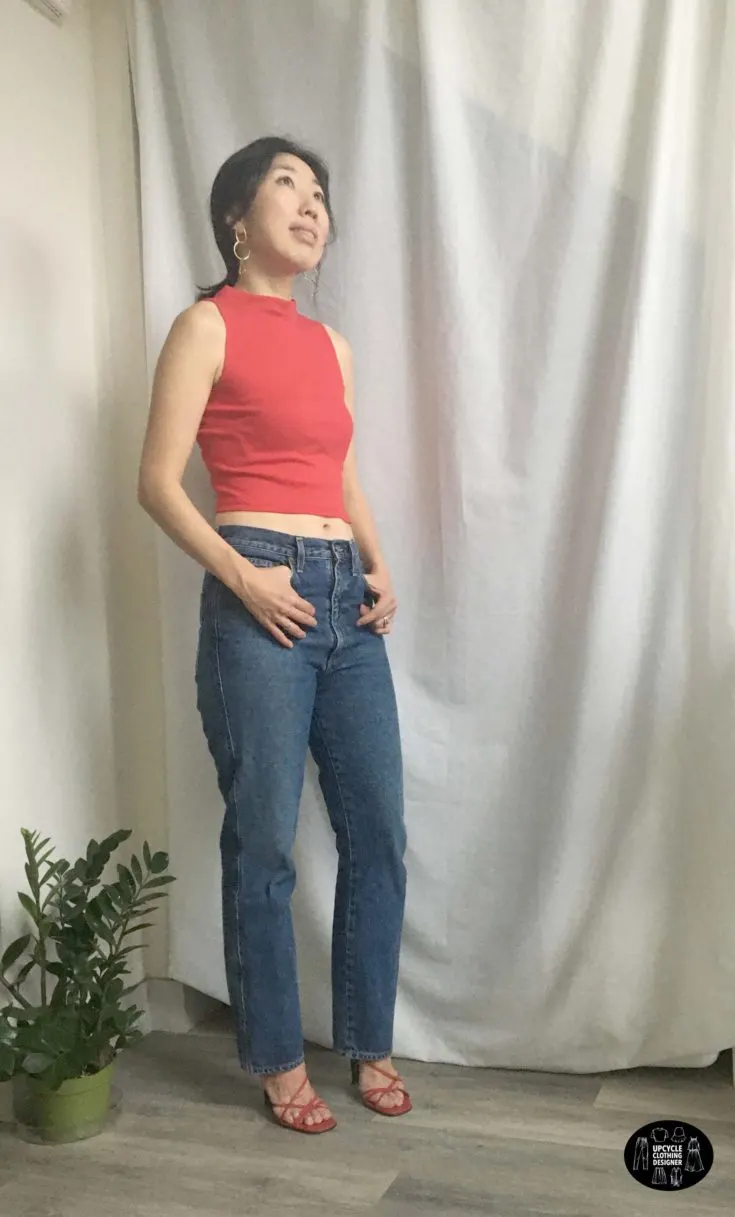
DIY Mock Neck Tank Top
Take your old tank top to the next level with this DIY mock neck tank top. These sewing tips provide a helpful guide to get started revamping your old clothes into fashionable styles.
Red, blue, or even yellow tank tops will become a fabulous layering piece. Use every piece of remnants to personalize your tank top by adding ruffled sleeves or to modify the neckline as you get more comfortable sewing.
Bring new life to your wardrobe! It’s super easy and works well in any color!
Materials
- Tank Top
- Thread
Tools
- Sewing Machine
- Fabric Chalk
- Ruler
- Scissor
- Straight Pins
Instructions
- For this DIY mock neck tank top tutorial, start by folding the top in half lengthwise.
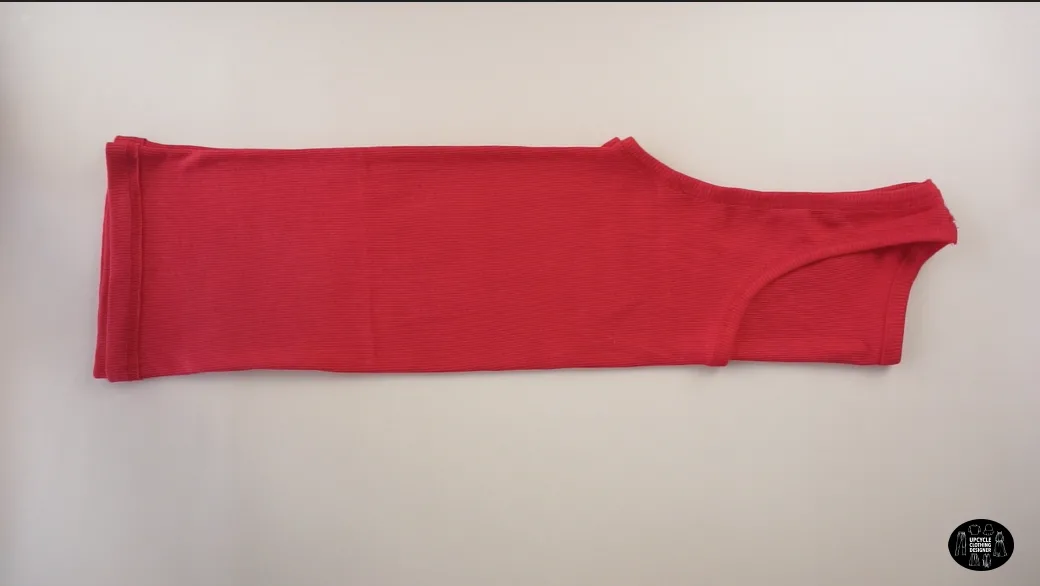
- Fold your favorite shirt in half and lay it on top.
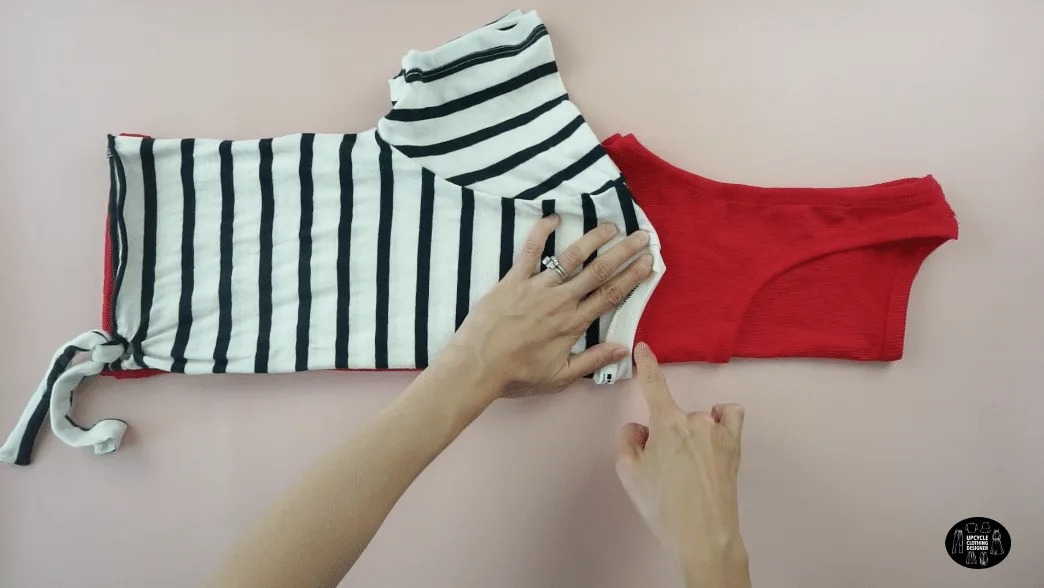
Trace the neckline and shoulder seam with fabric chalk, and then cut along the line to adjust the shape of the body.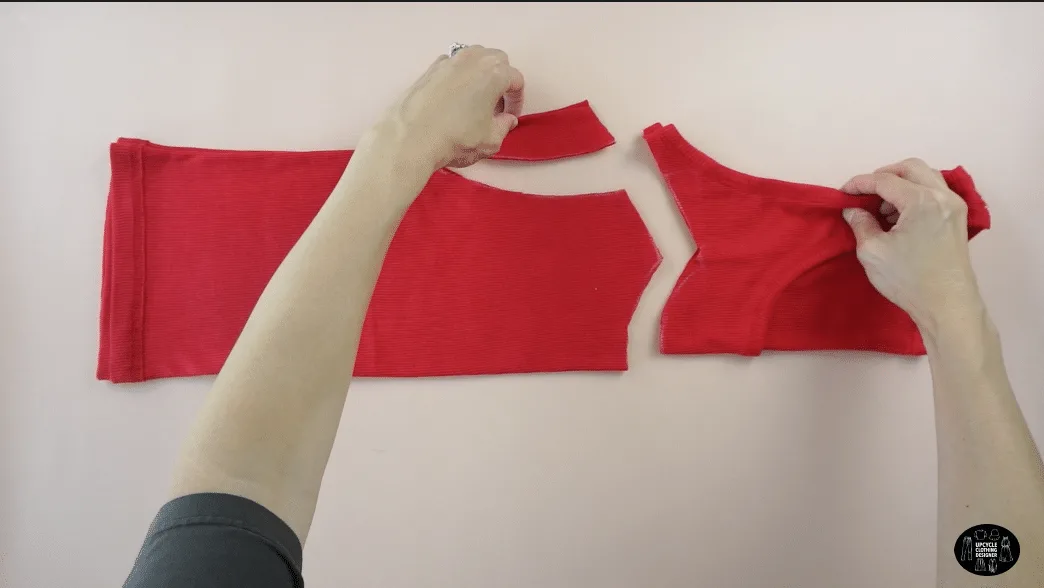
- To make the mock neck piece, use the excess fabric from the original yoke to cut a 4” by 8” rectangle.
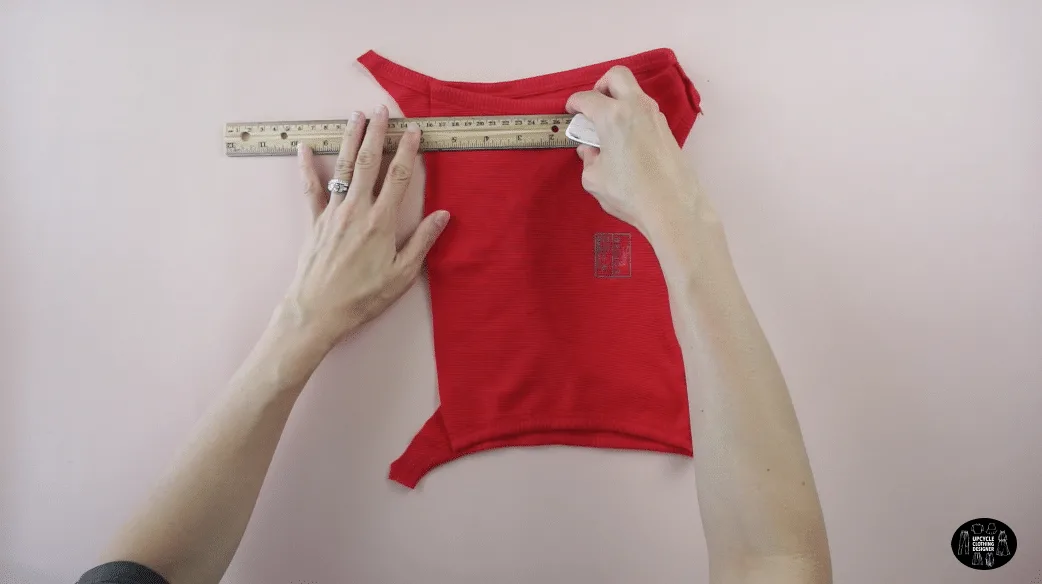
Next, cut the piece of fabric in half resulting in 2 separate 2” by 8” rectangles.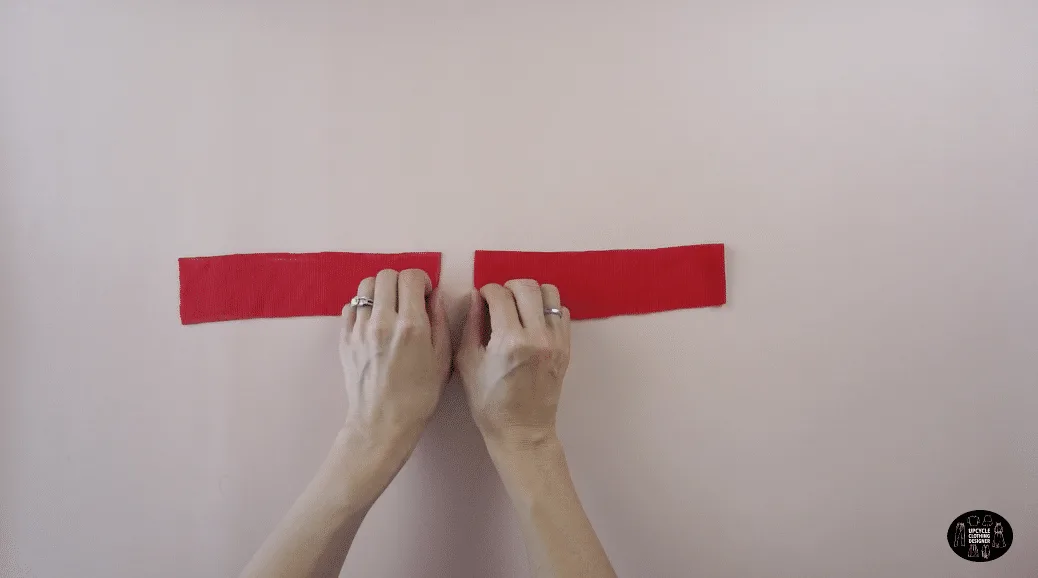
Then, attach the two pieces together with topstitch on both sides.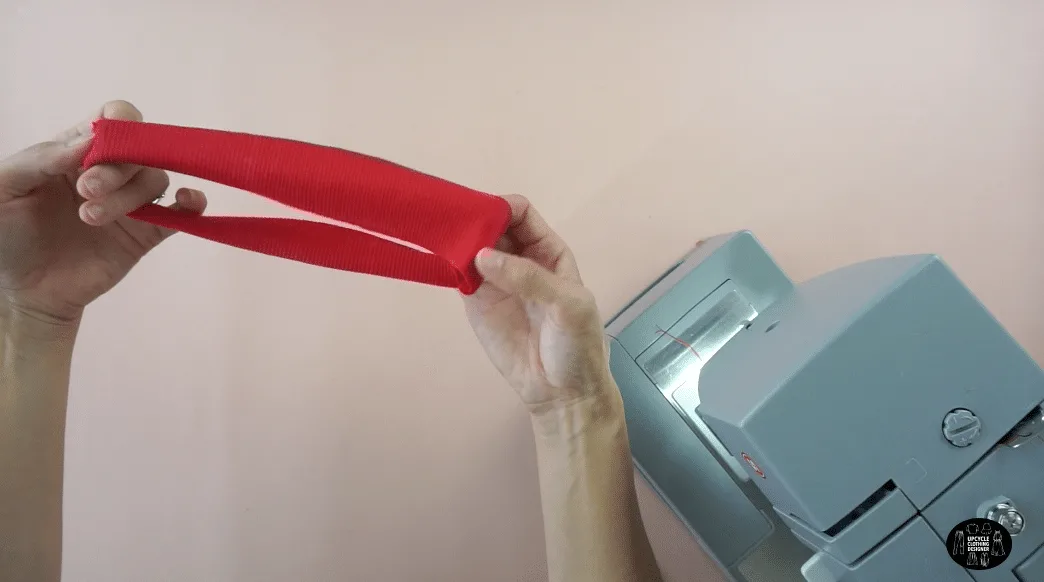
- To join the shoulder seam, topstitch the new shoulder straps.
- To finish the mock neck, pin the mock neck piece around the neck opening.
Then, topstitch on both sides for a clean finish along the new neckline.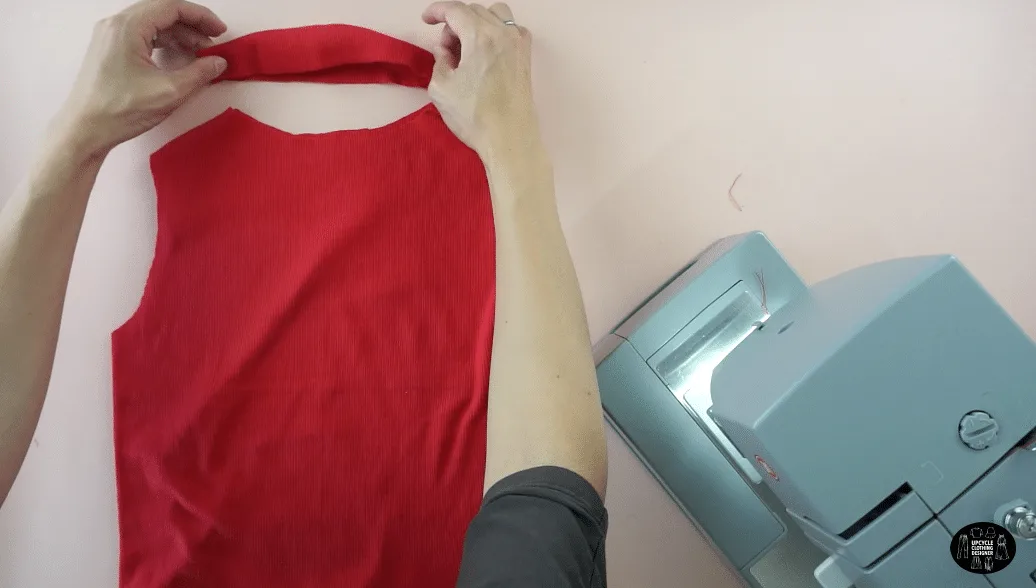
- To finish the armhole, fold 1/4” and topstitch around the arm opening to complete this diy mock neck tank top.
Recommended Products
As an Amazon Associate and member of other affiliate programs, I earn from qualifying purchases.
