
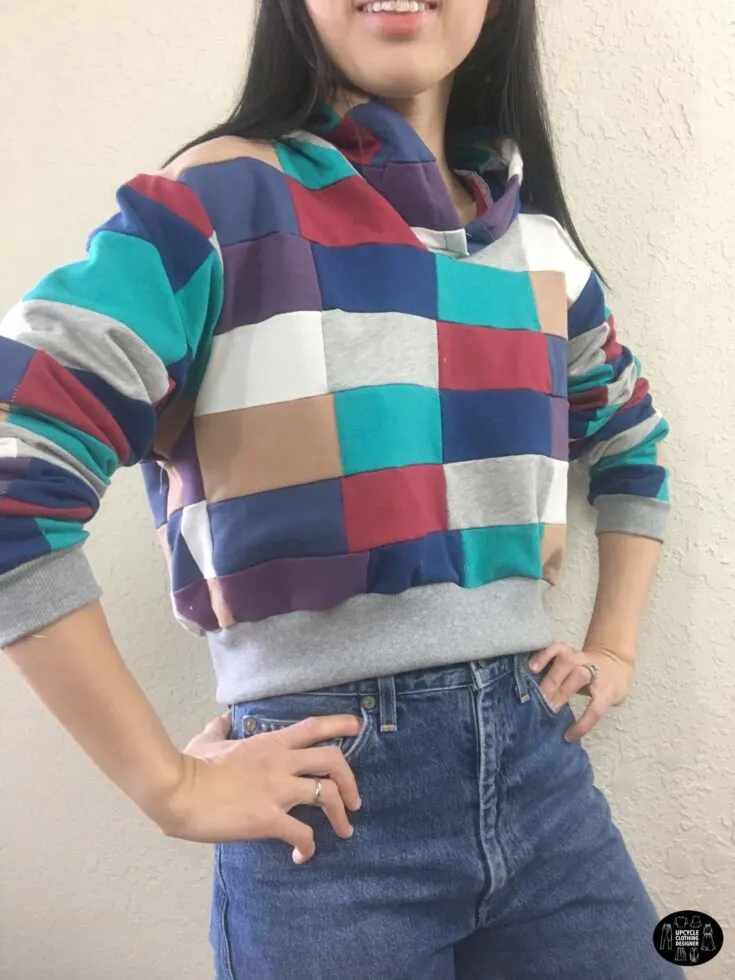
Have you tried to make a cropped hoodie sweatshirt from fabric scraps? Making clothes from scratch sounds intimidating, so here is free cropped hoodie sewing pattern for you to easily follow along with.
Print out the sewing pattern and prepare the patchwork to create this cute one-of-a-kind top you will want to wear everyday.
Whether you are new to sewing or started to enjoy making your own clothes, I’ve put together easy to follow step by step tutorials with video instruction so you can easily sew along with me using this cropped hoodie sewing pattern as a guide.
This project is perfect for beginner to be able to practice sewing knit fabrication with overlock machine to join the seams and ribbed fabric together.


You will love this DIY patchwork cropped hoodie sweatshirt because…
- Free printable sewing pattern for every size.
- Perfect for beginner to intermediate sewing level.
- Learn how to sew knit with overlock machine properly.
- Use zigzag stitch to join the seam.
- Become familiar with reading sewing patterns and know the order of each pattern piece.
For this cropped hoodie sewing tutorial, I used 100% french terry fabric scraps in all different colors that have already been cut into rectangle pieces. The french terry material is perfect for making sweatshirt or hoodies that are knit on one side and tiny loops on the back side.
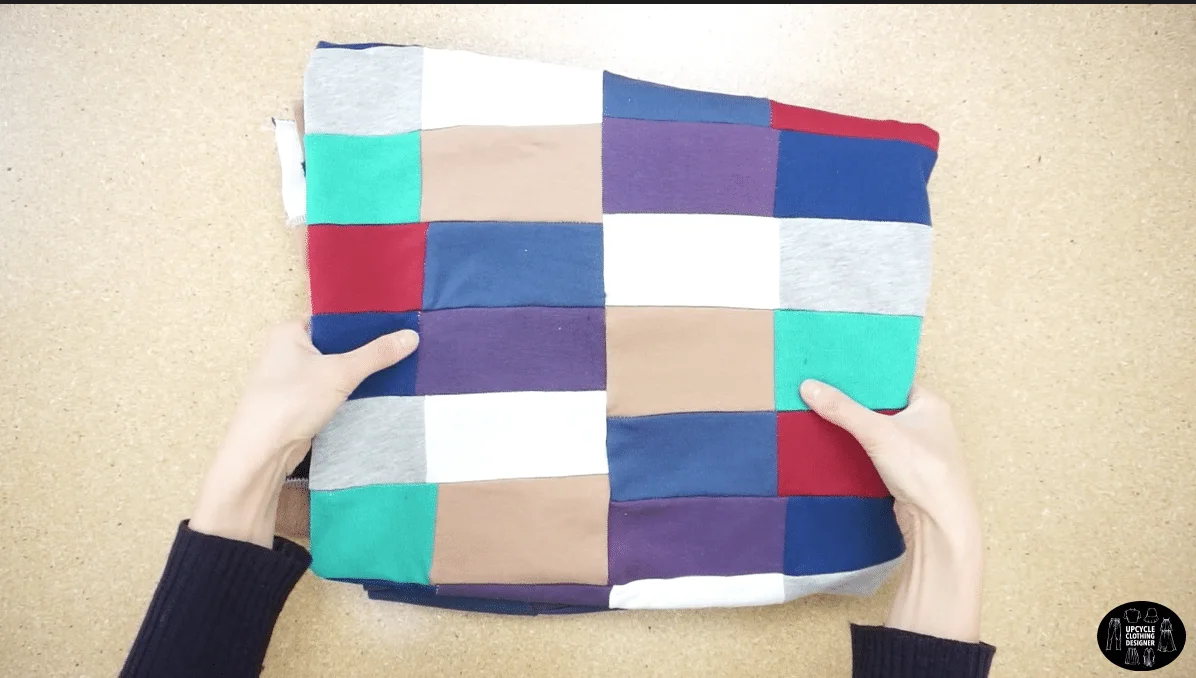
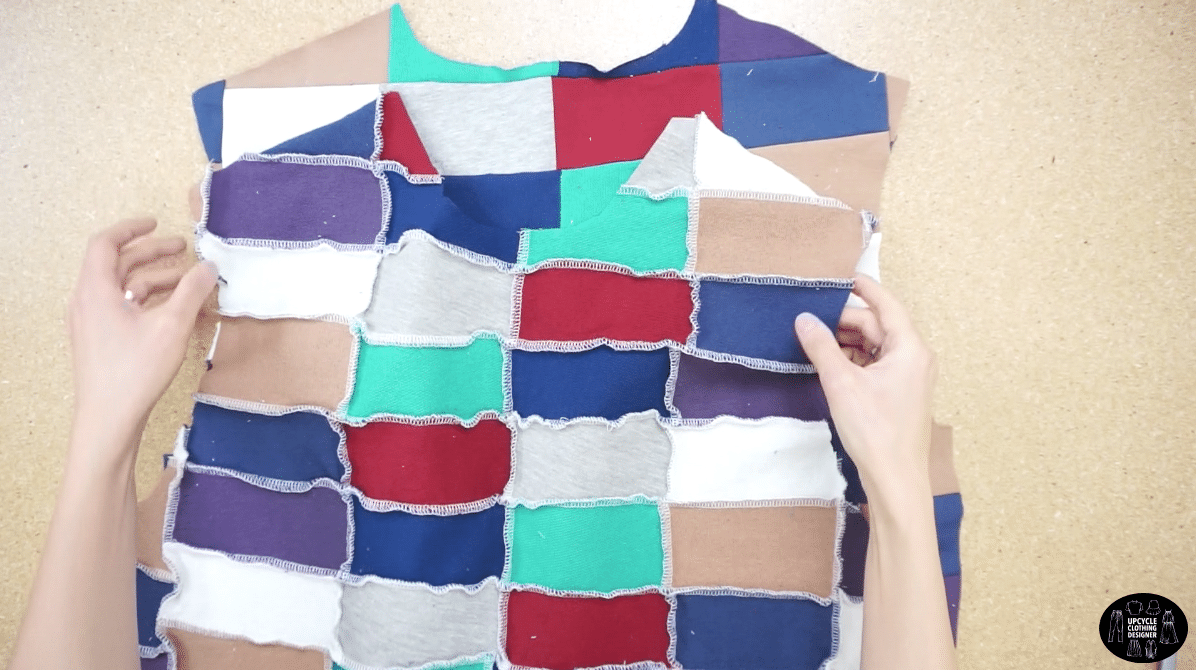
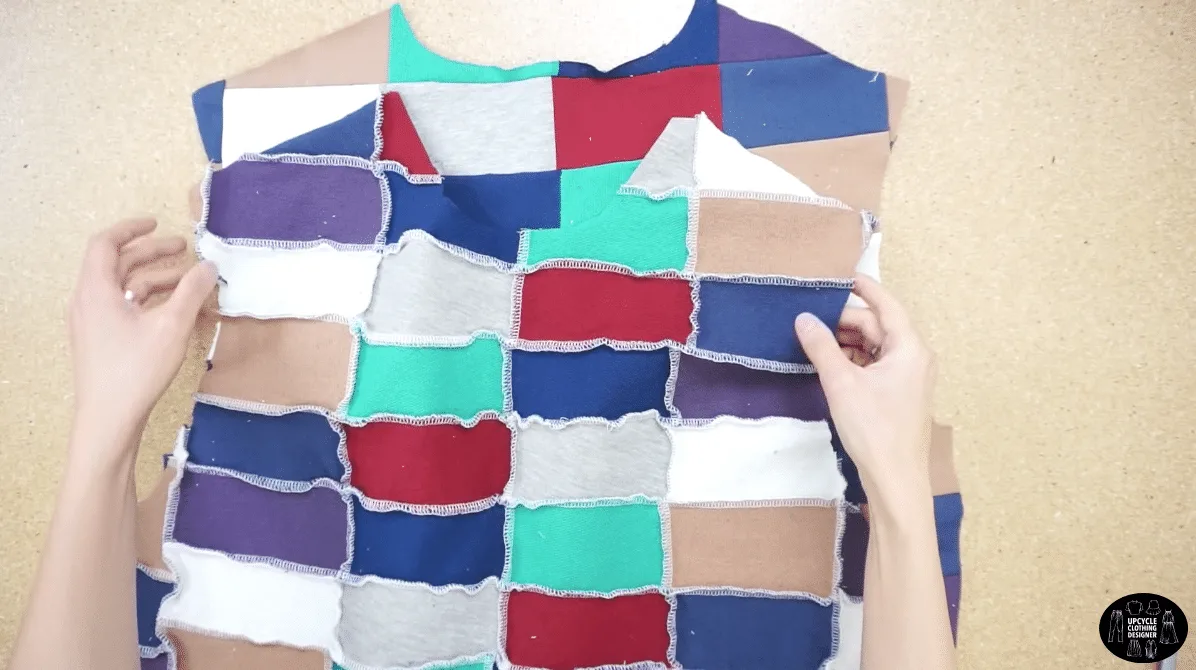
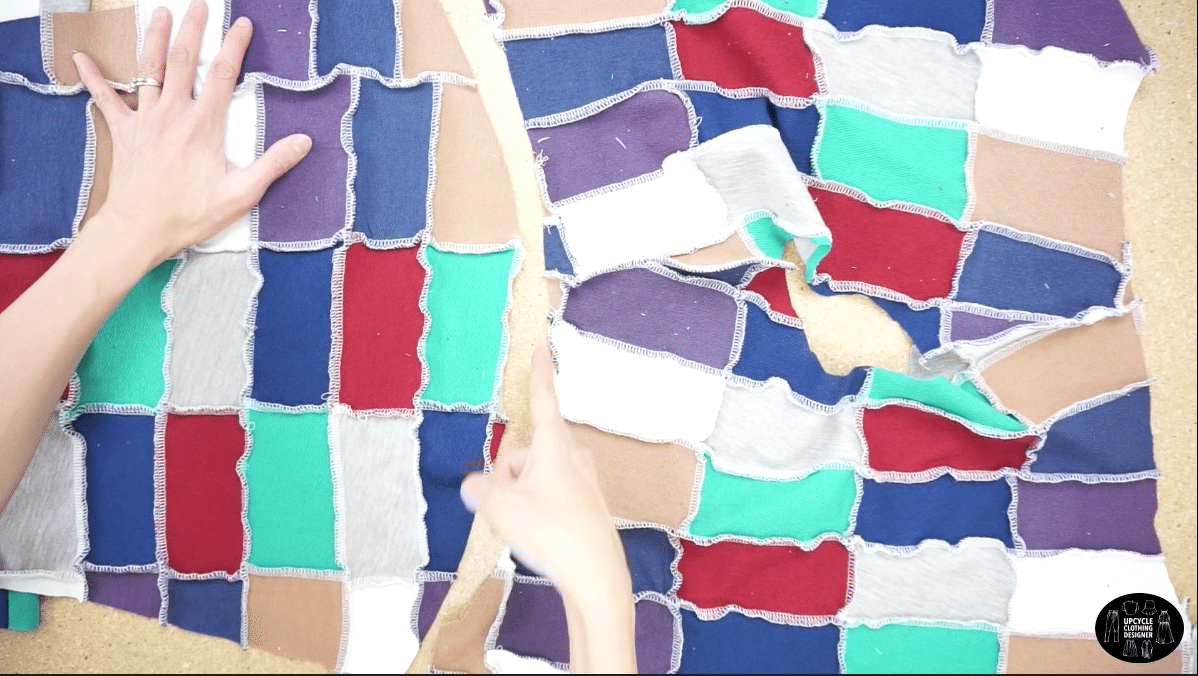
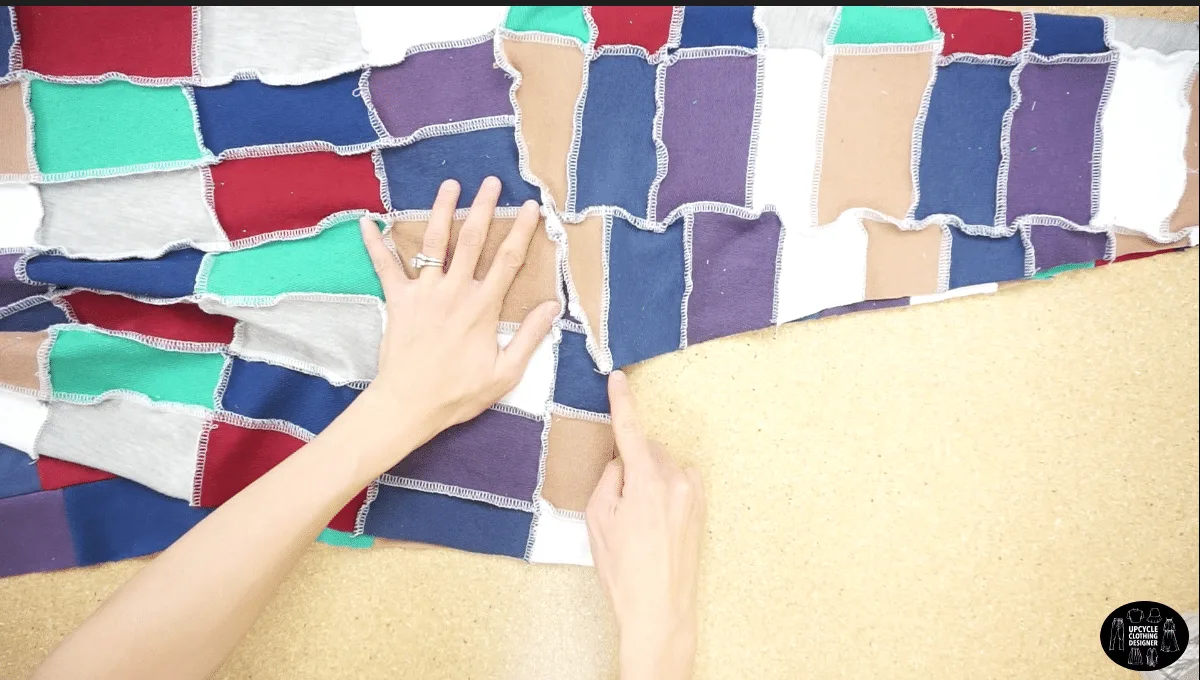
The colored patches are easily attached with overlock machine to create a nice large fabric for you to copy the sewing pattern onto. Have fun arranging the colors to create an overall colorful patched look that you are excited about.
The free cropped hoodie sewing pattern is graded for different sizes. So, follow the size chart and cut your size out to be ready to get started!


How do you make DIY patchwork cropped hoodie sweatshirt from scratch?
Always hand wash your fabric scraps instead of using washing machine to avoid any massive shrinkage on these knit fabrics. Measure the size beforehand and evaluate after washing if it has drastically changed the measurements.
Start by gathering together a basic sewing kit and joining the patchwork first. Follow these step by step instructions and video tutorials to guide you though the process to accomplish this cute hoodie to add in your DIY wardrobe.
DIY Patchwork Cropped Hoodie Sweatshirt Materials:


- Free Printable Sewing Pattern
- French Terry Fabric Scraps
- Ribbed Fabric Scraps for Cuff and Waistband
- Overlock Machine
- Measuring Tape
- Fabric Scissors
- Thread
- Pins
- Ballpoint Sewing Needle
To make a patchwork cropped hoodie sweatshirt, you will need 150 pieces of French terry fabric scraps cut into 3” by 5” rectangles and 2 pieces of ribbed fabric scraps cut into 1” by 2” rectangles for the cuff and waistband.
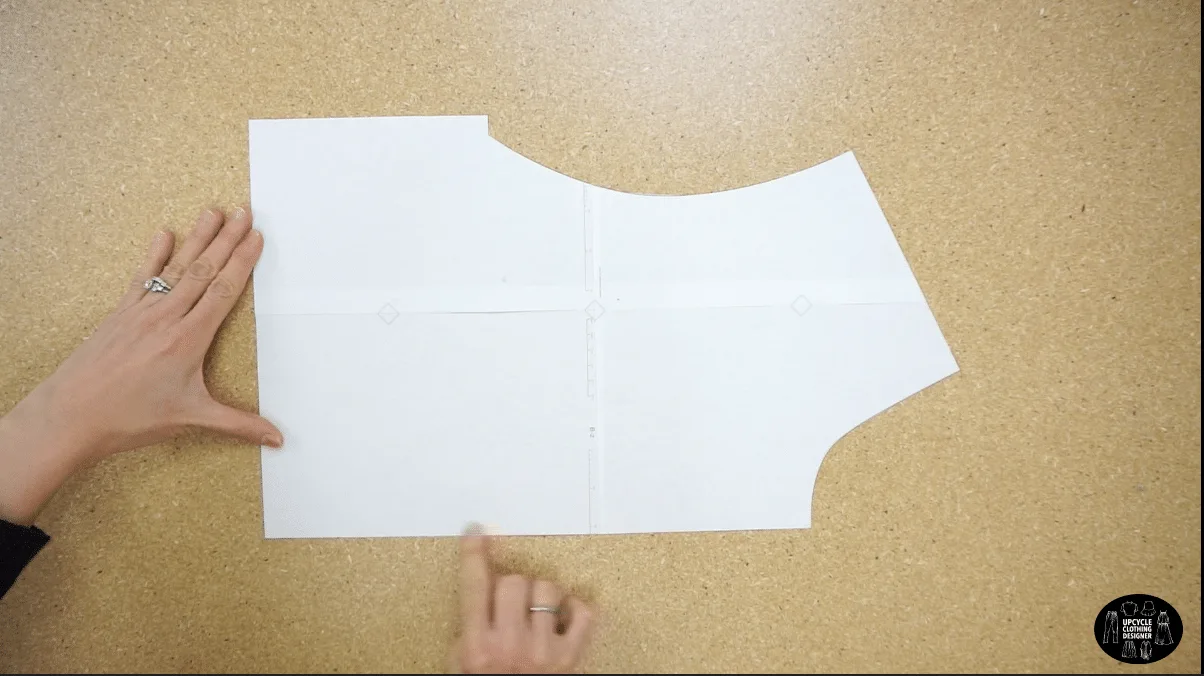
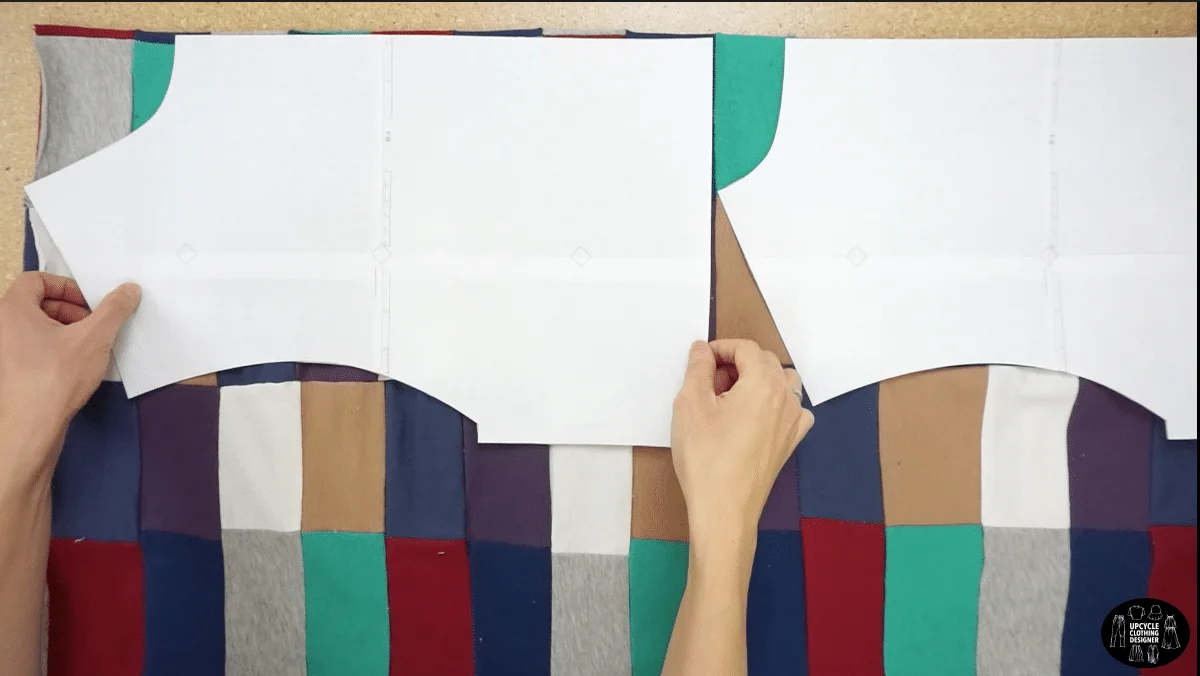
Print out the free cropped hoodie sewing pattern, and tape the sewing pattern together.
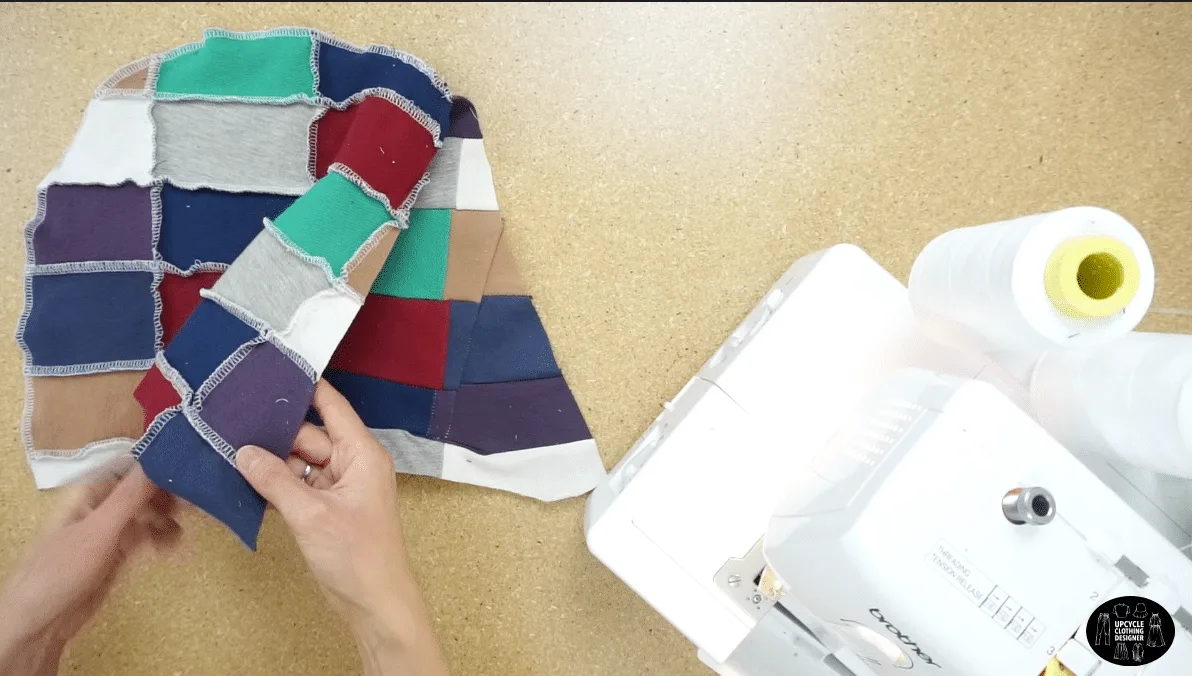
To make patchwork fabric, attach the french terry fabric pieces together.


Fold the fabric in half to copy the sewing pattern.
Attach hoodie pieces right sides together and sew along the curved edge.
Join the front and back pieces by stitching across the shoulder, then attach the sleeves to the armhole opening.
Attach the cuffs and waistband to match the short edges, right sides together, stitch short ends together.
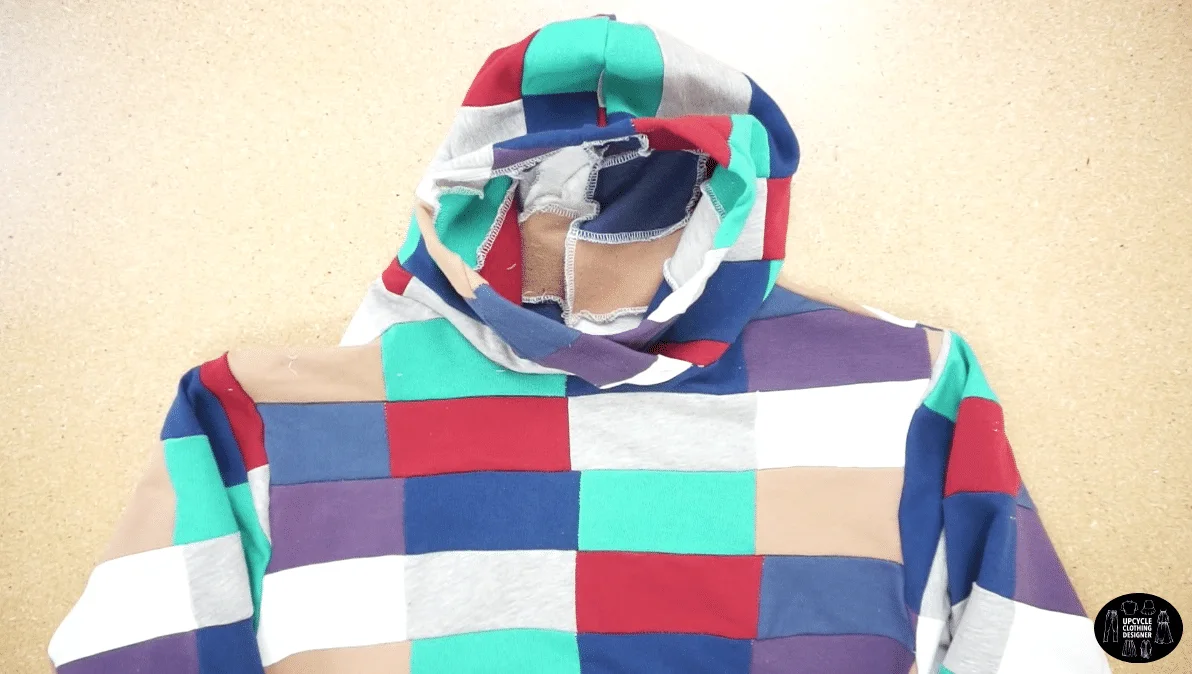
Lastly, join the hood seam to the center of the back neckline to finish this patchwork cropped hoodie from fabric scraps.


DIY Patchwork Cropped Hoodie Sweatshirt Sewing Tips


In this DIY patchwork cropped hoodie sweatshirt tutorial, you will learn how to use your sewing machine to create the patchwork and be able to transfer the sewing pattern into decorative fabric made from scratch.
In addition, I’ve put together essential sewing tips to help you sew knits more smoothly than ever.
- Sewing Machine: Switch from sewing machine to Serger or overlock machine when you sew sweatshirt french terry knit material. The overlock stitch will secure the seams even strongly compared to regular straight stitch. Additionally, the narrow stitches in between also solve the fray issues on the raw edges. If you end up using regular sewing machine, make sure to change the upper tension and needle tension to lower medium setting.
- Needle: Always change needle to ballpoint stretch needle to avoid damaging the knit fabric. Depending on how stretchy your sweatshirt is, or if it is in lower stretch knits, universal knit needles work really well. However, if your stitches are skipping with either a universal or a ball point, go with a stretch needle instead.
- Thread: Use 100% universal cotton thread or cotton/polyester blend thread. Either thread is fine for this project. Make sure to match the color as the fabric you choose as close as possible.
- Stitches: Adjust the stitch width and length beforehand. Widen the stitch to accommodate how bulky the knit fabric is and lengthen your stitch to accommodate the stretch of fabric.
- Scissors: When cutting the sweatshirt material, use sharp fabric scissors instead of using paper scissors. Due to heavy weight on these french terry fabrics, keep the pointer finger out and loose instead of in one of the handles to help prevent your hand from getting too tired. Also, if you have difficult time to cut a straight line, place the tips of the scissors on the table while you cut. Distributing the weight of the scissors on the table will help you to cut small pieces without hurting your fingers and hand.
More make from scraps of fabric project for your next DIY fashion:

How To Make DIY Patchwork Cropped Hoodie Sweatshirt
Make the patchwork fabric and copy the hoodie design onto the fabrication. Sewing a sweatshirt from scratch is super easy, especially with these detailed instructions and free cropped hoodie sweatshirt sewing pattern.
Materials
- Free Printable Sewing Pattern
- French Terry Fabric Scraps
- Ribbed Fabric for Cuff and Waistband
Tools
- Overlock Machine
- Ballpoint Sewing Needle
- Measuring Tape
- Fabric Scissors
- Thread
- Pins
Instructions
- You will also need the free cropped hoodie sewing pattern to copy from.
Tape the sewing pattern together by matching the squares on each page.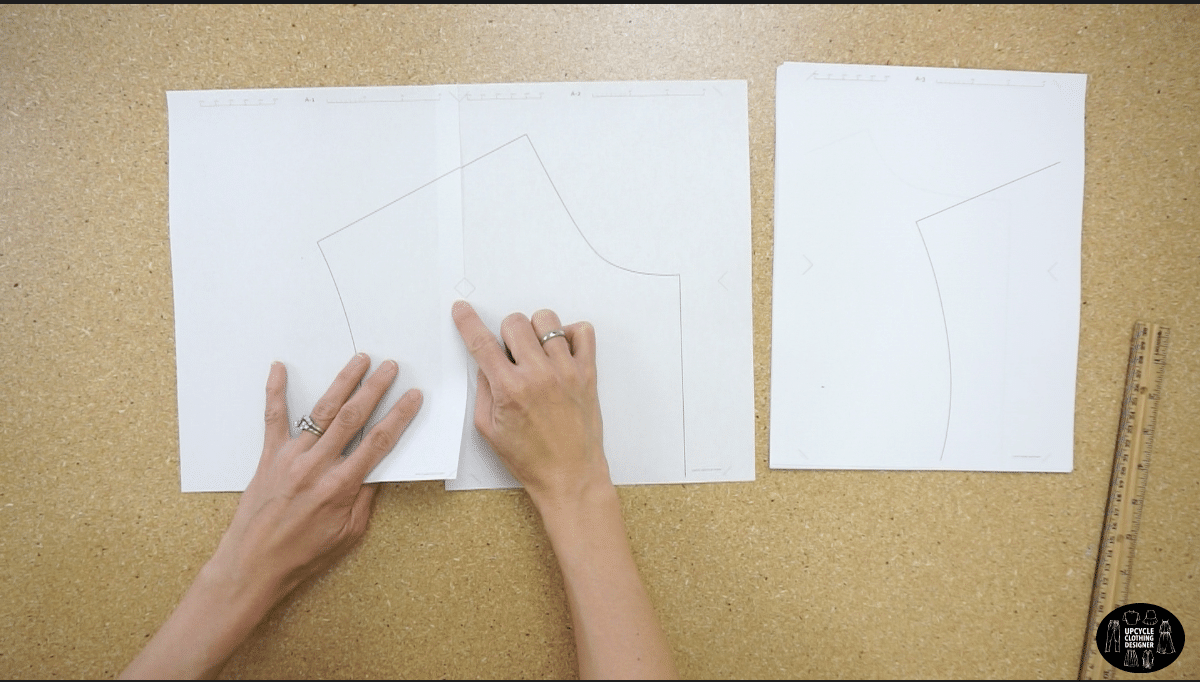

Cutout the front, back, hoodie, sleeve, cuff, and waistband pieces.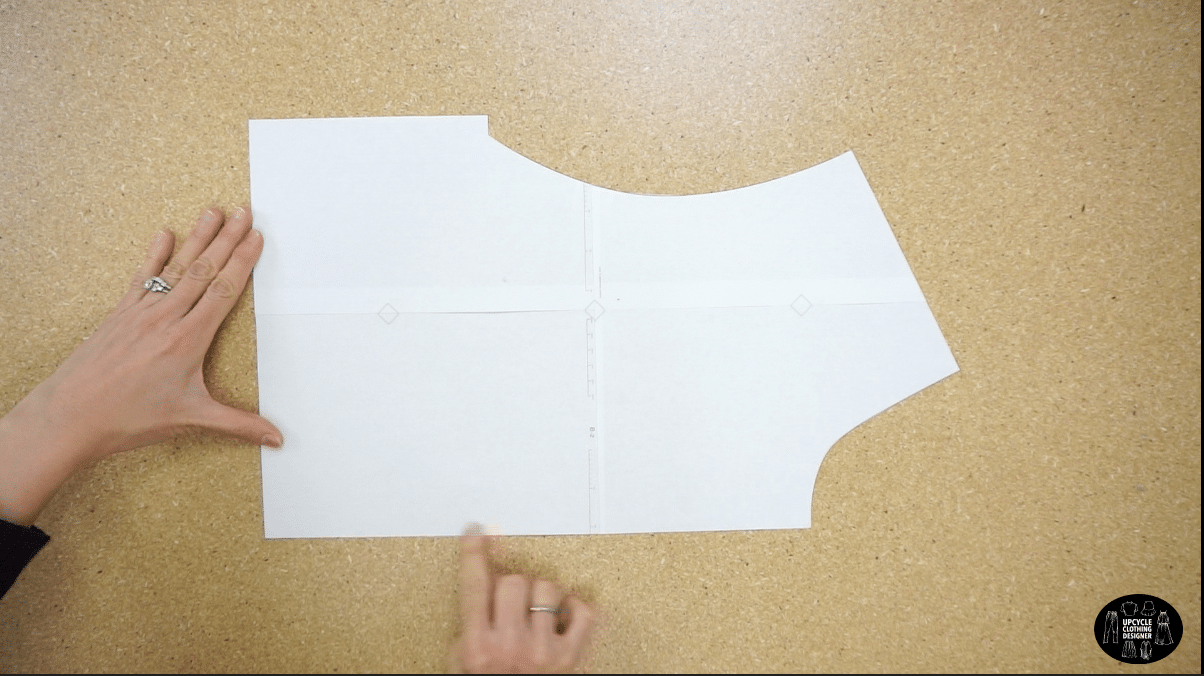
- To make a patchwork cropped hoodie sweatshirt, you will need 2 pieces of ribbed fabric scraps cut into 1” by 2” rectangles for the cuff and waistband;
and 150 pieces of French terry fabric scraps cut into 3” by 5” rectangles.
I had about 10 different colors to choose from.
If you have irregular patches, that is fine too.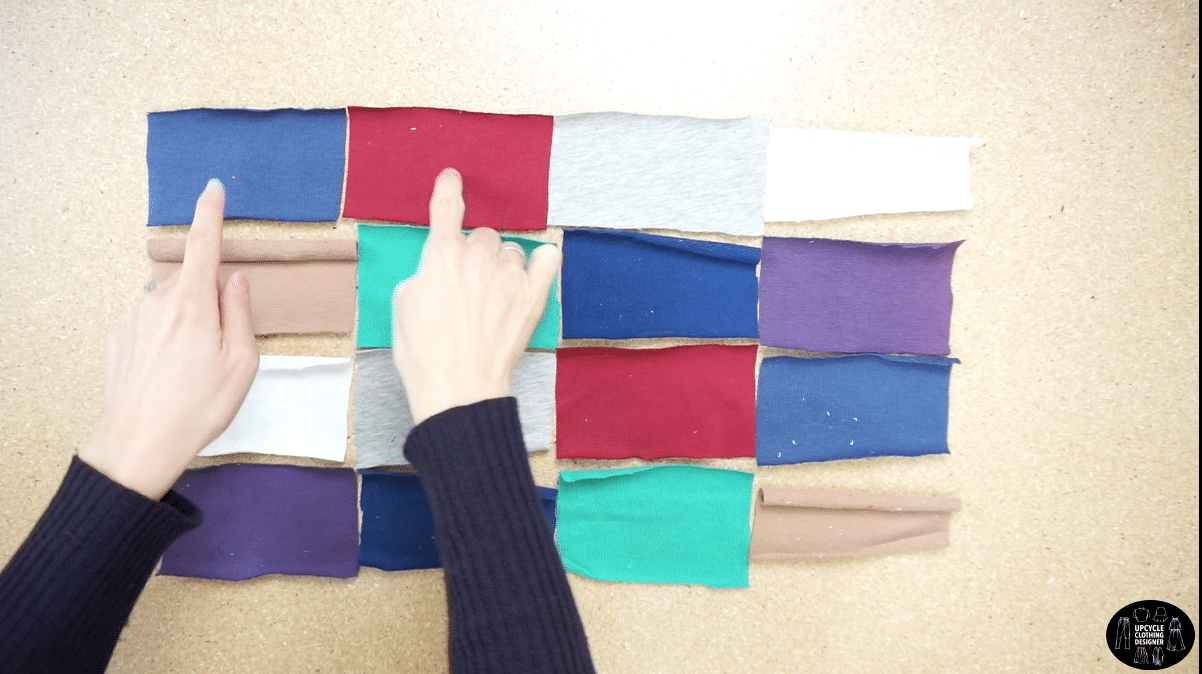

- To make fabric from the french terry scraps, lay the swatches so the different colors are assorted well and the same colors are not sewn next to each other.
Sew each column first vertically, and then sew the straps of each row horizontally.
Face the right side of each scrap and use overlock machine to sew about ½” seam allowance.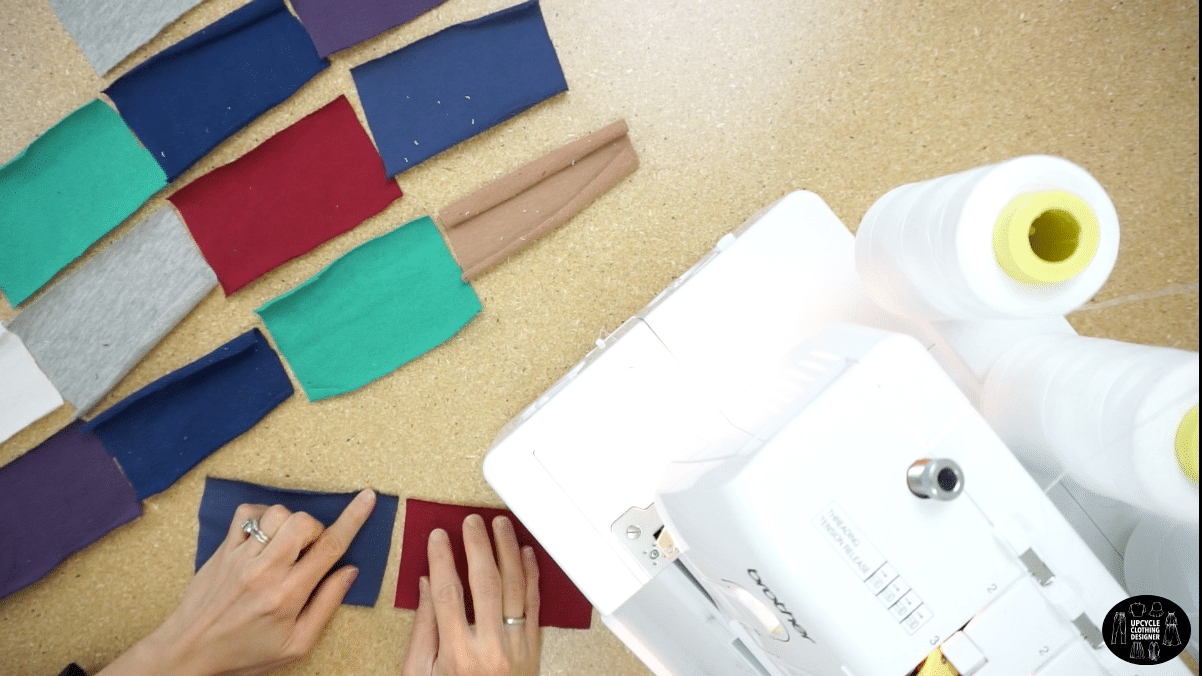
Make patchwork fabric for each pattern pieces.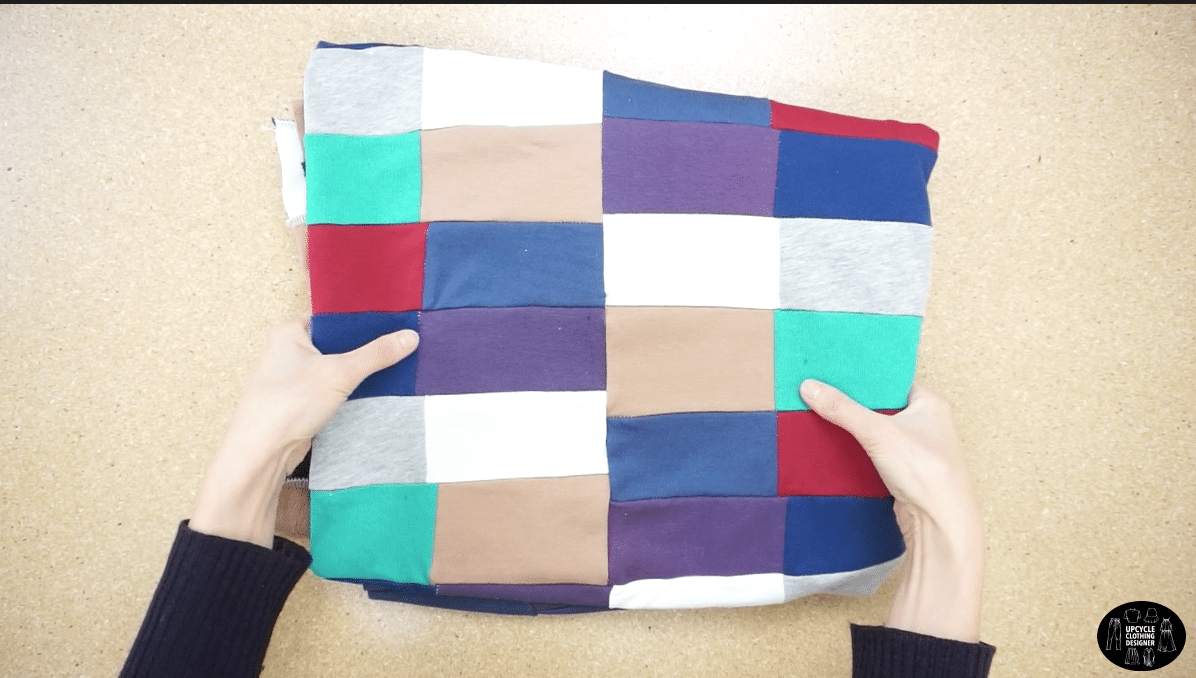
- Fold the fabric in half to copy the front piece, back piece, 2 hoodie pieces, 2 sleeve pieces, and use rib fabric to cutout pieces for the sleeve cuff and waistband.

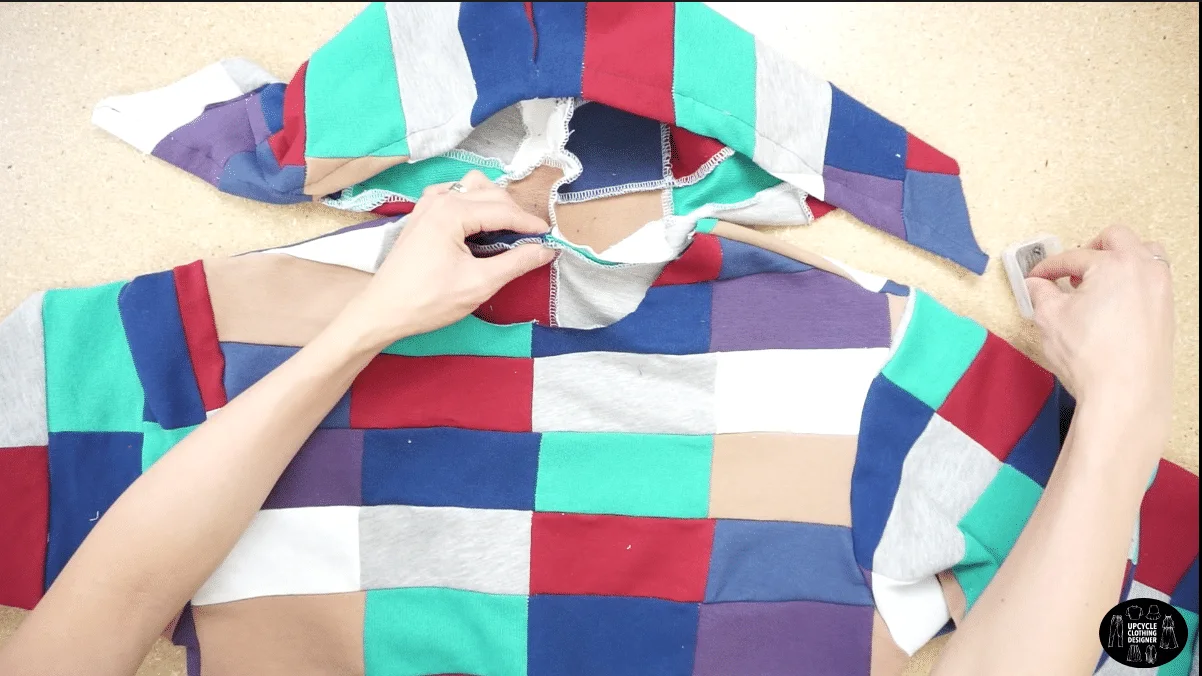
- Place the 2 hoodie pieces right sides together and sew along the curved edge. Fold the hood opening about ¾” and edge topstitch.

- Next, put the front and back pieces right sides together and stitch across the shoulder.
- Open the shirt up flat and match the center of the sleeve to the shoulder seam, right sides together.

- Pin the rest of the sleeve into the armhole and stitch.
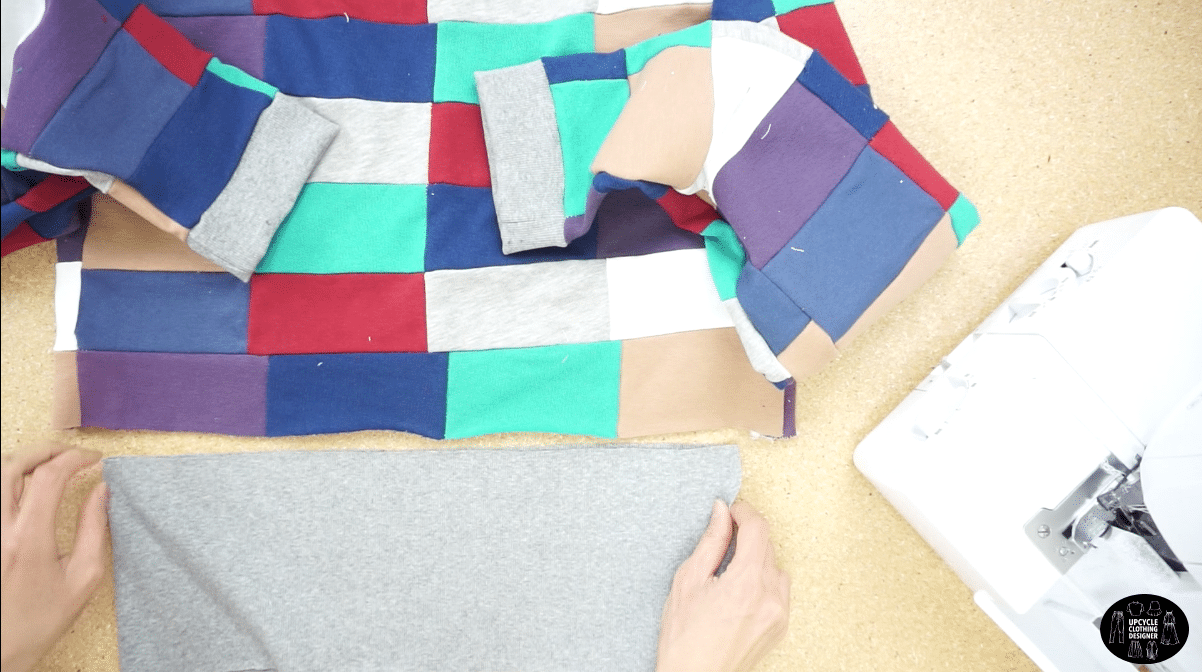
- Fold the shirt right sides together and match the sleeve seams. Sew the underarm and side seam all in one continuous seam.

- Fold the cuffs and waistband to match the short edges, right sides together, stitch short ends together.


- Fold each cuff wrong sides together and match the raw edges. Match quarter points on the cuff and waistband and also, sleeve opening and bottom opening.

Match these points and stitch by stretching them as you sew.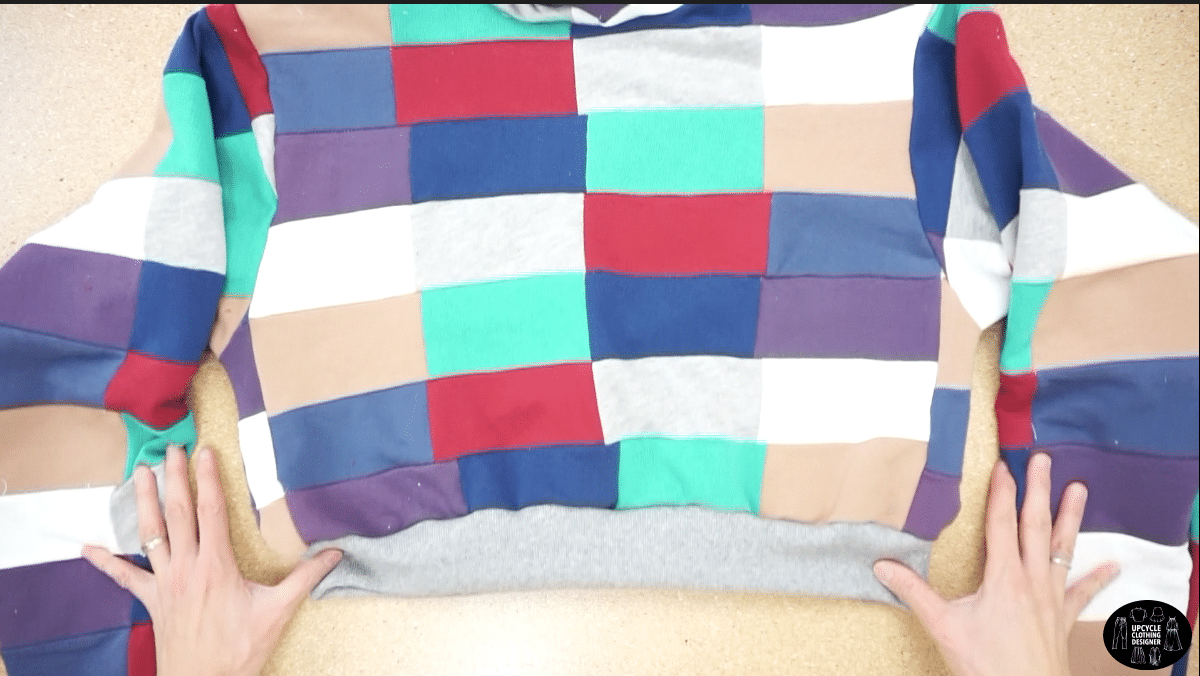

- Lastly, match the hood seam to the center of the back neckline. Overlap the front edges of the hood at the center front about 1 inch and stitch in place to complete this patchwork cropped hoodie from remnant fabric scraps.


Recommended Products
As an Amazon Associate and member of other affiliate programs, I earn from qualifying purchases.


Trendy, Affordable Sewing Patterns for All Sizes


Tie Shoulder Jumpsuit Pattern


Palazzo Pants Sewing Pattern


Pocket Overall Romper Pattern


Wrap Maxi Skirt Sewing Pattern


Tie Back Top Sewing Pattern