
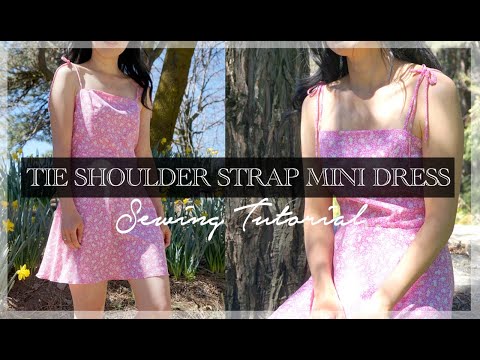
Do you have a simple and easy to wear mini dress for this summer season? The Ines dress features adjustable bow tie spaghetti shoulder straps with a pretty a-line skirt.
Overall, this silhouette provides a trendy fit-n-flare look that you can pair with a denim jacket or layer with white t-shirt for a casual going out look. Perfect dress to wear to brunch or as a festival look in the spring and summer seasons.
How to make a shoulder tie strap mini dress? Start the project by preparing the crepe-de-chine polyester fabric by washing and air drying the fabric for accurate cut and sewing results. Don’t forget to iron the fabric to remove any wrinkles prior to cutting.
Every Fashion Wanderer sewing pattern comes with ⅜” seam allowance already included on each size. Simply download the sewing pattern, cut out your size and follow the video tutorial or step by step picture instructions to easily complete the dress.
If you are new to sewing and intimidated by the complexity of diy clothing, you will love this dressmaking project. The sewing pattern is easy to read and the notches on Top and Skirt pattern will help you to sew professionally.
After understanding the pattern, start by reviewing the size guide for bust, waist, and hip measurements to give you a perfect fit.


DIY Tie Shoulder Strap Mini Dress Sewing Pattern


You will love this DIY tie shoulder strap mini dress because…
- The Ines dress sewing pattern ranges from 2 to 12 to fit a wide range of body types.
- Learn to make straps that are thin and adjustable.
- Utilize Serger to sew overlock stitch for side seams.
- Correct way to hem the dress with single narrow hem stitch.
- Step by step instructions to sew invisible zipper.
- Great beginner starter sewing project to learn to sew straight with a sewing machine.
This trendy strappy mini dress includes adjustable shoulder straps that you are able to make a bow tie on both shoulder to create narrow shoulder illusion. The clean finish along the neckline using lining is perfect technique for beginner to learn to achieve store-bought quality dress.
This mini dress is easy to sew and a beautiful silhouette that everyone love to wear all season long. Dress up with cute sandals, heels or dress down with comfortable sneakers for an everyday occasion.
Use this DIY tie shoulder strap mini dress sewing pattern and tutorial to convert into a midi length with high slit or maxi dress of your choice.


How to make a tie shoulder strap mini dress
After downloading the sewing pattern, avoid stretching the format when printing. Review the step by step guide to assemble the pdf sewing pattern to get you started.
Understanding accurate body measurements will help you select the correct size pattern to sew. For this dress, measure the chest, waist, and hips to determine the right size to cut.
Use the sewing pattern cover page to figure out how much fabric you need for this specific sewing pattern. As a result, you won’t be running out of fabric in the middle of sewing.
If you are at all uncertain about sewing a new type of fabric, buy an additional ½ yard for testing purposes.
In this tutorial, we are going to use universal sewing needle and polyester blend thread for polyester fabrics. It is durable and the standard sewing tool for medium weight fabrics.
Also, instead of using regular sewing foot, I recommend to use invisible sewing foot when sewing the zipper. It will help you avoid damaging the zipper and the sewing machine will glide smoothly.
As a beginner, it’s important to start each project by properly threading the sewing machine. As you sew, you may face issues such as stitches keep skipping or threads keep breaking due to tension, threading improperly, or old needle that creates endless problems.
Always test on a scrap of fabric that you will be working on to adjust tension if needed and find the right stitch length to work with.
DIY Tie Shoulder Strap Mini Dress Tutorial Material:
- Ines Dress Sewing Pattern
- Poly Crepe-De-Chine 1 yards for 60” width or 1 1/2 yards for 45” width
- Sewing machine
- Serger
- Loop Turner
- Measuring Tape
- 14” Long Invisible Zipper
- Pins


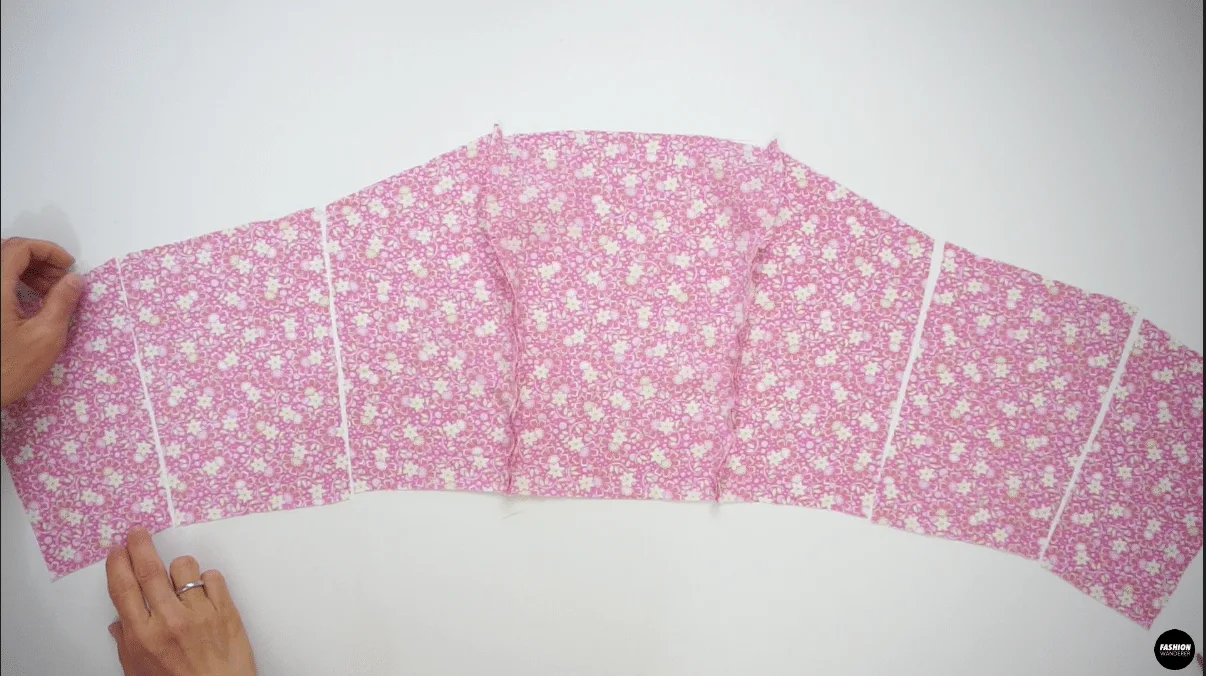
Place the Center Front Top piece and Side Front Top piece facing each other. Match the notch to join the seam allowance.
Repeat the process to create the Lining Top Bodice.
Join the Side Back Top piece and Center Back Top piece with ⅜” seam allowance.
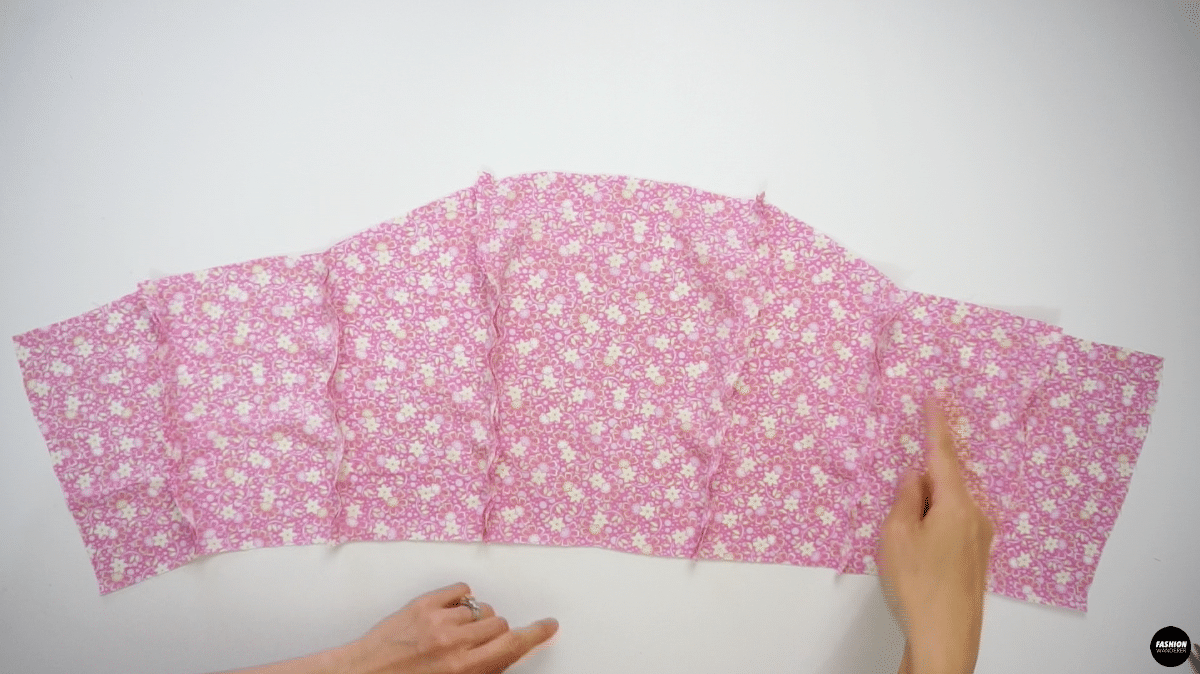
Use a Serger to overlock stitch the seam allowance for both Outer Top piece and Lining Top piece. Press with steam and hot iron to follow the correct direction for Top Bodice.


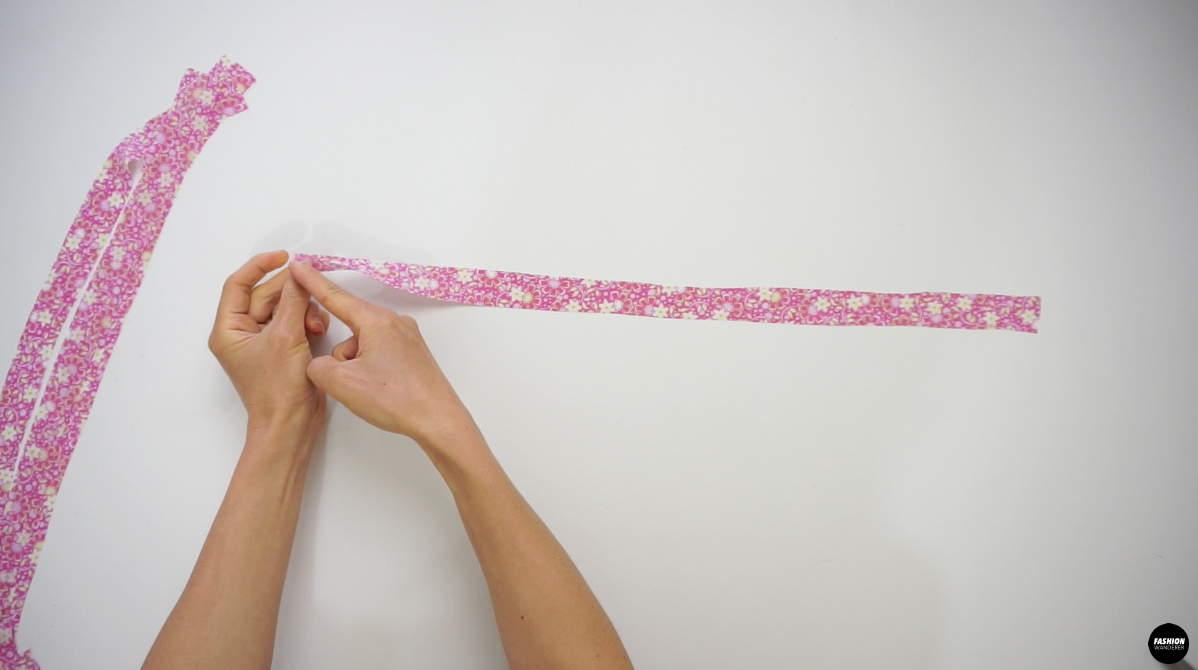
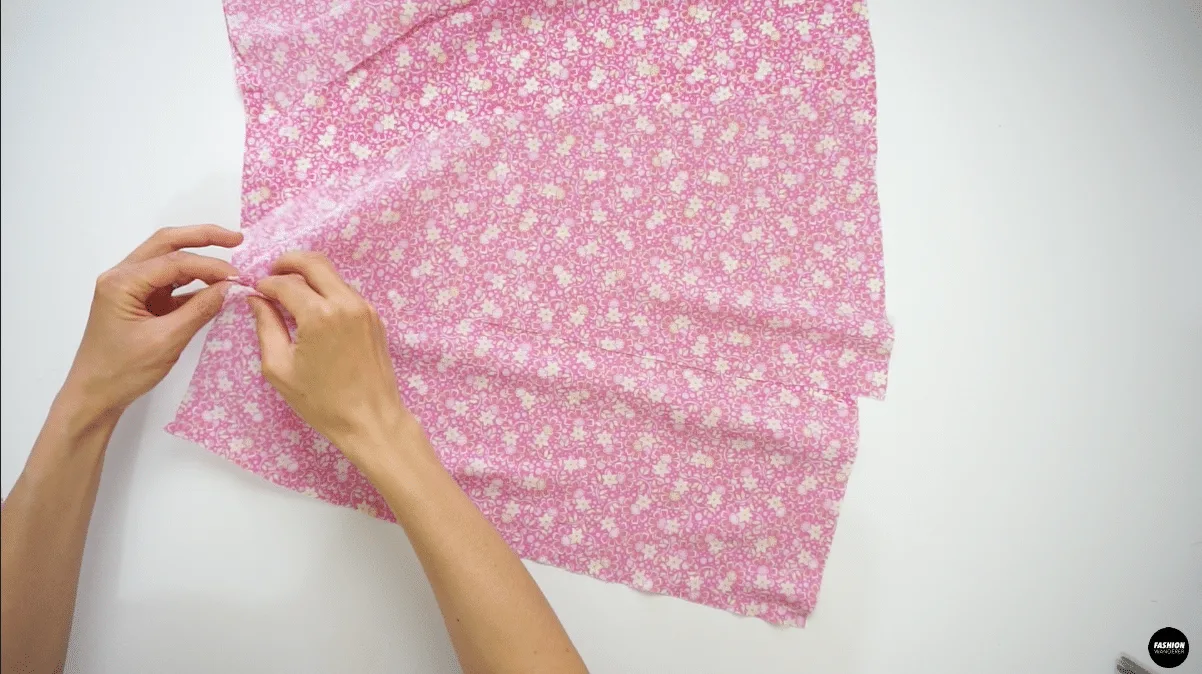
Fold the spaghetti strap in half facing right side together and sew ¼” width. Trim the seam allowance in half and use loop turner to flip the strap inside out.
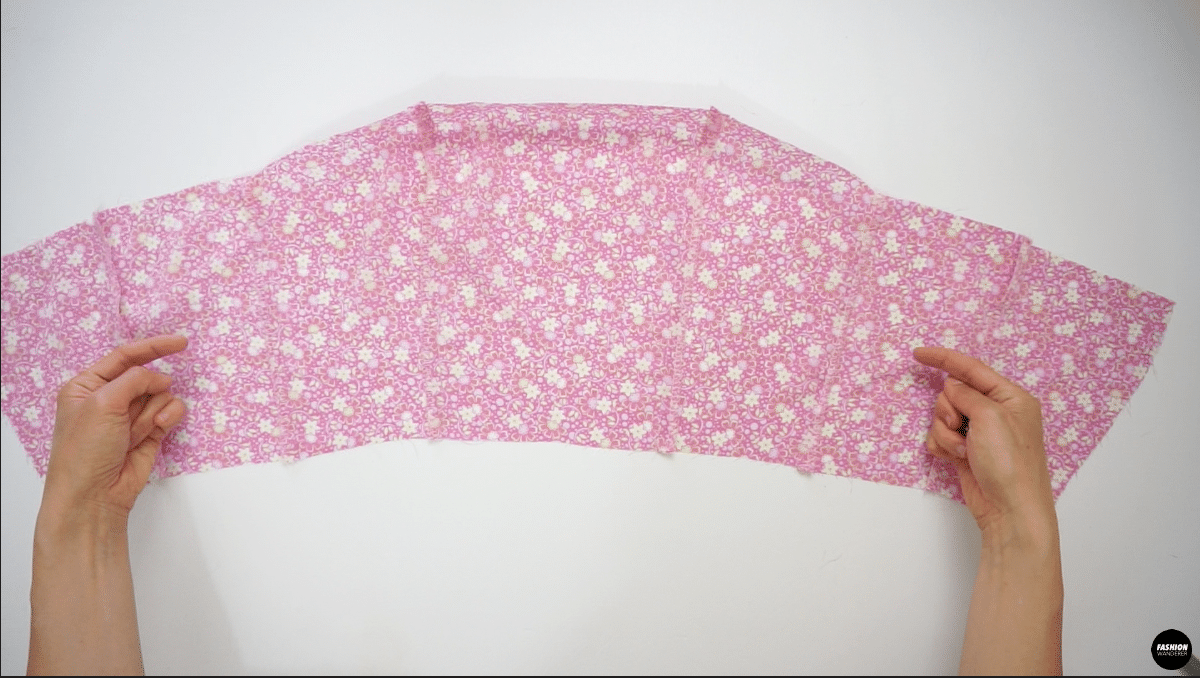
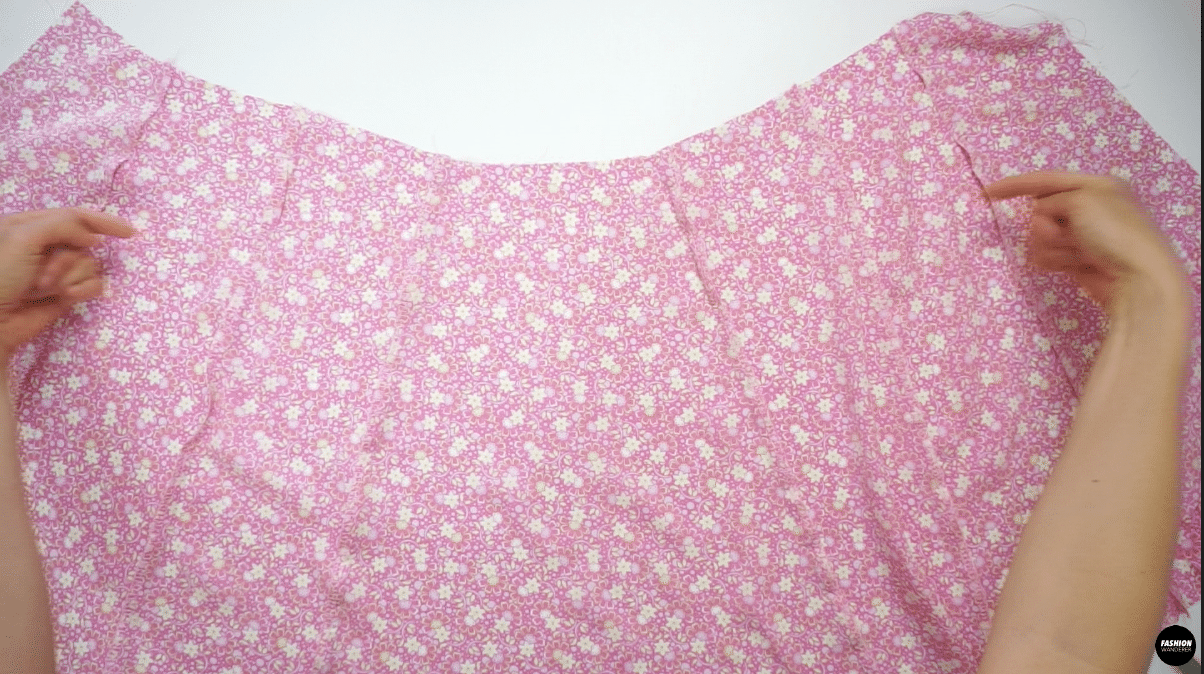
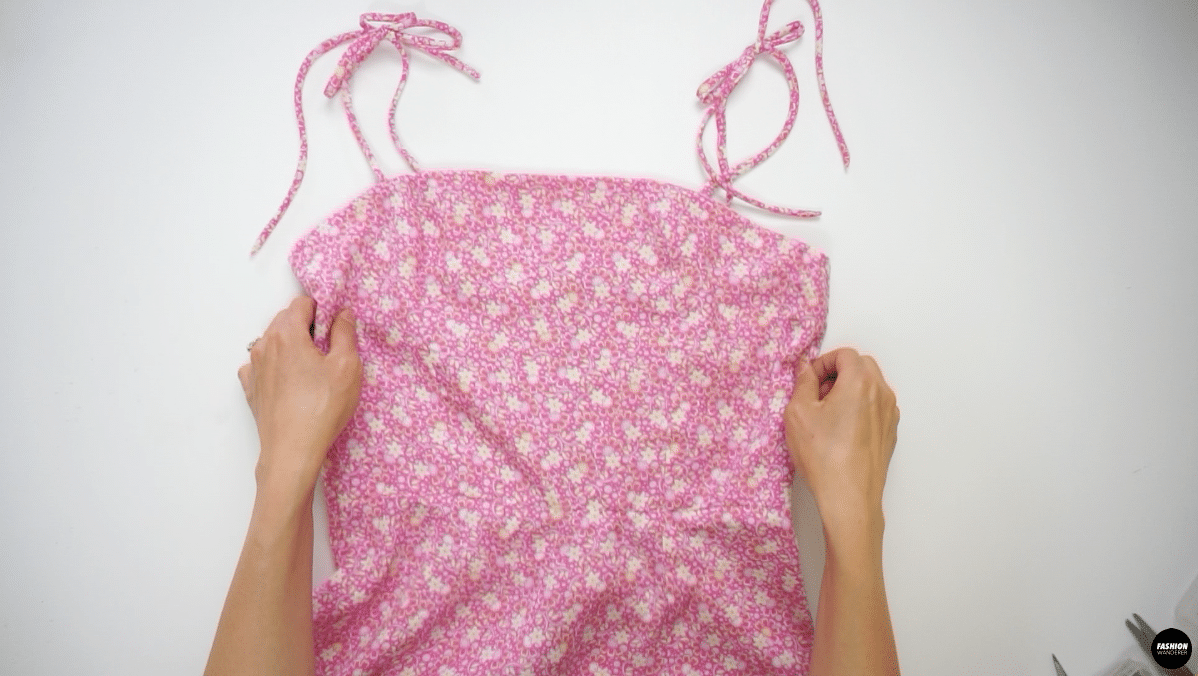
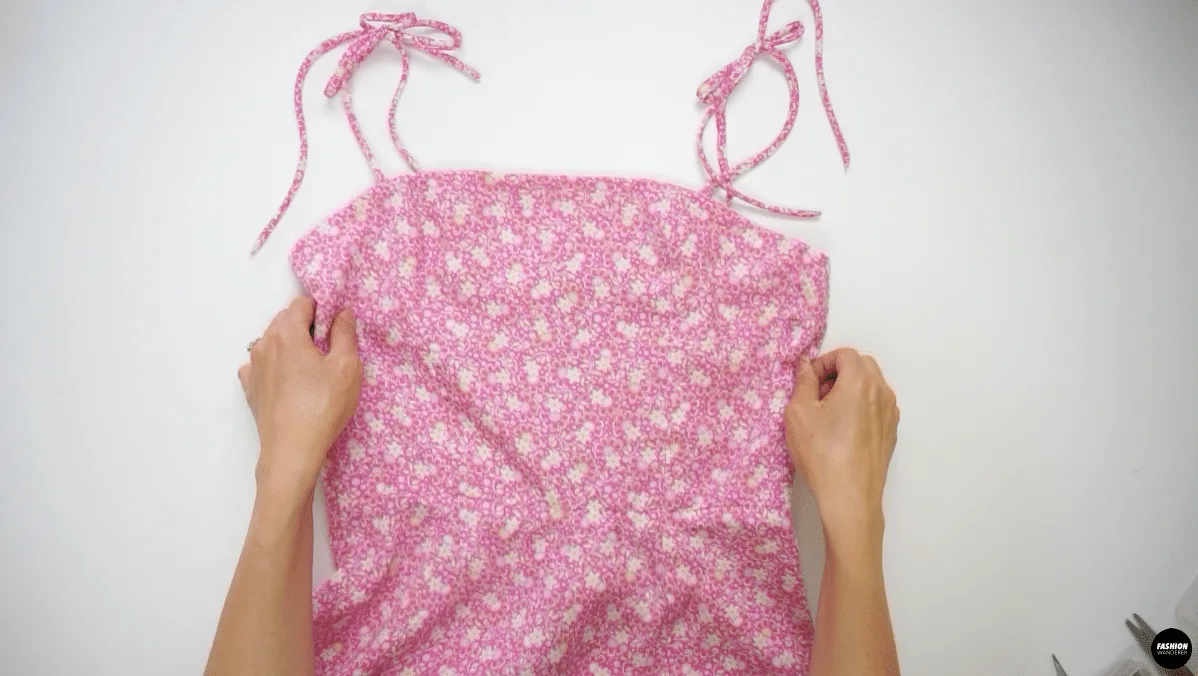
Place the strap on top of right side of the Top piece on the notches and sew straight back and forth ¼” aways from top edge. Cover with right side of the Lining Top Bodice and sew along the top edge with ⅜” width seam allowance.
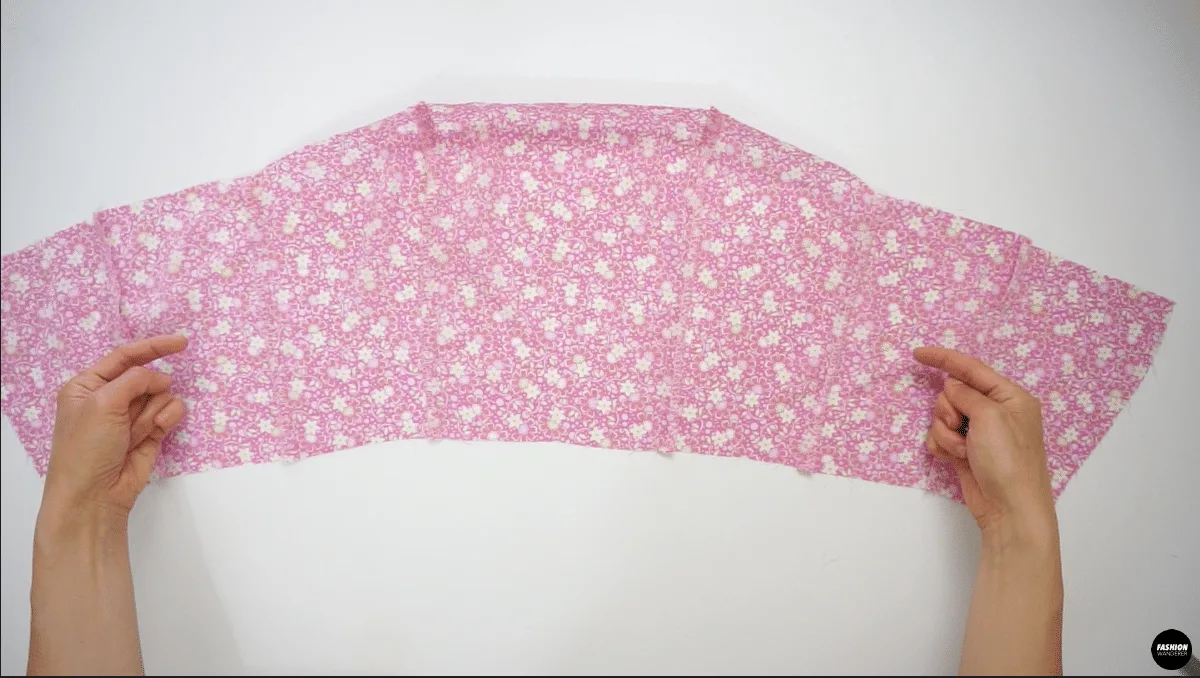
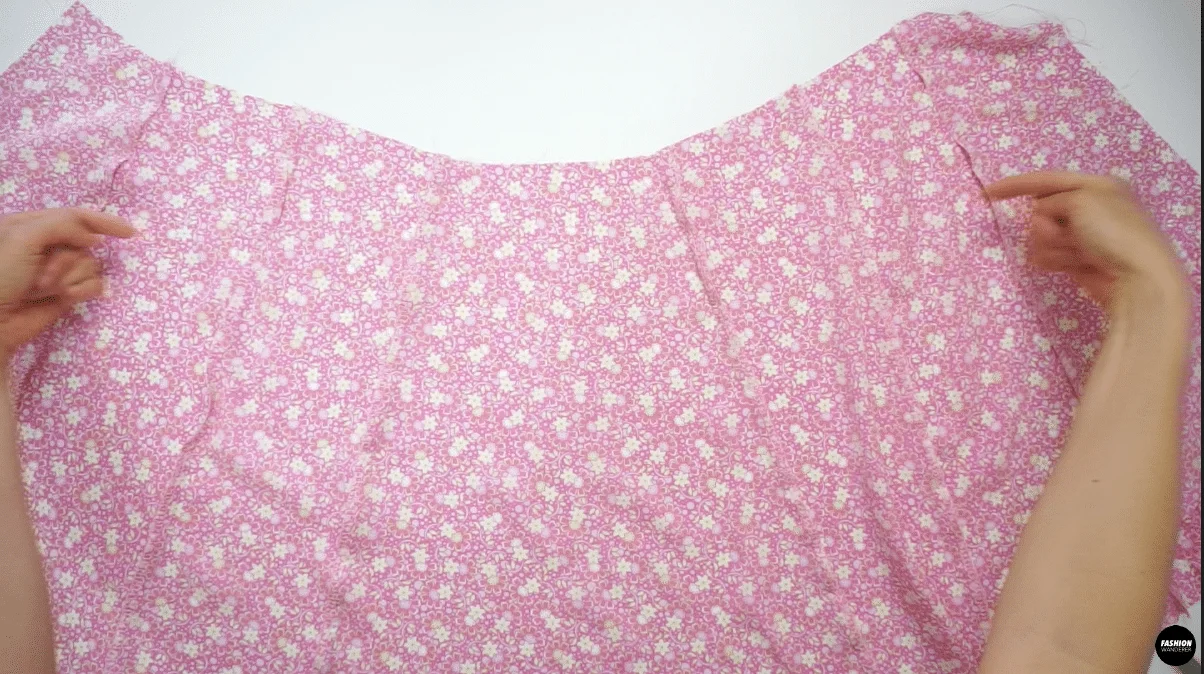
Open the Top pieces and edge topstitch along the Lining piece.
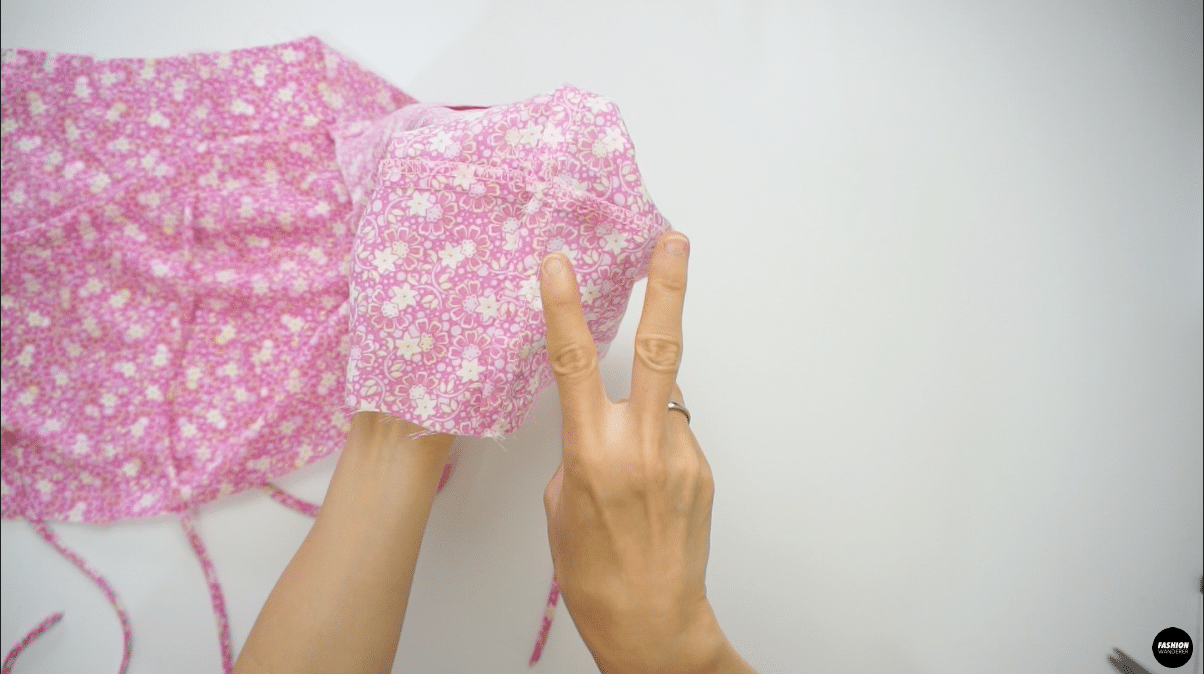
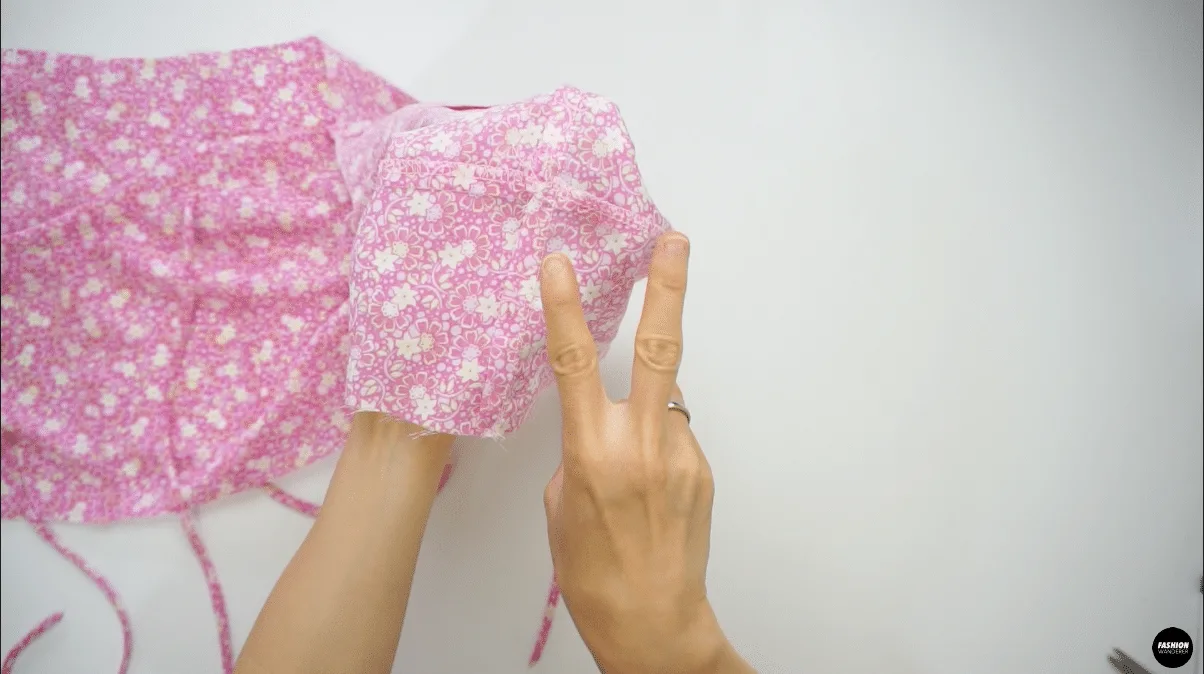
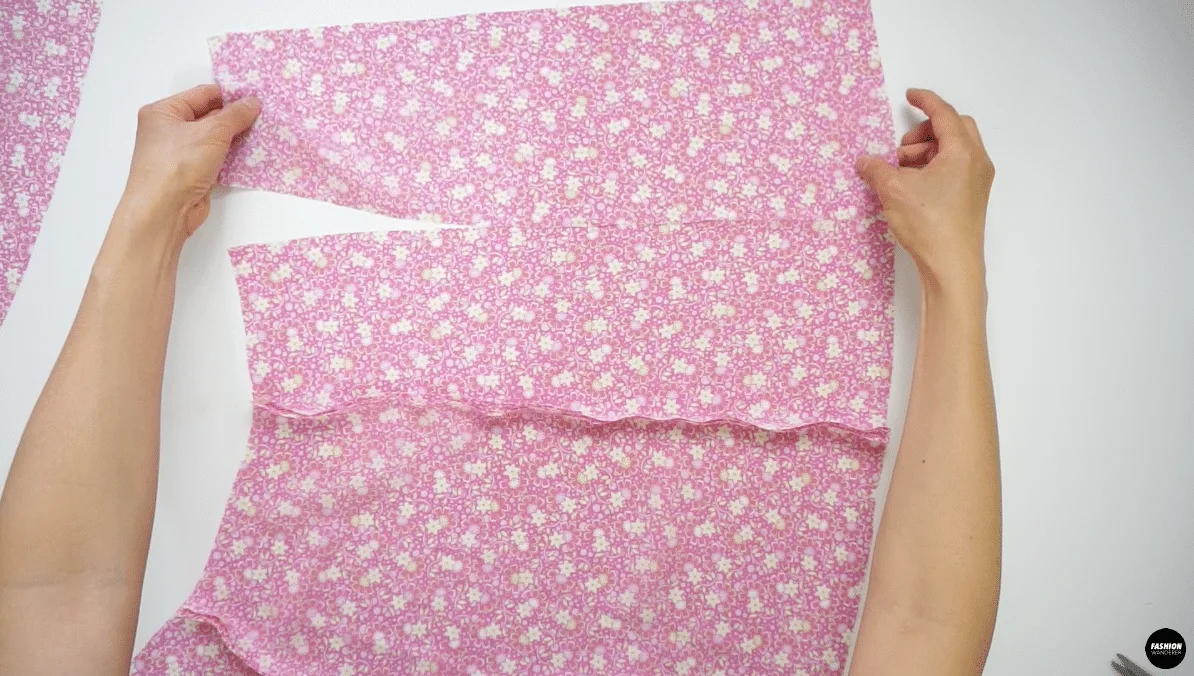
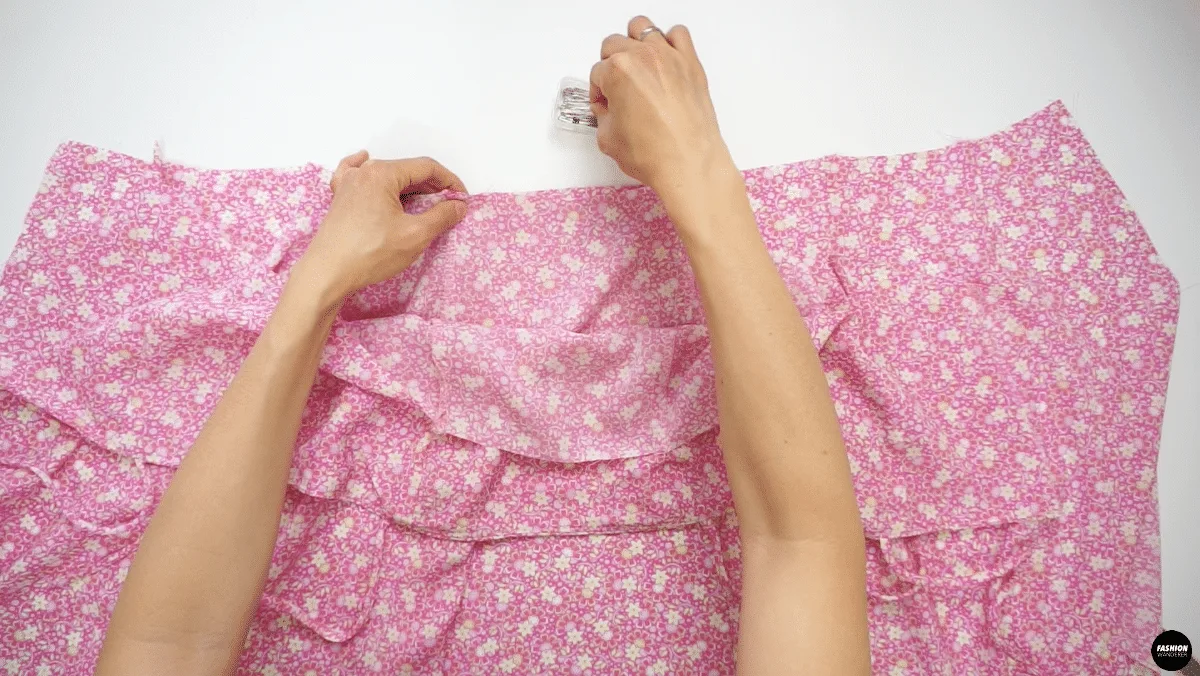
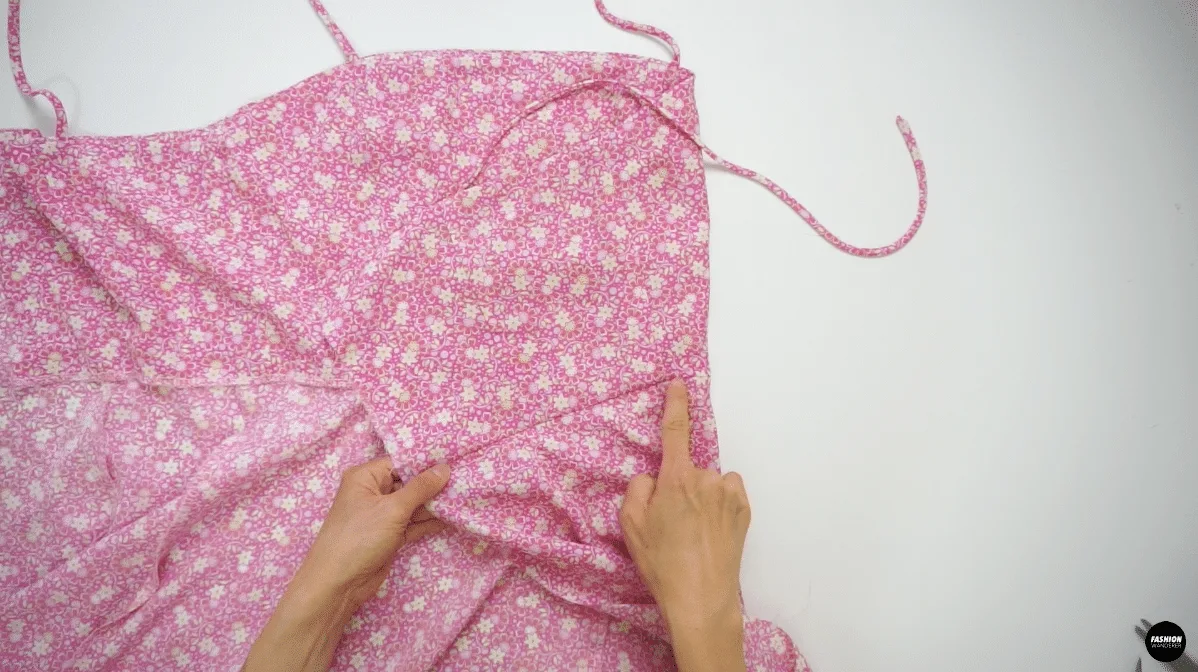
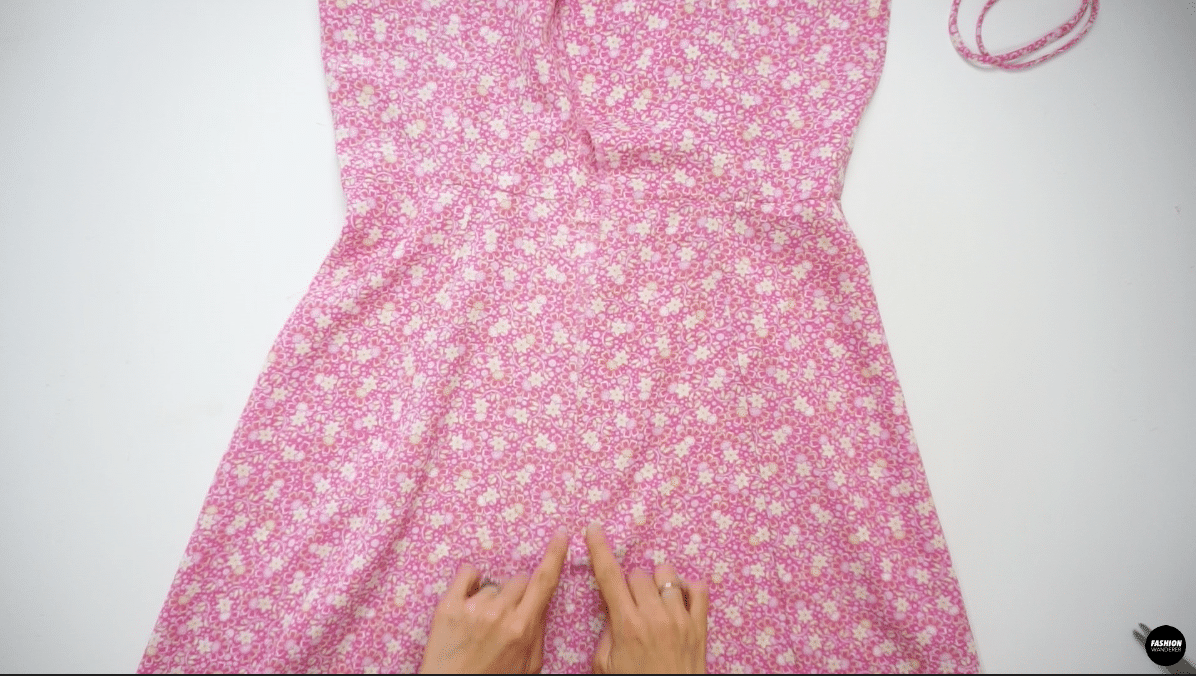
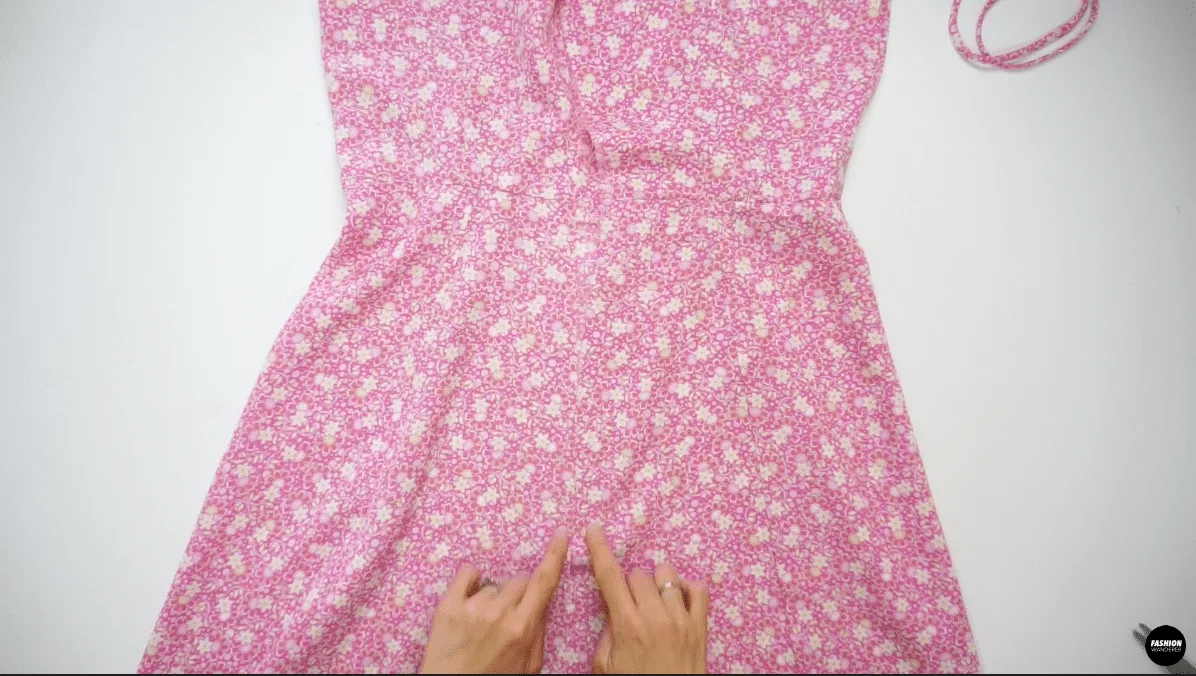
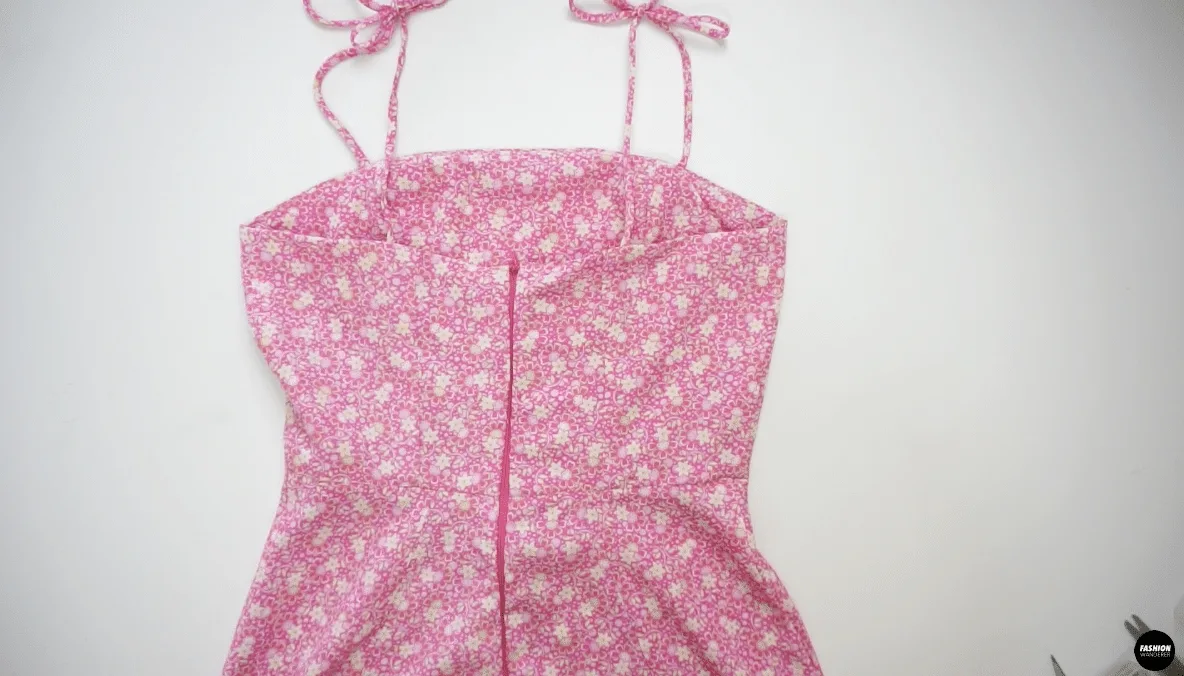
Join the side pieces of skirt to the center with ⅜” seam allowance and finish with overlock stitch. Place the Top bodice and skirt piece together to join along the waist seam.
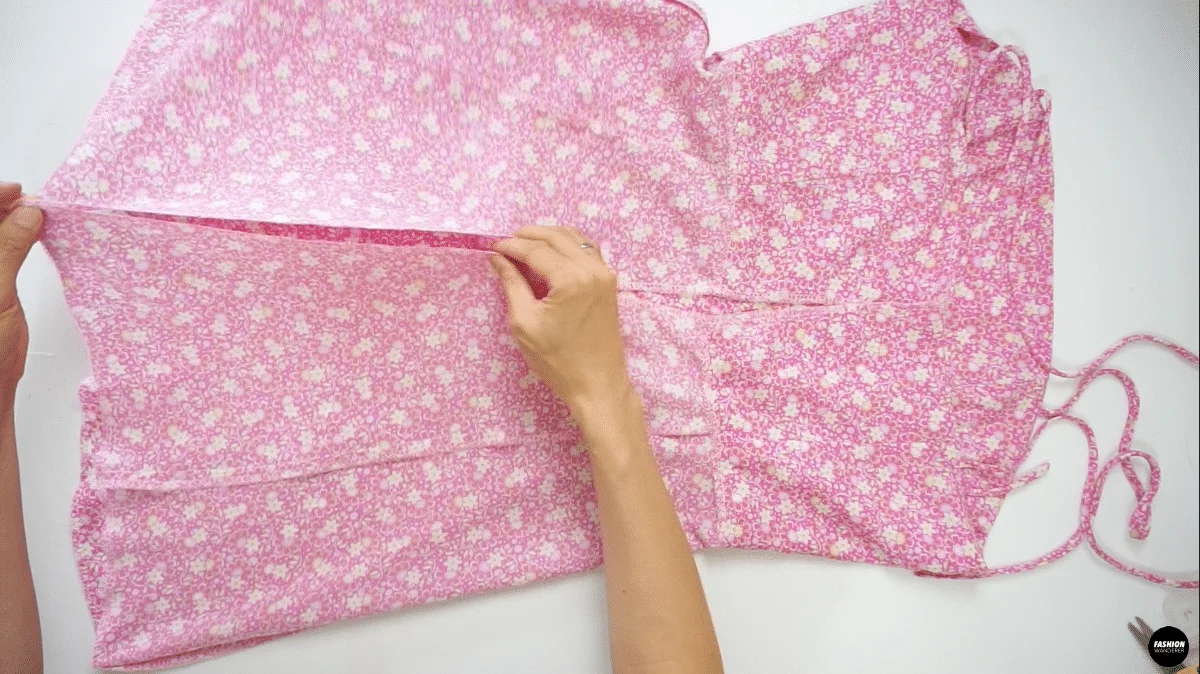
Finish the Lining Top Bodice with overlock stitch and use stitch in ditch technique to secure the Lining to the dress. Overlock stitch along the center back and hemline.
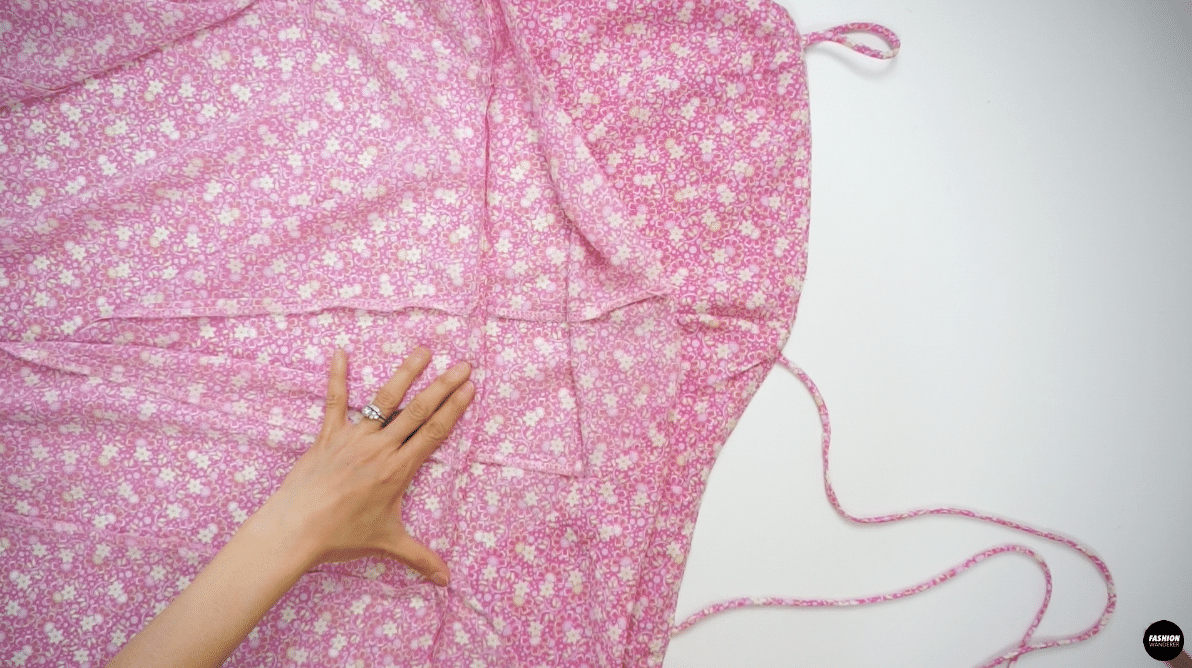
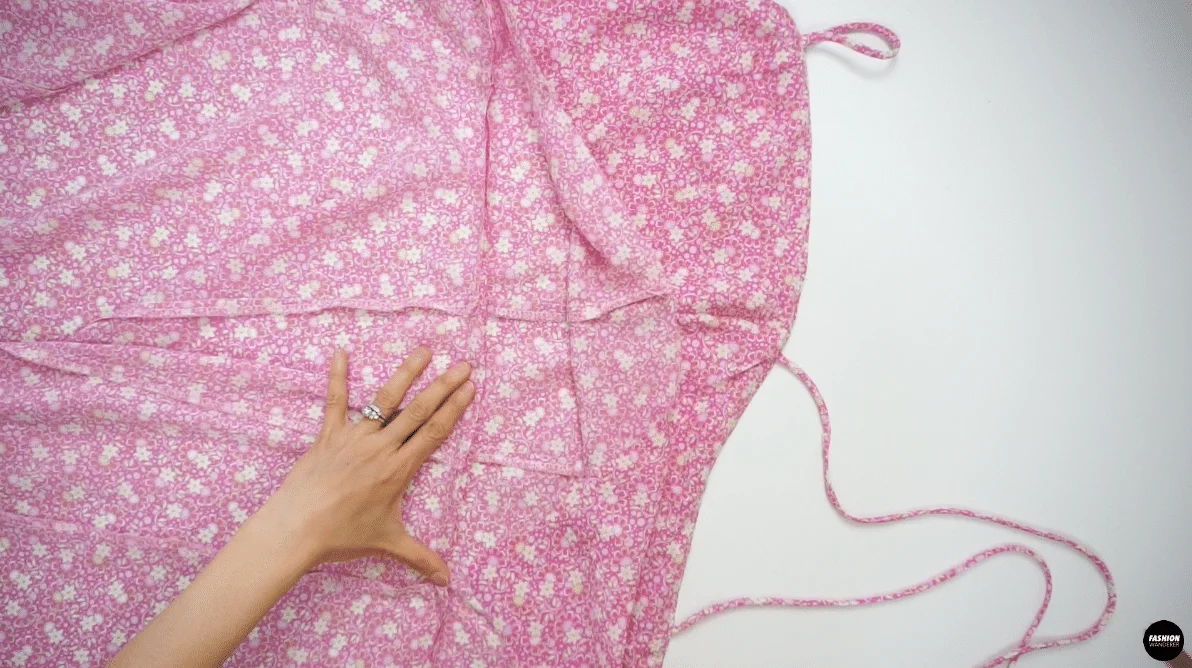
Close the Center Back seam 11” away from the hemline.
Insert the invisible zipper and use invisible sewing foot to intact the zipper in place. Finish the dress with single fold hemline and press gently to complete the Ines mini dress.


DIY Tie Shoulder Strap Mini Dress Sewing Tips


There are lots of components to this dress, and as a beginner it may look intimidating to decide where to begin. However, this tutorial provides step by step instructions and teaches you to select the correct types of stitches and use notches to match the seam while you sew.
The most important part that every beginner misses is to press the seam correctly while you sew, and also before joining new seams. To achieve professional quality dress, pressing every seam as you sew is an extremely important practice that you should not avoid.
Also, to make skinny even width spaghetti straps require to use loop turner. This little tool helps create skinny shoulder straps, belt loops and much more, practice flipping inside out to nail the strap quality with ease.
While you sew the Ines dress, I’ve listed additional sewing tips and techniques for you to accomplish the garment stress-free. Review before you begin the sewing project, it will save your sanity!
- Sewing Needle: The ideal sewing needle size for woven or non-stretchy polyester fabric is 80/12 or 90/14. The eye of the needle size is great for general sewing threads such as all-purpose polyester or cotton blend thread.
- Thread: It’s important to match the size of the thread to your project fabric. For polyester fabric, an all-purpose thread is recommended. However, poly crepe-de-chine fabric is considered lightweight or sheer, so use 70-weight cotton or very fine polyester thread.
- Fabric: In this tutorial, the Ines dress is made out of polyester crepe, or crepe de chine. It is made using the synthetic fiber polyester and crepe fabric is generally lightweight a thin fabric that has a nice drape to it. The crepe fabric is great for dresses, skirts, and blouses too, it is a popular fabric for summer due to airiness and comfort to wear.
- Stitches: Due to lightweight characteristic of the crepe fabric, you may encounter puckering as you sew. In order to avoid this issue, adjust the thread length to 2.5 and set the tension to 2.5 when using straight stitch. Sew polyester using a walking foot to help feed the fabric more evenly.
- Loop Turner: Always trim the seam allowance in half to avoid bulkiness, then use the hook to latch onto the fabric securely. Avoid pulling aggressively and instead gently pull all the way through the tube to turn right side out.
In this tutorial, we will learn to sew Ines dress using straight stitch, overlock stitches, invisible zipper, and using loop turner to create thin straps. These are the broken down elements that you need to complete this dress.
Practice these stitches on a scrap of fabric in advance until you are comfortable enough to sew the dress as a starter. Sew along following these sewing methods and tricks so you can complete the Ines dress smoothly and without any unnecessary mishaps.


How to make a Ines tie shoulder mini dress with sewing pattern
Need a cute and simple fit-n-flare strappy dress this summer? If you are looking for an easy dress silhouette for hot weather, this Ines sewing pattern is exactly what you are searching for.
It features adjustable bow tie spaghetti shoulder straps with a princess seam along the bust to make you look slim. The flared a-line skirt elongates your legs and makes your waistline even slimmer.
The sewing tutorial comes with easy to follow video and picture instructions to guide you step by step along the way. Join us to sew this trendy mini dress to add to your DIY wardrobe.
Materials
- Ines Dress Sewing Pattern
- Poly Crepe-de-Chine 1½ yards for 60” width or 1 yards for 45” width
Tools
- Sewing Machine
- Serger
- Straight Pins
- Loop Turner
- Fabric Scissors
- Measuring Tape
Instructions
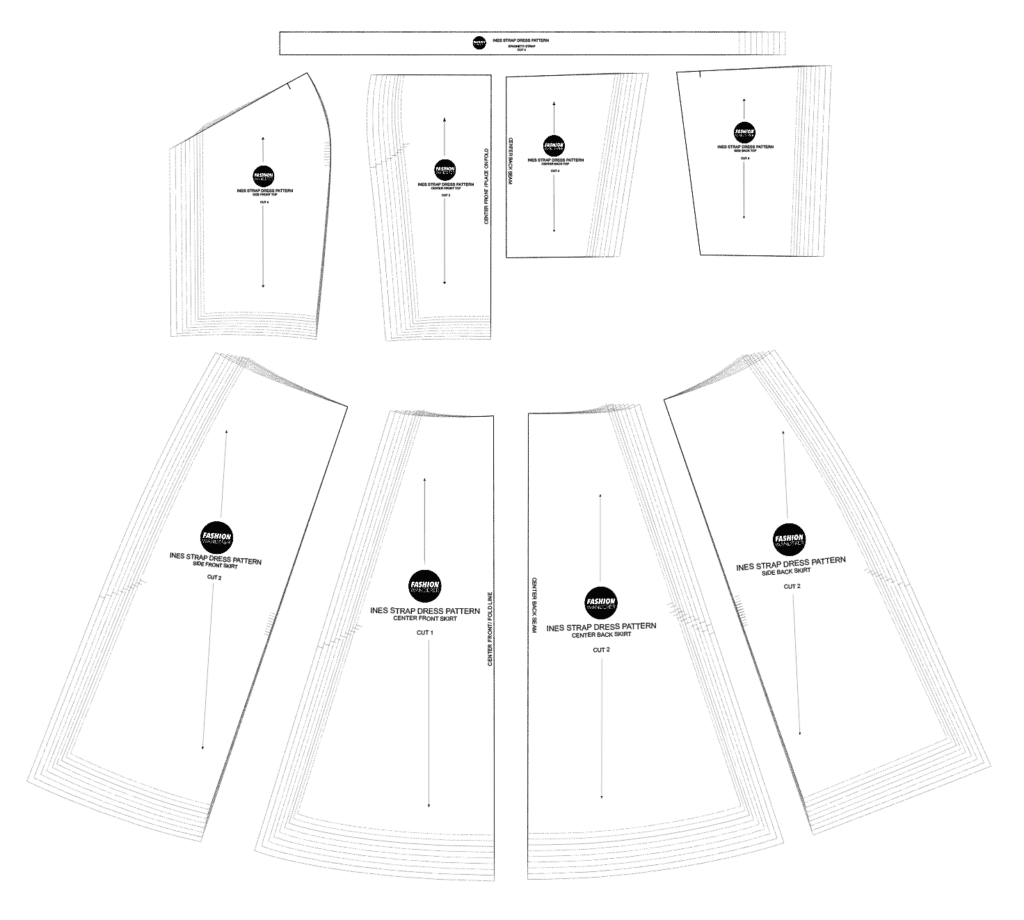
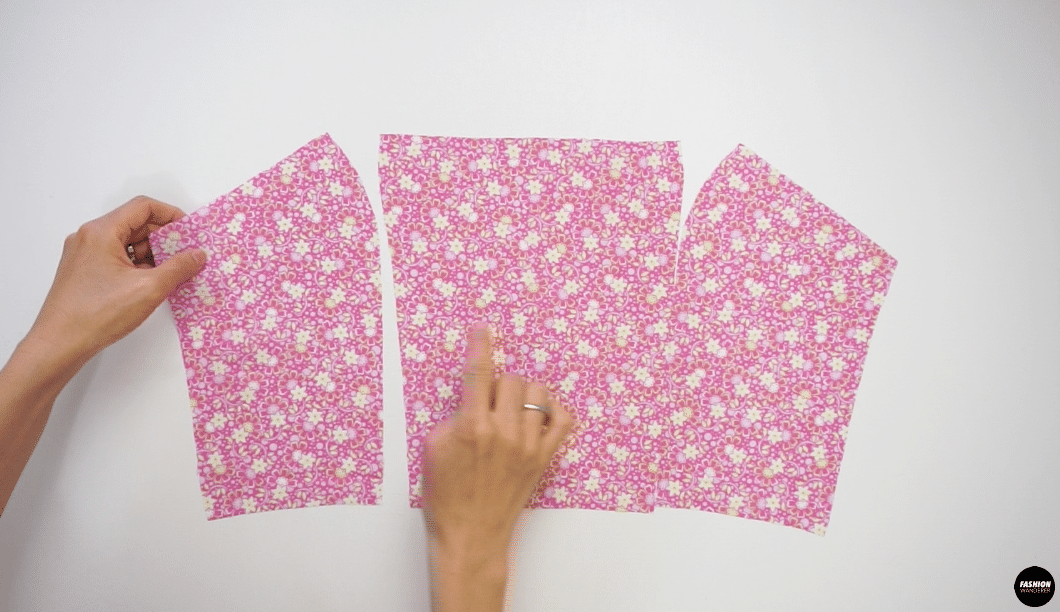
For this Ines tie shoulder strap mini dress tutorial, start by assembling the pattern pieces:
2 piece of Center Front Top
4 pieces of Side Front Top
4 pieces of Center Back Top
4 pieces of Side Back Top
1 piece of Center Front Skirt
2 pieces of Side Front Skirt
2 pieces of Center Back Skirt
2 pieces of Center Side Skirt
4 pieces of Spaghetti Strap
How to Sew Top Bodice and Top Lining Piece
- Place the Center Front Top piece and Side Front Top piece facing each other.

- Match the notch to sew ⅜” width straight stitch.
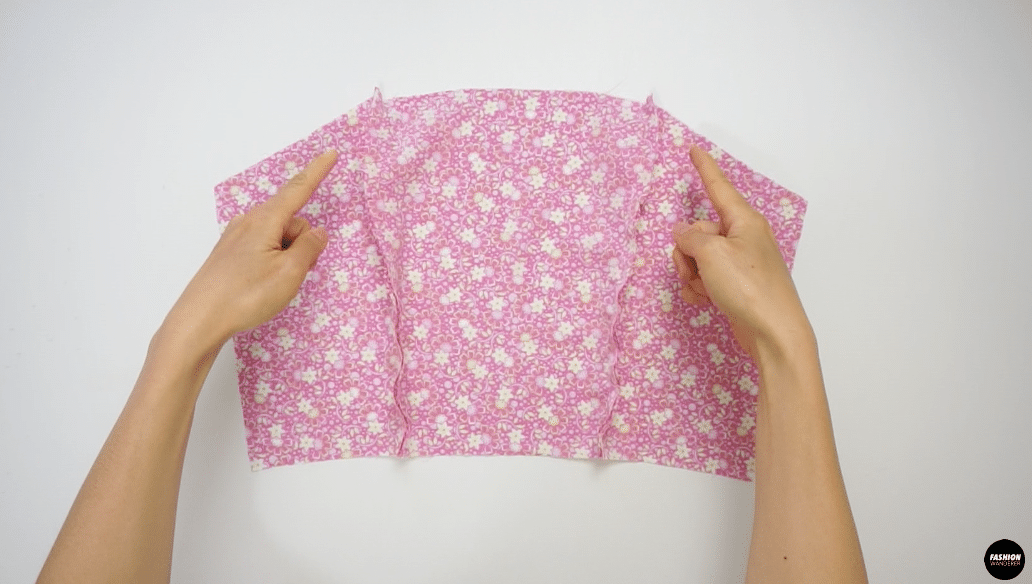

- Repeat the process for the lining part. Lay the Center Front Top piece and Side Front Top piece facing each other; match the notch on both sides to sew ⅜” width straight stitch.
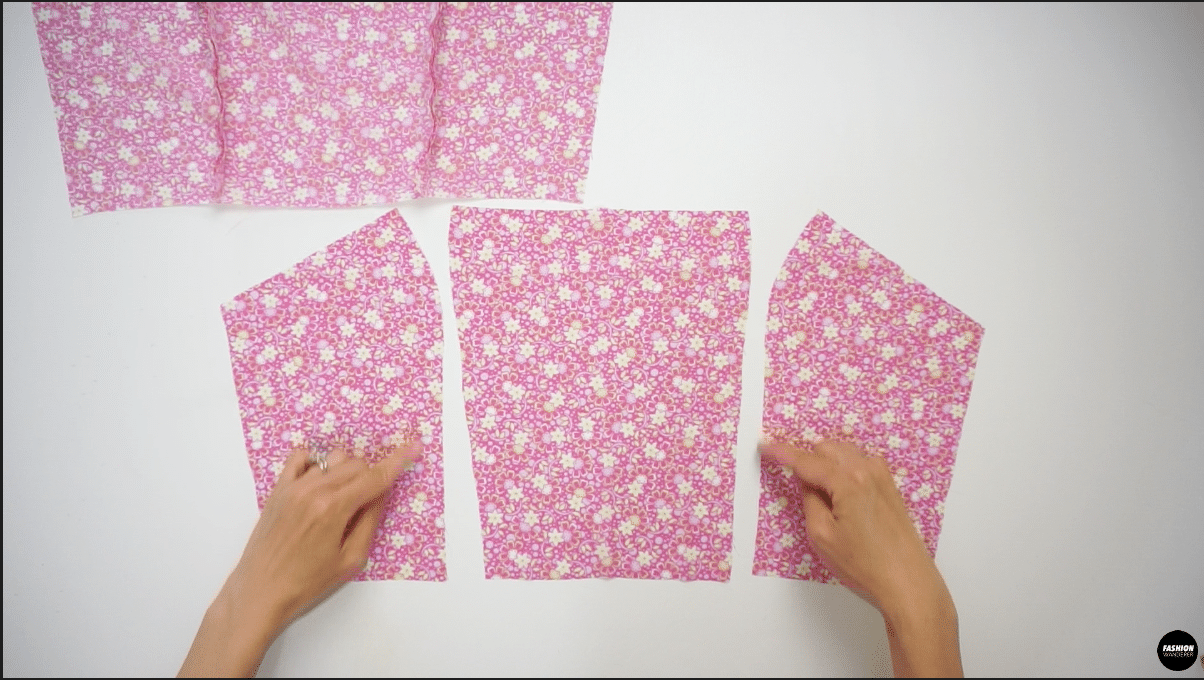
- Now, you created identical Front Top for Outer and Lining part.

- Next, Face the Side Back Top and Front piece facing right side together, also face Side Back Top and Center Back Top piece facing right side together and sew ⅜” straight stitch to join.
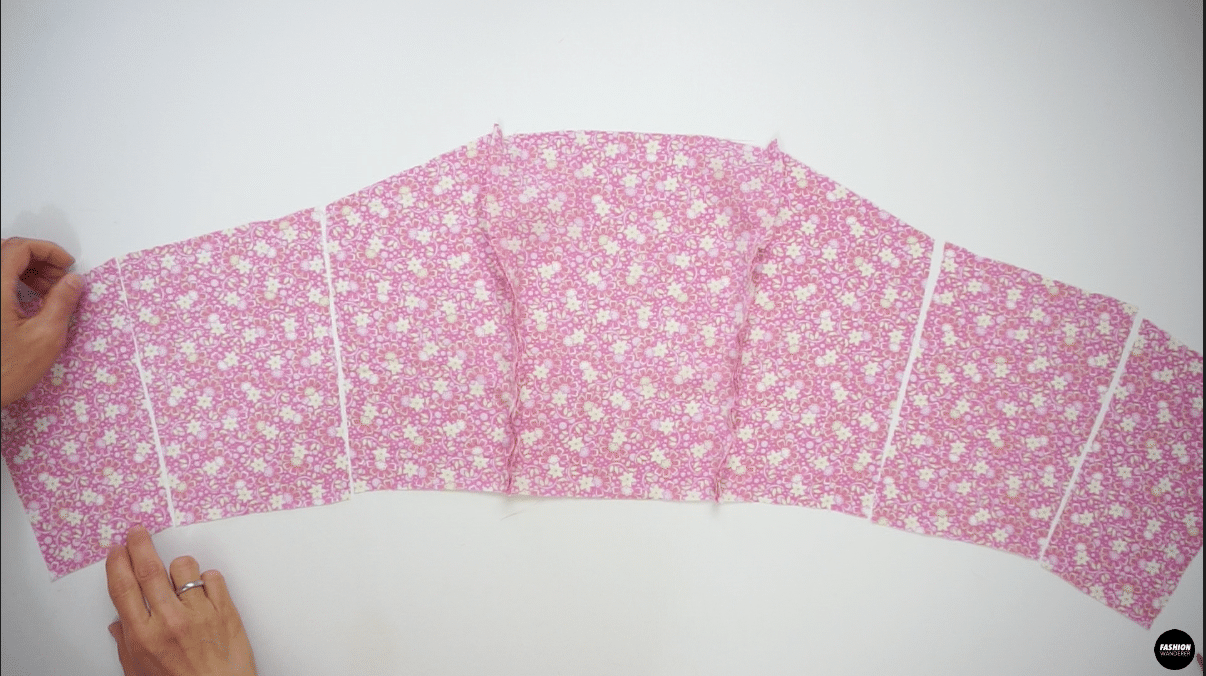
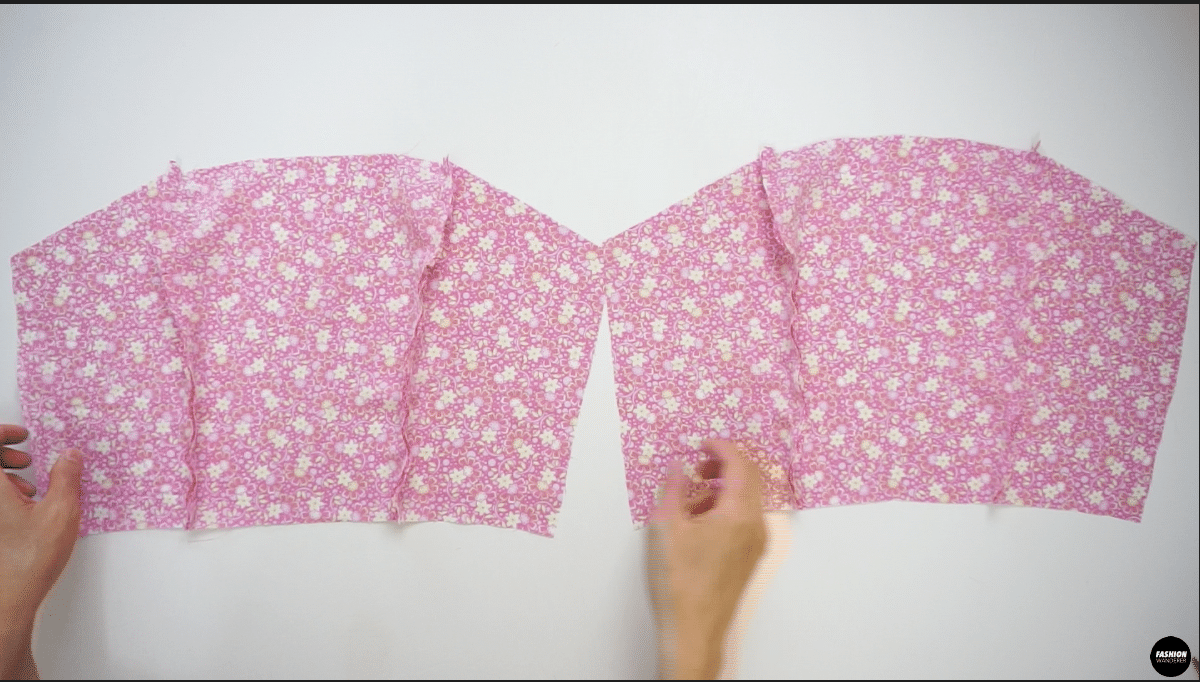
- Use Serger to overlock finish all the seam allowance for both Outer shell and Lining piece.

- Finally, press the seam in the correct directions. The Side Front piece seam allowance needs to face away from Center Front, the side seams need to face towards the back, and Side Back piece seam allowance needs to face away from Center Back.
How to Make Tie Shoulder Spaghetti Strap
- Fold the Spaghetti Strap piece lengthwise right side facing each other and sew ¼” width straight stitch. Trim the extra seam allowance from ¼” to ⅛” width. Use a loop turner to flip the spaghetti strap inside out. Repeat the process for all 4 straps and give a gentle press with an iron.

- Place the straps on the front and back notches on the right side of the Outer shell top and pin to secure. Sew ¼” width straight stitch back and forth to attach the strap to the bodice.

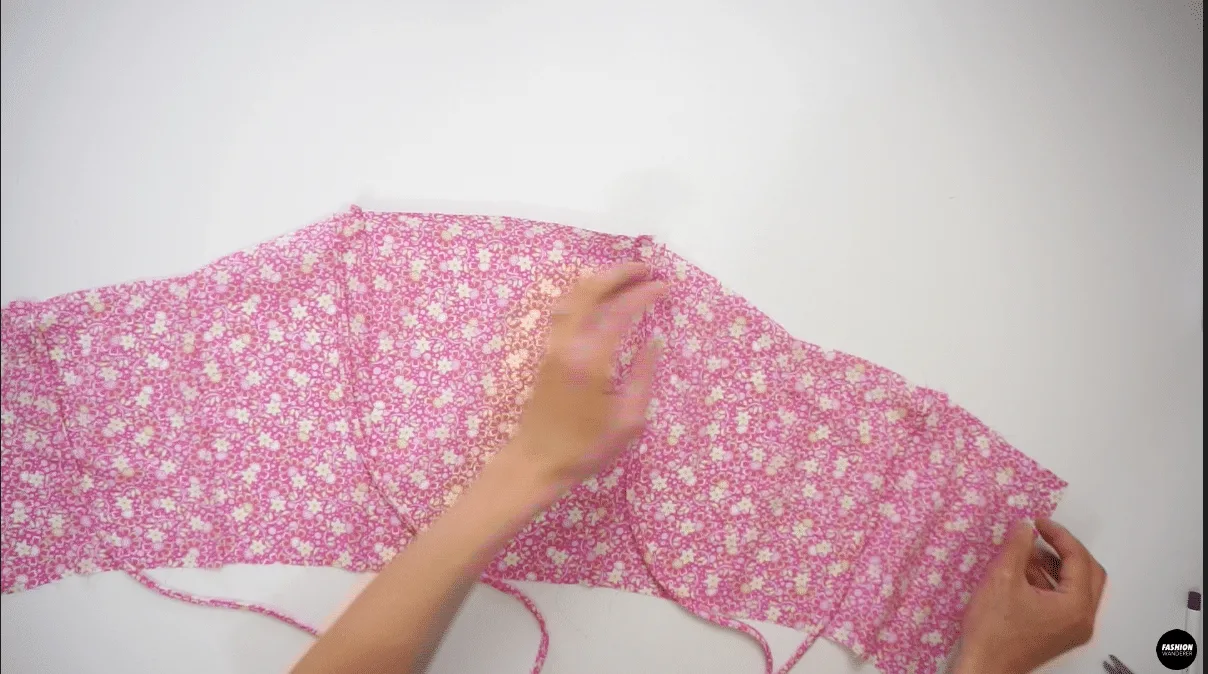
- Place the right side of the Top Lining piece and right side of the Outer Top piece facing each other and sew ⅜” straight stitch along the top edge from one side to the other.
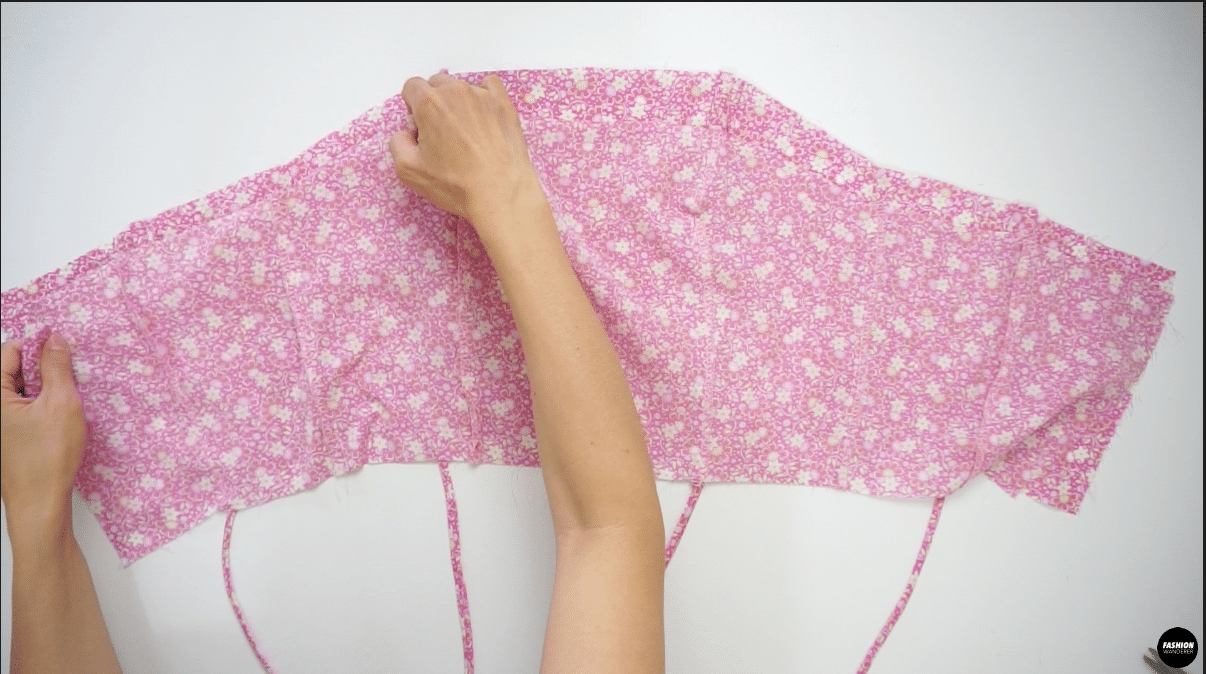
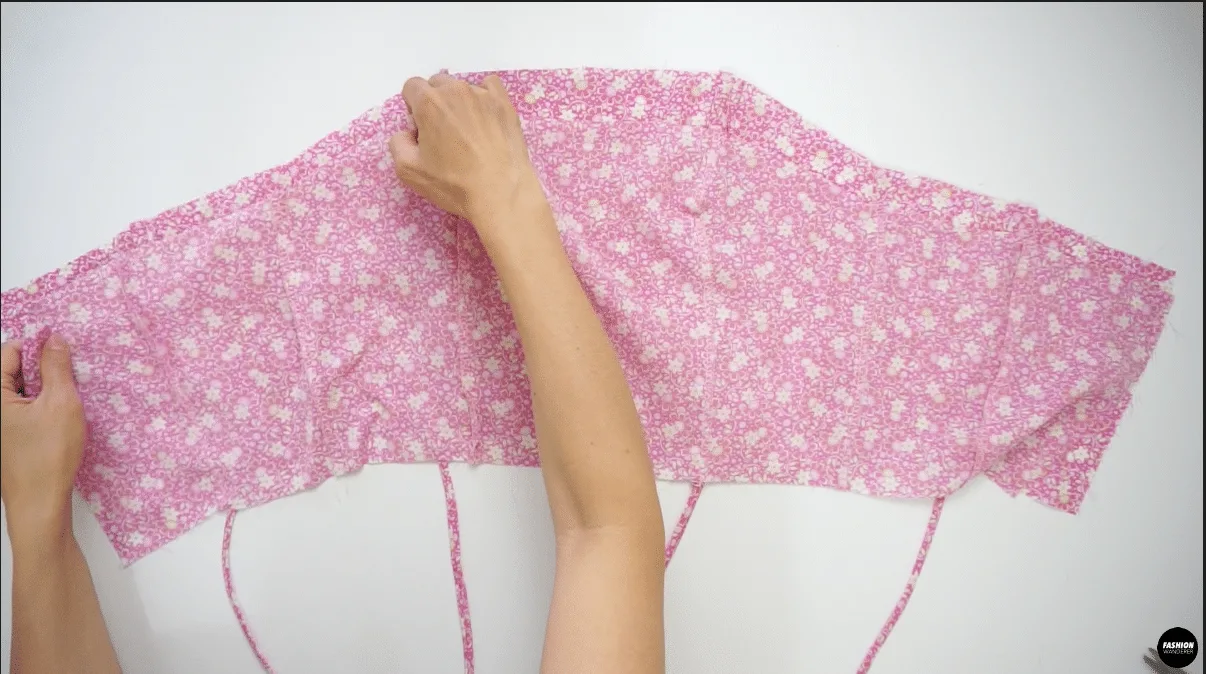
- Open the seam and edge topstitch ⅛” width on the Lining Top piece. So, on the wrong side of the fabric, you will see 2 straight stitches next to each other.
How to Sew Seamed Skirt
- Place the right side of the Center Front Skirt and right side of the Side Front Skirt facing each other, then sew ⅜” width straight stitch.
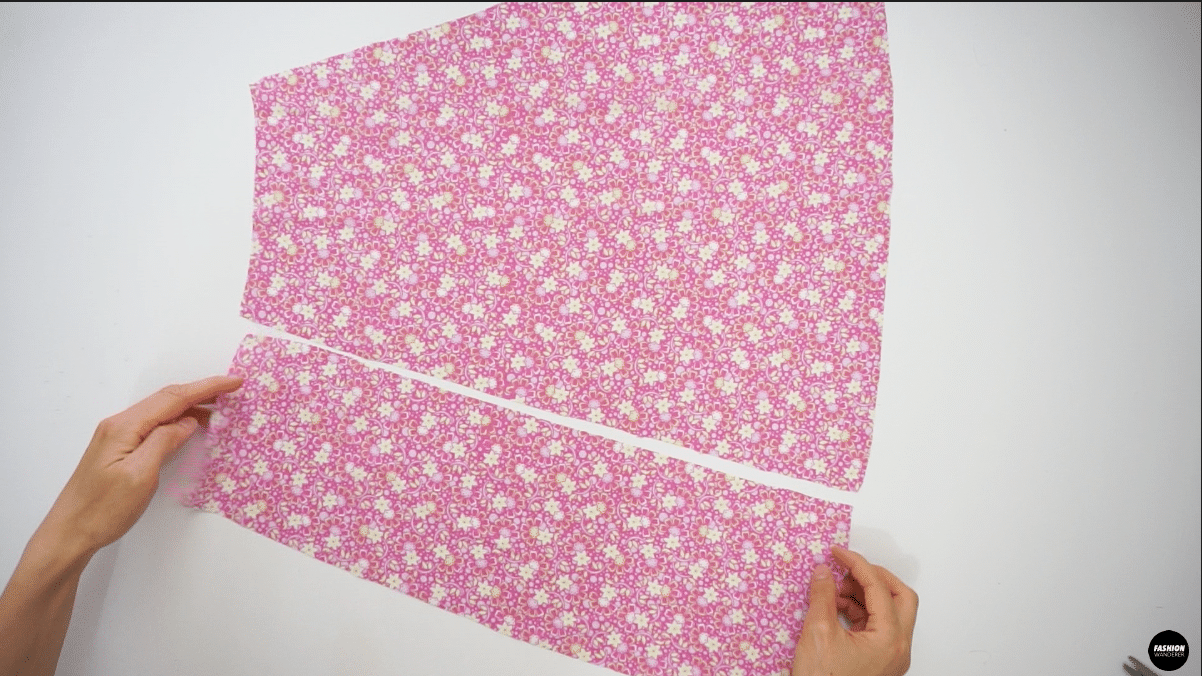

- Join the Side Back Skirt to the Front Skirt by placing them right sides together and straight stitch ⅜” width.
- Lastly, pin the right side of the Center Back Skirt and right side of Side Back Skirt together, then sew ⅜” along the seam allowance.

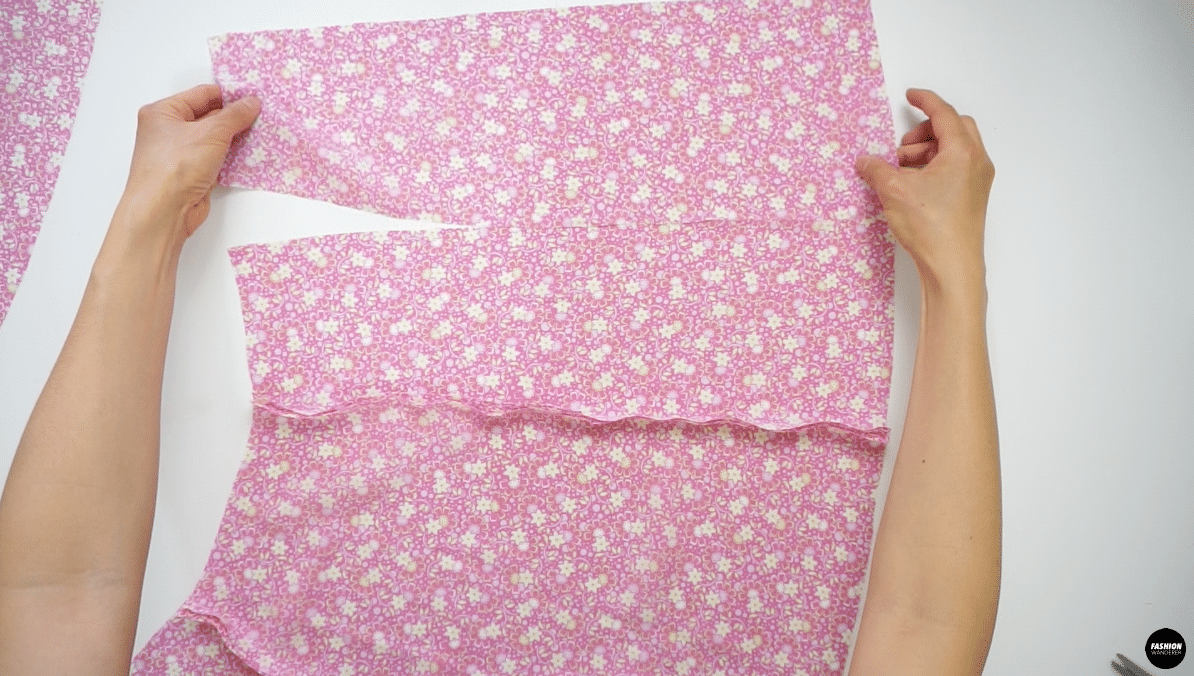
- Finish the skirt seam with overlock stitch and press the seams in the same direction as the Top piece. The side seams of Side Front Skirt need to face away from Center Front, side seam of the skirt need to face toward the back skirt, and Side Back Skirt seam allowance need to face away from Center Back.
How to Assemble Strap Mini Dress
- Pin the right side of the Skirt and right side of the Outer Top piece together and sew ⅜” straight stitch along the waistline.

- Fold the seam allowance facing toward the Top bodice.
- Finish the edge of the Lining Top Bodice with overlock stitch and stitch in the ditch along the waist seam by catching the Lining Top piece inside.
- Use Serger to overlock stitch Center Back on both sides and hemline.
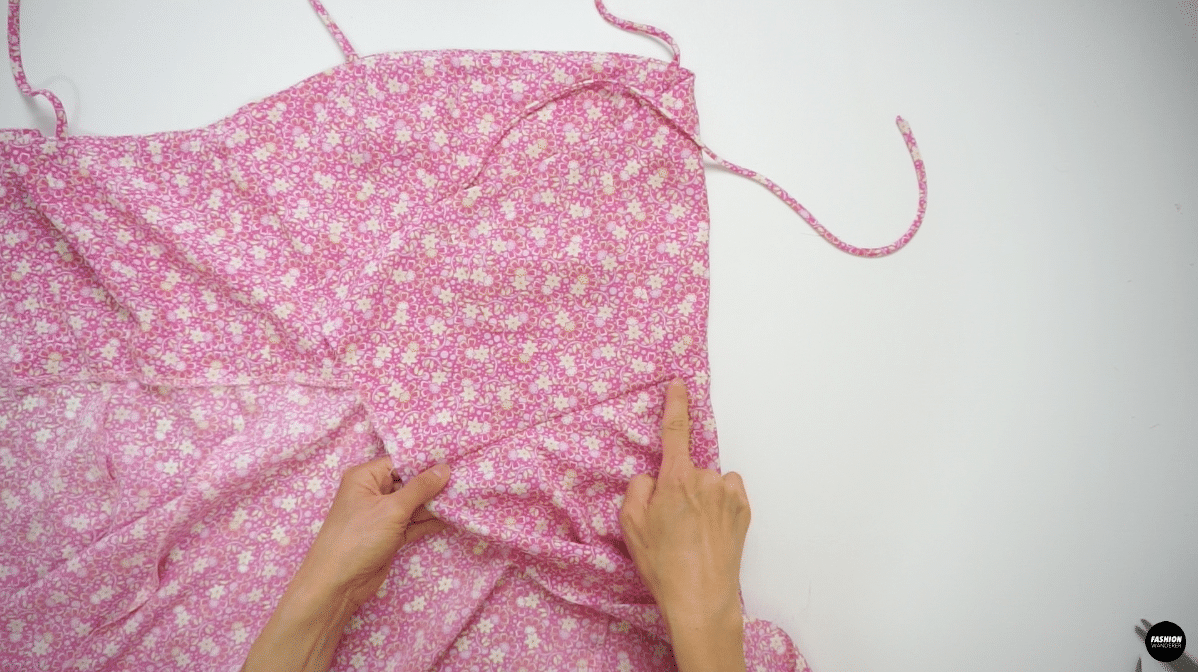
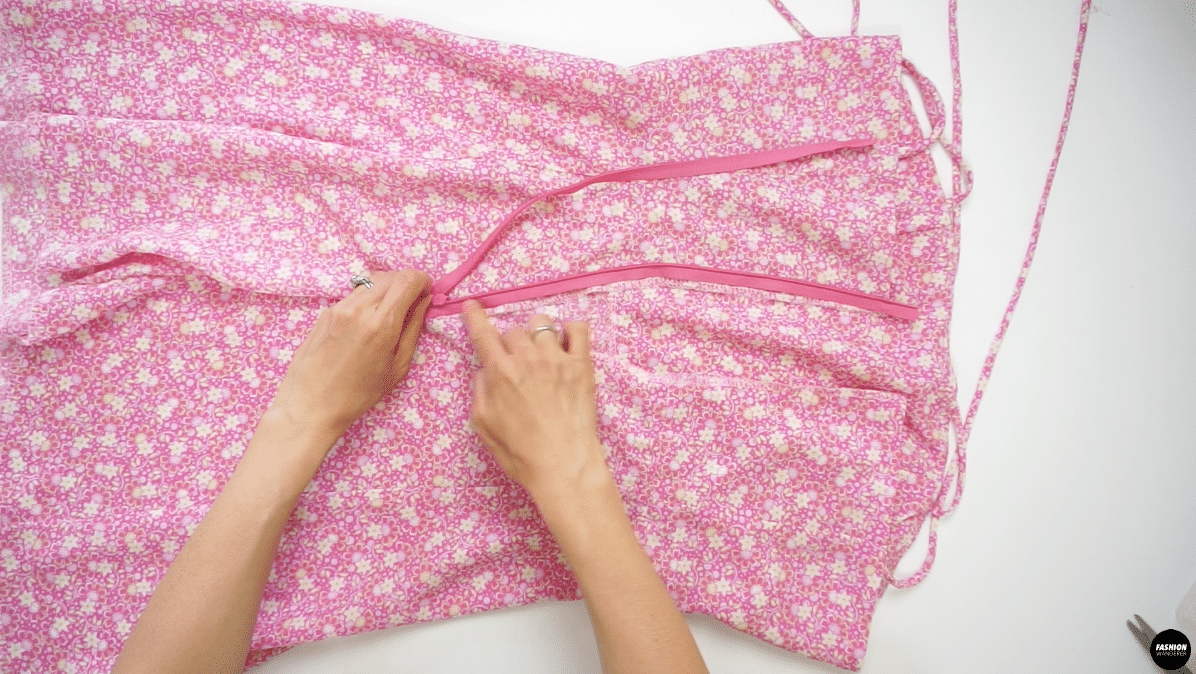
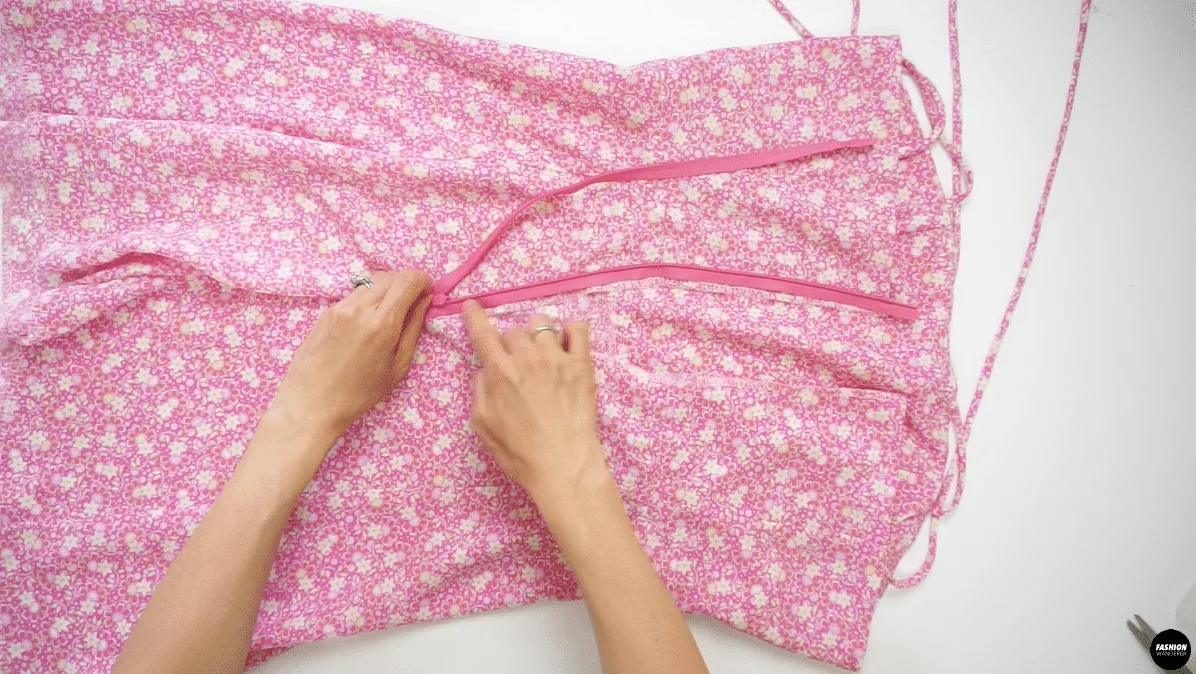
- Flip the dress inside out and measure 11” away from the hemline, which is the point where you stop sewing. From hemline to 11” away point, sew ⅜” width straight stitch and open the seam allowance.

- Press and open the zipper tape. Lay the zipper face down on the right side of the fabric. Use a zipper foot and sew ⅜” width seam allowance next to the zipper coil. Do the same on the other side of the zipper tape.
- Single fold the hemline and ¼” width straight stitch along the front and back skirt hem.
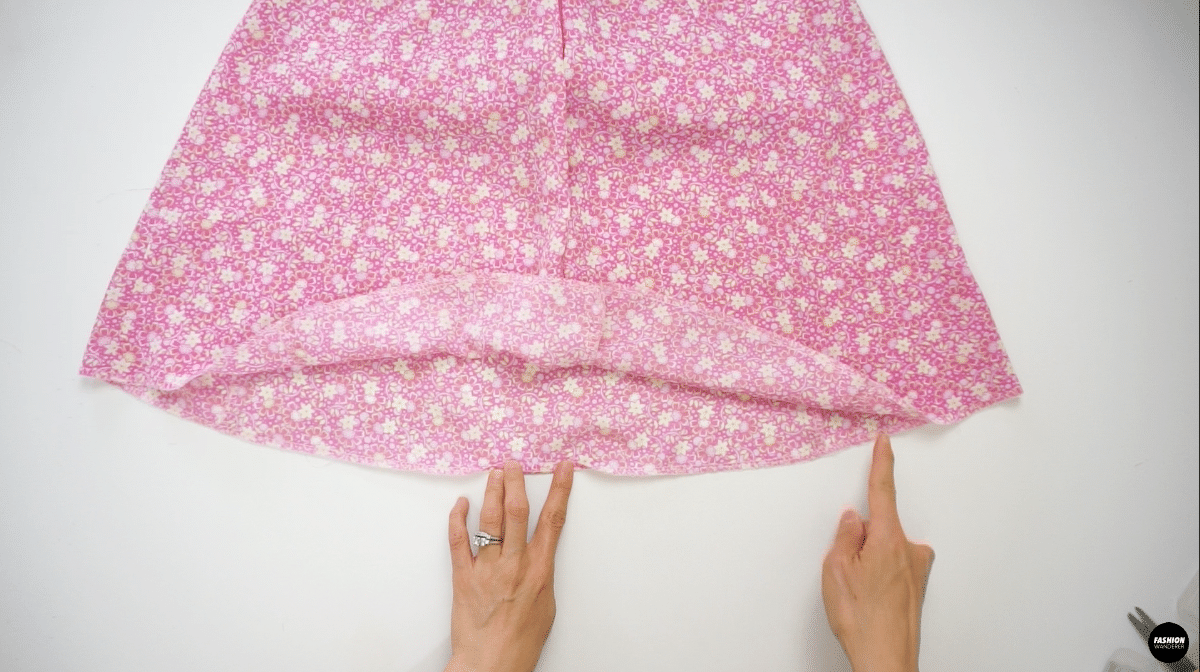
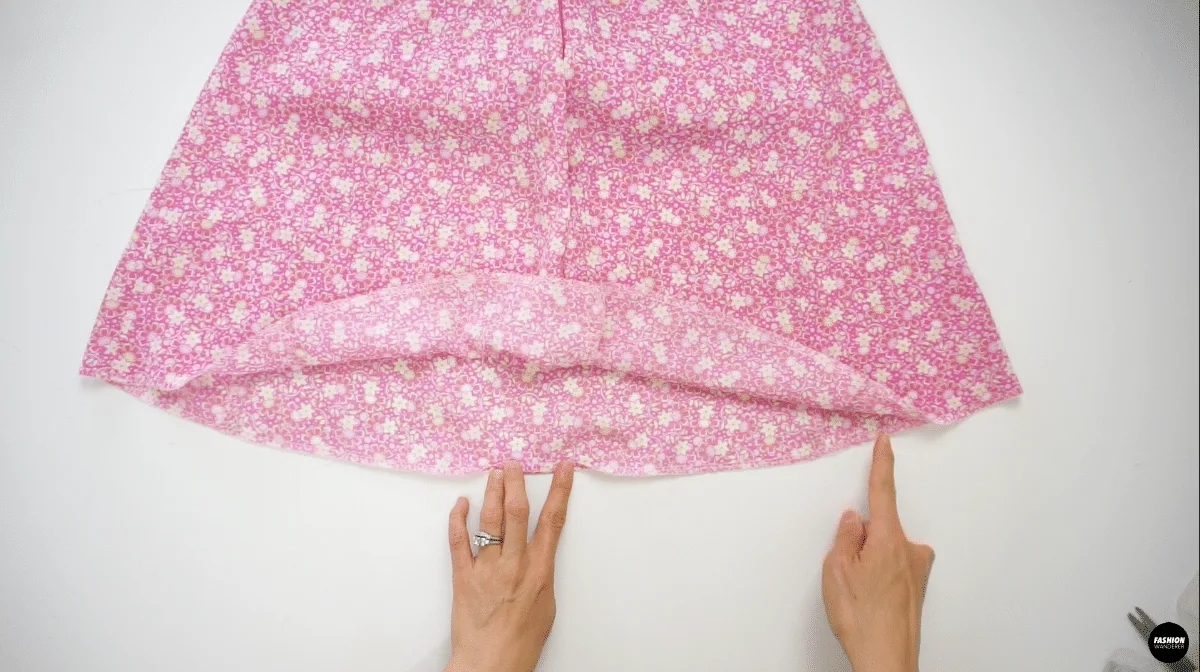
- Finally, Give a nice press on the hem of the skirt, waist, and center back seam. Try on the dress and tie a cute bow on both shoulder straps to complete the Ines tie shoulder strap mini dress.

Recommended Products
As an Amazon Associate and member of other affiliate programs, I earn from qualifying purchases.


Trendy, Affordable Sewing Patterns for All Sizes


Tie Shoulder Jumpsuit Pattern


Palazzo Pants Sewing Pattern


Pocket Overall Romper Pattern


Wrap Maxi Skirt Sewing Pattern


Tie Back Top Sewing Pattern