
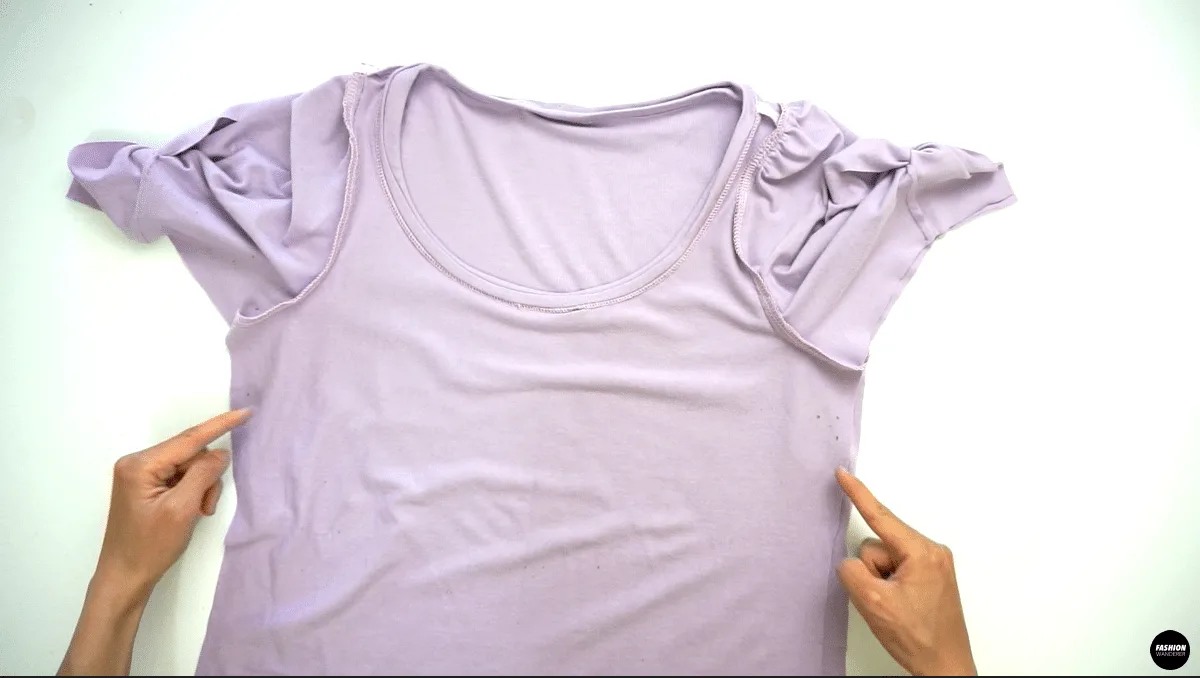
Are you tired of wearing plain old t-shirt all the time? This Everly knit top features a deep scoop neck with slight puff short sleeves and an adorable twist knot along the sleeve opening.
How to make a puff sleeve knot t-shirt? Prepare your knit fabric by washing and drying to pre-shrink before cutting and sewing. Use pins or fabric chalk to copy the pattern onto the fabric.
Review your body measurement to cut along the correct size style line. Read and watch the how-to video and picture sewing tutorial to sew knit neckband, gathering on sleeve and hemming to finish the trendy t-shirt.
If you are new to sewing knit fabric, this modern twist t-shirt will boost your confidence by gaining technique and experience that makes you feel comfortable to work with knit fabric.
Simply follow the sewing pattern and instructions to add the casual and stylish knit top to your DIY classic wardrobe. This sewing project includes step by step instructions with detailed sewing tips to avoid basic mistakes every beginner may encounter.
As always, feel free to reach out if you have any questions along the way.


DIY Puff Sleeve Knot T-Shirt Sewing Pattern


You will love this DIY puff sleeve knot t-shirt because…
- The Everly top sewing pattern comes in US sizes 2 to 12 and UK sizes 6 to 16.
- Each pattern piece includes seam allowance of ⅜” all around.
- Learn to sew knit and sew sleeves in the easiest way.
- Proper way to sew neckband along the scoop neckline.
- Recommended beginner level sewing pattern to move on from woven with an easy challenge to sew knit.
This casual and feminine t-shirt includes a relaxed body silhouette with flattering deep scoop neck. The slightly puffed sleeve elevates the classic t-shirt to the next level.
It is perfect to wear with high waisted Ari denim jeans by simply tucking in the t-shirt to accentuate your waist. In addition, the twist knot on the opening of the sleeve hugs gently along the arm to give a special touch to the puff sleeve.
Use this DIY puff sleeve knot t-shirt sewing pattern and tutorial to make it into cropped length t-shirt. Additionally, you can tighten the body silhouette by taking in the waist and t-shirt opening with a slight adjustment to achieve the desired look.


How to make a puff sleeve knot t-shirt
After downloading the Everly top pattern, start assembling the pdf sewing pattern so that you can begin cutting the pattern pieces along the grain line of the knit fabric. Make a habit of double checking the body measurement of your neck and waist to find the correct top size in this case.
The checklist is a great step to take prior to cutting out the fabric to avoid any fit issues of the garment.
Make sure to know the fabric content and characteristics of the fabric. If you are using poly or rayon spandex knit fabric, use ballpoint needle with cotton covered polyester or 100% polyester sewing thread to get it started.
With this in mind, properly thread your sewing machine by referring to the manual. And always run a simple test on a scrap of fabric to ensure there is no jammed or skipping stitches while making a straight stitch.
Threading the machine correctly saves time and will prevent from damaging your sewing machine. Also, threading a bobbin the correct way can improve and secure the under stitch when sewing knit.
Always have the manual on hand and read the sewing instructions for the tutorial to get professional result.
DIY Puff Sleeve Knot T-Shirt Tutorial Material:
- Everly Top Sewing Pattern
- Rayon Span Knit 1-1½ yard for 59” width
- Fusible Interfacing
- Measuring Tape
- Ballpoint or Stretch Needle
- Pins
- (Optional) Walking Foot
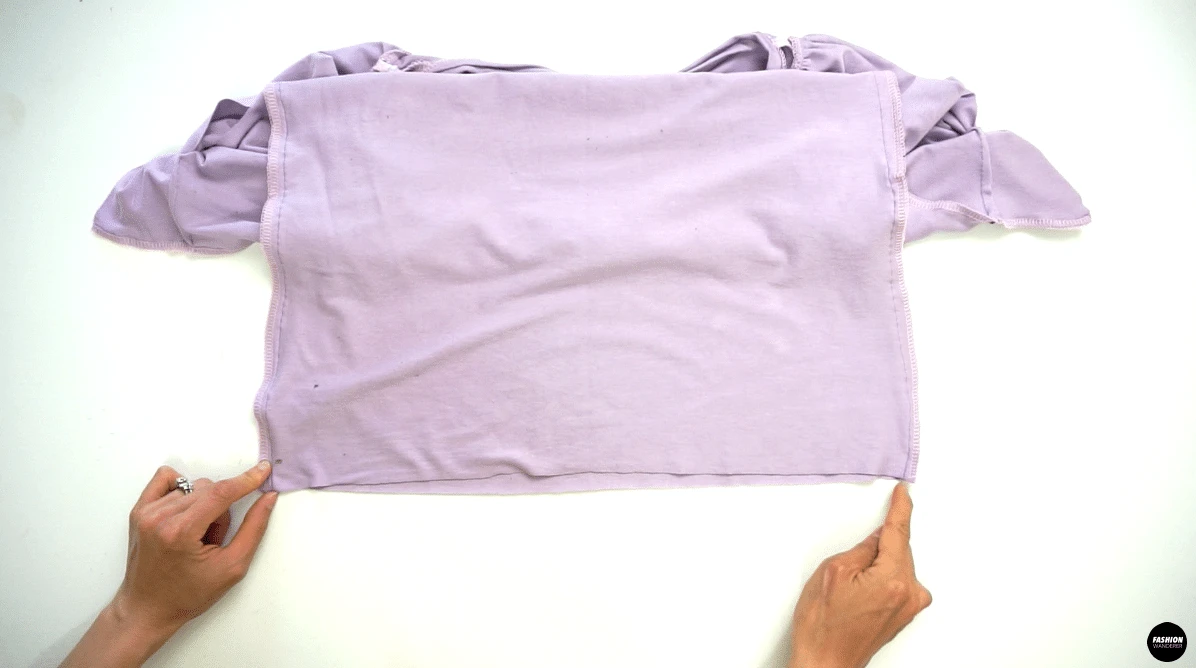
Use 2 strips of fusible interfacing on the shoulder seam of the back top piece to avoid getting stretched out when sewing the top bodice.
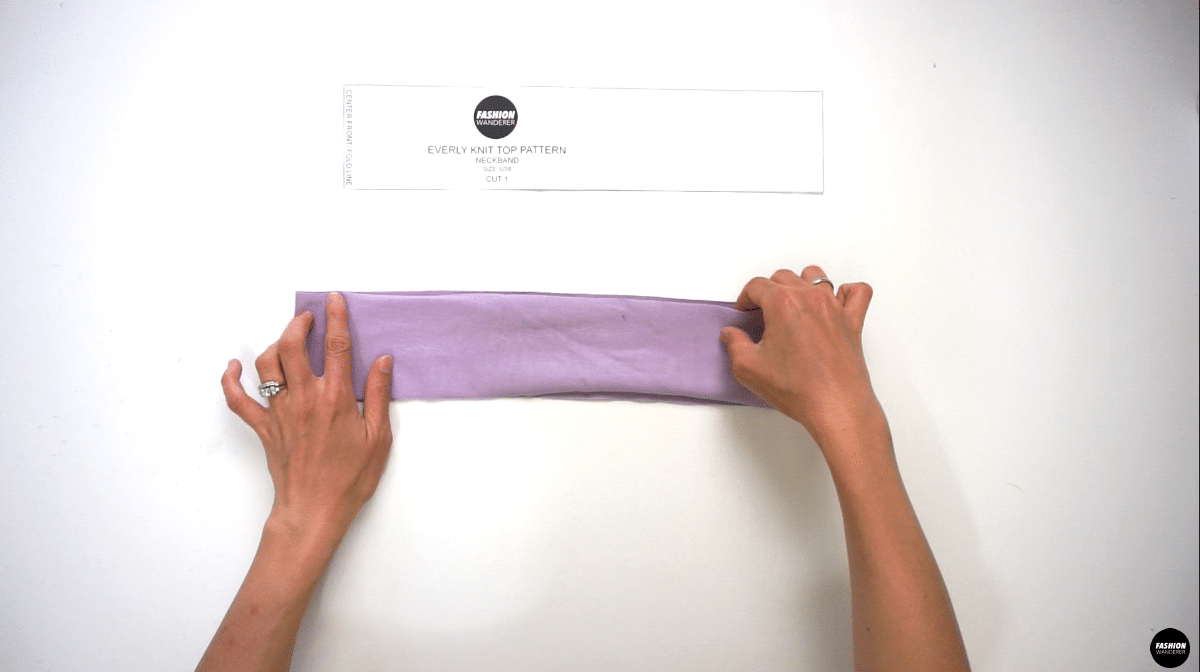
Fold the neckband to make into a loop to insert the bodice.
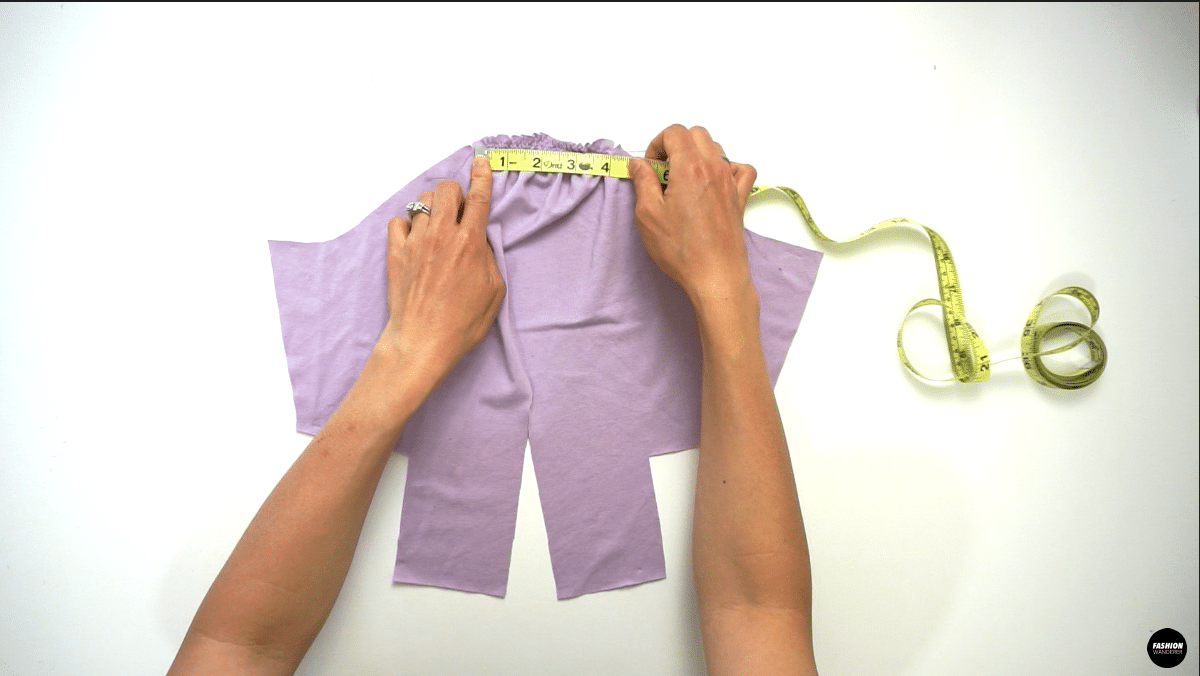
Straight stitch 2 rows along the one side of the notch to the other for gathering with wide stitch length. Slowly pull the thread to create even gathering along the sleeve so it is half of the original length.


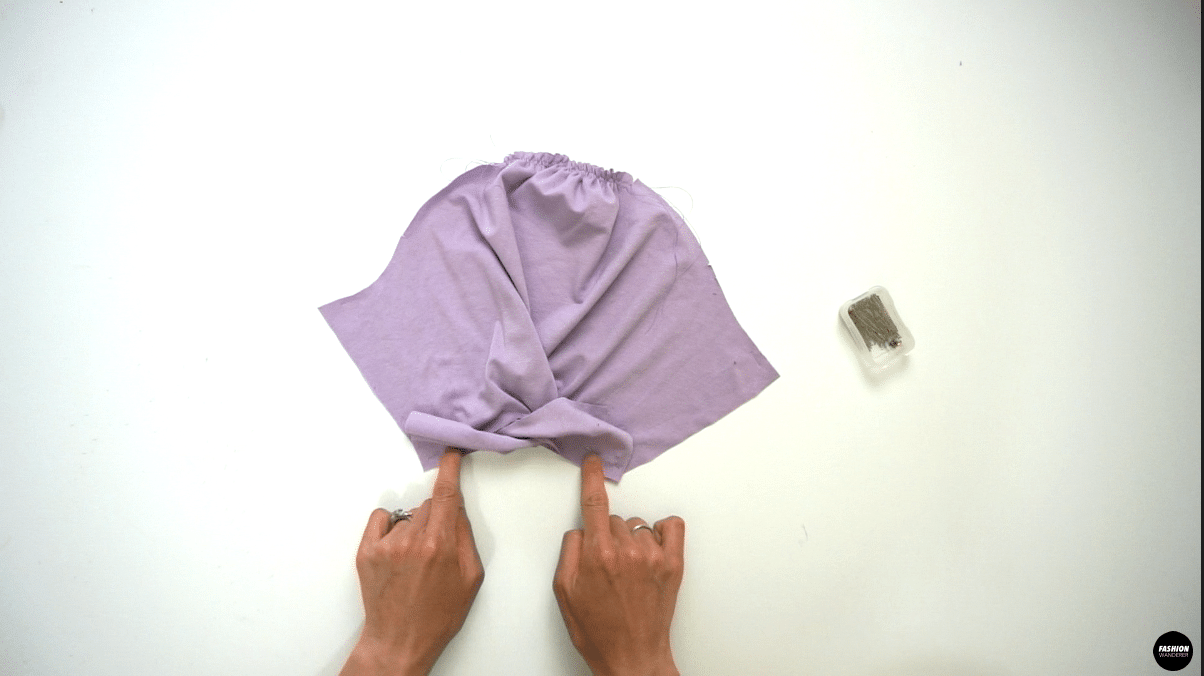
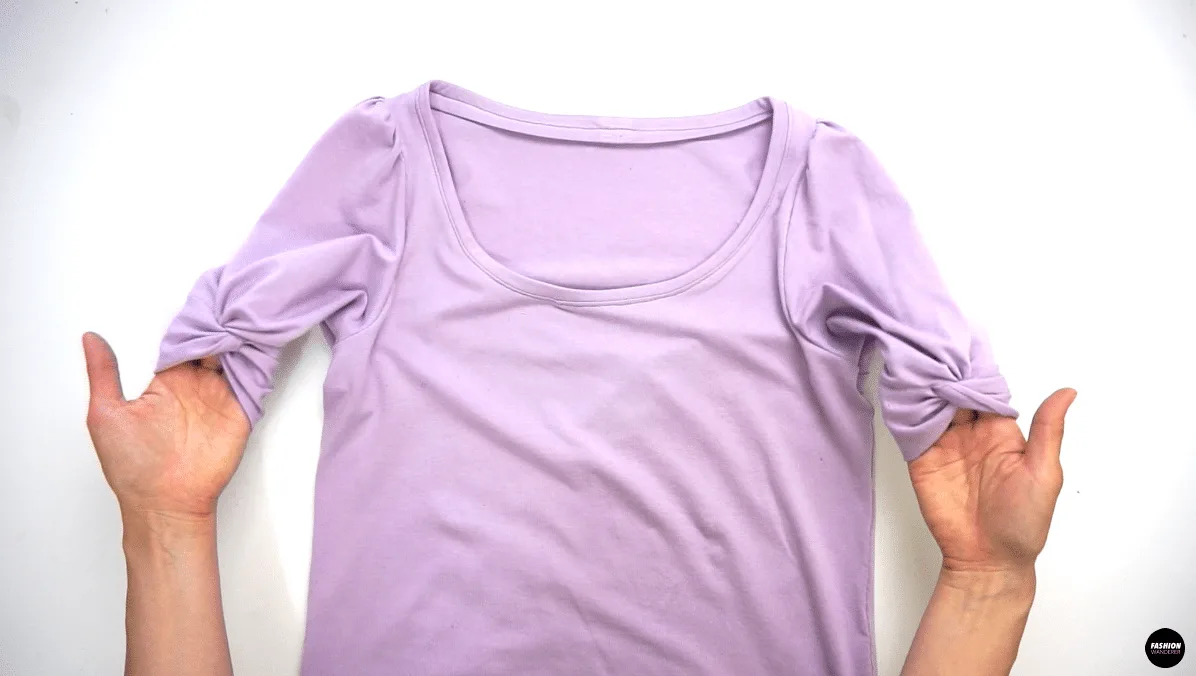
Take the bottom leg of the sleeve the twist twice and pin on each side.
Make sure you follow the same instruction, but the opposite direction to create even twist look. Pin on the wrong side of the twist to sew ¼” width to 0 close the twist.
Attach the neckband to the bodice and use the notches to guide you to sew overlock stitch. Fold once more to cover the overlock stitch inside and edge topstitch around the front and back neckline.
Lay the bodice right side up and follow the notch as a guide to assemble the sleeve to the bodice; straight stitch and finish with overlock stitch.
Close the side seam and underarm of the sleeve with overlock stitch.
Finish the t-shirt with overlock stitch along the cut edge and fold ¾” width inside and double topstitch with ⅛” apart. Always press with an iron for professional touch before trying on to fashion forward top.


DIY Puff Sleeve Knot T-Shirt Sewing Tips


Making a puff sleeve t-shirt with twist knot along the sleeve opening is easy to follow and execute. It may look difficult and confusing how to make these type of sleeve, but its really not.
This step by step tutorial teaches the correct way to twist the sleeve to get even silhouette on both side. Additionally, the gather along the shoulder with two straight stitches creates puff sleeve by using these easy sewing tips.
Furthermore, you will apply a strip of fusible interfacing along the shoulder to prevent stretching the seam along the shoulder. This trick is great knowledge for beginners to know to avoid stretching out while sewing knit.
In this tutorial, you will utilize different methods to sew knit on sleeves, neckline, and hem opening to finish at a professional level. If you already have downloaded the Everly Top sewing pattern, scan through these sewing tips and techniques to guide you with a smooth process.
- Sewing Needle: When sewing any knit fabric, avoid using universal sewing needle. This may make holes in the knit fabric that might be impossible to remove and instead use a ballpoint needle. For this project, I used size 90/14 for the medium weight rayon spandex fabric. If you have lightweight knit fabric, go with size 80/11 ballpoint needle.
- Thread: Whether you are working on medium or lightweight knit fabric, you may use polyester or cotton-polyester blend thread to get the best result on stitches and durability to hold the fabrics together.
- Sewing Foot: Depending on how thin the knit fabric is, sometimes you may notice that the fabric seems like it does not want to smoothly feed into the sewing machine. In this case, use a walking foot to guide every stitch you sew for this project.
- Stitches: To sew regular straight stitches, select shorter stitch length between 1.5 to 2, and for topstitching set to 4 stitch length. Also, raise the tension to 4 when sewing knits. For any cut edges, apply overlock stitches with Serger to get clean look. However, knit fabric does not unravel so if you do not own Serger, you may leave it as is.
- Interfacing: We will only use fusible interfacing along the shoulder seam. Due to slanted shoulder angle, it creates bias cut on both front and back body piece. To avoid stretched out shoulder seams, add interfacing on the back bodice to help you sew straight when joining shoulder seams together. Steam iron to glue the interfacing to the wrong side of the fabric.
Sewing knit t-shirt with short puff sleeve with knot detail looks advance sewing level. However, this easy to understand step by step instructions, detailed picture description and video tutorial will help you to sew knit on side seams, neckline, sleeve, and finishing hemming with foolproof success.
Download the Everly top sewing pattern and review the steps. Start with testing on scrap of knit fabric to sew with wide and short stitch length and overlock stitch to achieve best result to accomplish this sewing project.


How to make a Everly puff sleeve knot t-shirt with sewing pattern
Have you tried to make a knit t-shirt that is different than a regular tee? If you are looking for a trendy and fashionable knit t-shirt to sew, this Everly sewing pattern is exactly what you have been searching for.
It features a relaxed body silhouette with flattering deep scoop neckline. The slight puff short sleeves with adorable twist knots at the end gives a casual but feminine look.
The sewing tutorial comes with step by step detailed pictures and video instructions that every beginner sewer can easily understand. Follow along with us to sew this cute and trendy puff sleeve knot t-shirt to add to your DIY classic wardrobe.
Materials
- Everly Top Sewing Pattern
- Rayon Span Knit 1- 1½ yard for 59” width
- Fusible Interfacing
Tools
- Sewing Machine
- Serger
- Size 90/14 Ballpoint or Stretch Needle
- Straight Pins
- Erasable Pen
- Fabric Scissors
- Measuring Tape
- (Optional) Walking Foot
Instructions
For this Everly puff sleeve knot t-shirt tutorial, start by assembling the pattern pieces.
1 piece of Front Top
1 piece of Back Top
2 pieces of Sleeve
1 piece of Neckband
How to Join Top Bodice
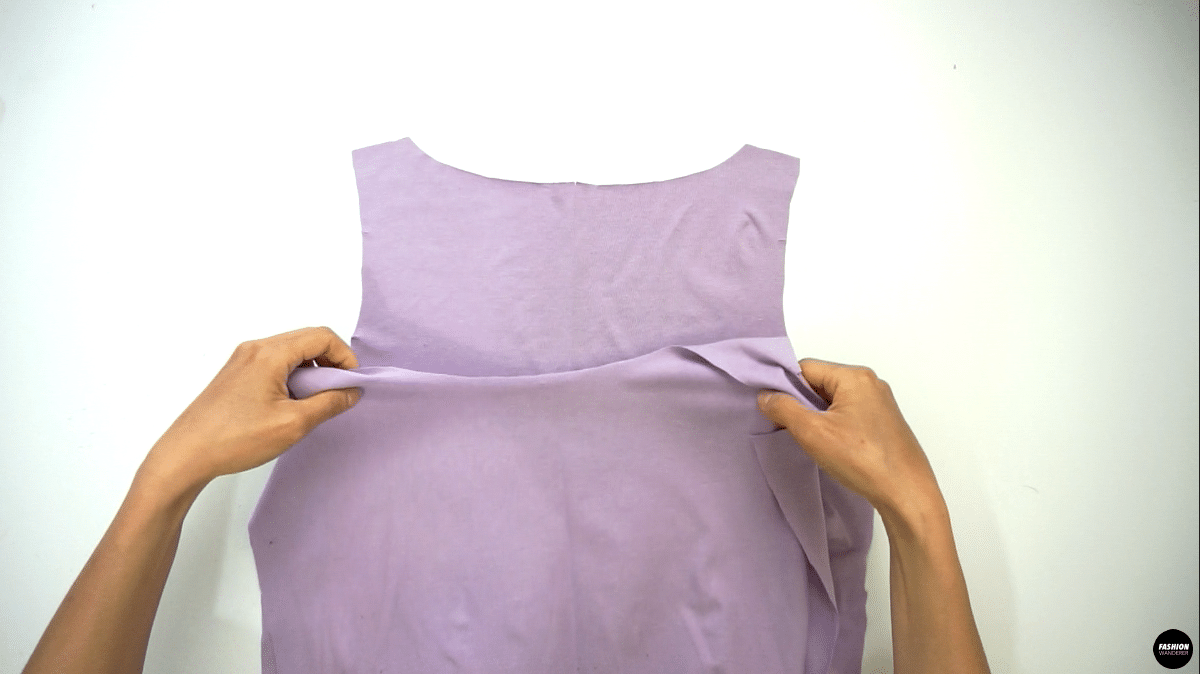
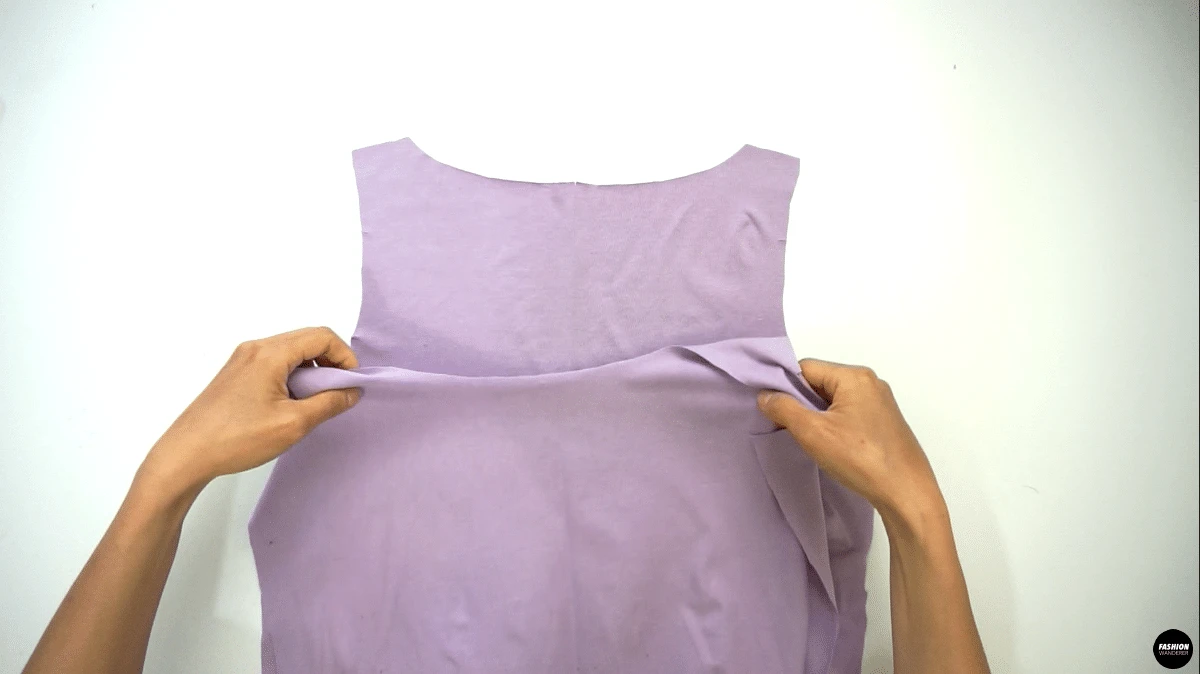
- Prepare 2 pieces of ⅜” width by 2” long fusible interfacing and lay on the wrong side of Back Top shoulder piece on both sides. Use hot steam iron to apply the interfacing on the garment.


- Place the right side of the Back Top piece and Front Top piece facing each other. Straight stitch ⅜” width and finish with overlock stitch using a Serger.
How to Make Neckband
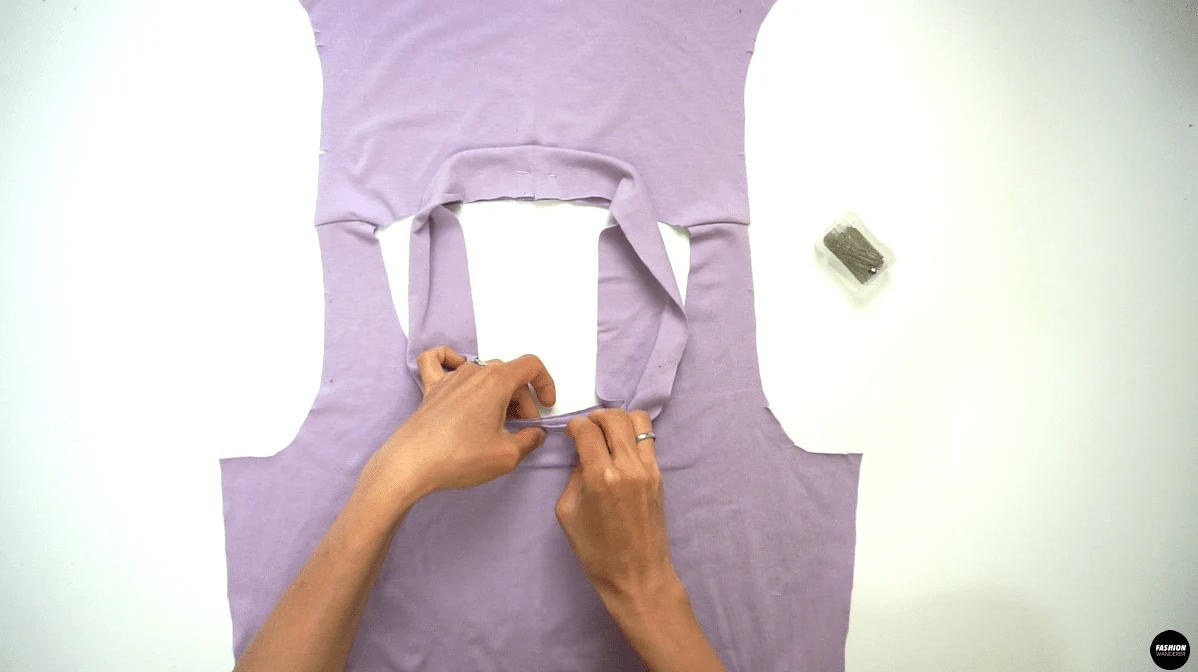
- Fold the neckband piece in half lengthwise right side facing each other and straight stitch ⅜” width to make a loop.

How to Make Puff Sleeve With Twist Knot
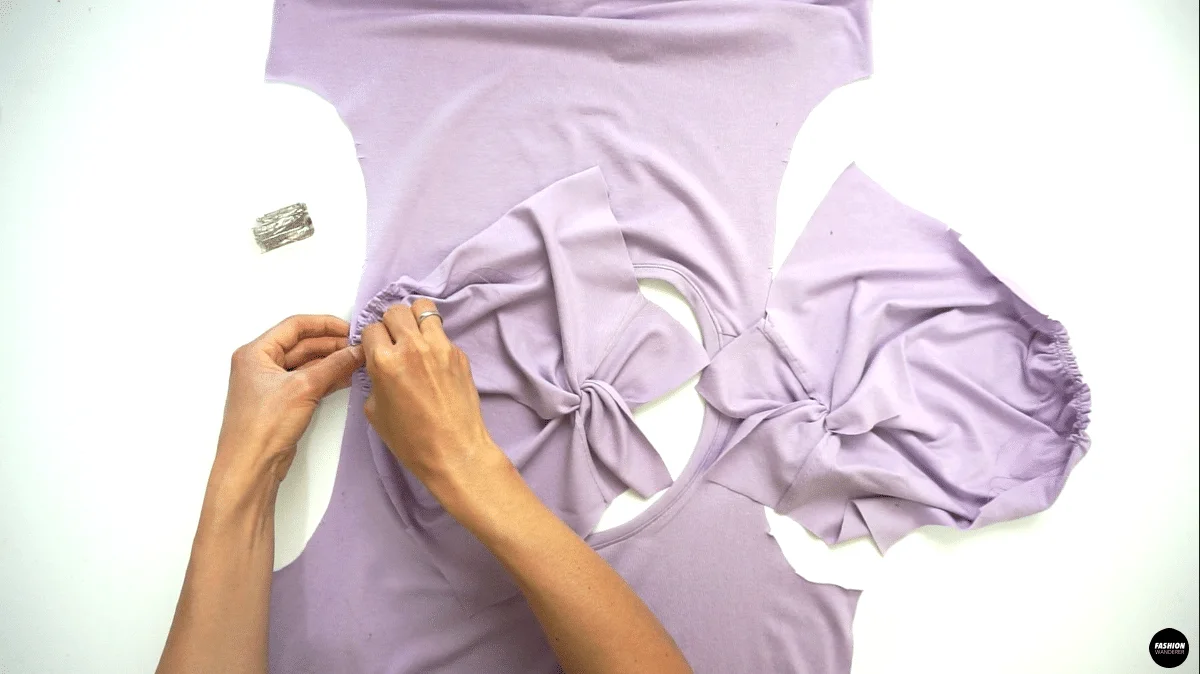
- From front single notch to back single notch, sew 2 straight stitches with 3.5 wide stitch length for gathering.
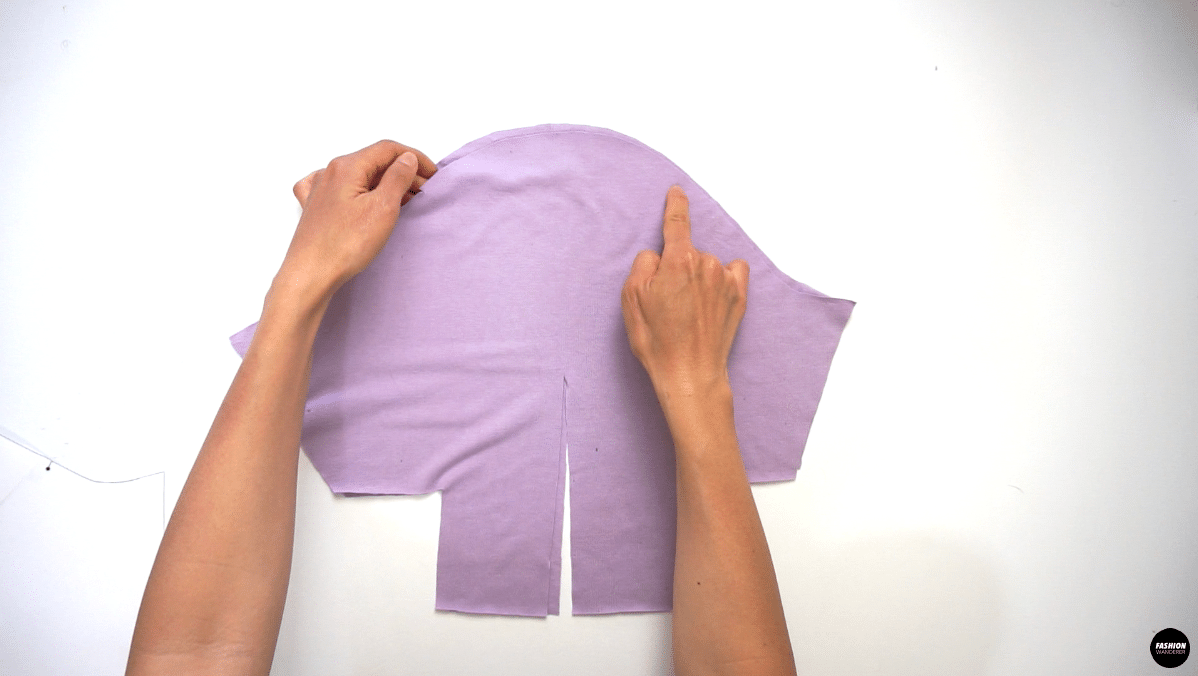

- Gently pull the back threads on each side so that the finished measurement will go from 8” to 4” long on top of the sleeve.

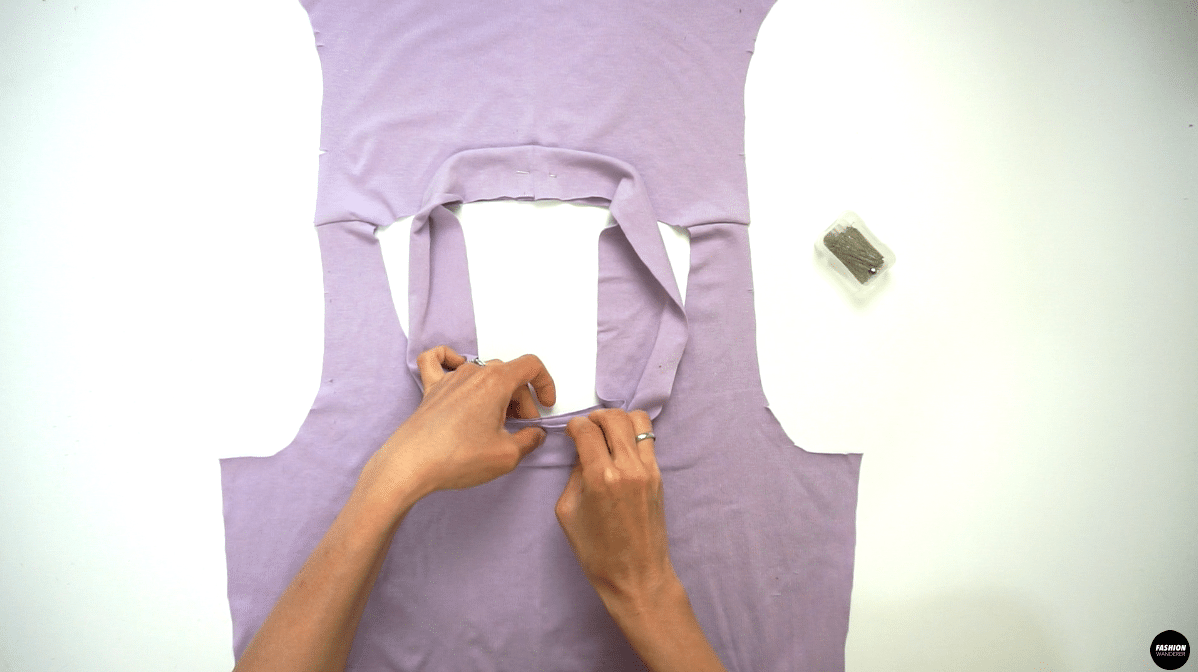
- Next, take the bottom leg piece on the front side of the sleeve and make two twists. Ensure the bottom leg of the sleeve matches the side of the sleeve and pin to secure. From side seam of the sleeve, ¼” straight stitch to zero close towards the twist. The closer you can get without sewing over the twist, the tighter the knot will become.

How to Attach Neckband to Body
- Fold the neckline wrong side facing each other and lay the bodice right side up. Match the center back seam of the neckband and center back notch of the bodice and pin. Also, match the center front notch of the neckband and bodice, then pin to secure.
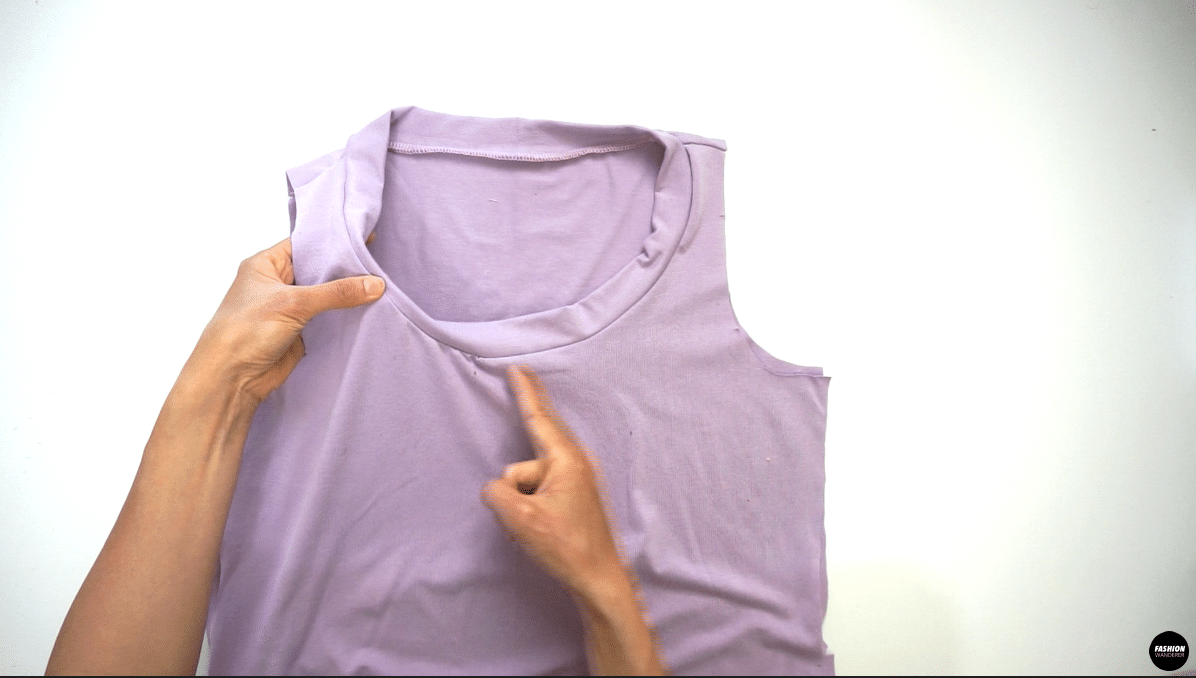
- Overlock the neckband and neck opening. Fold the neckband inside so that you only see ¼” width neckband. This way you will cover the overlock seam for a clean finish.

How to Assemble Puff Sleeve T-Shirt
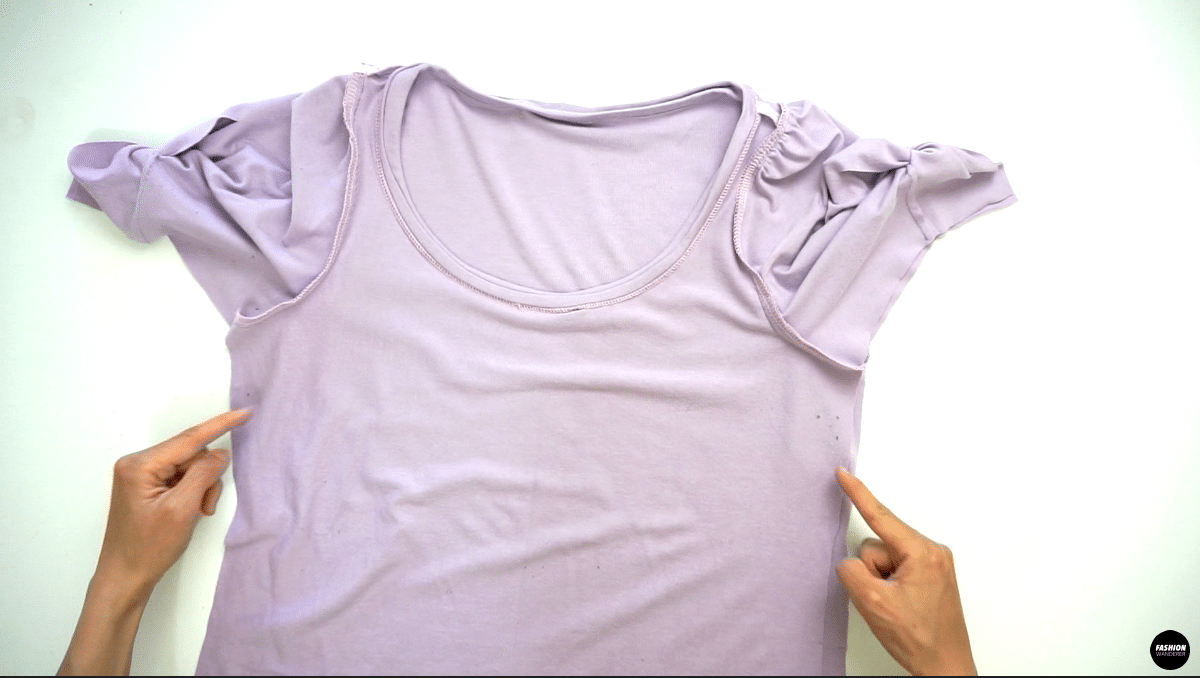
- Lay the bodice right side up and match the sleeve notch with shoulder seam, then pin along before you sew. Straight stitch ⅜” width and finish with overlock stitch.

- Next, place right side of the bodice facing each other and close the underarm of the sleeve and side seam with ⅜” straight stitch and overlock stitch.
- Lastly, finish the cut edge of the hem with overlock stitch.

- Then, fold ¾” width inside of the t-shirt and double straight stitch with ⅛” apart.

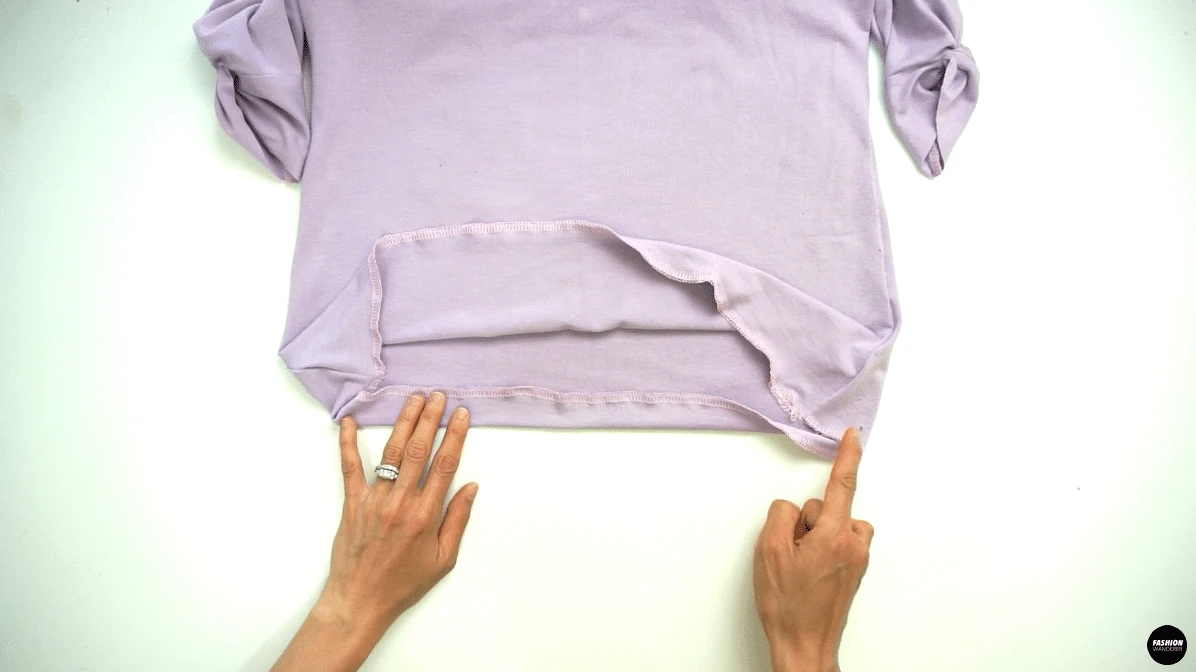
- Give a nice press on the hem, side seam, and armhole to finish this adorable Everly puff sleeve with twist knot t-shirt.

Recommended Products
As an Amazon Associate and member of other affiliate programs, I earn from qualifying purchases.


Trendy, Affordable Sewing Patterns for All Sizes


Tie Shoulder Jumpsuit Pattern


Palazzo Pants Sewing Pattern


Pocket Overall Romper Pattern


Wrap Maxi Skirt Sewing Pattern


Tie Back Top Sewing Pattern