
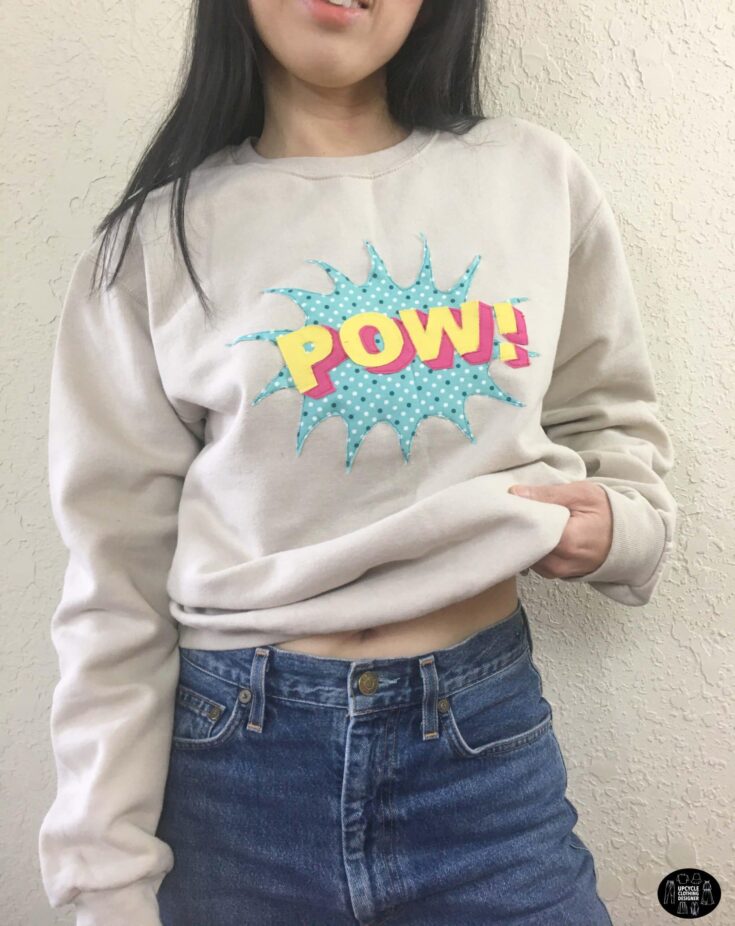
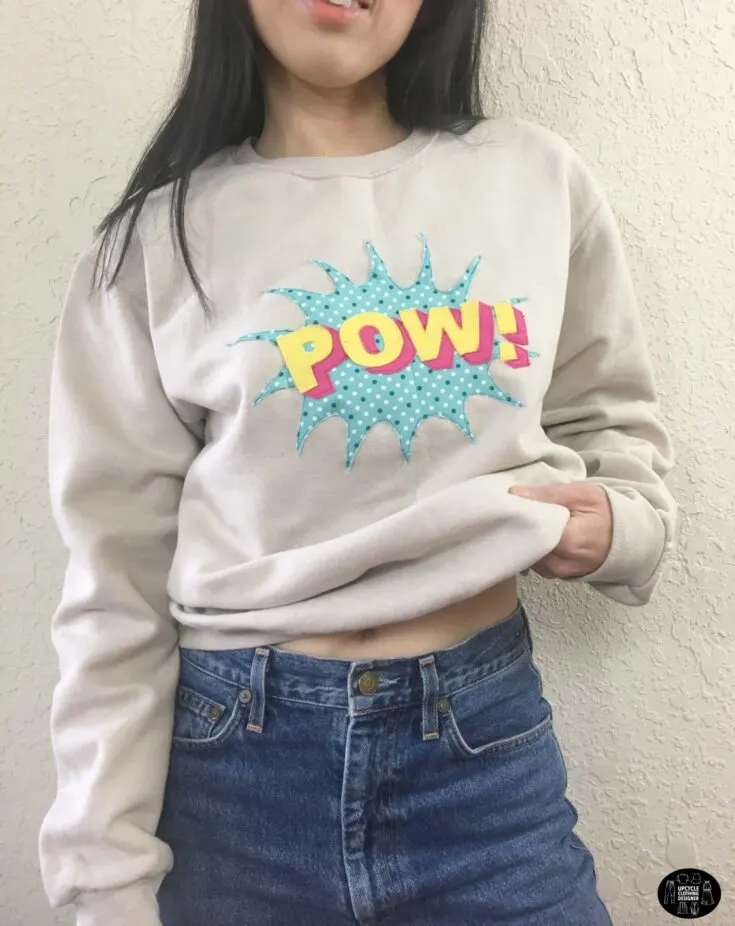
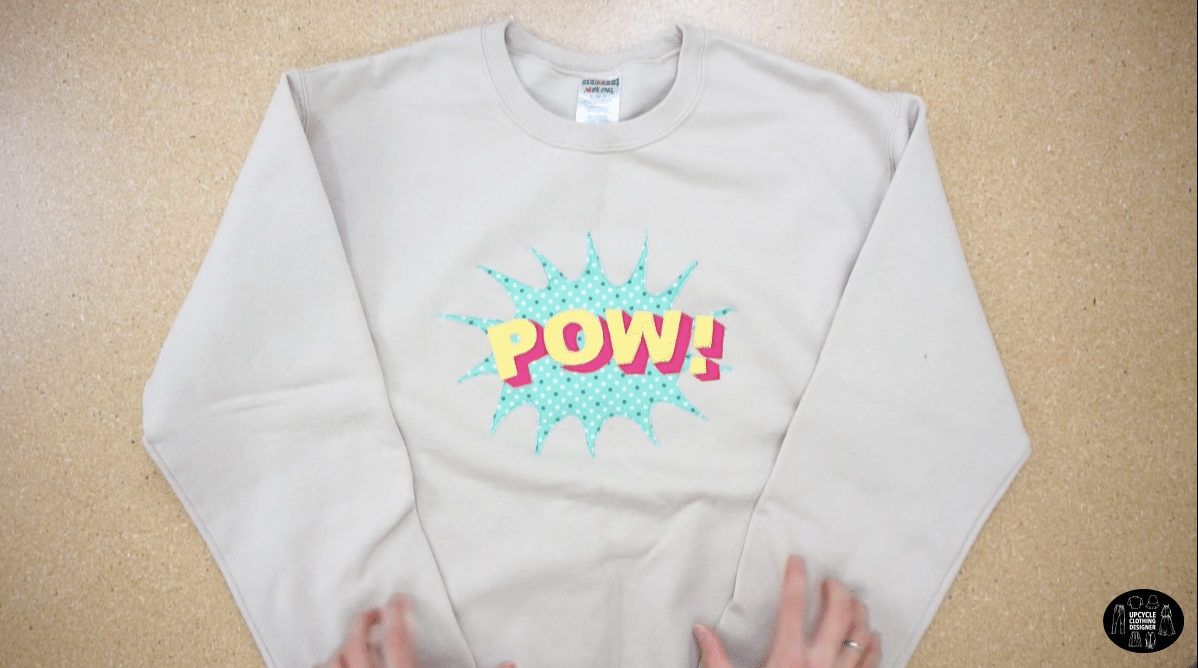
Have you tried to sew appliqué method to upgrade your old clothes? The bold lettering create 3D silhouette to pop behind the fun polka dot background print, this will make your old clothes fun to wear again.
Each design element in this tutorial is easily achievable for beginners, simply follow the tips and sew with the guidance of these video and picture instructions. If you have scraps of solid and printed fabrics, don’t throw them away. Instead, save them to use to make into appliqué patchwork designs.
It’s super easy and a quick way to upcycle old clothes, with a little effort you can modify and refashion existing garments without major alterations or changes.
The best part of this project is that you can modify by changing up the words instead of POW! If you decide to go with different wording, simply copy the new lettering and use the same technique to attach to the new phrase.


You will love this DIY POW appliqué design because…
- No previous appliqué sewing experience is needed.
- Free appliqué design to copy.
- Learn how to sew woven pieces onto knit fabric.
- Create appliqué design with interfacing to maintain its shape while sewing.
- Transfer copied design onto fusible.
For this tutorial, I used printed cotton fabric scraps to create the lettering, the shadow of words, and the star background. I emphasized the depth by using printed fabric for the motif.
Be creative and use different color schemes or print pattern to make personalized upcycled patchwork designs. I recommend staying with a similar weight for all the fabric scraps in woven to keep the consistency of finished result.
The best part of this tutorial is that you don’t need to know your body measurement. Instead, easily transform your old garments into fashionable street-style inspired graphic top using appliqué sewing method.


How do you make a POW appliqué design?
In order to make a POW appliqué design, all you need is old knit top that you no longer wear and fabric scraps to work with.
If you never done appliqué method, I share easy ways to sew decorations on clothes using iron-on backing. By using the rigid back, you will have individual pieces with smooth edges that will keep its shape while attaching to the bodice.
DIY POW Applique Design Sweatshirt Materials:


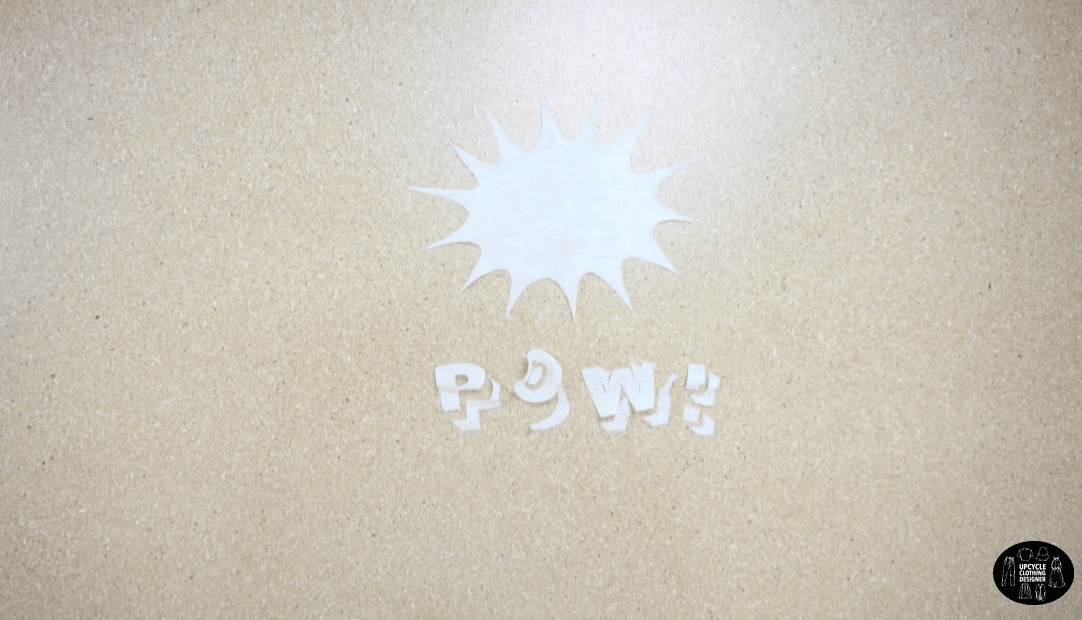
- Free POW Appliqué Design
- 3 Pieces of ¼ yards Fabric Scraps
- Sewing Machine
- Pencil
- Measuring Tape
- Fabric Scissors
- Matching Thread
- Iron-On Interfacing
- Pins
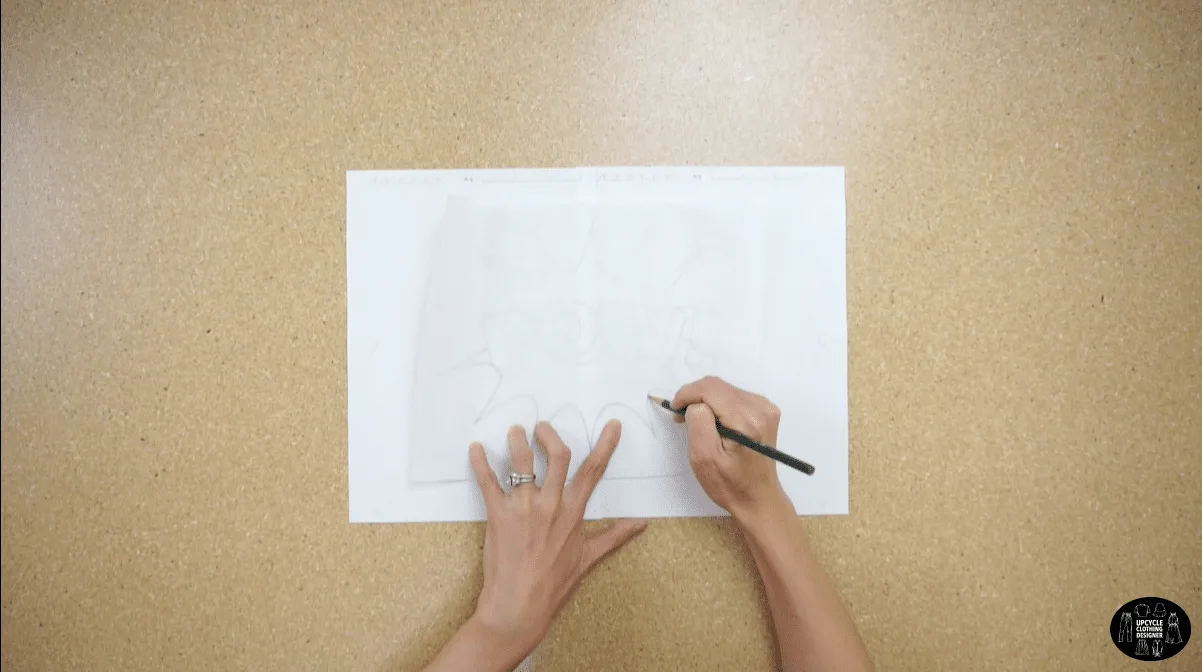
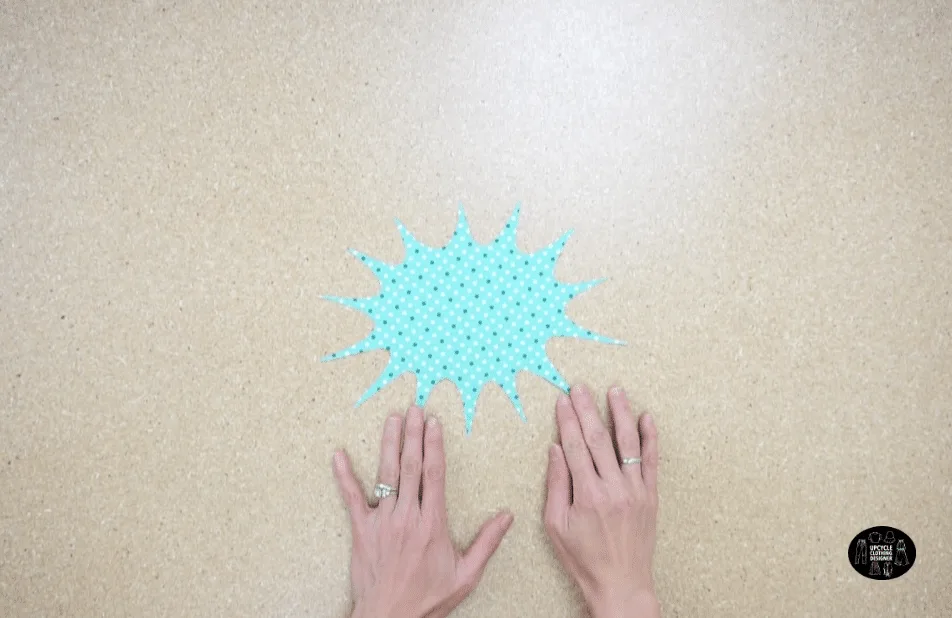
To make the POW appliqué patchwork, print out the free artwork.
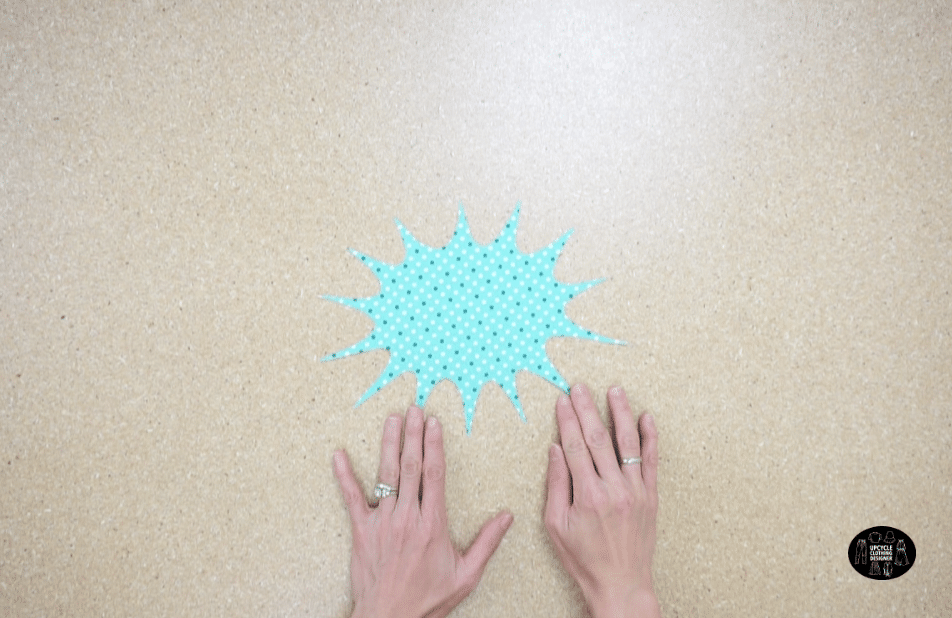
Trace the design on top of the pebble texture of the fusible backing, then cut out the individual pieces.
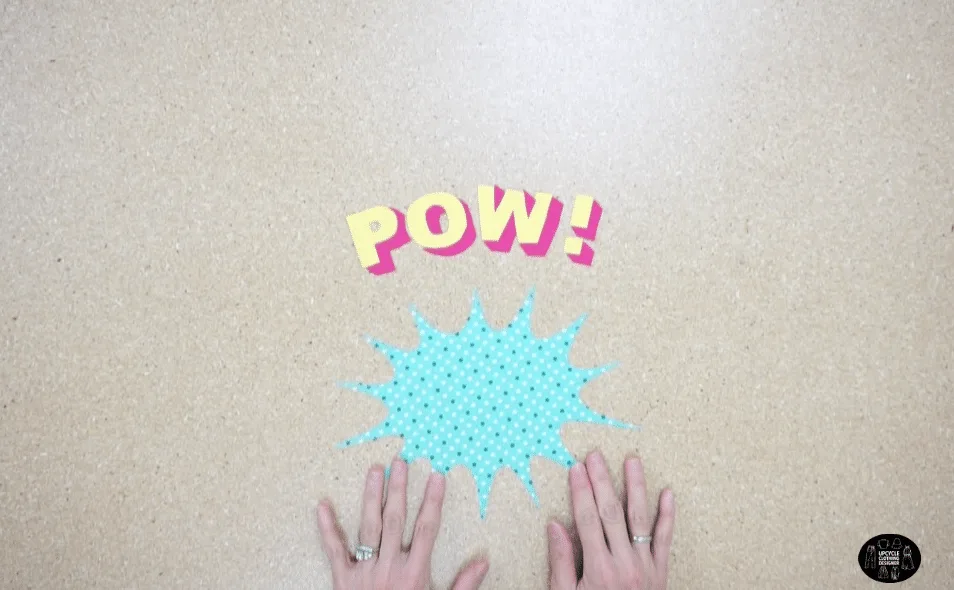
Use an iron to glue the backing to the wrong side of the fabric.
Topstitch the lettering onto the background, and then add the POW appliqué patchwork to the sweatshirt.


DIY POW Applique Design Sweatshirt Sewing Tips


In this DIY POW appliqué design tutorial, you will learn how to sew appliqué using straight edge stitch around each shape. Below are the essential sewing tips to keep your cool graphics intact and help you easily refashion a top that will upgrade your wardrobe.
- Sewing Machine: If you are intimidated by sewing mix of woven and knit, this tutorial is not hard at all. Because we are using stiff backing on the graphic design, you can keep your sewing machine setting as regular as you normally sew. Test on scraps and you will find the best tension to accomplish this project.
- Needle & Thread: In this tutorial, I’m using a regular sweatshirt that has fleece backing on the inside, which is about medium-weight knit material. Since it is mixture of woven and knit sewing, I kept the regular 90/14 needle and used a matching color cotton/blend polyester universal thread.
- Stitches: Keep the stitch length around size 2-3 instead of wide stitch length. Adjust the tension as needed based on the materials you are working on.
- Sewing Foot: Use a regular sewing foot if you are comfortable to move around when sewing rounded edges. But you may go ahead and use appliqué presser foot to change different stitching for each shape.
- Iron-On Fusible: The iron-on fusible backing is great semi-sheer that you can easily copy the design and transfer to the fabric. Not only that, you will have clean cut edges that are easy to sew on top of knit fabric without creating puckering or stretching out.
More make from scraps of fabric project for your next DIY fashion:
How To Make A POW Appliqué Design Sweatshirt
When reconstructing old clothes or making new clothes from scraps of fabric, keep those fabric to create more cool appliqué patched graphic designs to upgrade your wardrobe. This POW appliqué design comes with a free pattern that you can easily download and copy onto any top, so follow along and enjoy your refashioned DIY clothes!
Materials
- Free POW Appliqué Design
- 3 Pieces of ¼ yards Fabric Scraps
Tools
- Sewing Machine
- Pencil
- Measuring Tape
- Fabric Scissors
- Matching Thread
- Iron-On Interfacing
- Pins
Instructions
- For this POW appliqué patchwork tutorial, print out the free graphic design.
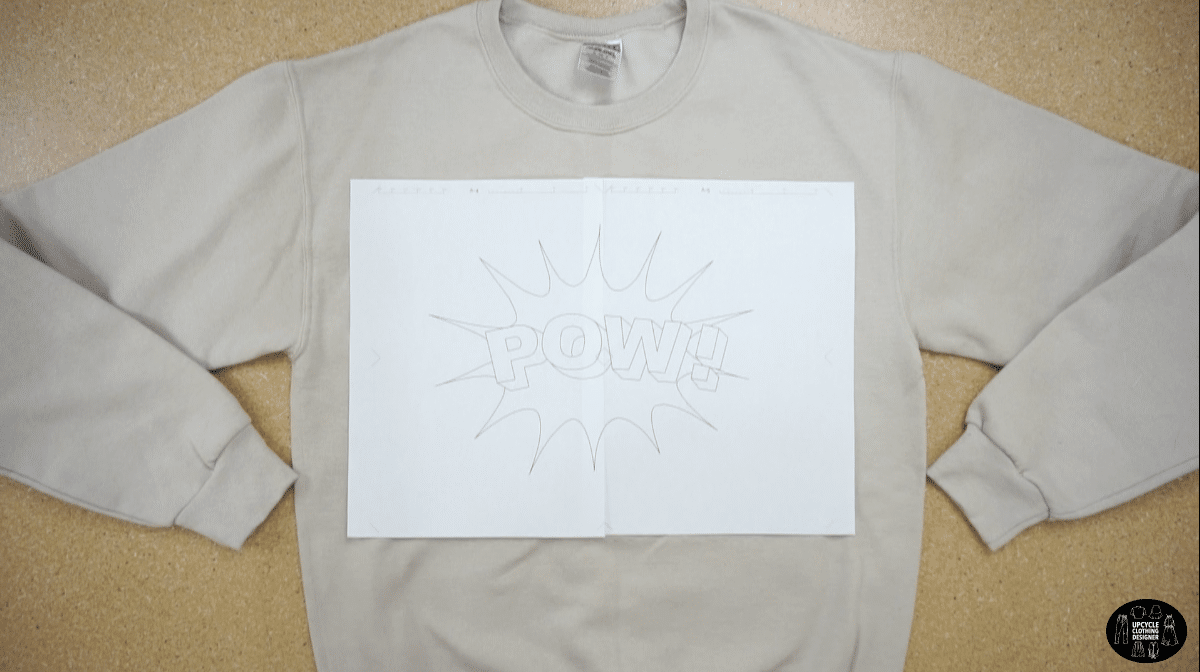

- Trace the background pattern on top of the pebble texture of the fusible backing.
Then, trace the POW letters onto the pebbly surface of another piece of fusible backing.
- Next, cut the individual pieces out.

- Flip the fabric scraps so that the wrong side is facing upwards, and lay the pebble side facing down.
- Iron the glue so that it will melt and attach to the wrong side of the fabric.
Set the iron to medium heat, and lightly pat the backing instead of pressing and sliding.
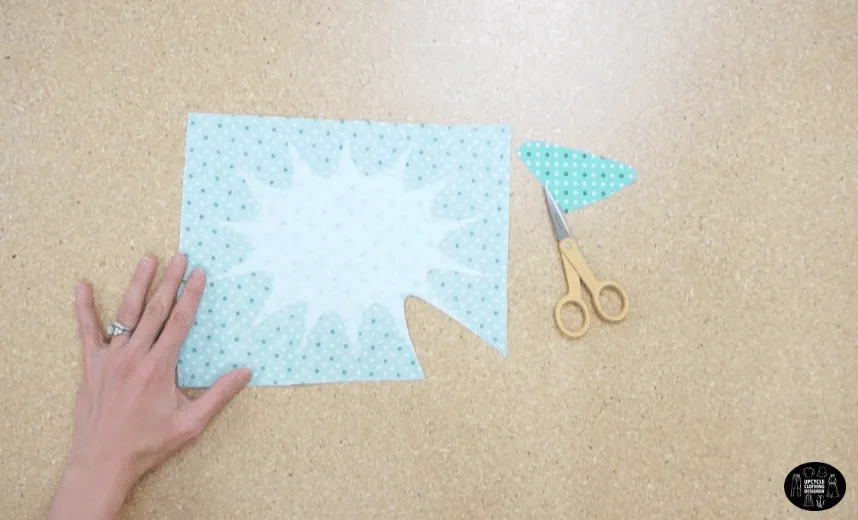
- After joining the fusible backing to the artwork, cut along the edges.
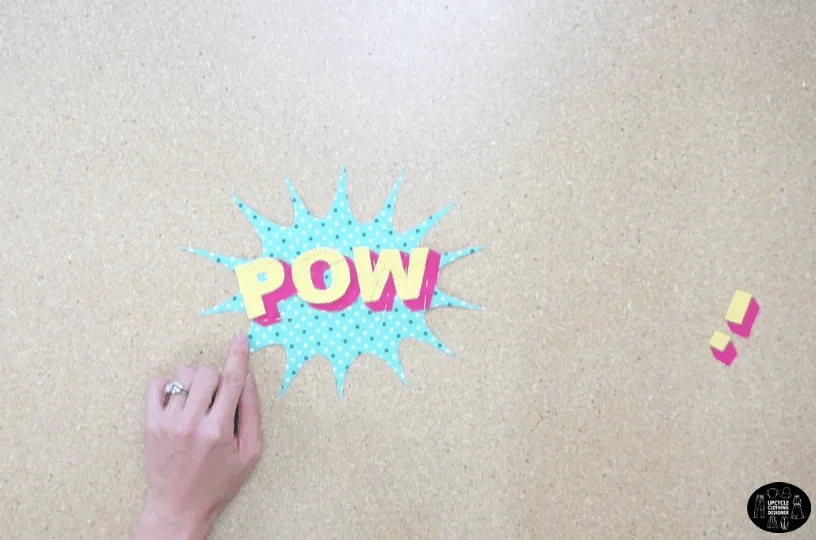
- Before attaching to the sweatshirt, secure the lettering to the background. Lay the pieces on the background, then pin to secure the position.
Sew around each letter using edge topstitch.

- Now, it’s time to add the cool appliqué patchwork design to the sweatshirt!
Gather all the pieces and position on the center of the sweatshirt, don’t forget the shadow pieces and the exclamation point.
Adjust the position and pin all the pieces on the sweatshirt so it is easy to sew.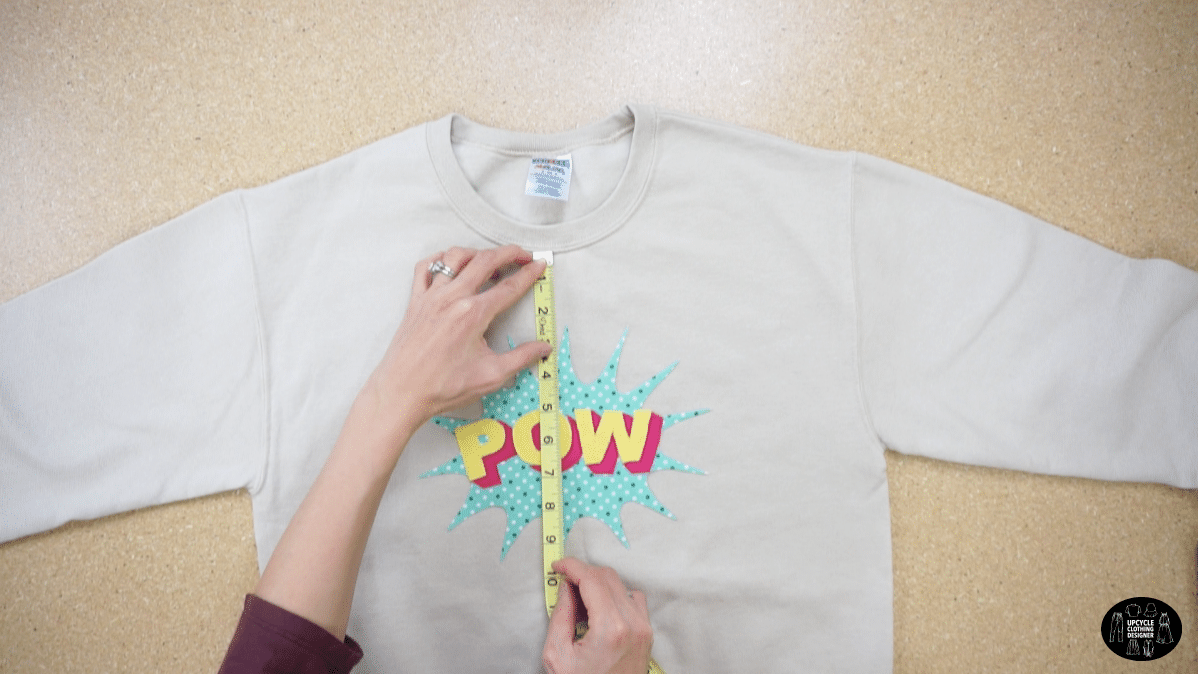

- Start sewing around the background piece and take time to sew each piece slowly so that the edges stay pointy and hold their shape to finish this POW appliqué patchwork.
Recommended Products
As an Amazon Associate and member of other affiliate programs, I earn from qualifying purchases.


Trendy, Affordable Sewing Patterns for All Sizes


Tie Shoulder Jumpsuit Pattern


Palazzo Pants Sewing Pattern


Pocket Overall Romper Pattern


Wrap Maxi Skirt Sewing Pattern


Tie Back Top Sewing Pattern