
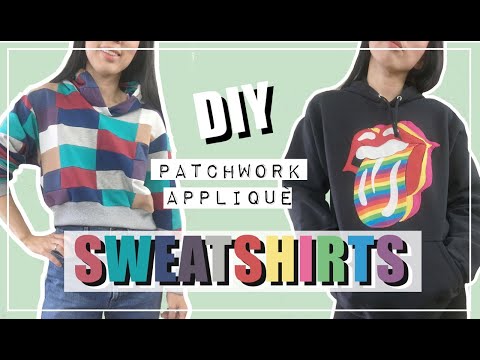
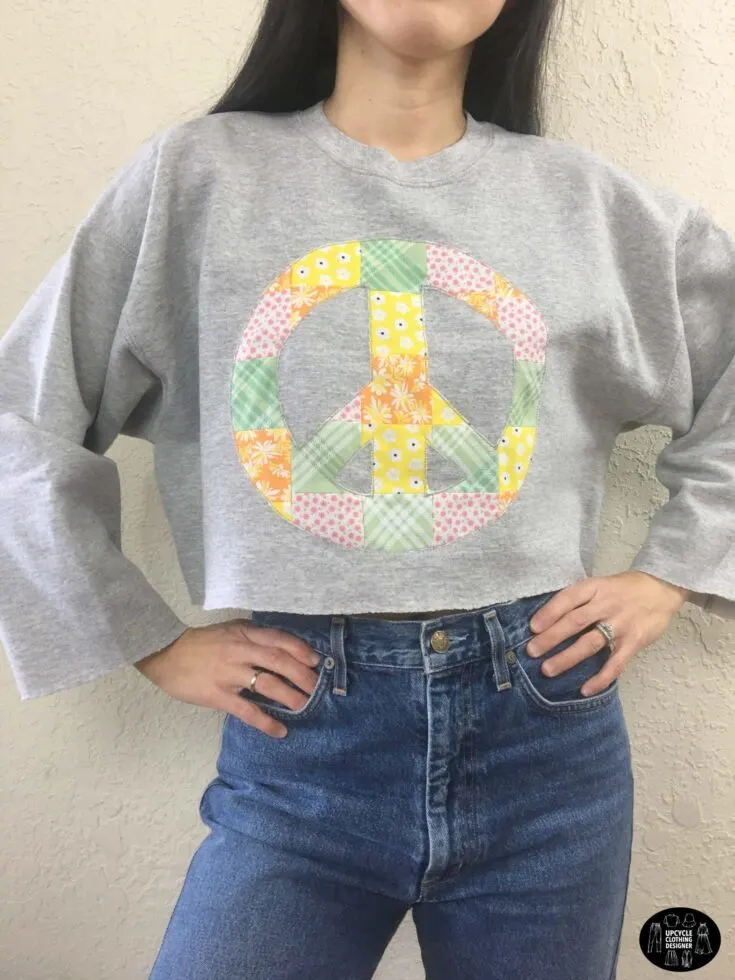
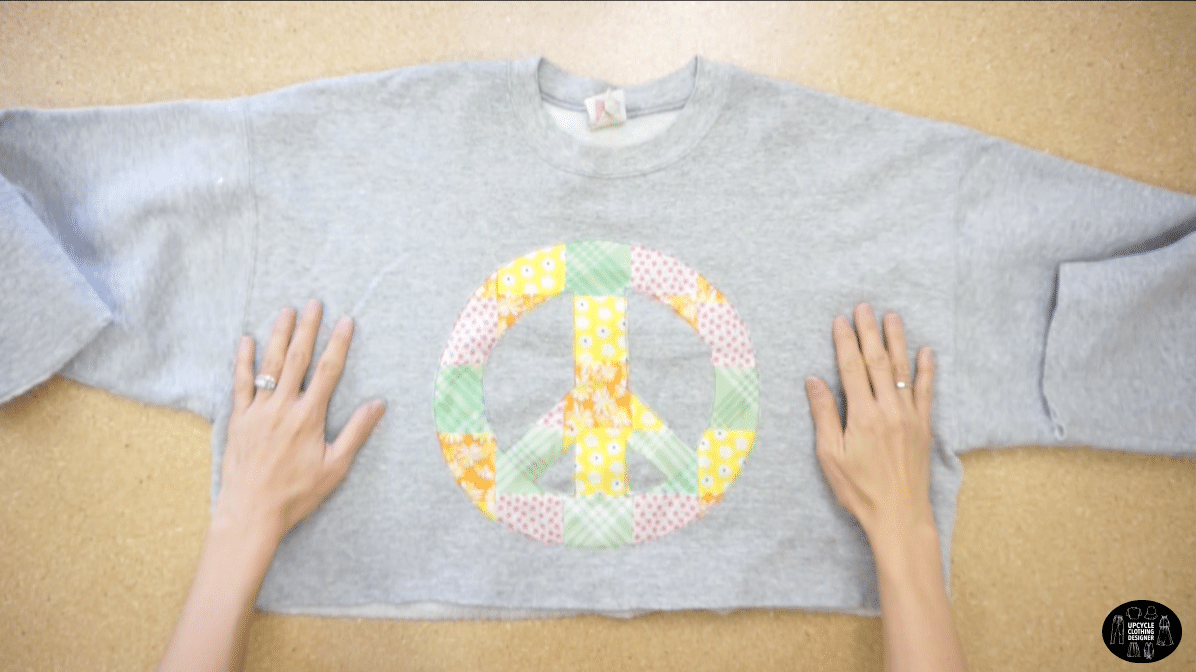
Do you have worn out cropped sweatshirt, plain t-shirt or denim jacket that you need ideas to upcycle with? From floral to plaid this peace sign printed patchwork uses zigzag stitch to secure the motif and create a cute boho inspired DIY patchwork peace sign cropped sweatshirt. Pair with high waisted flared denim jeans to create 80s fashion style to upgrade your outfit for the day.
If you never tried appliqué patchwork on clothing, you will love this project. I show easy ways to sew small squares to create a piece of fabric that you can convert into peace sign appliqué.
The best part of this project is that you can use any type of print, pattern and colors to personalize the design. You can also resize the peace sign to make it pocket size or smaller than the original size as you wish.
Modify the size and color palette of fabric scraps you choose. If you decide to go with a smaller size, make sure to limit yourself no smaller than 4” by 4” of the peace sign, it will be extremely hard to cut out the inner pieces with bulky seams of patchwork.


You will love this DIY patchwork peace sign appliqué design because…
- Tutorial comes with free appliqué patchwork design to print out.
- No quilting experience is required.
- Learn how to create patchwork and transform into appliqué.
- Use zigzag stitch along the motif to secure the design on your clothing.
- Easy way to transfer motif to patchwork by using water soluble erasable pen.
For this tutorial, I used ditzy floral pattern with a variety of pastel color plaid to create mix and match patchwork look. You will learn lots about the different technique of stitching while using an iron to open up the seams to create nice flat fabric to work on.
Have fun and use your eternal creativity to create a peace sign design that you love. However, make sure to keep the fabric content and weight the same so that the overall look is consistent.
This project is perfect for anyone who is a beginner at sewing and would like to learn to upcycle clothing with not much tailoring experience. Simply grab your favorite sweatshirt, t-shirt, denim jacket, old jeans, etc., and let’s attach this vintage style peace sign design and master the appliqué sewing technique.


How do you make a patchwork peace sign on clothing?
All you need is the desired garment and lots of printed fabric scraps in order to make a patchwork peace sign design.
Follow the step by step tutorial and video instructions to make a fabric out of remnant fabric. You will be amazed how the completed patchwork will turnout.
DIY Patchwork Peace Sign Cropped Sweatshirt Materials:

- Free Peace Sign Design
- 4-5 Pieces of ¼ yards Fabric Scraps
- Sewing Machine
- Water Soluble Erasable Pen
- Measuring Tape
- Fabric Scissors
- Thread
- Pins
To make the patchwork peace sign appliqué, start by printing the free graphic design motif.
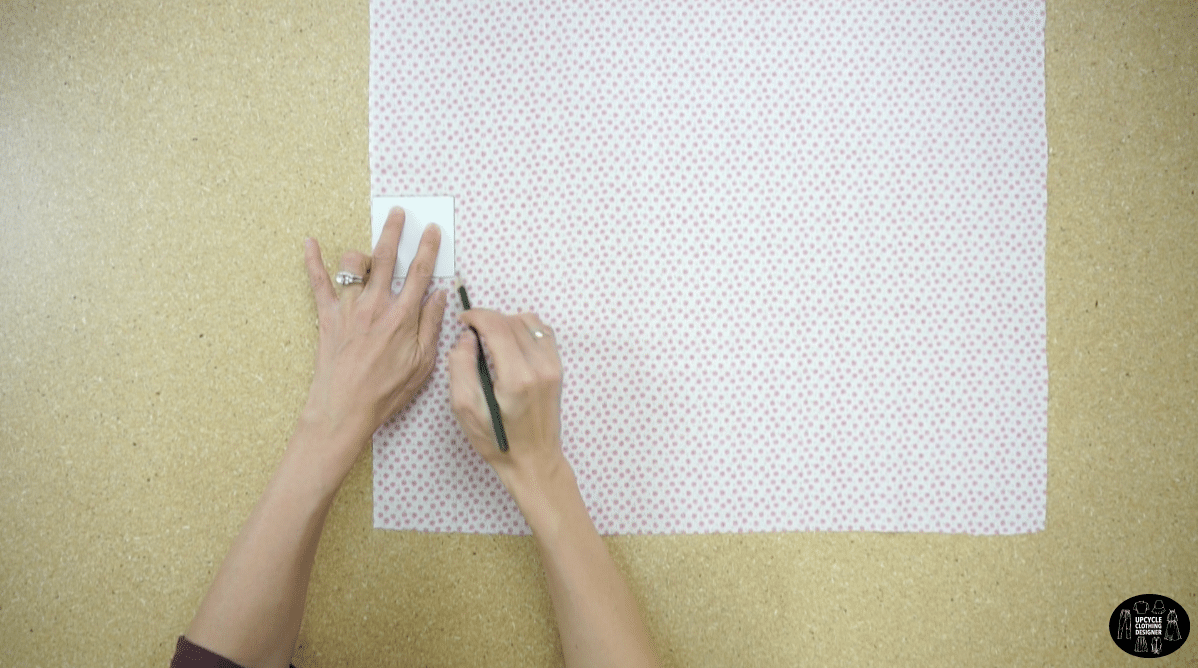
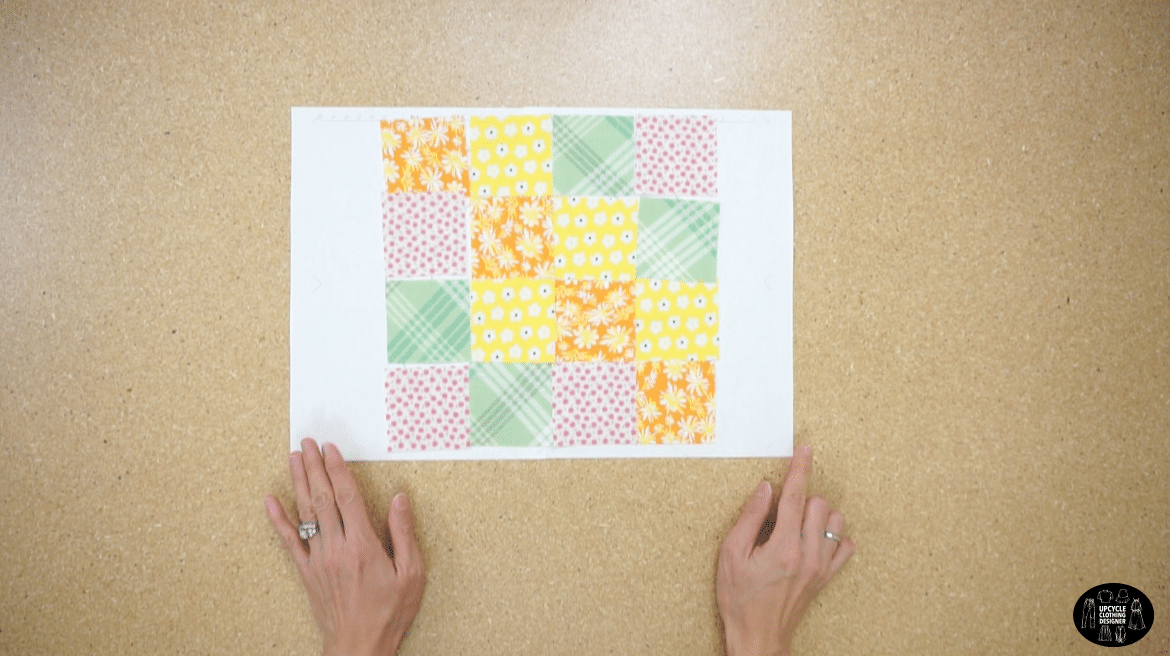
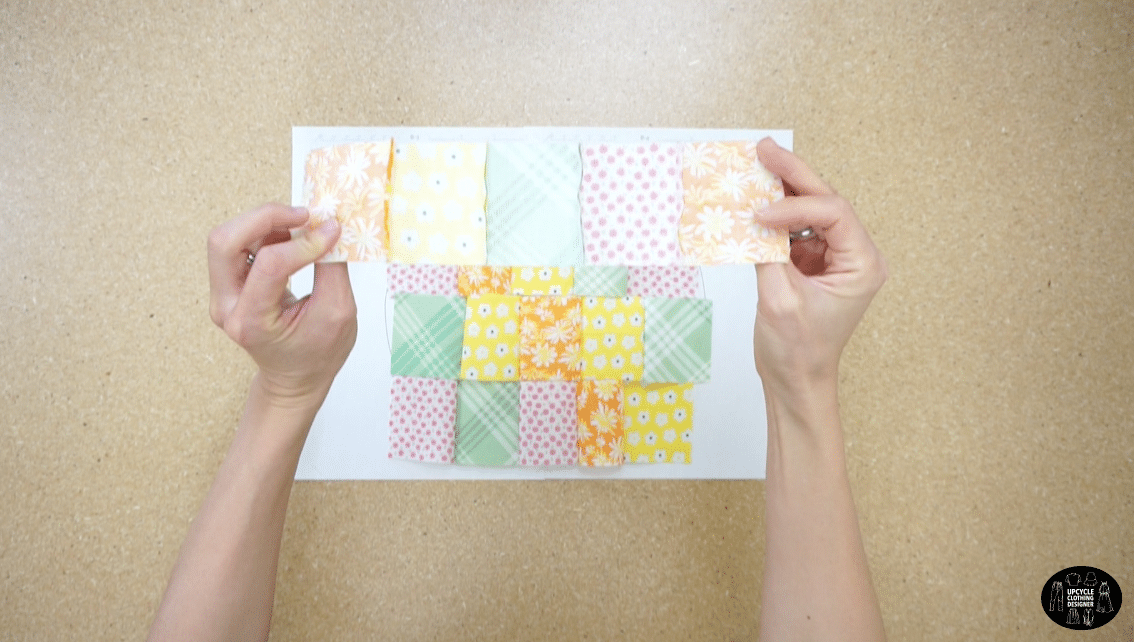
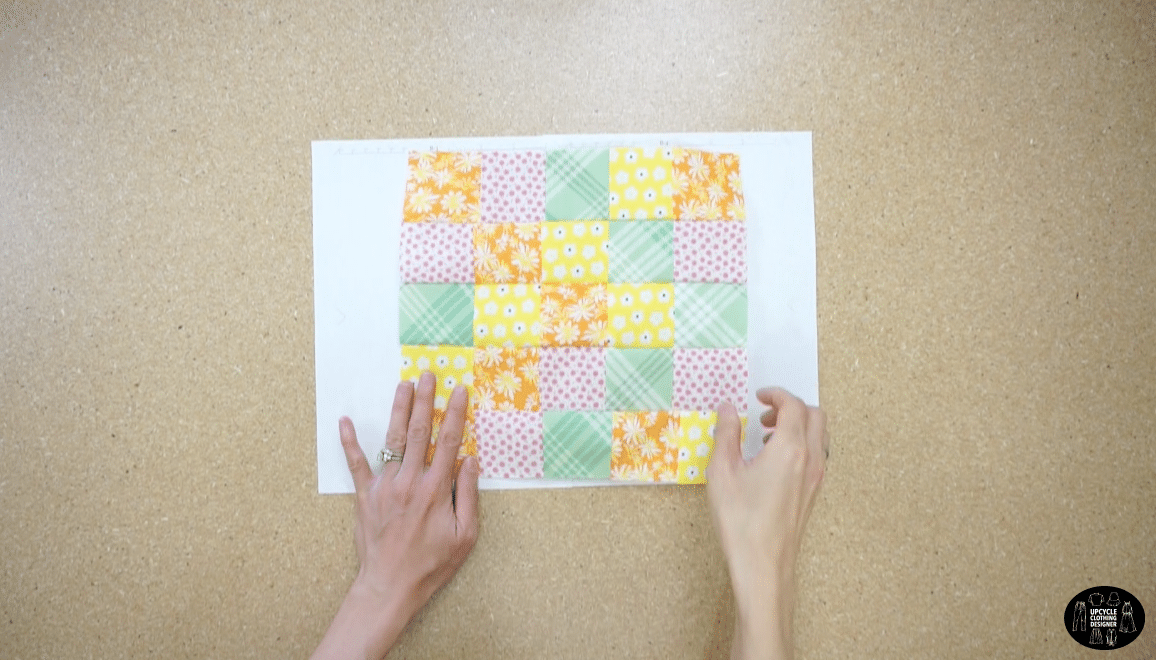
Cut 25 pieces of 2½” x 2½” fabric to make the patchwork fabric. Join together the individual pieces of fabric to make the patchwork fabric.
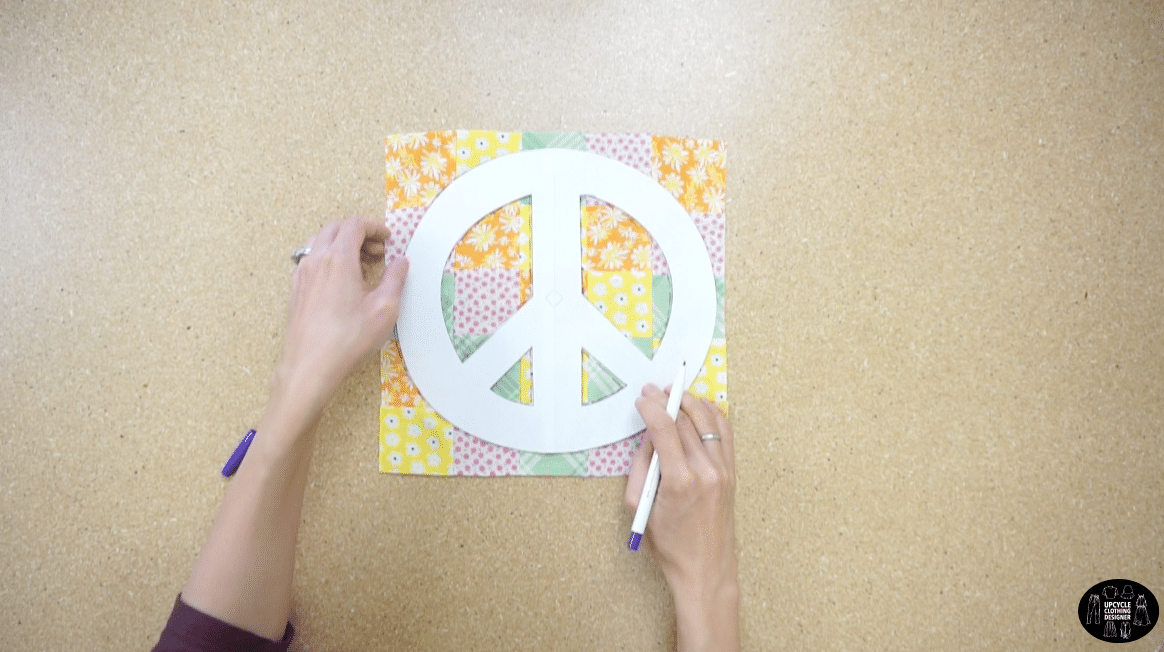
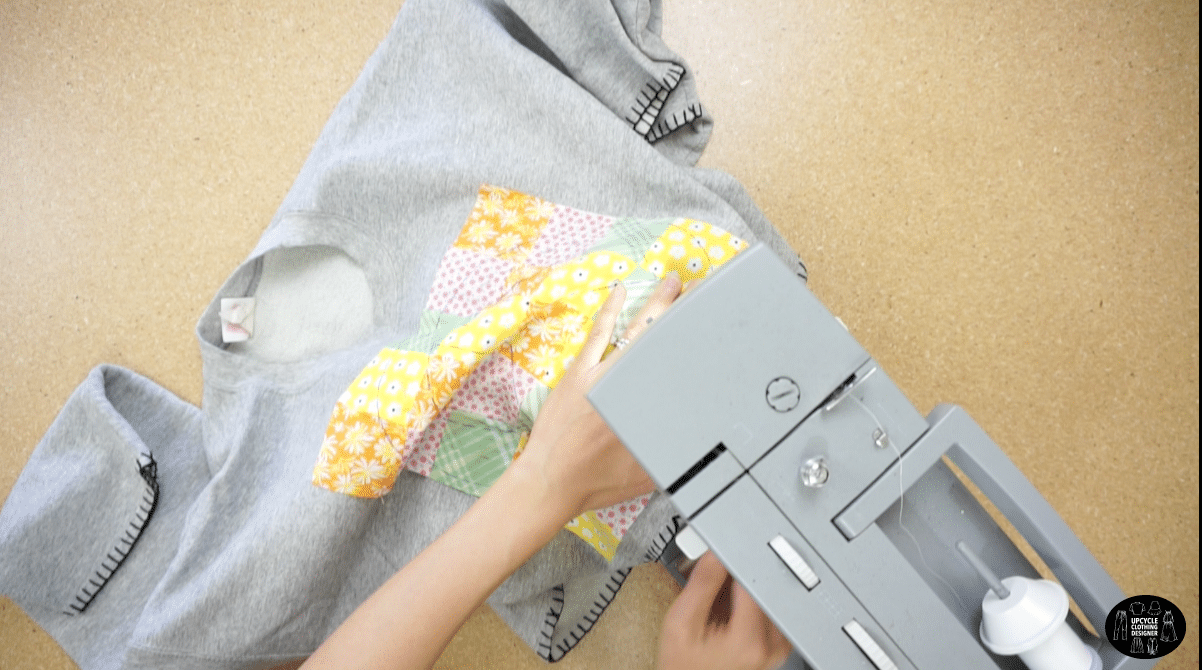
Copy the peace sign design onto the patchwork fabric.
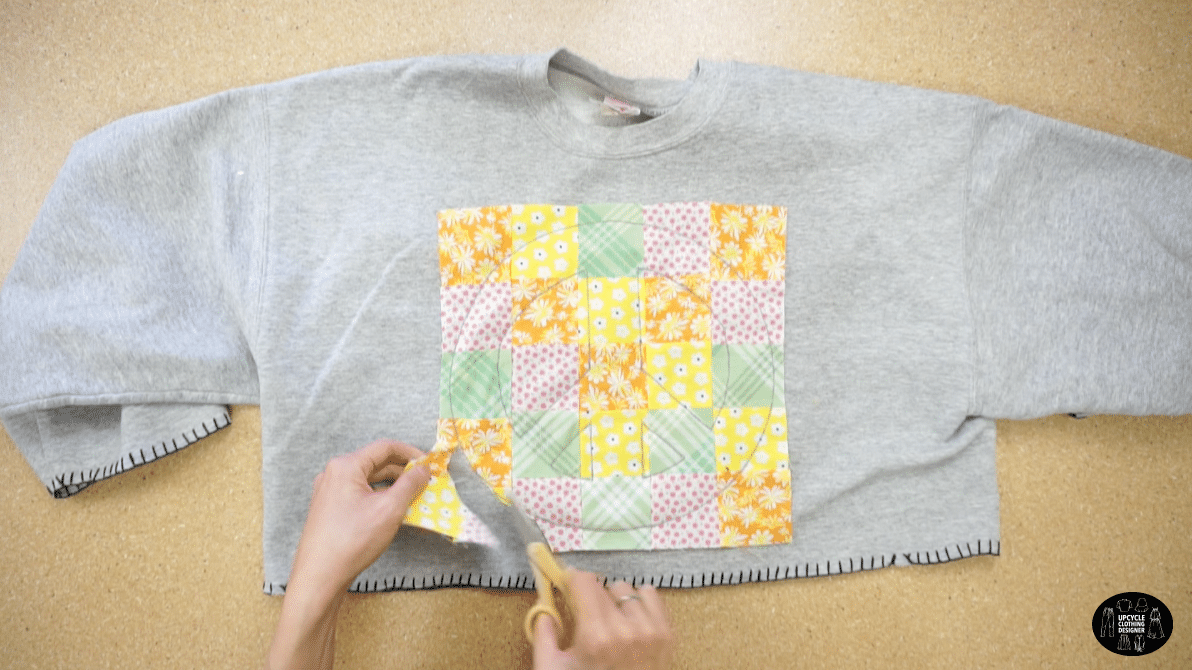
Pin the patchwork fabric to the front center of the cropped hoodie, and topstitch along the lines to attach the peace sign motif to the hoodie.
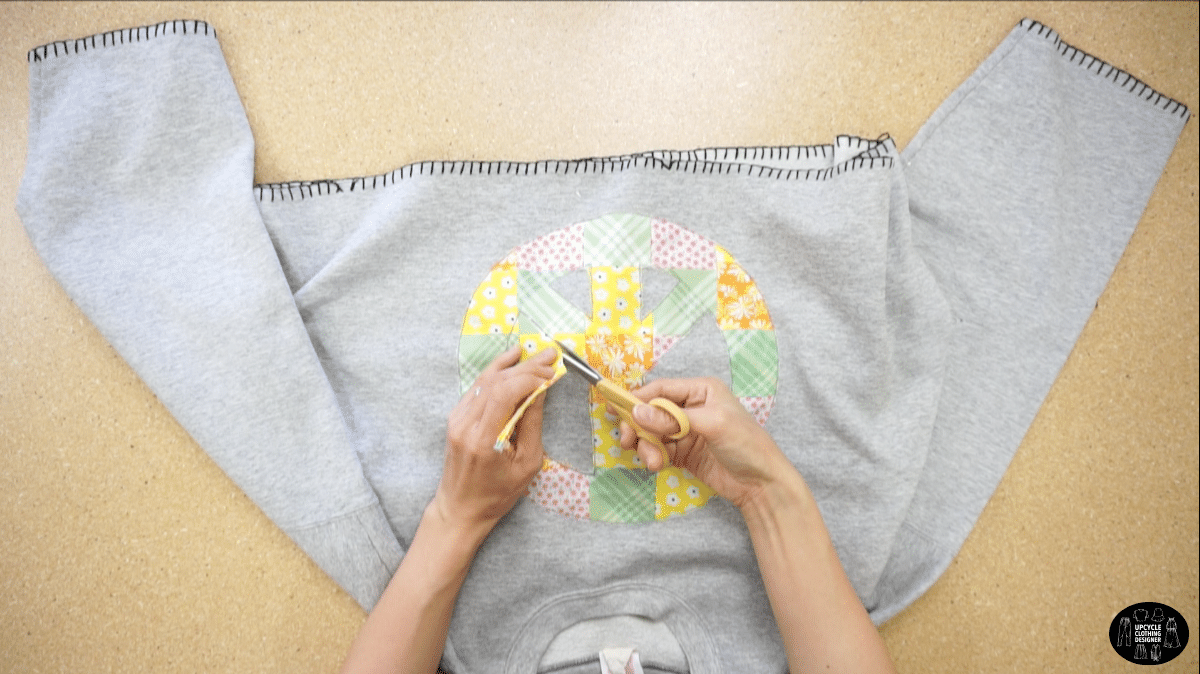
Cut the excess fabric and leave the artwork in place to finish the patchwork peace sign on the cropped hoodie.

DIY Patchwork Peace Sign Sewing Tips


In this DIY patchwork peace sign tutorial, you will learn how to sew the appliqué design using straight stitch. You will need an iron to open up the seam allowance to create smooth surface with 90 degree angles on each corner.
The tutorial itself is pretty self explanatory, but here are additional sewing tips to complete the peace sign appliqué without any hiccups.
- Sewing Machine: Set your sewing machine by adjusting to the proper tension. I set my machine as regular tension when I sew the patchwork and later when I attached to the sweatshirt I adjusted the tension slightly loose. Always test on scraps to find your best result before starting on the finished garment.
- Needle & Thread: Use 90/14 universal sewing needle and polyester or cotton blend thread for this tutorial. If you see the stitches are creating multiple loops or skipping stitches, this may be due to a dull needle point that needs to be changed before continuing to sew.
- Stitches: Set the stitch length size 3 to sew patchwork. When attaching the appliqué, a zigzag stitch looks nice around the edges.
- Sewing Foot: If you follow the same size and original design, the design itself does not require an extreme curve line that you may go ahead to use regular sewing foot. However, if you need more support, exchange to appliqué presser foot.
- Water Soluble Erasable Pen: Having an erasable pen is life saver. You will copy the peace sign design on the patchwork using this erasable pen and also, it is easily to sew along the pen mark. After you are done, pat the erasable lines with a wet rag to remove the pen markings.
More make from scraps of fabric project for your next DIY fashion:

How To Make Patchwork Peace Sign Cropped Sweatshirt
Start by learning how to make a patchwork peace sign. If you have more clothes to upcycle, continue to create cool DIY appliqué patched graphics to upgrade your casual style into fashionable outfits.
The tutorial comes with a free downloadable design that you can easily print out at home to make your own appliqué and revamp your old clothes.
Materials
- Free Peace Sign Design
- 4-5 Pieces of ¼ Yard Fabric Scraps
Tools
- Sewing Machine
- Water Soluble Erasable Pen
- Measuring Tape
- Fabric Scissors
- Thread
- Pins
Instructions
- For this patchwork peace sign appliqué tutorial, print out the free graphic design motif.

- To make the patchwork fabric, use scrap pieces to cut out 25 individual 2½” x 2½” squares.
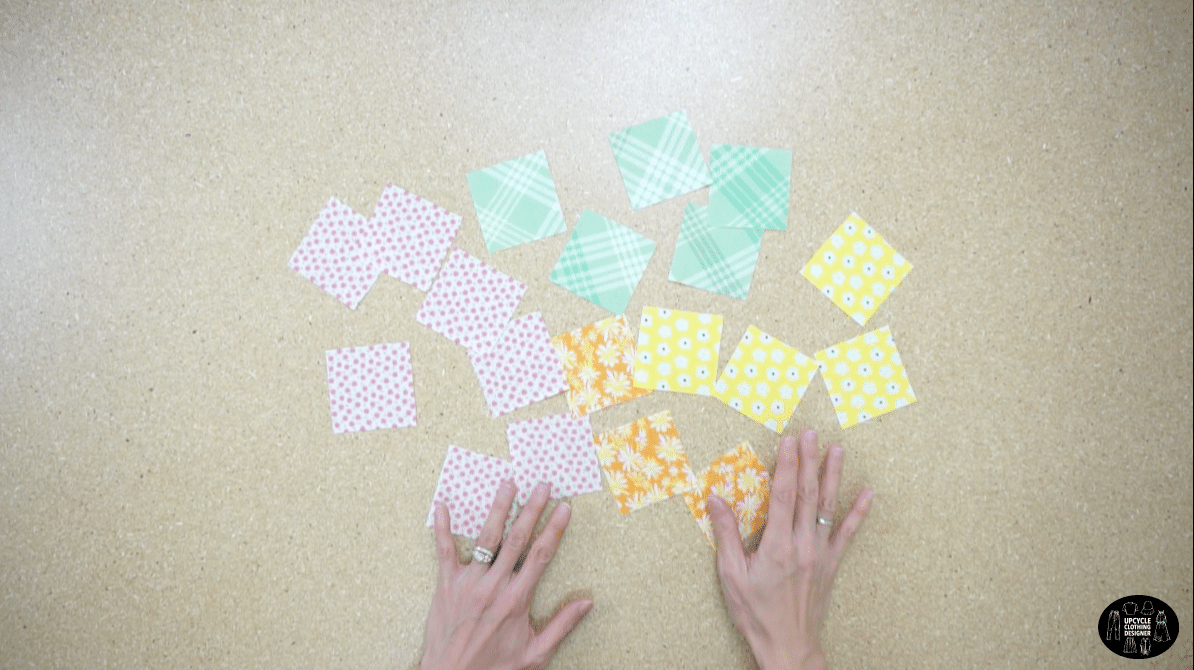
- Then, join all of the fabric swatches together to make the patchwork fabric.
- Trace the peace sign artwork onto the patchwork fabric.
- Pin the patchwork fabric to the front center of the cropped hoodie.

- Topstitch the peace sign drawing to attach the patchwork motif to the hoodie.
- Use sharp scissors to cut the excess fabric to finish the patchwork peace sign and leave the artwork in place on the hoodie
Recommended Products
As an Amazon Associate and member of other affiliate programs, I earn from qualifying purchases.


Trendy, Affordable Sewing Patterns for All Sizes


Tie Shoulder Jumpsuit Pattern


Palazzo Pants Sewing Pattern


Pocket Overall Romper Pattern


Wrap Maxi Skirt Sewing Pattern


Tie Back Top Sewing Pattern