
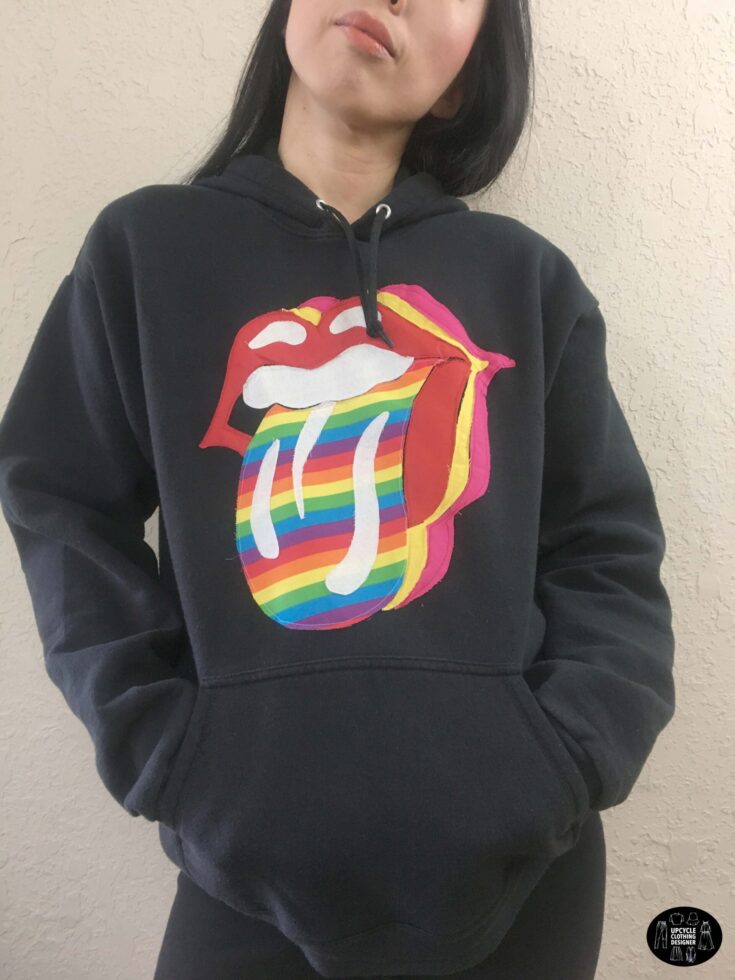
Are you huge Rock n Roll fan? The bold rock symbol with colorful tongue design is all you need to revamp your old hoodie, sweatshirt or jean jacket into brand new wearable one.
It’s fun to wear for any occasion or concert to show off your creativity. Simply print out the free appliqué design and follow the step by step tutorial and video instructions to complete this cool DIY rock n roll tongue appliqué hoodie.
Whether you have hoodie or regular crewneck sweatshirt, avoid throwing them away. Instead, add cool designed patch or two to upgrade into brand new stylish top to wear anytime.
If you are looking for a beginner level sewing project, then appliqué patchwork designs are perfect for you. Take an old hoodie, denim jacket or plain sweatshirt, with a couple of print and solid color fabric scraps and sewing machine you are set to go.


You will love this DIY Rock N’ Roll tongue appliqué because…
- Easy to follow tutorial with free printable pattern.
- Perfect for a beginner sewing level looking to further your skills.
- Simple ways to copy printable designs onto actual fabric scraps using iron-on fusible backing.
- Use straight stitch technique to join the appliqué to the sweatshirt.
- Learn how to sew woven pieces to the knit fabrication.
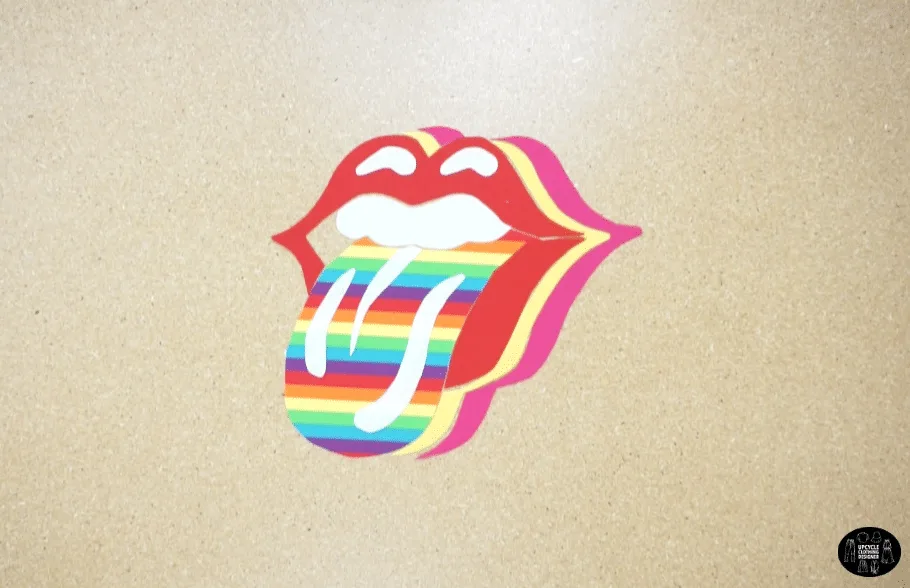
For this tutorial, I used 4 solid cotton fabric scraps with 1 multi-color striped printed fabric. The 100% cotton scraps were non-stretchy material, which I thought would be perfect for this project.
Also, I chose 1 print to make it pop and stand out instead of using all print pattern on the lips, tooth, and shadow of lip contour. Be creative and try an animal print or tie dye print as they are also trending prints.
The best part of this project is that you can resize the tongue design and scale it down to pocket size as well.
Be careful not to make smaller than 5” by 5” as you might have a difficult time to sew and cutout the small areas. Not only that, but you may experience slight slippery situation when sewing woven pieces to any knit fabric.


How do you make Rock n Roll tongue appliqué?
Prepare the appliqué design, basic sewing tools, and couple of assorted fabric scraps to work on in order to make Rock n Roll tongue appliqué.
Don’t worry if you never decorated an appliqué onto a garment before, I’ve put together easy to follow step by step instructions including a free pattern. Download and print out the design at home in any size and create endless variations to this appliqué with different fabric choices.
DIY Rock n Roll Tongue Applique Hoodie Materials:


- Free Rock n Roll tongue appliqué design
- 5 Pieces of ¼ Yard Fabric Scraps
- Sewing Machine
- Pencil
- Measuring Tape
- Fabric Scissors
- Thread
- Iron-On Fusible
- Pins
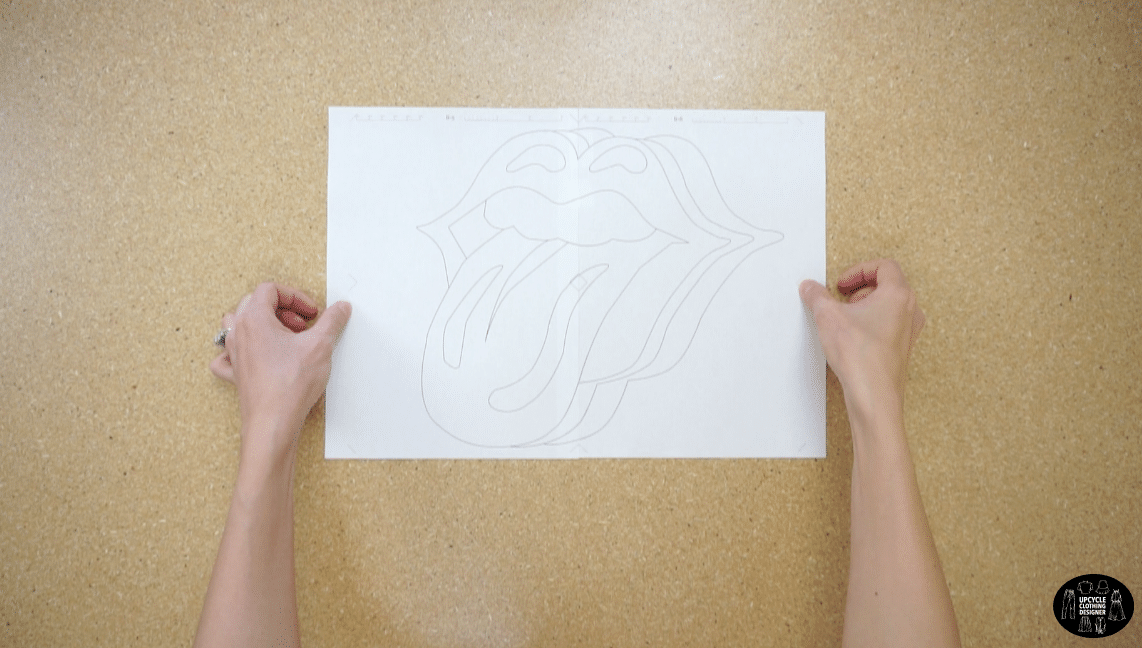
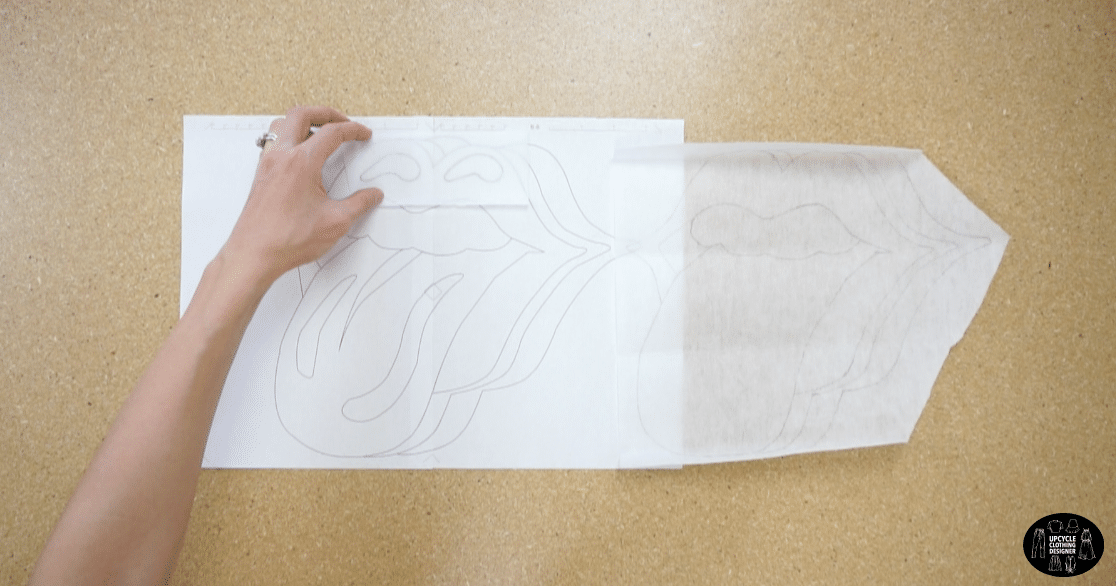
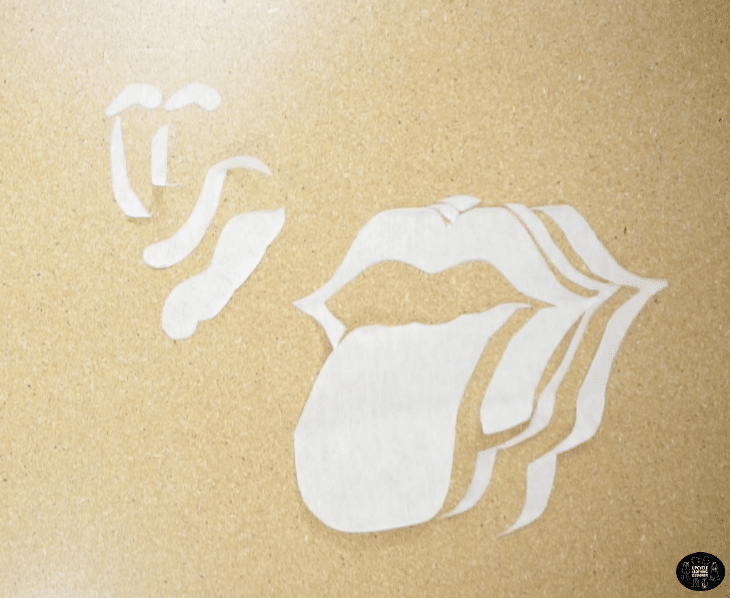
To make the rock n’ roll tongue appliqué tutorial, print out the free graphic design and trace the pattern onto of the bumpy side of the fusible backing.
Trace the design, and cut the individual pieces out with sharp scissors.
Assign fabric to each pattern piece.
Flip the fabric scraps wrong side facing up and lay the bumpy side facing the fabric.
Iron the fusible backing onto the wrong side of the fabric.
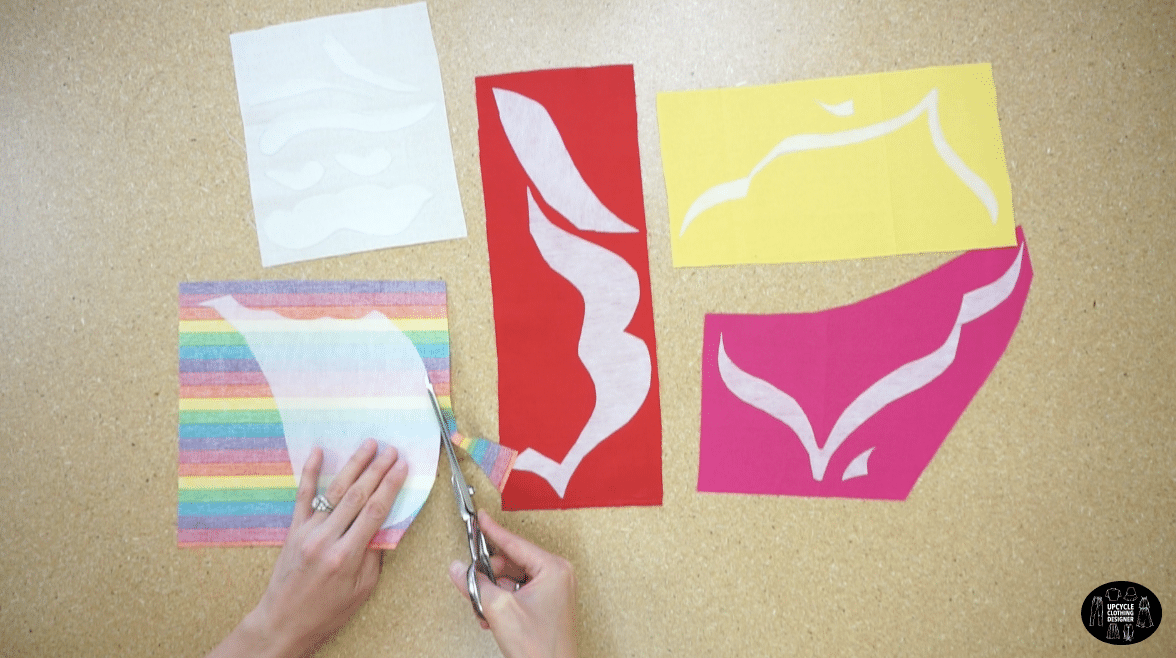
Cut out each piece of the motif.
Pin the shadow on the lips and tongue, then attach with topstitch.
Pin all the design pieces on the hoodie. Sew around the tongue, lips, and layer of lips. Slowly sew around the edges so that the rock and roll tongue appliqué patchwork pieces hold their shape.


DIY Rock n Roll Tongue Applique Sewing Tips


In this DIY rock n roll tongue appliqué tutorial, you will master sewing appliqué patch to your old garment with easy stitching technique. I’ve put together a helpful guide to enhance your upcycling experience with fool-proof sewing tips:
- Sewing Machine: Prepare your sewing machine by setting the right tension and thread the sewing machine with proper colored thread to get it started. If you have sewing machine that provides an assortment of stitches, you may go ahead and use a different stitch instead of straight stitch. Always test it on the scraps and if you like the result, complete your appliqué with your favorite stitch design. I like zigzag stitch around the edges as it add a bold detail to the artwork.
- Needle & Thread: The best part of this tutorial is you may use universal sewing needle and thread. Make sure the thread matches the fabric scraps you work on to blend it well. However, if you want to create bold outline, you may keep every stitch in black color.
- Stitches: For this tutorial, I chose straight stitch to sew around the rock n roll tongue design. You may choose different stitch styles. Simply change the stitch width from 3 to size 2 based on the style. Also, test on a scraps to achieve a professional look to the design.
- Sewing Foot: If you are comfortable using regular sewing foot to sew straight stitch, you can continue using the original foot to accomplish the look. But if you choose different stitches for your appliqué, change into appliqué pressure foot for more support and freely be able to sew around the difficult and intricate style lines.
- Iron-On Fusible: Transfer the design onto the pebbly surface of the iron-on fusible backing, which is mirror image instead of smooth surface. And when it comes to attaching iron-on fusible, use a dry iron instead of steam. Adjust the temperature and lightly pat the fusible instead of pressing too hard.
More make from scraps of fabric project for your next DIY fashion:

How To Make Rock n Roll Tongue Appliqué Hoodie
Learn how to make rock n roll tongue appliqué by following the step by step tutorial. If you are satisfied with the results, there are plenty of ways to add this cool DIY appliqué patched graphic to upgrade your casual wardrobe pieces.
From jean jackets to sweatshirts, hoodies and tees, simply apply the bold and unique patch design.
Materials
- Free Rock N' Roll Tongue Appliqué Design
- 5 Pieces of ¼ Yard Fabric Scraps
Tools
- Sewing Machine
- Pencil
- Measuring Tape
- Fabric Scissors
- Thread
- Iron-On Fusible
- Pins
Instructions
- For this rock n’ roll tongue appliqué tutorial, print out the free Rock n Roll Tongue graphic motif and trace the pattern on top of the pebble texture of the fusible backing.

- Outline around the lips, tongue, and details around the mouth. Use separate small piece of iron-on fusible to copy the lips and tongue shadow.

- Next, cut the individual pieces out.

- Group the pieces that are the same color fabric.
Here I grouped all the white color fabric in one side and tongue is with rainbow fabric.
For the lips, I chose bold red color.
The tiny piece with underneath the original lip is in yellow fabric and the other pieces I went with pink fuchsia color for a bold pop.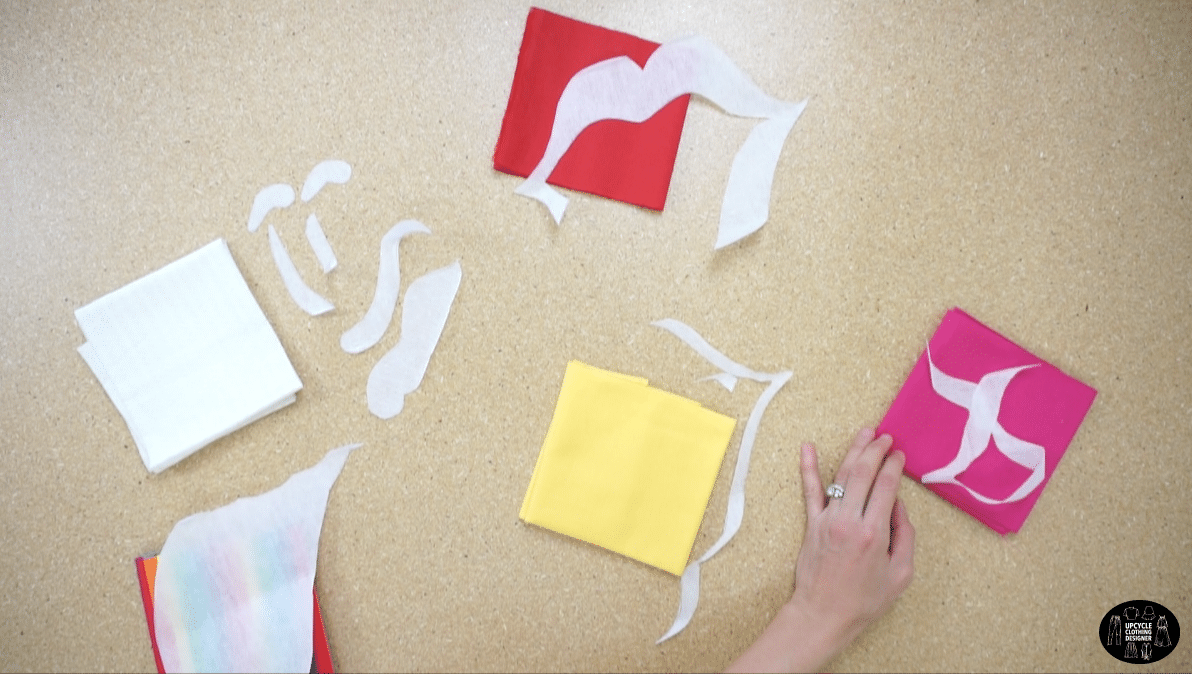

- Flip the fabric scraps wrong side facing up and lay the pebble side facing down.
So, when you iron the glue will melt to the wrong side of the fabric.
Adjust the iron setting to medium heat and lightly pat the fusible instead of pressing too hard.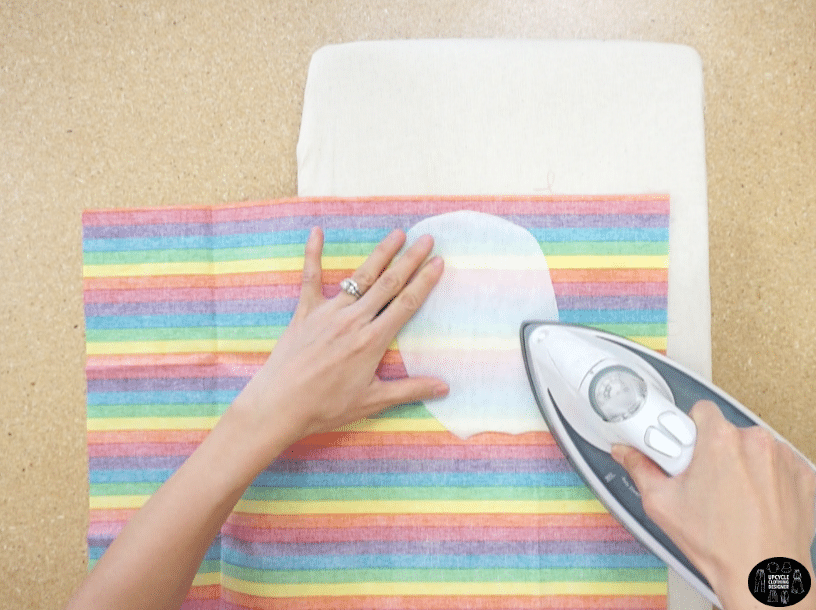

- After joining the fusible backing on each scrap fabric, cut along the edges.

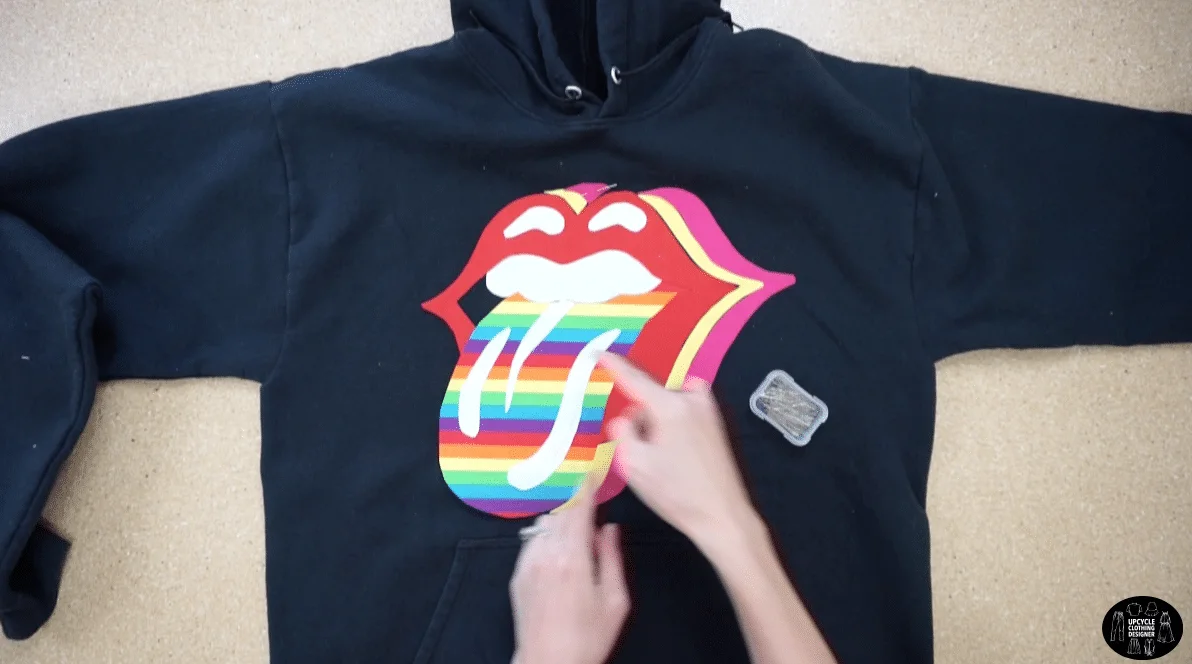
- Before attaching to the hoodie, we need to secure the shadow on the lips and tongue. Lay the white pieces on the lip and tongue, then pin to secure the position.
Topstitch around the white piece by using edge topstitch.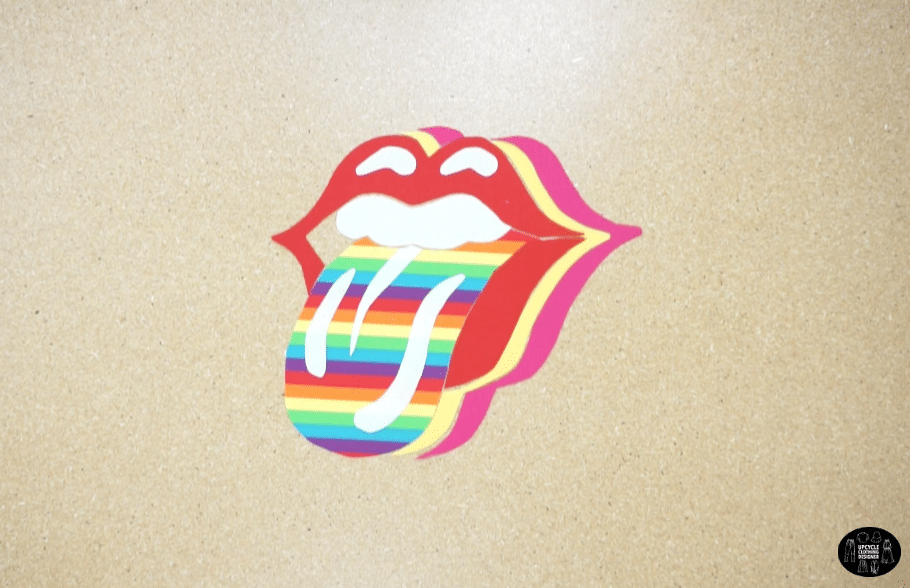
- Now, it’s time to add the cool appliqué patchwork motif to the hoodie!
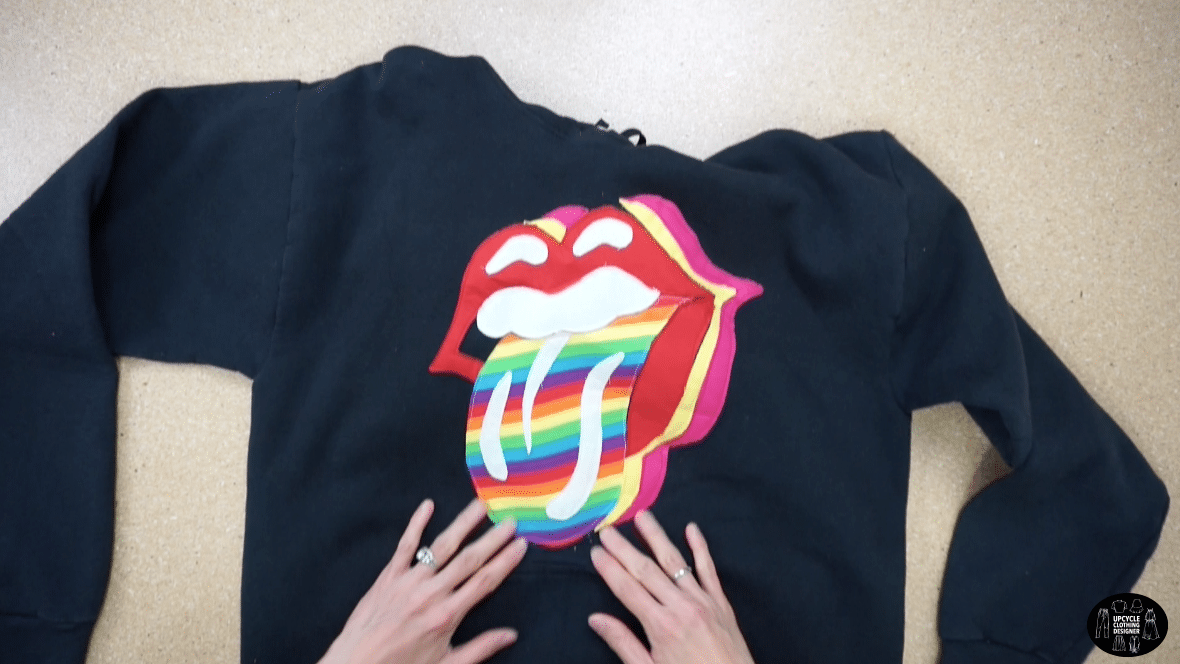
Gather all the pieces and position on the center of the hoodie accordingly, and don’t forget the tiny pieces in-between the lips.
Adjust the position if you feel it is too close to the neckline. I have it about 2 to 3” under the neckline. - Pin all the pieces on the hoodie so it is easy to sew down.
Make sure to only pin on one single layer of hoodie by putting your hand inside to keep it single layer to prevent pinning the back side of hoodie.
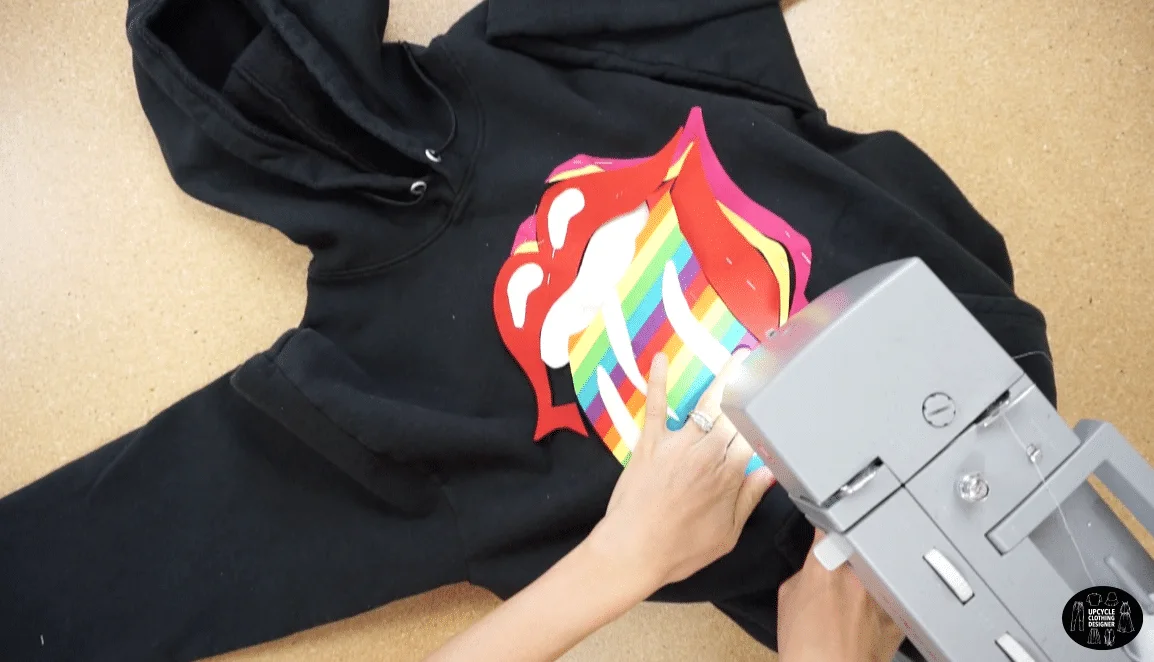
- Slide the single layer of the hoodie into the sewing machine.
Start sewing around the tongue, lips, and layer of lips.
Take time and sew each piece slowly so that the edges stay crisp and hold their shape to finish this rock and roll tongue appliqué patchwork.

Recommended Products
As an Amazon Associate and member of other affiliate programs, I earn from qualifying purchases.


Trendy, Affordable Sewing Patterns for All Sizes


Tie Shoulder Jumpsuit Pattern


Palazzo Pants Sewing Pattern


Pocket Overall Romper Pattern


Wrap Maxi Skirt Sewing Pattern


Tie Back Top Sewing Pattern