
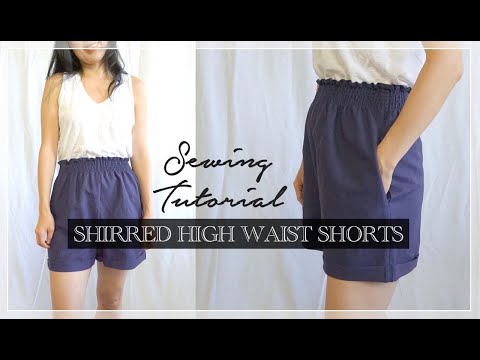
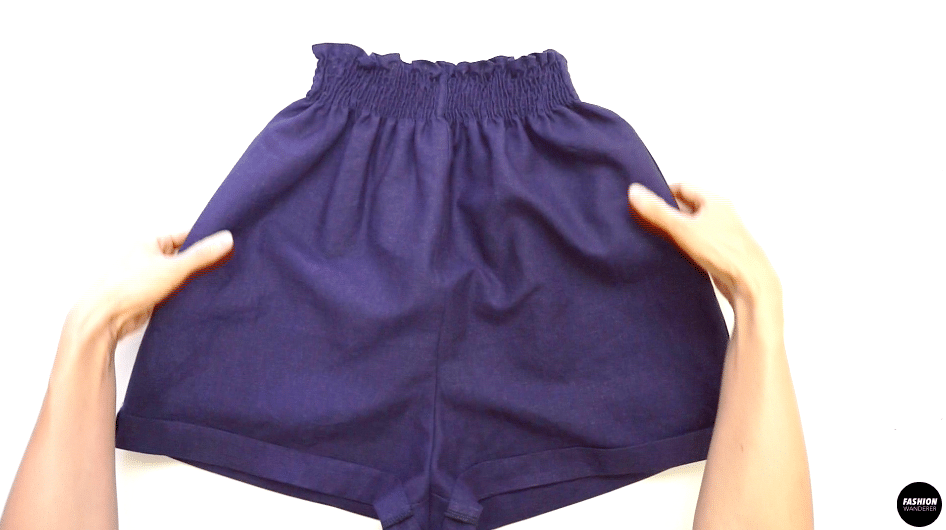
Have you sewn a pair of cute summer shorts already? This Evie shorts features fully shirred elastic smocking around the waistband that is super comfortable and easy to throw on.
Also, it is perfectly fitted in the waist with a relaxed fit in the leg. Tuck in a shirt or wear cropped length top to complete the stylish outfit with minimal effort.
How to make shirred high waist shorts? Start by pre-washing the linen in hot water before working with it to avoid from shrinkage after finishing the garment.
Lay the patterns parallel to the selvage and cut them out as indicated on each piece. Use the sewing tutorial to complete the shirred high waist shorts by making rows of elastic thread stitches around the waist opening, then fold and tack around the short hemming to accomplish the easy sewing project.
If you are intimidated by the smocked shirring technique, in this tutorial you will learn the correct way to hand wind the bobbin with elastic thread and width between the stitches to create even shirring around the waist line. In addition, you will learn how to sew hidden side pockets with help from the pocket sewing pattern.
All sewing patterns from Fashion Wanderer consist of step by step instructions and video tutorial for all sewing levels. The tutorial also includes sewing tips and techniques for each fabrication we are working on to give you more guidance throughout the project.
Each how-to tutorial is extremely detailed so that it is easy to read and follow along. However, if you are stuck on the steps or have any sewing related questions, simply reach out to me for more help!


DIY Shirred High Waist Shorts Sewing Pattern


You will love this DIY shirred high waist shorts because…
- The Evie shorts sewing pattern offers various sizes from US 2 to 12 and UK 6 to 16 for all body silhouettes.
- Every sewing pattern pieces already includes ⅜” or 0.95cm seam allowance for convenient to sew and make fit adjustments easily.
- Learn to sew hidden side pockets on the shorts.
- Master sewing shirring with elastic thread to create professional even lines and understand the correct way to tighten the shirring at the end.
- Great beginner and intermediate sewing project that uses straight stitch and overlock stitch to accomplish a store-bought quality garment.
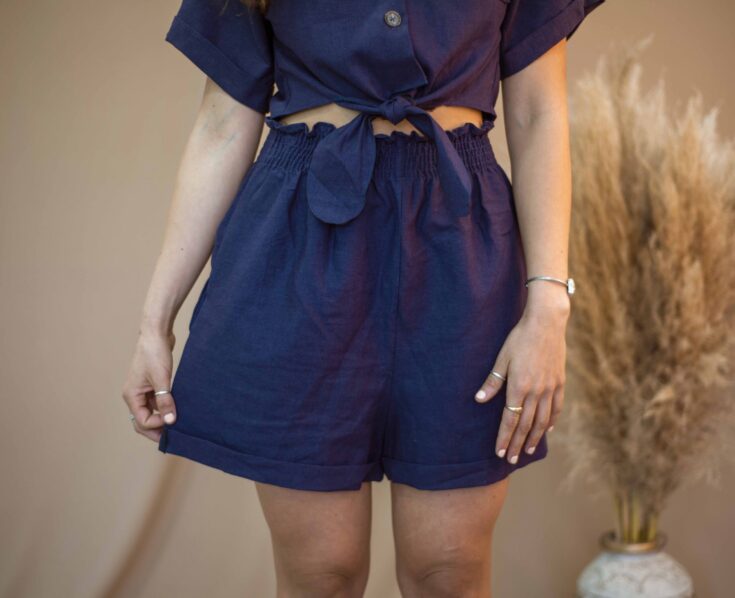
The comfy shorts provide numerous options to pair with button-down shirts or tank tops to tuck in for classic look or cropped length top to give a fun outfit to wear for a special occasion. In addition, the shirred waist method is comfortable to wear compared to elastic band.
Utilize this DIY shirred high waist shorts sewing pattern and tutorial to add to your go-to summer wardrobe.


How to make shirred high waist shorts from scratch
Prepare Evie shorts pattern by downloading and printing each page out. Assemble the pdf sewing pattern by matching the diamond shapes on each page and use clear tape to join the pages together.
Before cutting the pattern pieces, use the size guide chart and measure your body to find the correct size to select from. In this sewing project, you only need hip and waist measurements to find the correct shorts size.
By following these first two steps, you won’t need to make any alterations of the finished garment. So, take time and find out the measurement to proceed the sewing project.
With correct measurements, it is super easy to lengthen the shorts into cropped or full length pants for your next sewing project!
It is important to understand the fabric content and care instructions whether you choose to work with linen or another type of fabric. Always look for if the fabric has already been pre-shrunk or not.
For general linen fabric, universal needles will work well in linen.
However, ensure to frequently change sewing needle every 7-8 hours of sewing instead of waiting until the sewing needle breaks. This will help you from puckering seams or skipping stitches.
Also, check the manual to thread your sewing machine properly before sewing.
Whether you are sewing basic stitches or hand winding the elastic thread, thread the bobbin in proper way to avoid from jamming the under stitches.
For this project, you do need two ways to thread the bobbin so continue reading the tutorial to find it out what we mean.
DIY Shirred High Waist Shorts Tutorial Material:
- Evie Shorts Sewing Pattern
- Linen Fabric ¾ yards for 60” width or 1 yards for 45” width
- Elastic Thread
- Fabric Chalk
- Pins
- Measuring Tape
- Fabric Scissors


Start by assembling the inseam pocket lining to pin around the curved edges to create two pairs of pockets, one for each leg. Sew around the seam allowance and finish the edges with overlock stitch.
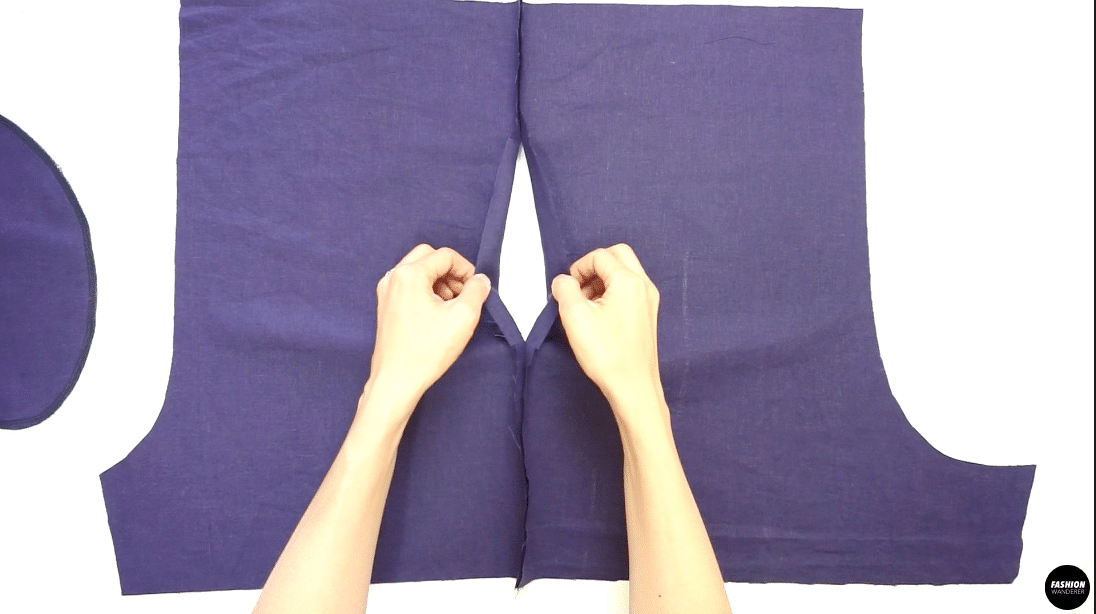
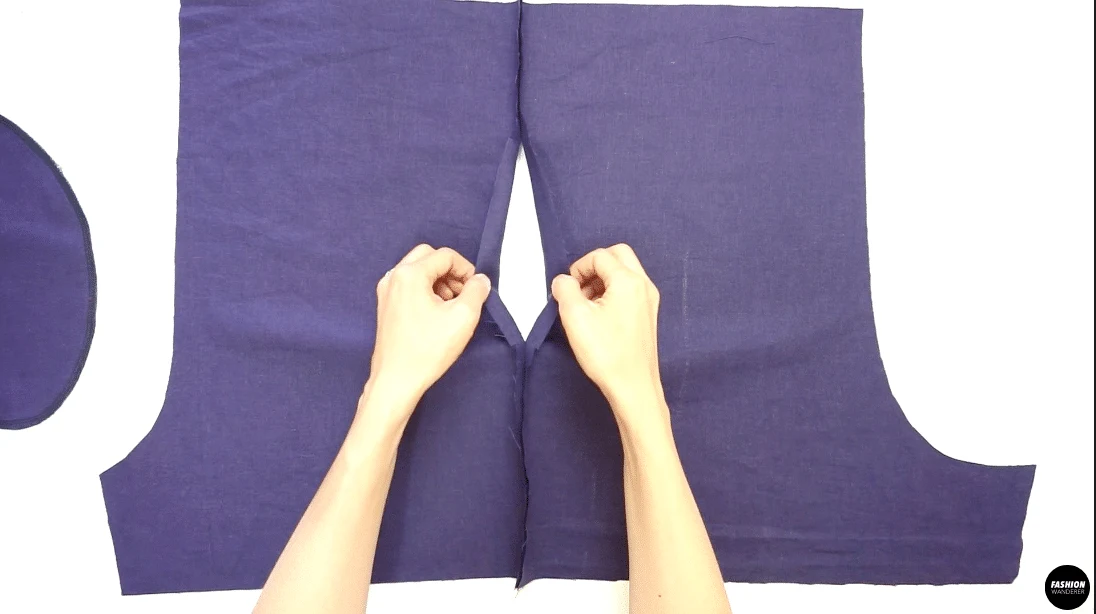
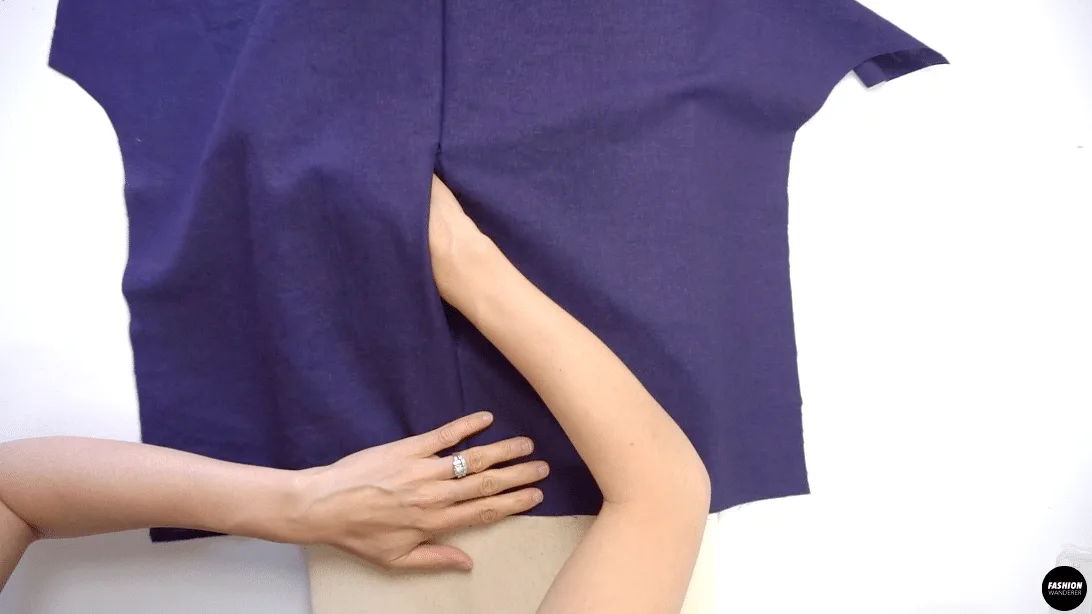
Join the Front and Back Shorts along the side seam excluding the pocket opening. Sew ⅜” width seam allowance on both side seams and stop at the notches.
Place the Shorts wrong side up and slide through the pocket lining by matching the seam allowance together and pin to sew ⅜” straight stitch. Individually overlock the seam allowance and press the seam open.
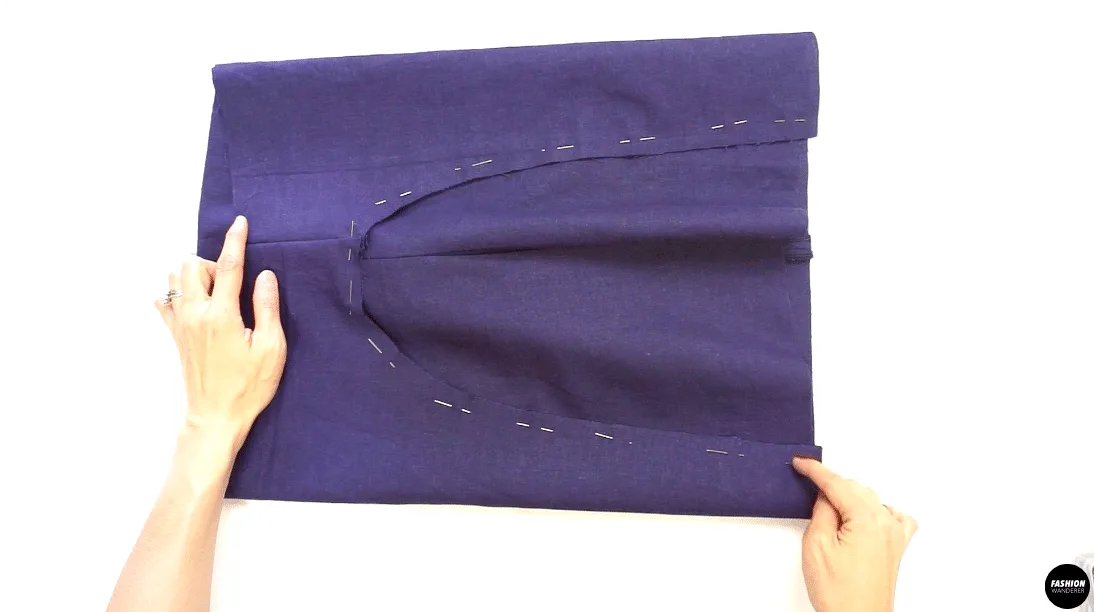
Close the inseam and pin along the crotch from front to back. Join with sewing ⅜” width seam allowance and finish with overlock stitch.


Double fold and topstitch around the waist opening and measure ⅜” width away from top edge to indicate the first row of shirring. Continue to measure and pin ⅜” in between until you reach 6 rows.
Use hand winding method to thread the bobbin with elastic thread. Change the stitch length from 2.5 to 3.5 or 4 and start sewing elastic thread to make 6 rows. Press with lots of steam to iron and shrink the waistband.
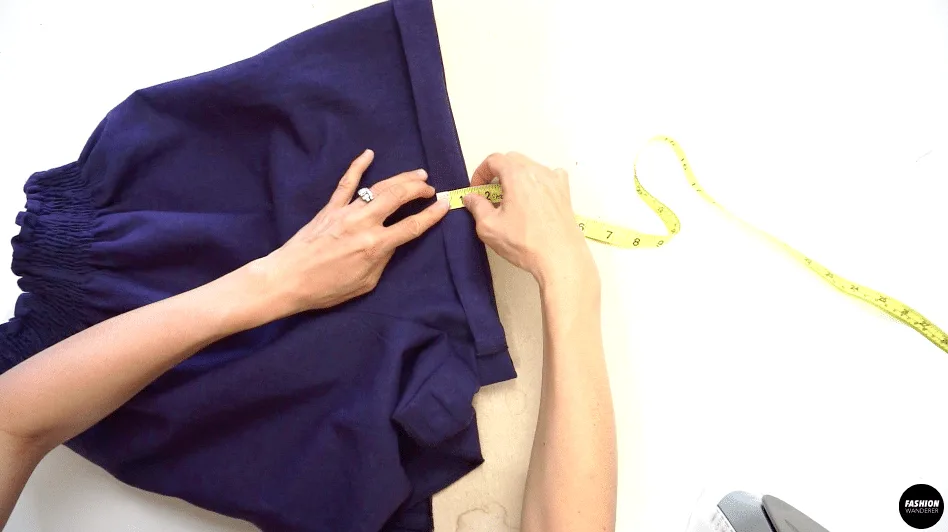
Overlock stitch the leg opening and fold ¼” width toward the right side of the shorts and press. Fold again 1¼” width towards the right side of the fabric and press again.
Topstitch on the ditch along the side seam and inseam to secure the folded cuff to complete the DIY high waisted shorts.


DIY Shirred High Waist Shorts Sewing Tips
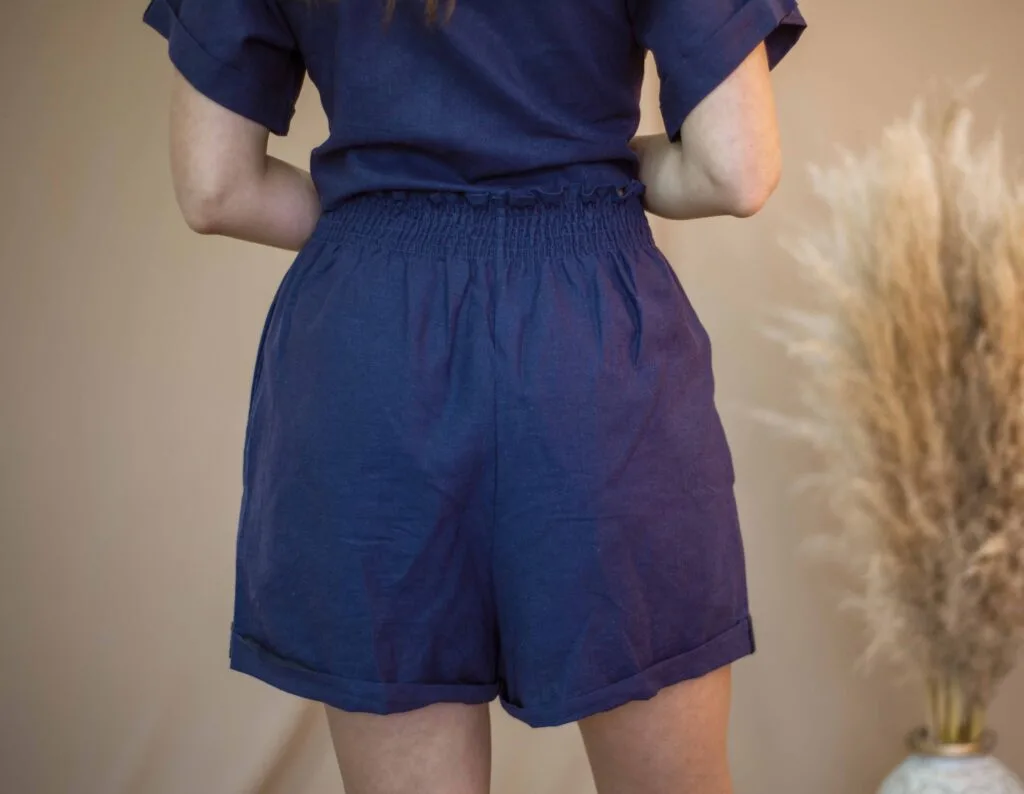
title=”Evie shirred high waist shorts back view” data-pin-nopin=”nopin”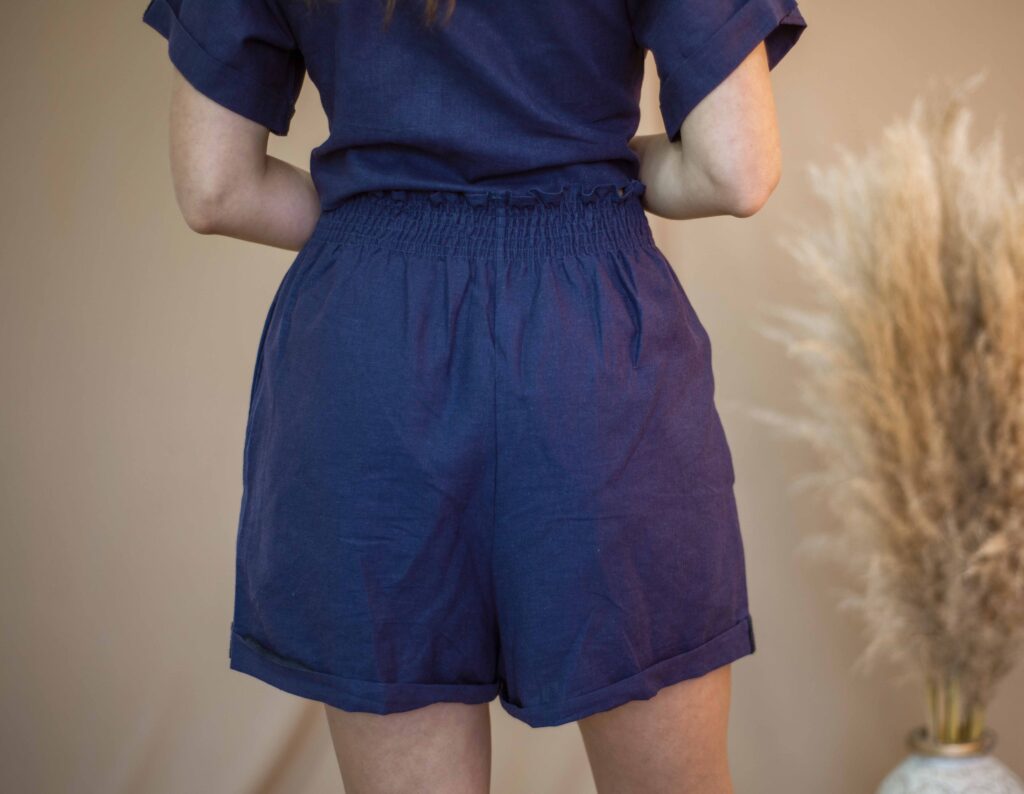
Linen is super easy to sew, that is why I recommend the fabric for beginner level. It does not slip or stretch when you are cutting out or sewing a seam.
Also, linen is prone to shrinkage and to fraying, therefore it requires special care when preparing it for layout and when finishing seams.
Adding shirring on the linen gives nice volume and drape that is perfect for this style of shorts.
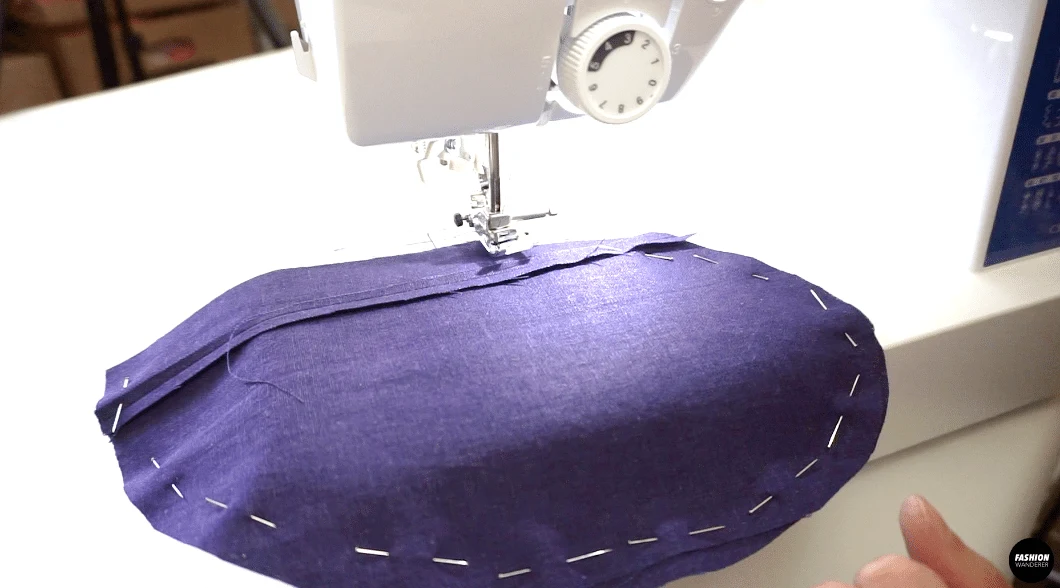
When sewing round shape pockets, use sewing pins to sew over and secure while sewing along the curve line. This will help to control the two pieces together when slowly sewing around the round edges.
Here are more sewing tips for you to implement:
- Sewing Needle: Not all linen fabric uses the same sewing needle size. Based on the thickness and weight, you may need different sizes. For lightweight linen, choose a 70/10 or 80/12 needle size. And for bottom weight linens, use a 90/14 needle. Generally, universal needles will work in linen as well.
- Thread: Use cotton thread or cotton covered polyester thread to sew linen. Avoid using linen thread in a sewing machine since it can be very difficult and can get snagged very easily. So, use quality thread to make each seam durable and long lasting.
- Stitches: When sewing linen, adjust the stitch length from to 2.5 to 3 and 4 or 5 tension for all straight seams. However, when sewing elastic thread, change the stitch length to 3.5 or 4 to get maximum tightening when shirred.
- Pocket: You may select different fabric to create this hidden pocket. Make sure they are sturdy and firmly woven fabric. There are different ways to attach in seam pockets: all in one, separate in seam pockets, and extension in seam pockets. In this tutorial, we are using separate in seam pockets technique.
- Iron: It’s important to always iron as you sew. This is the most basic technique to achieve any sewn garment to get high quality results. To iron linen, use high heat with plenty of steam or simply spray clean water to dampen the fabric. With high heat and lots of steam, it can easily smooth out seams and remove any wrinkles that occur.
To make shirred high waist shorts, review these sewing tips and techniques that are focused on linen fabric. Due to wrinkling tendency of linen, always steam iron on every sewing step.
Also, linen frays easily when cutting the fabric. Use Serger to overlock stitch the edges or zigzag stitch to finish the seams.
Prior to starting this sewing project, always test on a scrap of linen fabric to try shirring, overlock stitch and straight stitch to help you understand the best stitch length and tension that works well on your fabric. Read through these sewing tips to achieve this cute Evie shorts!

DIY Evie Shirred High Waist Shorts
Do you have a pair of comfortable shorts in you summer DIY wardrobe? If you are looking for high waist shorts that are super easy to sew, look no further, these diy shorts are perfect for you!
Follow the step by step instructions to learn how to sew shirring with elastic thread, hidden pockets, and folded cuff along the shorts opening. All the details use basic stitches for beginners.
The Evie shorts feature fully shirred elastic smocking around the waistband that is fun to wear and pair with shirts tucked in or with cropped length tops. It is nicely snugged in the waist and has relaxed fit in the leg that accentuate your waistline, and is more comfortable when worn compared to a standard elastic waistband.
From shirring to hidden pocket detail, this garment offers a classic silhouette with functional designs. So, follow this sewing tutorial and use the Evie sewing pattern to guide you along so that you have go-to shorts to wear all summer long.
Materials
- Evie Shorts Sewing Pattern
- Linen Fabric ¾ yards for 60” width or 1 yards for 45” width
Tools
- Sewing Machine
- Serger
- Elastic Thread
- Thread
- Fabric Scissors
- Measuring Tape
- Fabric Chalk
- Straight Pins
Instructions
For this Evie shirred high waist shorts tutorial, start by assembling the pattern pieces:
2 pieces of Front Shorts
2 pieces of Back Shorts
4 pieces of Shorts Pockets
How to Sew Inseam Pockets
- Place the right side of the pockets facing each other so you have 2 sets of pockets, one for each the right and left side. Pin around the curved edges on each pocket.

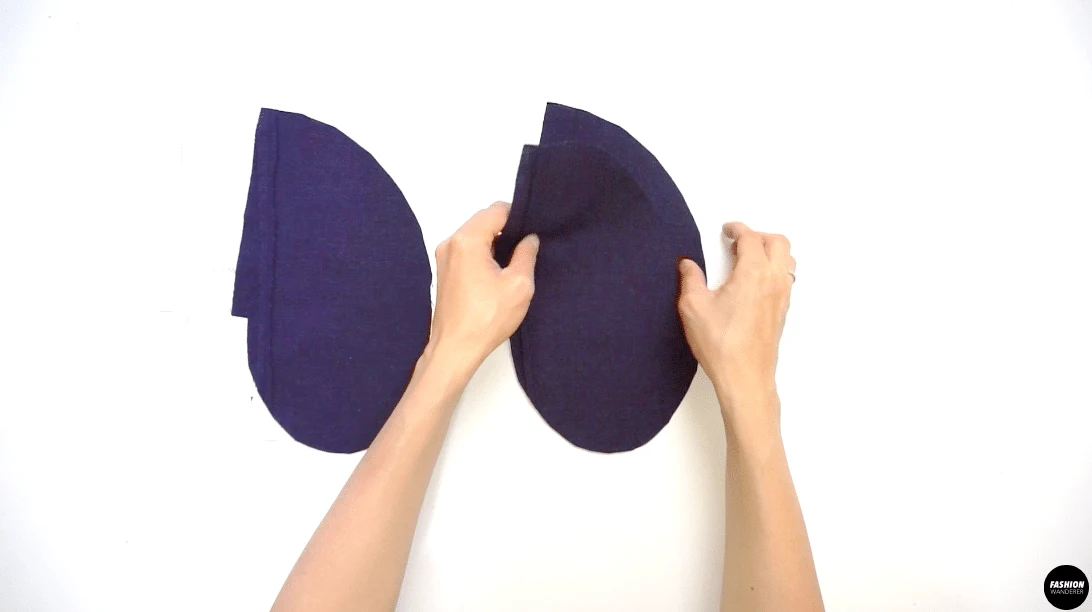
- Sew ⅜” width seam allowance by starting ⅜” away from the pocket opening on top and at the bottom. Finish with overlock stitch.

How to Assemble Shorts
- Place the right side of the Front Shorts and Back Shorts facing each other.
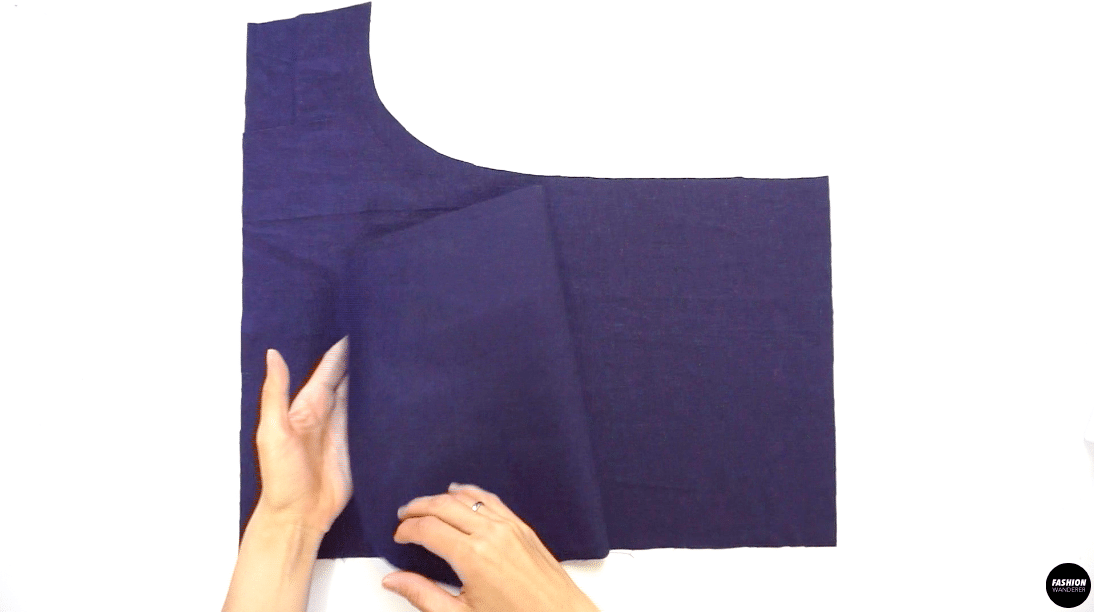

- Pin vertically on the notches of pocket opening, along the side seam of the shorts.

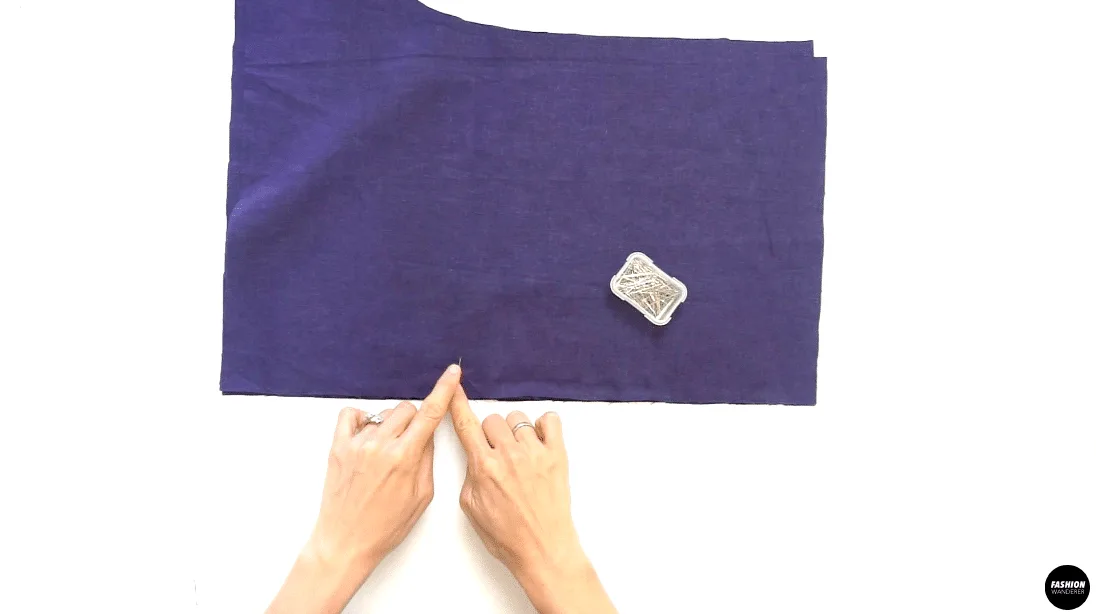
- Sew ⅜” width seam allowance along the side seam and stop until the pin mark. Leave a pocket opening to insert the pocket lining.
How to Insert Inseam Pocket to Shorts
- Lay Front and Back Shorts open with the wrong side up. Slide the pocket opening seam allowance matching with side seam allowance and pin. Do the same on the opposite side, sew ⅜” straight stitch and finish the seam allowances on both sides with overlock stitch.
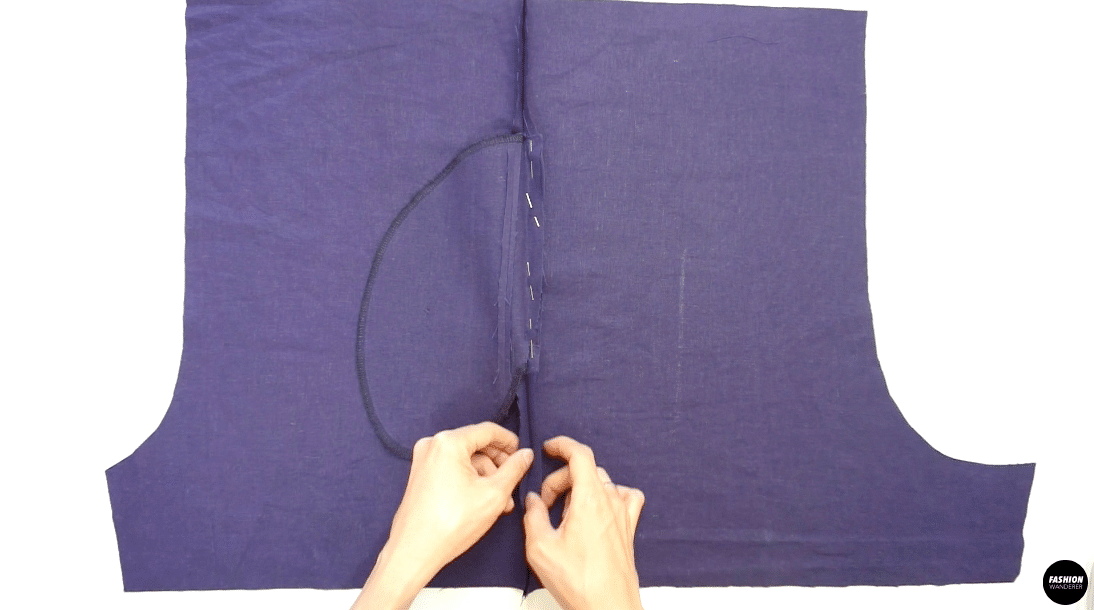

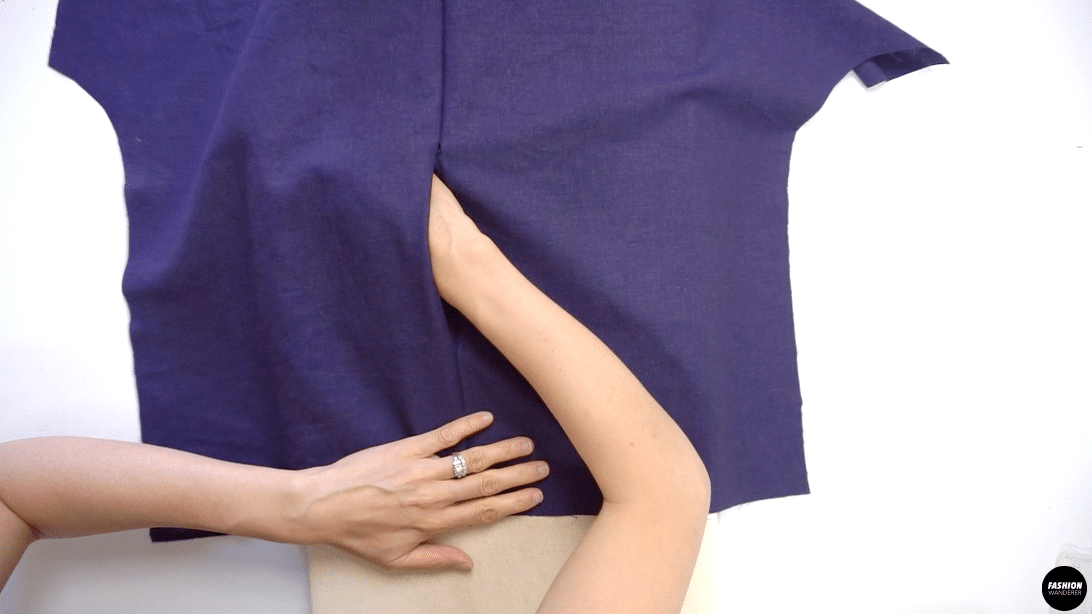
- Press the seam allowance open and shape the pocket opening.
How to Sew Shorts
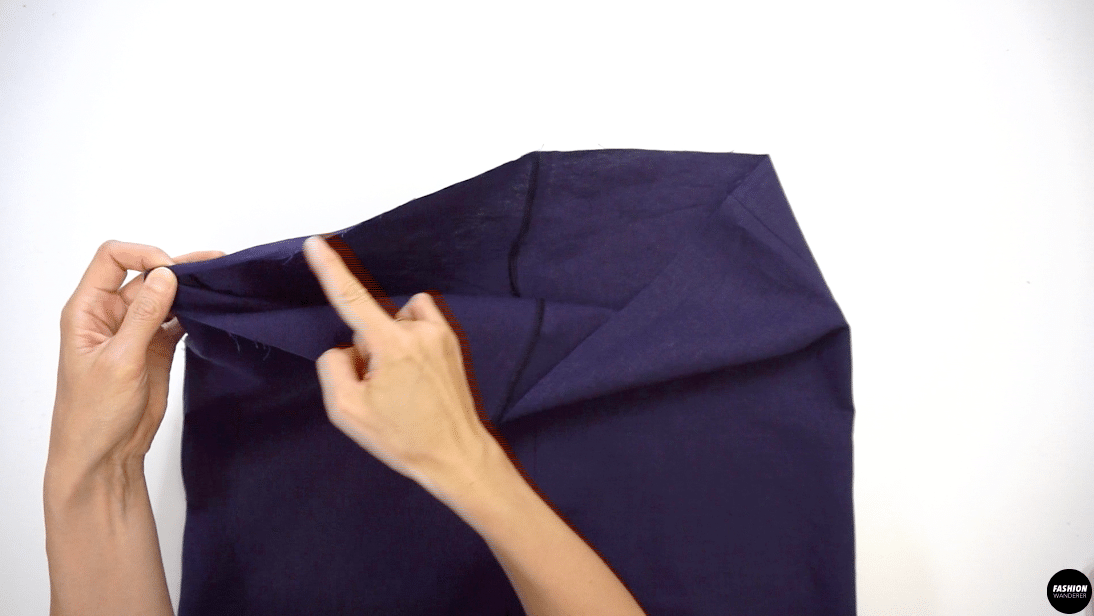
- Close the inseam with ⅜” seam allowance on both legs and overlock the raw edges together to prevent the fabric from fraying. Press the seams flat folding the overlocked edges toward the back of the shorts.
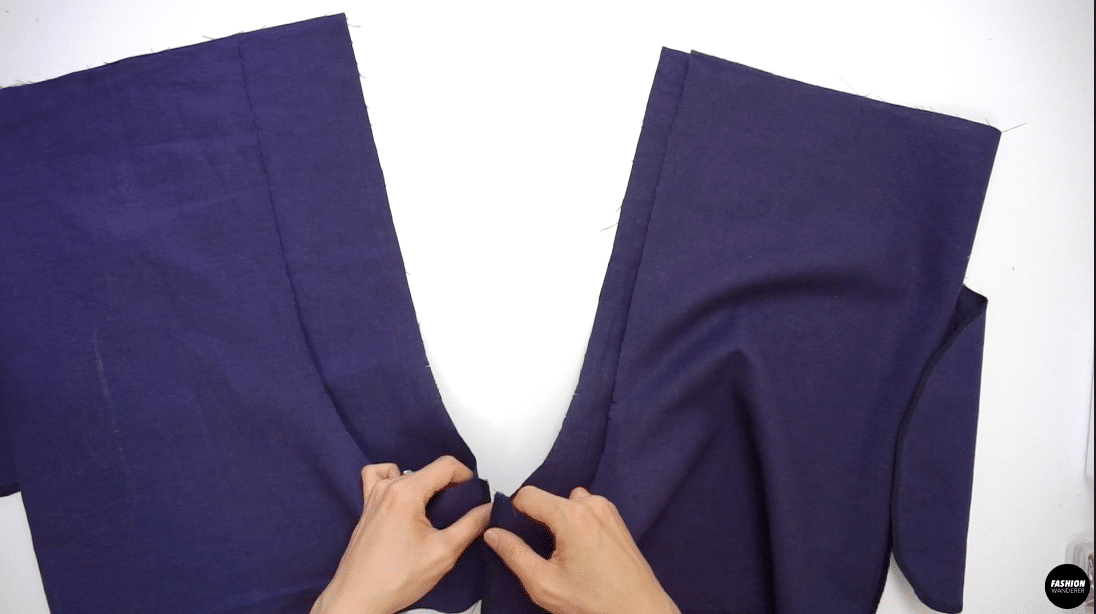

- Turn the right shorts right side out and slip it into the left shorts, right sides facing each other. Pin the crotch seams together by matching the side seams and inseams. Use the notches to guide you along.

How to Sew Shirred Around the Waist
- Finish the edges of waist opening with double fold ¼” and topstitch around. Give a nice press to remove any puckering or bubbling.

- Measure ⅜” away from the hemming and pin horizontally. This is where your first elastic thread stitching begins. Continue to measure ⅜” away from previous pin mark until you reach 6 rows.
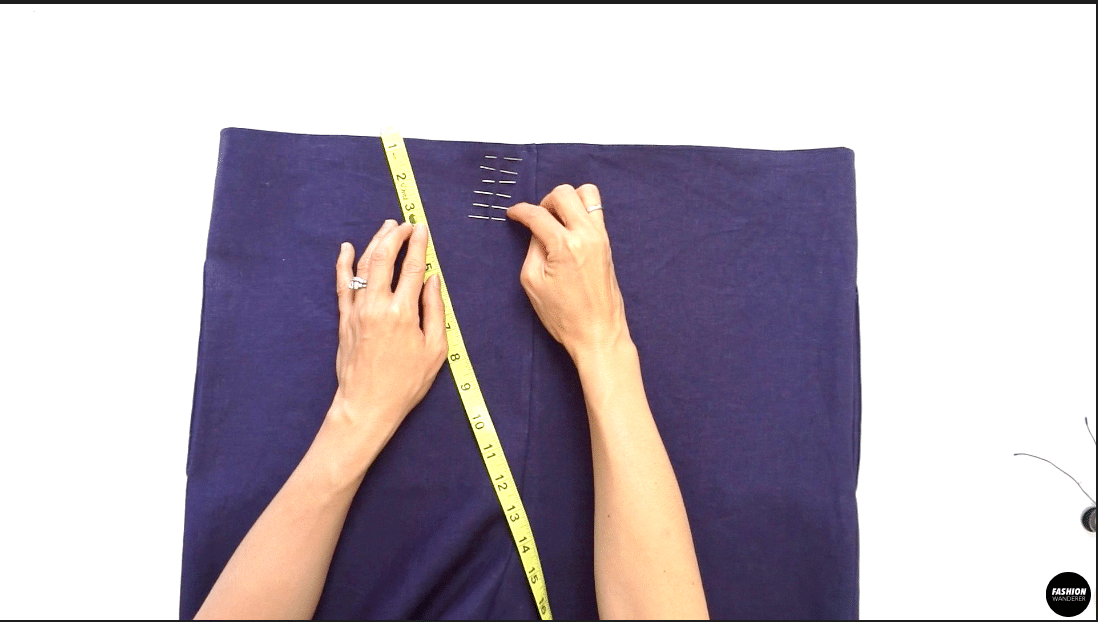

- Prepare one blank bobbin by hand winding elastic thread gently without pulling until the bobbin is full. Adjust the sewing machine to 3.5 to 4 stitch length, and start sewing ⅜” width for 6 rows. Give a steam press by lifting the iron around the ruffle and elastic rows to shrink and tighten the waistband.


How to Complete Shorts
- Lastly, finish the cut edges on the opening of the shorts with overlock stitch on both legs. Fold ¼” width towards the right side of the fabric and press with iron. Then, fold again 1¼” width toward the right side of the shorts and press around the opening.

- To secure the folded cuff, topstitch on the sides seam and inseam ¾” long to secure the cuff and prevent it from flipping.

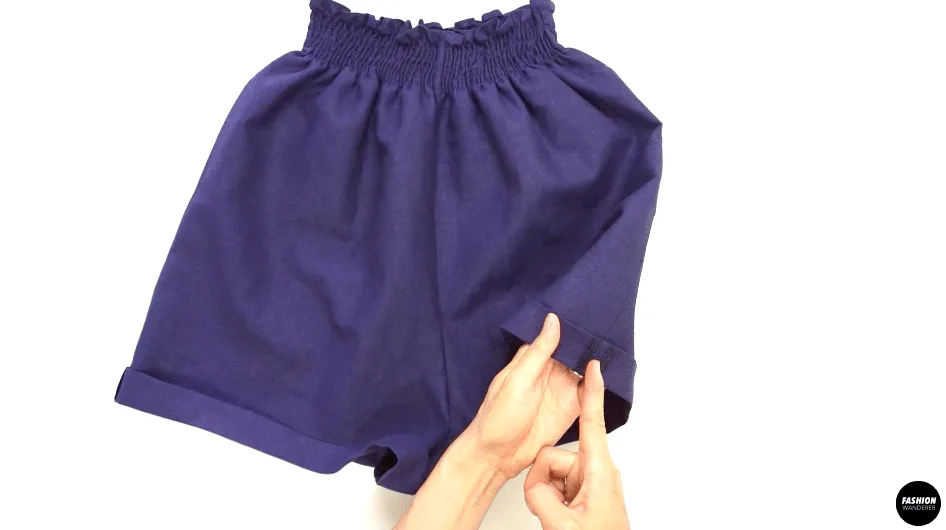
- Give a nice press all around the shirred waist, side seams, cuff, and remove any wrinkles to complete this Evie shirred high waist shorts.

Recommended Products
As an Amazon Associate and member of other affiliate programs, I earn from qualifying purchases.


Trendy, Affordable Sewing Patterns for All Sizes


Tie Shoulder Jumpsuit Pattern


Palazzo Pants Sewing Pattern


Pocket Overall Romper Pattern


Wrap Maxi Skirt Sewing Pattern


Tie Back Top Sewing Pattern