
Have you made an elastic thread smocked dress before? This Elania dress features a full bodice smocked with mini ruffles along the neck and shoulder line with a trendy ¾ length puff sleeve.
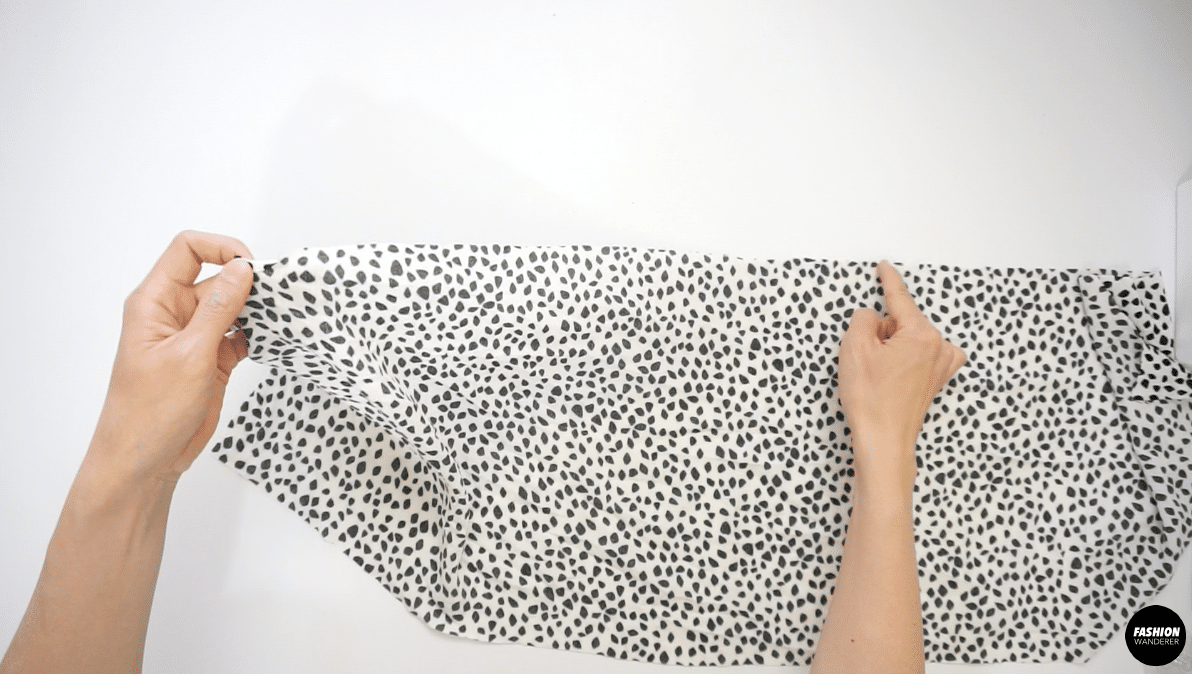
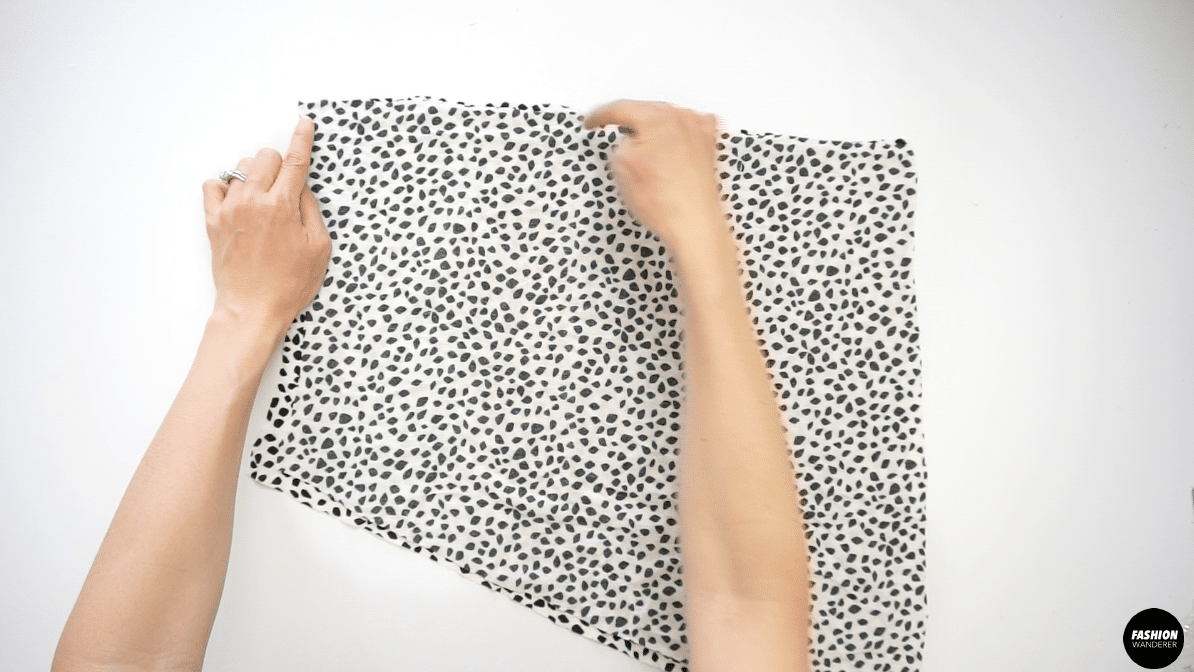
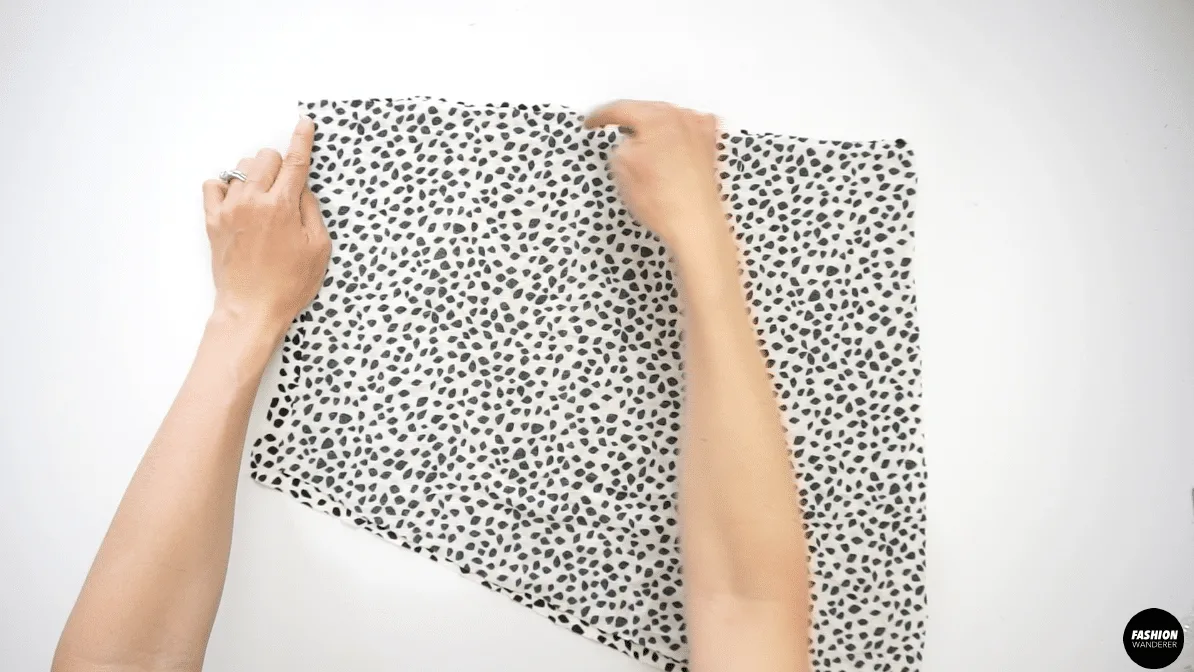
How to make a smocked mini dress with puff sleeve? Always pre-wash and iron the fabric before cutting rayon crepe fabric. Use pins or pattern weights to copy the pattern onto the fabric.
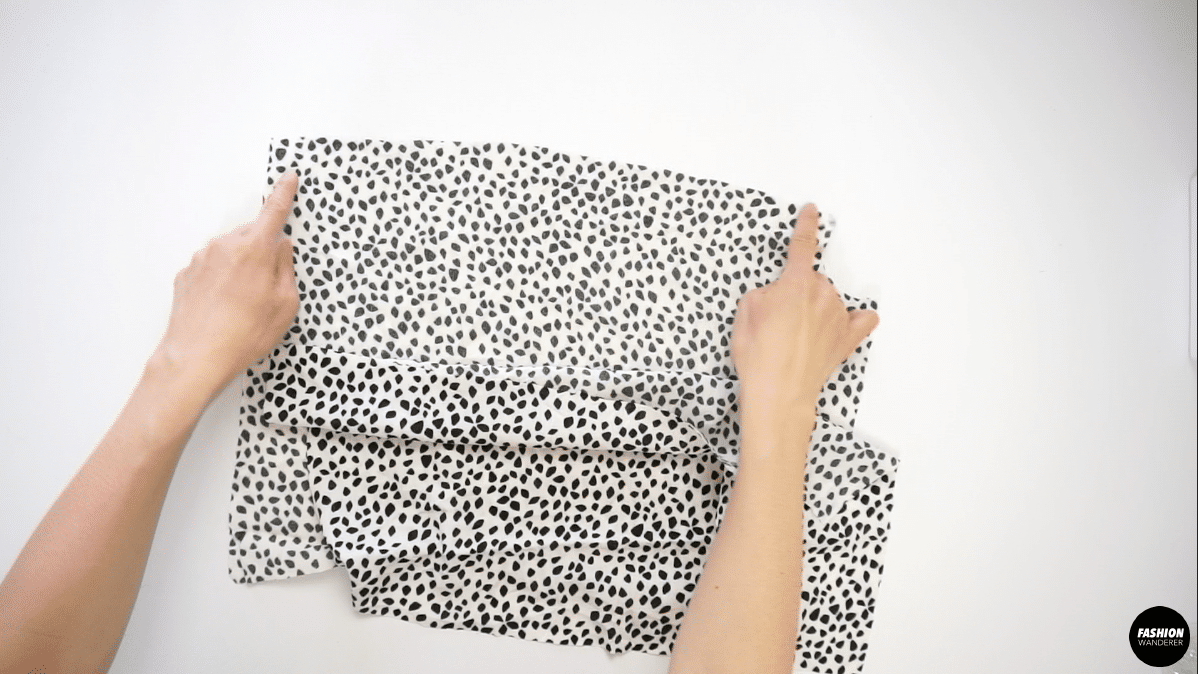
Cut along the seam allowance and review the sewing tutorial to correctly apply elastic smocking along each row, then assemble the dress together properly.
If you are new to elastic smocking, follow the sewing pattern and instructions to help you create perfect fitted summer dress to add to your DIY wardrobe.
This tutorial include step by step instruction, details sewing tips and a helpful how-to video to guide you along. Don’t hesitate to reach out if you have any questions along the way.


Puff Sleeve Smocking Mini Dress Sewing Pattern


You will love this DIY smocked mini dress because…
- The Elania dress sewing pattern ranges from size 2 to 12.
- Already included seam allowance of ⅜” on each sewing pattern.
- Help you learn to sew smocking for the bodice and sleeve.
- Add ruffle and sew elastic along the shoulder to give flexibility.
- Great beginner level sewing project to develop additional sewing skills.
This adorable dress include front and back elastic smocking along each row on the top torso with slight gathering along the waistline on the skirt that gives a nice drape on your body. It is a perfect dress to wear for spring or summer season with your favorite sandals or a pair of sneakers to dress down the look.
Use this DIY smocking mini dress sewing pattern and tutorial to lengthen into midi or floor length maxi of your choice.


How to make a smocking dress with puff sleeves

Take advantage of this Elania dress pattern and start by assembling the pdf sewing pattern to help you get prepared. Always review the size guide and use the correct body measurements for your chest, waist, and hip to find the correct dress size.
These are essential steps to take before cutting out the fabric and sewing pattern to avoid any mistakes along the way.
Prepare your sewing project by identifying the content and characteristic of the fabric. If you are using rayon crepe or poly crepe, use universal thread and regular sewing needle to properly thread your sewing machine beforehand.
By doing so, you will avoid skipping stitches or jamming thread that may damage your machine. Whether you are threading a bobbin for hemming or elastic thread, read the manual and sewing instruction for this tutorial to get accurate result.
DIY Smocked Puff Sleeve Mini Dress Tutorial Materials:
- Elania Dress Sewing Pattern
- Rayon Crepe 2 yards for 60” width or 3 yards for 45” width
- Elastic Thread
- ¼” Width Elastic Band
- Loop Turner
- Measuring Tape
- Disappearing Fabric Pen
- Pins
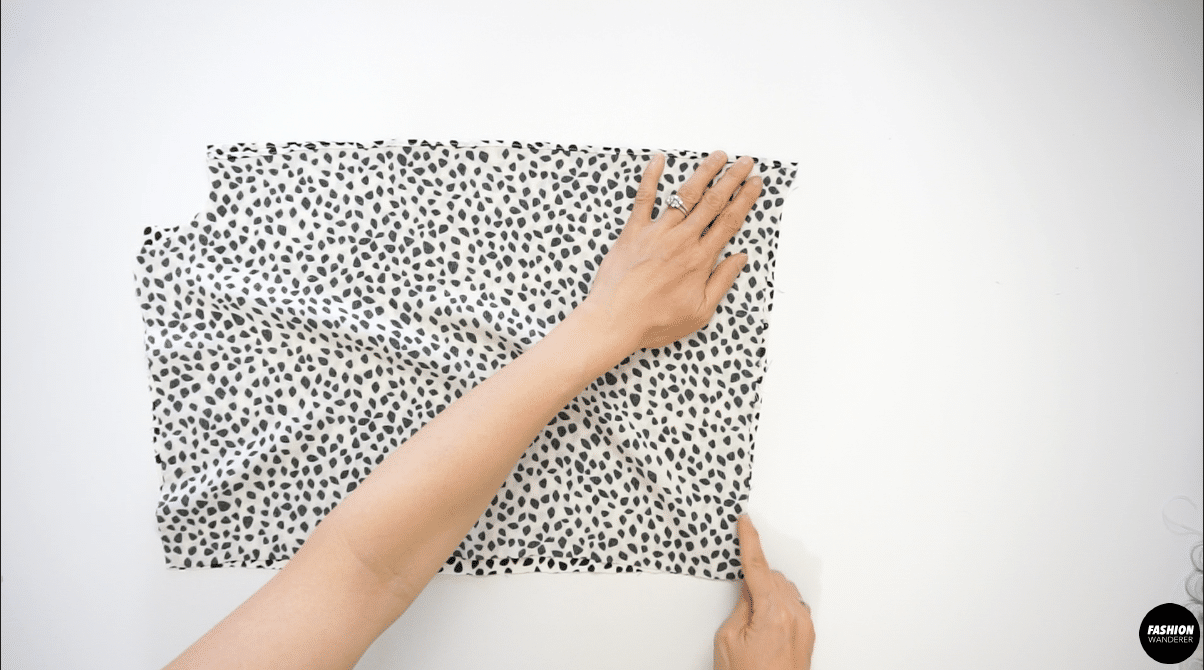
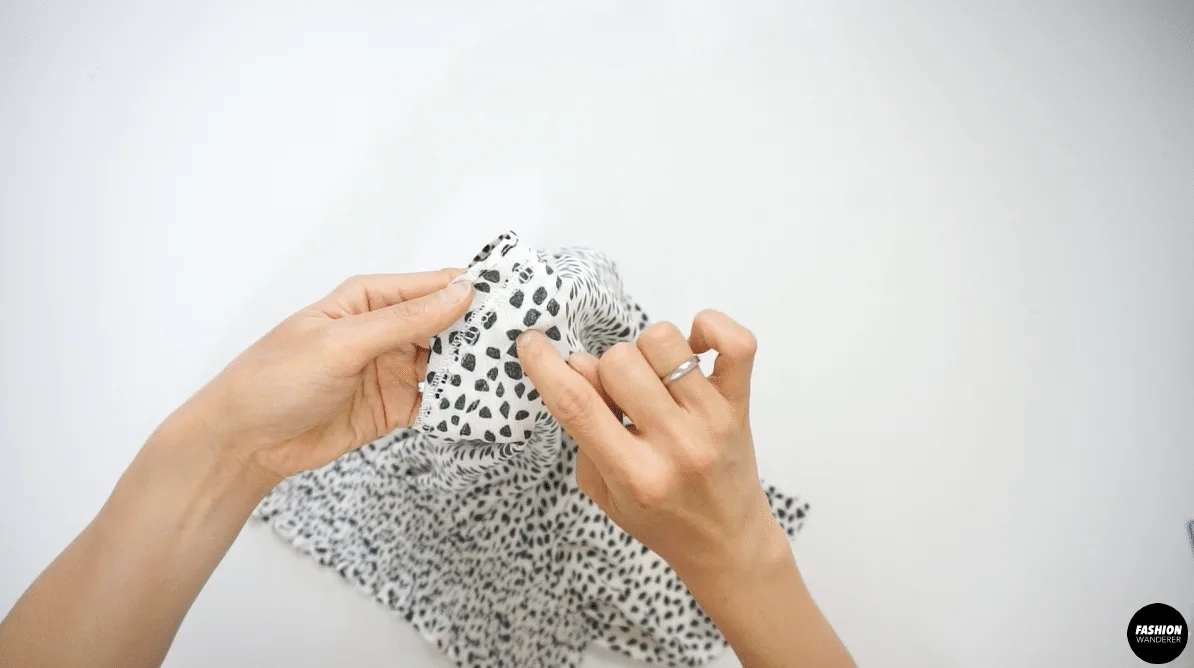
Finish the top edges of Front and Back Bodice by double fold ⅛” width and straight stitch to finish the hem. Use manual method or special sewing foot such as narrow hem foot to achieve the spacing all the way through. Afterward, press the hem for a neat finish.
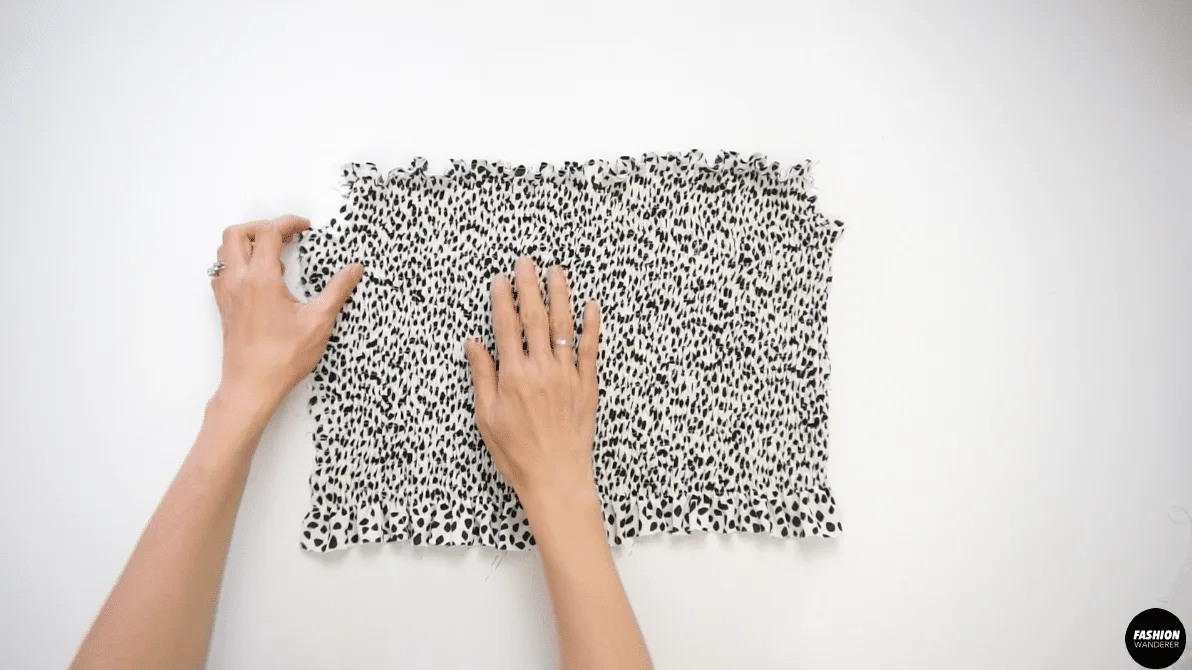
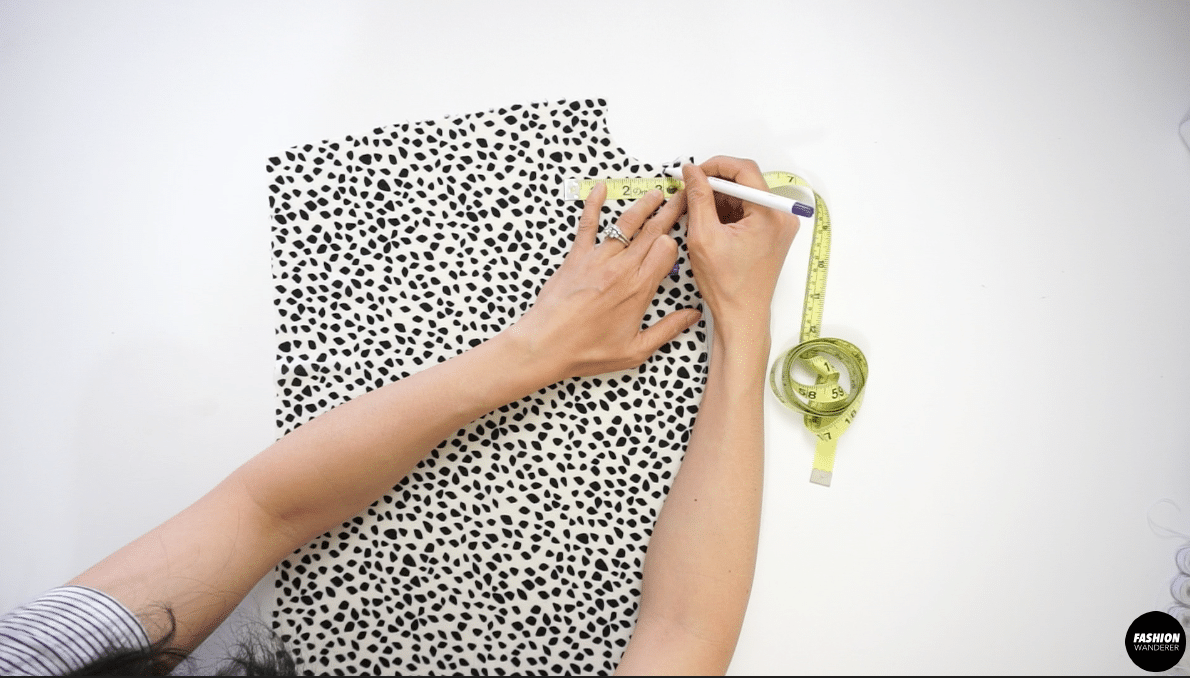
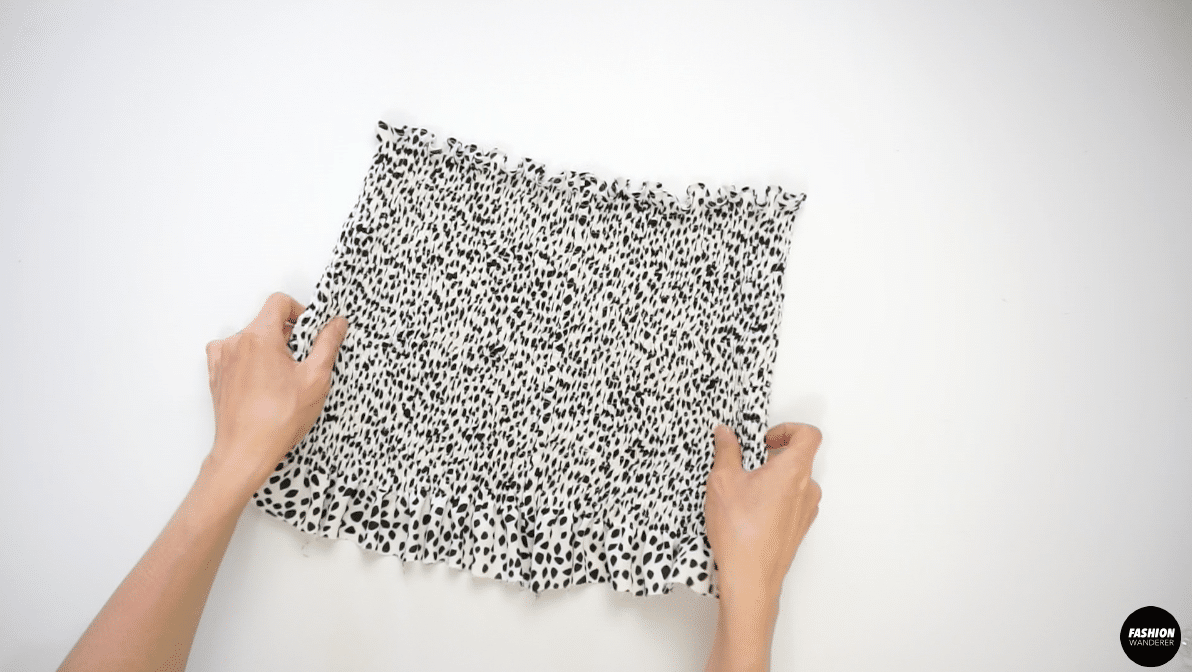
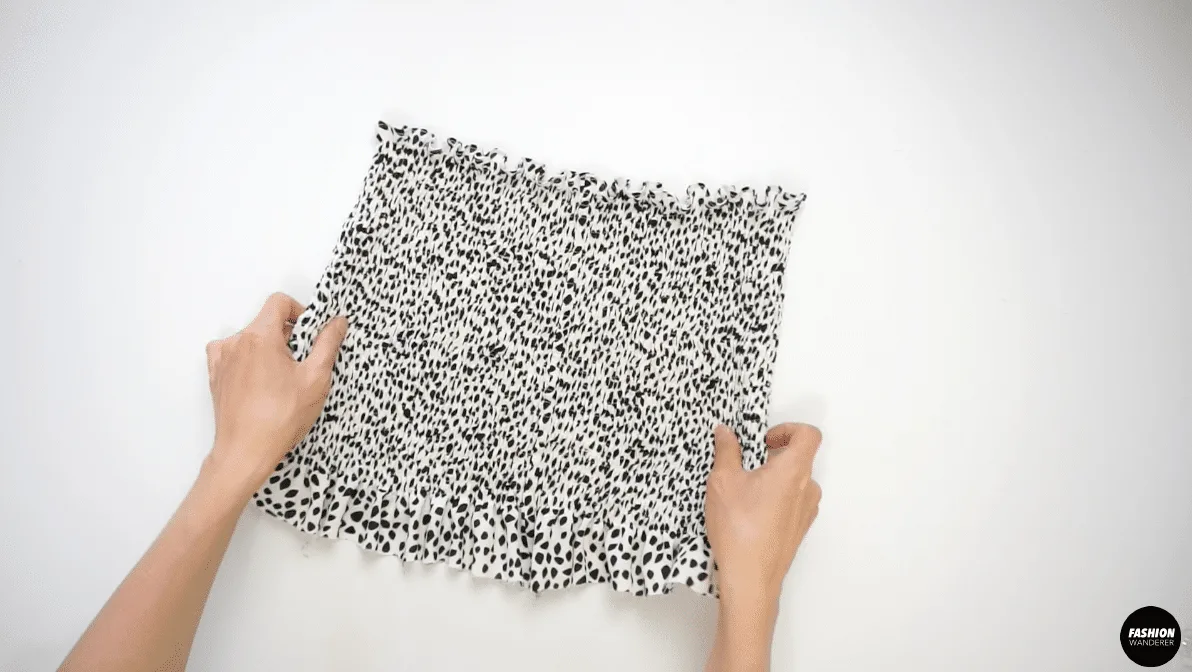
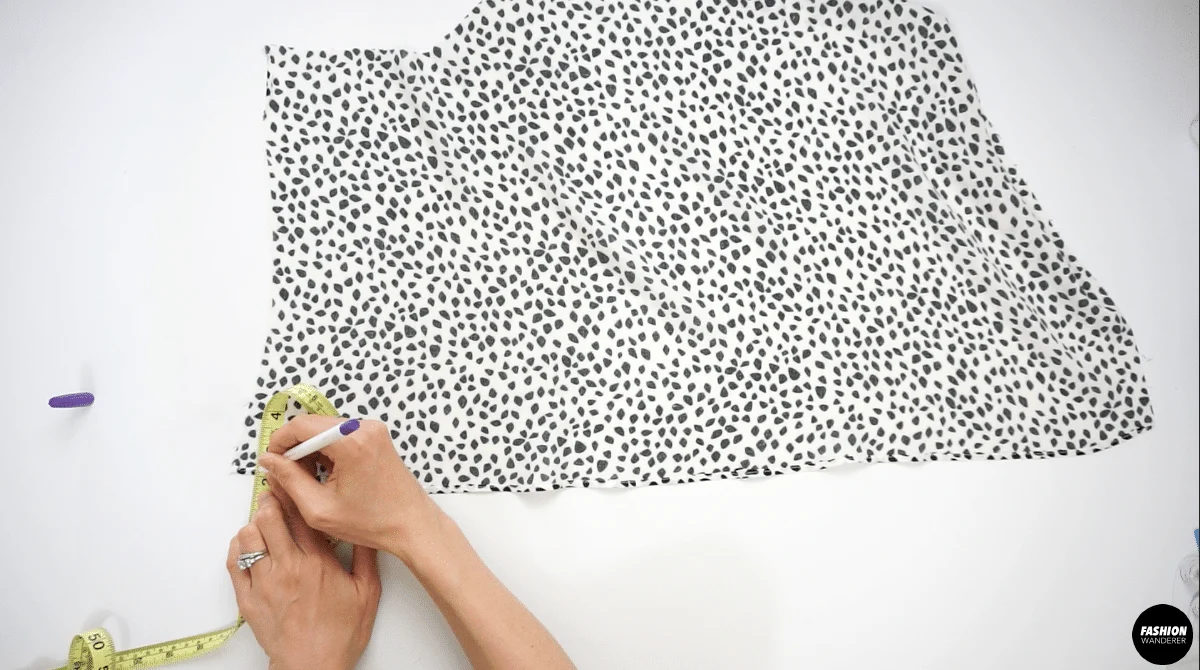
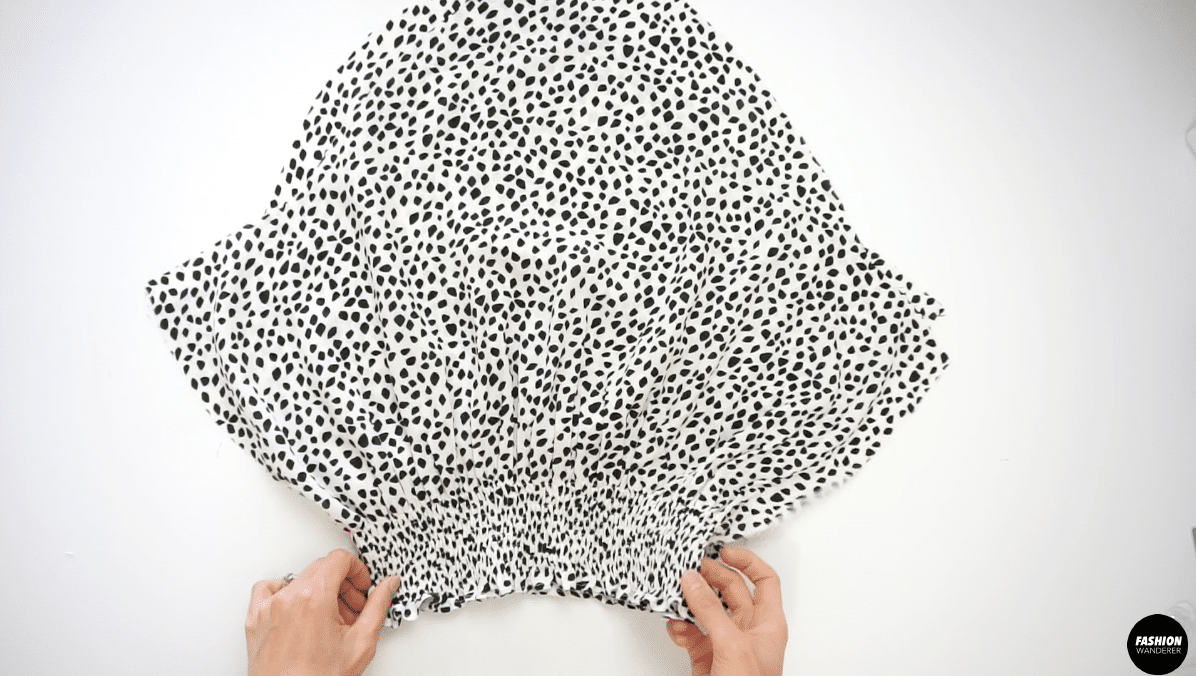
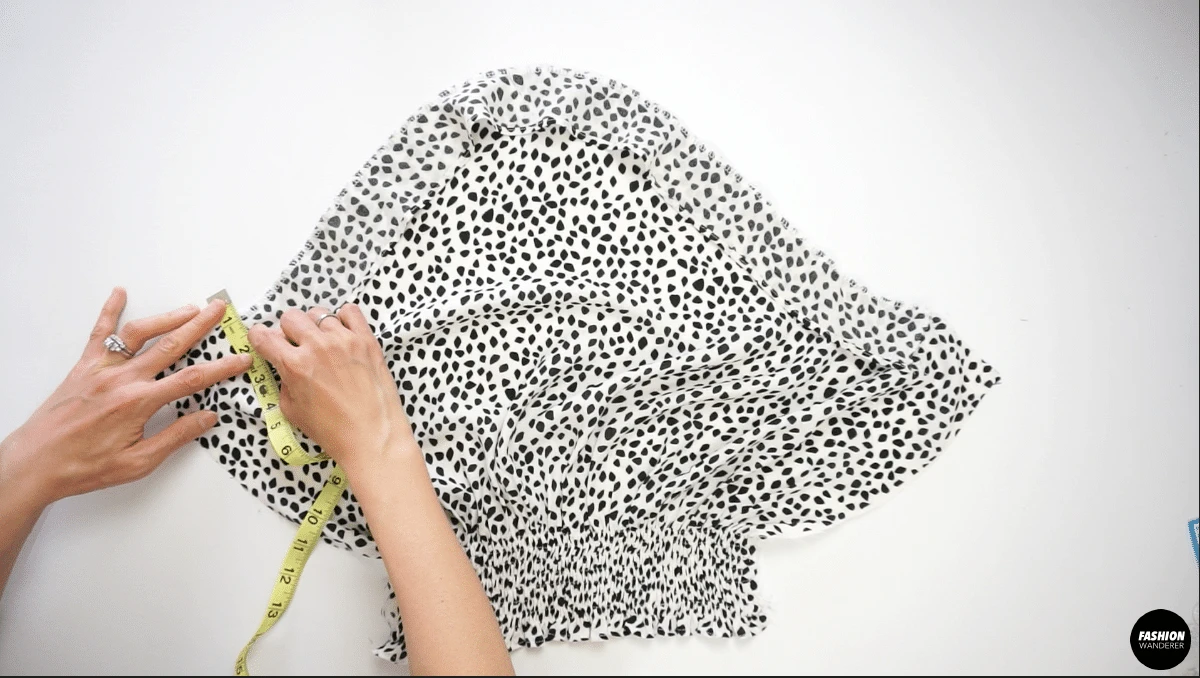
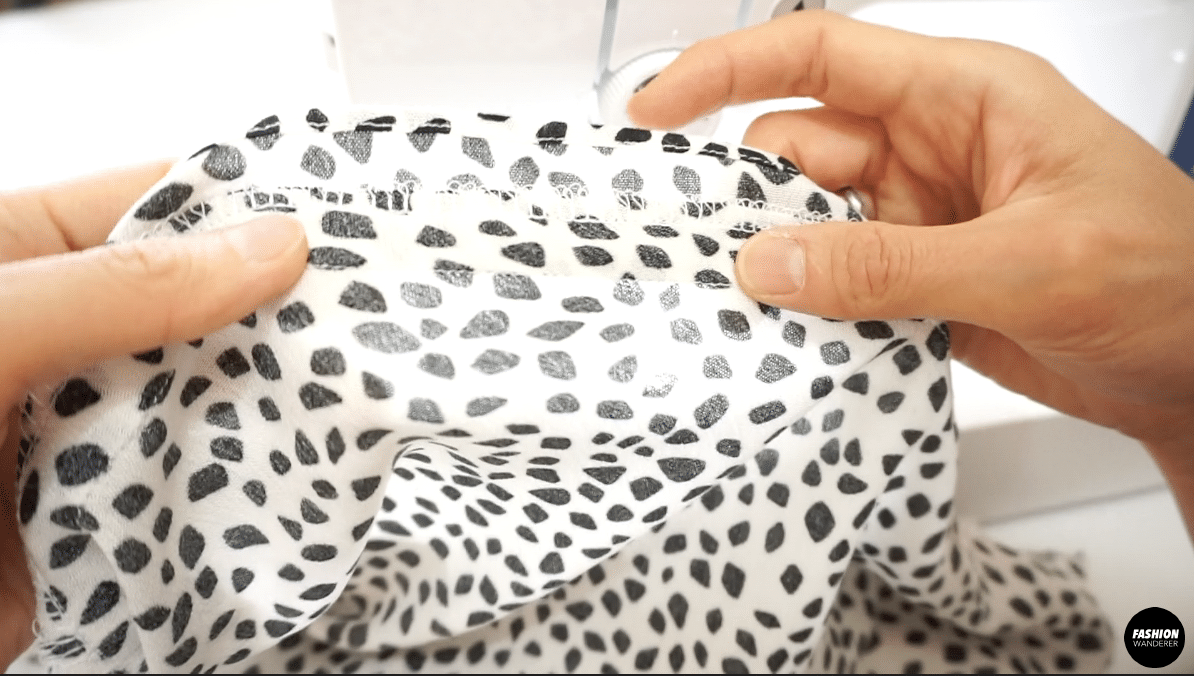
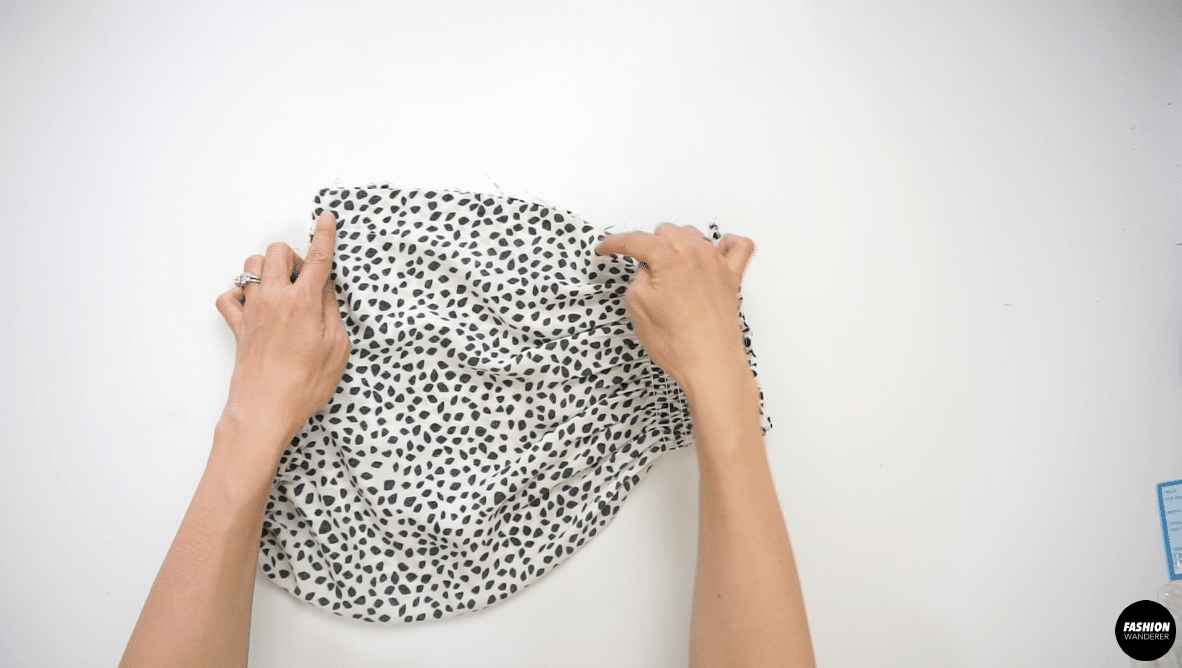
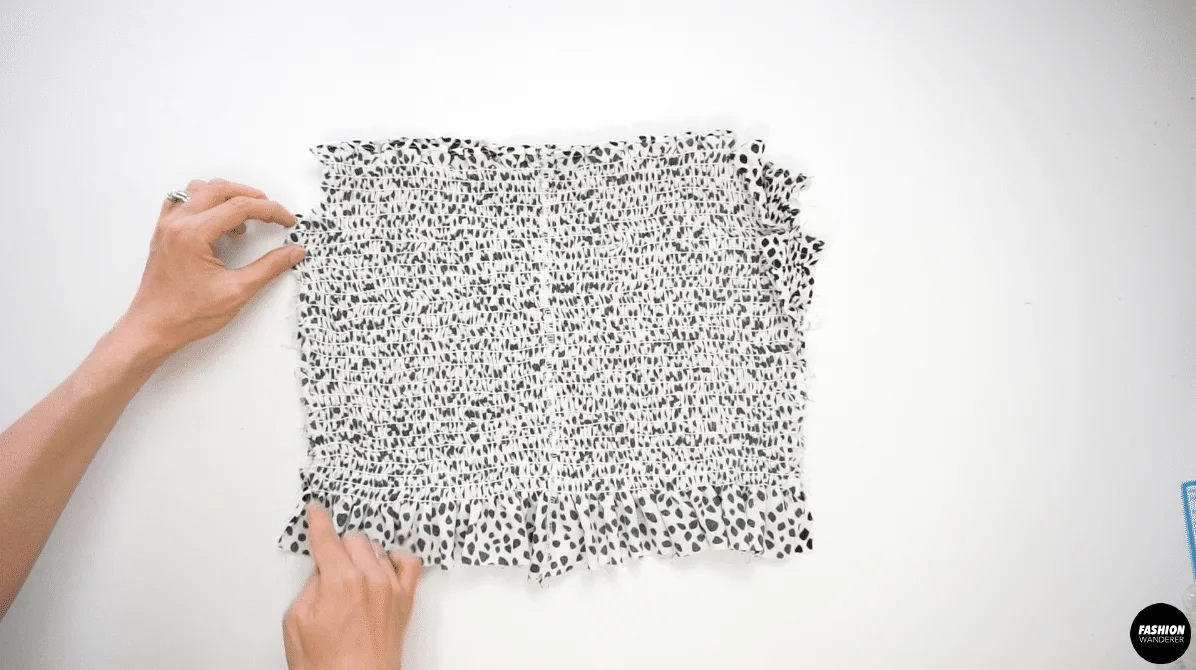
For Front and Back Bodice, measure ⅝” down from the hemline and mark with pen for the elastic stitch starting point. Sew elastic stitches ⅜” apart until there is 27 rows on the front and back.
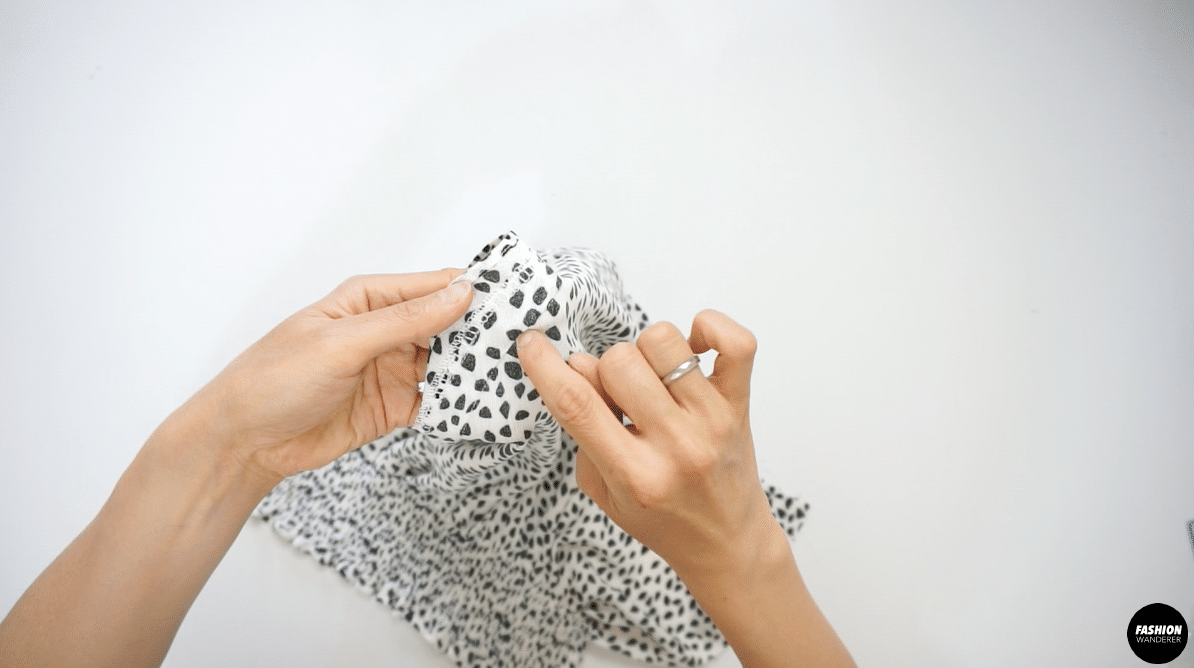
Apply the double fold ⅛” hemming on the sleeve opening and mark ⅝” away from hemming for stitch guide. Sew 8 rows on both sleeve.
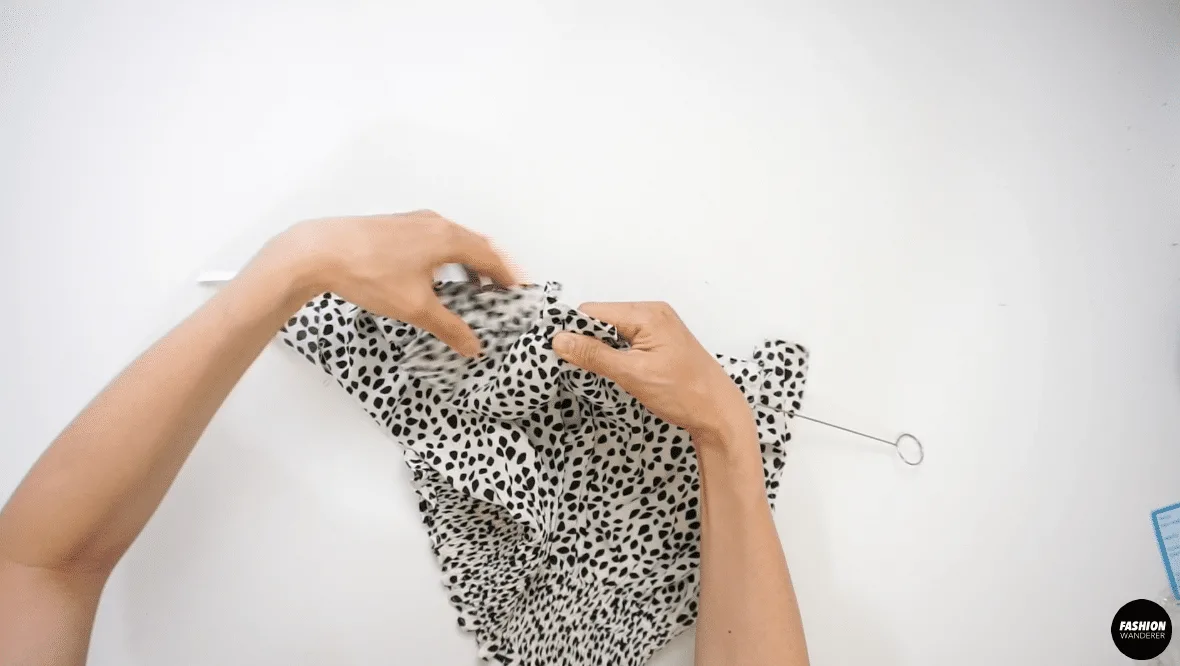
Use separate piece of fabric to create ruffle and tunnel to insert the elastic band along the shoulder.
Join the Front and Back Bodice along the side seam. Attach the sleeve on both sides with ⅜” seam allowance and finish with overlock stitch.
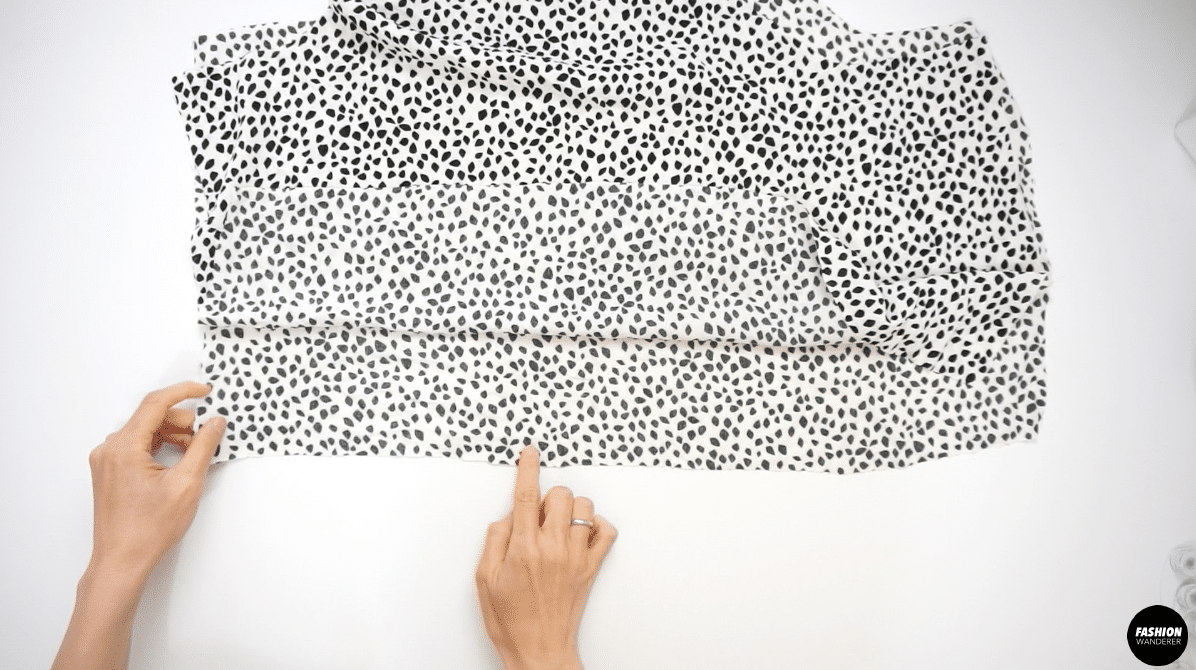
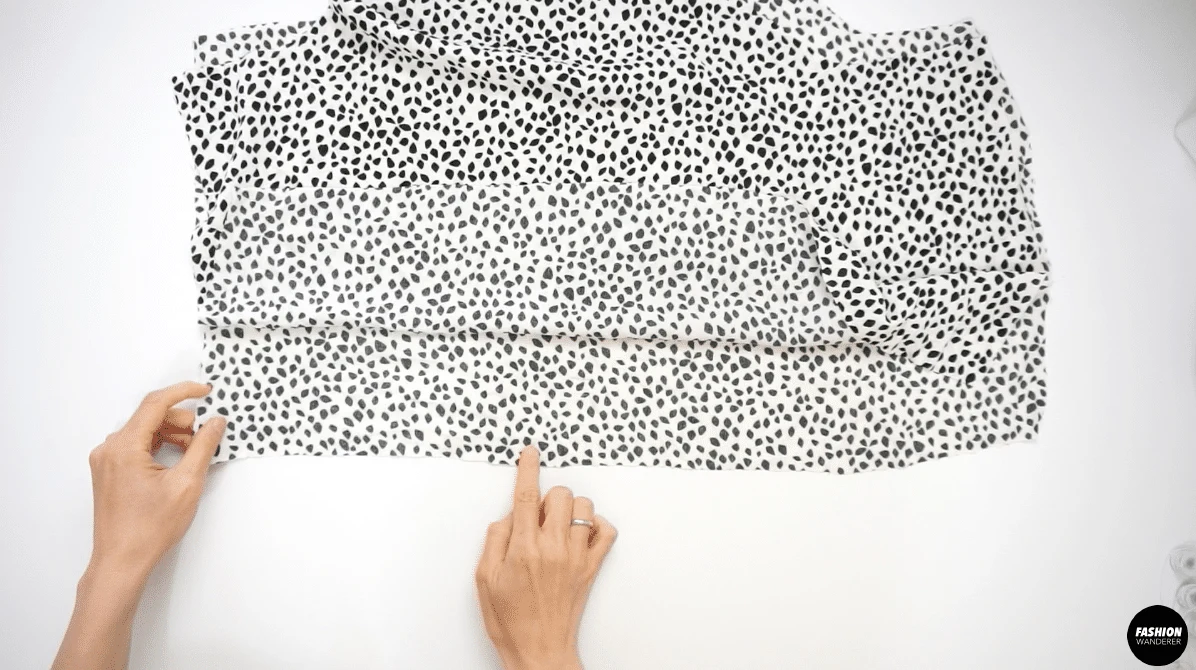
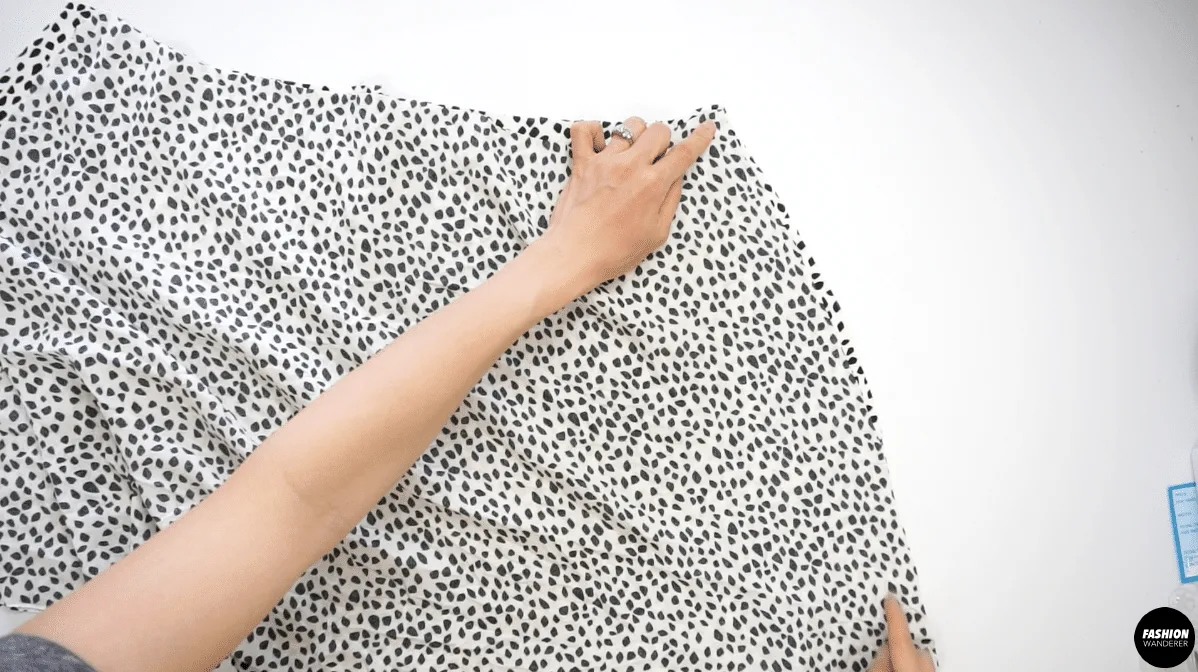
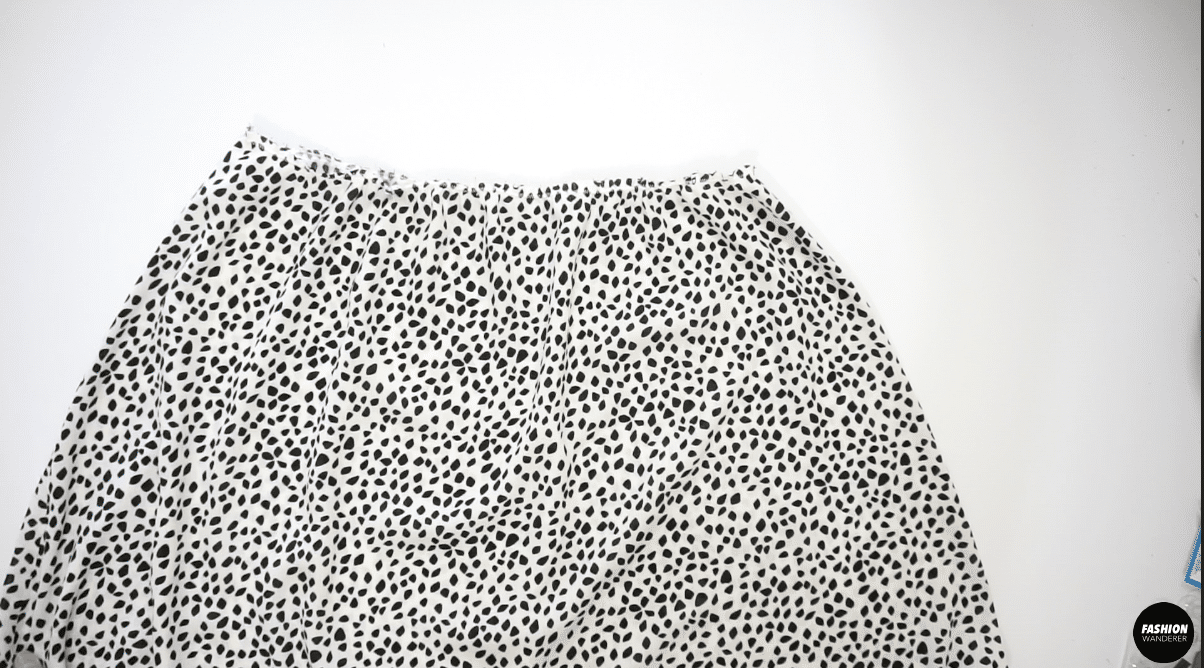
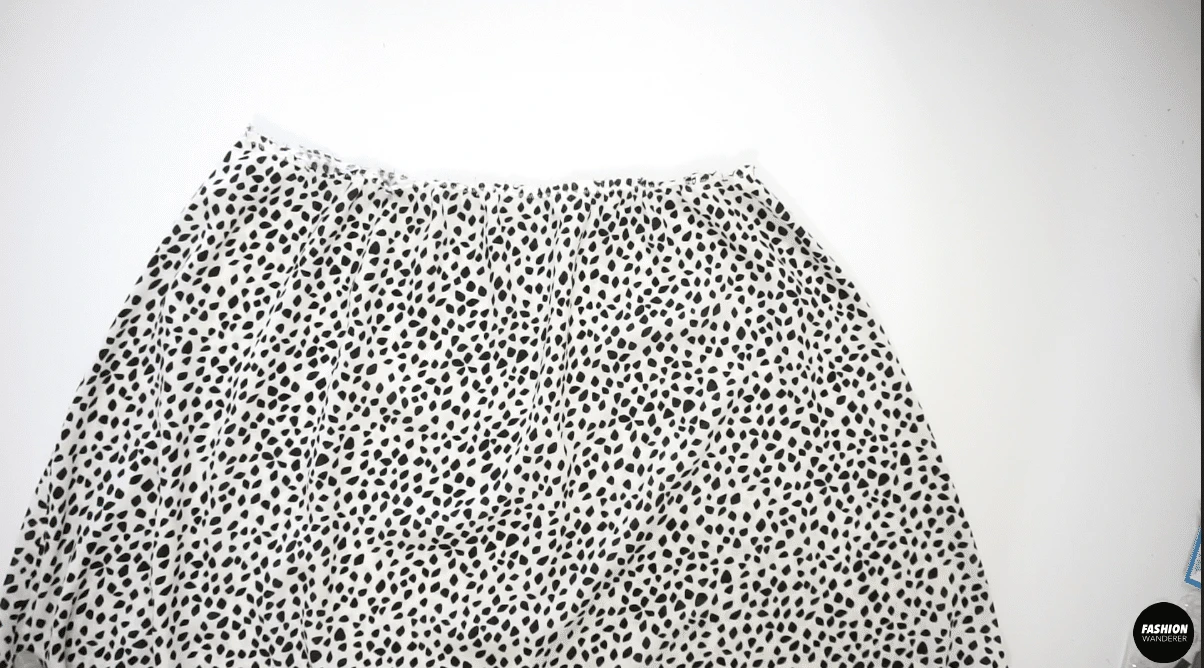
Sew the Front Skirt and Back Skirt together and slide through ¼” clear elastic band and stretch to match quarter point to evenly distribute the gathering all around the waist.
Place the right side of top and right side of skirt to join the seam with straight stitch and overlock stitch to finish.
Finish the skirt hem with ⅛” width double fold hemming method. Lastly, press the hemline and waistline.
DIY Smocked Puff Sleeve Mini Dress Sewing Tips


Making a smocked mini dress with elastic thread looks difficult and the even spacing appears challenging. However, this step by step tutorial teaches how to use elastic thread to create nice scrunched top bodice that hugs you nicely with evenly spaced rows using these sewing tips.
In addition, you will also learn how to use clear elastic tape to add to the waist and attach the skirt so that you don’t need to add a zipper to get in and out. This method is a great option for beginner to learn the correct way to join the elastic ends with a sewing machine.
In this sewing tutorial, we will utilize different types of elastic including thread, regular elastic and clear elastic on the garment. If you already have downloaded Elania sewing pattern, read through these sewing tips to guide you and easily understand the process.
- Sewing Needle: Whether you sew regular straight stitch along the hem or sewing elastic thread, you do not need special sewing needle. Since the base fabric is woven, a universal sewing needle or extra sharp ball point needle a 75/11 or 80/11 works well for this project. Make sure the needle is sharp and pointy instead of dull, which gives nice crisp straight lines when sewing elastic rows.
- Thread: When sewing rayon, selecting the correct thread is important. I recommend using polyester thread or a poly blend. Polyester is similar to rayon and it works better compared to cotton thread.
- Stitches: There are two types of stitches you will be interchangeably using: straight stitch and overlock stitch. To finish narrow hemming, use straight stitch. With help of a special sewing foot, you can achieve consistent hemline or fold and stitch as you go. Adjust the stitch length between 2 to 2.5 on the sewing machine. The smaller stitch will help to prevent from fraying on the rayon fabric. The overlock stitch is used to finish the inside seams by using a Serger.
- Elastic Thread: To accomplish smocking on the dress, you will use good amount of elastic thread to add along the front, back, and sleeve cuff area. Hand thread the bobbin with elastic thread and save 3-4 bobbins with elastic thread as you will run out of thread quite quickly. When sewing elastic thread on the rayon fabric, adjust the stitch length between 3.5 to 4.0 size and keep the tension as you had. The longer stitch length creates more shirring whereas shorter stitch length create less.
- Elastic: In this tutorial, you will use both regular ¼” width elastic and clear elastic. When creating the ruffle tunnel along the shoulder, use a loop turner to pull the elastic through to the opposite end. It helps you to insert elastic easily without loosing the ends. For the clear elastic, join using zigzag stitch or even hand stitch due to they are slipperier to sew with a sewing machine. To attach the clear elastic loop to the skirt part, use quarter mark method and sew zigzag stitch to finish.
There are different ways to sew elastic on this dress. From elastic thread to clear elastic, take time and sew slow when sewing elastic.
Use these sewing tips and techniques to complete the Elania dress without any mistakes.


How to make Elania smocked mini dress step by step
Sewing smocked mini dress with ¾ length puff sleeve looks advances. However, with easy to follow step by step instructions, tutorial video and detailed photos, this smocked dress help you to understand how to sewing elastic, ruffles and clean finish narrow hem on rayon crepe fabric.
Download Elania dress sewing pattern and review the steps. Don’t forget to test on scraps of fabric so you feel comfortable sewing regular and elastic stitches to achieve the best result.
Materials
- Elania Dress Sewing Pattern
- Rayon Crepe 2 yards for 60” width or 3 yards for 45” width
- Elastic Thread
- ¼” Width Elastic Band
Tools
- Sewing machine
- Serger
- Loop Turner
- Measuring Tape
- Disappearing Fabric Pen
- Pins
Instructions
For this Elania dress tutorial, start by assembling the pattern pieces:
1 piece of Front Bodice
2 pieces of Back Bodice
1 piece of Front Skirt
2 pieces of Back Skirt
2 pieces of Sleeve
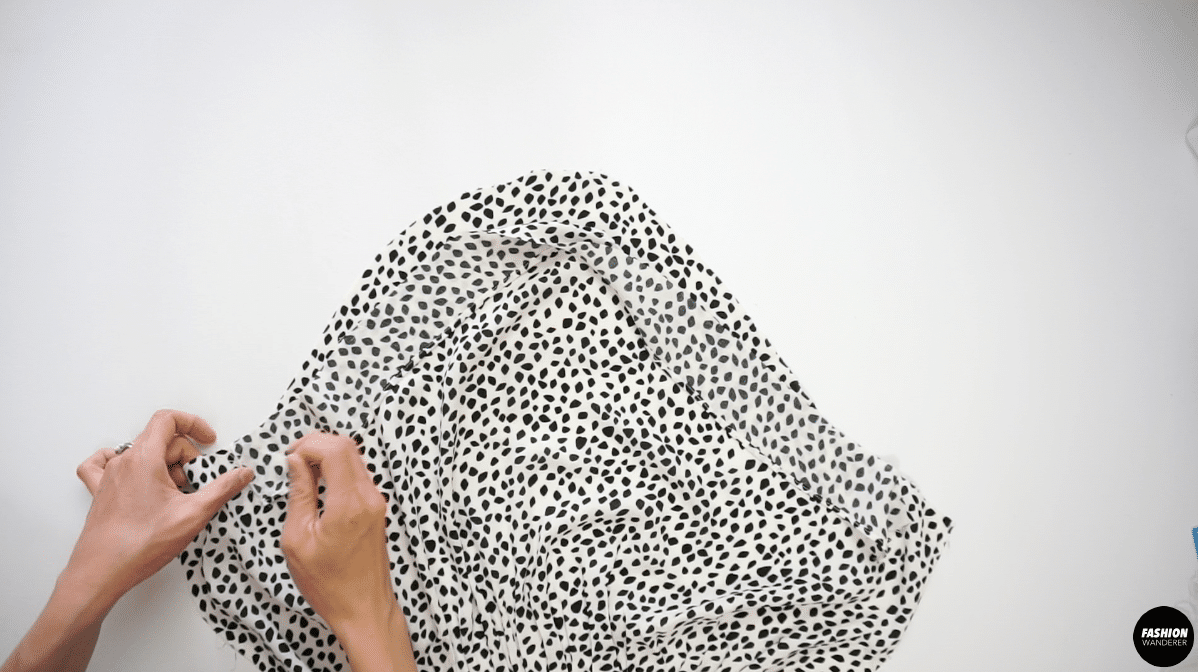
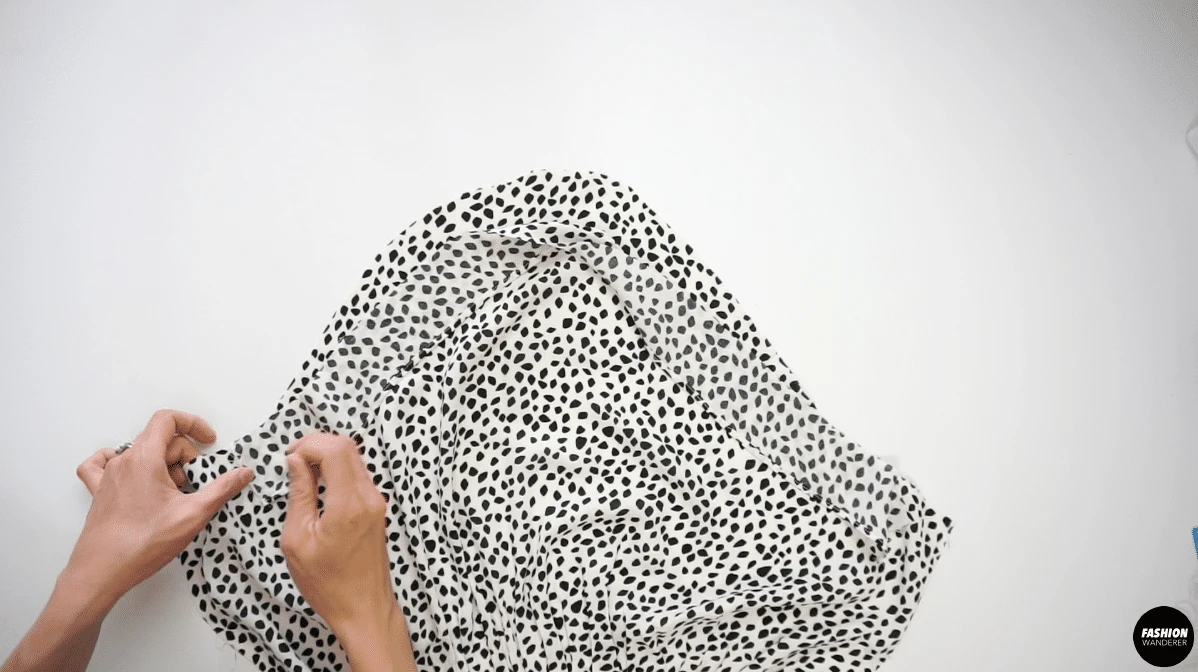
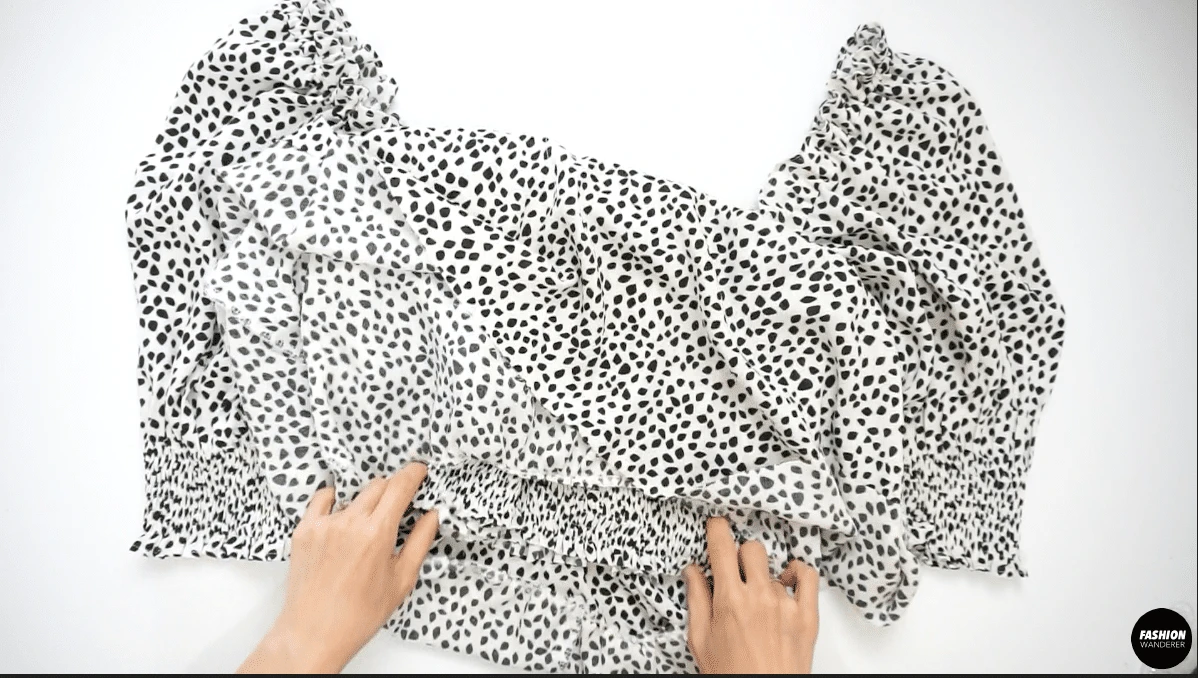
How to Sew Shirring On Front and Back Bodice
- Double fold ⅛” to create narrow hemming. You can manually fold as you sew straight stitch or use narrow hem sewing foot to achieve the same look.

- Do the same ⅛” hemming on the top edge of both sides on the Back bodice.

- On the Front bodice, measure from the hemmed neckline down ⅝” and mark with erasable pen, this will be your width of ruffle and first elastic thread stitch line.

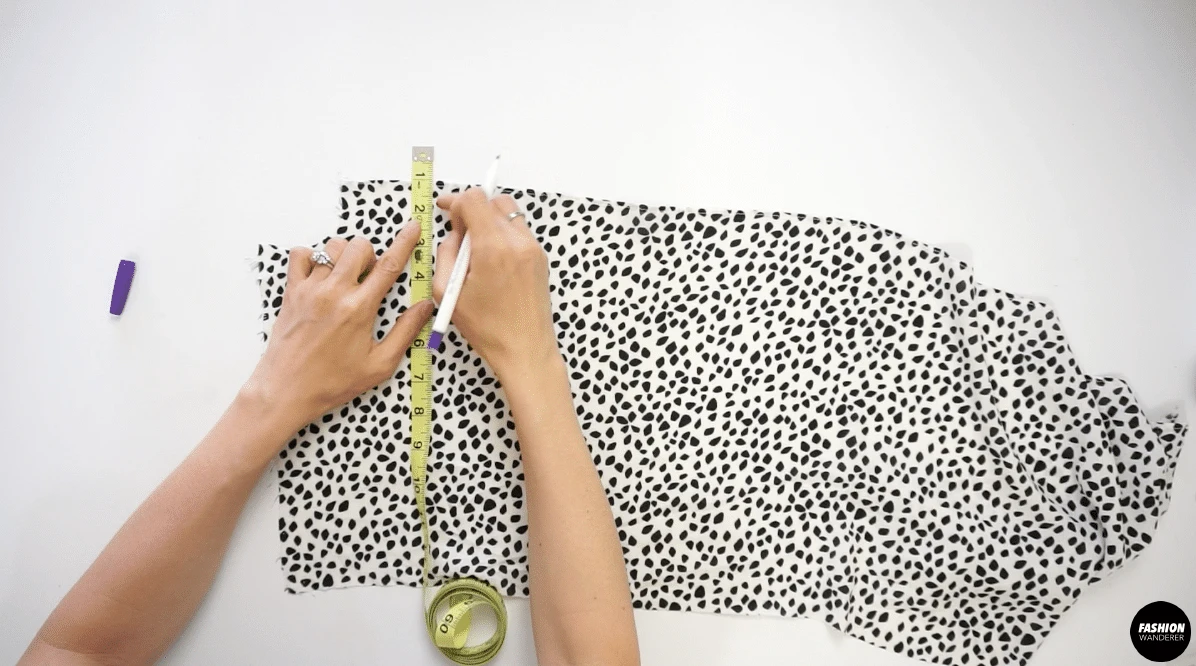
- From the first stitch line, continue to elastic stitch ⅜” distance apart. Gently pull the previous elastic and flatten the fabric when sewing.
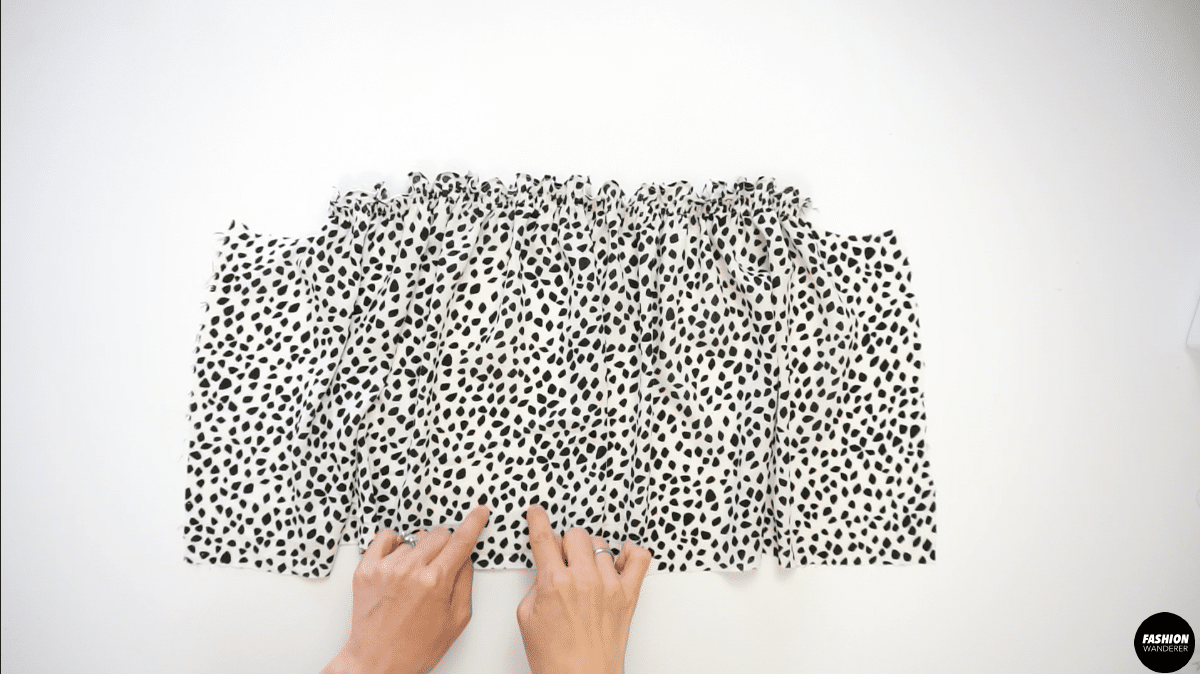

- Sew until you have about 27 rows of elastic stitches.

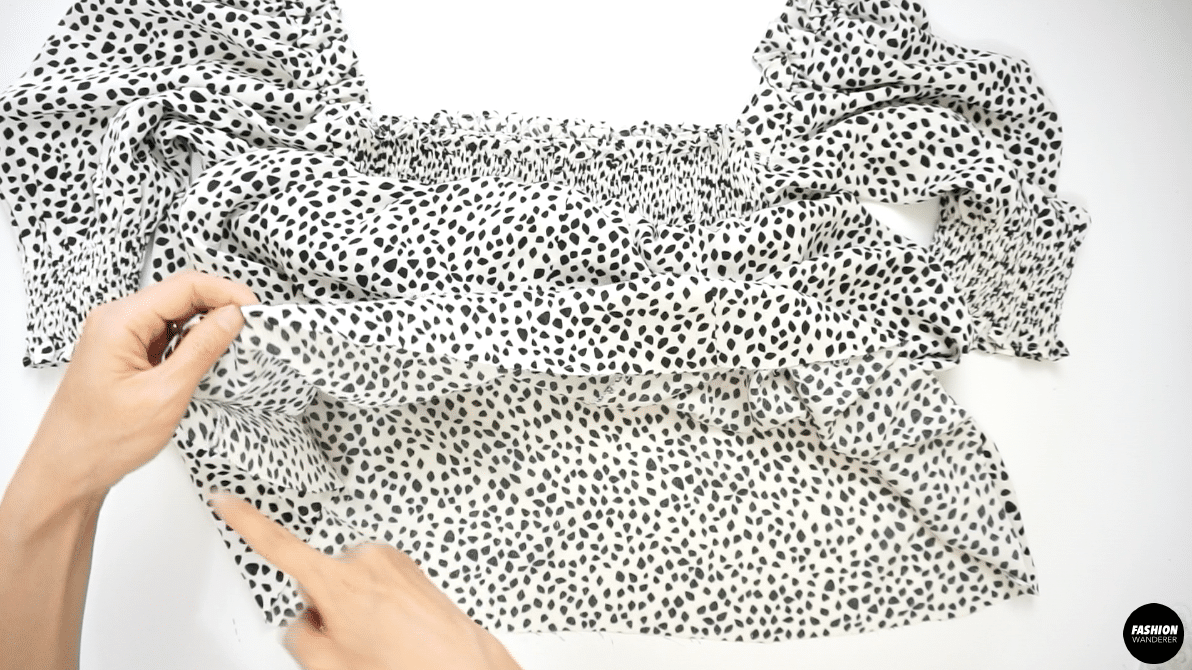
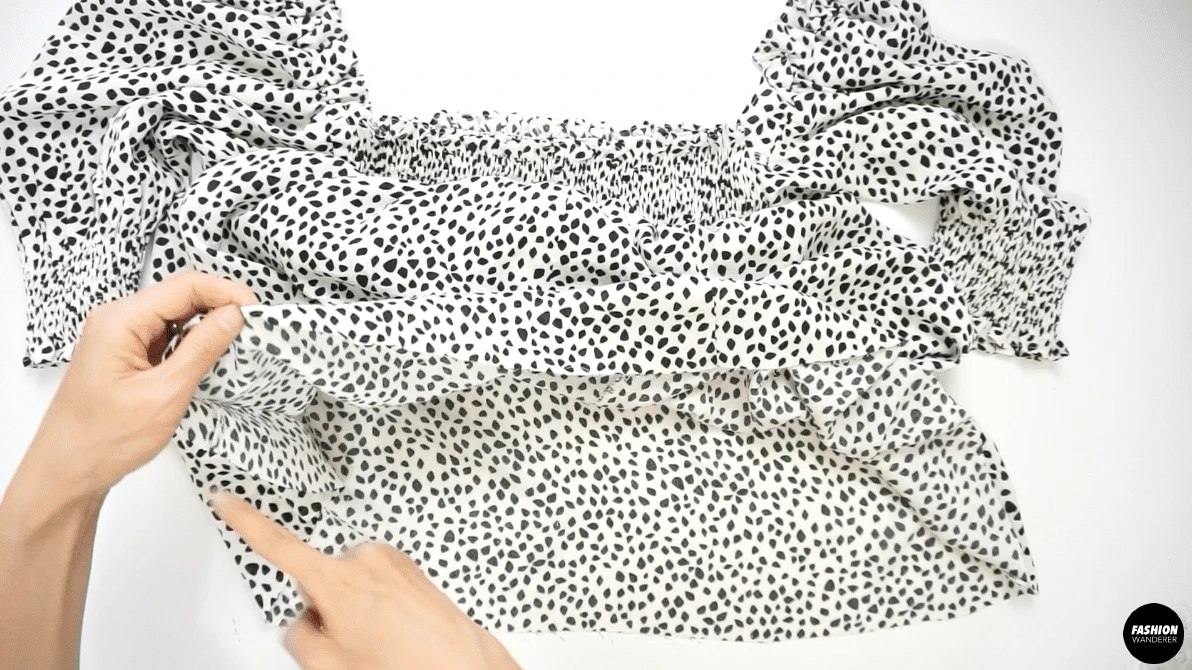
- Place right side facing together of the Back bodice pieces, ⅜” straight stitch and overlock to finish along the center back.

- Mark ⅝” away from hemming with erasable pen on the Back Bodice for ruffle width and first elastic stitch position.
- Continue to sew shirring with elastic thread until you have 27 rows on the Back Bodice as well.
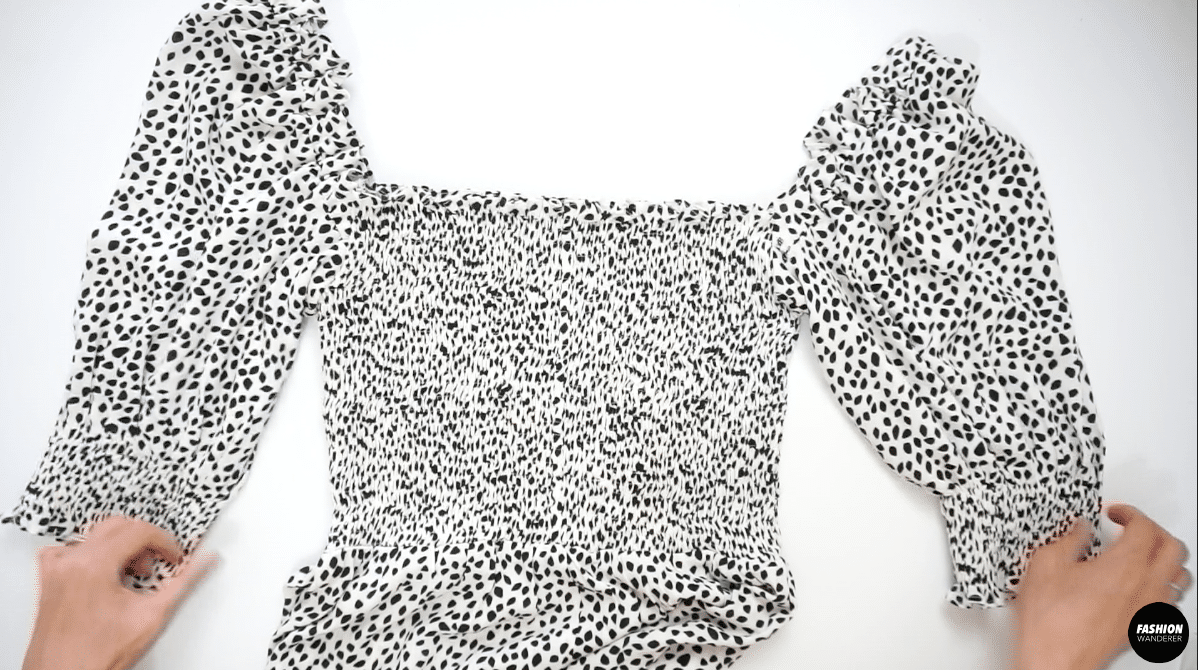
How to Sew Shirring On Sleeve
- Double fold ⅛” width narrow hemming on the bottom edge of both sleeves.
- From the hemming, measure ⅝” away and mark with pen. This is your ruffle width and location of first elastic shirring stitch on the sleeve.

- From the first stitch line, continue straight stitch with elastic ⅜” apart until you made 8 rows on both sleeves.
How to Make Shoulder Ruffle
- Make 1 piece of rectangular strap that is 5” height and 26” long.
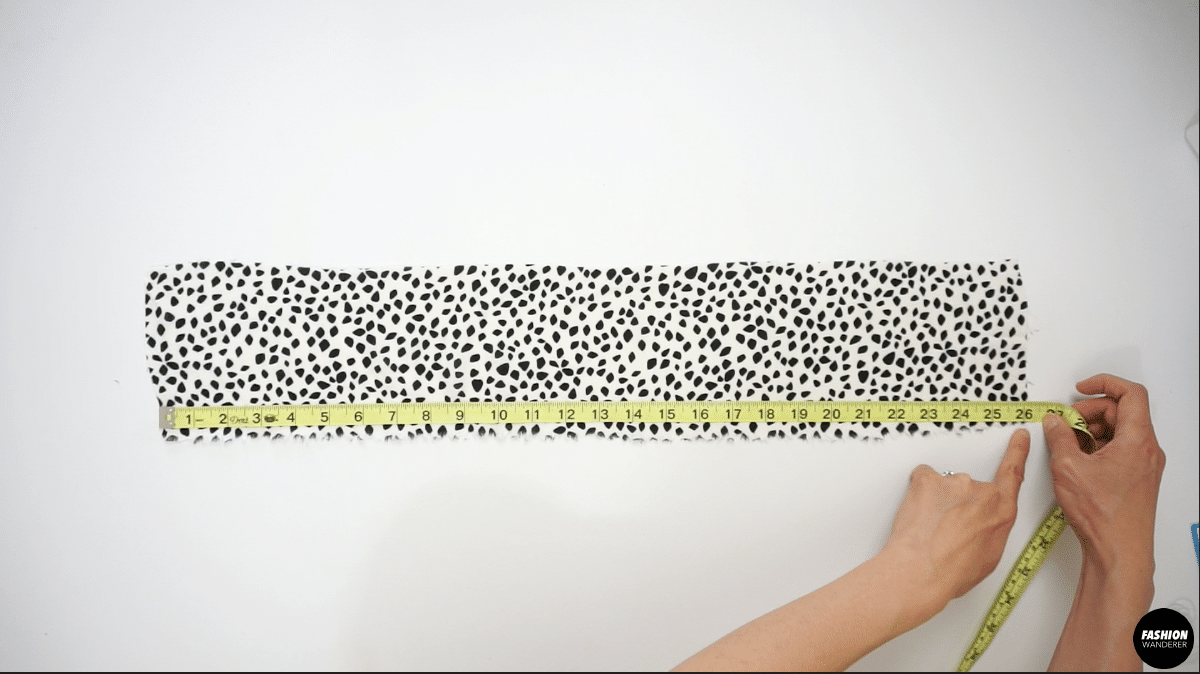
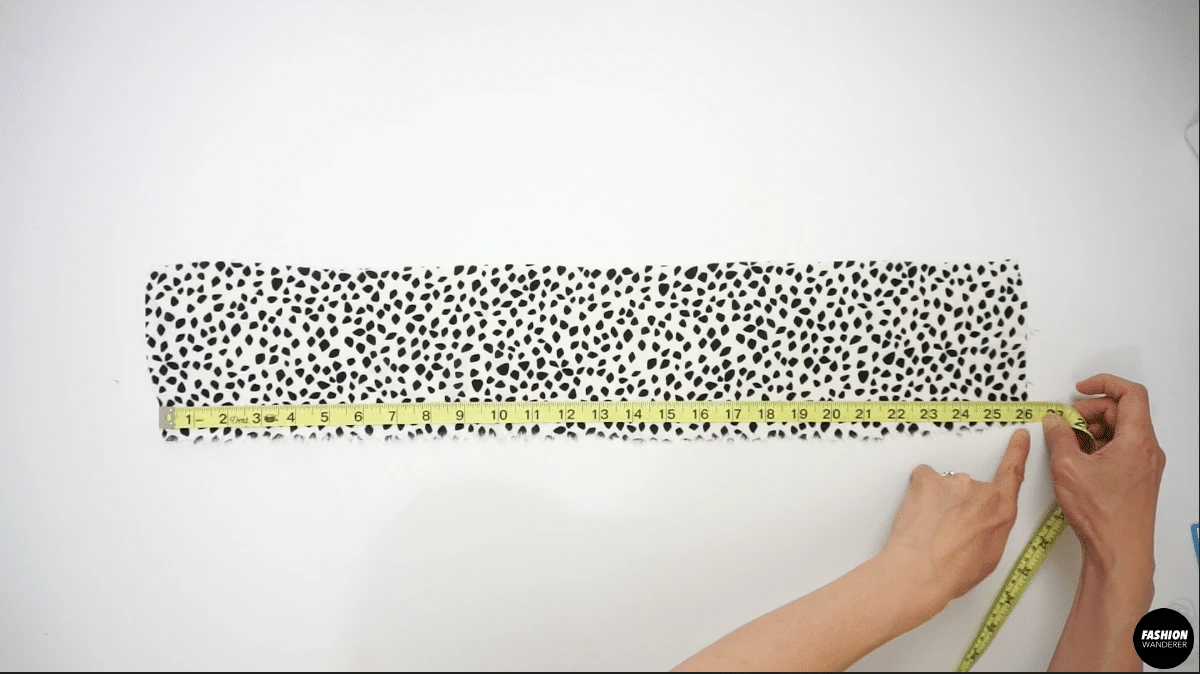
- Double fold ⅛” width hemming lengthwise on both sides of the strap.
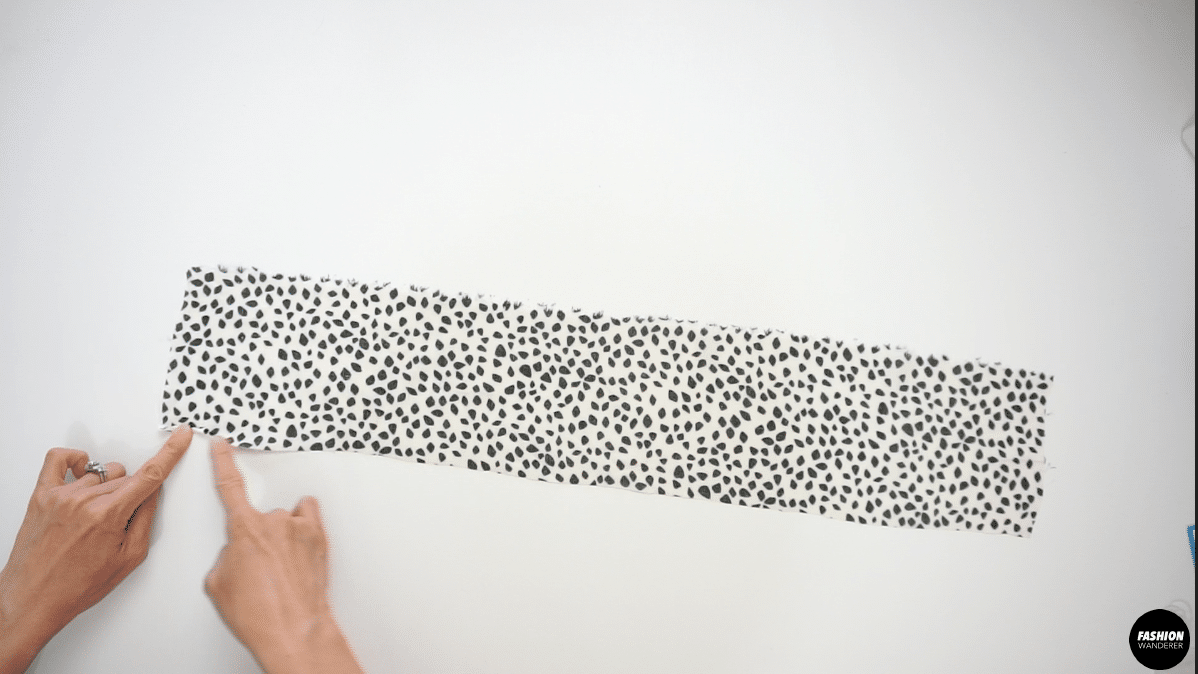
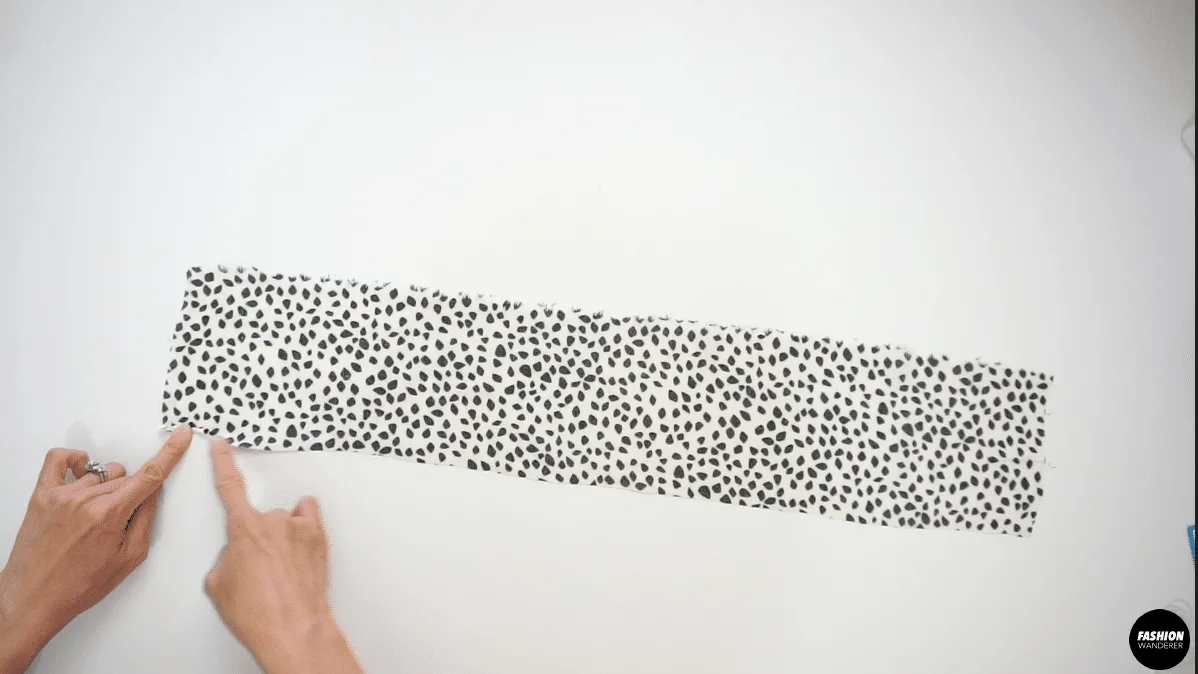
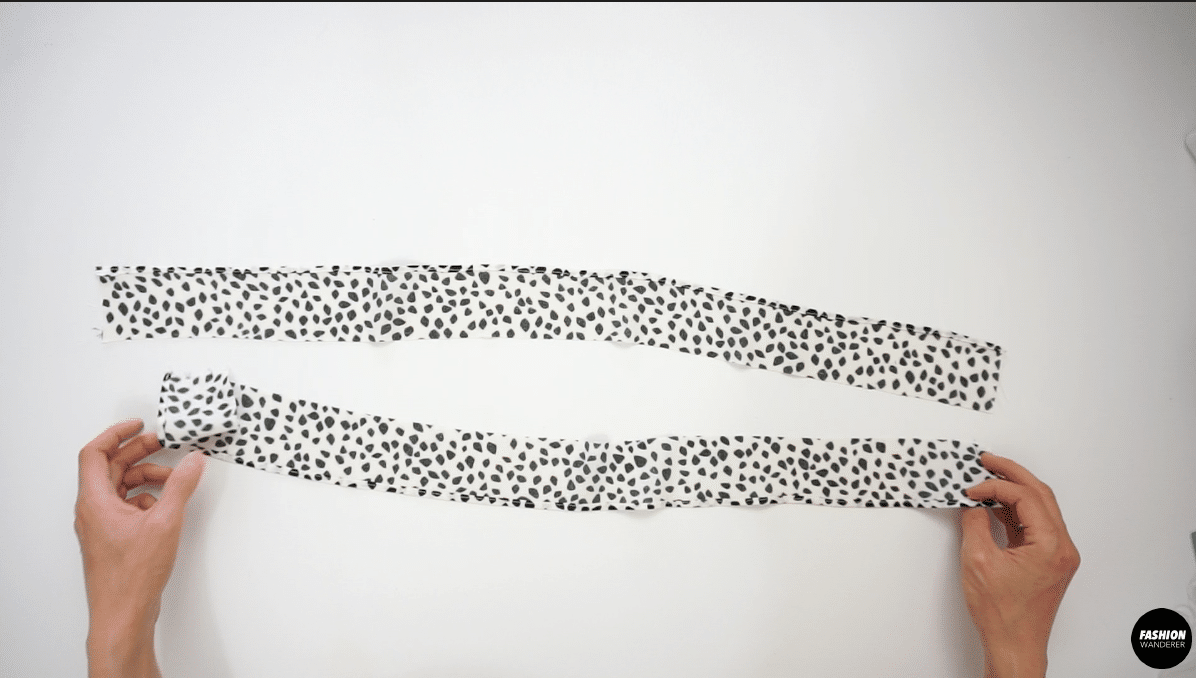
- Fold the strap in half and cut lengthwise in the middle.

- Place the right side of the shoulder strap and right side of sleeve facing each other and pin to secure from front notch to the back notch.
- Finish with zigzag stitch and from the end of zigzag stitch measure ½” and straight stitch.

- Press the seam open and straight stitch just underneath the zigzag stitch.

How to Assemble Sleeve With Ruffle
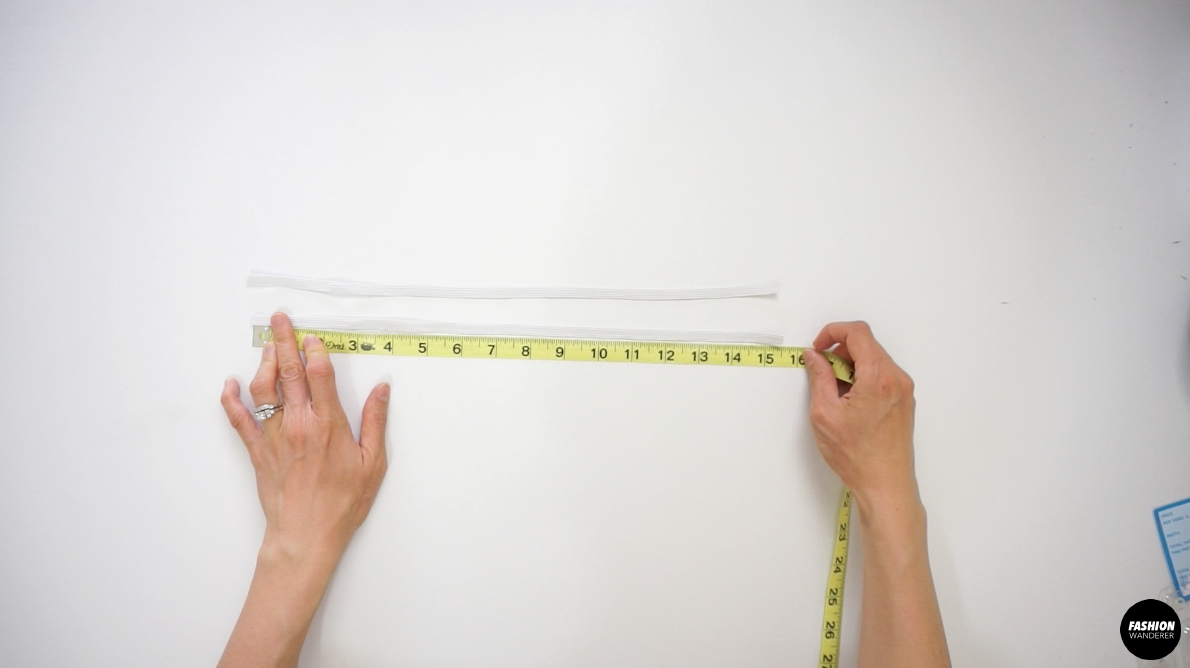
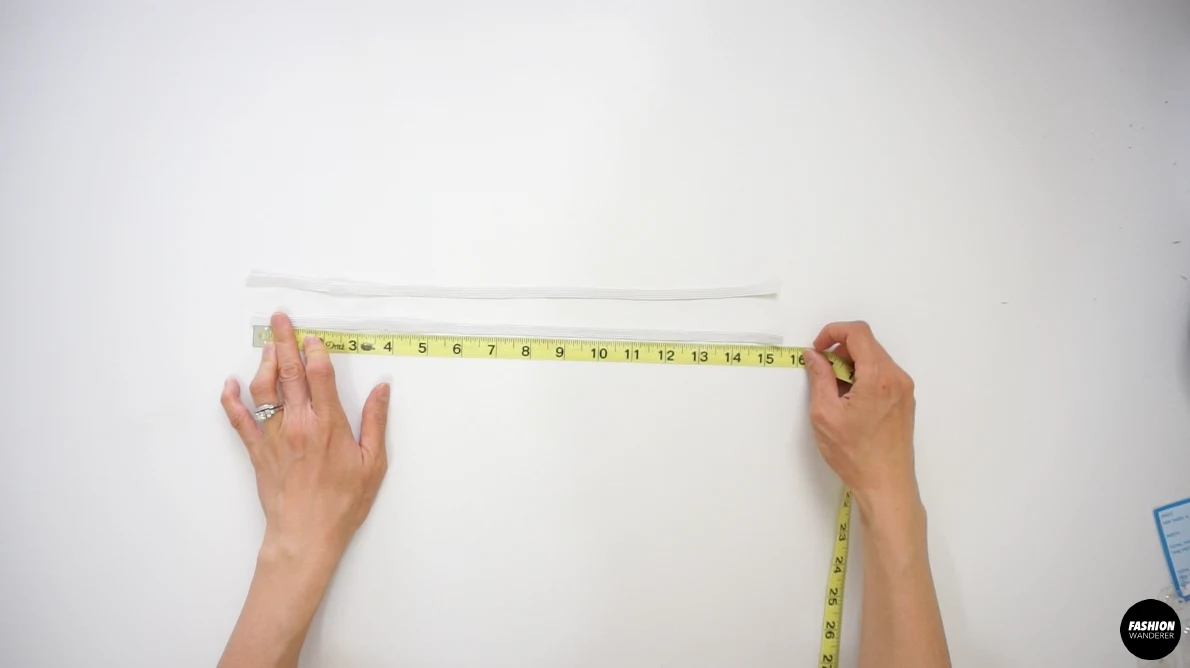
- Measure 2 pieces of 15½” long elastic.
- Slide a loop turner through the shoulder tunnel and hook the elastic in one end and pull gently. On each end, stay stitch the elastic on the sleeve.

- Fold the sleeve in half right side facing each other, straight stitch ⅜” with seam allowance and finish with overlock stitch.

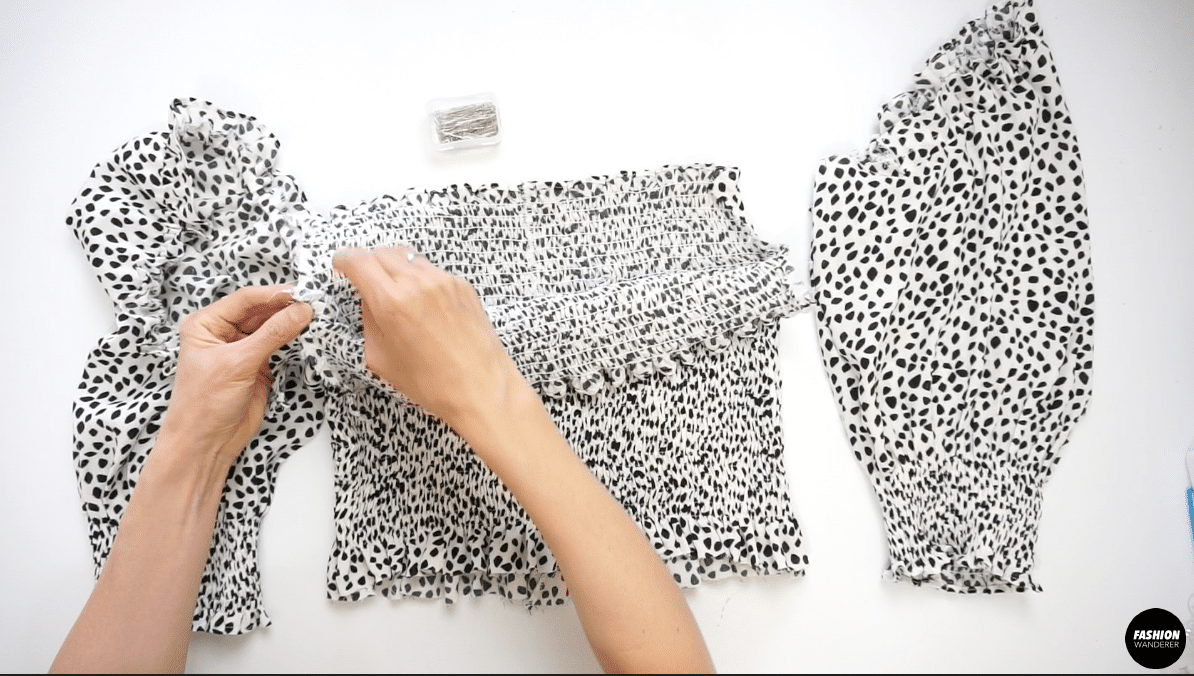
How to Attach Shirred Bodice and Sleeve
- Place right side of Front and Back Bodice facing each other, straight stitch ⅜” seam allowance on both side seams and finish with overlock stitch.

- Flip the bodice inside out, match the side seam with under seam of the sleeve to sew the armhole with ⅜” straight stitch and finish with overlock stitch.

How to Sew Dress Skirt
- Lay the right side of the right side of Back Skirt and left side of Back Skirt facing each other, ⅜” straight stitch width, finish with overlock stitch and press the seam.
- Place the right side of Front Skirt and right side of Back skirt facing each other, close the side seam with ⅜” width seam allowance and finish with overlock stitch.

- Prepare 1 piece of ¼” clear elastic tape about 29½” long.

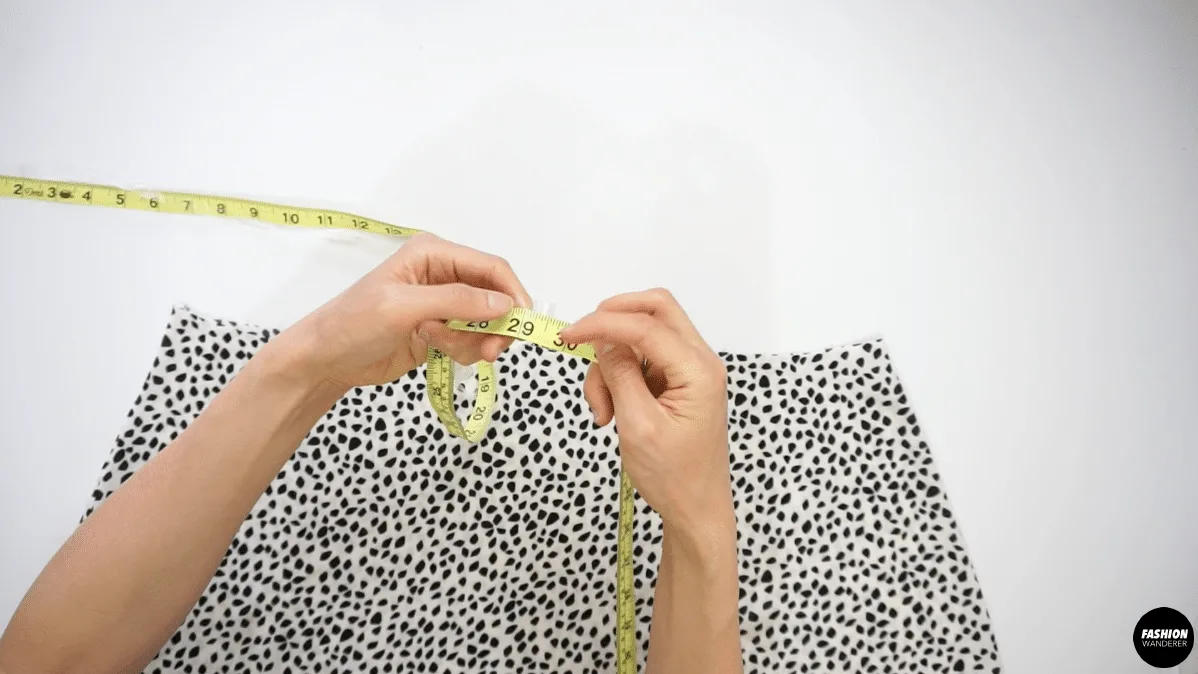
- Join the end of elastic by overlapping ¼” and zigzag stitch. Fold the elastic band in half to mark the half point and fold again to mark quarter mark to evenly distribute the gathering when you sew.


- Pin the marked point on each side seam, center front and center back.
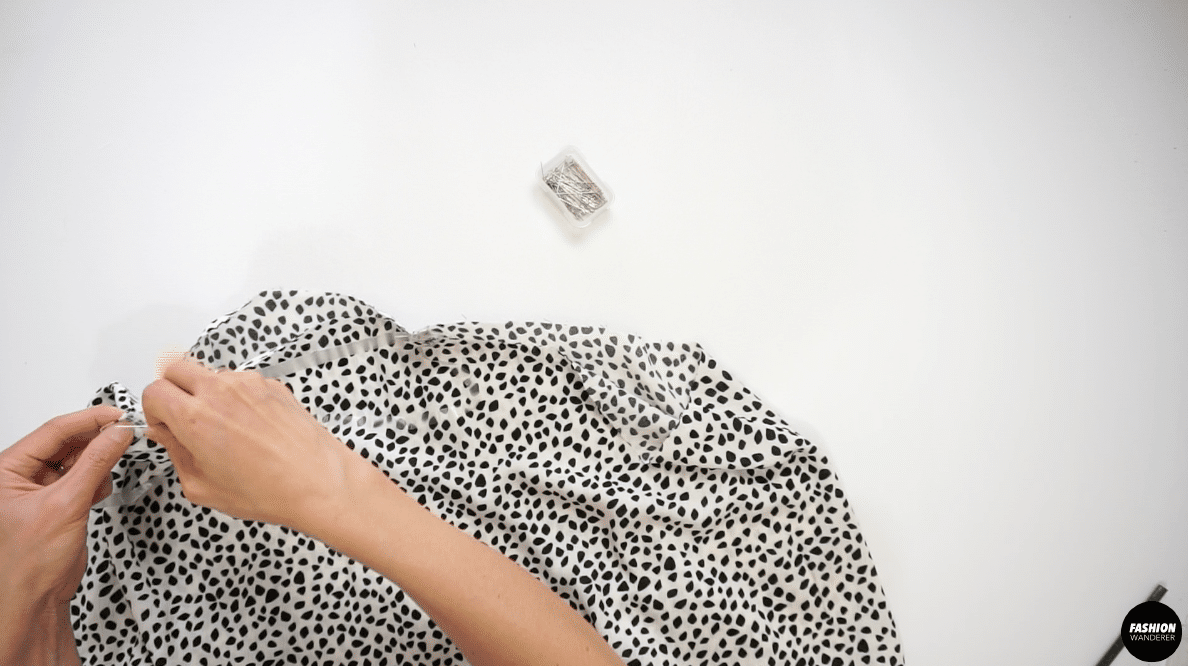
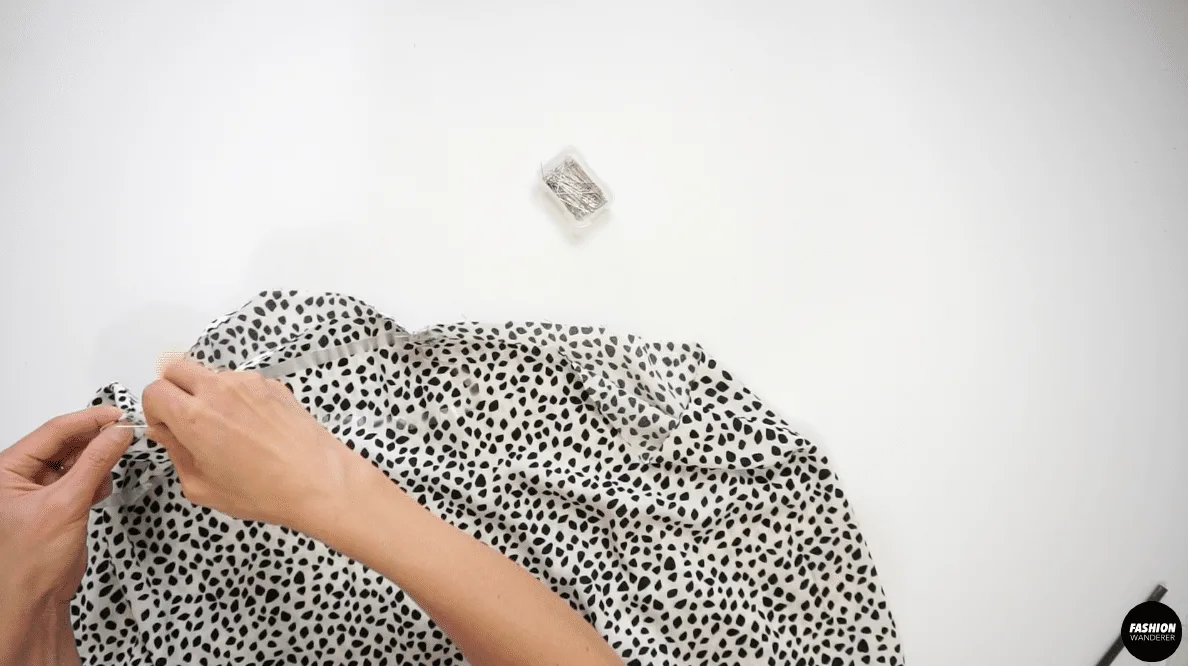
- Use zigzag stitch ¼” away from the top edge all around. Stretch as you sew.
- Slide through the right side of the skirt into the right side of the bodice and match the last elastic stitch with zigzag stitch. Use regular thread to stitch on a ditch to join and finish with overlock stitch.

- Double fold ⅛” width, straight stitch the narrow hemming around the skirt opening and press.
- Give a nice press along the waistline and make sure the overlock seam is facing down.

Recommended Products
As an Amazon Associate and member of other affiliate programs, I earn from qualifying purchases.


Trendy, Affordable Sewing Patterns for All Sizes


Tie Shoulder Jumpsuit Pattern


Palazzo Pants Sewing Pattern


Pocket Overall Romper Pattern


Wrap Maxi Skirt Sewing Pattern


Tie Back Top Sewing Pattern