
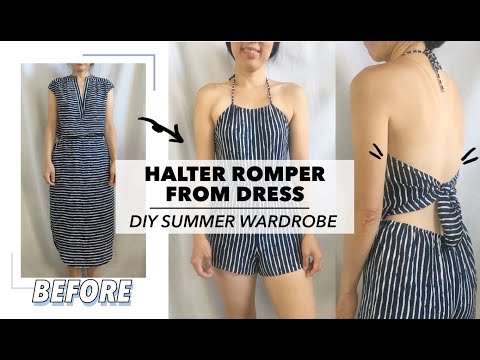
Have you tried making a halter romper from an old dress? This design features adjustable tie back detail and a comfortable elastic waistband for a snug fit.
Making a bottom piece without a sewing pattern can be fairly challenging, and copying your shorts might not be enough. In this upcycle tutorial, I share measurement instructions for you to use so you don’t need to go out and purchase a sewing pattern to accomplish the project.
The must have summer piece is a perfect addition to your DIY wardrobe. If you are looking to add more trendy pieces, here are the best upcycle clothing ideas to inspire you with endless creativity!
You will love this halter romper from dress because…
- Make a romper without a sewing pattern.
- Learn how to properly fit clothing to your size.
- Add elastic to the waistline with an easy tunnel method.
- Great sewing project to re-use and re-wear your old clothes without throwing them away.
- Execute different finishing detail by double folding the hem and using overlock stitch inside the side seams.


The midi shirt dress that I used for this transformation is made out of 100% polyester with a poly georgette weave. This type of fabric has pebbly texture and is slightly thicker than chiffon, which is why you don’t need a lining inside. However, if you have lighter background fabric, I suggest adding lining only around the shorts area.
The fabric doesn’t stretch at all, and was slightly flimsy when trying to cut and deconstruct the dress. So, if you face a similar problem, pin a thin paper pattern or tissue paper underneath and use a rotary cutter with cutting mat underneath to cut straight and clean lines.
This tutorial includes easy step-by-step video instructions and detailed pictures for you to follow along. Give it a try for yourself, and let’s make this cute halter romper from dress without any mistakes!


How do you make halter romper out of old dress?
In order to make halter romper out of an old dress, you do need to start with the right dress silhouette. I recommend using a midi length or full skirted dress for extra fabric to work with.
There have been lot of refashion tutorials that simply sew the crotch to convert a dress into romper. However, this method creates a bad fit issues because the front and back crotch areas are not executed correctly.
This tutorial solves the fit issue when it comes to the bottom shorts piece of the romper!
Use the measuring guide to take your body measurements for clothes, especially around the waist, hip, thigh, inseam, and outseam. We need these measurements to create perfectly fitted bottom shorts that you can comfortably wear and also look great every time.
Lastly, pull out your seam ripper and basic cutting tools from your sewing kit to prepare this upcycle project. Let’s get started!
DIY Halter Romper From Dress Materials:
- Old Dress
- Sewing Machine
- Fabric Chalk
- Measuring Tape
- Ruler
- Scissors
- Seam Ripper
- Pins
- Thread
To make a halter romper from dress, cut across the waistband of the dress and remove the elastic band.
Use the skirt part of the original dress to make the shorts part of the romper.
Draw the center seam, side seam, waistline and crotch.
Cut along the lines to make the front piece of the shorts.
Trace the front shorts piece and copy the pattern.
Use the back piece of the original dress to make the back shorts piece.
Draw the center seam, side seam, waistline and crotch.
Cut along the lines to make the back piece of the shorts.
Trace the back shorts piece and copy the pattern.
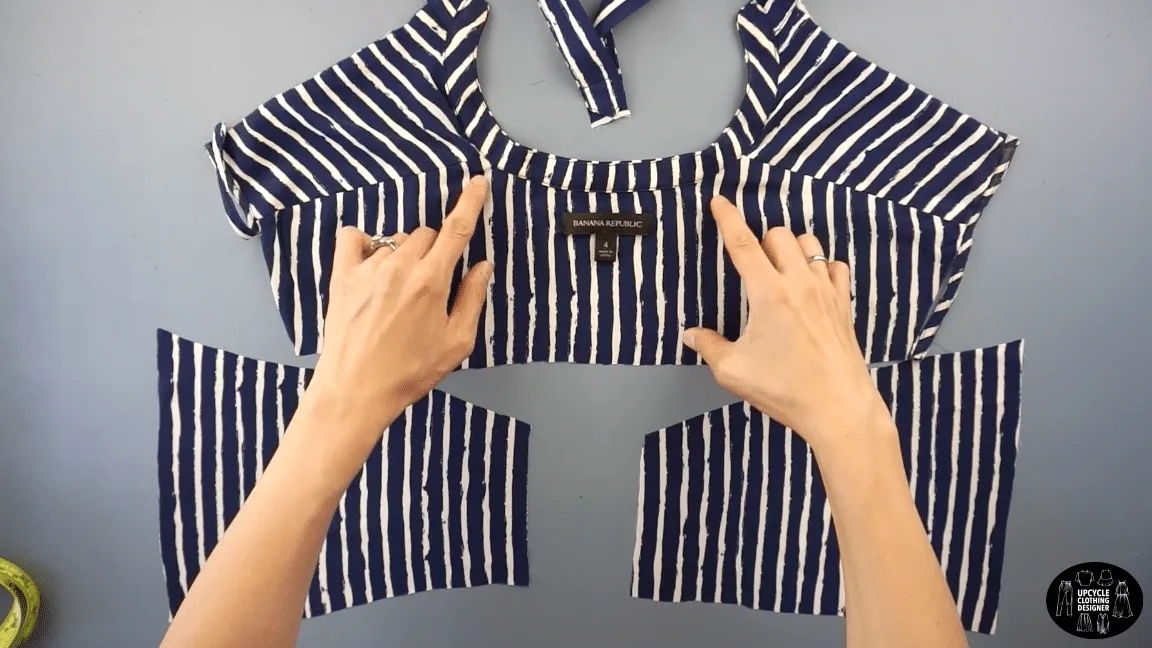
Use the back top part of the original dress to make the halter top of the romper.
Fold the back piece in half, and measure the halter neckline, neckline tunnel, armhole and side seam.
Cut along the line to make the halter top for the romper.
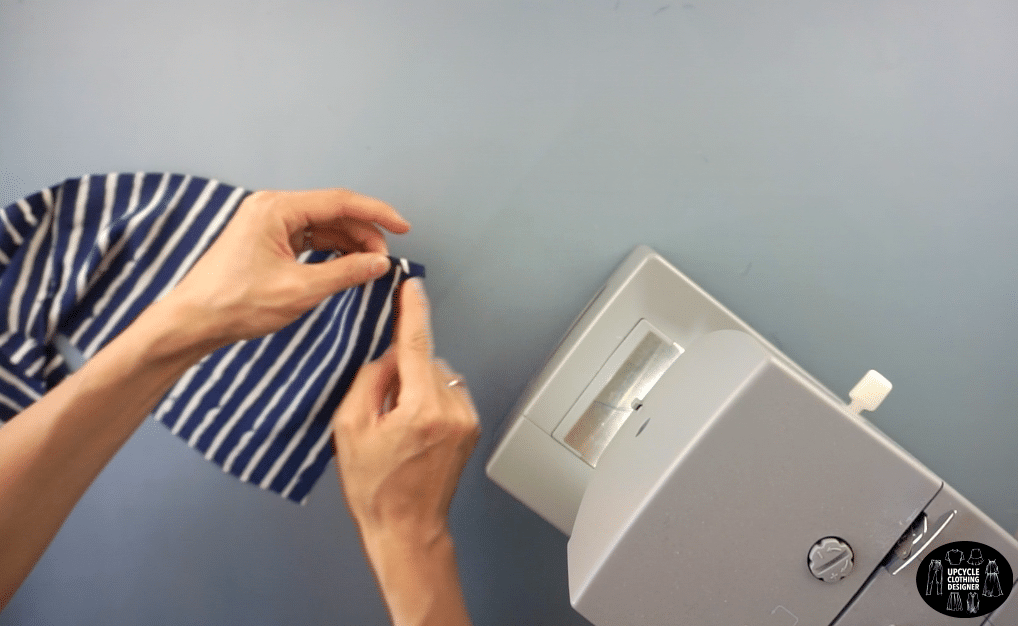
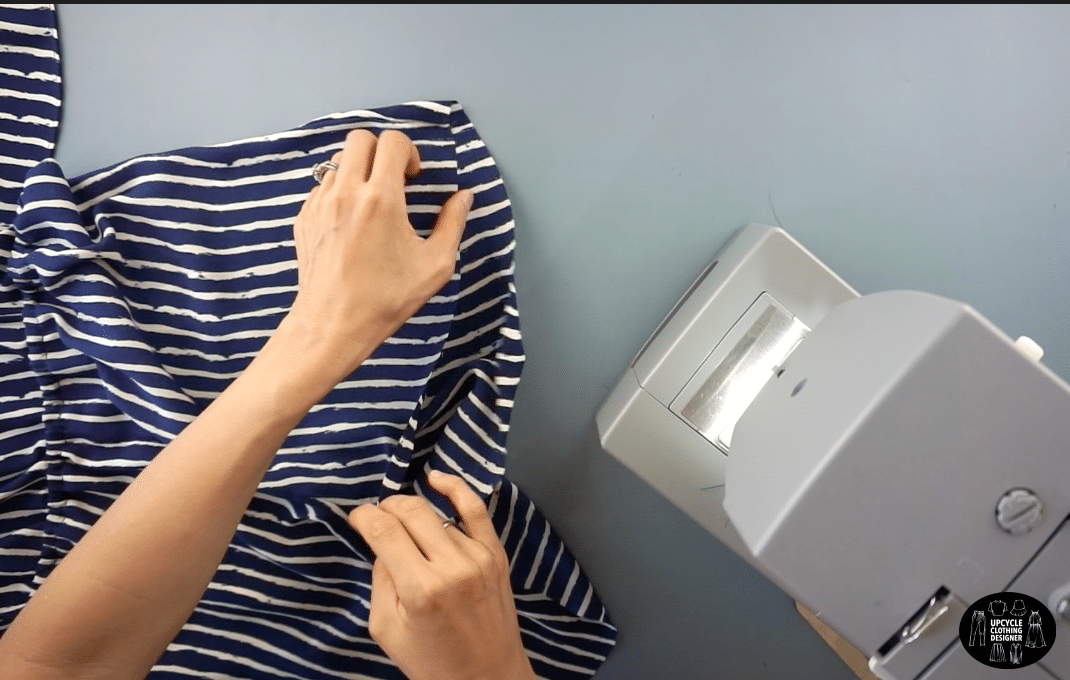
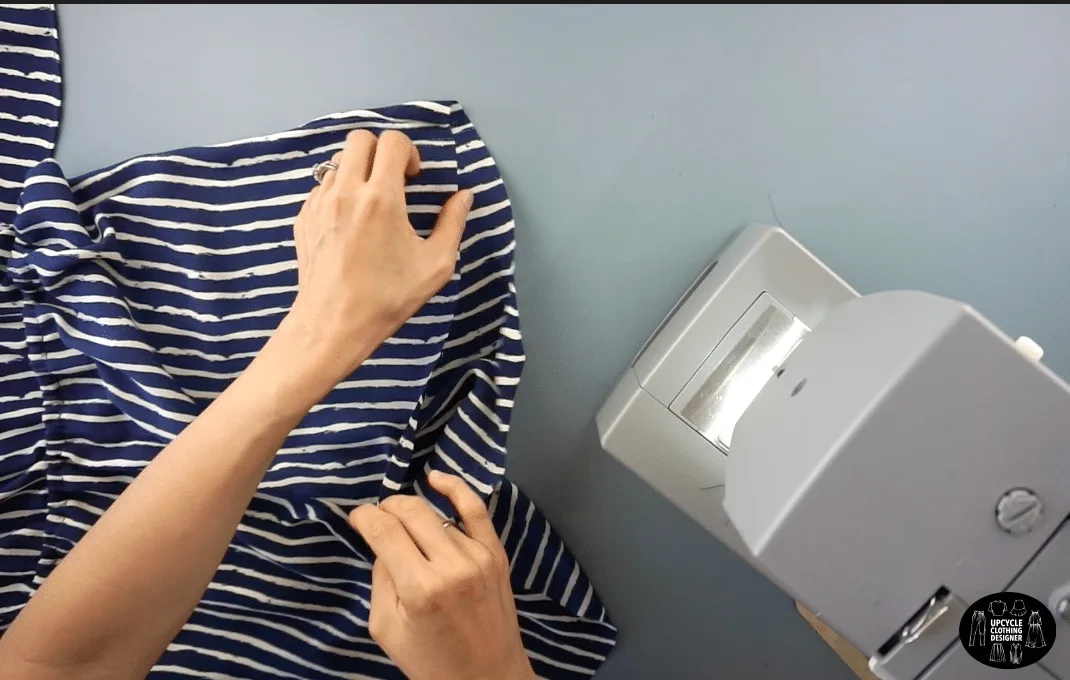
Hem the armhole opening and stitch the neckline tunnel.
Use the yoke piece of the original dress to make the halter neckline drawstring.
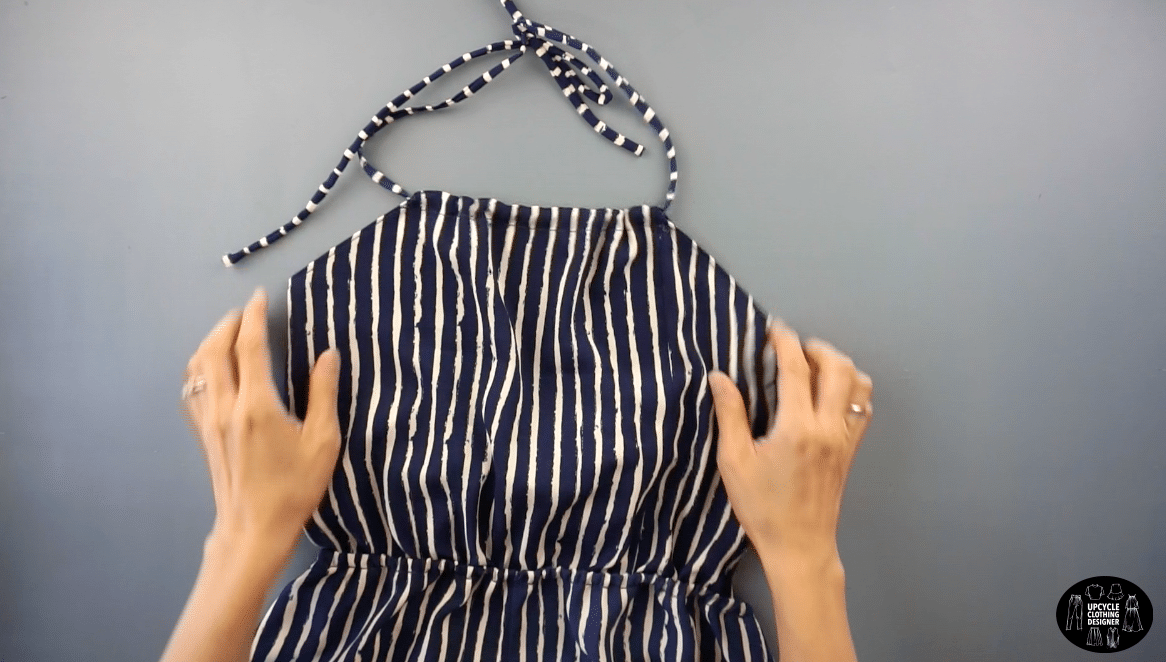
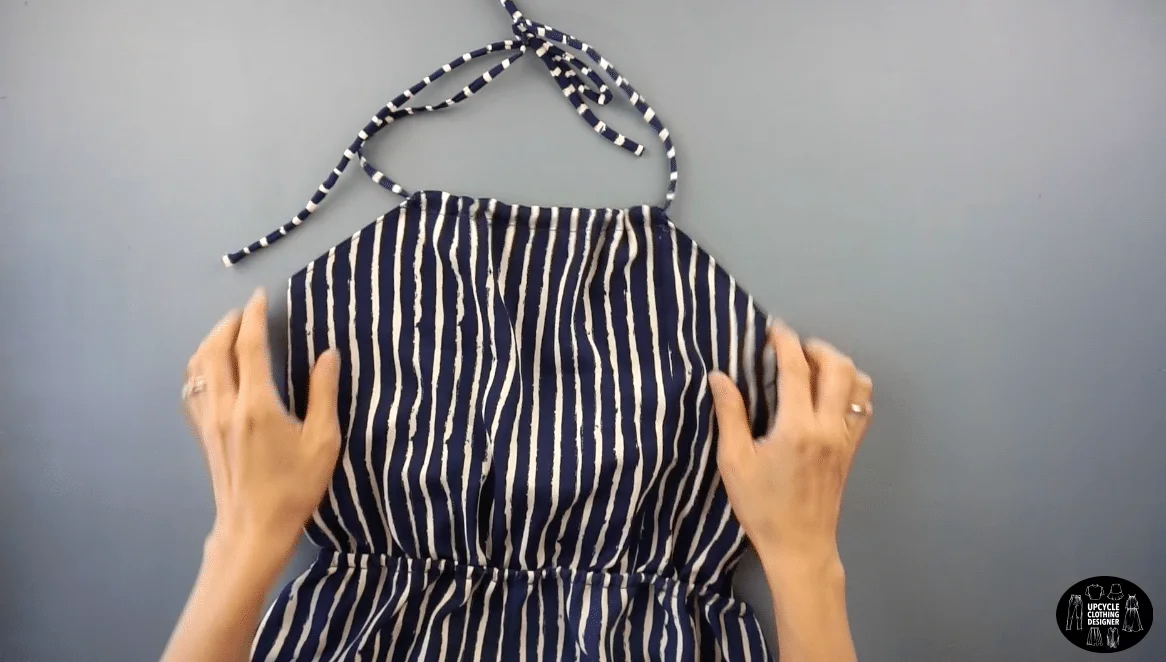
Then, slide the drawstring through the halter neckline tunnel.
Use the front top part of the original dress to make the back tie top of the romper.
Hem the back tie pieces, and attach the back tie pieces to the top bodice with the right sides facing together.
Join the front of the shorts together.
Join the back of the shorts together.
Then, attach the front and back of the shorts with the right side facing together.
Fold the waistline over ½” and stitch the edge to make the waistband tunnel.
Slide the elastic band through the tunnel with a safety pin attached to the end.
Zigzag stitch to attach the ends of the elastic.
Attach the top bodice to the short piece and hem the leg opening to finish the halter romper from dress.
DIY Halter Romper From Dress Sewing Tips


Sewing poly georgette is not easy and can be a bit challenging at times. However, the finished garment is very airy and super comfortable to wear.
To make the process a bit easier, we need to learn a couple of poly georgette sewing tips to make this DIY halter romper from dress. Follow these sewing tips so that you can easily accomplish the dress upcycle and avoid making unnecessary mistakes along the way.
- Hemming: To finish the hemming, press up ½” and straight stitch the hemline into place. Either double fold or machine baste ¼” and press. This way, you will create an easy bulky-free hem.
- Cutting technique: To prevent the polyester georgette from sliding out of place while cutting, simply pin to a backing such as newsprint or sewing paper. Use sharp fabric scissors or a rotary cutter to evenly cut through all layers.
- Needle: While sewing georgette, you may experience puckering of the fabric. Change the regular sewing needle into a size 70/10 needle for a short stitch length. Another option is to use a roller foot or a walking foot to yield the best results when working with a flimsy fabric.
- Stitches: Poly georgette unravels around the edges unless you finish the borders. Use zigzag stitch or add a French seam for a clean finish. I used 2mm/12 stitches per inch for this tutorial. Test the results on a scrap piece of fabric and see if the stitching leaves long gaps. So, find the stitch length that works best for the material you have.
- Elastic: Make a tunnel and use safety pins to pull the ¼” elastic through the waistband to complete the waist detail. You may use zigzag stitch along the waist seam of the shorts as well.
The material we will be working in this project has fluid qualities that make it attractive to wear because it drapes nicely on the body. However, georgette tends to require special attention when working with it because it frays easily. These few tips will help you when following the step-by-step tutorial.
This halter romper is adjustable around the neck and back to tighten or loosen as you need. If you don’t like this feature, simply close the back by adding a center back seam, add ¼” elastic along the back side of neckline and lengthen the shoulder strap to make it cross back or regular strap.
If it sounds a bit tricky to modify this tutorial, I’m right here to help you along the way. Reach out if you ever have any questions how to change the back or strap detail. Leave a comment below and let me help you with the sewing journey!
More upcycle refashion sewing project for your next DIY fashion:
DIY Halter Romper From Old Dress
Learn how to refashion a halter romper from old dress using these sewing techniques and measurement guide for clothes.
You no longer need complicated sewing patterns to copy from. In this upcycle project, I lay out specific measurements and sewing tips so you can easily follow along to build your own DIY wardrobe for every season.
Materials
- Old Dress
Tools
- Sewing Machine
- Fabric Chalk
- Measuring Tape
- Ruler
- Scissors
- Seam Ripper
- Pins
Instructions
- For this halter romper from dress tutorial, start by cutting across the waistband of the dress.
Also, remove the elastic band and set aside.
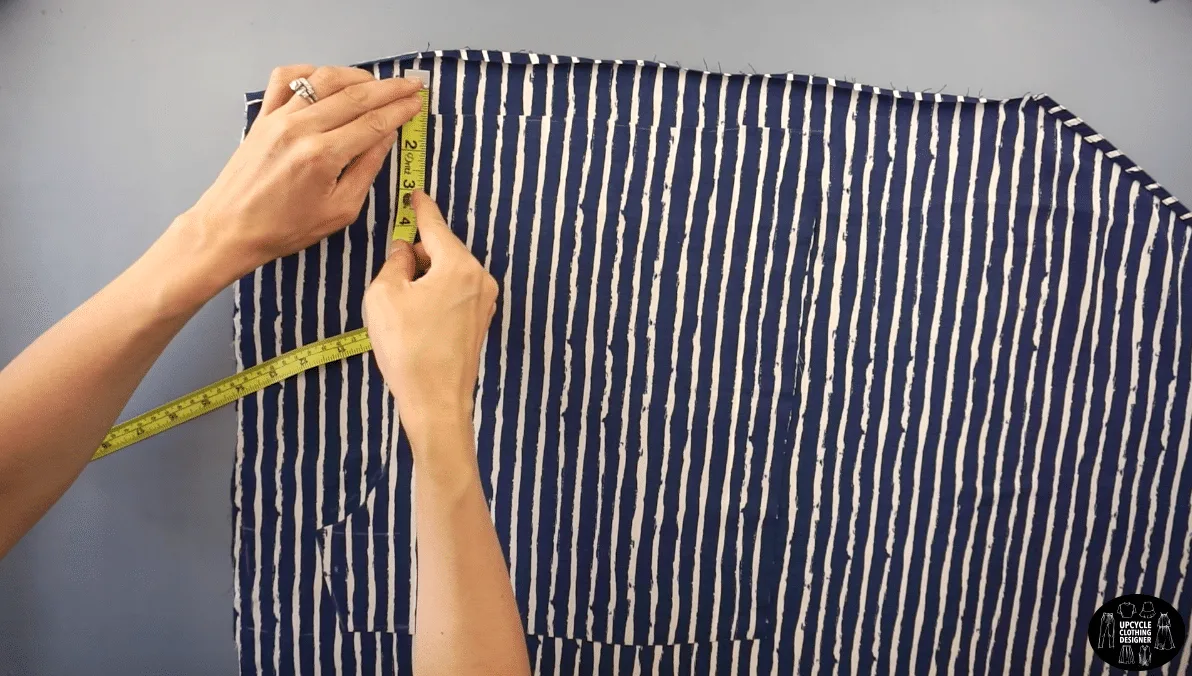
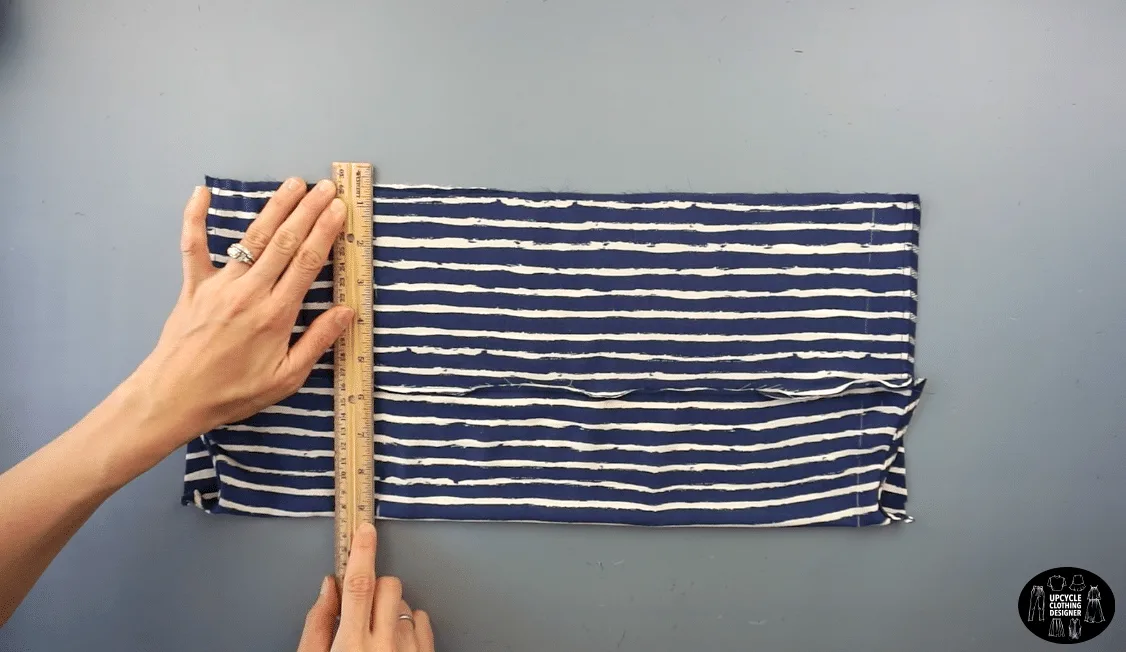
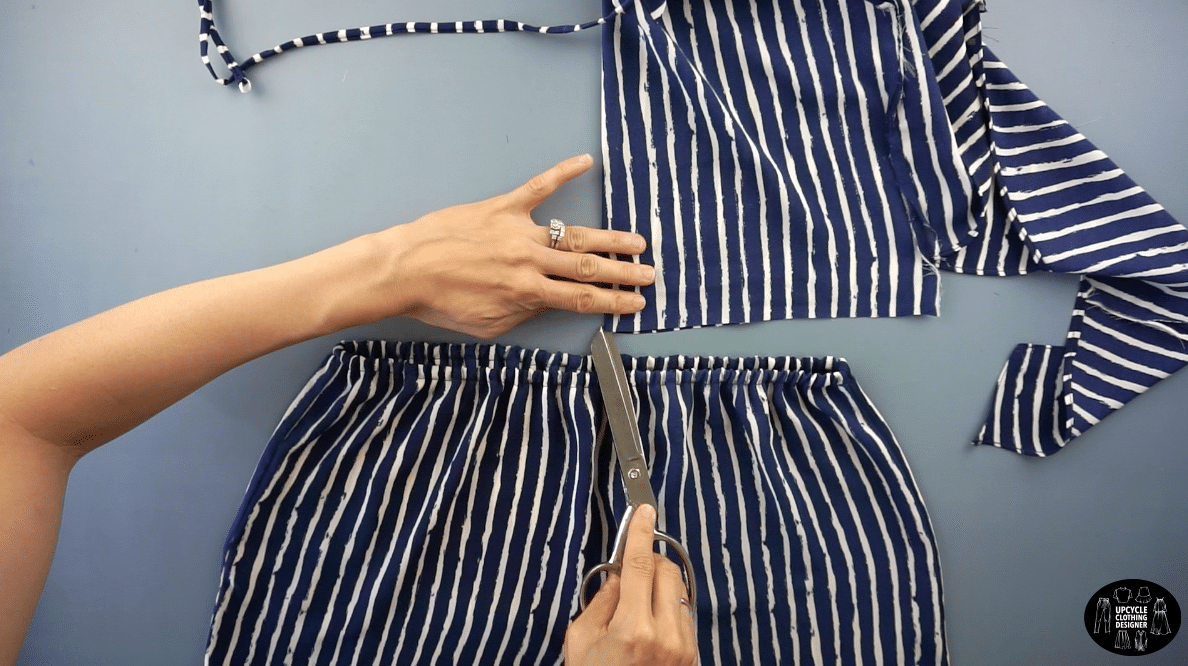
- To make the shorts part of the romper, use the skirt part of the original dress.
Cut open the side seams to separate the front and back pieces. - To make the front shorts piece, measure 14” along the side edge.

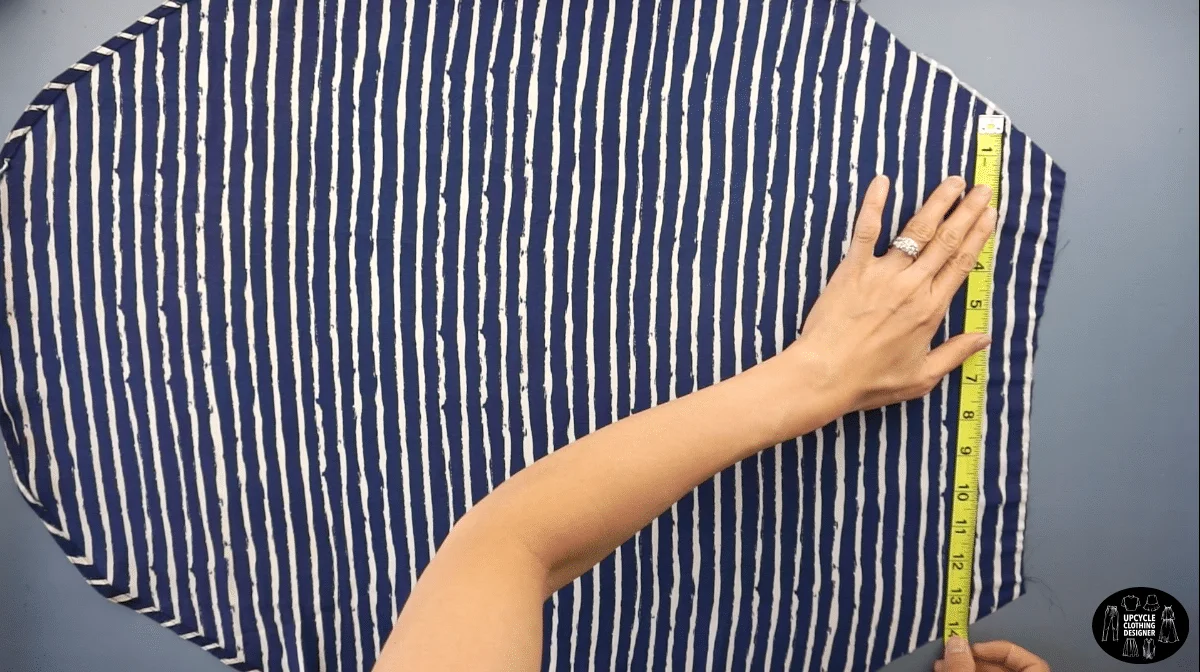
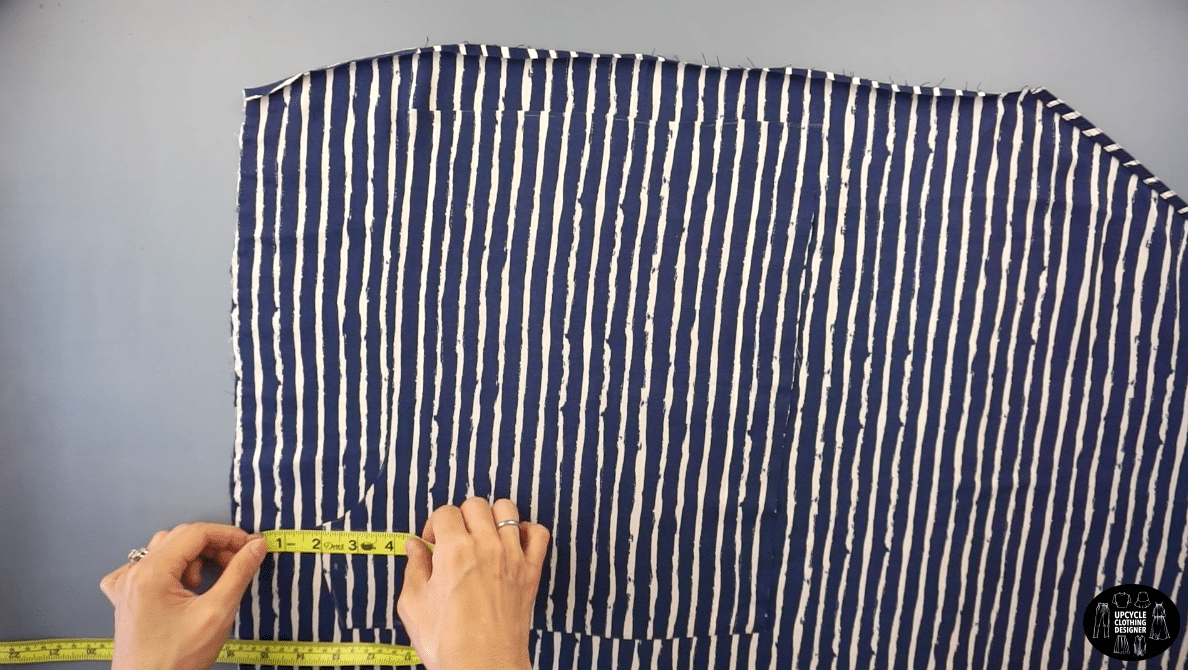
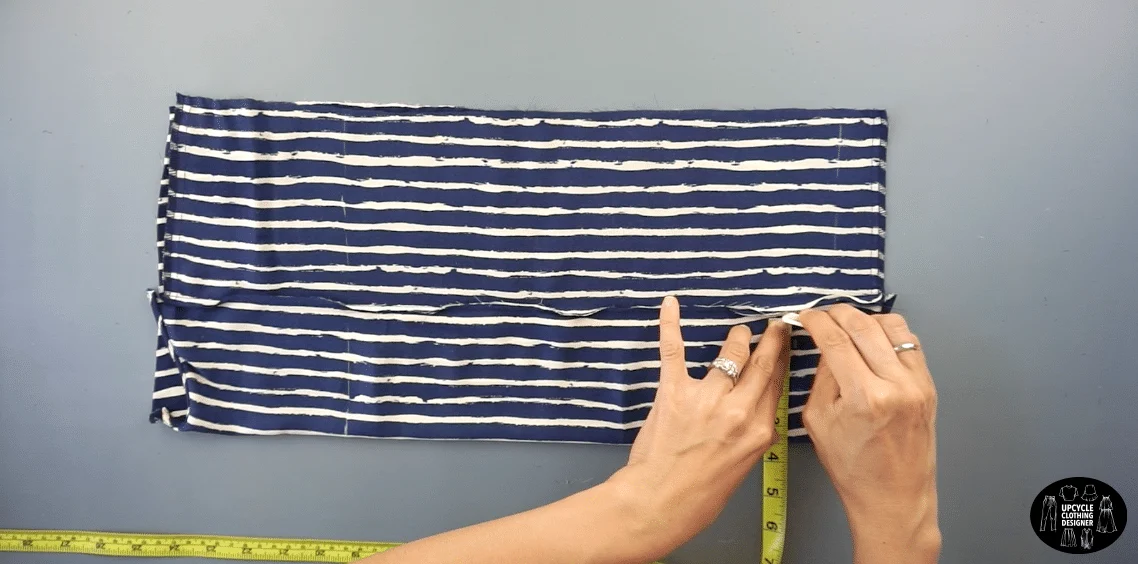
- To make the waistline, measure 10½” up from the side edge.
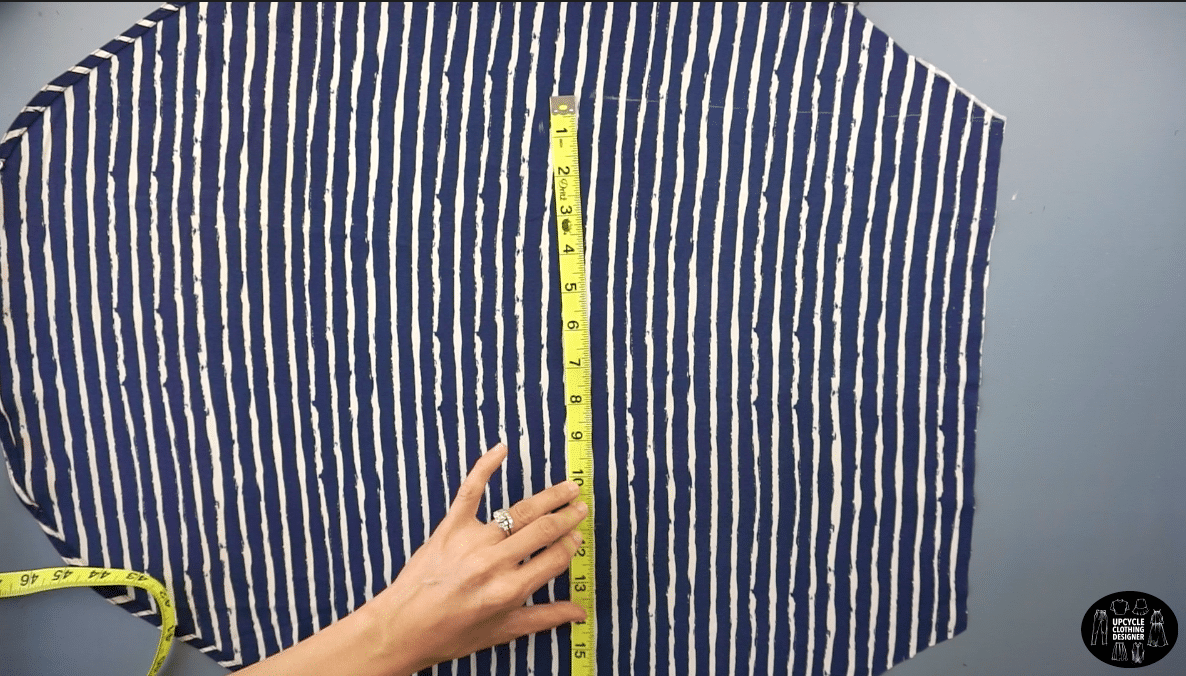

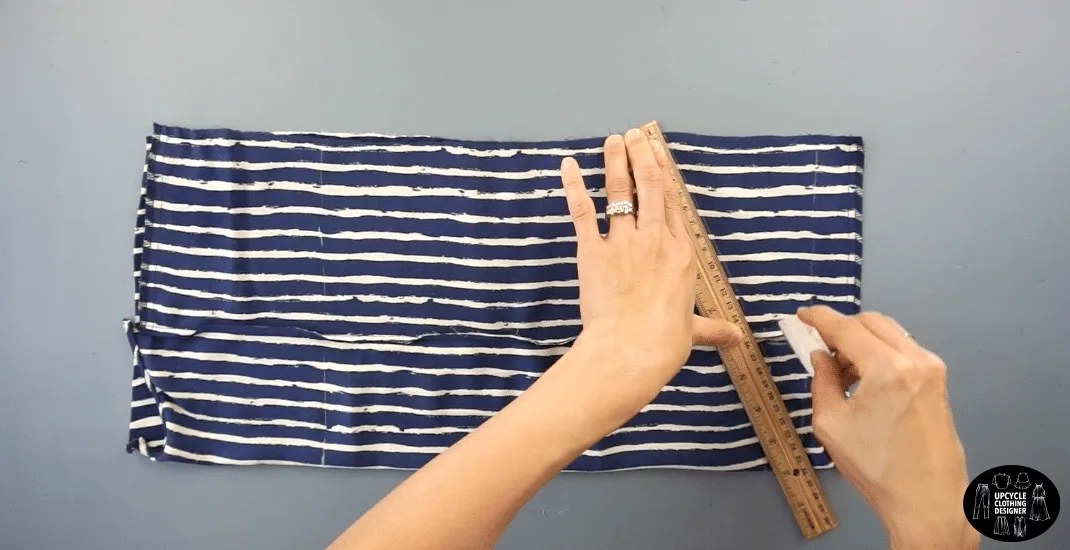
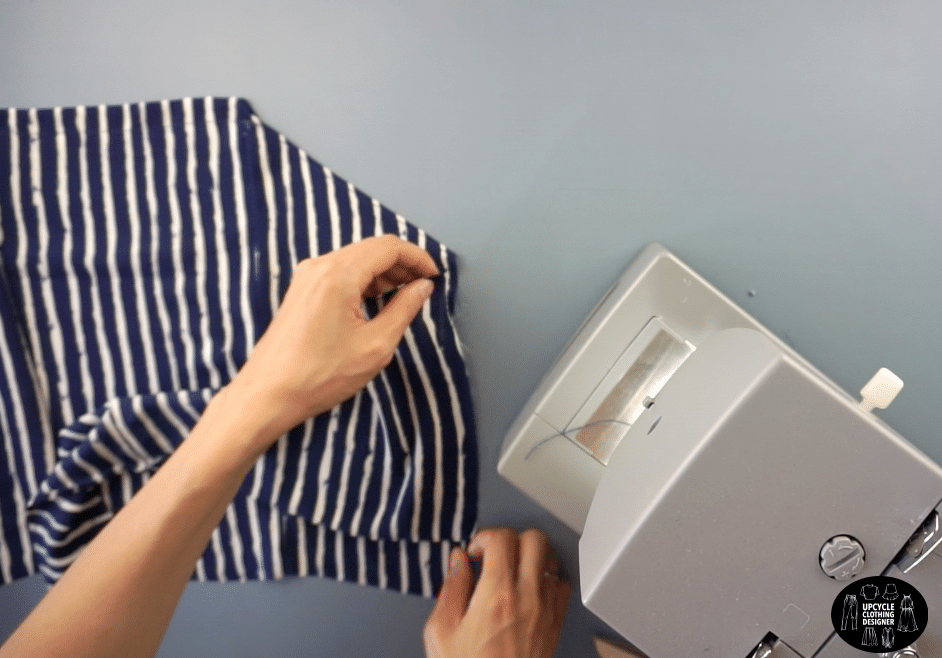
- To make the front crotch, measure 2¼” away from the center line.
Draw a straight line with a slight angle to connect the points for the front crotch.
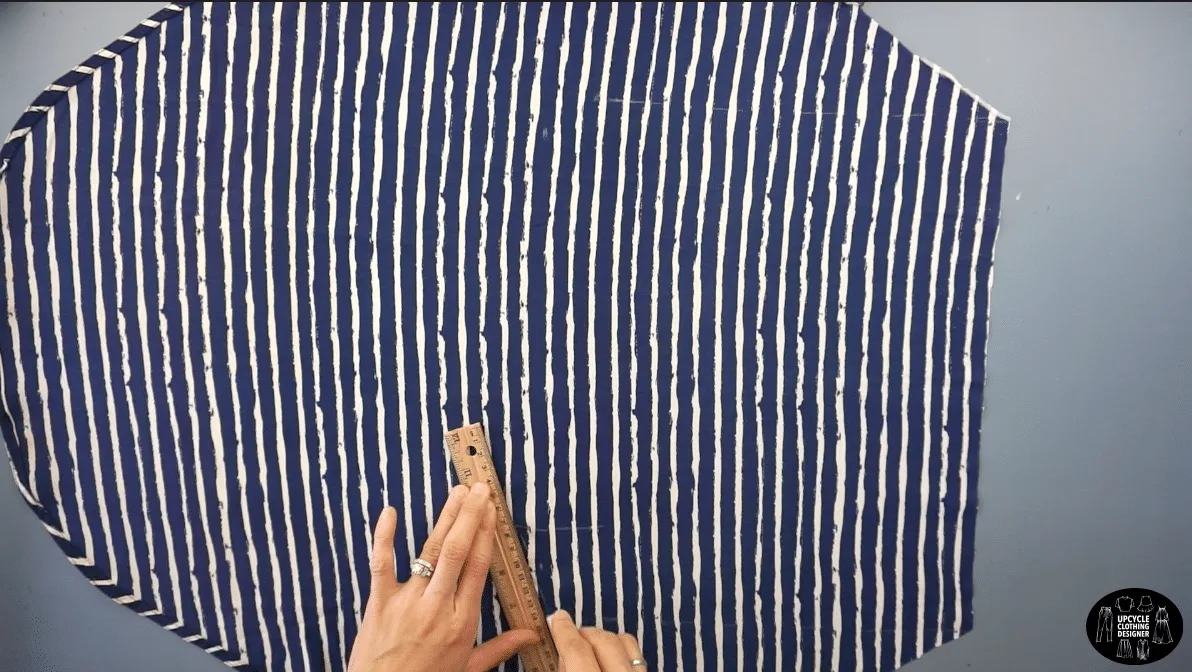
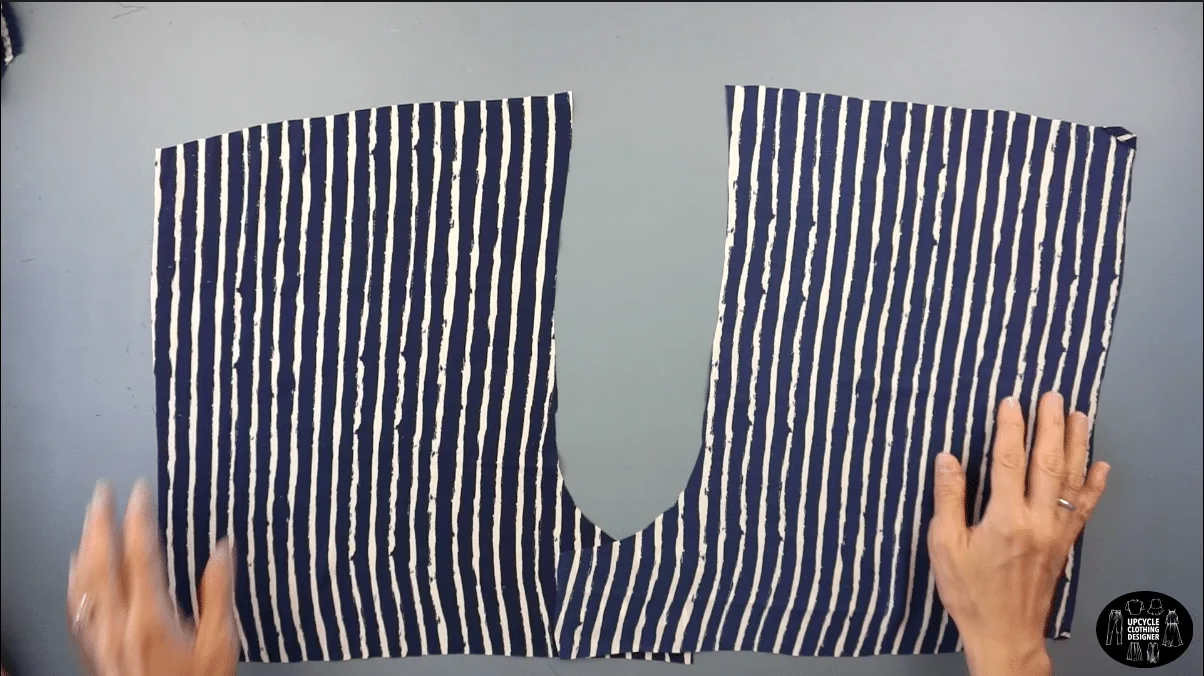
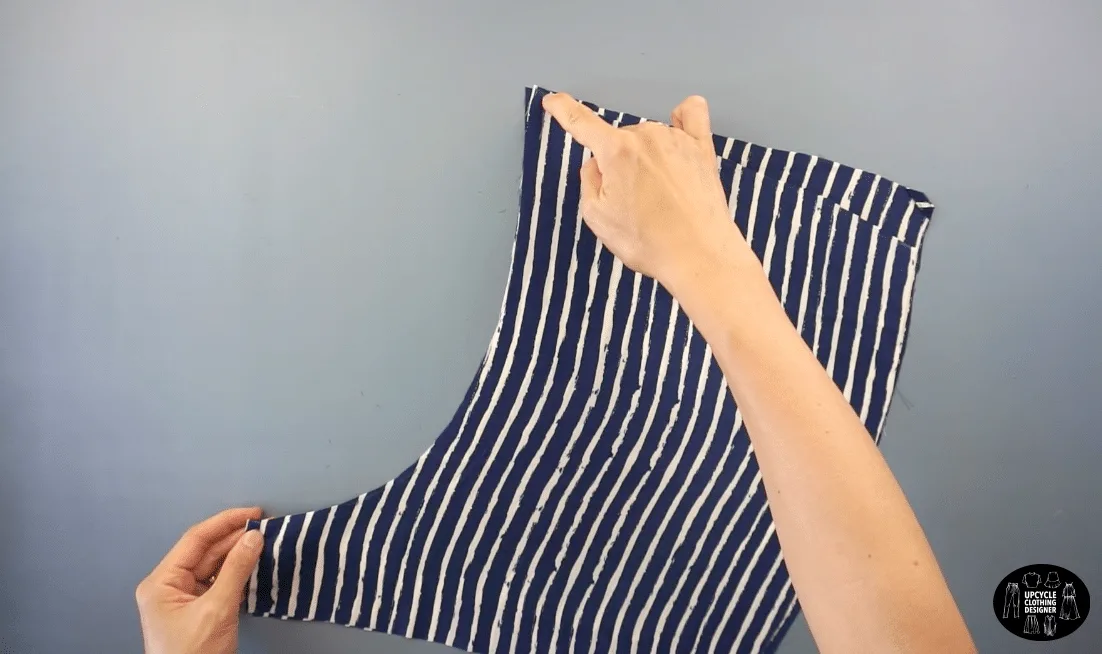
- Cut along the lines to make the front piece of the shorts.
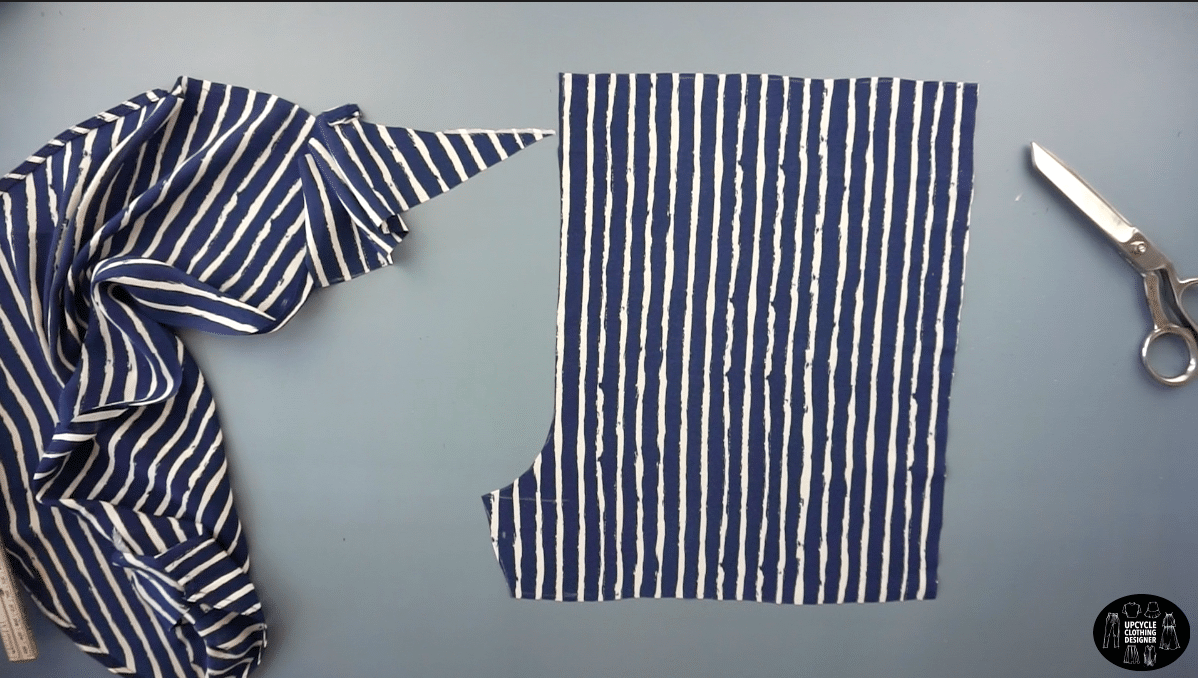

Copy the front shorts piece onto the remaining front piece of the original dress.
Pin to secure, and trace the front shorts piece pattern.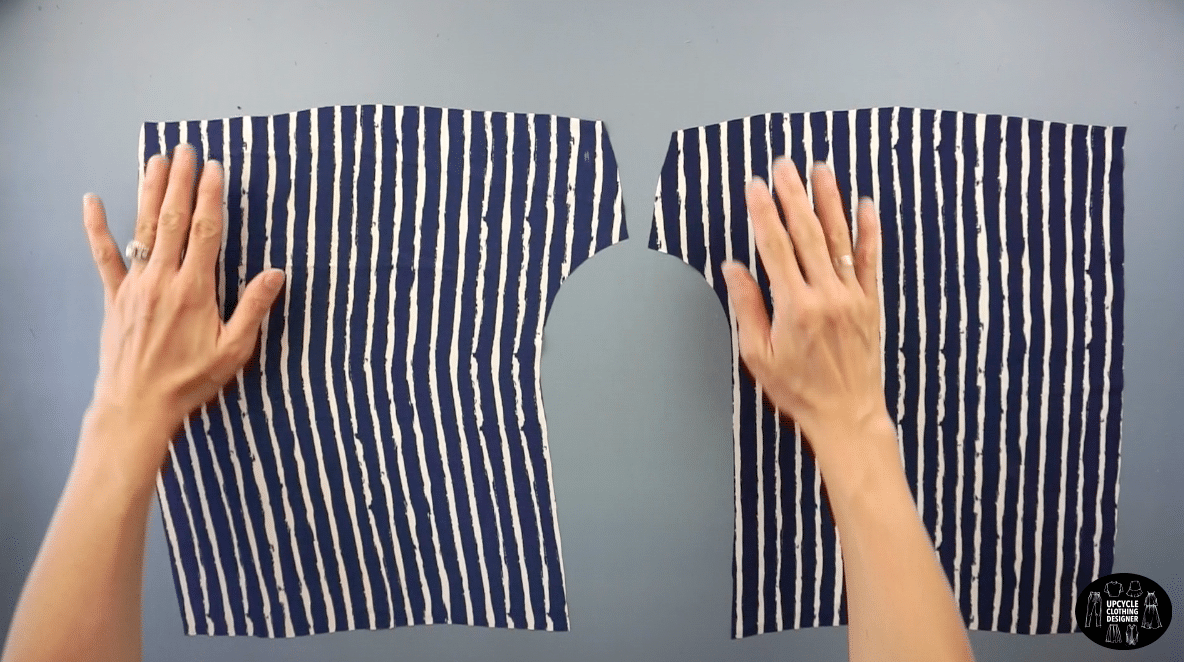
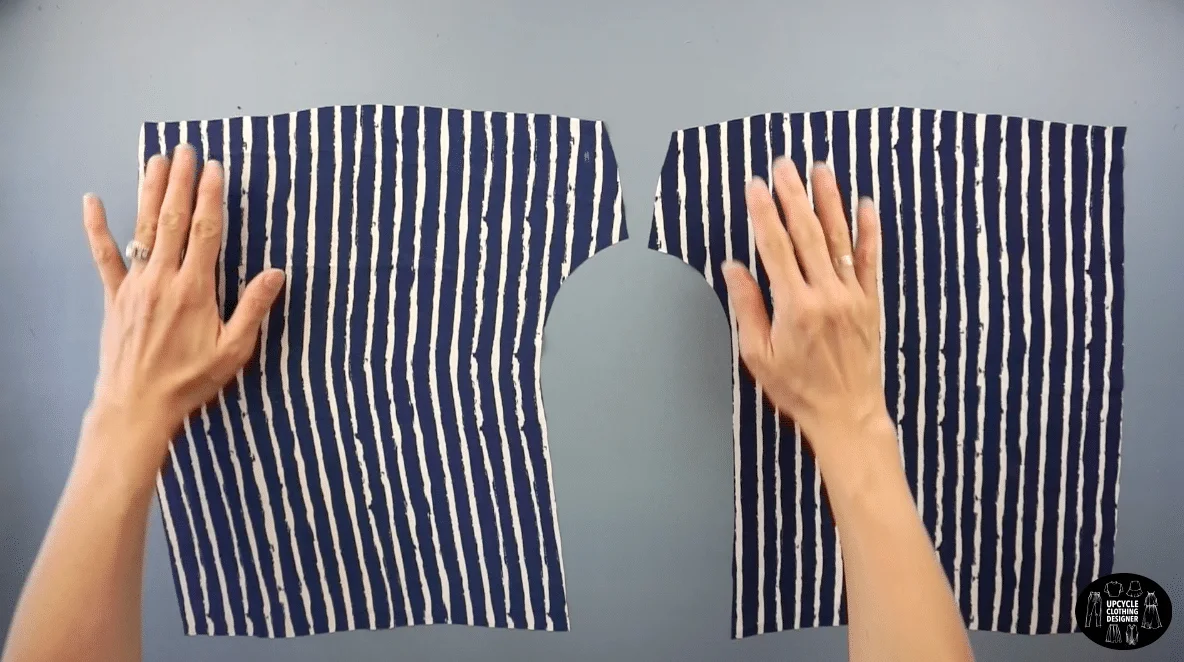
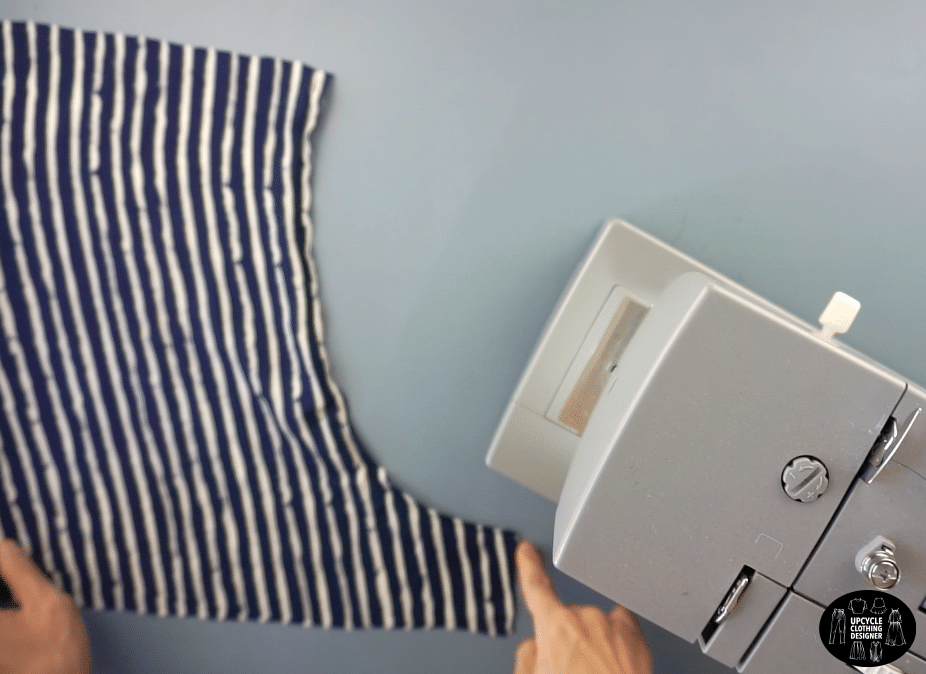
- To make the back shorts piece, use the back piece of the original dress.
- To make the back crotch, add 2½” to the measurements of the front crotch.
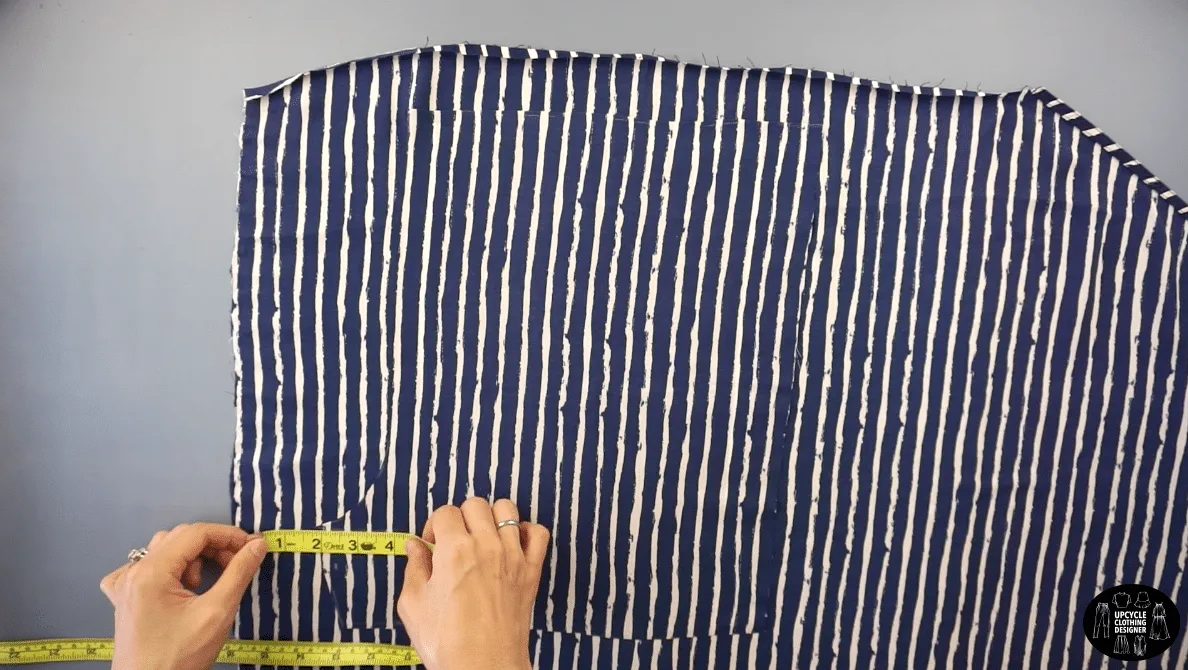
- To make the backside waistline, add 1” to the center line.
Draw a straight line to the side seam.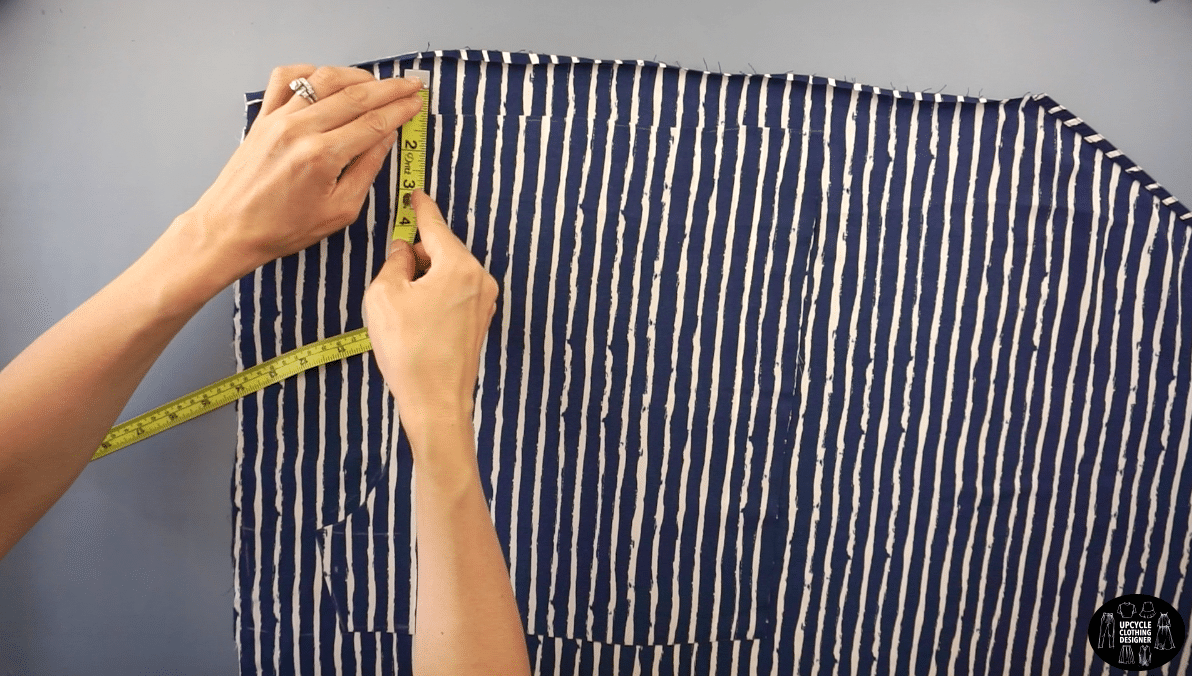
- Cut along the lines to make the back piece of the shorts.
Copy the back shorts piece onto the back piece of the original dress.
Pin to secure, and trace the back shorts piece pattern.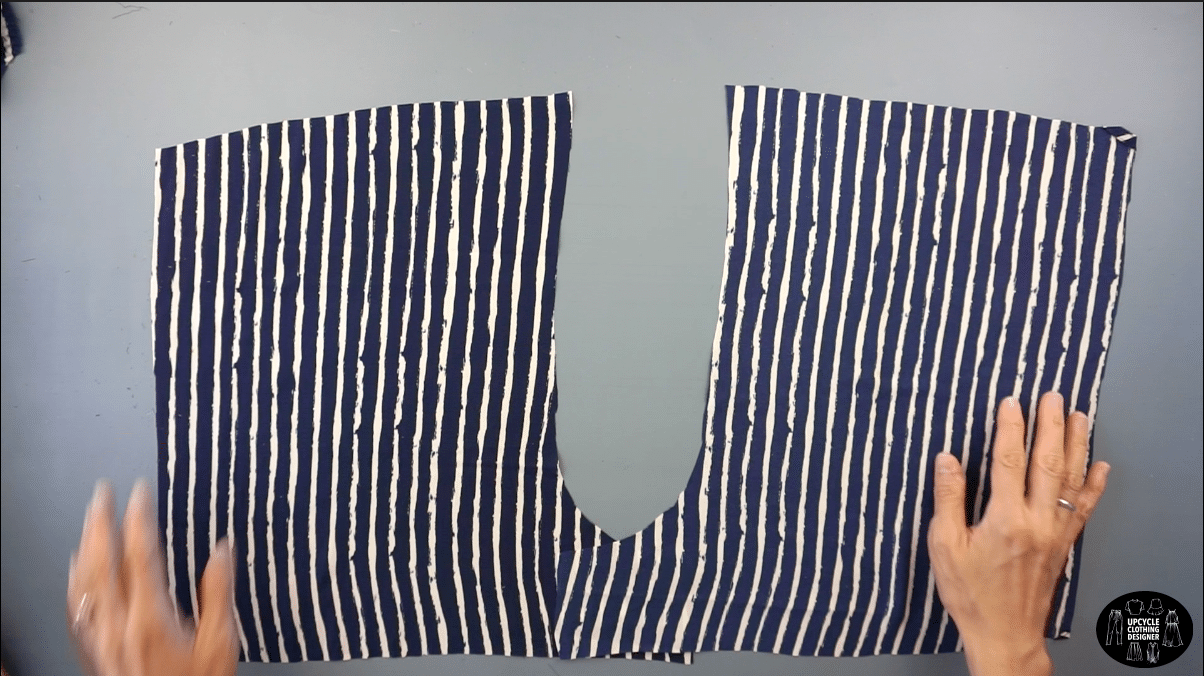
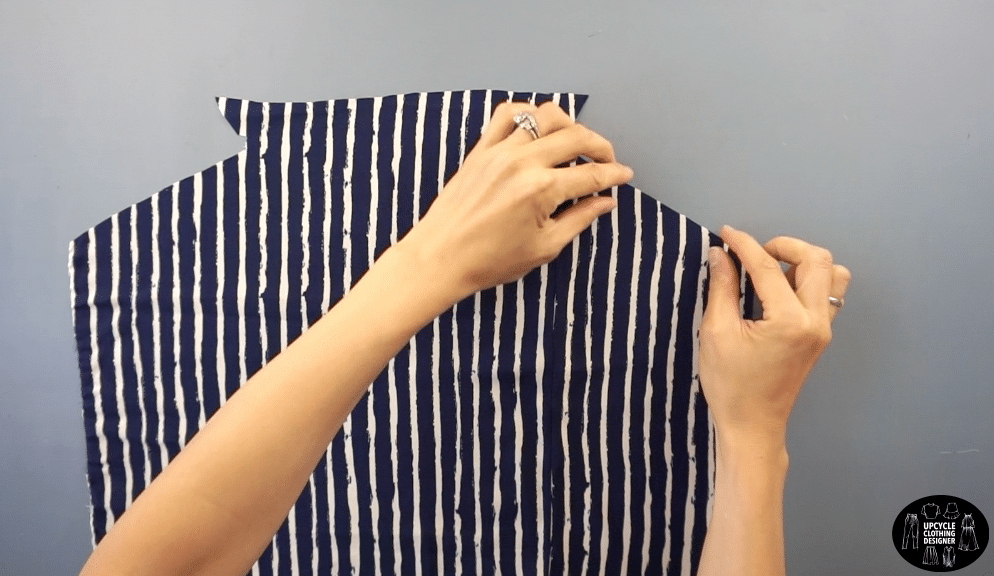
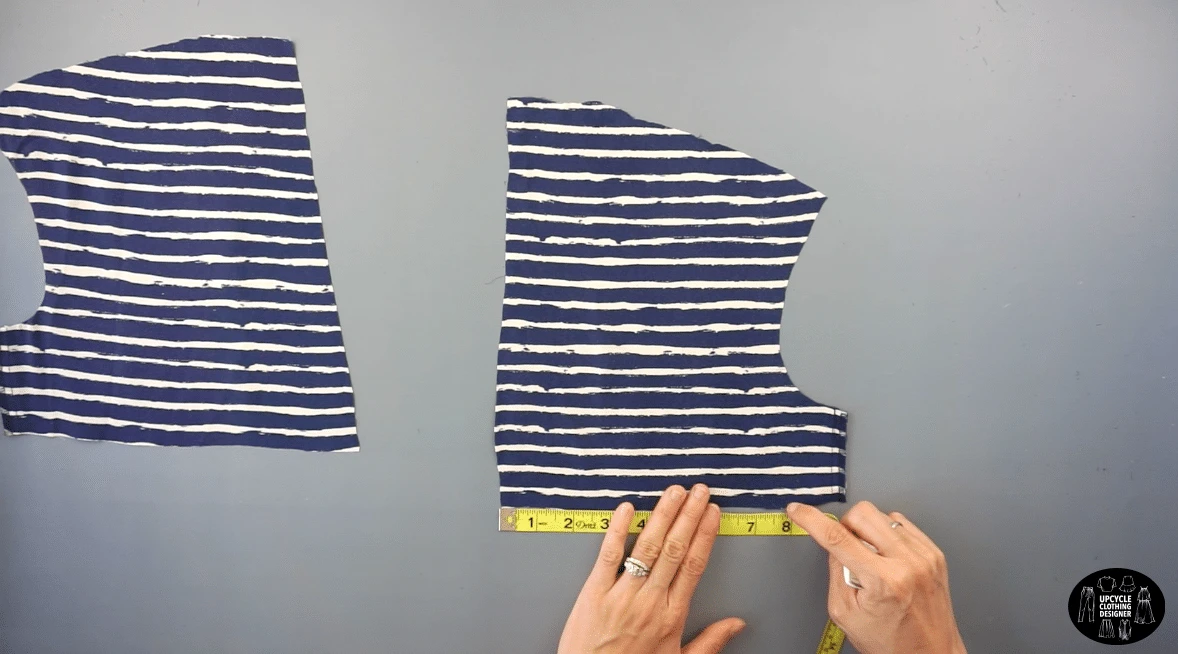
- To make the halter top of the romper, use the back top part of the original dress.
Cut across the yoke and along both side seams to separate the front from the back.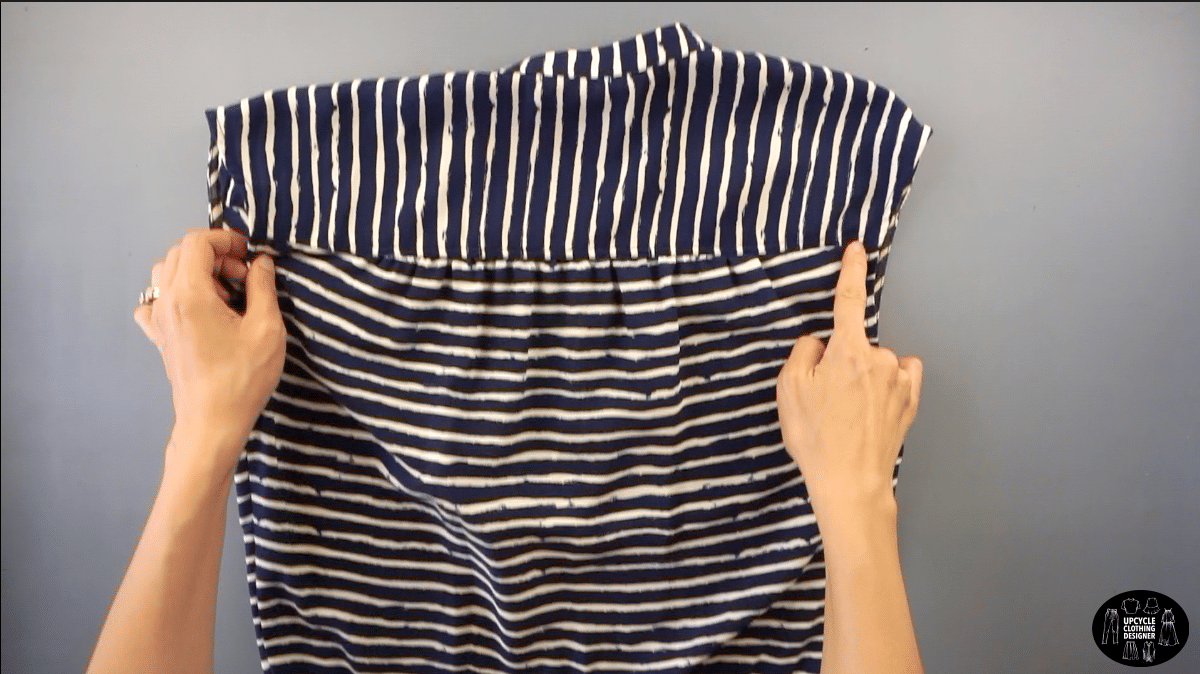
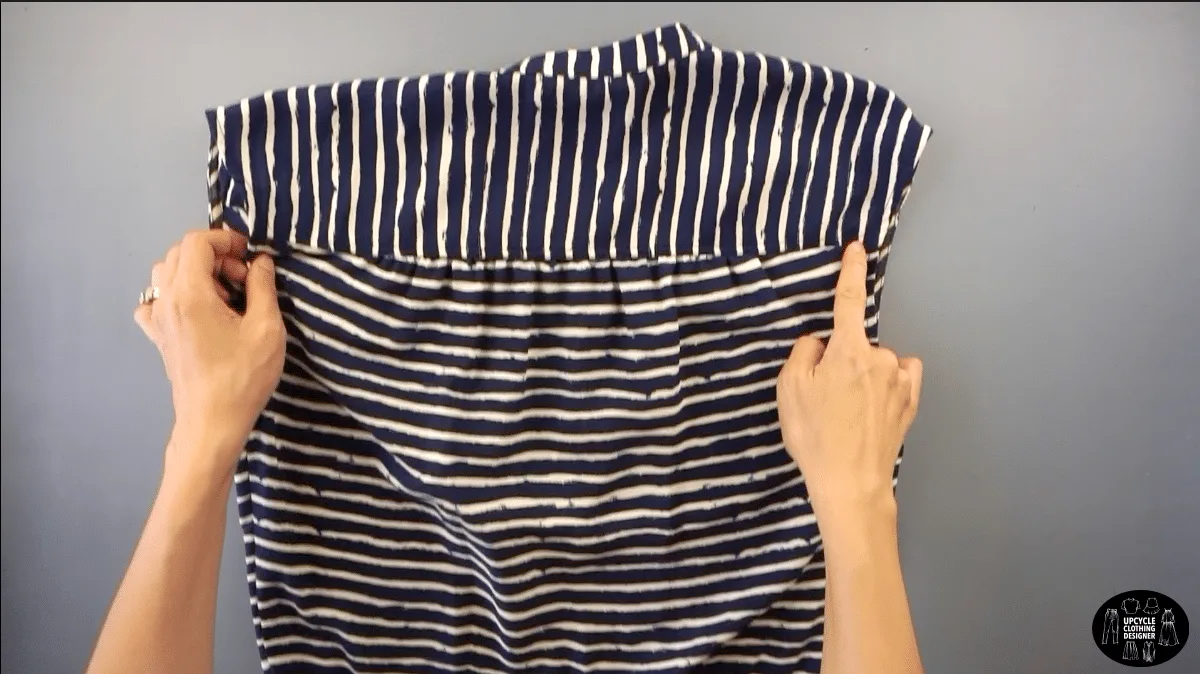
Fold the back piece in half, and measure 9” away from the folded edge.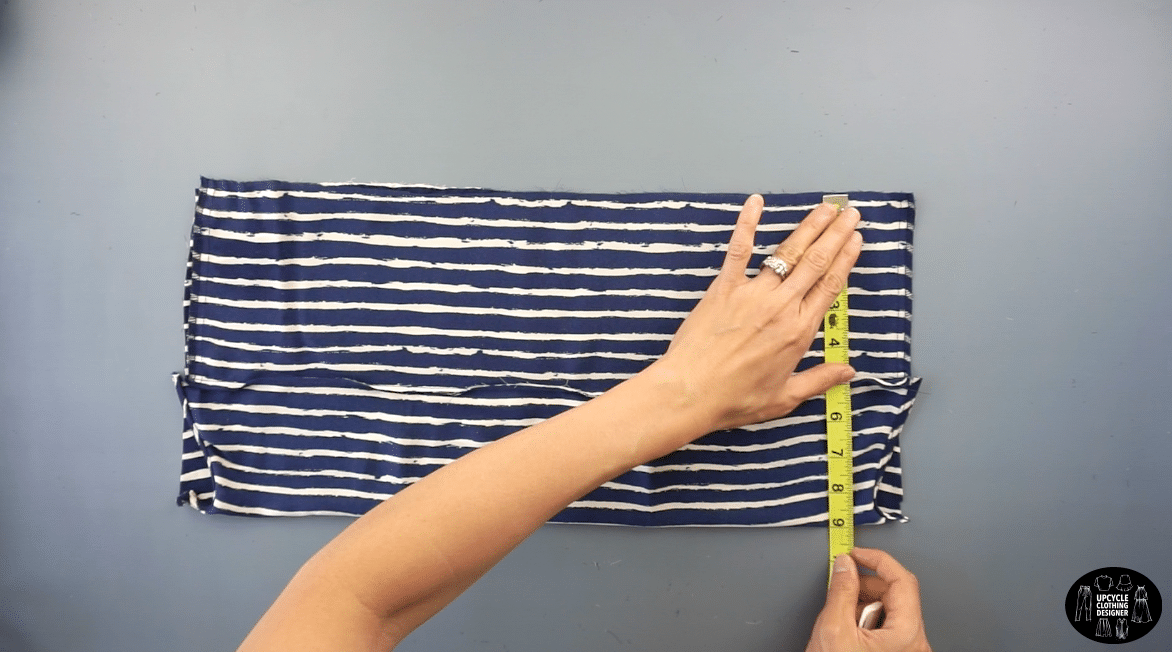
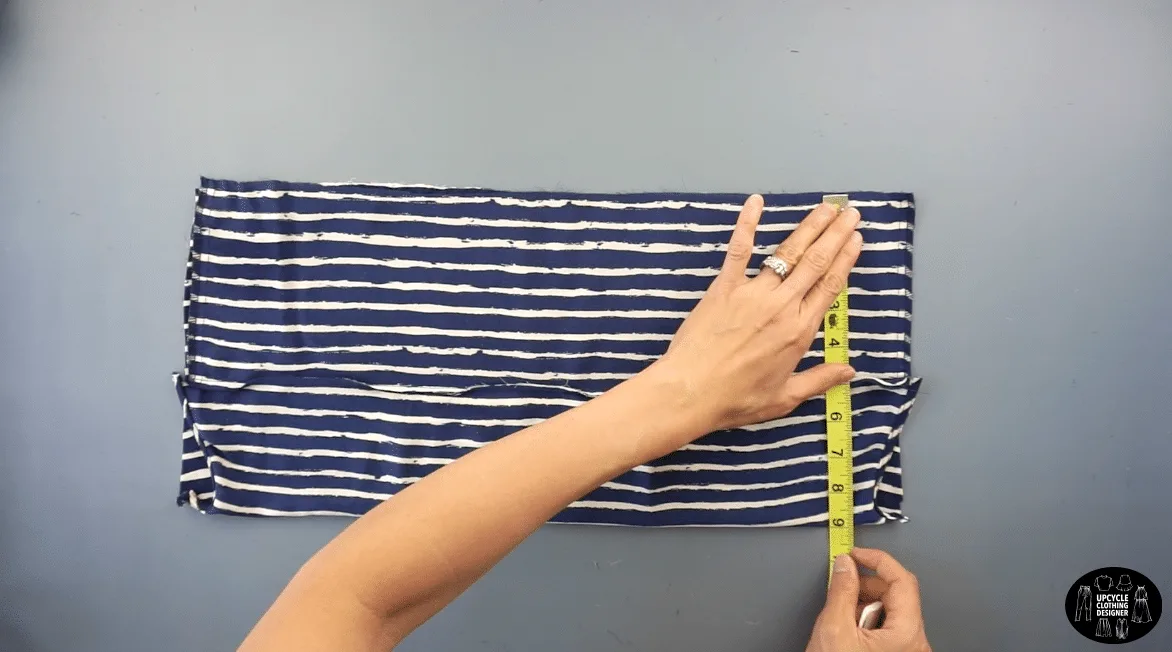
Then, measure 13” down the folded edge;
and draw a straight line across.
- To make the halter neckline, measure 4” away from the folded edge.

- To make the halter neckline tunnel, move 1” upwards from the new neckline, and measure 5” across;


then, draw a straight line to connect both points to make a tunnel for the drawstring. - To make the armhole, measure 4” down from the height of the neckline.
Draw a straight line from the side seam to the halter neckline.
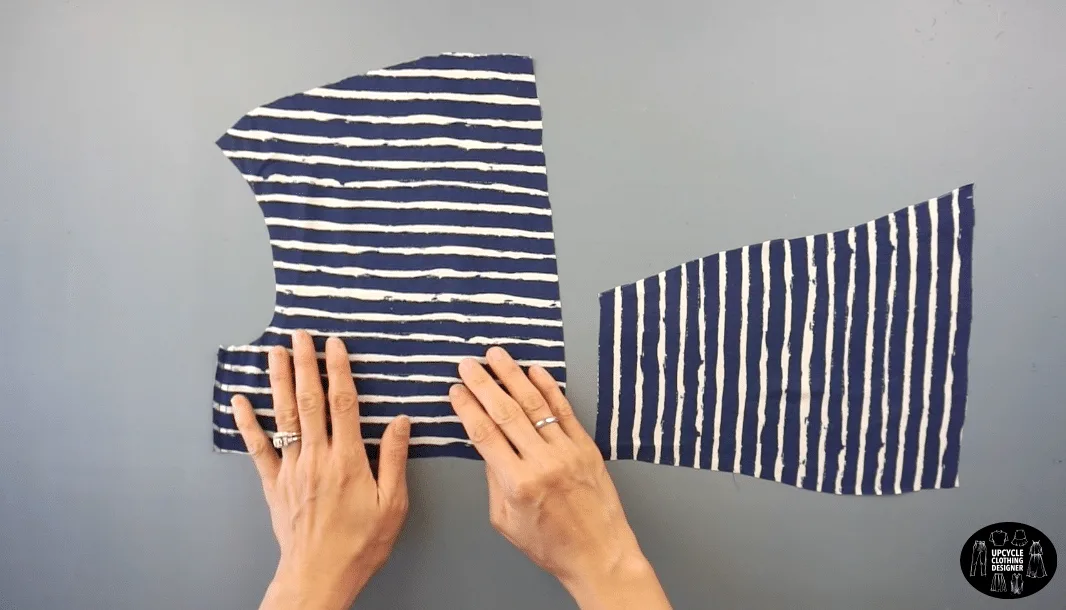
Cut along the line to make the halter top for the romper.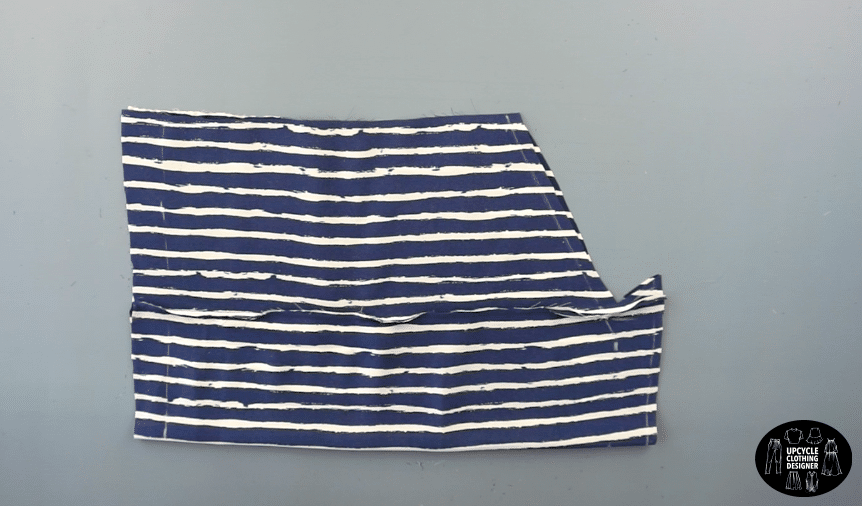

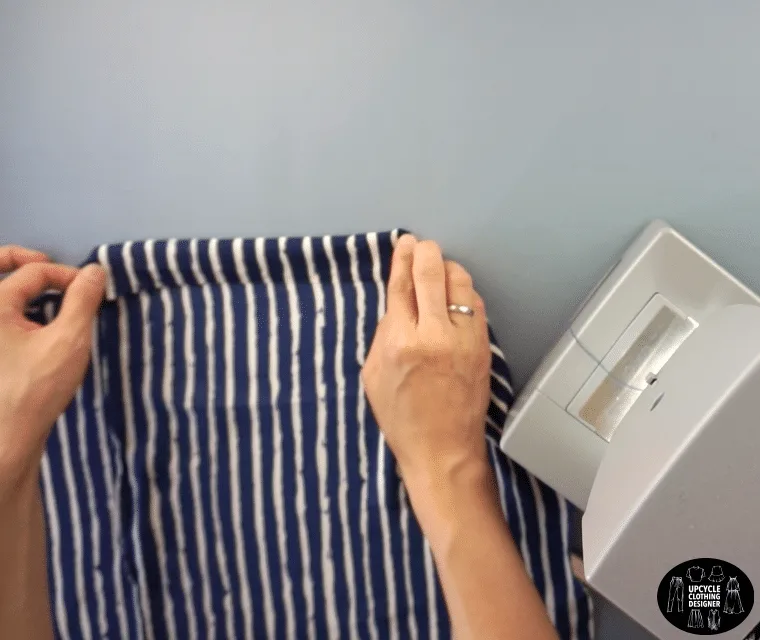
- To hem the armhole opening, double ¼” fold and stitch along the edge.

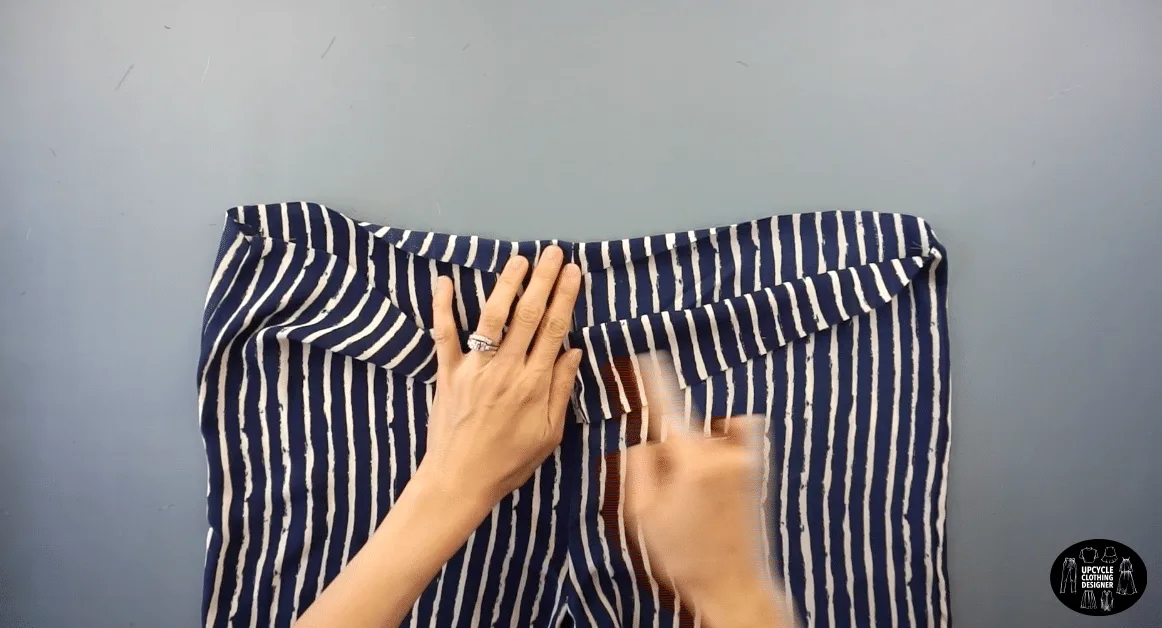
- To make the halter neckline tunnel, fold over the neckline piece and close the tunnel opening.

- To make the halter neckline drawstring, use the yoke piece of the original dress.


Cut the side seams to separate the double yoke layers.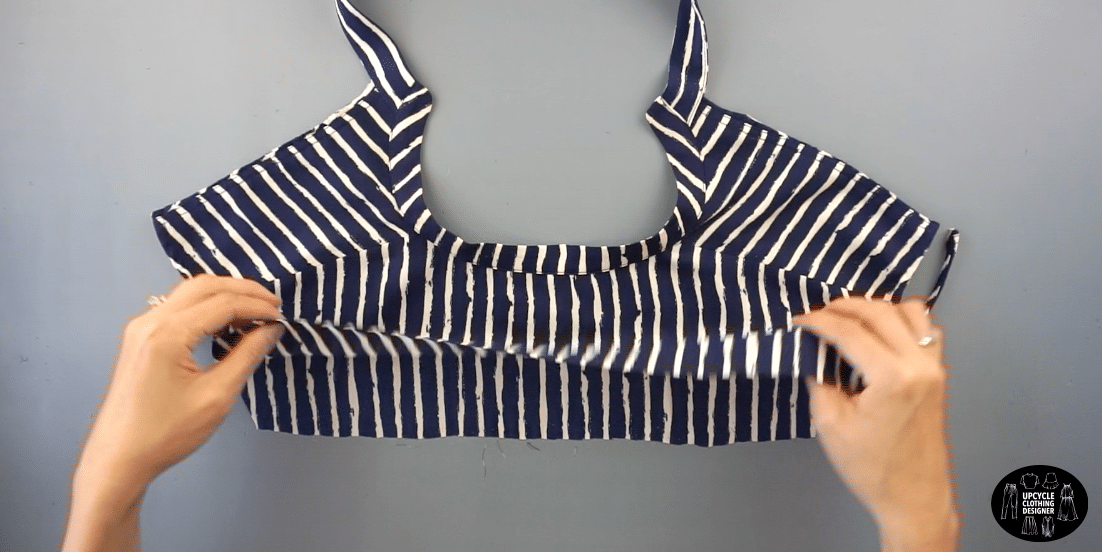

Measure 1” wide straps, and cut three separate straps.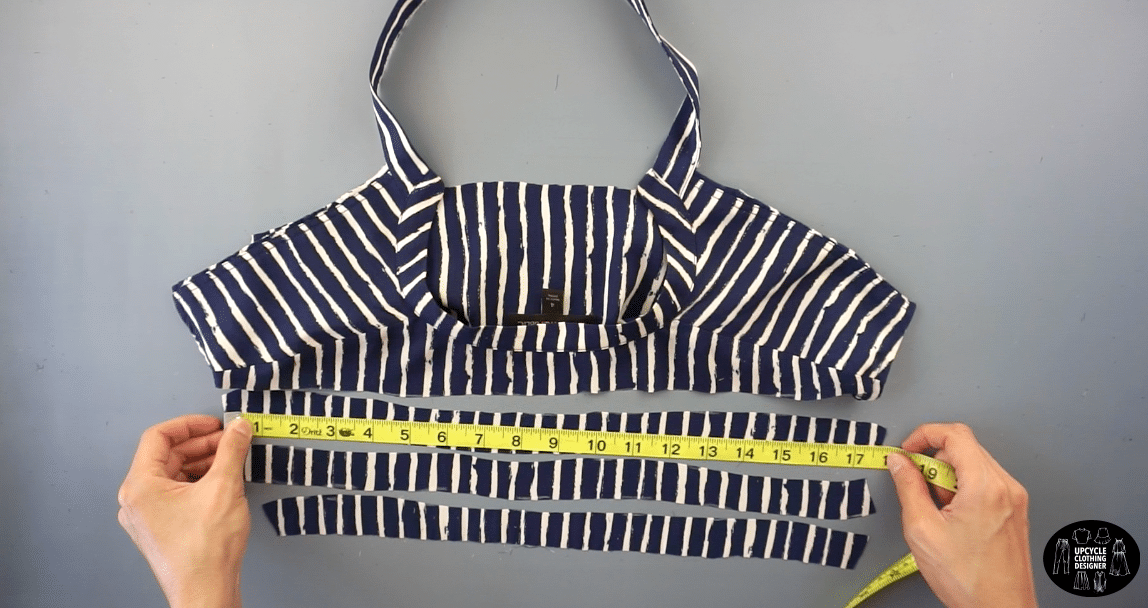

Attach the ends of the short straps to make a long drawstring.
Fold the strap in half lengthwise, and stitch along the edge.
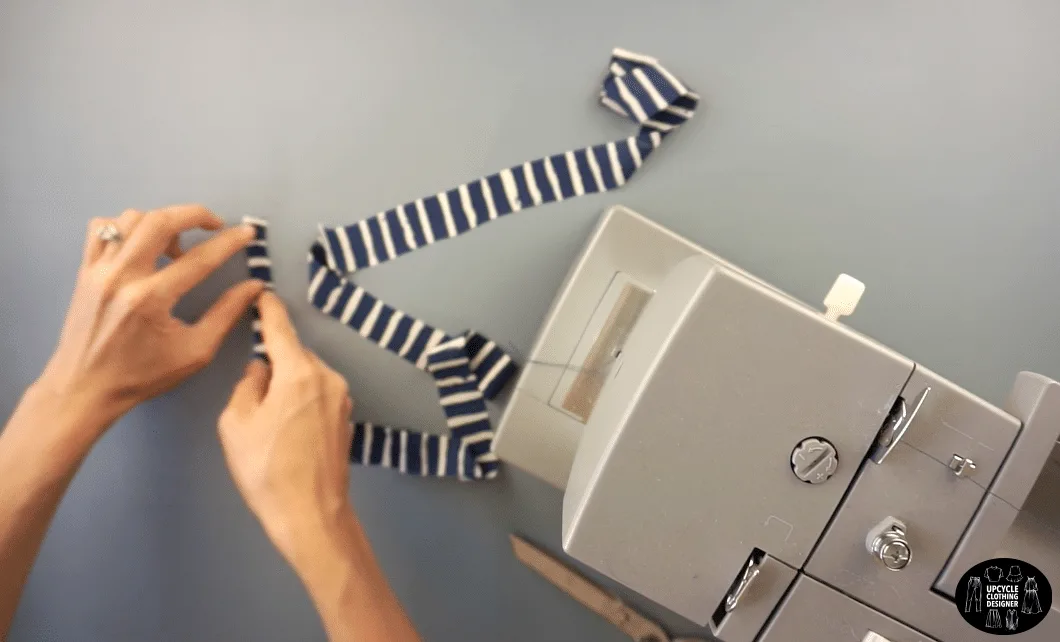
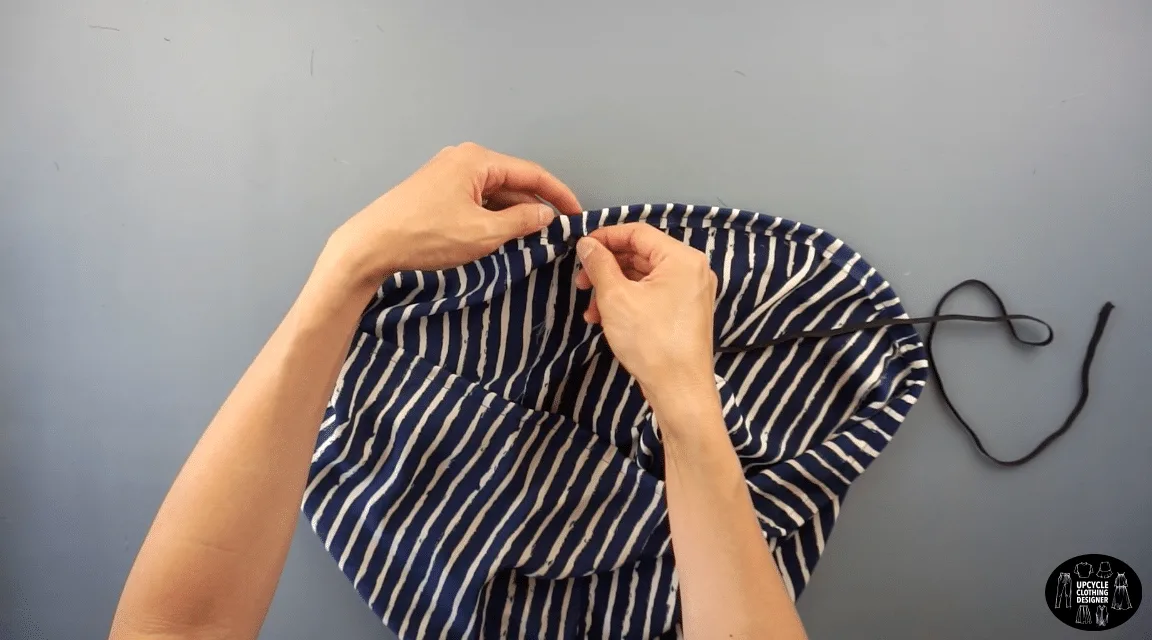
Use a loop turner to flip the strap inside out.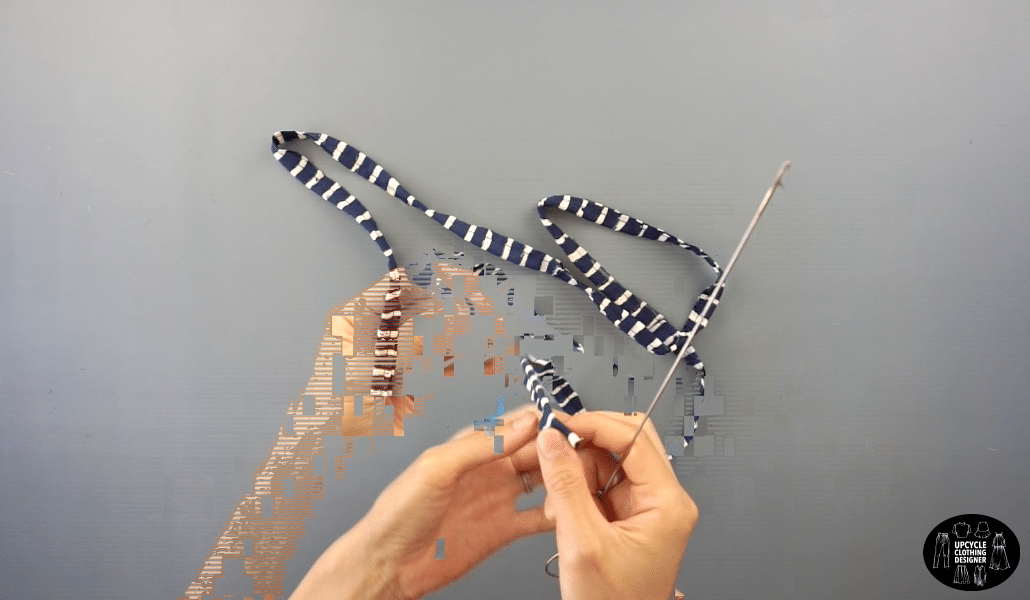
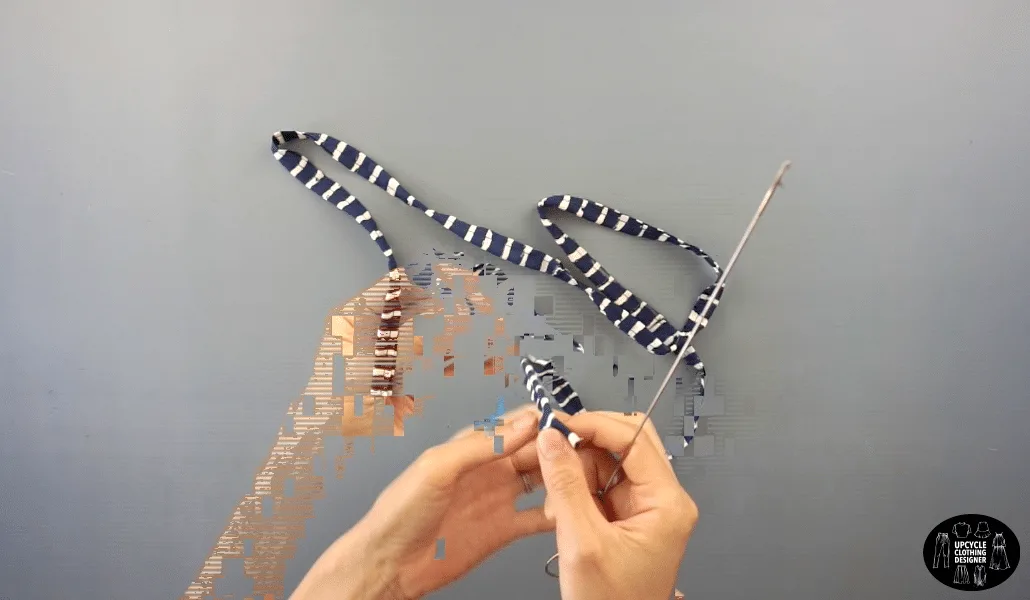
- To finish the drawstring, use a loop turner to feed the strap through the tunnel on the halter neckline.

- To make the back tie top of the romper, use the front top part of the original dress.

Measure 8” along the side seam,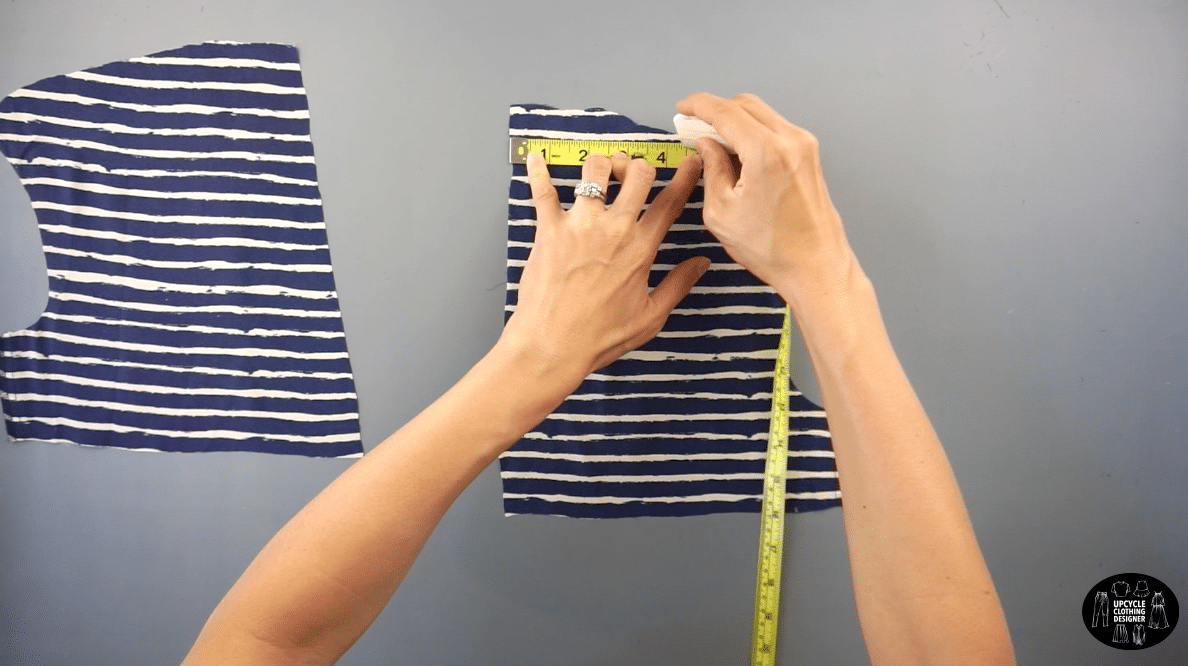

and draw a straight line with a slight angle downwards.
Also, use the other yoke layer to add extra length to the ends of the back tie pieces.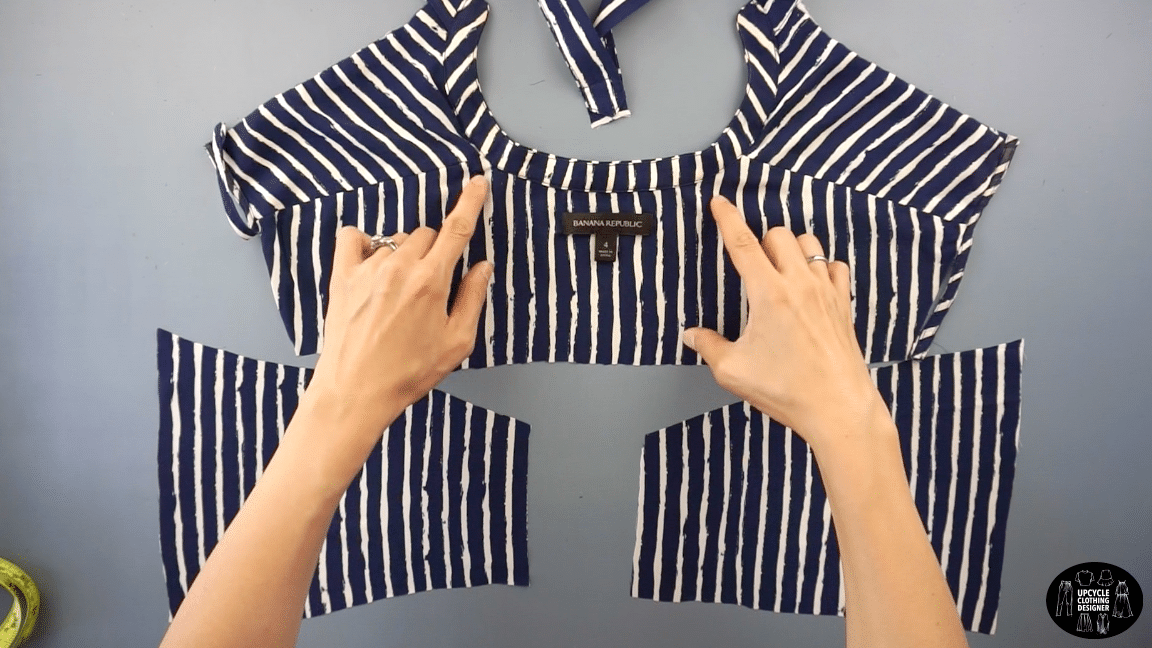
Measure the ends, and match the new pieces to the sides.
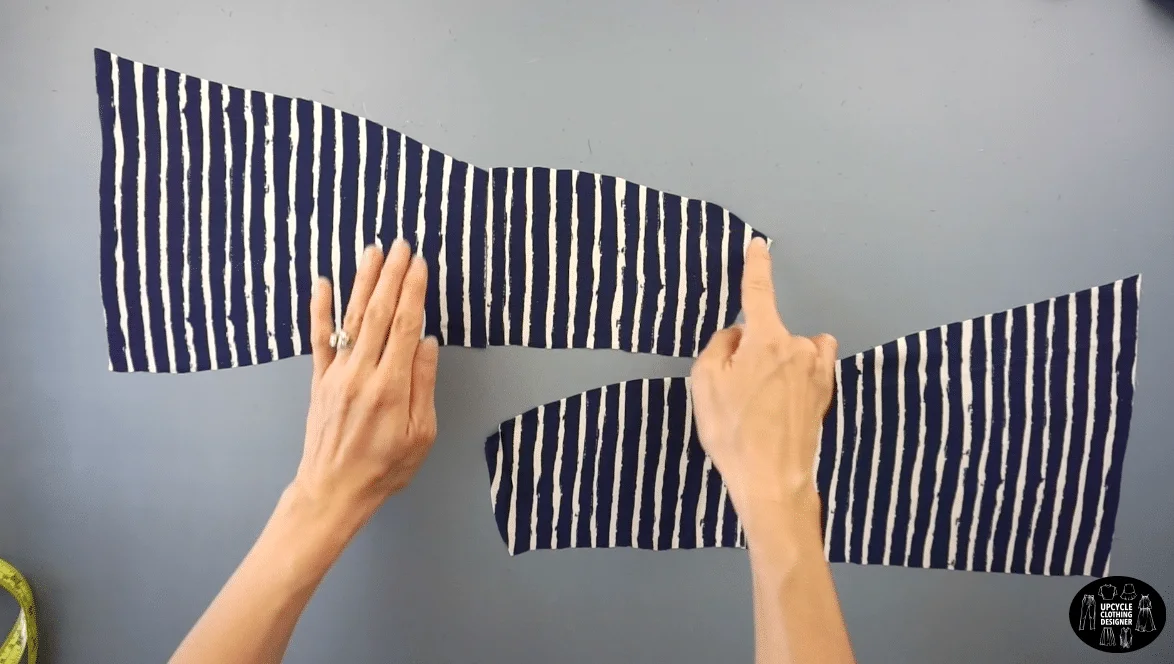
Trim the back tie pieces to make a straight edge;
then attach the matching sides together.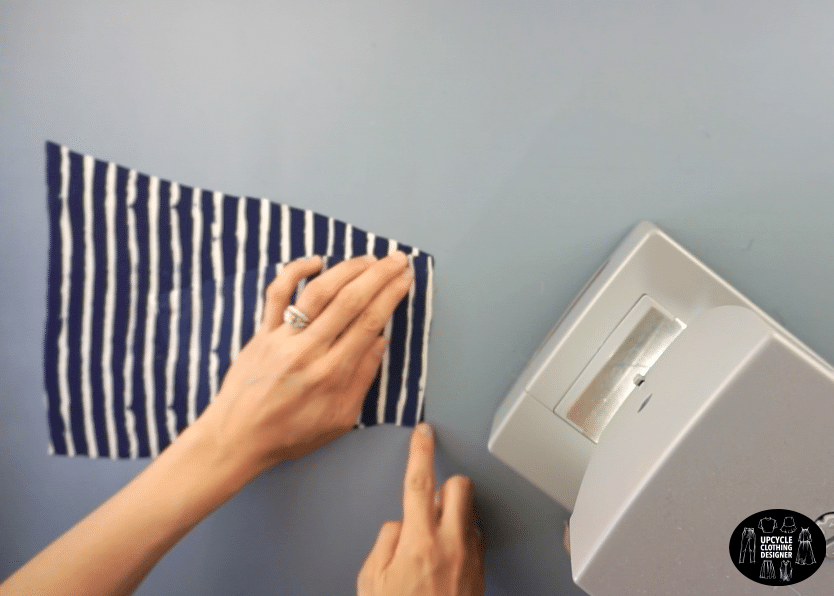

- To hem the back tie pieces, double ¼” fold and stitch the edge.

- To attach the back tie pieces to the bodice, join along the side seam with the right sides facing together.

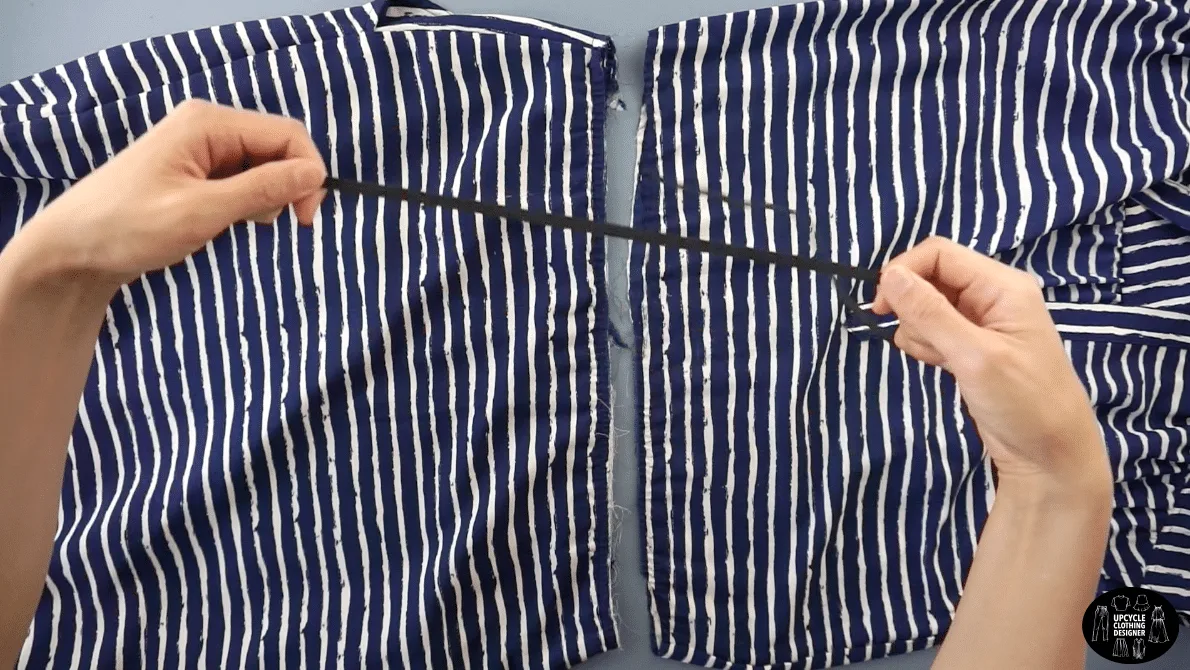
- To complete the front of the shorts, sew along the center line with the right sides facing together to join the front shorts pieces.

- To complete the back of the shorts, sew along the center line with the right sides facing together to join the back shorts pieces.

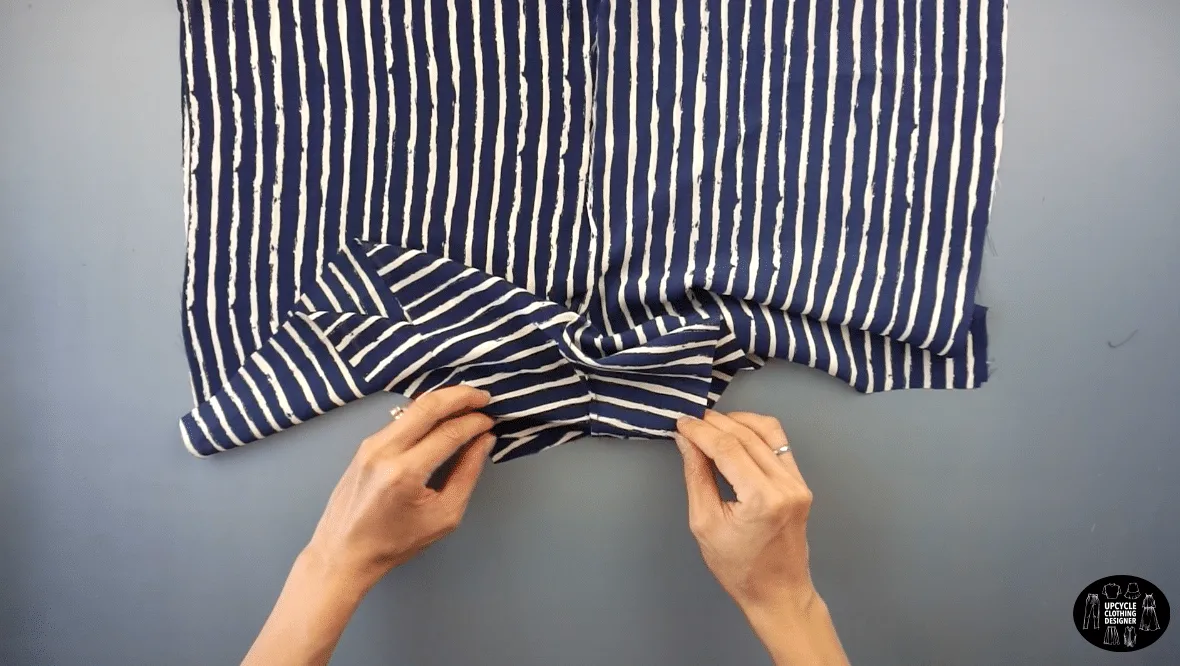
- To join the front and back of the shorts, sew along the crotch seam;
and also both side seams with the right side facing together.
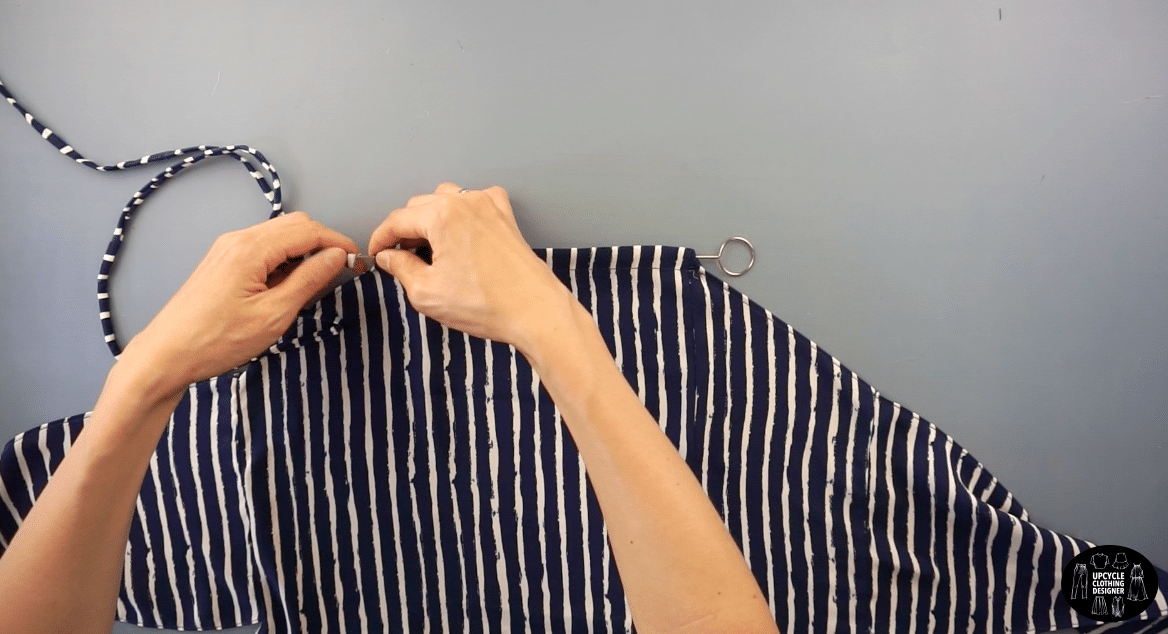
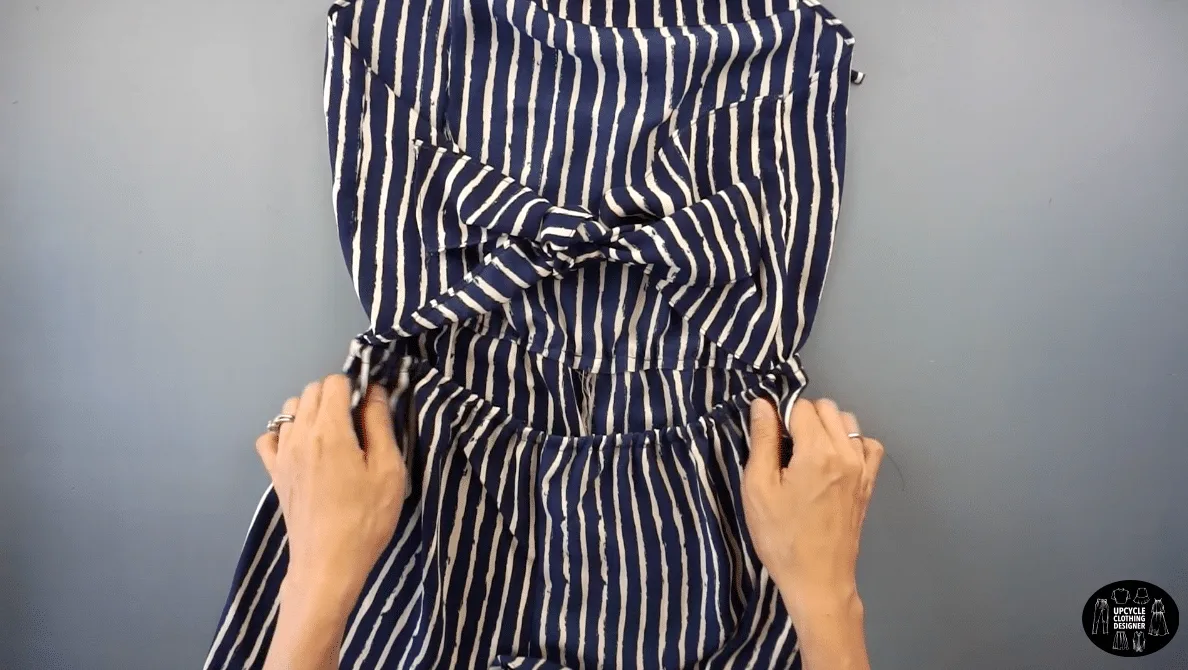
- To make the waistband, fold the waistline over ½” and stitch the edge to make a tunnel for the elastic band.

Use a safety pin to slide the elastic band through the tunnel.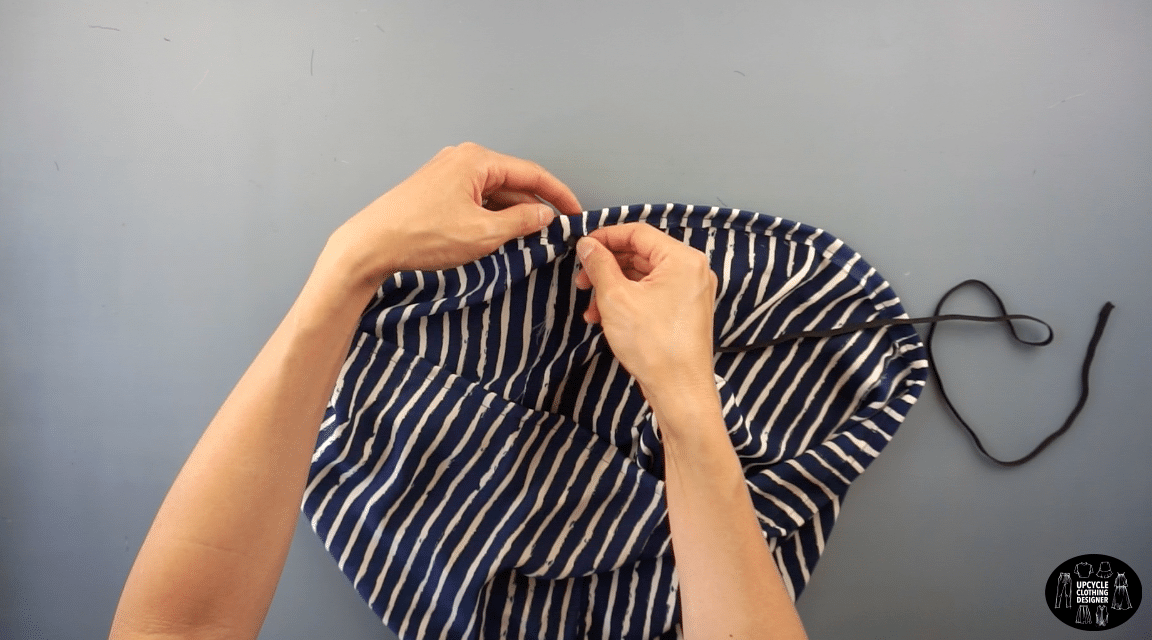
Zigzag stitch to join the ends of the elastic to finish the waistband. - To attach the top piece to the short piece, fold the top piece in half to mark the center.

Line up the center of the top with the center of the shorts.
Pin to secure, and stretch the elastic waistband while sewing. - To finish the leg opening, double fold ¼” and hem the leg opening.
- To finish the halter romper from dress, tie a bow with the halter drawstring,
and knot the back tie pieces together.
Recommended Products
As an Amazon Associate and member of other affiliate programs, I earn from qualifying purchases.


Trendy, Affordable Sewing Patterns for All Sizes


Tie Shoulder Jumpsuit Pattern


Palazzo Pants Sewing Pattern


Pocket Overall Romper Pattern


Wrap Maxi Skirt Sewing Pattern


Tie Back Top Sewing Pattern