
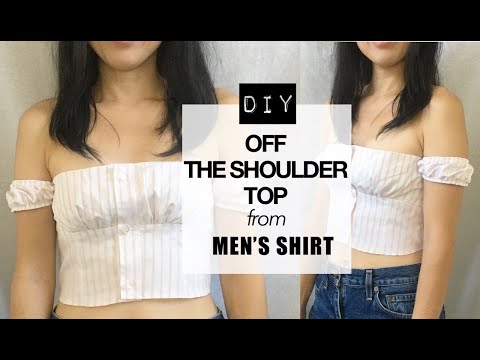
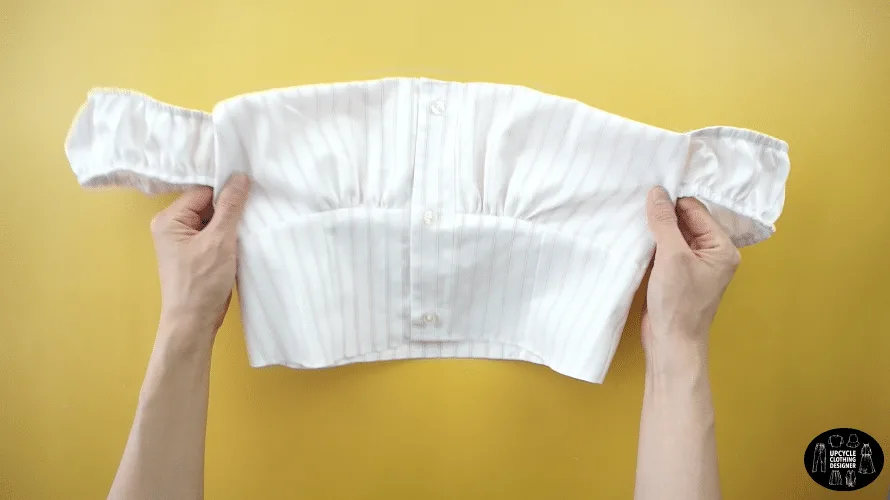
Looking to upgrade your DIY wardrobe with the best men’s dress shirt upcycle ideas? Here is a cute off the shoulder top that you can make from a men’s dress shirt!
From tiny little puff sleeve detail to form fitting bustier silhouette, this off the shoulder top makes you look stunning! Although it’s not the only women’s blouse from mens shirt project available, I do think its a darling silhouette that really accentuates your shoulders.
The delicately textured poplin material works to refashion this off the shoulder top out of men’s dress shirt. However, this is not the only way to make a DIY off the shoulder t-shirt.
In fact, you can make almost anything when you learn how to upcycle clothes. It’s really rewarding to transform old clothes into new clothes that are stylish and trendy.


You will love this off the shoulder top from men’s shirt because…
- No sewing pattern is required.
- Learn how to sew elastic around the sleeve opening to make it hug nicely with a mini puff silhouette.
- Easy beginner sewing project that looks like store-bought quality.
- Use the measuring guide to make an off the shoulder silhouette without having any fit issue.
- Use princess seam to adjust the fit without using boning.
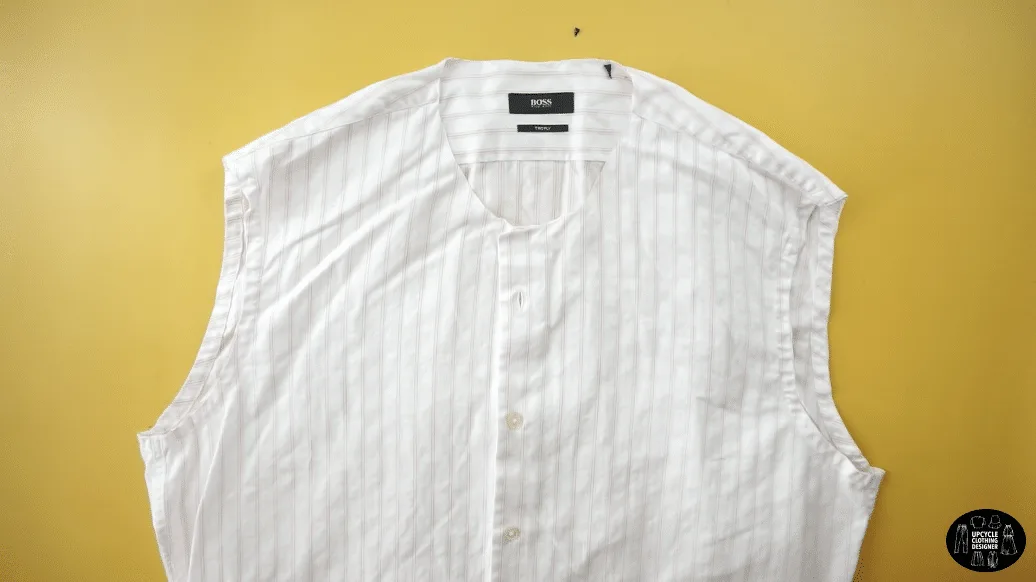
The men’s dress shirt that I used for this project is 100% cotton poplin with a textured stripe pattern. The medium weight made it easy to create a corset structure to hold the shape without stiff boning.
If you end up using a thinner fabric, I would recommend adding lining or double layering with remnant fabric. For this design, I double layered the bust piece to add volume and also give a clean finish around the sweetheart neckline.


Follow the step-by-step tutorial with video guide to convert any men’s dress shirt into this Reformation inspired off the shoulder top. You can make your own version by lengthening the top or altering the sleeves to give more coverage.
How to make off shoulder top from shirt?
In order to make an off shoulder top from shirt, all you need is a men’s dress shirt, ¼” elastic band for the sleeve and a basic sewing kit to get started.
I recommend to measure around your arm and note the location for your desired arm opening. Use this easy guide to take body measurements for clothes so that you can make the top fit you perfectly.
With these information, you can easily adapt the list of sewing tips and techniques to make your one-of-a kind top to add to your DIY wardrobe. Pick your favorite colored men’s shirt and let’s get started!
DIY Off Shoulder Top From Men’s Shirt Material:


- Men’s Dress Shirt
- ¼” Elastic Band
- Sewing Machine
- Fabric Chalk
- Measuring Tape
- Pins
- Ruler
- Scissors
To make an off shoulder top from men’s shirt, deconstruct the original dress shirt by cutting off the collar, neckband and both sleeves.
Cut the shoulder seams, back yoke, both side seams and the button and buttonhole placket.
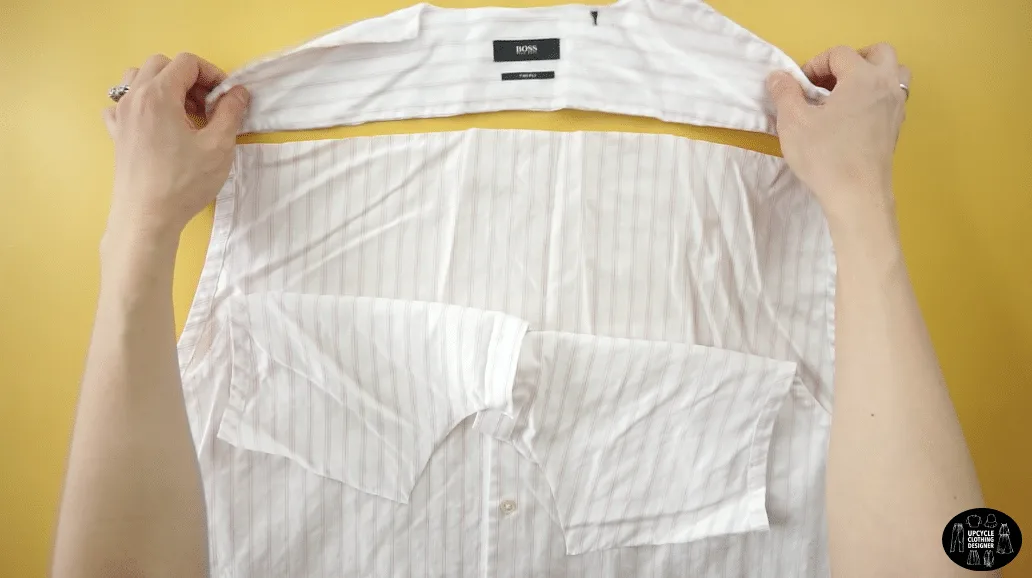
Use the back piece of the original men’s shirt to make the center and side bust pieces.
Use the back piece on the original men’s shirt to make the center and side back pieces.
Attach the side back pieces to the center back piece, then double fold the bottom and ¼” topstitch the hemline.
Attach the center bustier piece to the side bustier piece on each side.
Add shirring to the four bust pieces, then attach one bust piece to one bustier piece.
Use the two remaining bust pieces to add lining to the front chest.
Attach the front piece to the back piece, then use the button and buttonhole placket to add a button closure.
Use the original sleeves from the dress shirt to make the mini puff sleeves.
Cut four pieces of ¼” elastic band to add elastic around the mini puff sleeves. Stretch the elastic band and topstitch around the sleeve opening.
Attach the mini puff sleeves to the top bodice to finish the off shoulder top from men’s shirt.


DIY Off Shoulder Top Sewing Tips
Plan your men’s dress shirt accordingly based on the style of tops you want to create. Pre-wash and steam iron the old garment before deconstruct the shirt.
Read through these sewing tips to make the DIY off shoulder top so easy that you won’t need to go back and rip stitches along the way:
- Sewing Foot: Most elastics straps are sewn with a regular all-purpose sewing foot. Since the material is woven, you won’t need a special foot because there should be no problem with sliding or irregular stitches.
- Stitch: Use straight stitch to secure the elastic to the fabric and overlock stitch for hemming in this tutorial.
- Thread: When sewing cotton poplin, choose a cotton or cotton/polyester blend thread.
- Spray Starch: If the shirt surface is extremely slippery, use a spray starch to texturize the material a bit to help with cutting smooth straight lines.
- Hemming: Make a tiny folded hem or rolled hem for a clean finish along the edges.
More women’s blouse from men’s dress shirt sewing projects for you to try next:


How To Make Off The Shoulder Top From Men’s Dress Shirt
Create volume around the sleeve with simple elastic sewing method and skin tight bodice with stretch stitch. Learn these easy sewing techniques when you make an off the shoulder top from men’s dress shirt.
Materials
- Men’s Dress Shirt
- ¼” Elastic Band
Tools
- Sewing Machine
- Fabric Chalk
- Measuring Tape
- Pins
- Ruler
- Scissors
Instructions
- For this off shoulder top from men’s shirt tutorial, start by deconstructing the original dress shirt.
Use scissors to detach the collar and neckband;
then, cut along the arm seam to detach both sleeves;
Cut along the shoulder seams, and also across the back yoke.
Cut both side seams to detach the front from the back of the men’s shirt.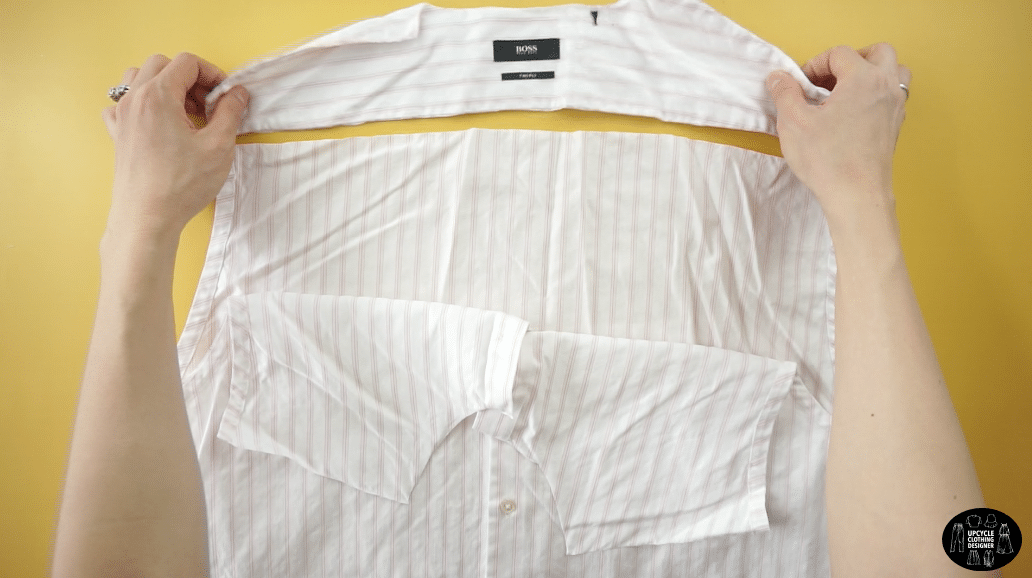
Lastly, cut off the button and buttonhole placket.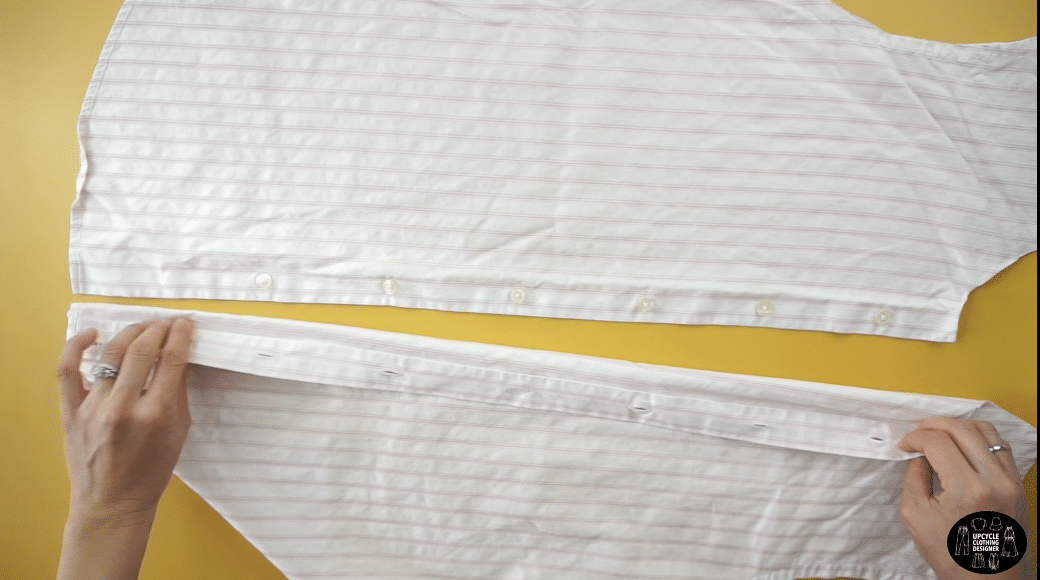

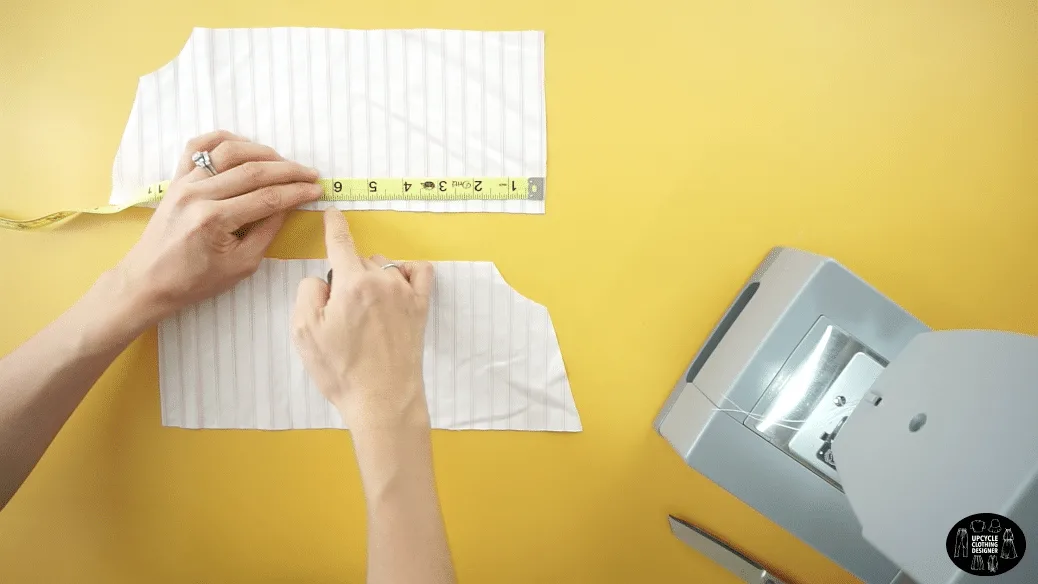
- To make the bust pieces, use the back piece of the original men’s shirt.
Measure 9½” across the top, 5” down the side, 12½” across the bottom and 3” up on the opposite side.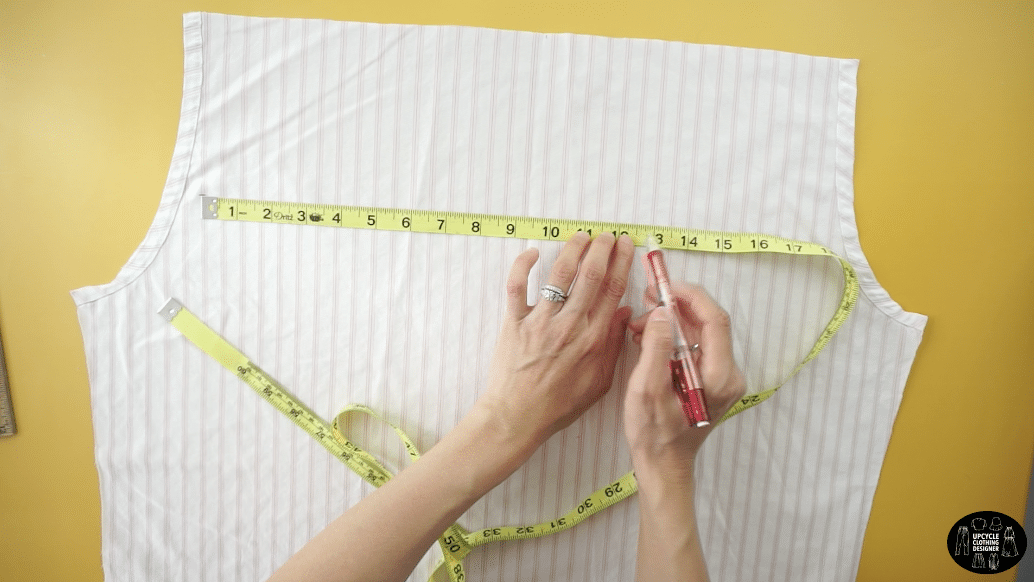
Draw a smooth curved line to make the armhole opening.
Cut along the line.
Copy the bust piece pattern to make four separate pieces in total.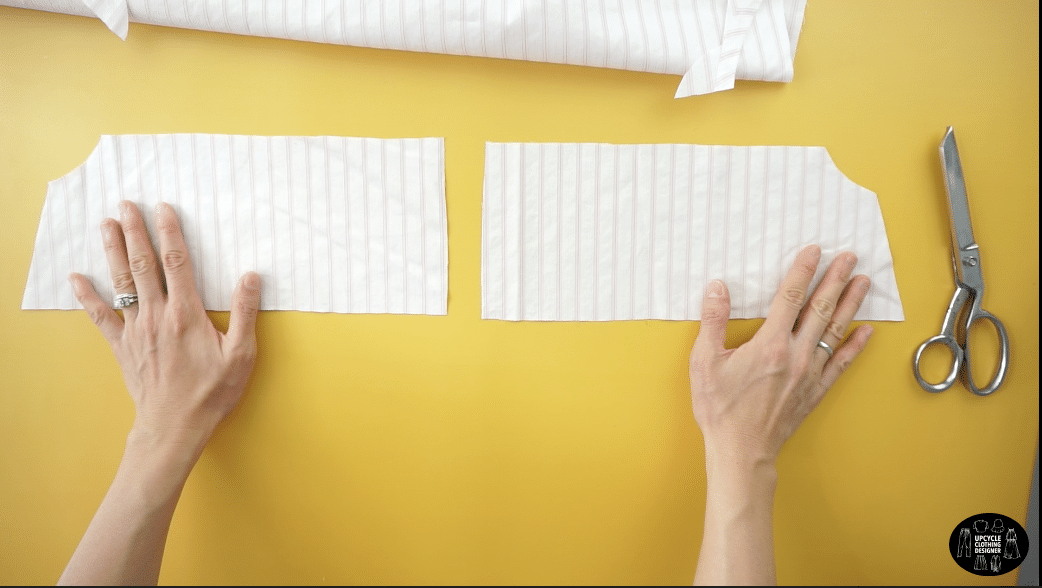

- To make the center bustier pieces, cut a 3”x 6” piece.
Copy the bustier piece to make the other front center piece.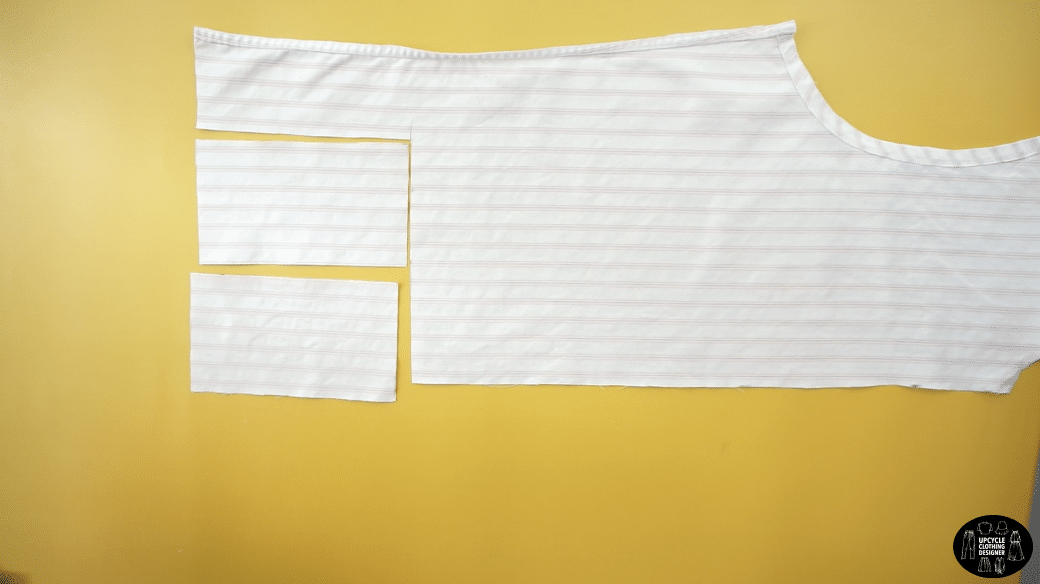

- To make the side bustier pieces, cut a 4½” x 6” piece.
Make one side ½” taller then the other side so that the side bustier pieces have a slight curve.
Copy the bustier piece to make the other front side piece.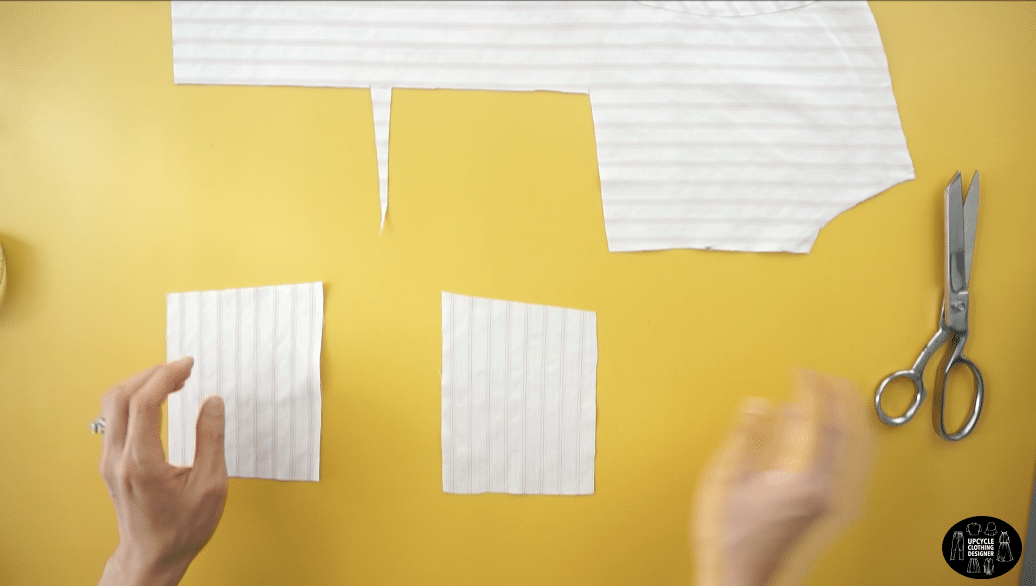

- To make the center back piece, fold the back piece on the original men’s shirt in half lengthwise.
Measure 3¼” away from the folded line, 8” along the folded line and 4” away from the folded line on the opposite side.
Draw a line to connect the points and cut.
- To make the side back pieces, cut a 4” x 8” piece.
Make one side ½” taller then the other side so that the side back pieces have a slight curve.
Copy the back piece to make the other side piece.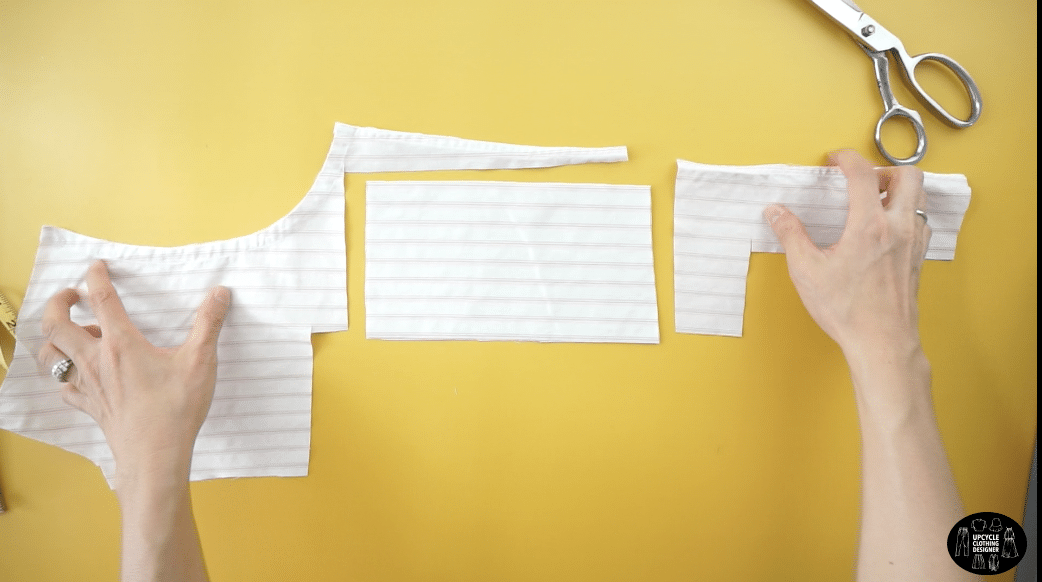

- To complete the back piece of the top, attach the side back pieces to the center back piece with the right sides facing together.
Pin to secure and edge topstitch.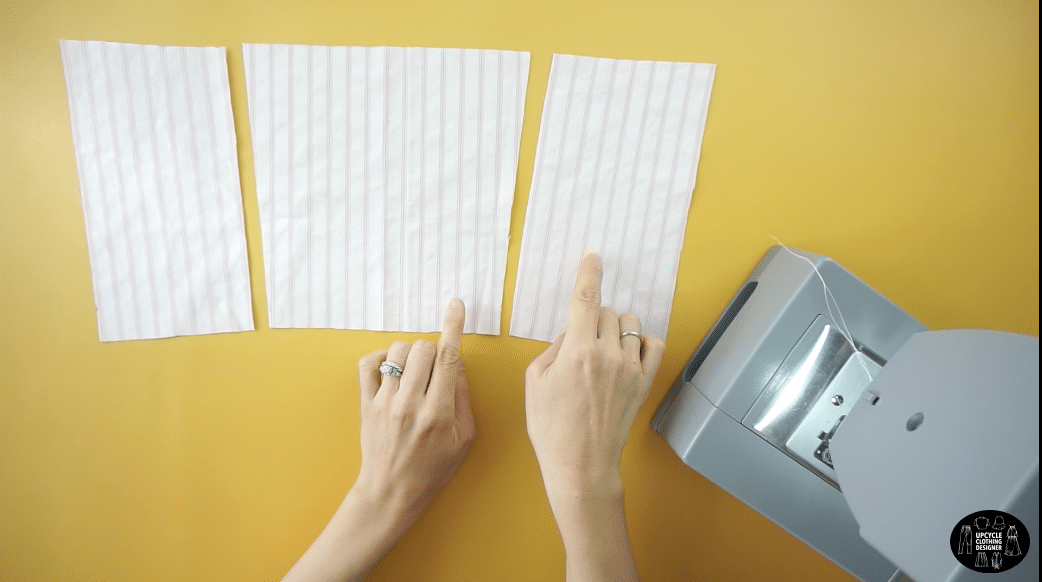

Double fold the hemline and ¼” topstitch the bottom.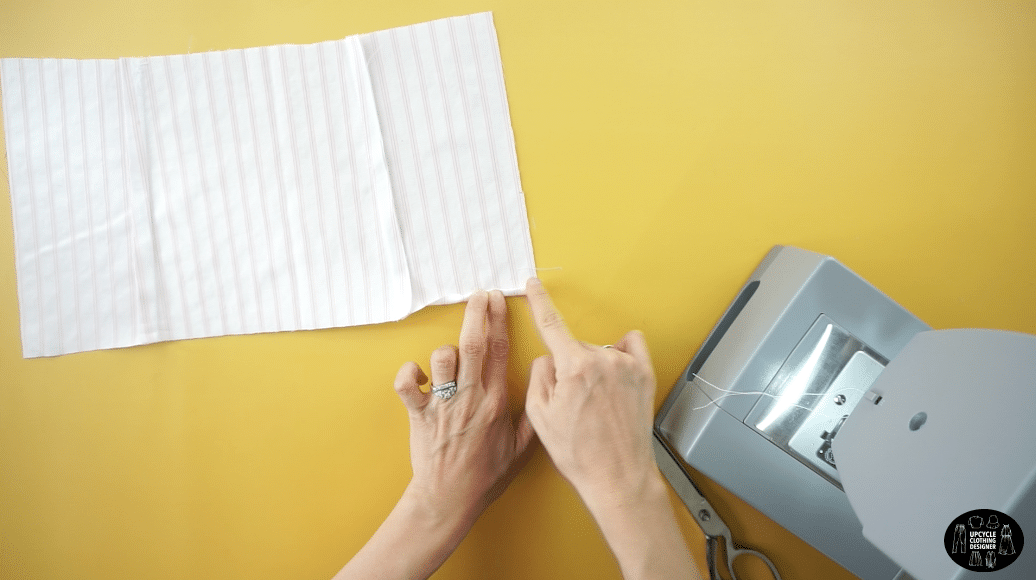

- To complete the bustier pieces, attach one center bustier piece to one side bustier piece with the right sides facing together.
Do the same for the opposite side.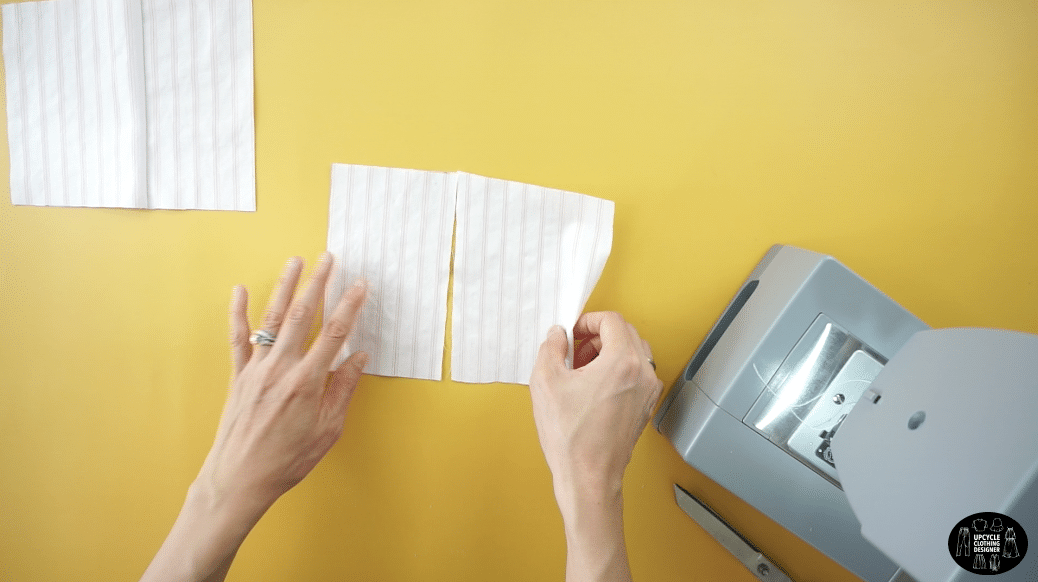

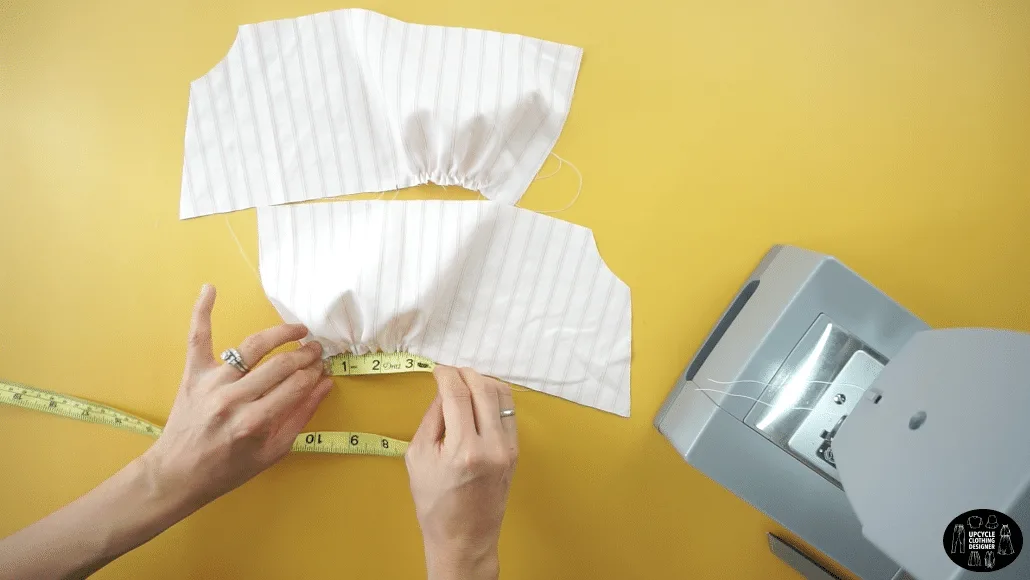
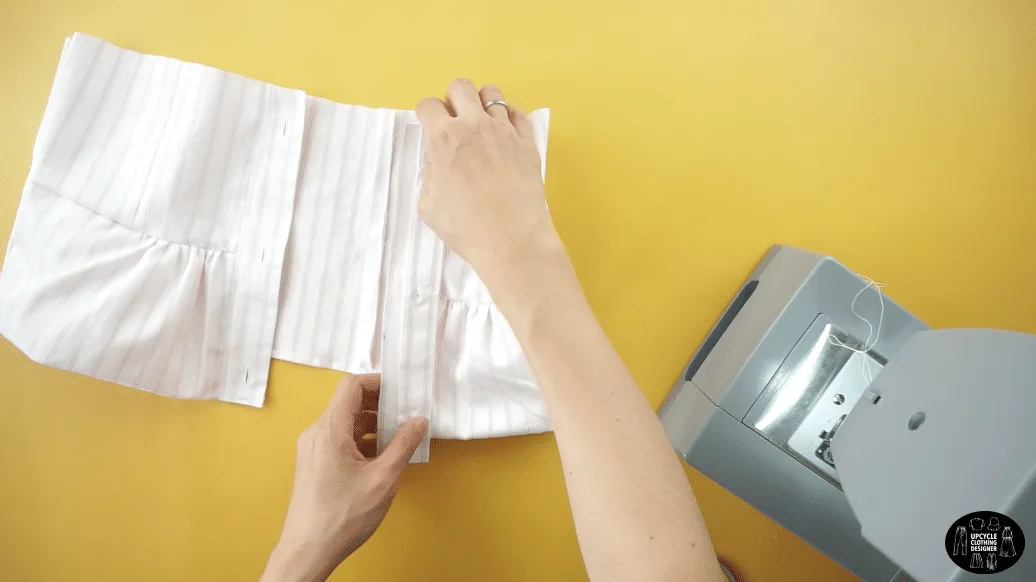
- To complete the front piece of the top, add shirring to the four bust pieces.
Use a wide stitch width to stitch 6” away from the center line along the bottom edge.
Gently pull on the back thread to gather the fabric to a width of 3½” and create bunching around the bust.
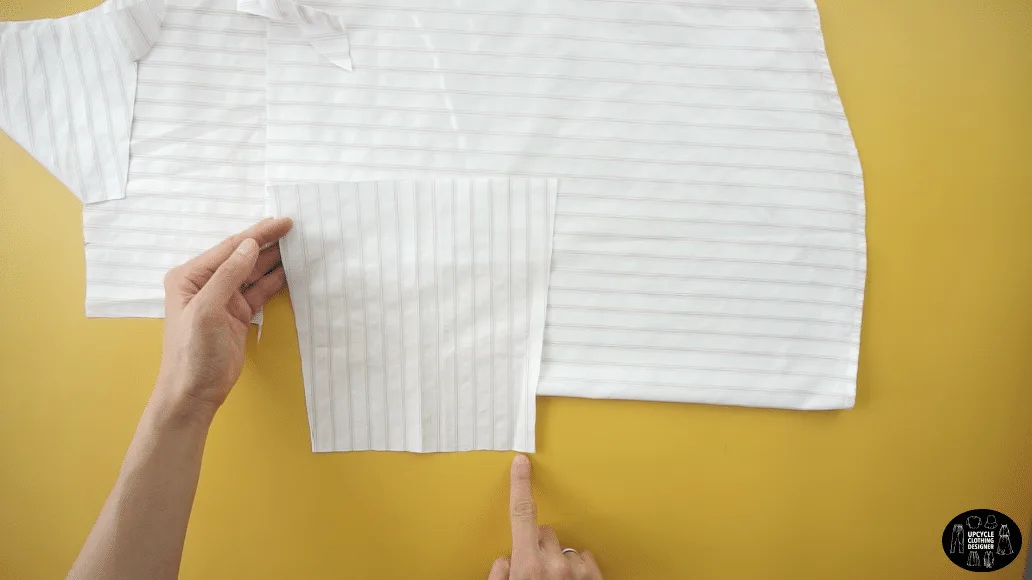
- Attach one bust piece to one bustier piece with the right side facing together.
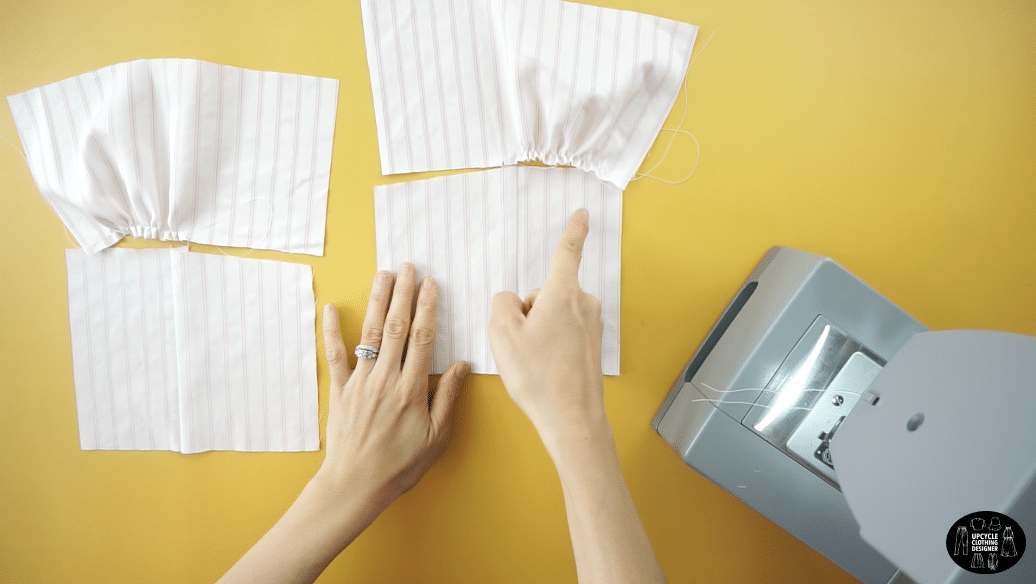
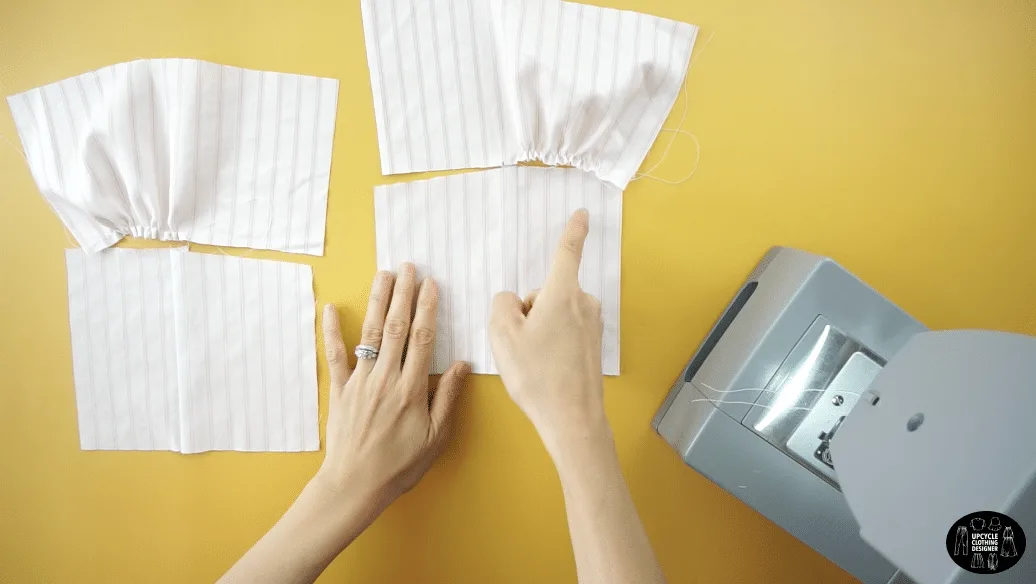
- To add lining to the bust, use the two remaining bust pieces.
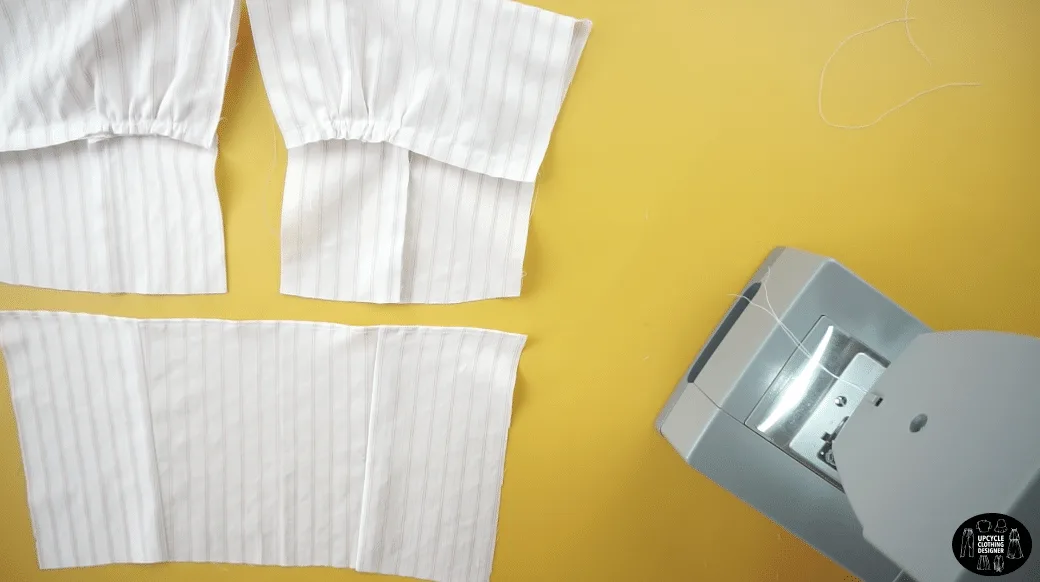
Join the lining inside the bust on both sides of the front chest. - To complete the top bodice, attach the front piece to the back piece with the right sides facing together.
Topstitch both side seams to join the top pieces.
- To add the button front closure, use the button and buttonhole placket from the original men’s shirt.
Measure 10” along both plackets and cut.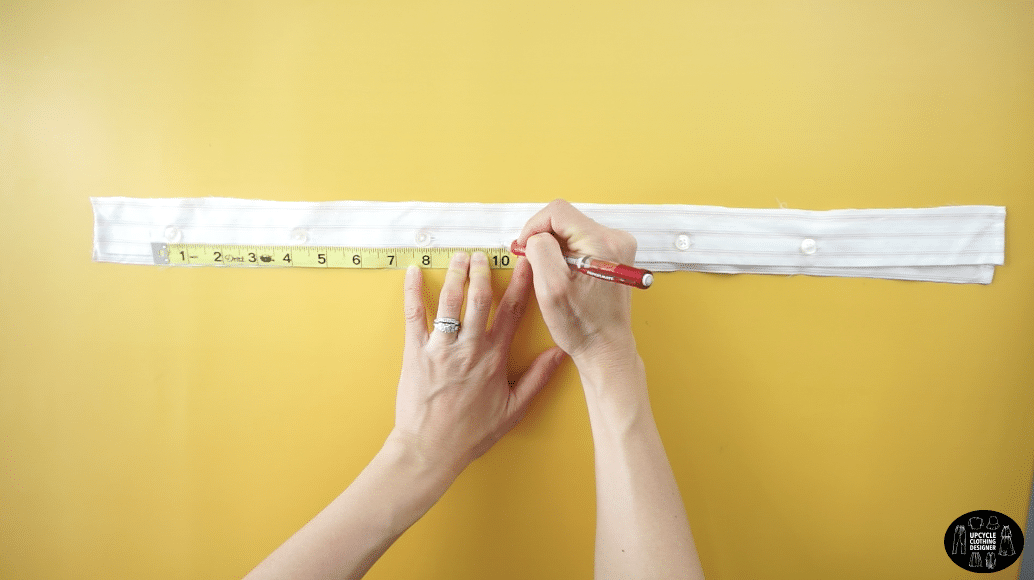
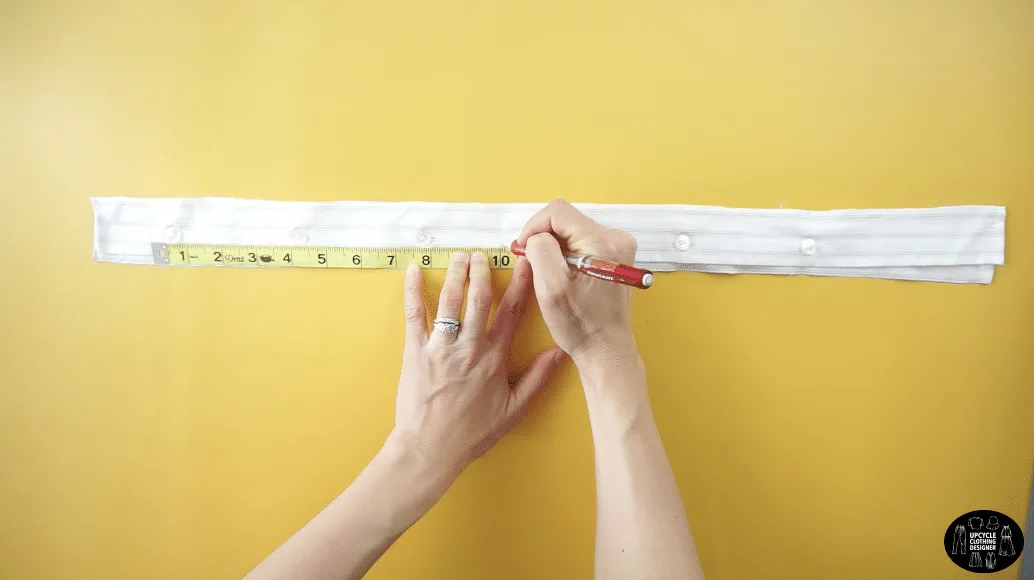
Attach the button placket to one side and the buttonhole packet to the other side of the center front piece.
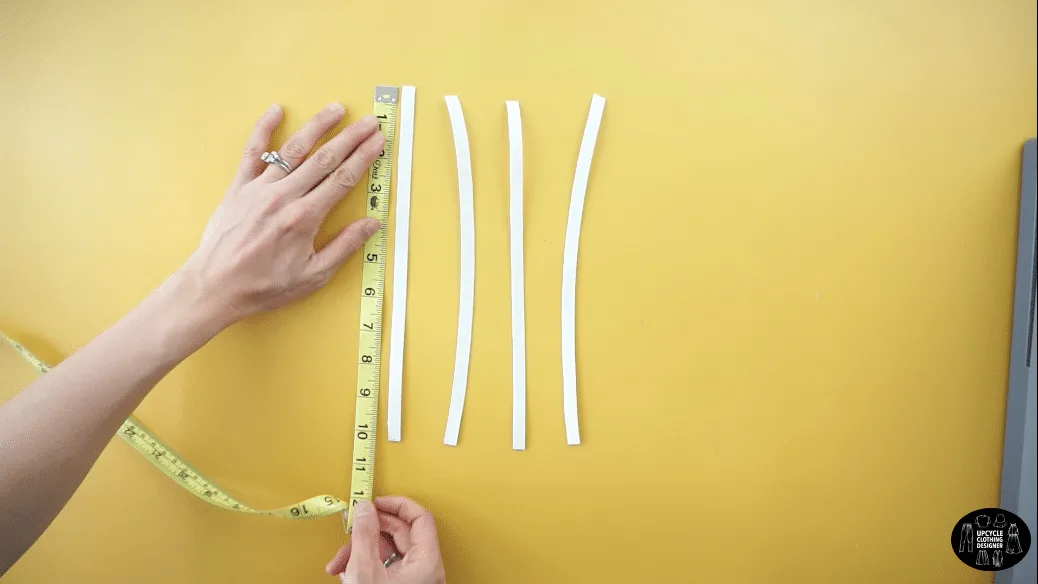
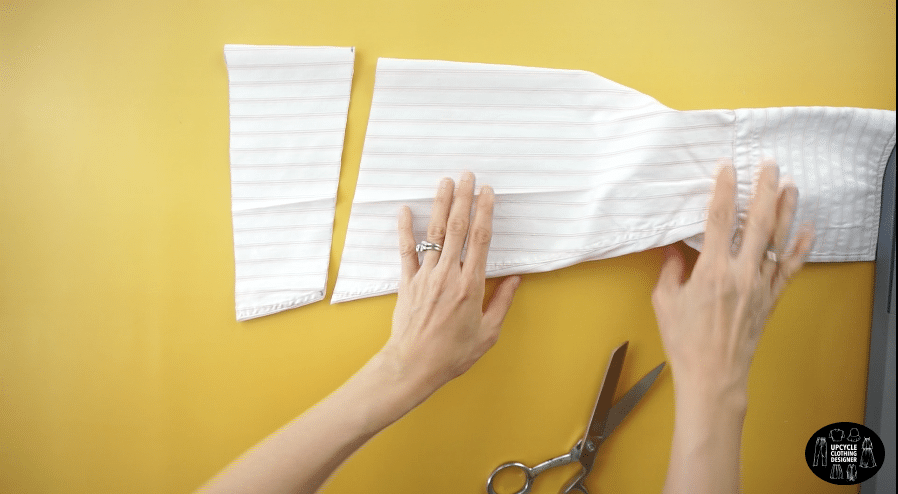
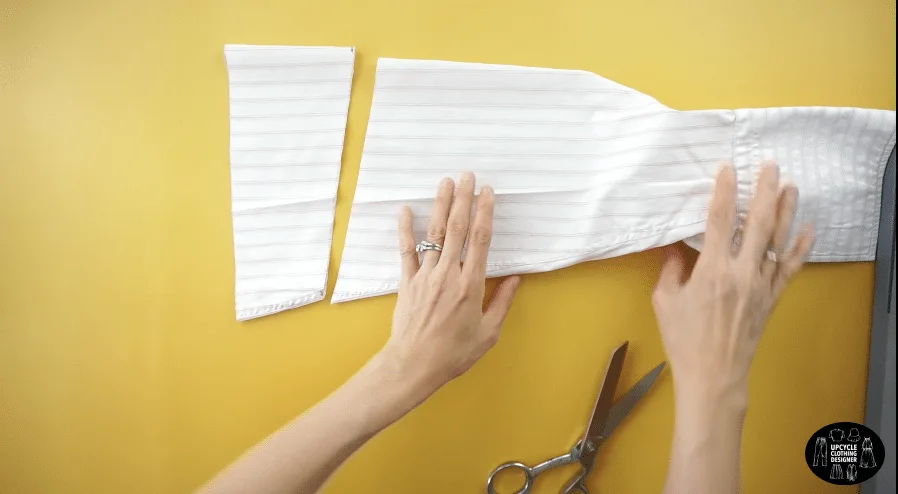
- To make the mini puff sleeves, use the original sleeves from the dress shirt.
Mark 4” away from the edge on the top of the sleeve,
and 3” away from the cut edge on the bottom of the sleeve.
Draw a diagonal line and cut.
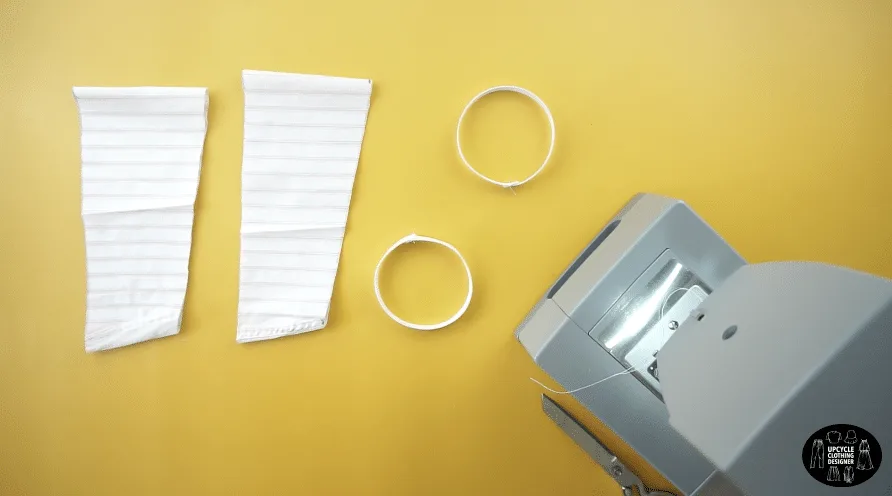
- To add elastic to the mini puff sleeves, cut four separate 10” long pieces of ¼” elastic band.
Topstitch the ends of two elastic bands to make two loops.
Pin the elastic loop to the inside of the sleeve opening.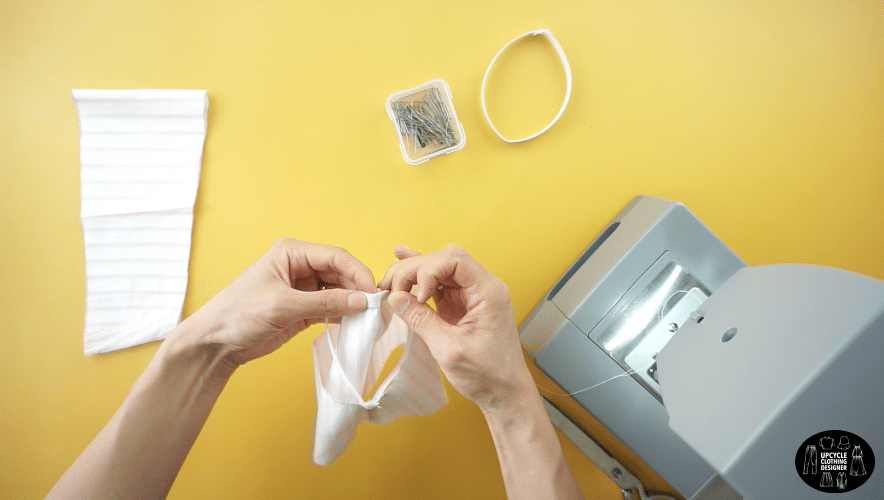

Stretch the elastic band and topstitch around the sleeve opening.
Fold the fabric over the band, and topstitch to cover the elastic.
Add an elastic loop to the sleeve opening of the other sleeve.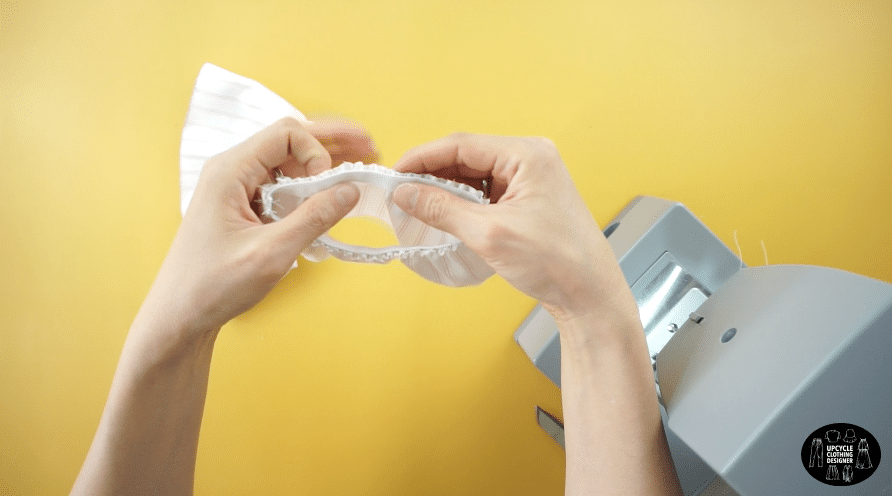

- For the armhole opening, measure 3” to mark the underarm seam.
Pin the elastic band to the mark on the inside of the armhole opening.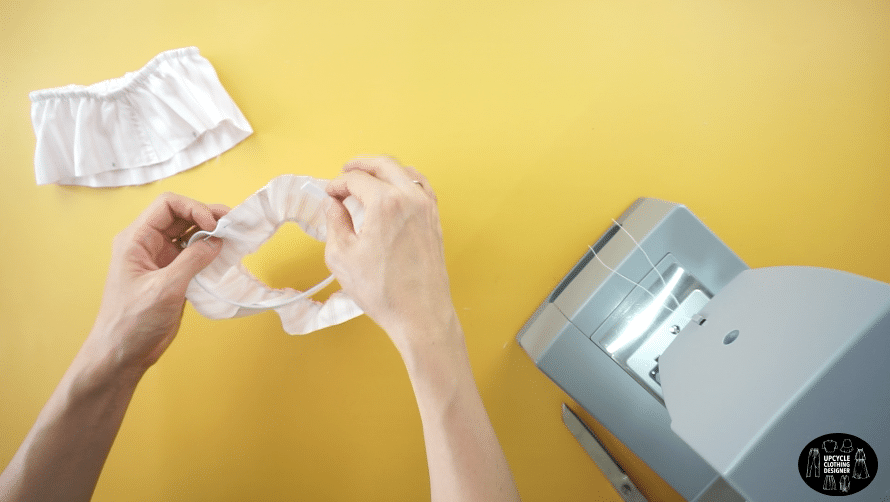

Stretch the elastic band around the armhole opening to reach the 3” mark.
As a result, the underarm seam will not have elastic.
Pin to secure and topstitch the elastic band in place.
Fold the fabric over the band, and topstitch to cover the elastic. - To complete the off shoulder top, attach the mini puff sleeves to the top bodice.
Join the sleeves along the underarm seam.
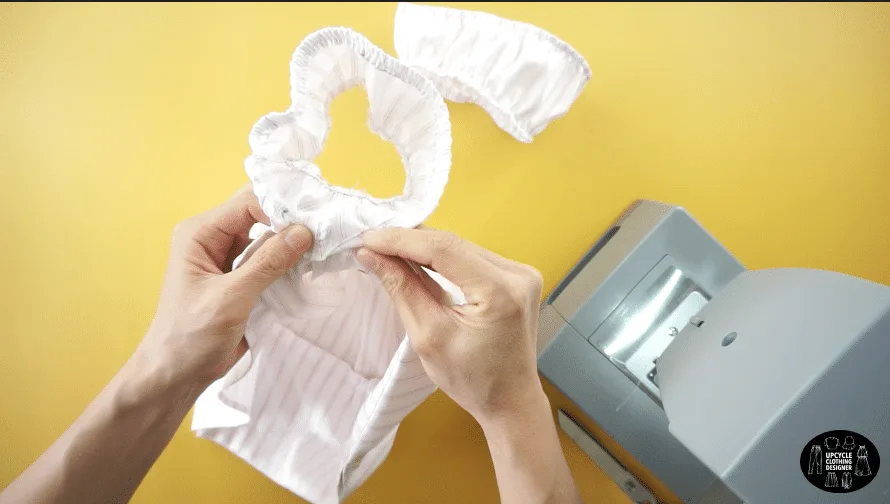
Pin to secure and topstitch to finish this off the shoulder top from men’s shirt.
Recommended Products
As an Amazon Associate and member of other affiliate programs, I earn from qualifying purchases.


Trendy, Affordable Sewing Patterns for All Sizes


Tie Shoulder Jumpsuit Pattern


Palazzo Pants Sewing Pattern


Pocket Overall Romper Pattern


Wrap Maxi Skirt Sewing Pattern


Tie Back Top Sewing Pattern