
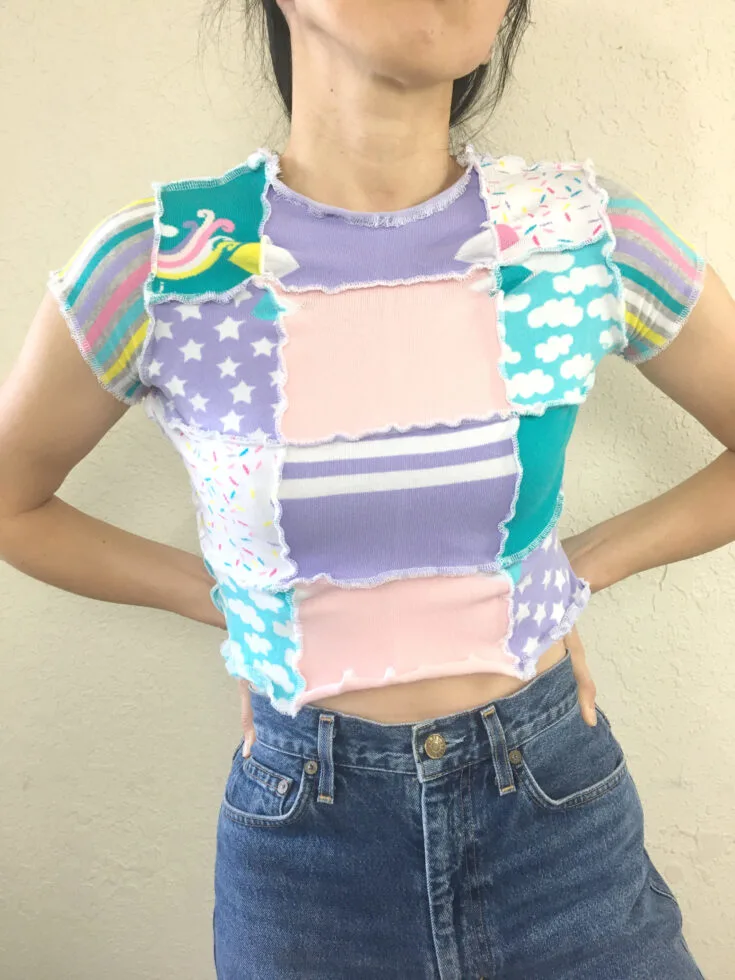
Would you make a cute short sleeve t-shirt from fun and colorful socks? The lettuce hem along the sleeve and hemline of tee is all you need to add unique style to your upcycled wardrobe.
This DIY t-shirt from old socks tutorial is easy to follow and perfect for beginner level. Challenge your sewing skills with upcycled clothing and take steps to the next level.
The original inspiration of this fun t-shirt from socks is from Diana Rikasari. She is known for a funky, colorful, and playful style on every outfit.
She makes much of her own clothes from upcycle materials. And one of her recent Instagram posts, I saw her wearing a t-shirt made from socks.
Whether you have matching or non-matching pairs of socks, it really doesn’t matter because you will make the color and pattern extremely fun, just go for it!
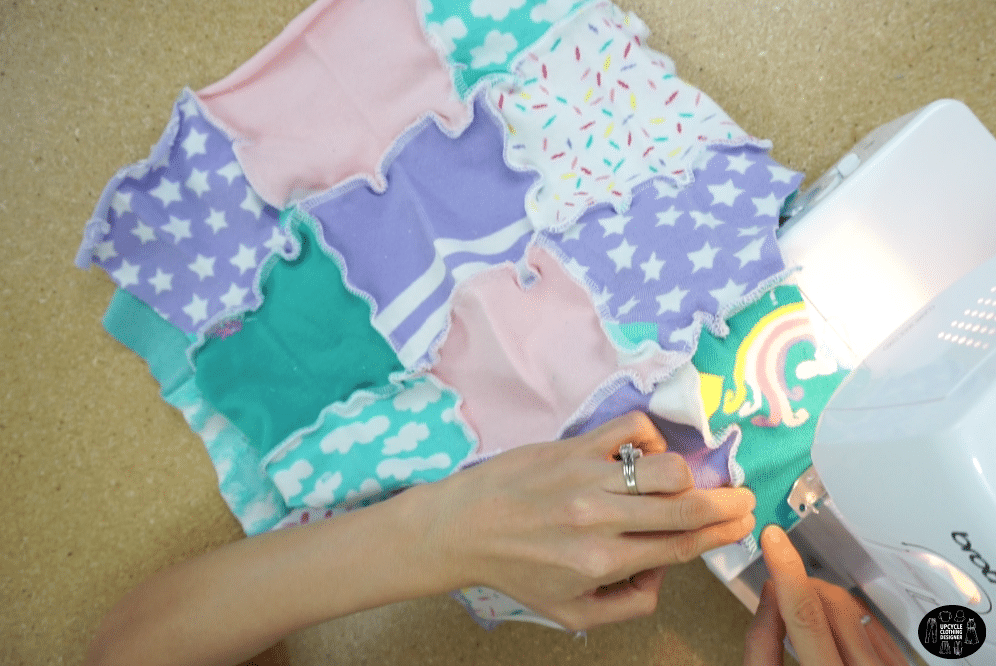
The best part of this upcycle tutorial is that all you need is one stitch to join each socks piece together, either overlock or zigzag stitch. If you master this stitch, you can easily accomplish t-shirt to mini skirt and many other knit material sewing projects.


You will love this DIY t-shirt from old socks because…
- No sewing pattern is required.
- Learn how to use overlock machine to join each knit pieces.
- Duplicate existing t-shirt without drafting a paper pattern.
- Perfect for super beginner level sewing tutorial to follow.
- Due to exposed seams, it’s hard to find out mistakes!
For this tutorial, I used 6 pairs of socks for front and back piece, and 1 pair of socks to make the sleeves. Luckily, I did set aside extra scraps of socks incase I need to add extra swatches later in the project.
Any socks print and color works, I chose 100% cotton knit material that stretches in all 4 direction. If you have 2 way stretch socks, make sure to place the direction of stretch horizontally, so when you wear them it will give nice stretch downwards.


How do you make t-shirt from old socks?

In order to make a t-shirt from old socks, you need to gather enough socks to start with, and divide the placement for front and back of of the t-shirt.
For mine, I tried to stay similar pattern as front and back with minimal change. You can go creative and make it completely different front and back.
Instead of copying your old t-shirt, you can also try to take your body measurement for clothing in order to have the custom top that fits you perfectly. Measure the torso length, chest, waist, just above the waist, and the shoulder width to give nice fit measurements for a regular sleeve.
Next, you need to pull out basic sewing tools to start the project from your sewing kit. We will cut lot of socks today so make sure to sharpen those fabric scissors beforehand.
DIY Socks T-Shirt Materials:
- 7~10 Pairs of Old Socks
- Old T-Shirt
- Overlock Sewing Machine
- Measuring Tape
- Fabric Scissors
- 2 Pieces Ball Point Sewing Needle Size 90/14
- Thread
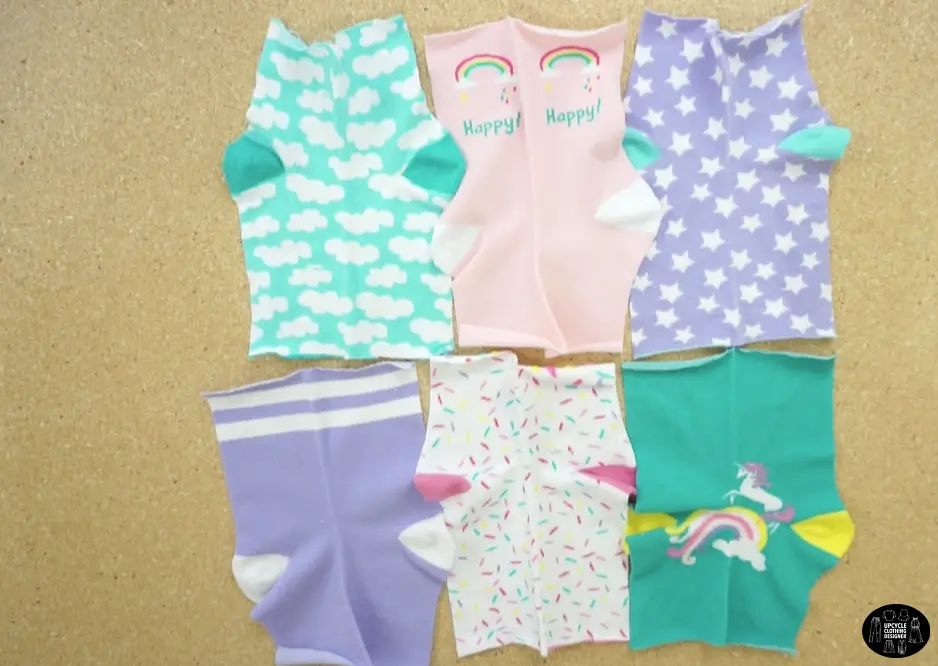
To make a t-shirt from socks, start with a bunch of colorful socks. Matching or not matching, really doesn’t matter
Arrange the socks into a basic pattern for both sides of the top, and also the sleeves.
Prepare all the socks by cutting off the toes and along the side seam to open each piece.
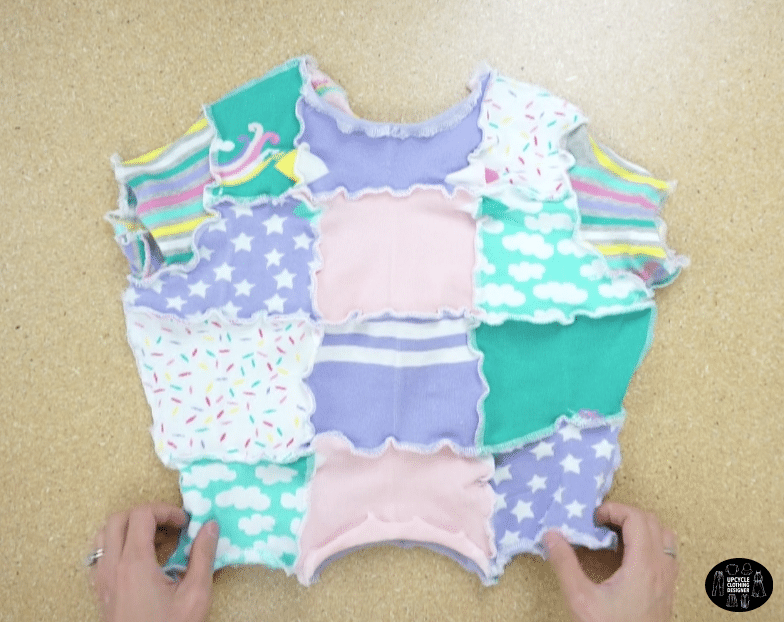
Use overlock or zigzag stitch to join the seams to make two separate pieces of fabric.
Copy your favorite t-shirt with 1/4” seam allowance for the front and back of the tee.
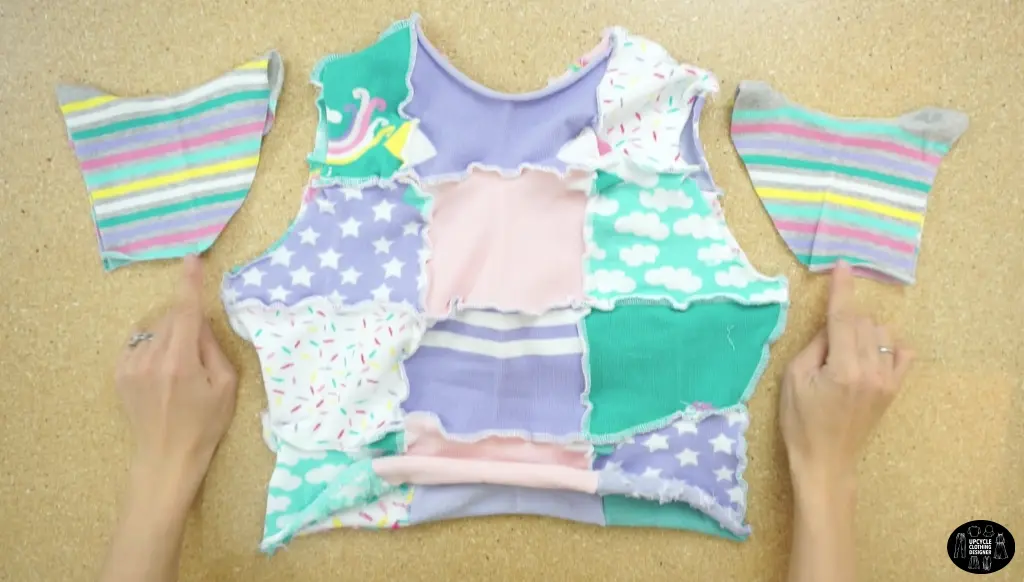
Copy the sleeves onto two separate socks.
Close the shoulder and side seam with exposed stitches.
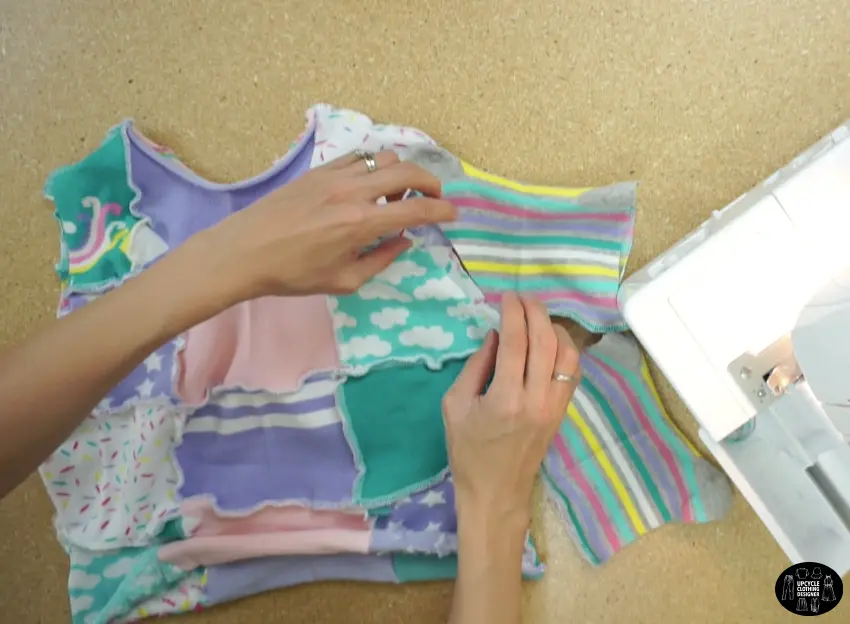
Try on the top and see how it fits, then add sleeves to the bodice.
Pin to secure the sleeves to the bodice for an easy finish.


DIY Sock T-Shirt Sewing Tips:


In this DIY sock t-shirt sewing tutorial, you will learn how to sew knit fabric using overlock machine. Another important takeaway is to be able to correct any fit issue while sewing the pattern pieces.
Create your own unique upcycled t-shirt to add to your wardrobe.
Below you will see a list of sewing tips that will help you:
- Overlock Machine: Make sure to change the needle and thread accordingly, and test it out on scraps of fabric before starting. Also, clear up the small trash container often when you cut the edges while sewing.
- Needle: When sewing knit fabric, always make sure to use the correct needle on the sewing machine. When using a sewing machine for this tutorial, you will need ballpoint needles or stretch needles that are size 90/14. The regular universal needles will leave holes and won’t make chain stitches on the socks.
- Thread: I recommend using all-purpose thread which is 100% polyester or cotton blend.
- Stitches: In order to find the right stitch length, adjust the stitch width and stitch length to get the perfect stitch. I’ll start with medium stitch length, and based on thickness of your socks, you may need to change to narrow or wide width.
- Fabric Scissors: Always keep your fabric scissors sharp. Cutting knit fabric is not as easy as woven material. Use foil to instantly sharpen your scissors or have your fabric scissors sharpened by a professional. Avoid dropping them on the floor and keep away from moisture so that you can prevent having dull blades.


More unique upcycle projects from old clothes:

How To Make A T-Shirt From Old Socks
Dealing with stretchy knit fabric can be intimidating when you are only familiar with sewing non-stretchy woven fabric. This sewing tutorial is super easy and fool-proof due to exposed seams.
So, don’t be afraid and have fun making lettuce ruffle helming along the seams and hemline. Experience the joy as you design your own t-shirt made from socks!
Materials
- 7~10 Pairs of Old Socks
Tools
- Overlock Sewing Machine
- Old T-Shirt
- Measuring Tape
- Fabric Scissors
- Ball Point Sewing Needle Size 90/14
- Thread
Instructions
- Grab a bunch of colorful socks, really doesn’t matter if they match or not.
- Arrange all the socks into a basic pattern for the front,
and back piece.
Additionally, you’re going to need a set for the sleeves. - After you have a plan, it’s time to prepare the socks.
Remove the toes by cutting them off about 2” away from the tip.

Then, cut along the seam on one side of the sock to open it up.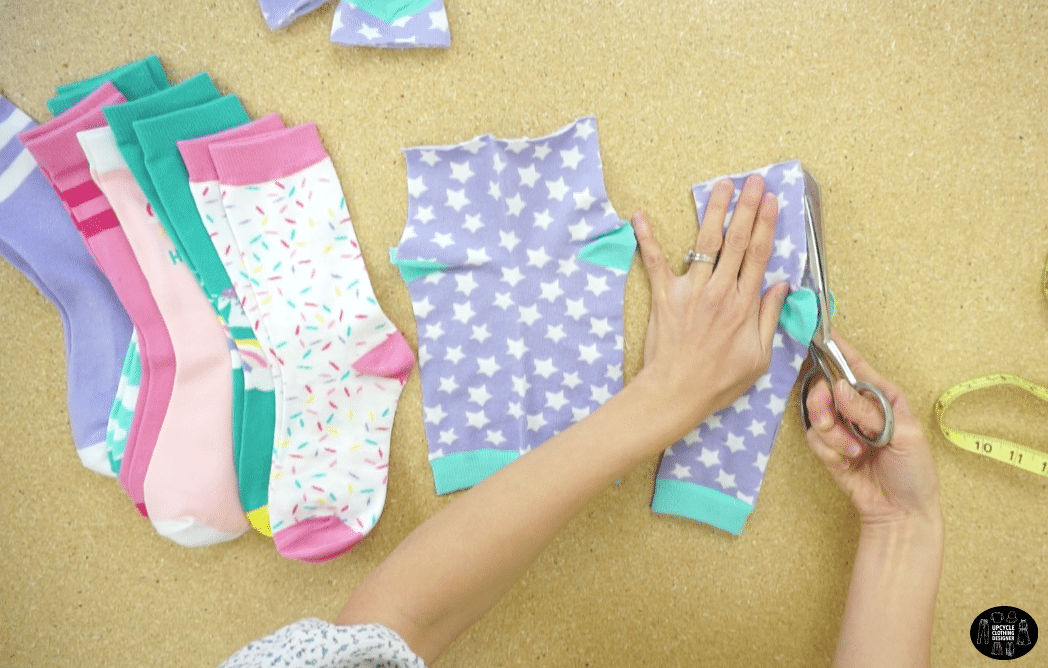
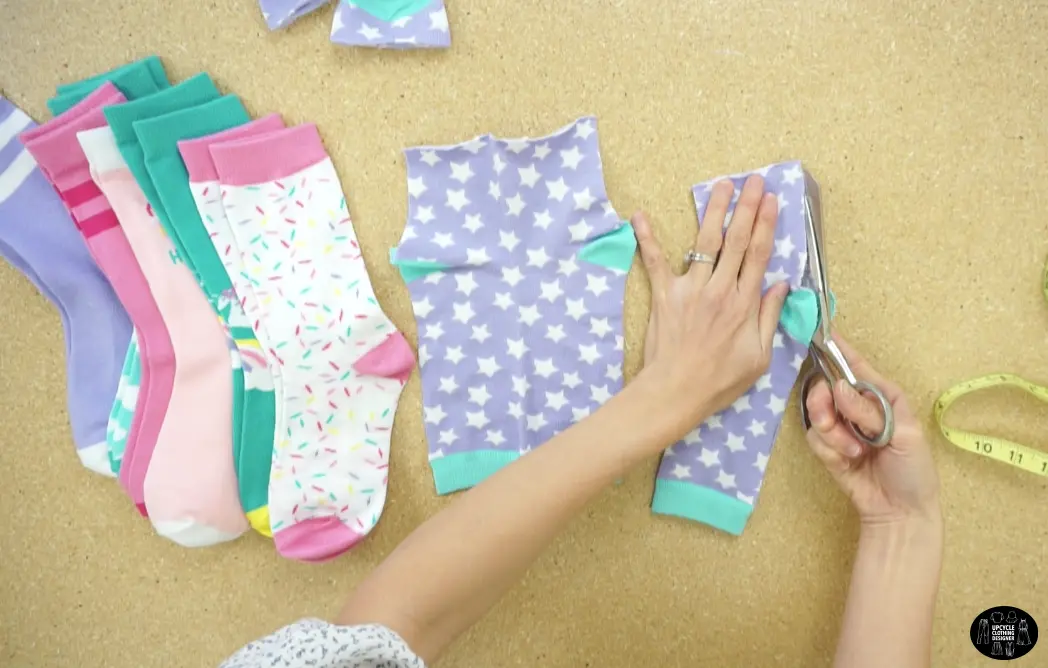
Prepare all the socks you are using so that they are ready for sewing.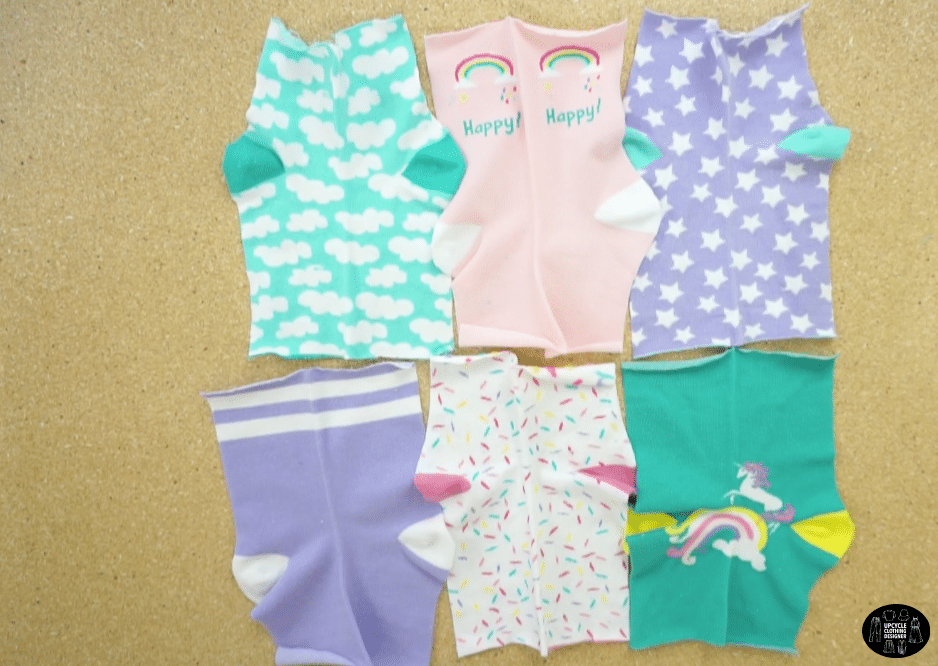
- Use an overlock machine or zigzag stitch to join the seams together and make a nice piece of fabric.
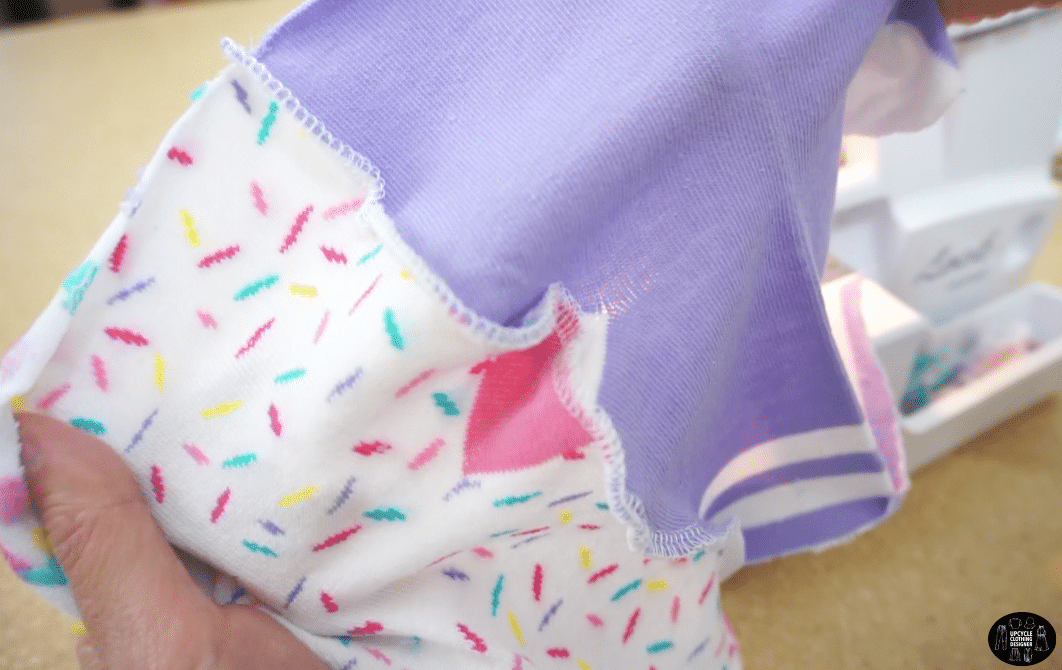

Adjust the size and shape of the sock pattern as you wish.
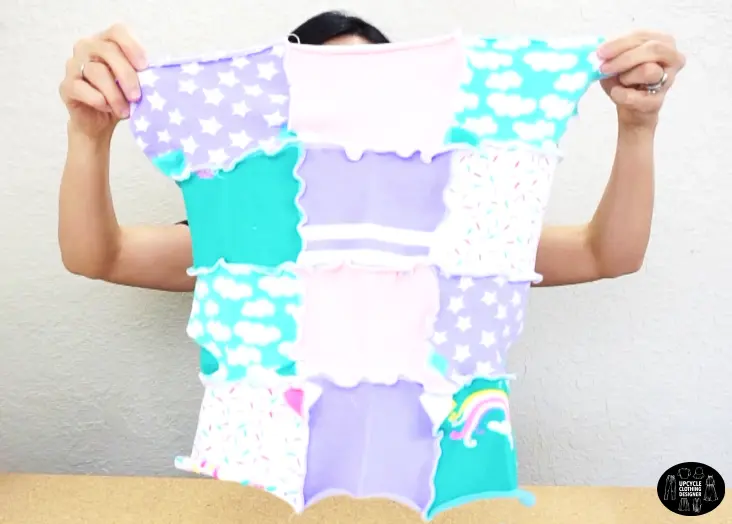
- Next, grab your favorite t-shirt to copy.
Fold the socks fabric in half, and align the folded line of the t-shirt with the socks fabric.
Copy the shoulder seams, neckline, side seams, and hemline.
Don’t forget to add seam allowance of 1/4” on all the sides. - Lastly, you are going to copy the sleeves.
Fold the socks and match the folded line of the socks fabric with the sleeve pattern from the shirt. - Draw the armhole line with seam allowance, then cut it out and set aside.
- Close the shoulder and side seam using exposed overlock stitches.

- Try on the top and see how it fits before attaching the sleeves to the bodice.
- If everything looks good, then add sleeves to your bodice.

Pin to secure the sleeves to the bodice, then it’s really easy to sew.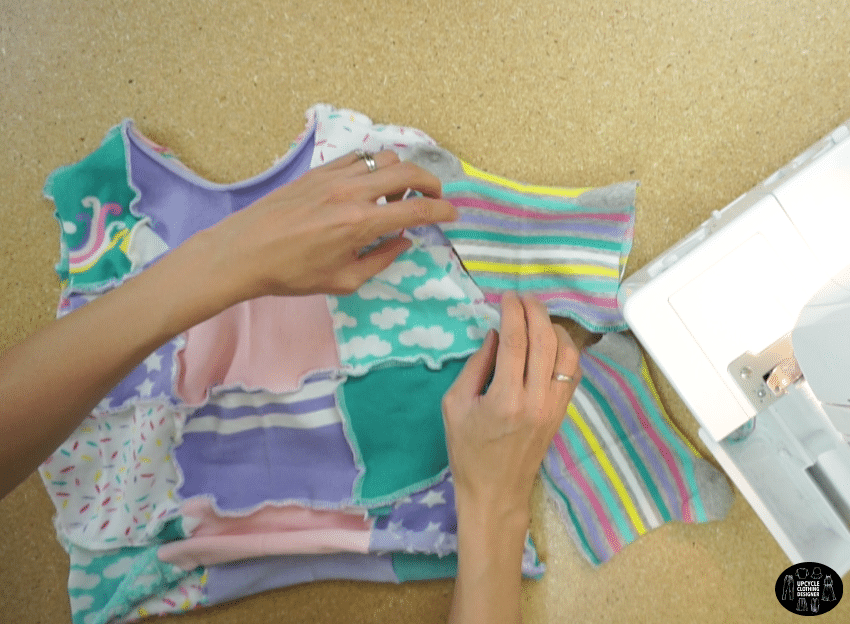

Recommended Products
As an Amazon Associate and member of other affiliate programs, I earn from qualifying purchases.


Trendy, Affordable Sewing Patterns for All Sizes


Tie Shoulder Jumpsuit Pattern


Palazzo Pants Sewing Pattern


Pocket Overall Romper Pattern


Wrap Maxi Skirt Sewing Pattern


Tie Back Top Sewing Pattern