
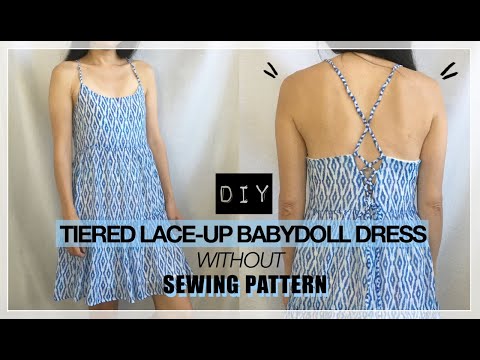
Do you have remnant fabric that is perfect to make a tiered lace-up babydoll dress? From crisscross spaghetti strap lace-up back detail to two-tier ruffle hemline, this babydoll dress is all you need to brighten your summer DIY wardrobe.
Watch the helpful video and follow the step-by-step picture instructions and you will understand how to make a dress without a sewing pattern. The design elements for each dress are easily achievable once you learn a few basic sewing skills.
If you have sheer fabrication such as chiffon, georgette, or even sheer linen crepe, this is a perfect design to make an airy dress with a lining. So, try this sewing project and upgrade your fun summer wardrobe.
The best part about this babydoll dress tutorial is that you get to modify the design and use the basic silhouette as a block. This will help you develop more skills as you pursue more dress making without a pattern.
As you can see in my video, I used my DIY silk slip dress as a guide. You can easily copy the front and back neckline because the dress already fits you perfectly. Therefore, the only thing left is to calculate and make the tiered ruffles.


You will love this DIY tiered lace-up babydoll dress because…
- Sewing pattern is not needed.
- Learn how to copy an existing garment and convert into new style.
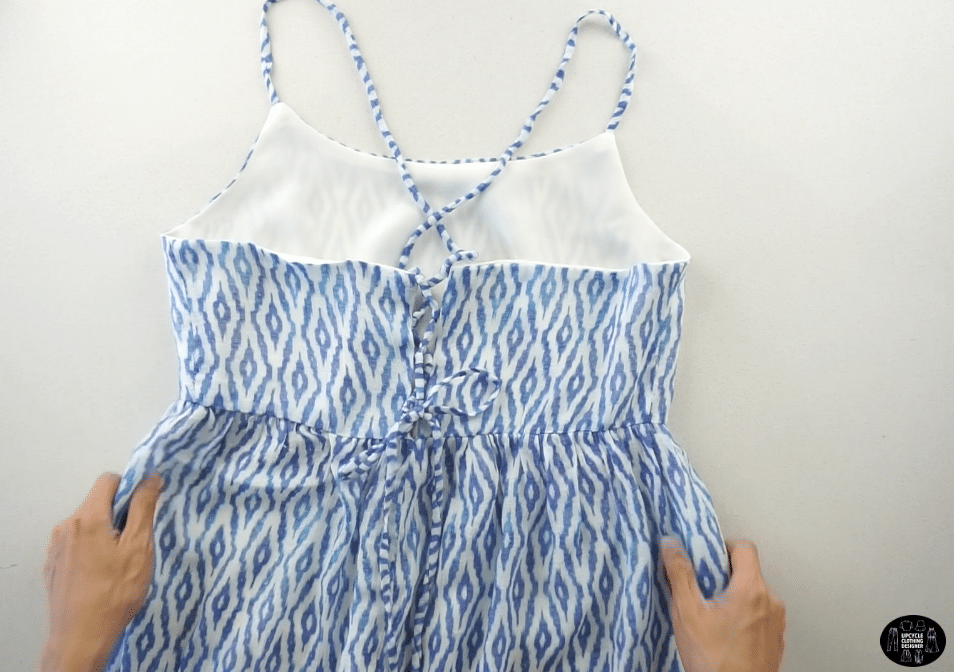
- Create spaghetti loops and straps for lace-up center back detail.
- Draft dress lining from the outer shell and correct ways to attach lining inside the garment.
- Use two rows of wide length stitch to make even shirring ruffles.
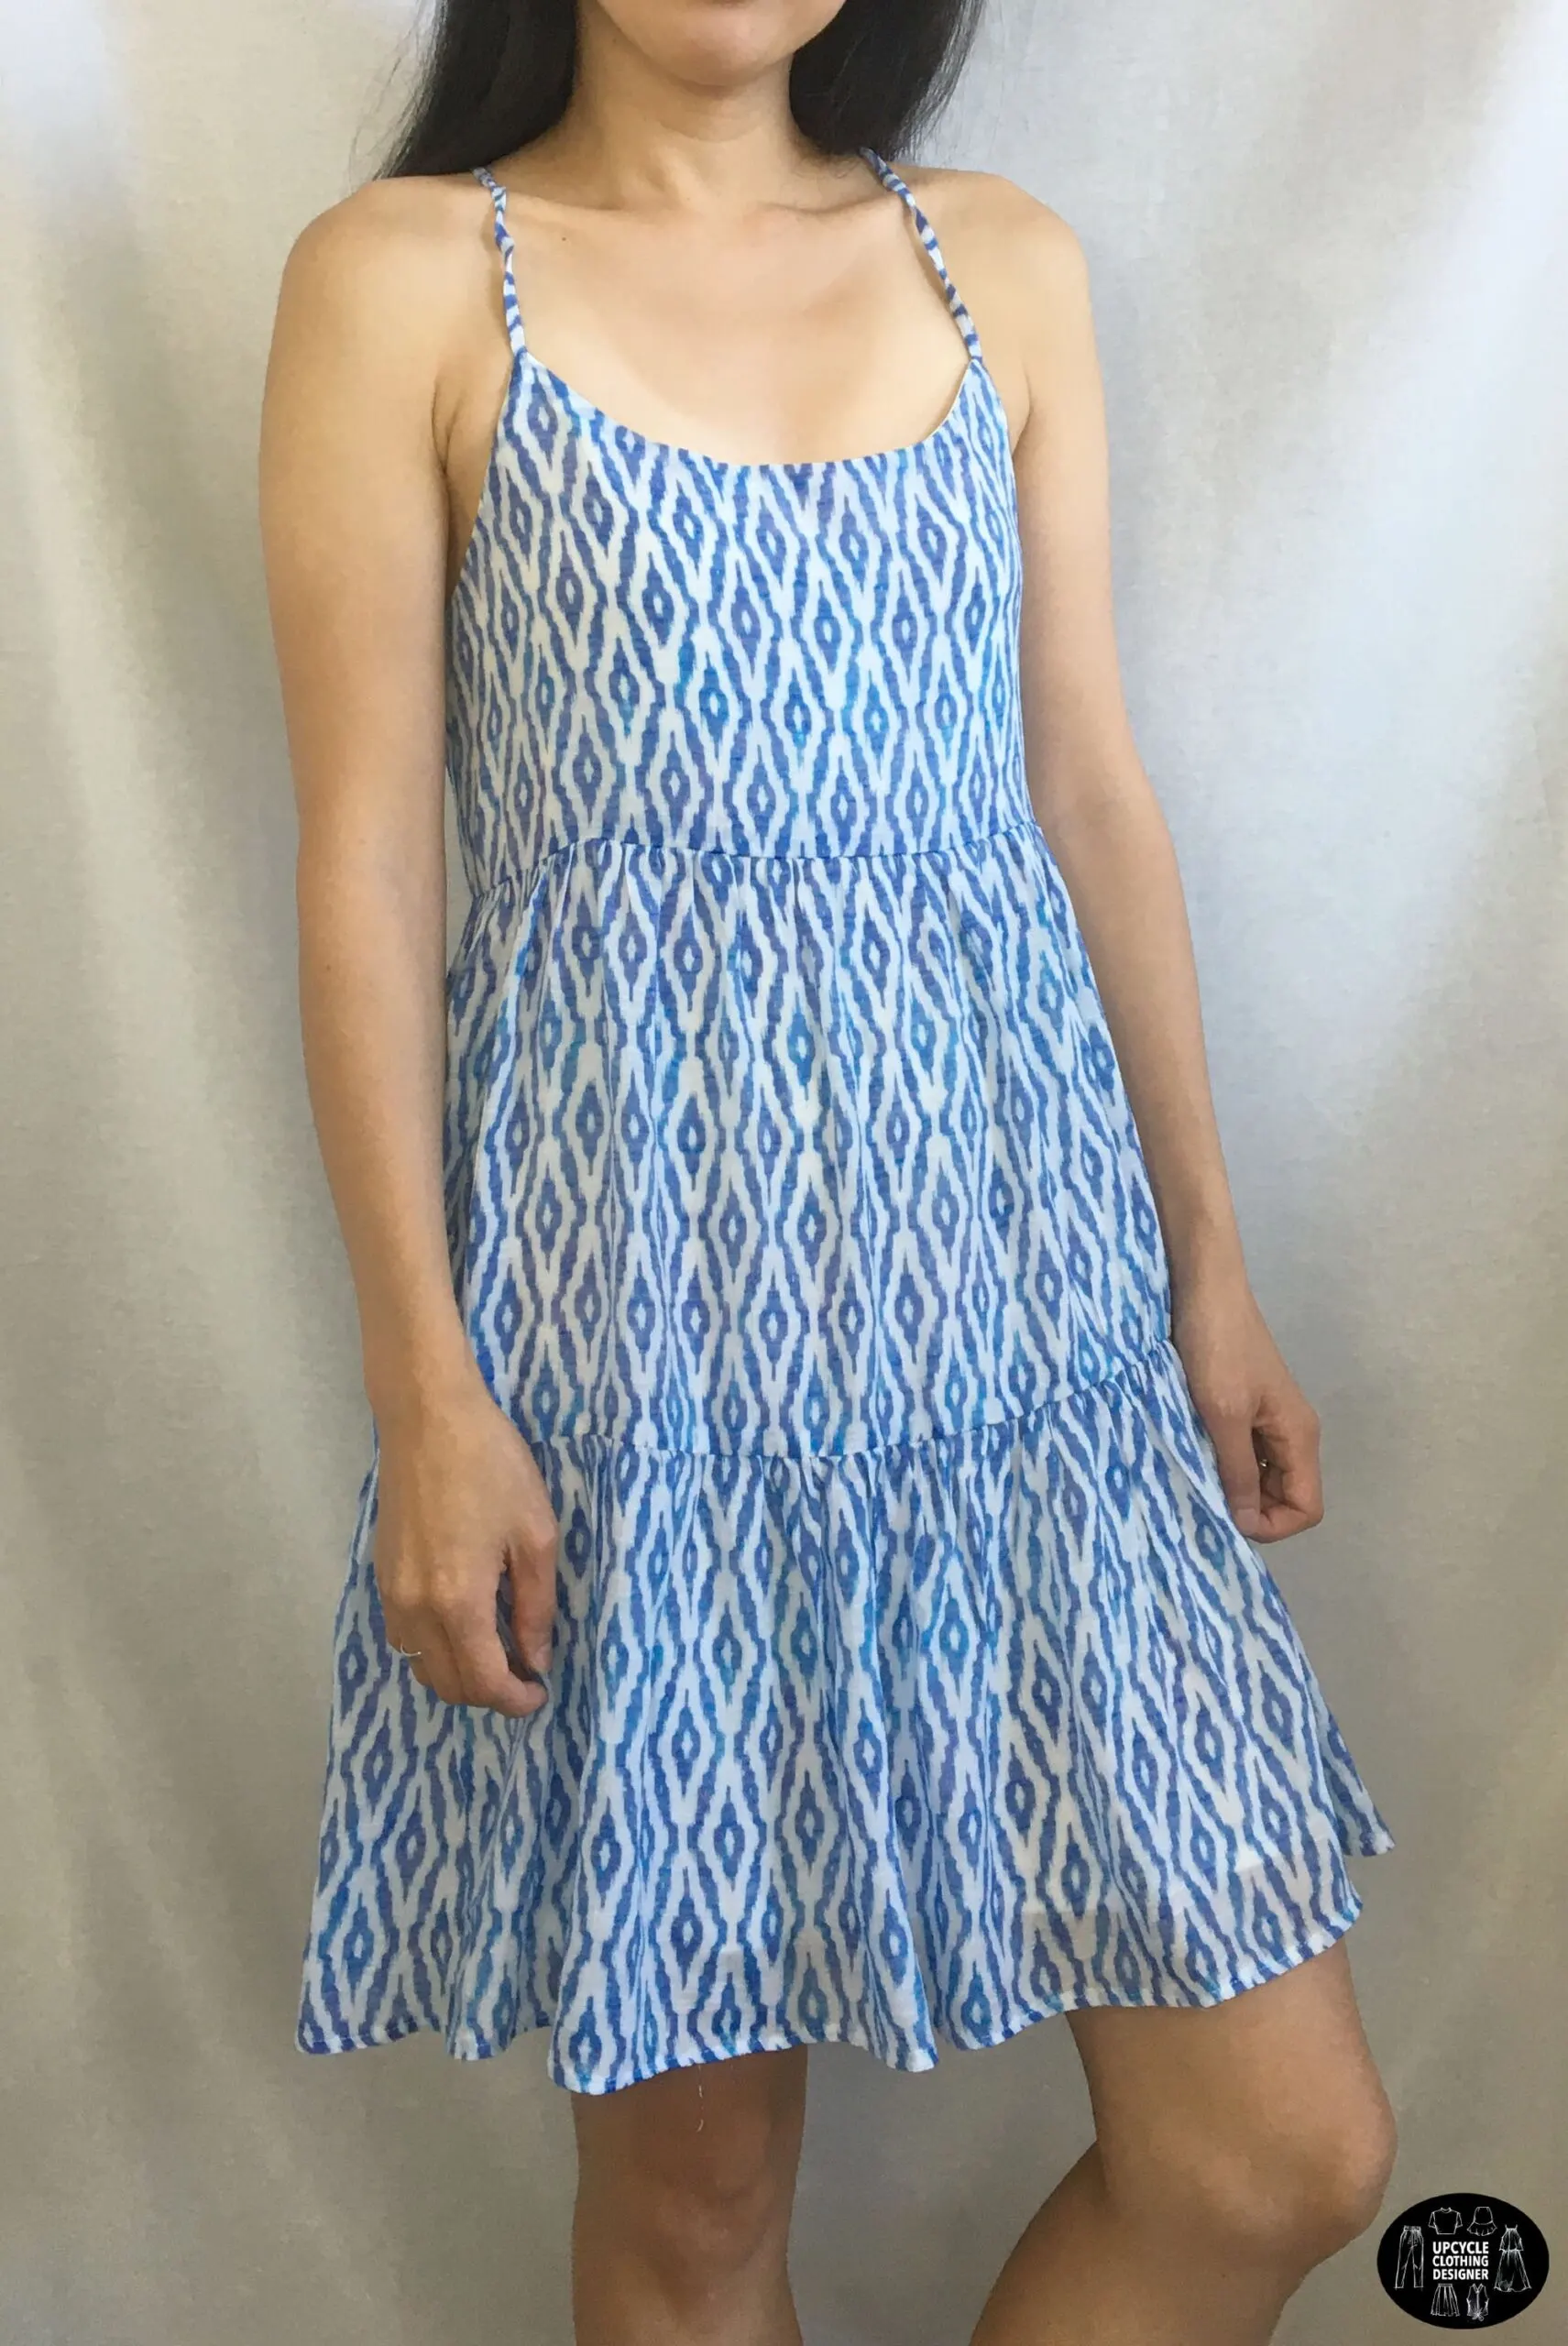
For this tutorial, I used sheer crepe linen fabric that almost looks like chiffon. I love the print pattern, it has aztec or geometric motif with a tie dye effect that I thought was perfect for the summer season.
The material I selected does require lining. If you have a similar print or fabrication that I used in this tutorial, I recommend to pick a lining fabric that is not sheer and also matches well with the color as the self fabric background.
How do you make a babydoll style tiered dress?
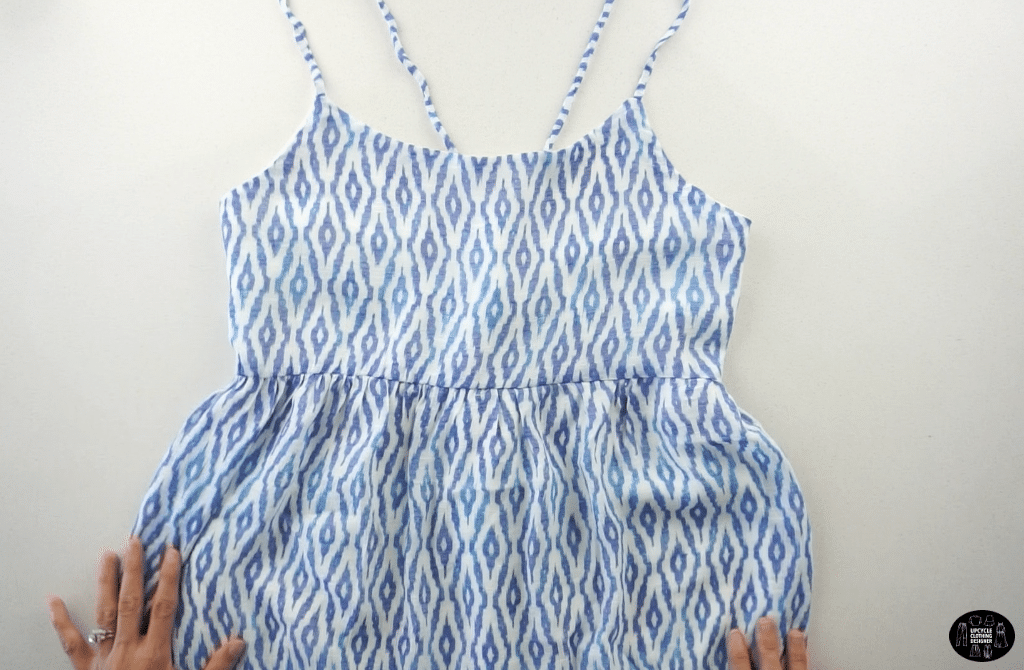
In order to make a babydoll style tiered dress, you need to decide on the silhouette. Do you want a shift dress or have a slightly fitted silhouette around the under chest?
For mine, I take in the waistline slightly right under the bust to create a more flattering look. But make sure to take in enough so you can easily get in and out of the dress without a zipper.
Using my slip dress from a previous project as a guide is quite convenient. But if you don’t have a dress silhouette that you love, then take body measurement for clothing so you can make your own babydoll dress without a pattern.
The keys to consider are the chest, under bust, upper torso and dress length measurements. With these basics as a guide, you can easily copy this tiered dress design.
Keep this in mind and prepare your personalized sewing kit accordingly. Also, if you are new to working with sheer fabric, practice on a scrap piece of fabric enough times to stitch cautiously so you don’t create holes or damage the actual dress.
DIY Tiered Lace-Up Babydoll Dress Materials:


- 1½ yards of Poly Crepe Fabric
- ¾ yard of Linen Crepe Fabric
- Sewing Machine
- Erasable Pen
- Measuring Tape
- Ruler
- Fabric Scissors
- Loop Turner
To make a lace-up babydoll dress, copy the babydoll silhouette of a basic camisole top or slip dress onto a piece of fabric.
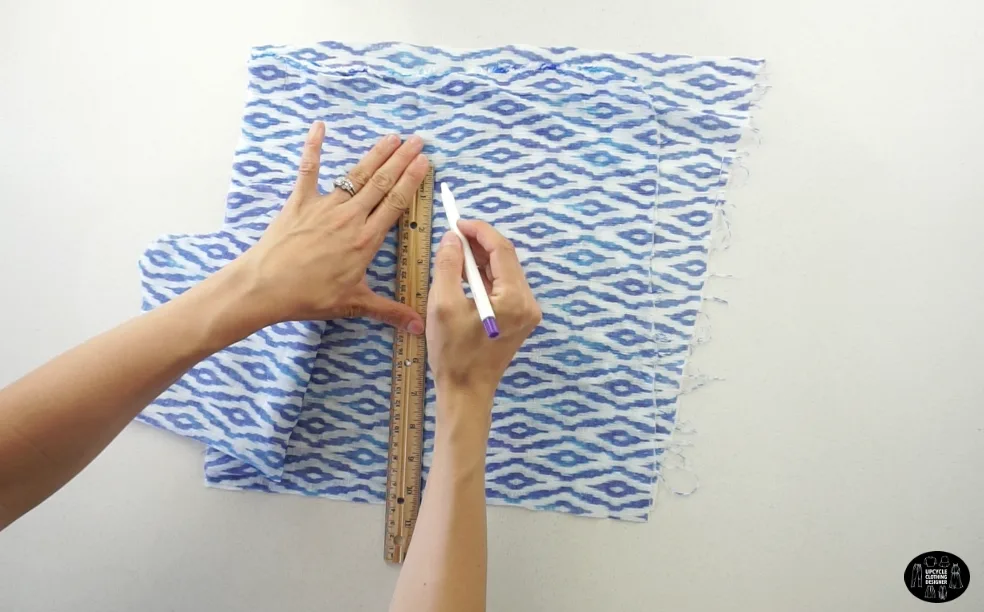
Trace the side seam, high point shoulder, neckline and armhole opening. Add seam allowance and cut to make the front top bodice of the dress.
Copy the front top piece to make the back top bodice of the dress.
Use a piece of linen fabric to make lining for the front dress piece.
Make two separate 57” long lace up straps.
Assemble to top bodice of the dress by sewing along the side seam with the right sides facing together.
Make two dress tiers, the use wide stitch wide to add shirring to the top edge of each tier.
Attach the dress tiers with the right sides facing together.
Then, join the dress tiers to the top bodice.
Pin the shoulder straps to the high point shoulder;
and also pin the strap loops to the center back opening.
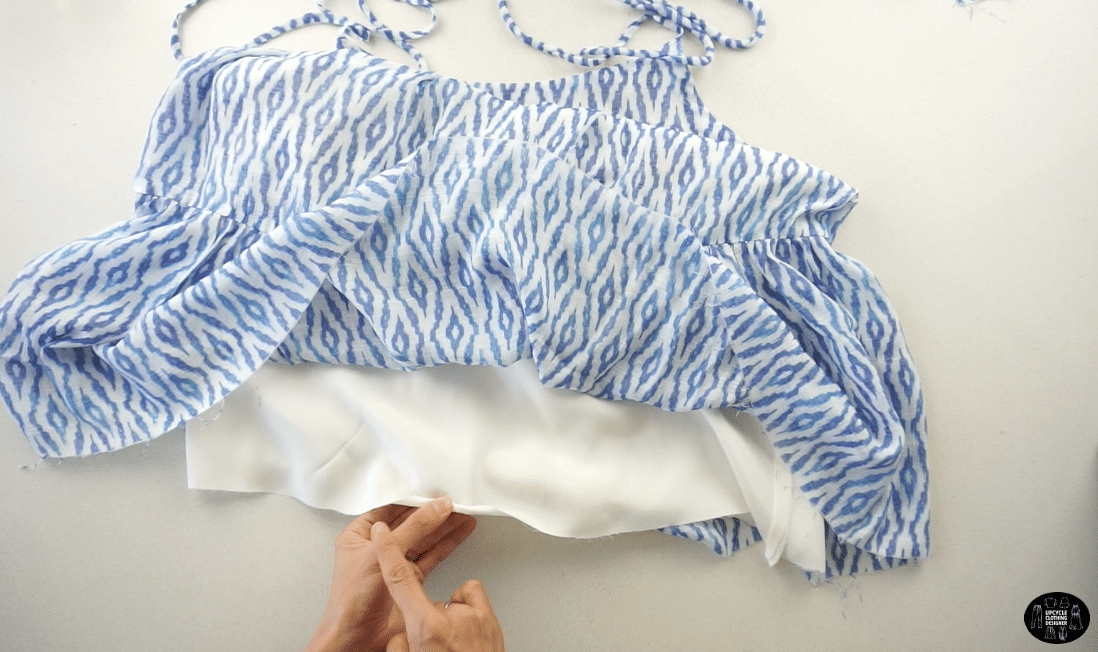
Assemble the lining by sewing along the side seams.
Slide the lining over the dress and join the lining to the dress by sewing along the top opening.
Double fold ¼” and hem the bottom of the dress and the bottom of the lining.
Zigzag the shoulder straps through the strap loops and tie a cute bow to complete the DIY lace-up babydoll dress.


DIY Tiered Lace-Up Babydoll Dress Sewing Tips:
In this DIY tiered lace-up babydoll dress without a sewing pattern tutorial, you will learn the right sewing tips and techniques to work with sheer materials. From needles to stitch guides, these instructions will help you complete a cute summer dress that is guaranteed to brighten up your trendy summer outfits.
Below are tips to help you work through the different sections of this sewing project:
- Sewing Machine: Because we are working with sheer fabric, it is recommended to loosen up the tension and use tissue between the seams or a stitch starter to prevent the sewing machine from chewing up the fabric. Another way is to hold the fabric tight in front and back as you sew the sheer fabric.
- Needle & Thread: When sewing sheer fabric, use a size 8, 9, or 10 needle which is specifically designed for very sheer and lightweight fabrics. For thread, change to an extra-fine cotton-wrapped polyester thread.
- Stitches: Adjust the stitch length setting between 15 to 20 stitches per inch. On the sewing machine, it will be 1.5 to 2. Avoid backstitch with sheer fabrics. It may jam in the machine so finish off the ends by hand tying a knot.
- Sewing Foot: You may start with regular foot, but test the stitching on a scrap of fabric. Depending on the sheerness, you may need more support. Use a Teflon presser foot which glides easily over sheer fabric or a walking foot which will help prevent the sheer fabric from shifting.
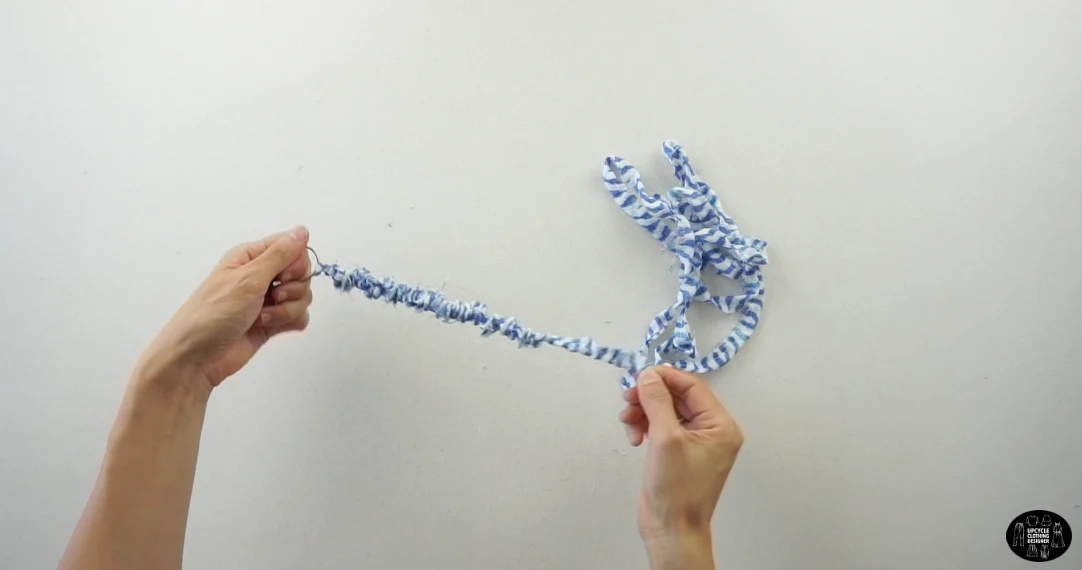
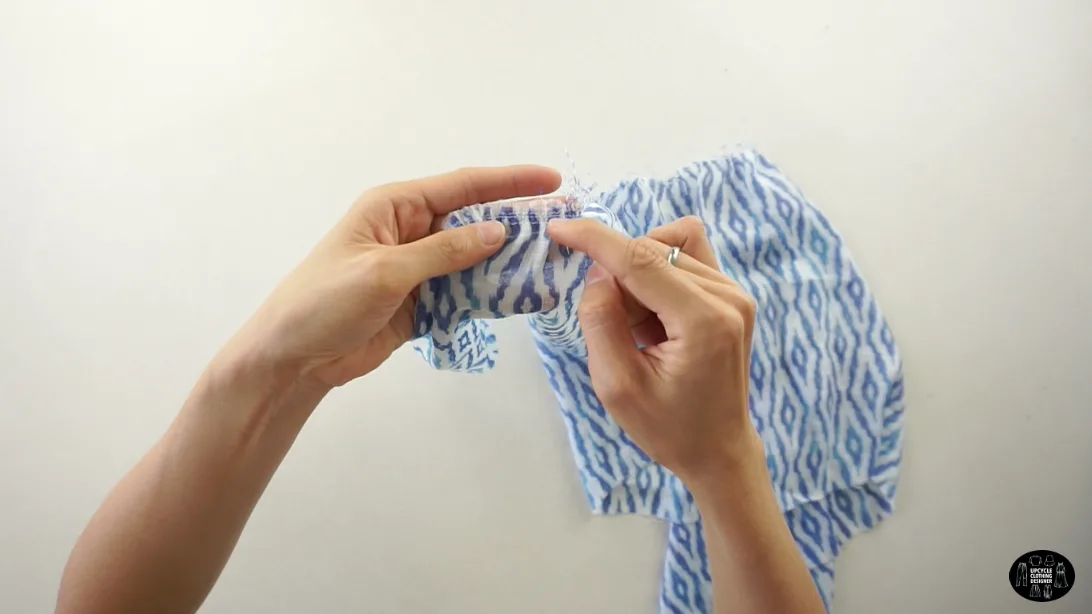
- Loop Turner: I used loop turner in this tutorial in order to turn the spaghetti strap inside out. Use the latch-hook end the catch the fabric and pull it through the tubing. Make sure to trim any excess seam allowance to turn the strap easily.
More dress making projects for your next DIY fashion:

How To Make A Tiered Lace-Up Babydoll Dress Without A Pattern
Dealing with sheer fabric can be intimidating to sew without damaging the surface. Regardless what quality of remnant fabric you use, I share easy step-by-step instructions to make a tiered lace-up babydoll dress with spaghetti straps and inside lining without a sewing pattern.
Sew along with me and add this cute dress design to your go-to summer wardrobe!
Materials
- 1½ yards of Poly Crepe Fabric
- ¾ yard of Linen Crepe Fabric
Tools
- Sewing Machine
- Erasable Pen
- Measuring Tape
- Ruler
- Fabric Scissors
- Loop Turner
Instructions
- For this lace-up babydoll dress tutorial, I used a sheer poly crepe fabric that does require a lining.
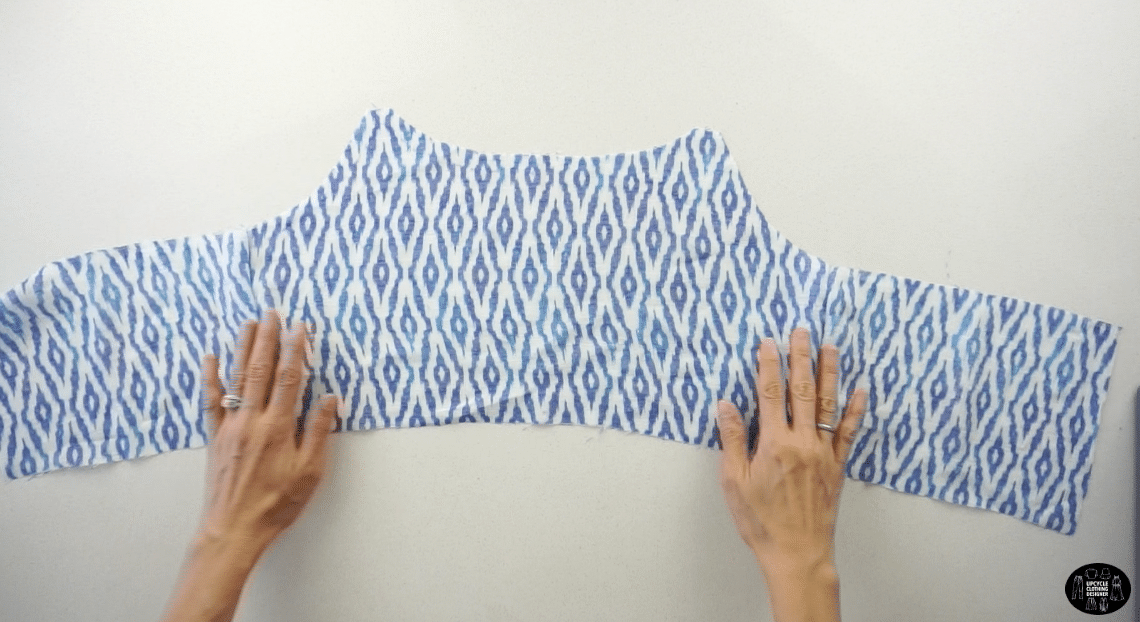
- To make the front top bodice, copy the babydoll silhouette of a basic camisole top or slip dress.

Fold the garment in half lengthwise, and pin along the edge.
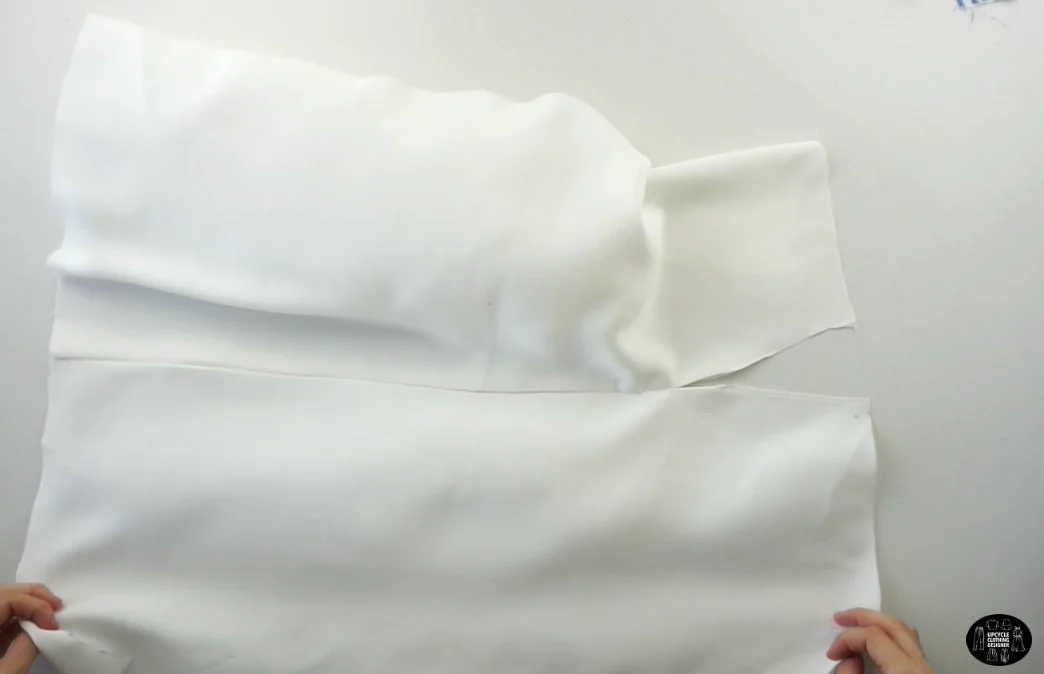
Fold a piece of fabric in half, and trace the side seam, high point shoulder, neckline and armhole opening.
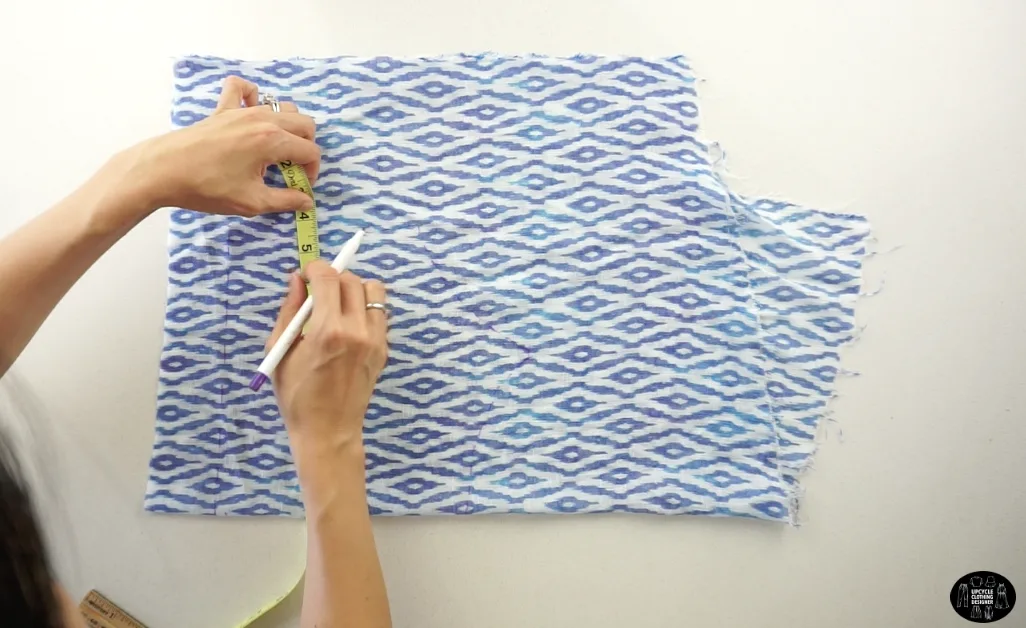
Add ½” seam allowance, pin to secure and cut to make the front top bodice of the lace-up babydoll dress.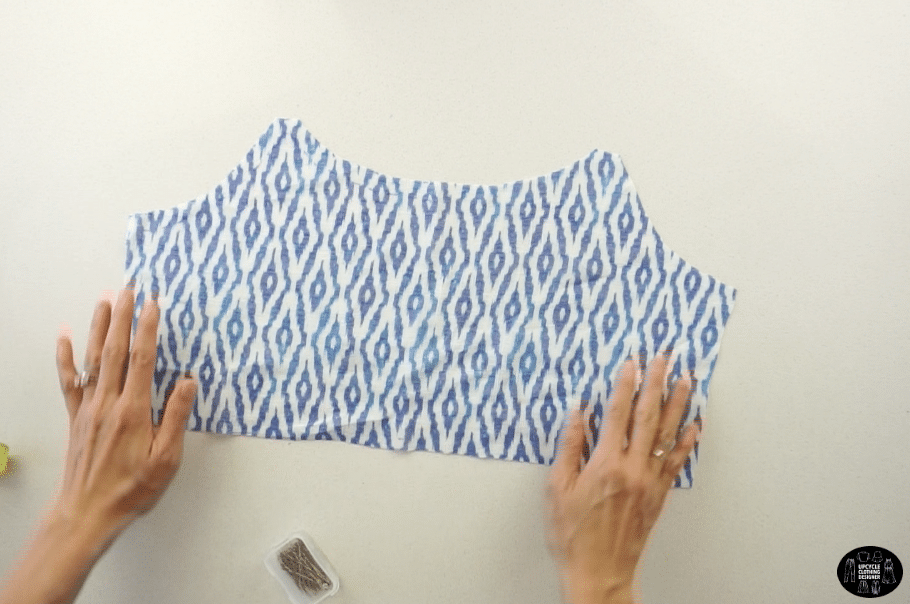
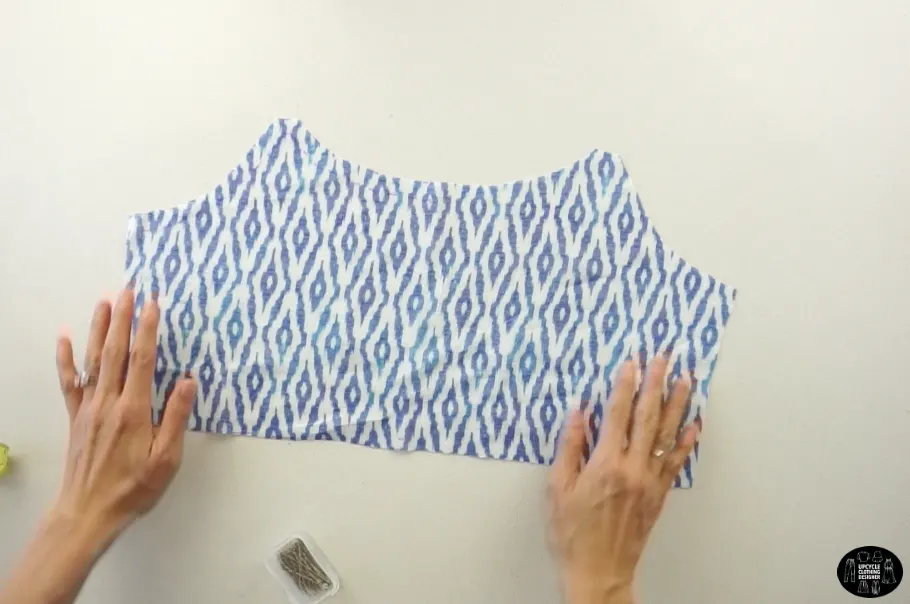
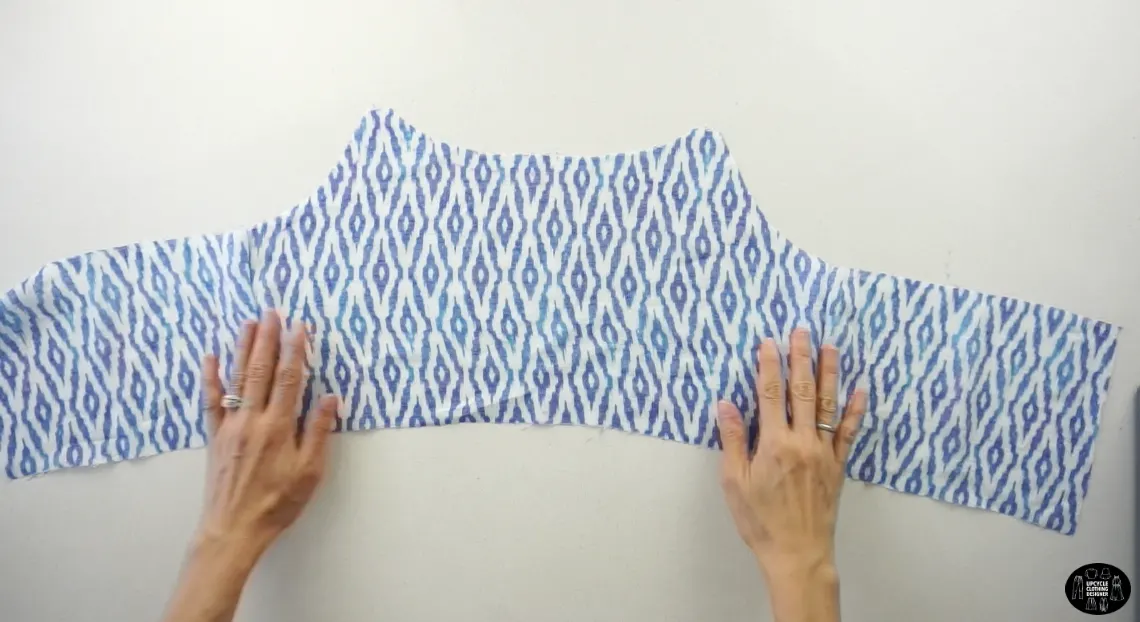
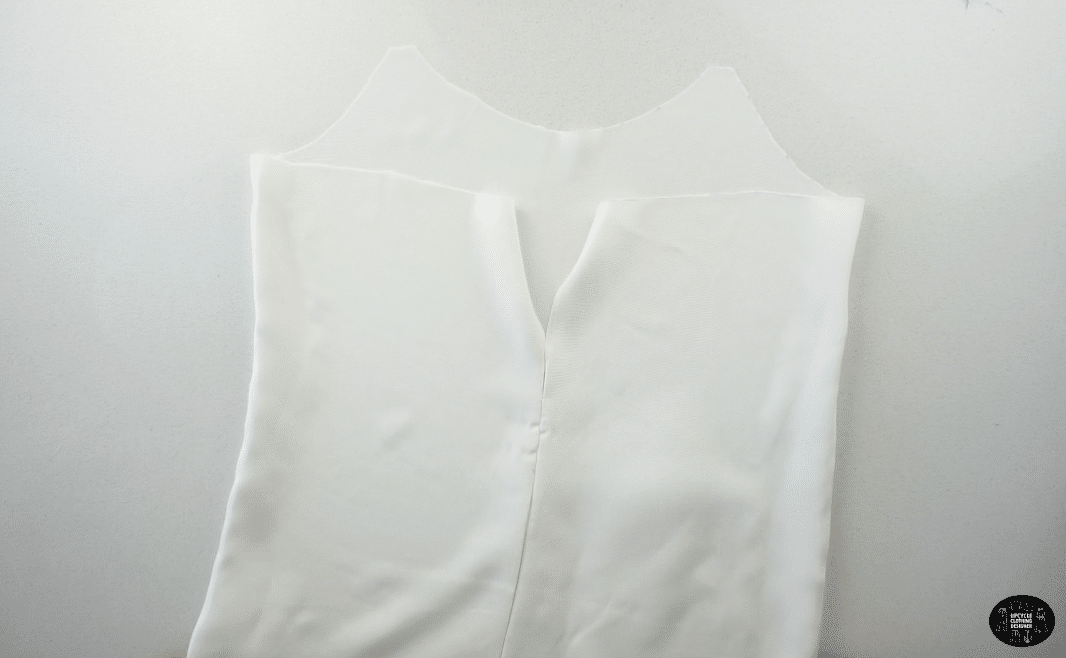
- To make the back top bodice, copy the front top piece.
Fold the piece in half lengthwise, and pin the edges.
Fold a piece of fabric in half, and trace the side seam.
Then, draw the back neckline starting at the underarm opening.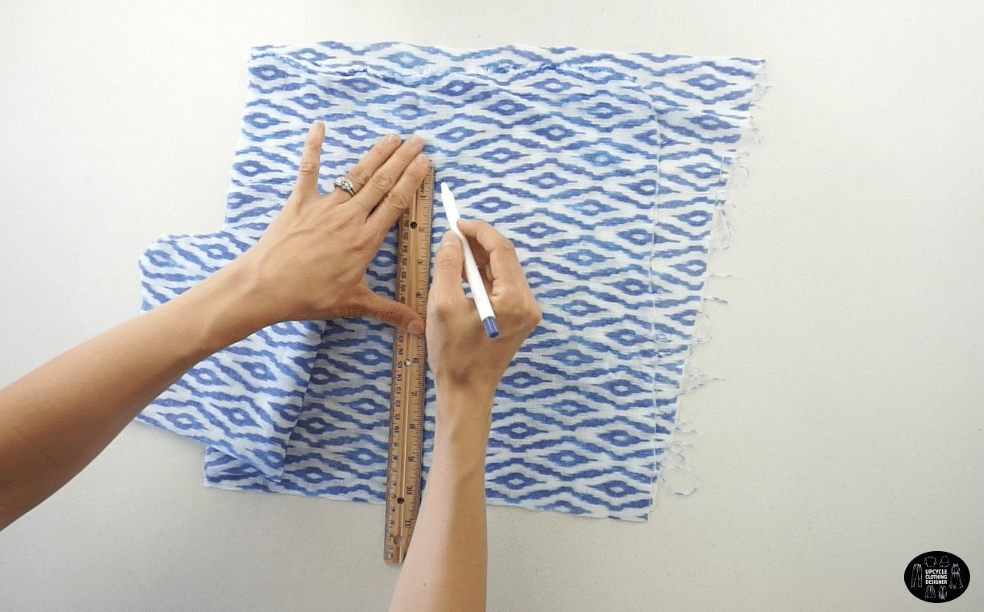
Pin to secure and cut to make the back top bodice of the lace-up babydoll dress.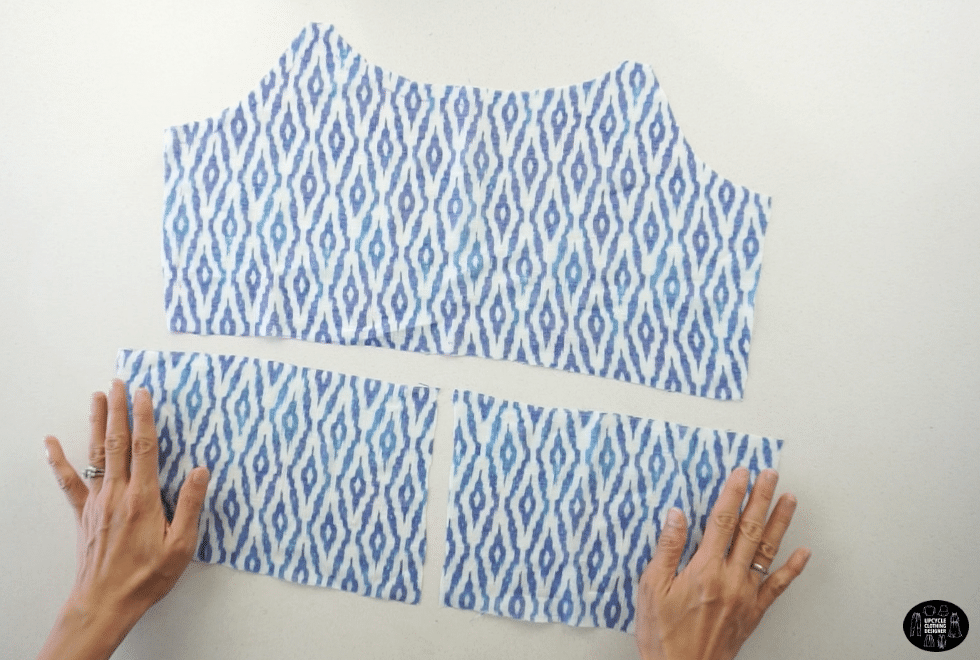

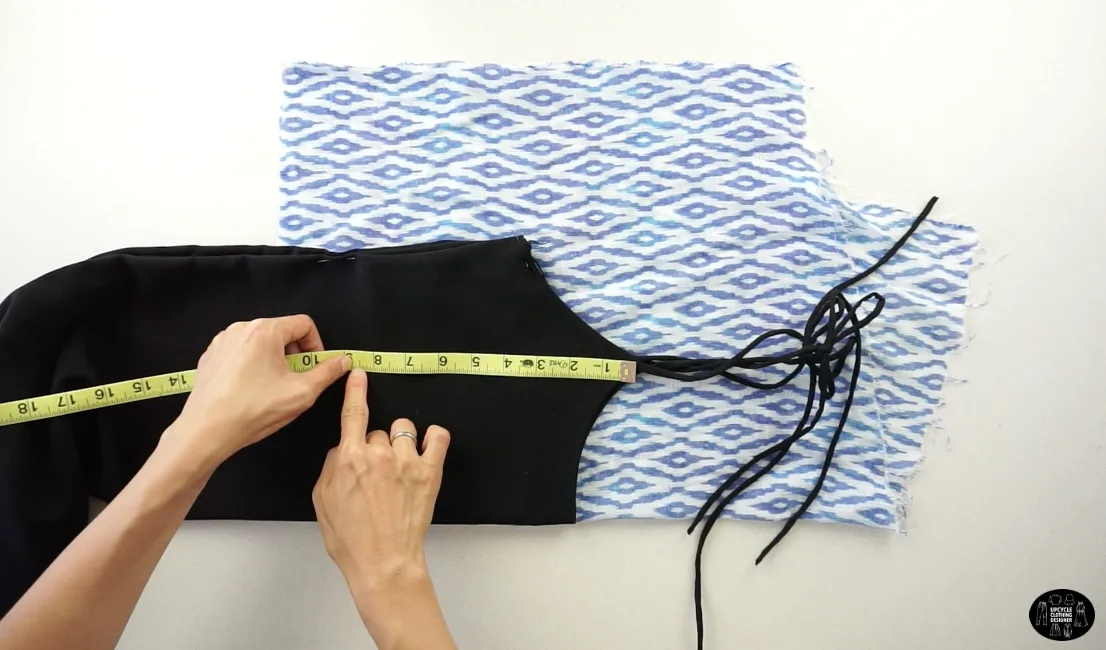
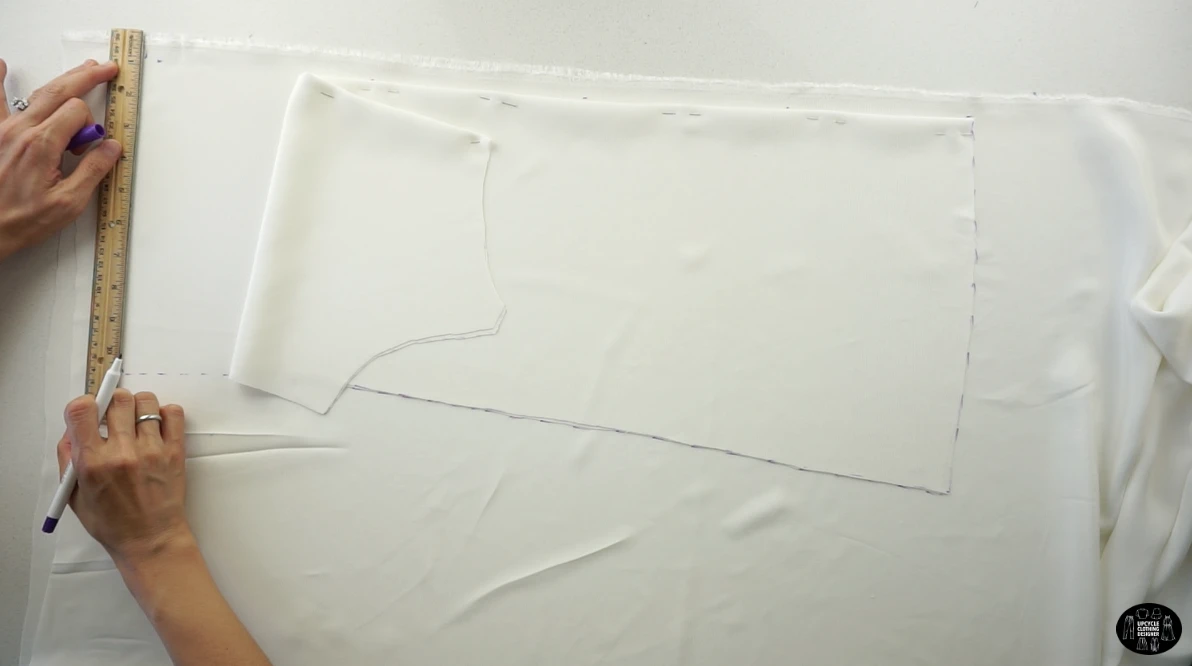
- To make lining for the front dress piece, fold a piece of linen crepe fabric in half lengthwise.
Start along the folded edge and use the front top bodice as a guide.
Trace the babydoll neckline, armhole and side seam.
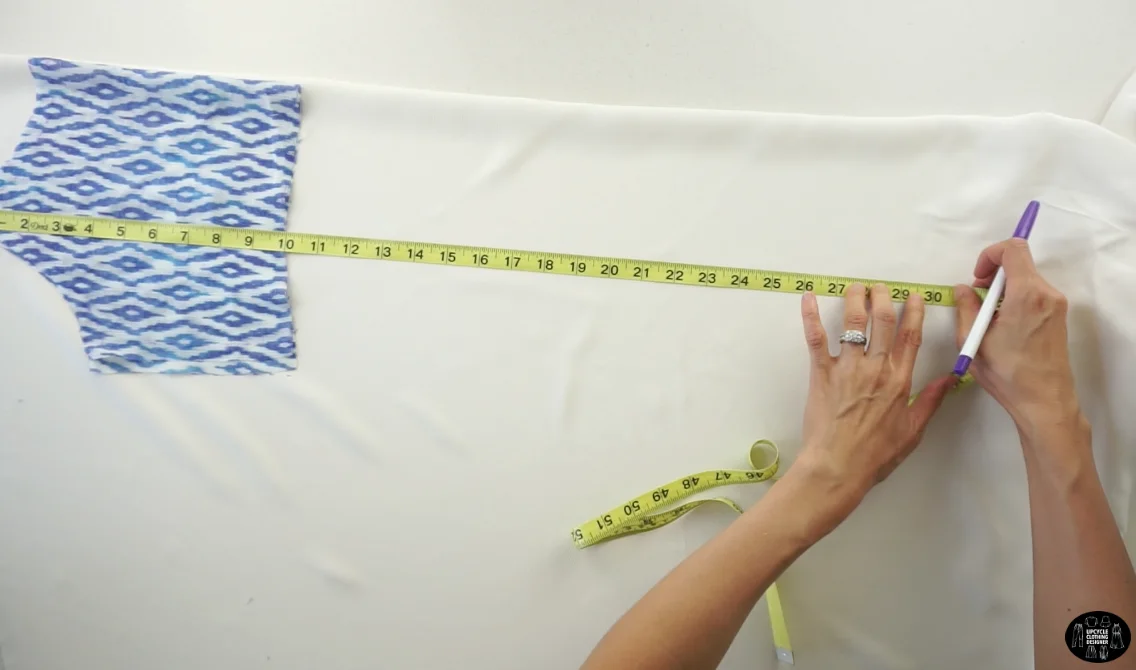
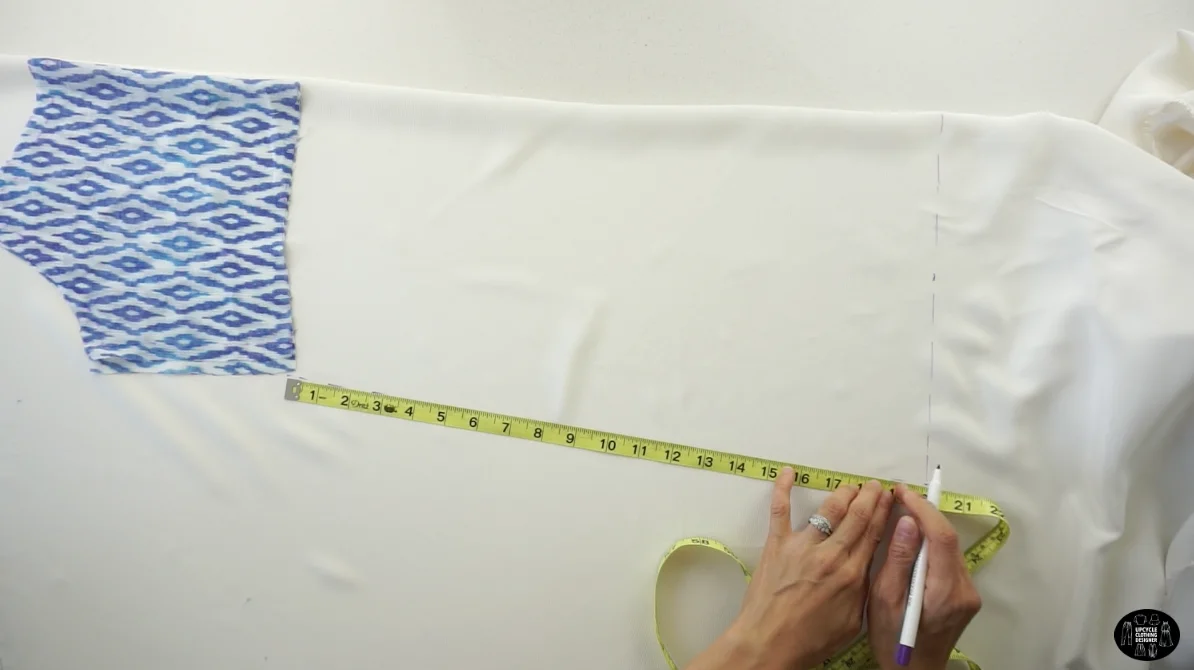
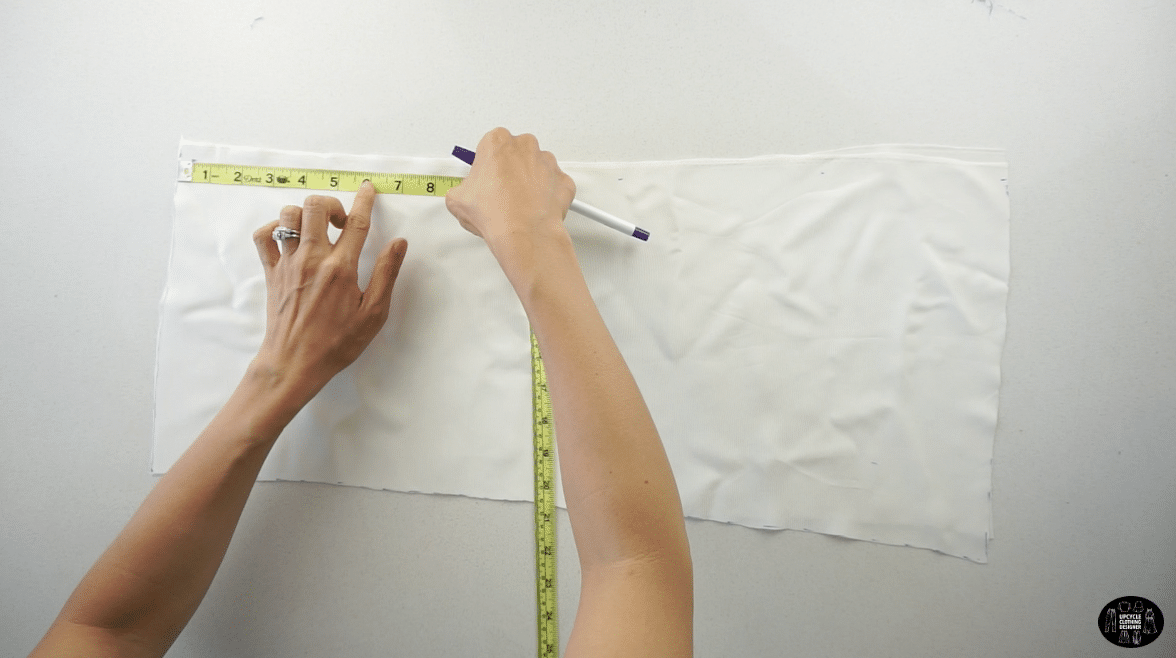
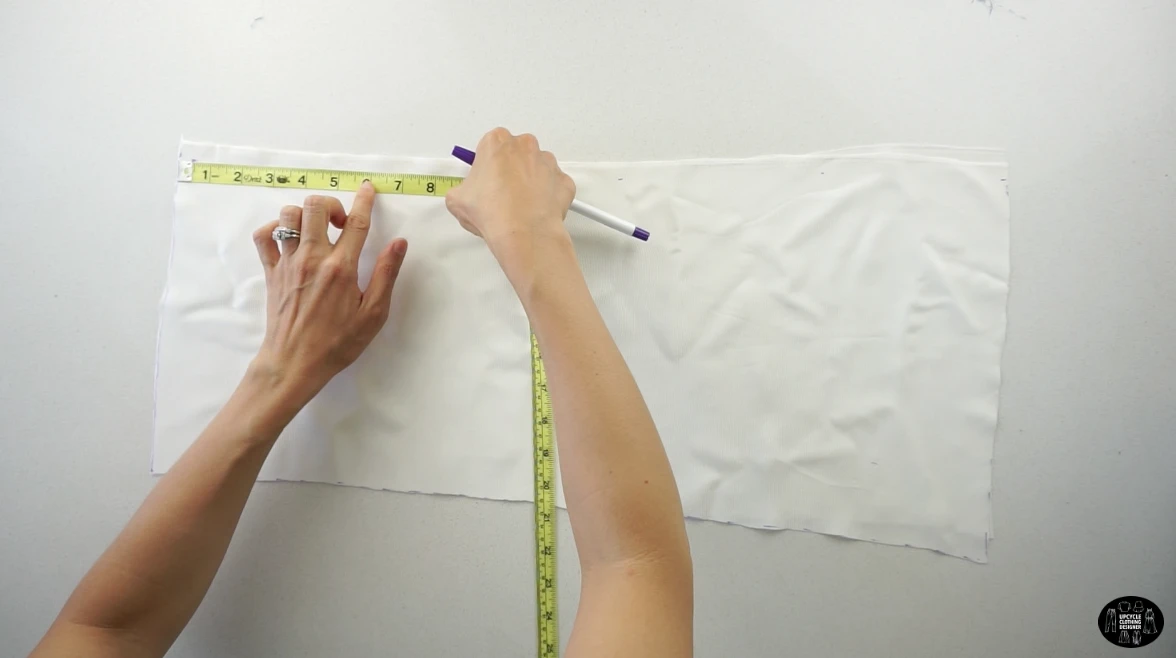
- To mark the hemline, measure 30” down from the high point shoulder and draw an 11½” hemline perpendicular to the folded edge.
Draw a straight line to connect the side seam with the hemline.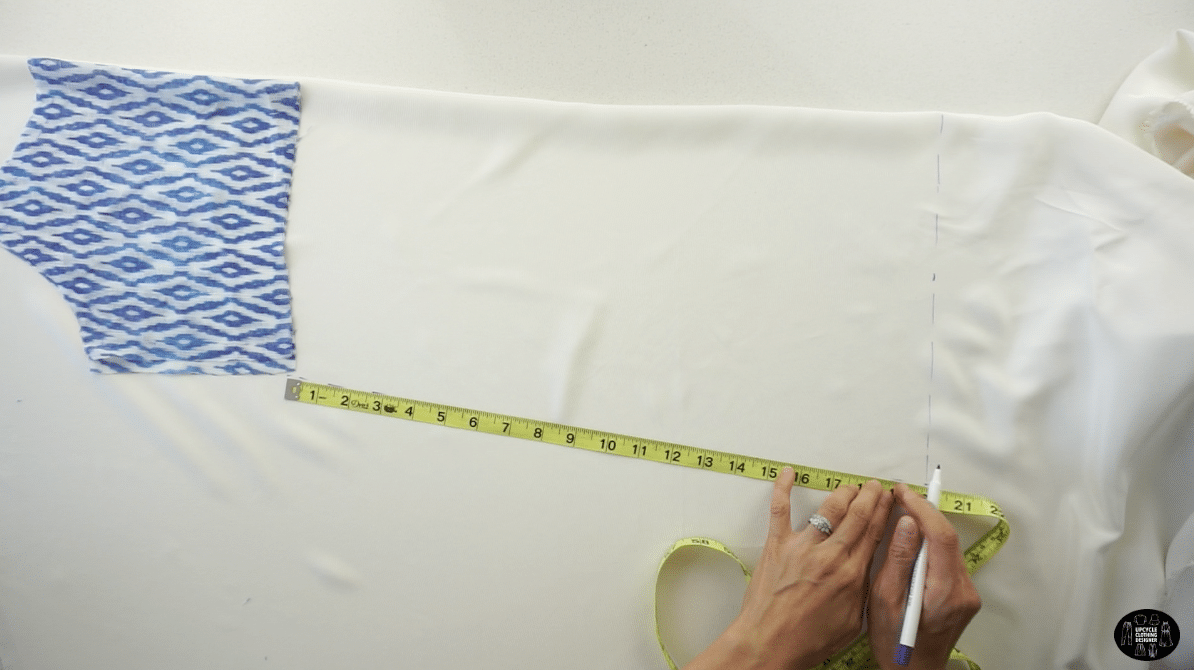
- To make lining for the back dress piece, fold a piece of linen crepe fabric in half lengthwise.
Use the front lining piece as a guide.
Trace the side seam and hemline;
also draw the back neckline starting at the underarm opening.
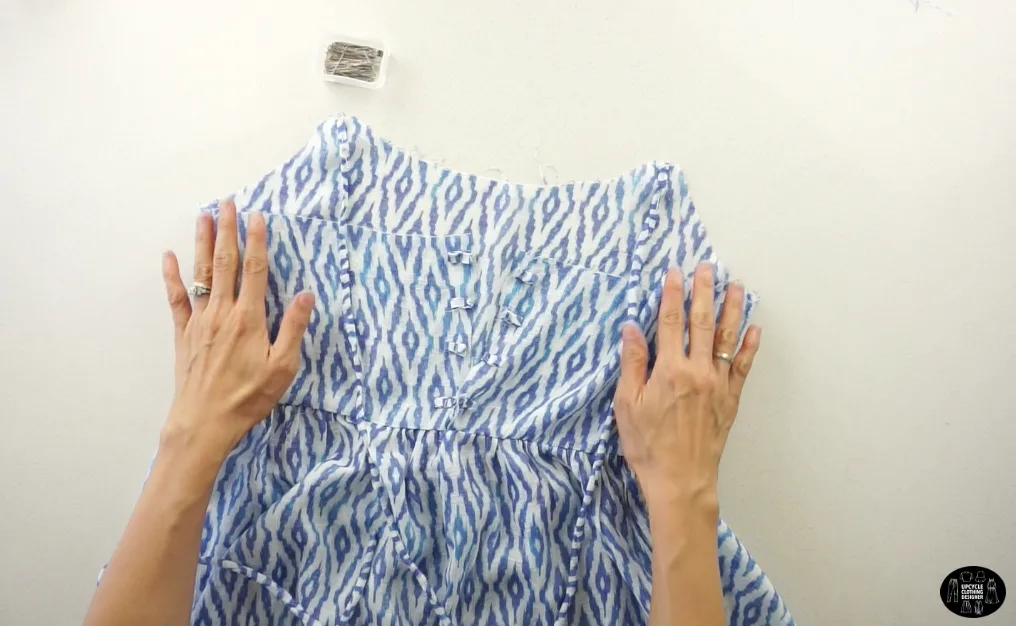
- To assemble the top bodice, sew along the side seams to attach the front piece and back pieces with the right sides facing together.


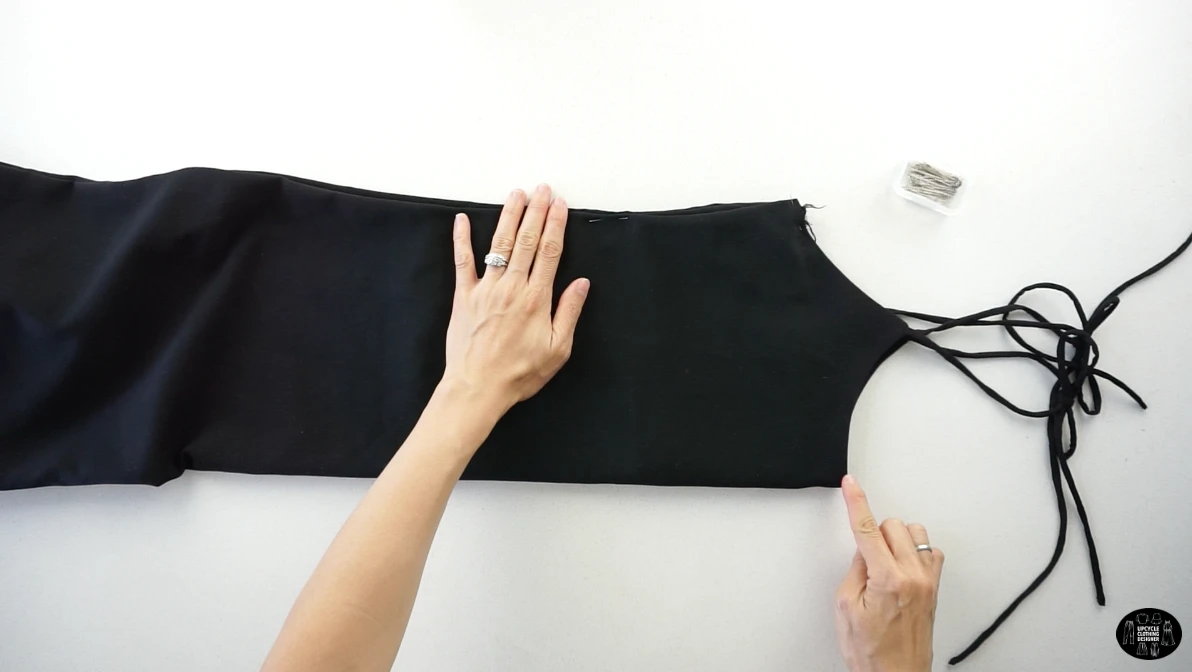
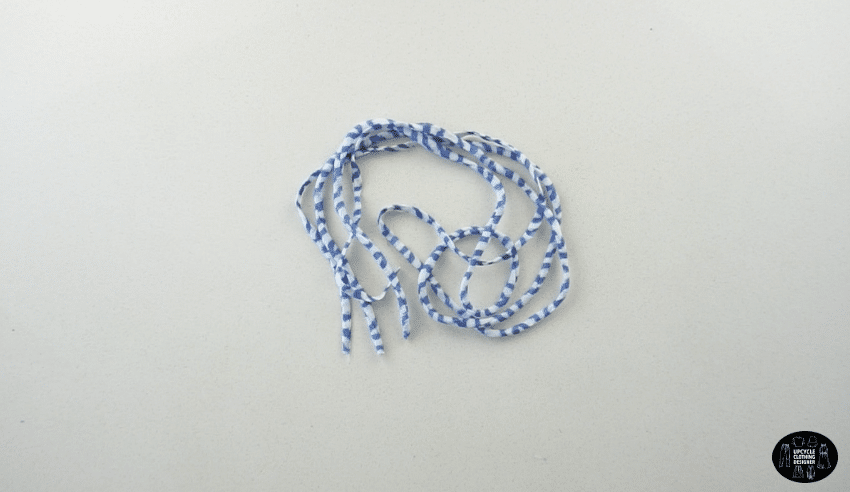
- To make the lace-up straps, measure two separate 1” x 57” pieces.

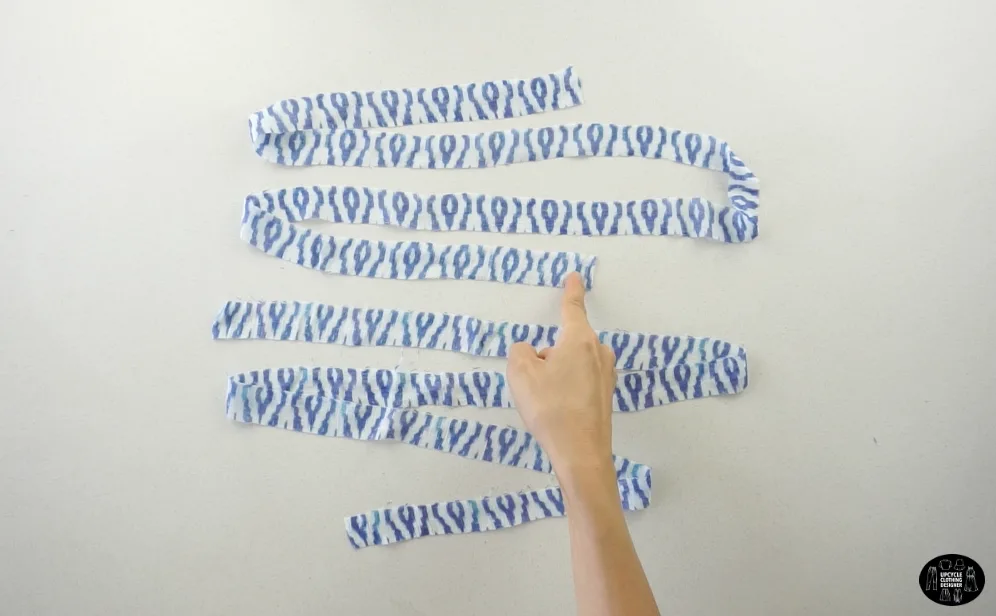
Fold the straps in half lengthwise, and straight stitch along the edge.

Use a loop turner to flip the lace-up straps inside out.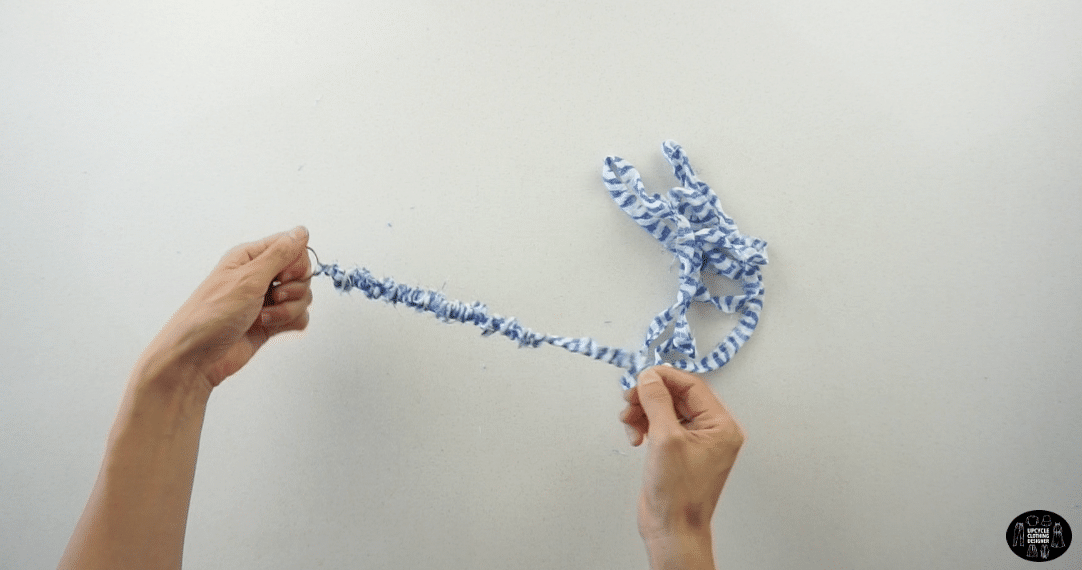
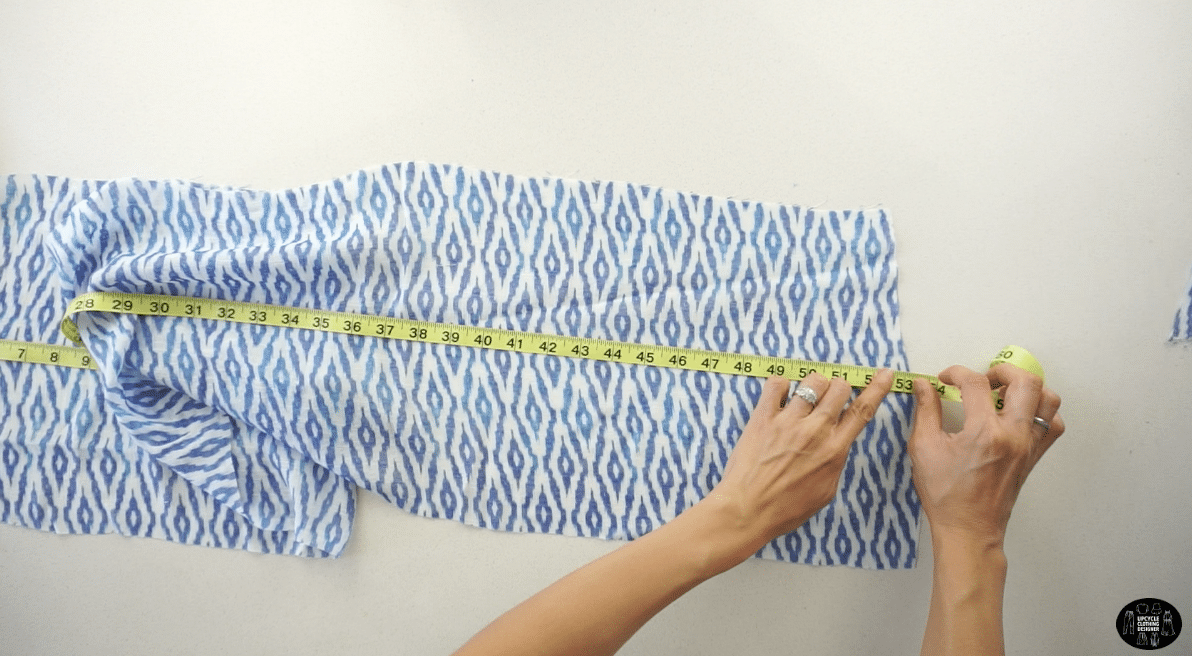
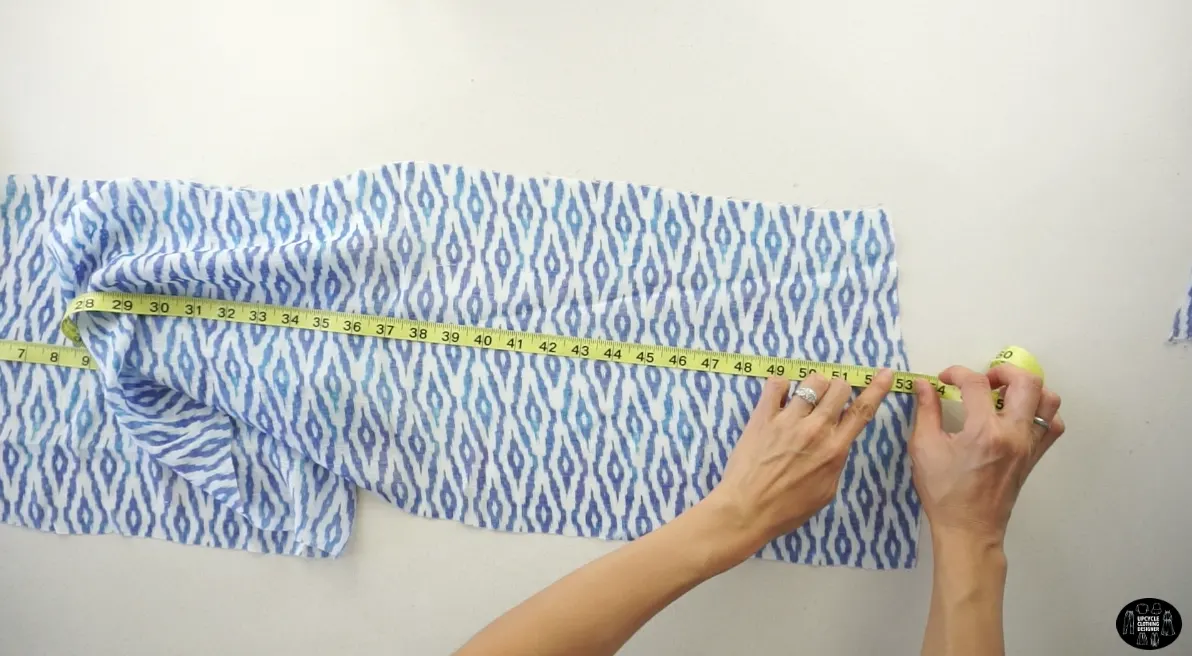
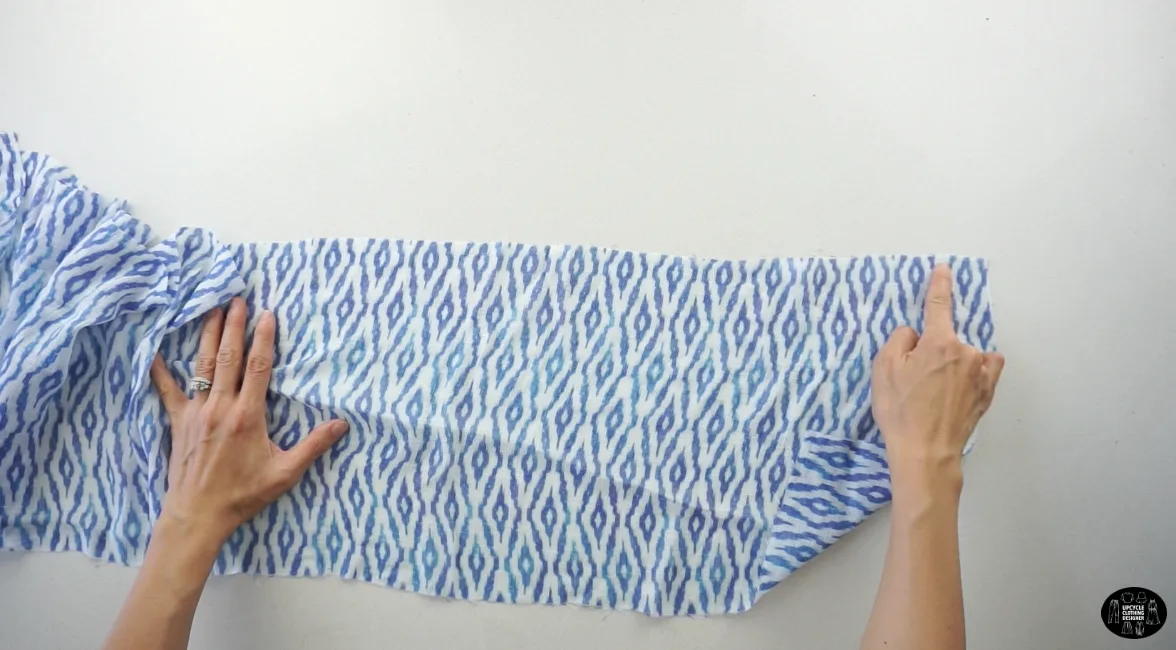
- To make the top tier of the dress, cut an 11” x 52” piece of fabric.
- To make the bottom tier of the dress, cut two 11” x 38” pieces of fabric.
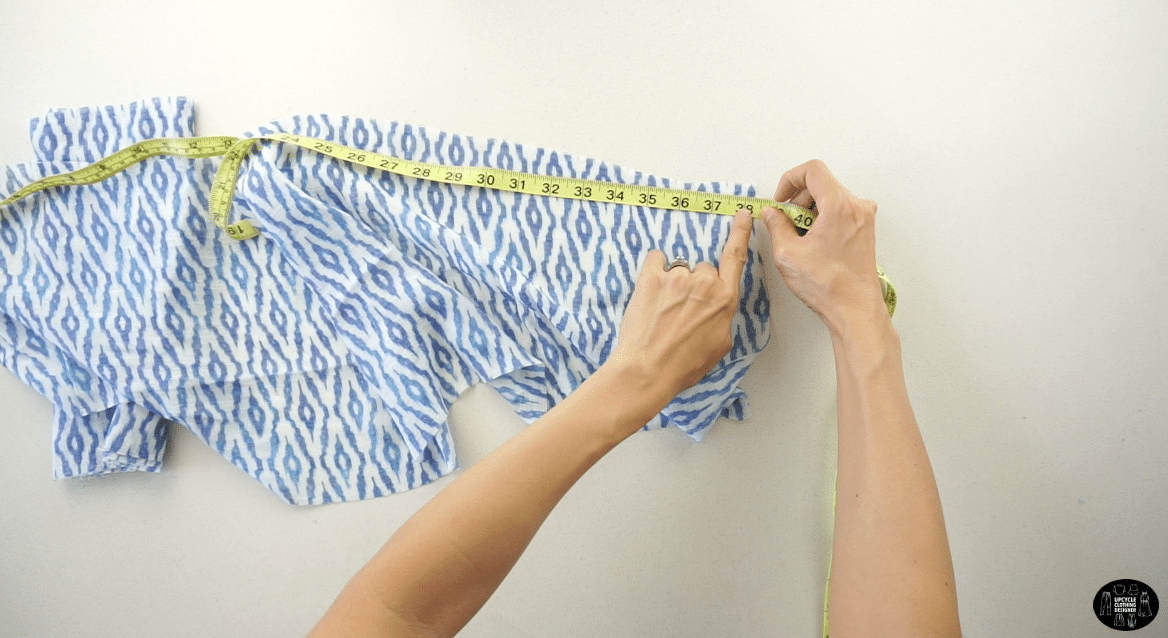

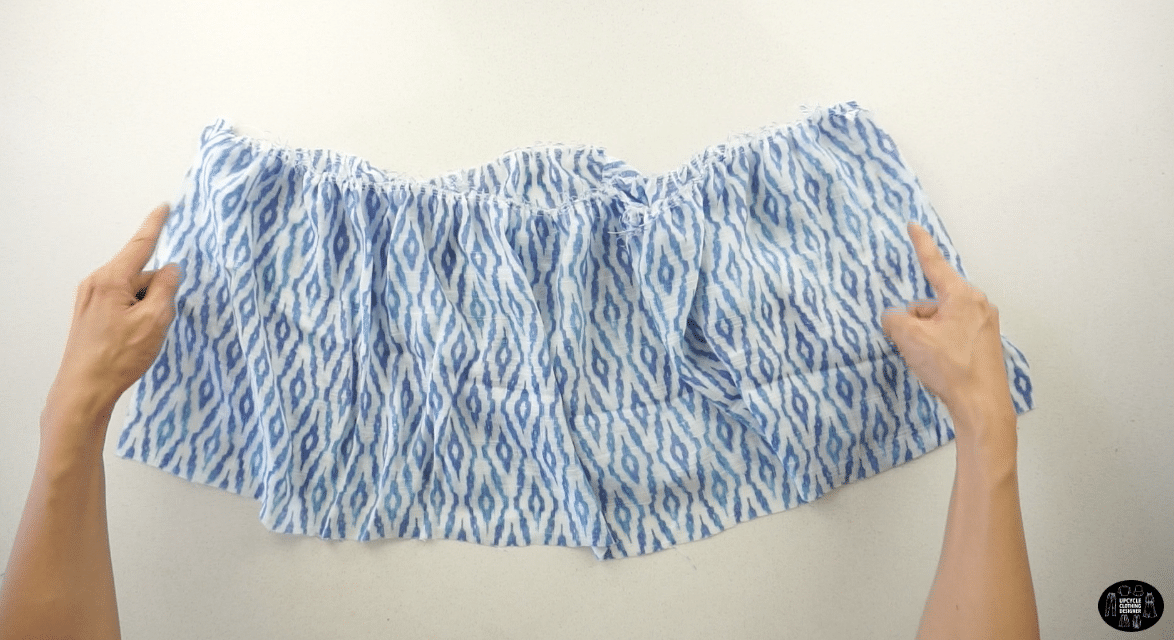
- To add shirring to the top dress tier, use wide stitch width and loose tension.
Sew two straight stitches ¼” apart along the top edge of the top dress tier.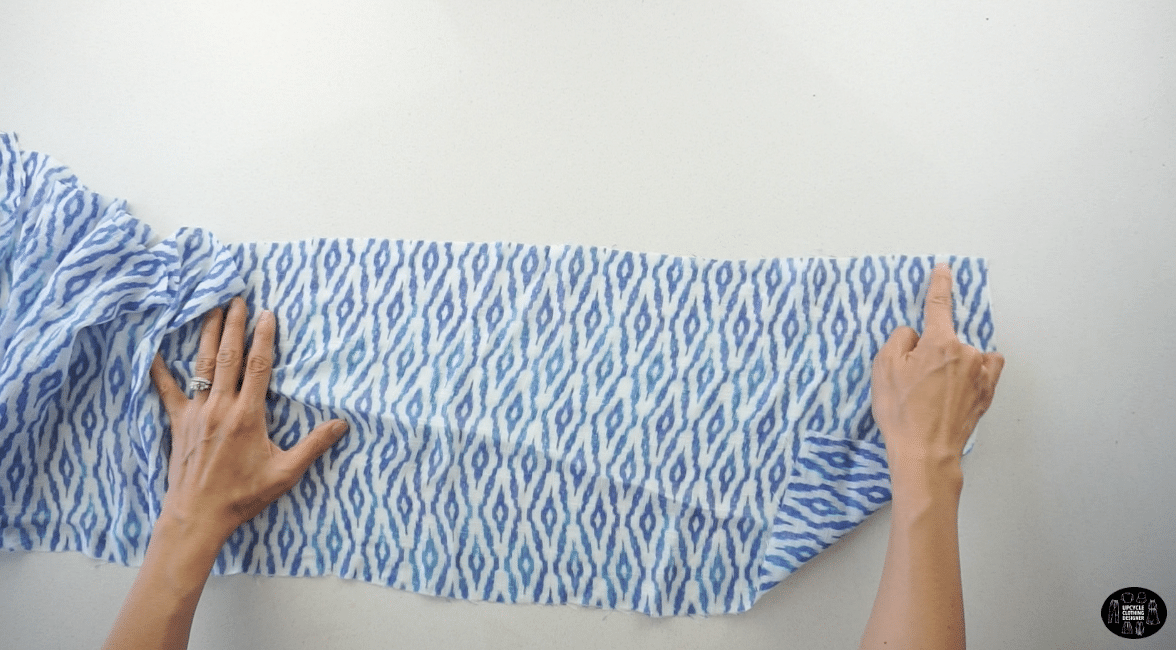
Pull on the back threads to bunch up the fabric and reduce the length to 34”.
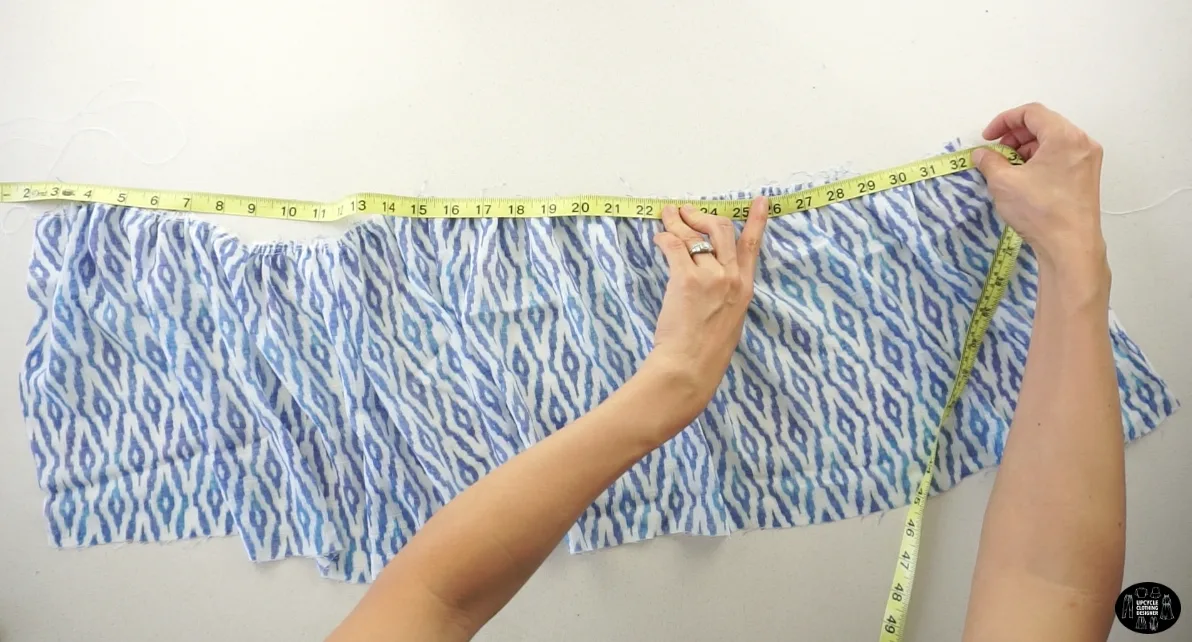
Tie the ends of the back thread, and then topstitch along the top edge to lock the shirring in place.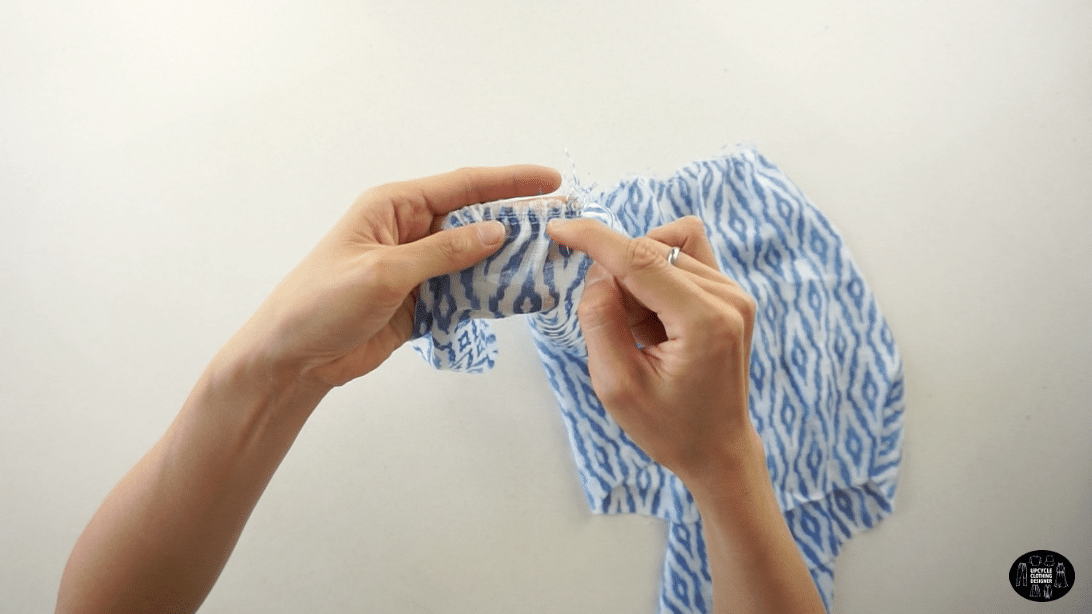
- To add shirring to both bottom dress tiers, use wide stitch width and loose tension.
Sew two straight stitches ¼” apart along the top edge of both bottom dress tiers.
Pull on the back threads to bunch up the fabric and reduce the length to 24”.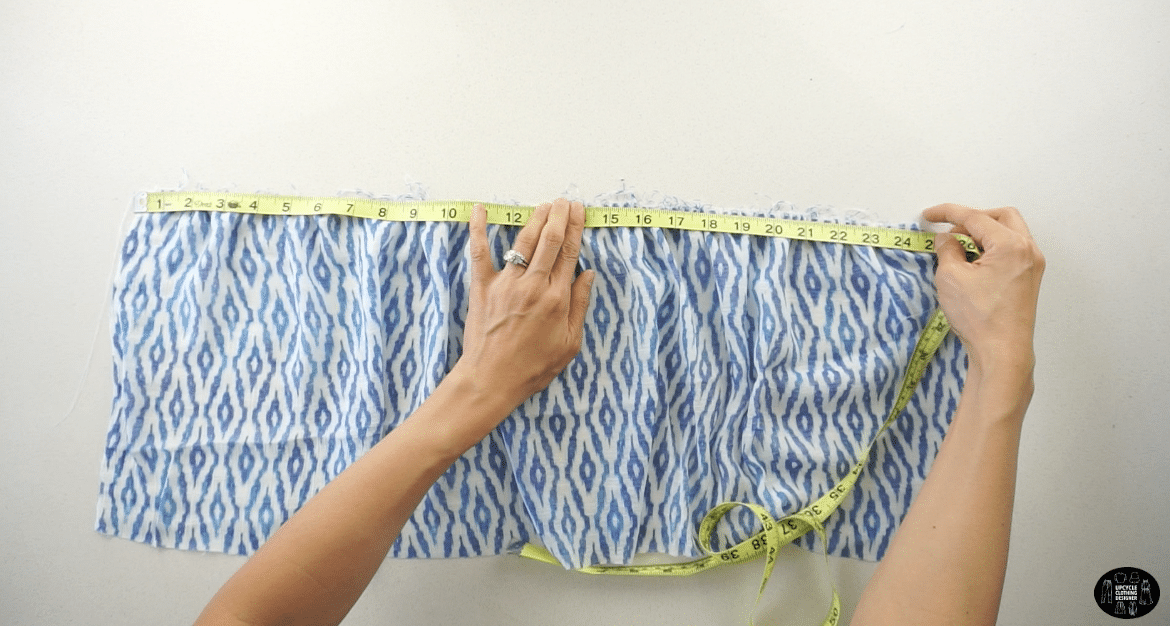
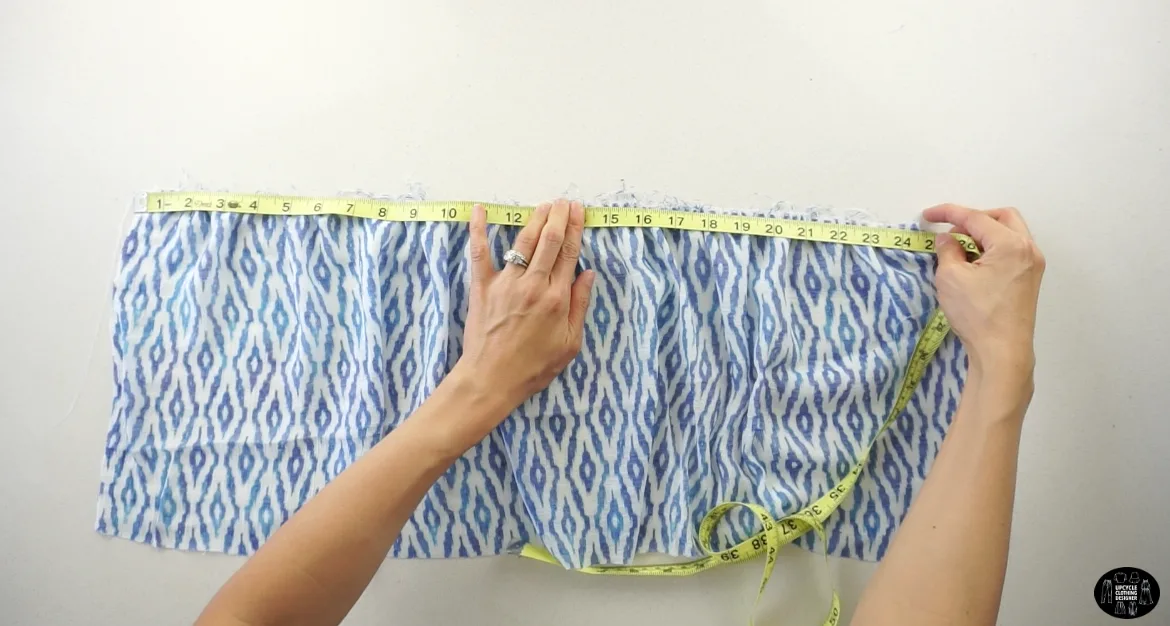
Tie the ends of the back thread, and then topstitch along the top edge to lock the shirring in place. - To assemble the bottom dress tier, sew along the side seams to attach the front and back tier pieces with the right sides facing together.

- To complete the bottom of the dress, attach the top tier and bottom tier pieces with the right sides facing together.
Pin to secure and sew a straight stitch.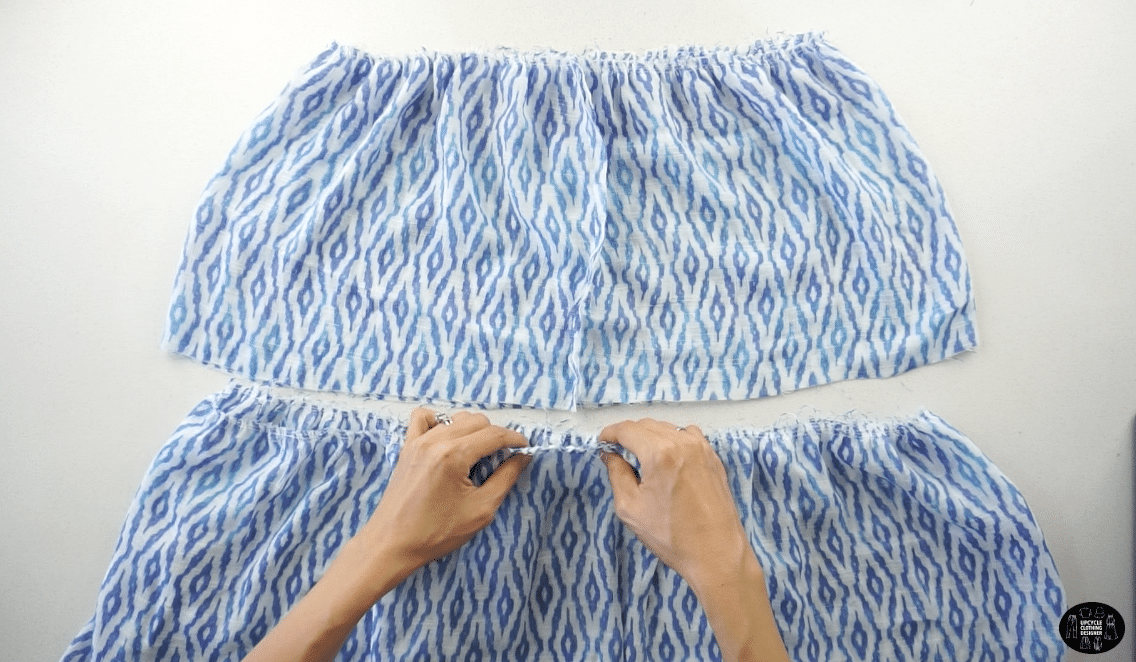
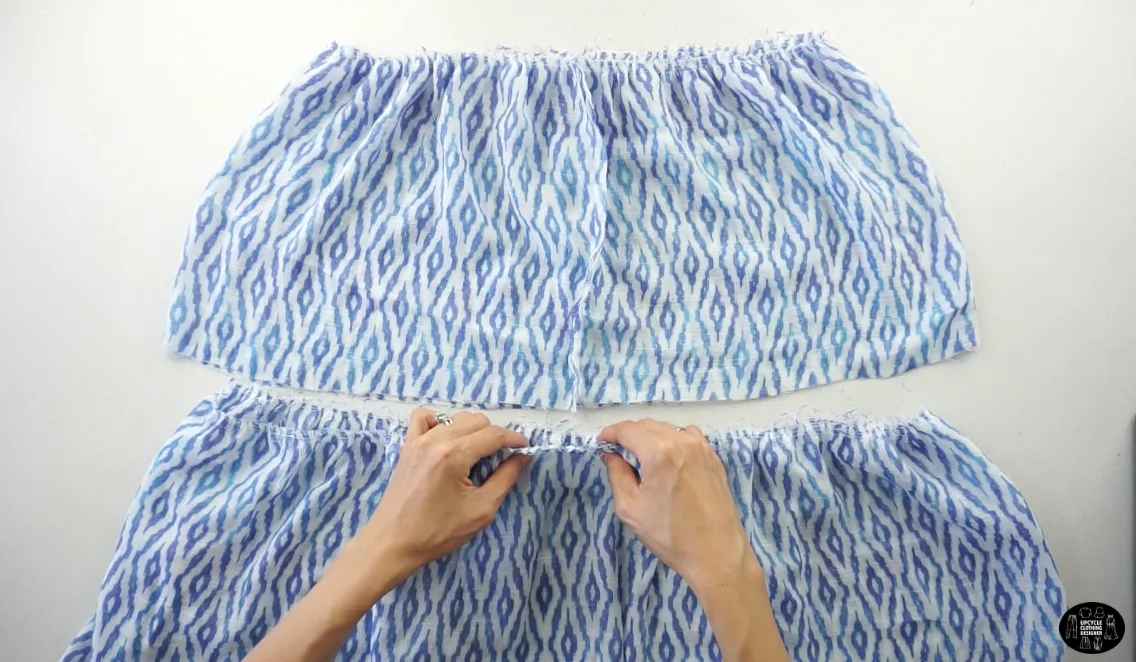
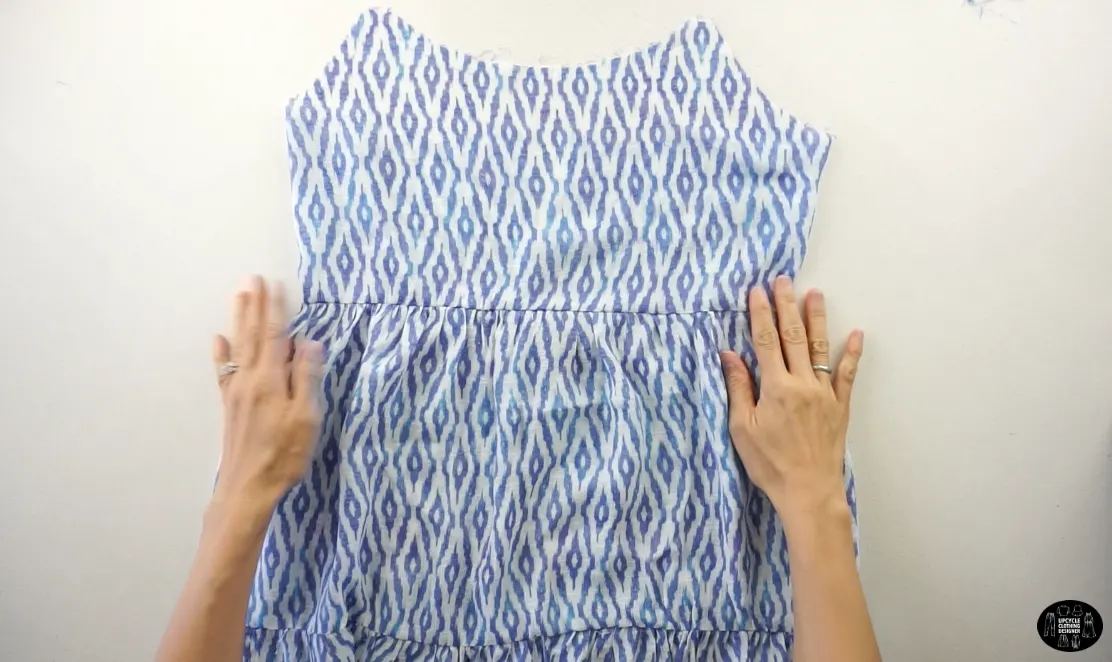
- To complete the top of the dress, attach the top bodice and tiered bottom with the right sides facing together.
Line up the top bodice center with the bottom dress center.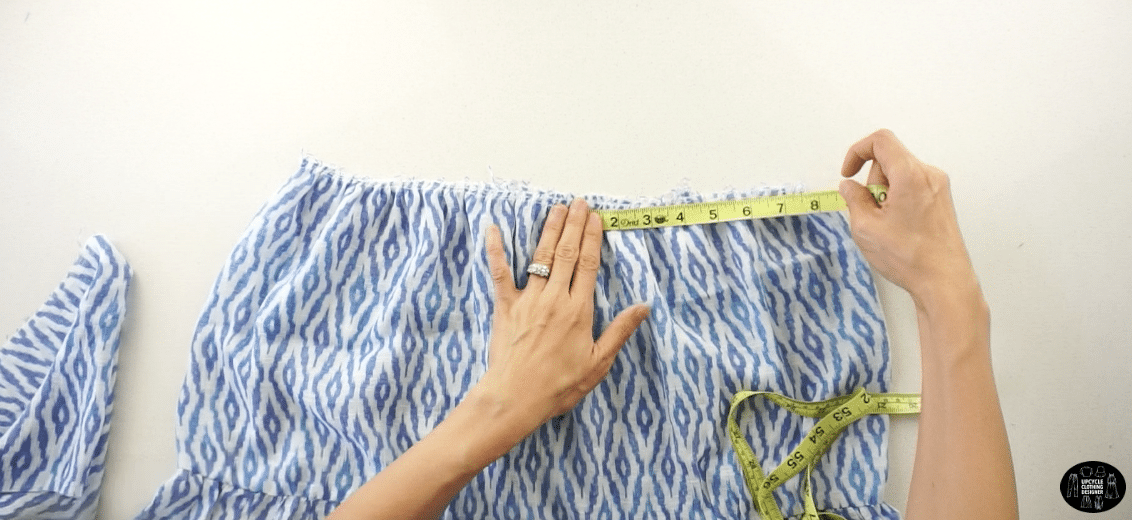

Pin to secure and sew a straight stitch.
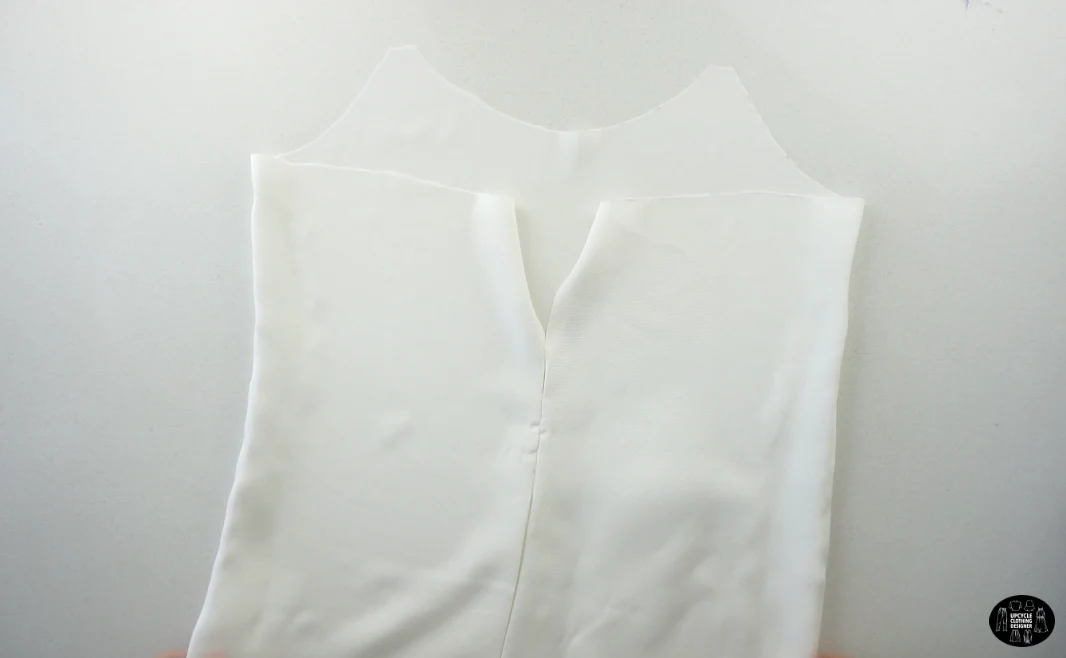
- To complete the back lining, measure 6” down the center back opening.
Sew down the center back seam starting at the mark.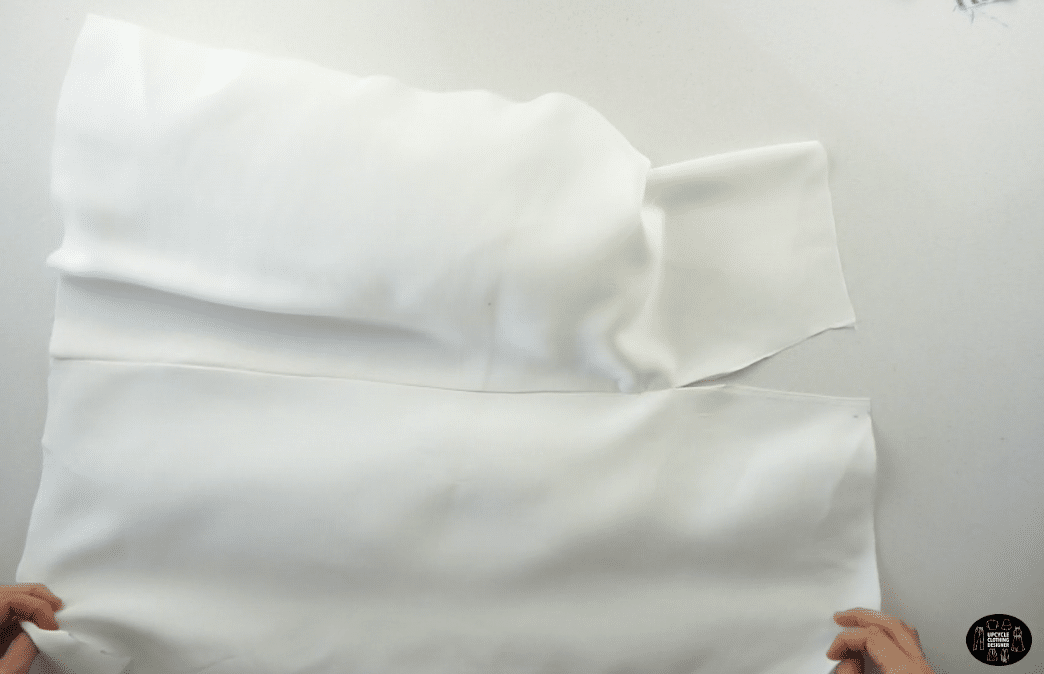
- To assemble the lining, sew along the side seams to attach the front and back lining pieces with the right sides facing together.
- To make loops for the lace-up straps, cut four separate 1½” pieces from the end of each shoulder strap.
In total, you need eight strap loops.

Measure the placement of each loop and space apart evenly down the top center back opening.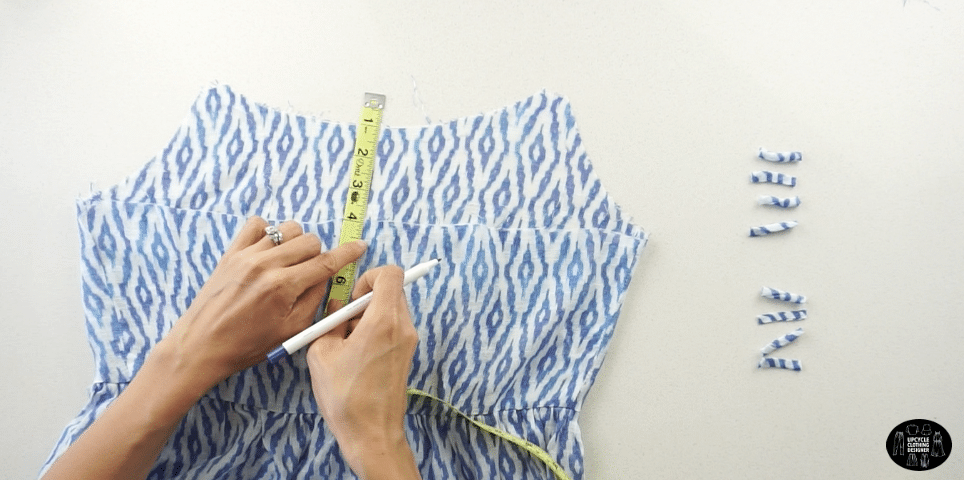

Pin the loops to secure.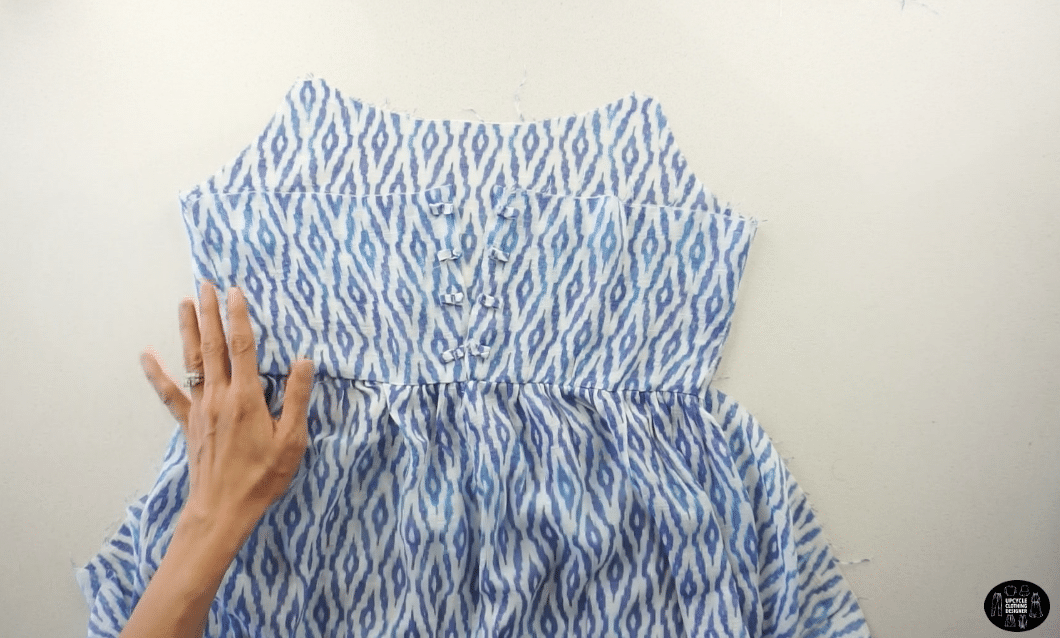

- To attach the shoulder straps, pin the lace-up ties to the high point shoulder on the babydoll neckline.
Pin to secure.
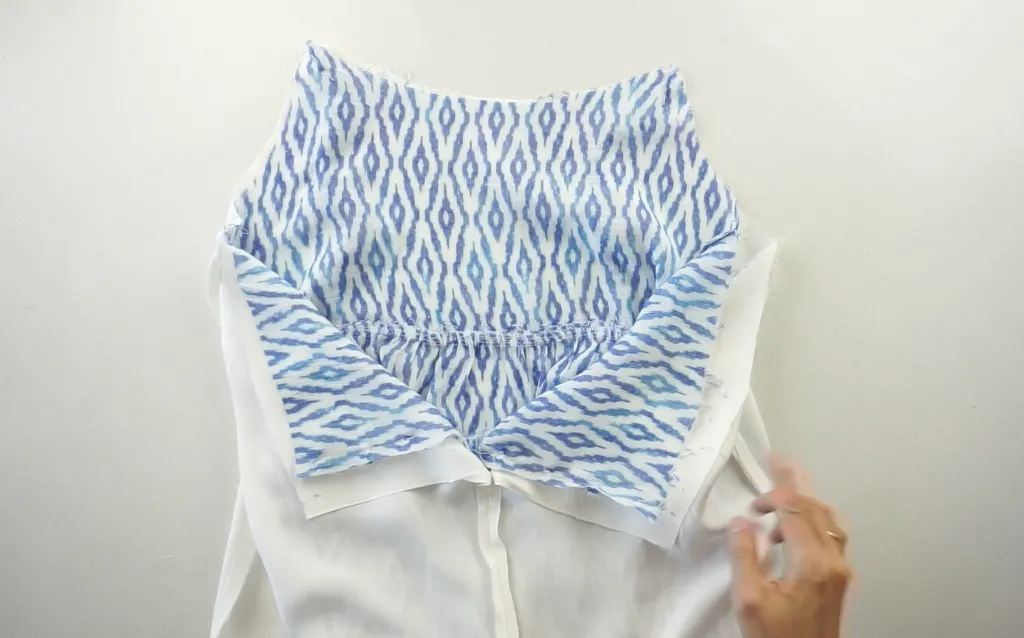
- To add lining, slide the lining over the dress with the right sides facing together.
Topstitch around the top opening to attach the lining and lock the lace-up straps in place.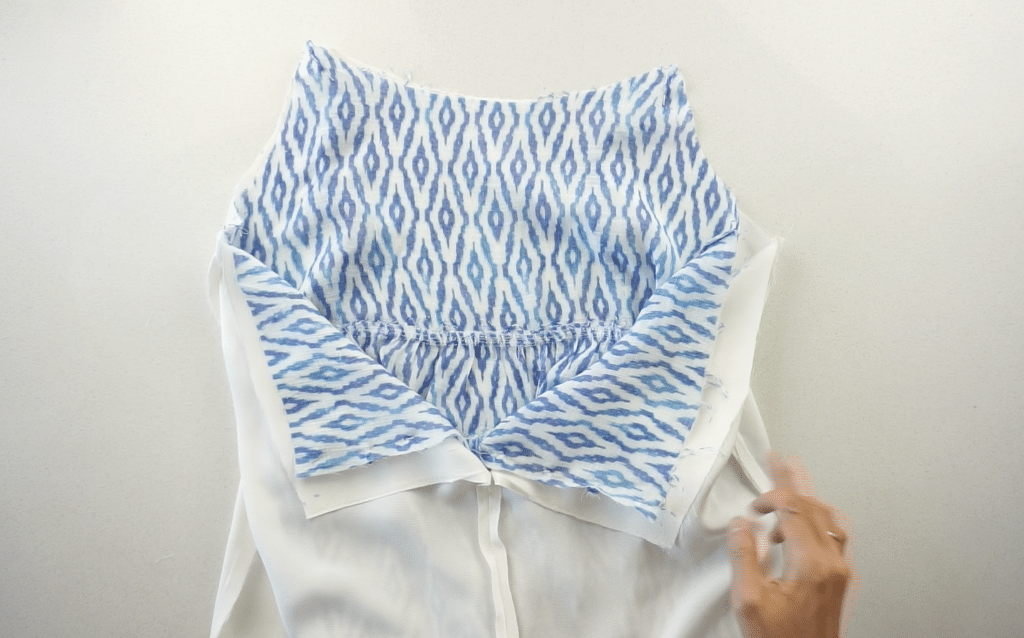
- To clean finish the hemline, double fold ¼” and hem the bottom of the dress and also the bottom of the lining.

- Crisscross the shoulder straps through the loops and tie a cute bow to finish this DIY lace-up babydoll dress.


Recommended Products
As an Amazon Associate and member of other affiliate programs, I earn from qualifying purchases.


Trendy, Affordable Sewing Patterns for All Sizes


Tie Shoulder Jumpsuit Pattern


Palazzo Pants Sewing Pattern


Pocket Overall Romper Pattern


Wrap Maxi Skirt Sewing Pattern


Tie Back Top Sewing Pattern
Annie
Wednesday 29th of June 2022
Thanks for the pattern! How do you match up the top and bottom tiers?
Soonjoo
Wednesday 29th of June 2022
Hi Annie, Thank you for reaching out!Glad you like the tiered lace-up babydoll dress. In order to match up the top and bottom tiers. Mark four equal distance on the bottom tiers to match the center front, center back, and both side seams so the gathering will equally distribute on the top tier. Hope this helps!