
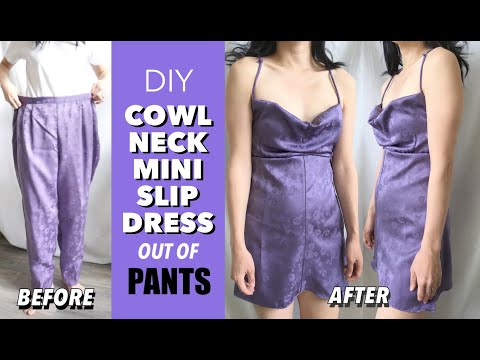
If you find a floral patterned satin pants at a local thrift store, don’t hesitate and grab it in order to make this cute cowl neck mini slip dress. The shiny and luxurious drape around the cowl neckline will make this slip dress from pants your new go-to casual date night look.
Enjoy the process of transforming old clothes into upcycled clothing. Whether you find polyester or silk satin with or without motif pattern, do not worry!
In fact, you can make almost anything once you learn how to upcycle clothes and transform them into a new garment. Any style pants with a fabric drape will work both for this pants to slip dress refashion project.
You will love this cowl neck mini slip dress from pants because…
- Perfect intermediate sewing level project
- Learn a new skill by transforming pants into a dress.
- No need to use a sewing pattern.
- Adjustable mini, midi, or maxi length dress. Choice is yours!
- Master specific techniques for working with shiny woven fabrication.
- Make a quick and easy cowl neckline without draping on a mannequin.


In this upcycle tutorial, I’ll show you how to transform pants into a beautiful cowl neck mini slip dress with step-by-step pictures and video instructions.
The casual dress silhouette easily pairs with a moto jacket and a stylish sneakers for a stylish look.
The cowl neckline is comfortable to wear and layer with many basic essentials. Also, the midi length with side slit gives a little spunk to your personality.


How to make cowl neck mini slip dress out of pants?
To make a cowl neck mini slip dress from a pair of old pants, all you need is shiny and slippery woven material and basic sewing kit to get started.
In addition, be sure to follow this guide and take body measurements for clothing. When you size yourself properly, then your clothing will fit you as designed.
If you haven’t worked with satin material before, you are in the right place! Follow the step-by-step sewing tutorial and techniques to make a store-bought quality cowl neck slip dresses to add to your closet.
DIY Cowl Neck Mini Slip Dress Materials:


- Pants
- Sewing Machine
- Seam Ripper
- Scissor
- White Chalk
- Loop Turner
- Measuring Tape
- Pins
- Ruler
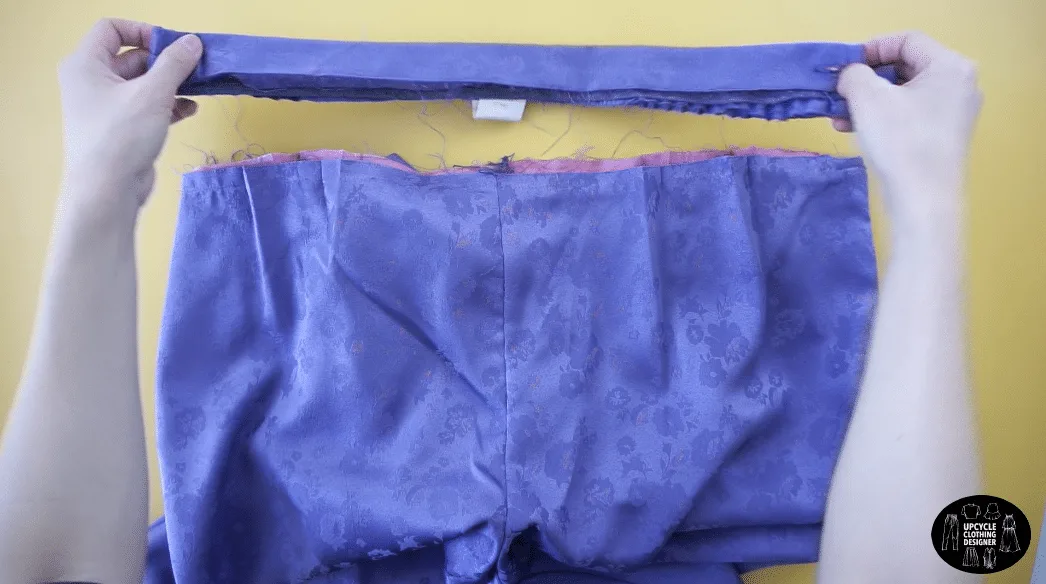
Use a seam ripper to detach the waistband, remove the zipper and separate the inner lining.
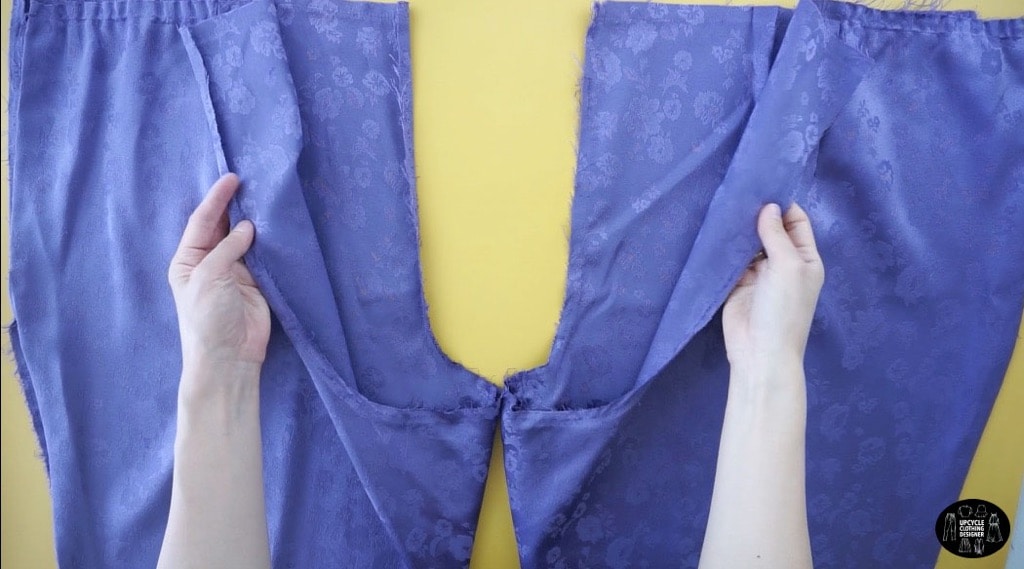
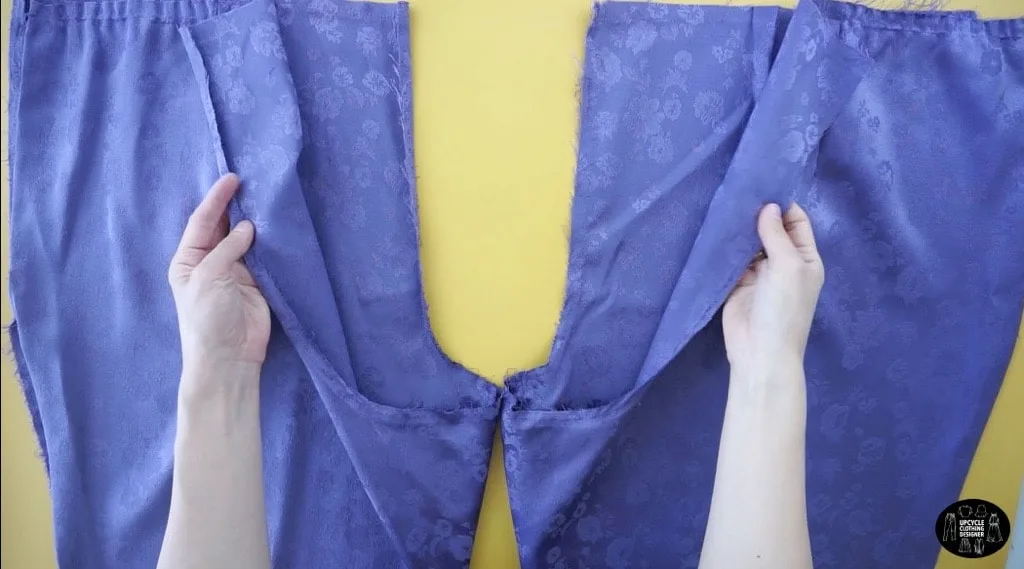
Disconnect the crotch and both side seams on the pants. However, leave the inseam intact so that it can be used for the dress bottom.
Use both the leg pieces to make the front and back dress bottom of the slip dress.
Use the fabric scraps from the hip area to make the front and back of the top bodice..
Find two separate 1” x 20” long pieces to make the shoulder straps.
Fasten the ends of the shoulder straps to the front and back piece of the top bodice.
Fold the neckline over 1½” and topstitch to secure the side seams of the cowl neckline.
Attach the top bodice to the dress bottom.
To complete the cowl neck slip dress, topstitch both side seams and also the bottom hemline.


DIY Cowl Neck Mini Slip Dress Sewing Tips:


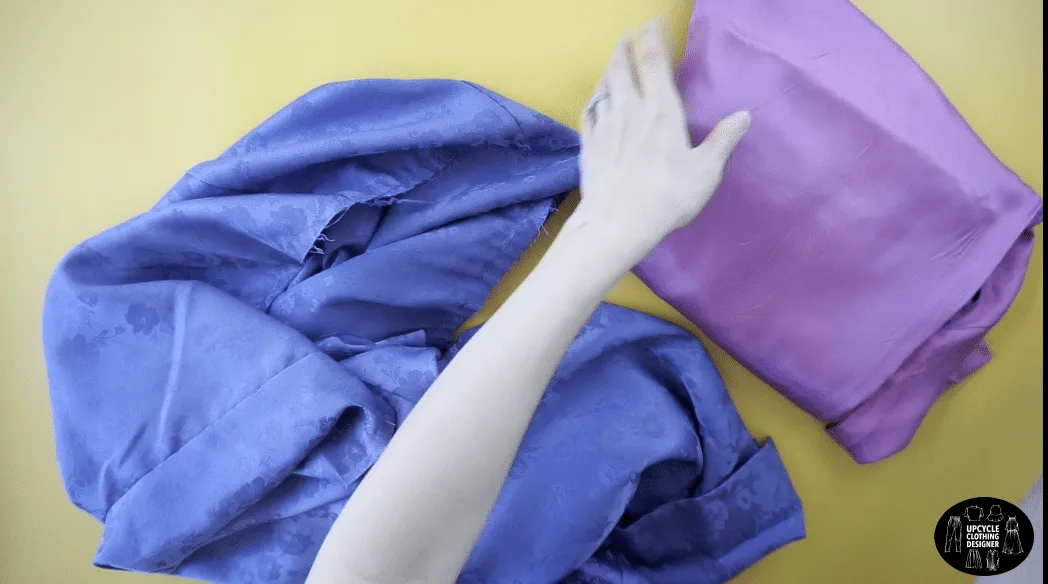
The pants that I found were a bit baggy silhouette that included an inner lining, side zipper and also a button on the waistband. Take advantage of the useful materials to save them for future sewing projects.
Make a habit to save every leftover piece of your thrifted clothes. One of the most important upcycle clothing tips that you should do to become a frugal and smart Fashion Wanderer!
When handling satin fabric to make clothes, there are couple of sewing tips I want you to know that will help you when making this DIY cowl neck mini slip dress.
- Sewing tip: Always hold the reconstructed material up to the light and determine which side you want to work on. By doing so, verify to make sure that all your pieces are running in the same direction.
- Stitching: Add a wide seam allowance if you are a beginner and trying to advance your skills. After the initial construction is completed, you can easily adjust the fit to properly fit your body.
- Pins: Pinning satin material is always so tricky because of the slipper surface. If you pin heavily on garment, the pinholes can show on the finished result and leave a mark behind. Invest in good quality extra fine dressmaking pins. They are very thin and much sharper than regular pins. In addition, only pin along the seam allowance instead of on the surface of the garment.
- Needle: Due to delicate fabric tendency, use small finely pointed needles instead of heavy-duty needles.
- Thread: If you end up changing the needle, you need to consider switching the thread as well. A lightweight thread is recommended for the satin material. If you see puckering, bulky seams or even broken threads while sewing, it’s time to change thread type.
- Tension: Polyester or silk satin fabric do not handle tension very well. Dial back the tension on the sewing machine and always test on scrap fabric to find the right setting. If the tension is too tight, the seams will begin to pucker and pull.
- Iron: Avoid steaming the garment as water spots on the satin are not removable. Furthermore, steaming can damage the luster of the satin finish. You will find the best results with a pressing cloth and dry ironing.


How To Make Cowl Neck Mini Slip Dress From Pants
Adding an elegant cowl neckline drape is a slight variation that creates total different look on a classic slip dress. Learn how easy it is to make cowl neck mini slip dress from a pair of pants.
This stylish dress is a look that you will be excited to wear forever. Adjust the length if needed to create midi, ankle length or floor maxi length. The classic slip dress body with cowl neck won’t look outdated anymore.
Materials
- Pants
Tools
- Sewing machine
- Fabric chalk
- Loop turner
- Measuring tape
- Ruler
- Seam ripper
- Straight pins
- Scissor
Instructions
- For this cowl neck slip dress from pants tutorial, start by using a seam ripper to detach the waistband.
And, remove the zipper.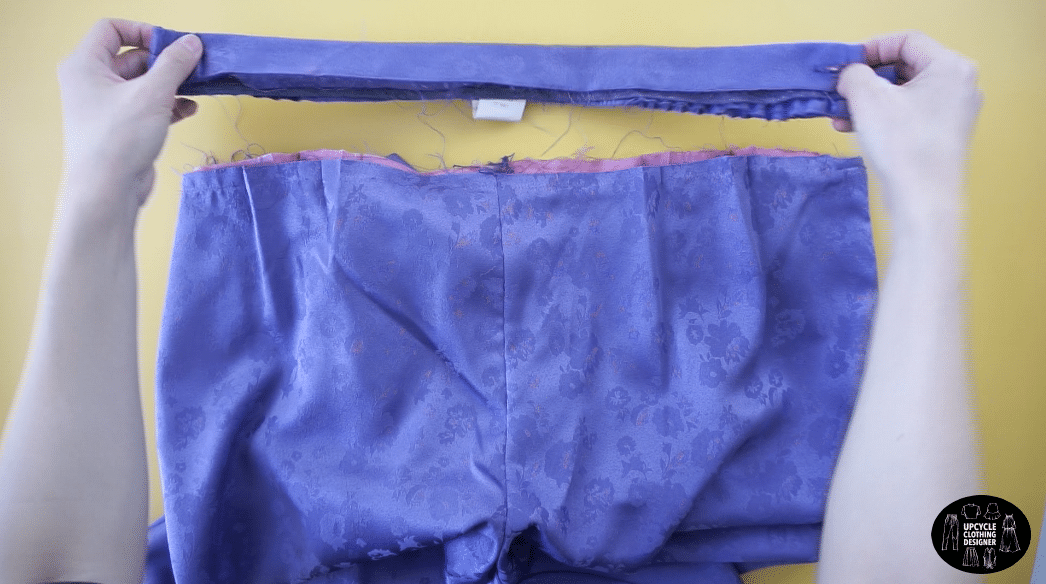
- To remove the inner lining, seam rip both leg openings. The lining will release since the waistband has already been detached.

- Lastly, separate the crotch and both side seams on the pants. Leave the inseam intact because it will be used as the center line of the dress bottom.
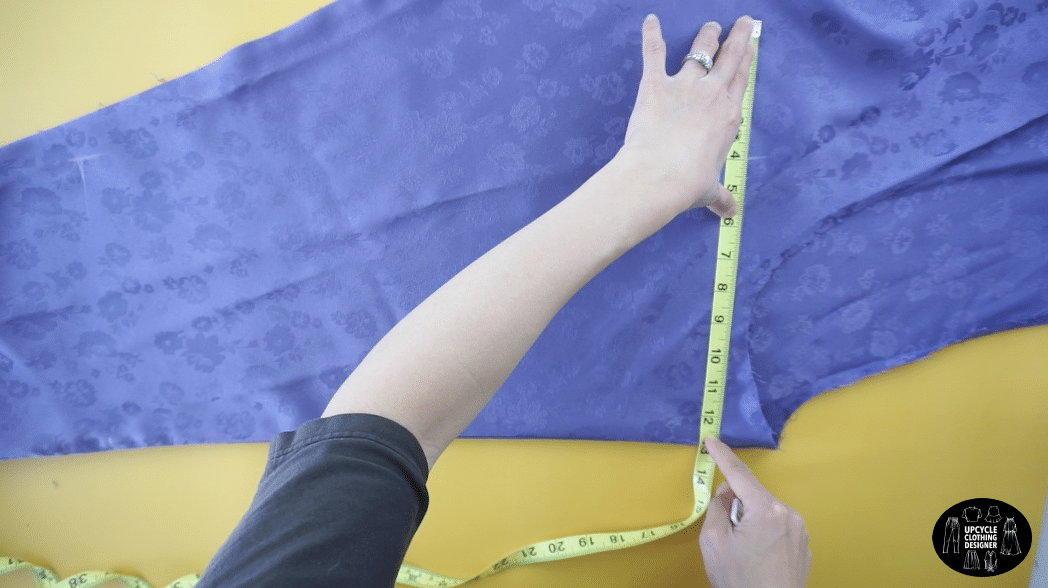
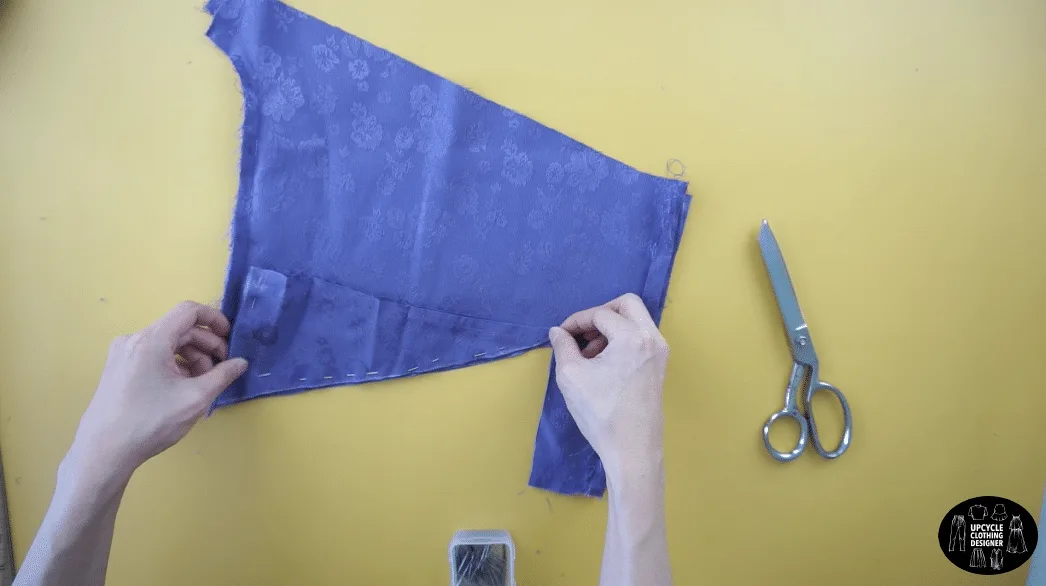
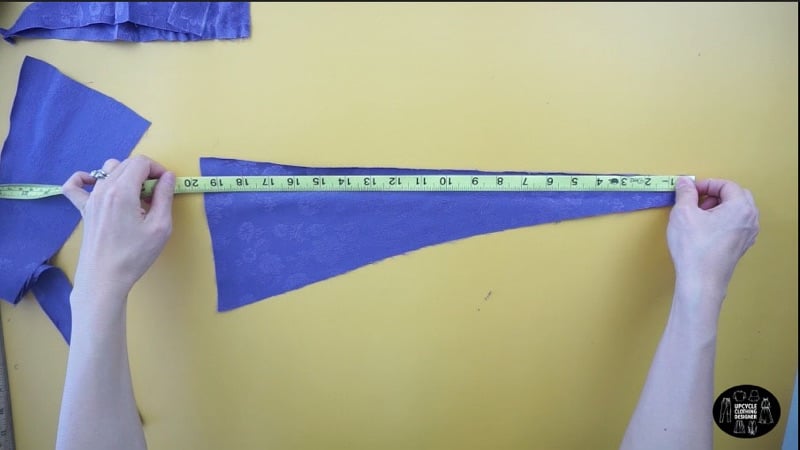
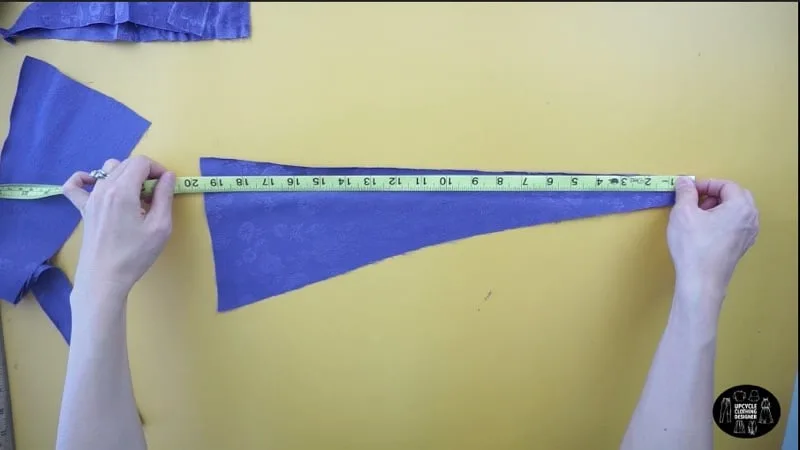
- To make the front bottom of the slip dress, use one of the leg pieces.
Chalk mark 13” away from the folded inseam.
Measure 19” down the side of the inseam.
Chalk mark 9” away from the folded inseam.
Draw a straight line to connect both points.
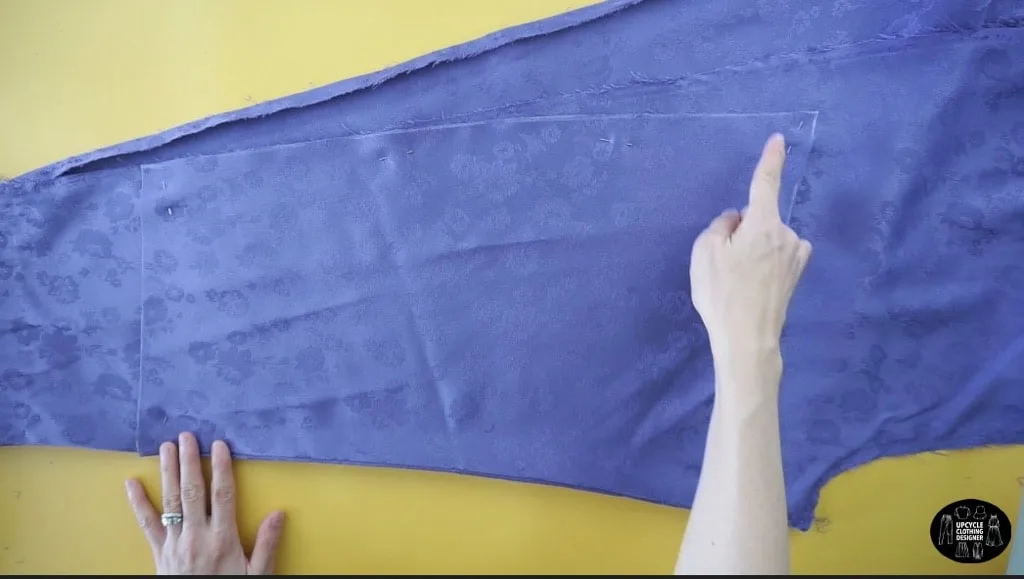
Pin to ensure that the fabric remains taut.
Cut along the lines to make the front bottom of the dress. - To make the back bottom of the slip dress, use the remaining leg piece.
Trace the front bottom of the dress onto the fabric.
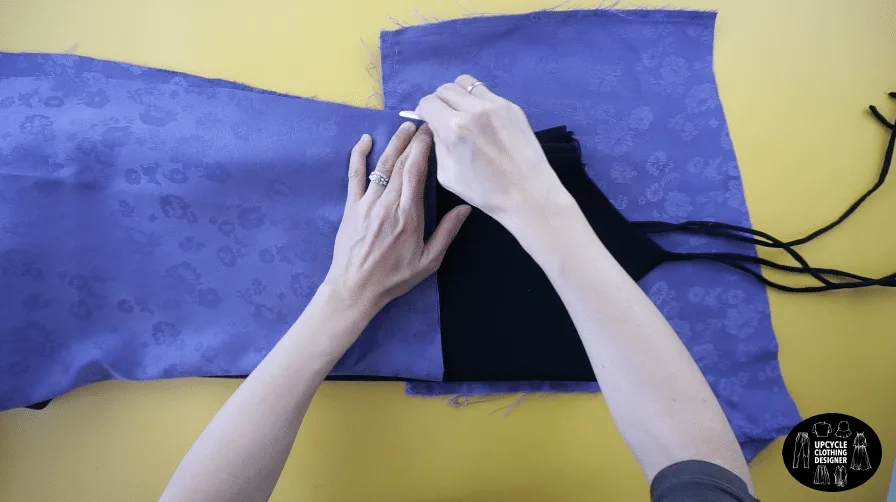
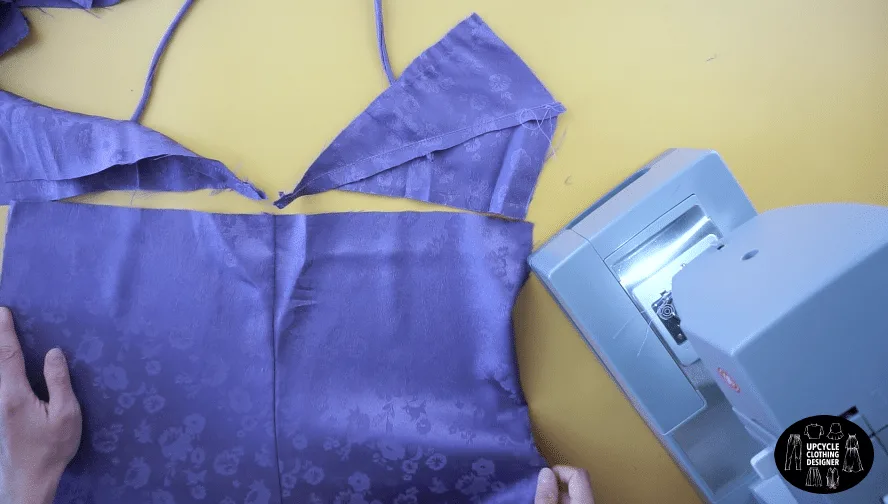
Cut along the lines to make the back bottom of the dress. - To make the cowl neck front bodice of the slip dress, use excess fabric scraps from the hip area.

With the right sides facing each other, topstitch along one side.
Use your favorite slip dress and the front bottom piece as a guide to measure the placement of cowl neck and width of the side seams for the top bodice.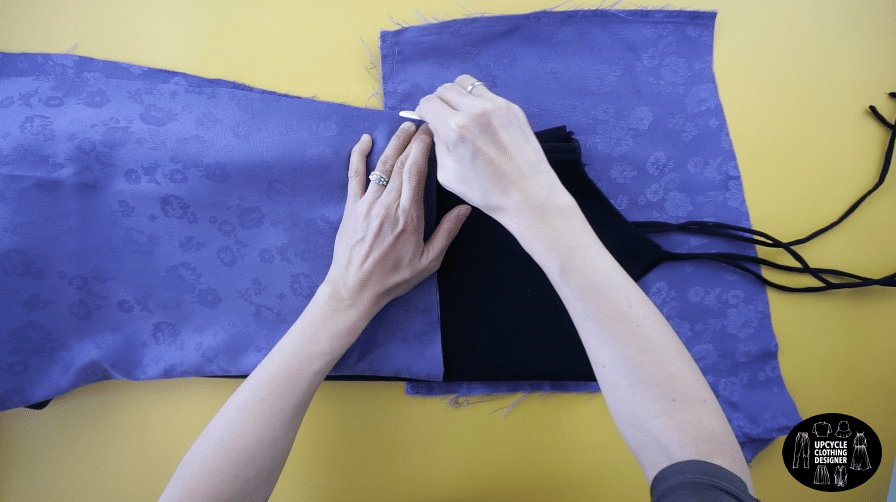
Pin to ensure that the fabric remains taut.
Cut along the lines to make the cowl neck front bodice. - To make the back bodice of the slip dress, use excess fabric scraps from the the hip area.
Use the front bodice to copy the height of the armhole and width of the chest area.
Draw a diagonal line to make the triangle pattern for the back bodice.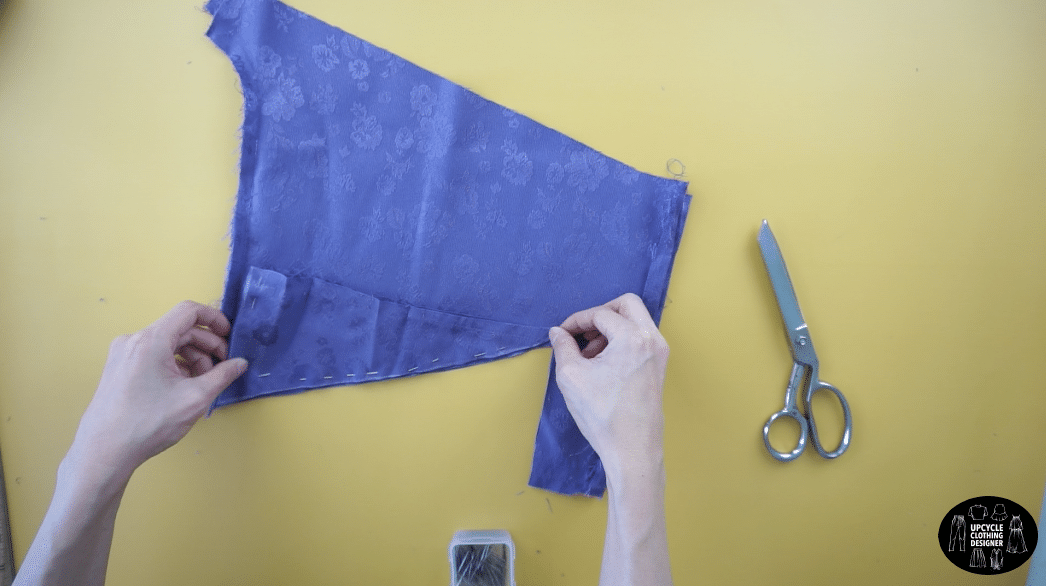
Pin to ensure that the fabric remains taut.
Cut along the lines to make matching triangle pieces.
In total, four triangle pieces are needed for this back piece design. - To make the shoulder straps, use the excess fabric to make two separate 1” x 20” long strap.
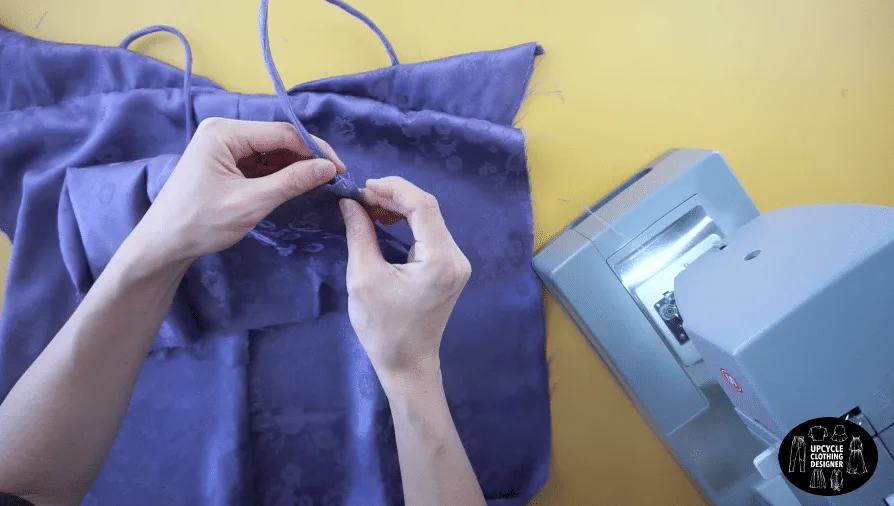
Fold the strap over with the right side facing each other and edge topstitch.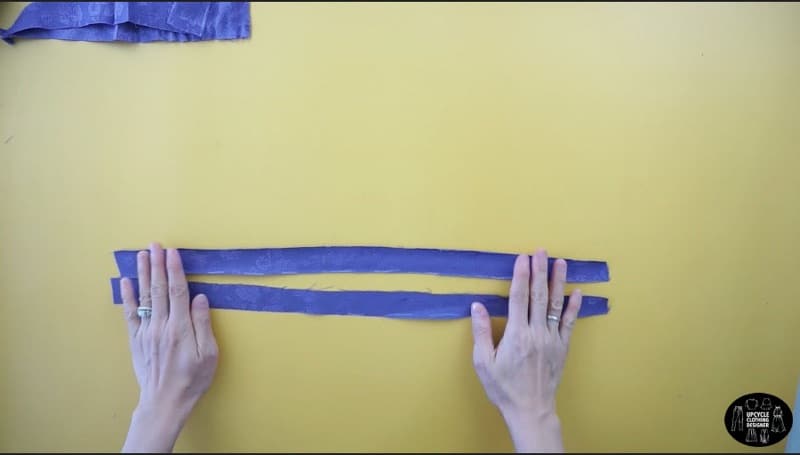
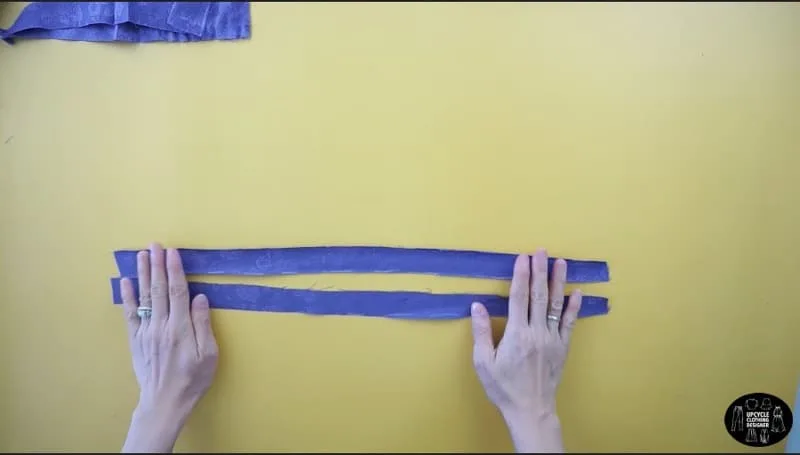
Use a loop turner to flip the strap inside out.
Repeat to make the second shoulder strap. - To finish the shoulder straps, attach each strap to the back bodice of the slip dress.
Mark 6” from the side seam on the back bodice and pin the end of the shoulder strap to the right side of the triangle piece.
Place the matching triangle piece on top with the right sides facing inwards.

Topstitch along to the diagonal edge to fasten the shoulder strap.
Do the same for the other shoulder strap. - To finish the back bodice of the slip dress, attach the triangle pieces to the back bottom of the dress with the right sides facing each other.
Pin to secure and edge topstitch.
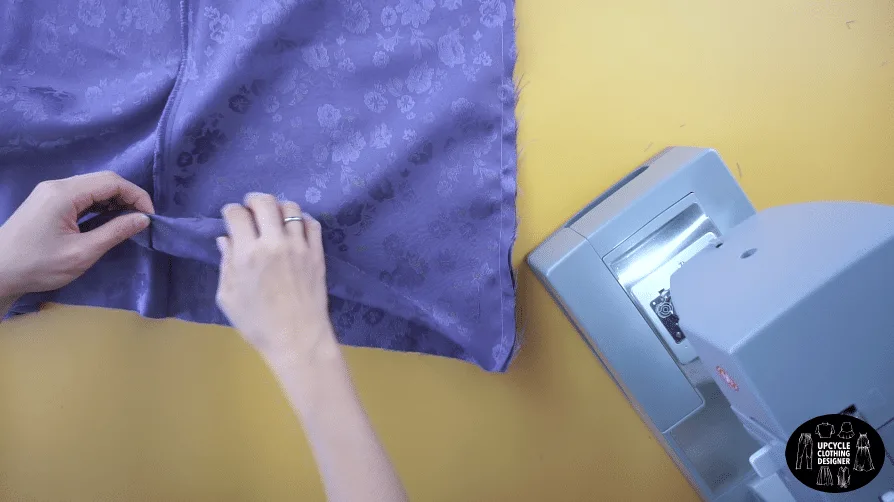
Open up both pieces and topstitch along the seam to make the fabric lay flat and give a clean finish. - To finish the cowl neckline, fold the neckline over 1½” and topstitch along the side seam to attach both sides.
This secures the neckline while maintaining a draped appearance. - To attach the shoulder strap to the front bodice, pin the straps to the top corners of the cowl neckline.


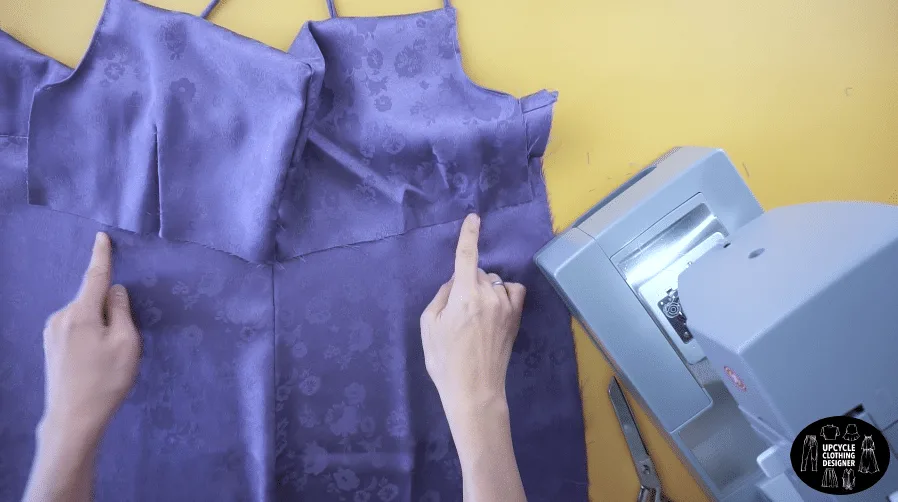
Topstitch along the backside to secure. - To finish the cowl neck of the slip dress, attach the cowl neck piece to the front bottom of the dress with the right sides facing each other.

Pin to secure and edge topstitch.
Again, open up both pieces and topstitch along the seam to make the fabric lay flat and give a clean finish. - To finish the cowl neck slip dress, topstitch both side seams.

Lastly, hem the bottom opening.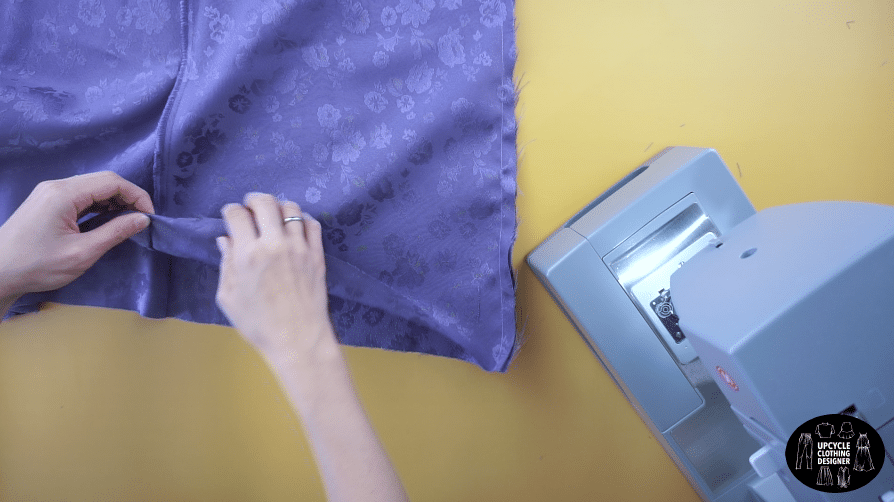
Recommended Products
As an Amazon Associate and member of other affiliate programs, I earn from qualifying purchases.


Trendy, Affordable Sewing Patterns for All Sizes


Tie Shoulder Jumpsuit Pattern


Palazzo Pants Sewing Pattern


Pocket Overall Romper Pattern


Wrap Maxi Skirt Sewing Pattern


Tie Back Top Sewing Pattern