
Are you looking for bustier detailed dress that fits you like a glove? This Vera dress features a fitted bustier bodice silhouette and slim fitting wrap skirt with a high slit.
How to make a bustier midi dress with slit? Prepare the fabric by hand washing in cold water, and air drying the fabric before cutting the silky crinkle rayon fabric.
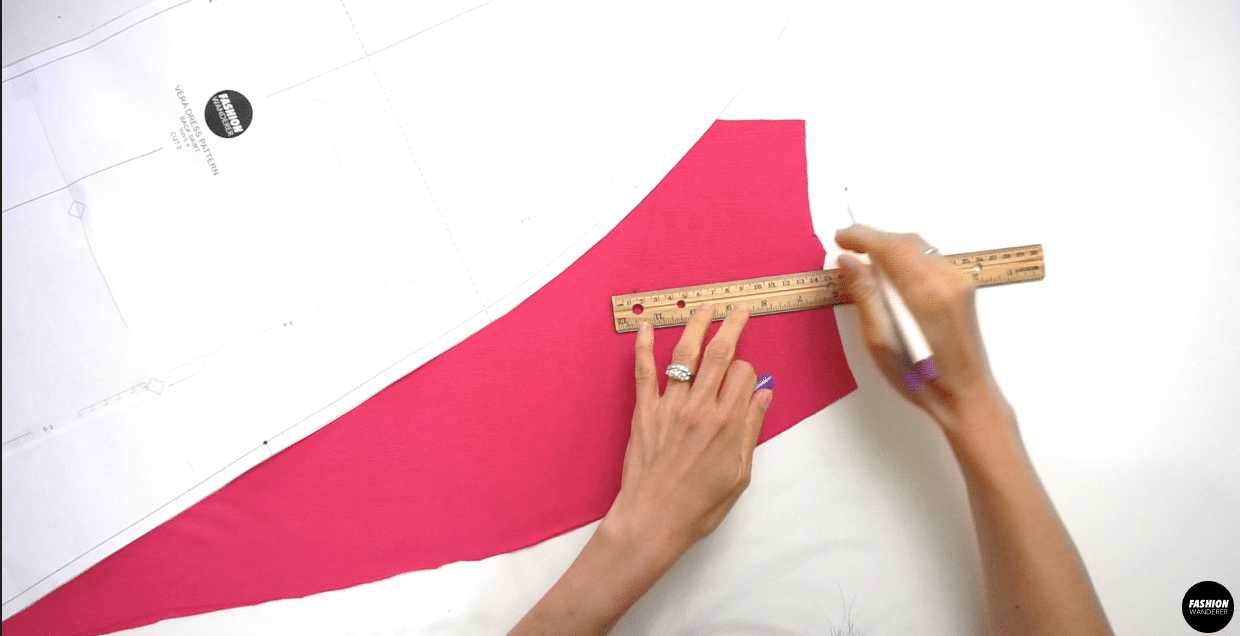
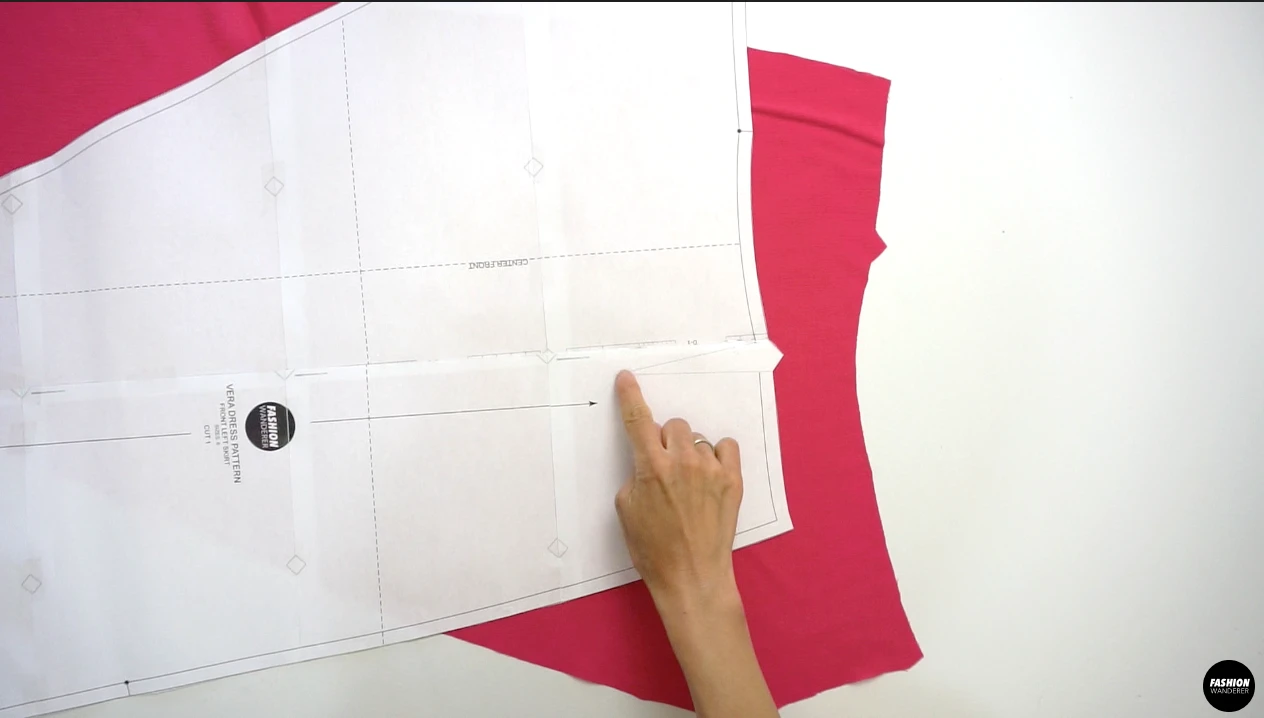
Lay the sewing pattern along the selvage and cut each pattern piece accordingly. Review the sewing tutorial to puzzle the bustier pieces and skirt together and assemble the dress the right way.
If you are new to sewing bustier without boning, follow the sewing pattern and instructions to help you create seamless fitted elegant summer dress to add to your DIY wardrobe.
Every Fashion Wanderer tutorial includes step by step instructions, sewing tips for individual fabric and an easy to follow how-to video to help you complete the garment. If you have any questions, or get stuck in any steps, don’t hesitate to reach out!
I’m here to help you as best as possible!


DIY Bustier Midi Dress Sewing Pattern


You will love this DIY bustier midi dress because…
- The Vera dress sewing pattern comes in sizes 2 to 12.
- Each sewing pattern piece includes ⅜” width seam allowance to make adjustments for fitting.
- Learn to make thin straps with bias cut fabric.
- Add darts and sew princess seams to connect from top to bodice very smoothly.
- Utilize zipper foot to sew invisible zipper to complete the dress.
- Perfect beginner to intermediate sewing project to upgrade your sewing skills to the next level.
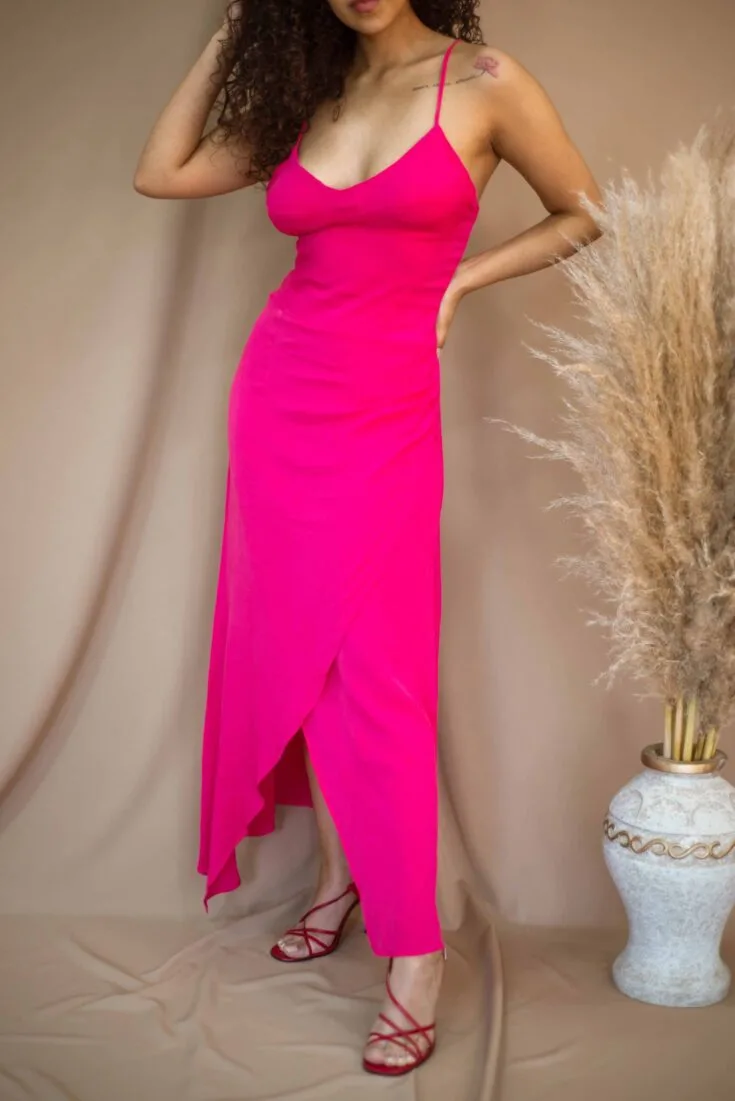
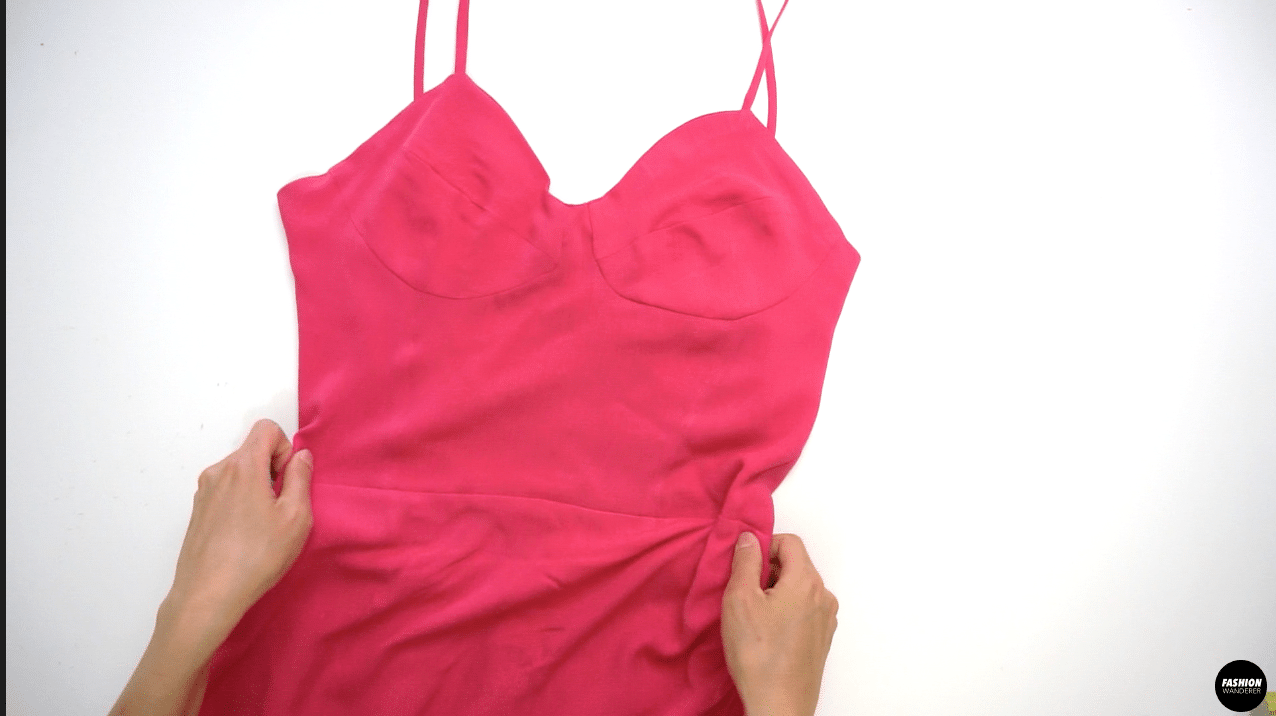
This elegant and sophisticated dress includes a bustier top bodice with slight gathering on the side of the skirt that translates into a faux wrap with a high slit to show off your legs when you walk. It is a beautiful dress to wear for date night or on a special occasion with your fabric heels or sandals.
Use this DIY bustier midi dress sewing pattern and tutorial to make it mini or maxi length, your choice.


How to make a bustier midi dress with high slit
Start assembling the pdf sewing pattern once you have downloaded from the store. Look at the size guide and measure your body at the chest, waist, and hips to select the correct dress size to sew.
Wash, dry and iron the fabric before cutting out the pattern and fabric according to the size, do not skip these steps. It will help you to avoid from having fitting issue later on.
Select your choice of fabric by type and width of the fabric that you are working on. If you are using silky crinkle rayon fabric, use all purpose thread and regular sewing needle to get started.
In addition, a walking foot will help you sew flimsy and thin fabric. Check that the machine threaded properly on upper and bottom bobbin prior to sewing.
It is crucial steps to add to your checklist to prevent skipping stitches or jammed thread that causes damage to your machine and fabric.
Whether you are sewing bustier pieces together or adding wide length stitch on skirt for gathering, thread a bobbin correctly to have nice clean stitches all around. Refer to manual for your sewing machine and instructions to get professional results.
DIY Bustier Midi Dress Tutorial Material:
- Vera Dress Sewing Pattern
- 100% Silky Crinkle Rayon 3 yards for 49” width or 2 yard for 60” width
- 20” Long Invisible Zipper
- Zipper Foot
- Loop Turner
- Measuring Tape
- Disappearing Fabric Pen
- Pins
- (Optional) Walking Foot
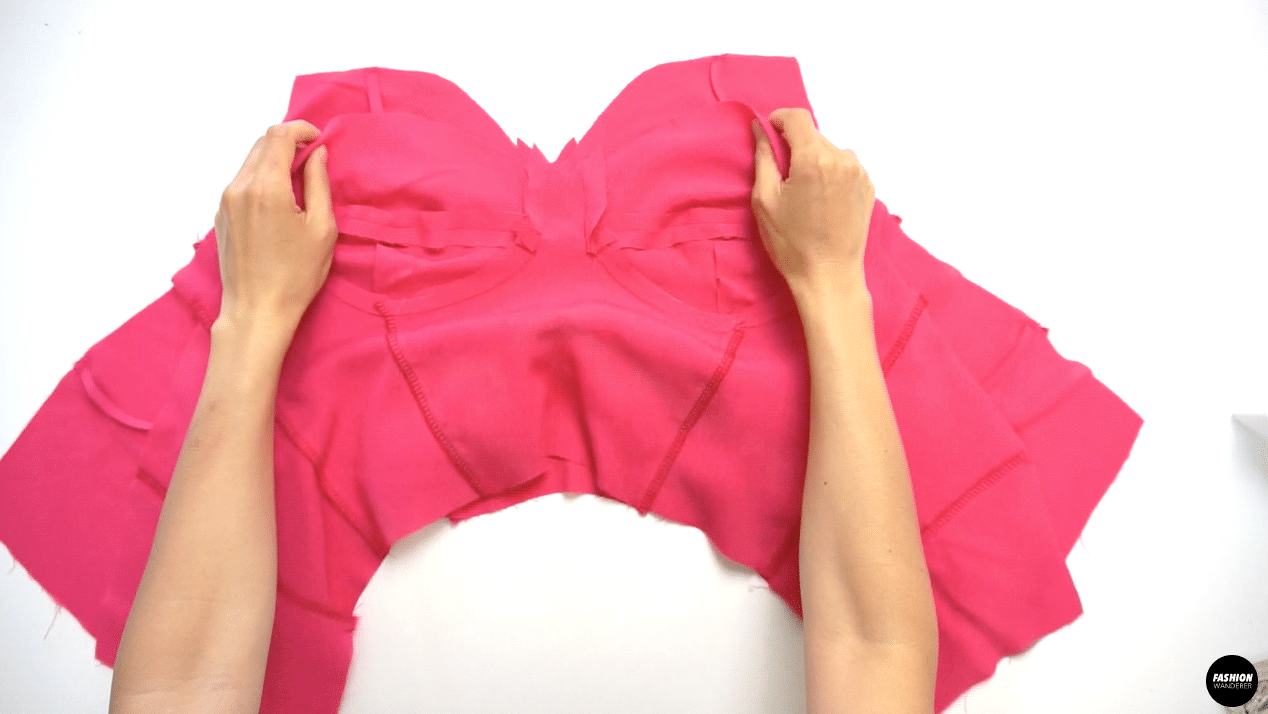
Assemble Lower Side Bust, Lower Front Bust pattern pieces and Upper Bust pieces. Straight stitch to join the seams to make into bustier cup. Trim any extra seam allowance along the curve to meld when ironing the seam open.


Place the Center Front and Side Front pieces facing each other to ⅜” width seam allowance stitch and finish with overlock stitch. Join the Side Back and Center Back pieces with same sewing method. Press the seam allowance alway from center front and center back.
Place the Bustier Cup onto the Bustier Bodice to join with ⅜” width and press the seam toward the bust cup.
Use bias cut fabric for shoulder strap to add to the right side of the bodice by stay stitching the position. Lay the right side of the lining bodice on top of outer bodice and straight stitch ⅜” width along the neckline. Fold the lining bodice toward inside and press with iron along the neckline.


Transfer the point and leg darts on Back Skirt, Front Right Skirt, and Front Left Skirt pieces with water erasable pen. Sew along the marked line and finish the stitches by tying a knot at the end of the stitch.
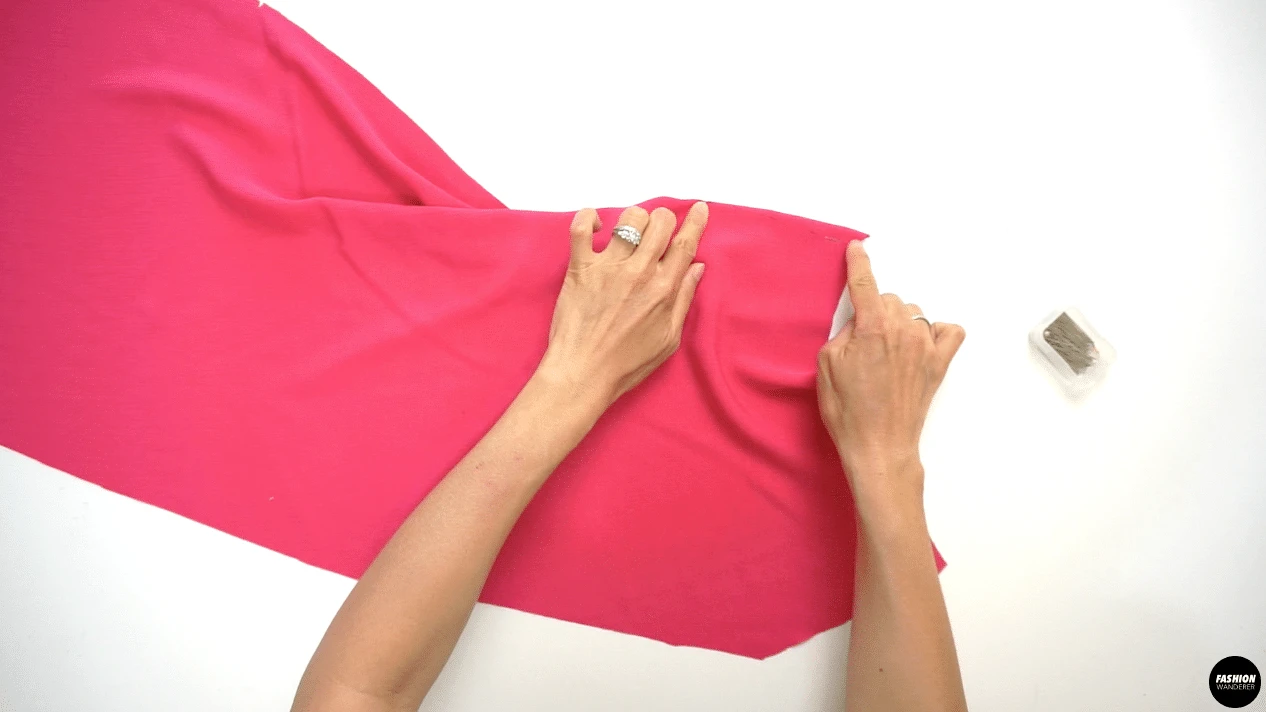
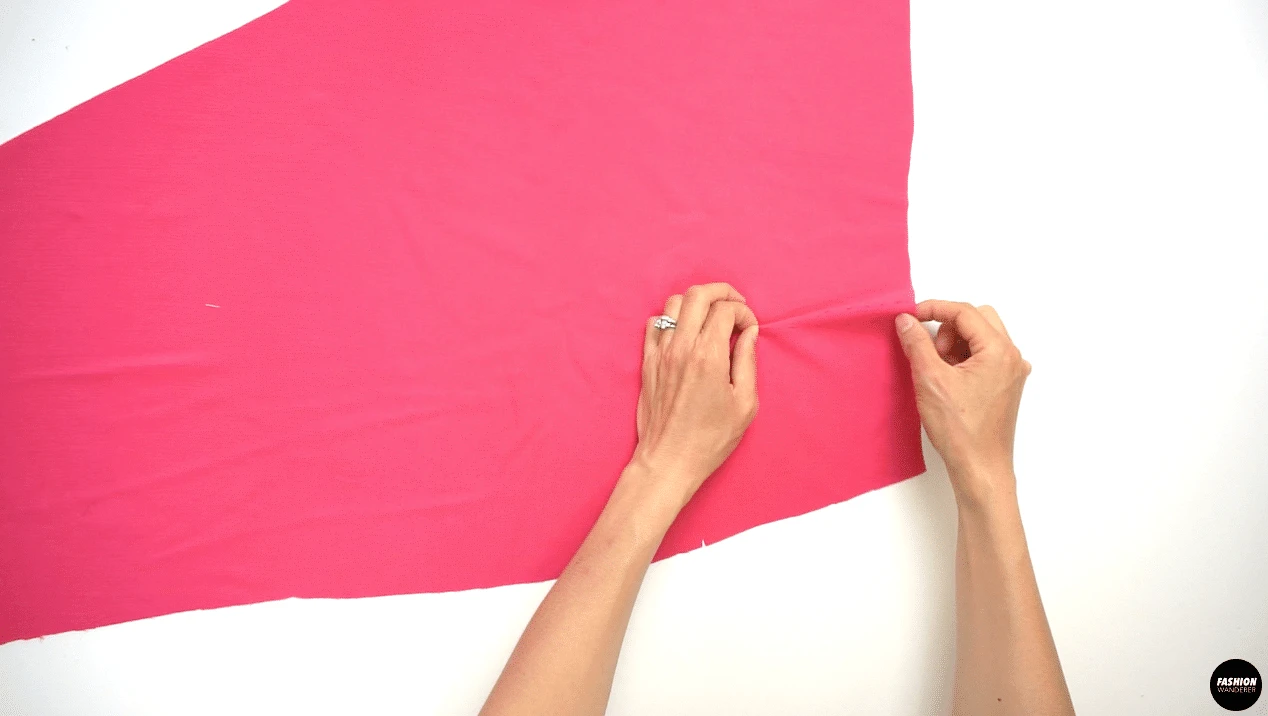
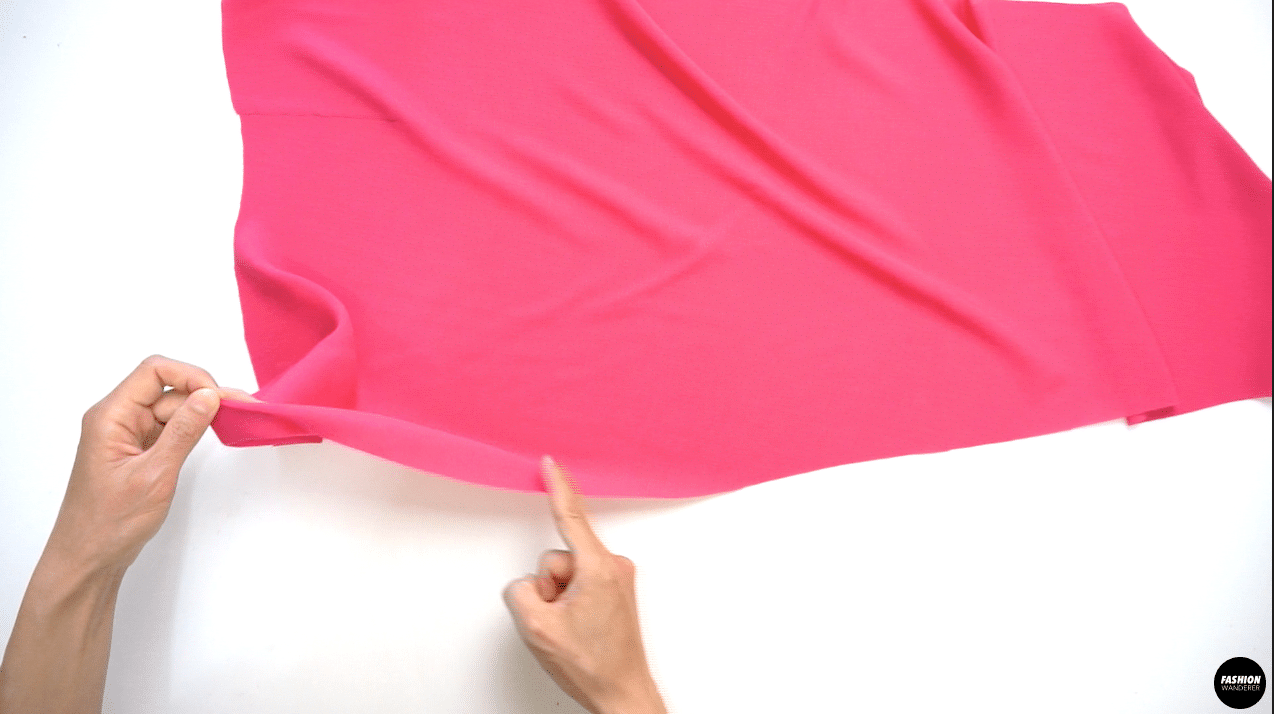
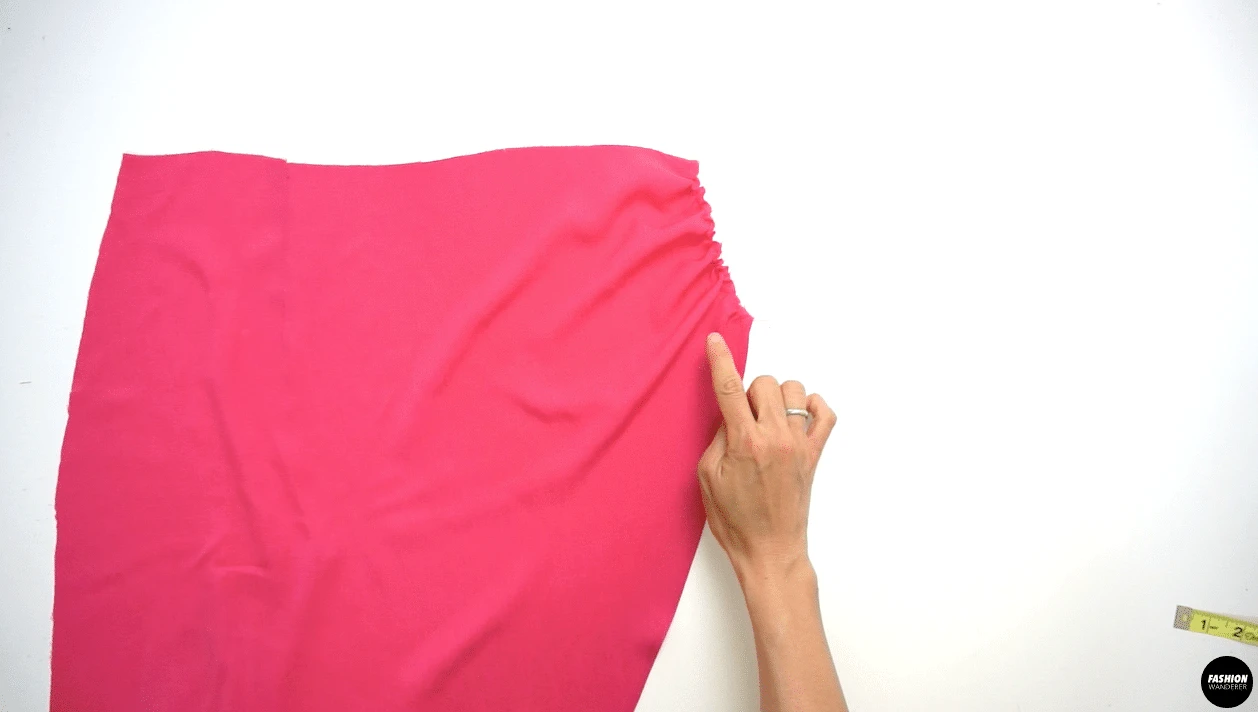
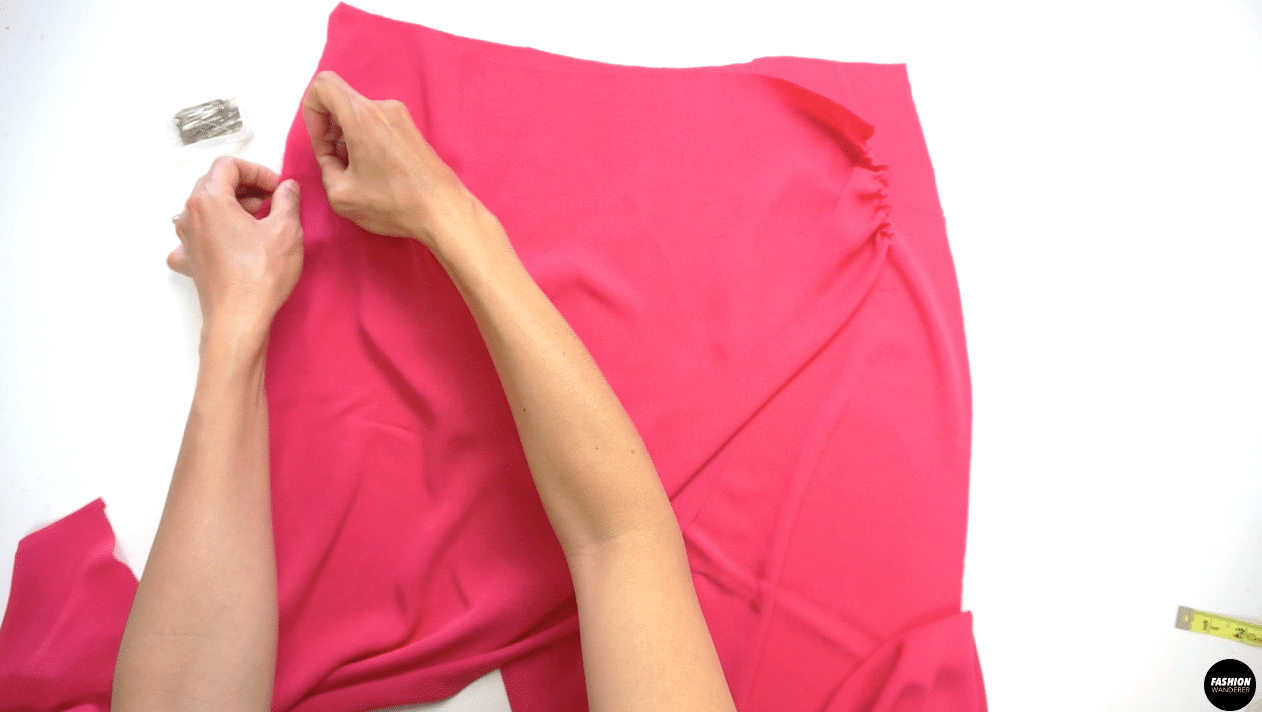
With wide stitch length, sew straight along the side of Front Right Skirt to create gathering that is 5½” long. Lay the Front Right Skirt on top of Front Left Skirt and sew side seams to secure.
Join the Front and Back Skirt together by facing right side, sew ⅜” seam allowance and overlock stitch along the edges.
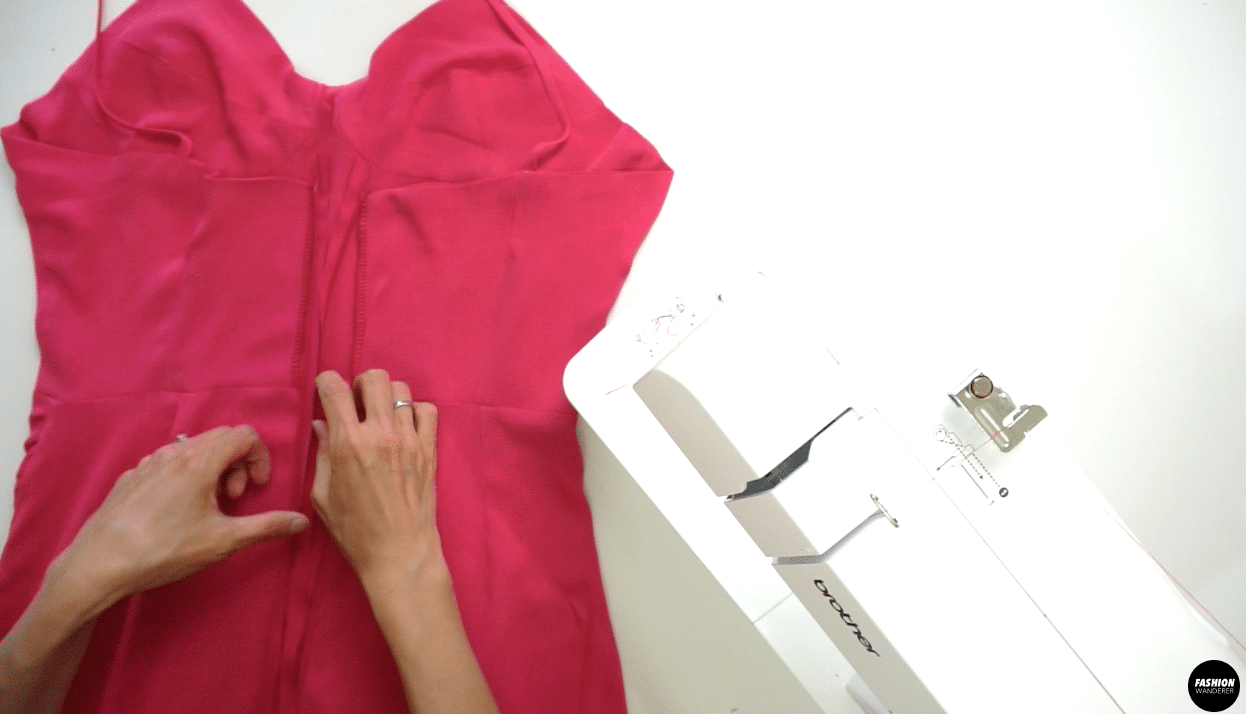
Lastly, place right side of the Top Bodice and right side of the Skirt to sew along the waistline. Close the center back seam of the skirt and sew invisible zipper to the dress. Finish with narrow hemming along the hemline of the dress.


DIY Bustier Midi Dress Sewing Tips


Sewing a bustier top bodice with seams does look complicated, and making fitted bust cups can be challenging. However, this step by step tutorial teaches you how to straight stitch to create the beautiful bustier top bodice and use manual gathering method on the side of the skirt to drape nicely on your body.
In addition, you will also learn how to sew invisible zipper and clean finish the neckline doubling up the top bodice front and back so you don’t need to use any other finishing method. Also, you will use special types of hemming to get narrow width to flow nicely around the skirt.
In this sewing tutorial, we will use overlock stitch and straight stitch to join fabric pieces to make it durable and professionally finish seams. However, if you do not own Serger, simply use zigzag stitch to finish the edges to prevent from fraying.
Already downloaded Vera sewing pattern? Review these sewing tips to guide you and help you understand the sewing process easily without going backward and having to rip seams apart to start all over again.
- Sewing Needle: Crinkle rayon is typically pretty slippery and may be a challenge to sew. Avoid using larger needles that can leave holes in your rayon fabric. Instead use smaller sewing needles such as size 65/9 when sewing rayon, and for lightweight weaves, use size 70/10 sharp needle.
- Thread: For crinkle rayon, you may stay with all-purpose or polyester thread to sew seams.
- Stitches: When sewing rayon, use 2 mm stitch length instead of automatic 2.5 mm stitch on your sewing machine. Short length stitches lay nicer since rayon frays very easily. This length helps to prevent any fraying happening beyond the seam line. Also, if you are looking for finishing method other than zigzag or overlock stitch, use french seam technique to completely enclose the frayed seams.
- Zipper: For this tutorial, we will be using invisible zipper to make the dress seamless at the back. Use a zipper foot to make it happen. Always iron the zipper tape prior to attaching, and close the center back first to get even sewn on both sides of the zipper teeth.
- Loop Turner: Even though the fabric is very lightweight, always trim the extra seam allowance in half to easily flip the strap inside out with a loop turner. Also, iron to flatten the loop to get nice shoulder straps that actually sit on the body.
Additionally, silky crinkled rayon fabric layers can shift due to the slippery nature of these fabrics.
So, use walking foot to avoid from shifting layers while sewing. This special sewing machine foot will feed the layers through the machine at the same time.
When cutting the fabric, use tabletop scissors. A pair of sharp fabric scissors are perfect to cut slippery fabric accurately.
Due to the lifted handle, you do not need to lift the fabric up as you cut and let the scissors cut along the exact pattern shape.
For more help to cut the fabric, use spray starch on your cut fabric pieces to make the fabric more stable for cutting and sewing pattern pieces together.
Ensure to check the pattern when working with slippery rayon fabric by unpinning your pattern pieces from the fabric after cutting, and re-lay the pattern piece on top of fabric again to see where the fabric have shifted to trim if needed.
Use these sewing tips and cutting techniques to complete the Vera dress without any mistakes. As always, reach out if there is any way we can help!

How to make DIY Bustier Midi Dress
Have you made bustier midi dress that fits you like a glove? If it is your first time sewing a dress with boning-less bustier bodice and high slit detail silhouette, you will fall in love with this sewing pattern and easy to follow instructions.
This Vera dress features a fitted bustier bodice silhouette and slim fitting midi length faux wrap skirt with a high slit. If you are new to sewing bustier bodice or wrap midi skirt with gathering on the side, simply follow the sewing pattern.
The detailed tutorial will help you accomplish the elegant and sophisticated year round dress to add to your DIY wardrobe.
Materials
- Vera Dress Sewing Pattern
- 100% Silky Crinkle Rayon 3 yards for 49” width or 2 yard for 60” width
- 20” Long Invisible Zipper
Tools
- Sewing Machine
- Serger
- Straight Pins
- Fabric Table Top Scissors
- Zipper Foot
- Loop Turner
- Measuring Tape
- Disappearing Fabric Pen
- Pins
- (Optional) Walking Foot
Instructions
For this Vera dress tutorial, start by assembling the pattern pieces.
4 pieces of Upper Bust
4 pieces of Lower Side Bust
4 pieces of Lower Front Bust
2 pieces of Center Front Top
4 pieces of Side Front Top
4 pieces of Center Back Top
4 pieces of Side Back Top
1 piece of Front Right Skirt
1 piece of Front Left Skirt
2 pieces of Back Skirt
2 pieces of Spaghetti Shoulder Strap
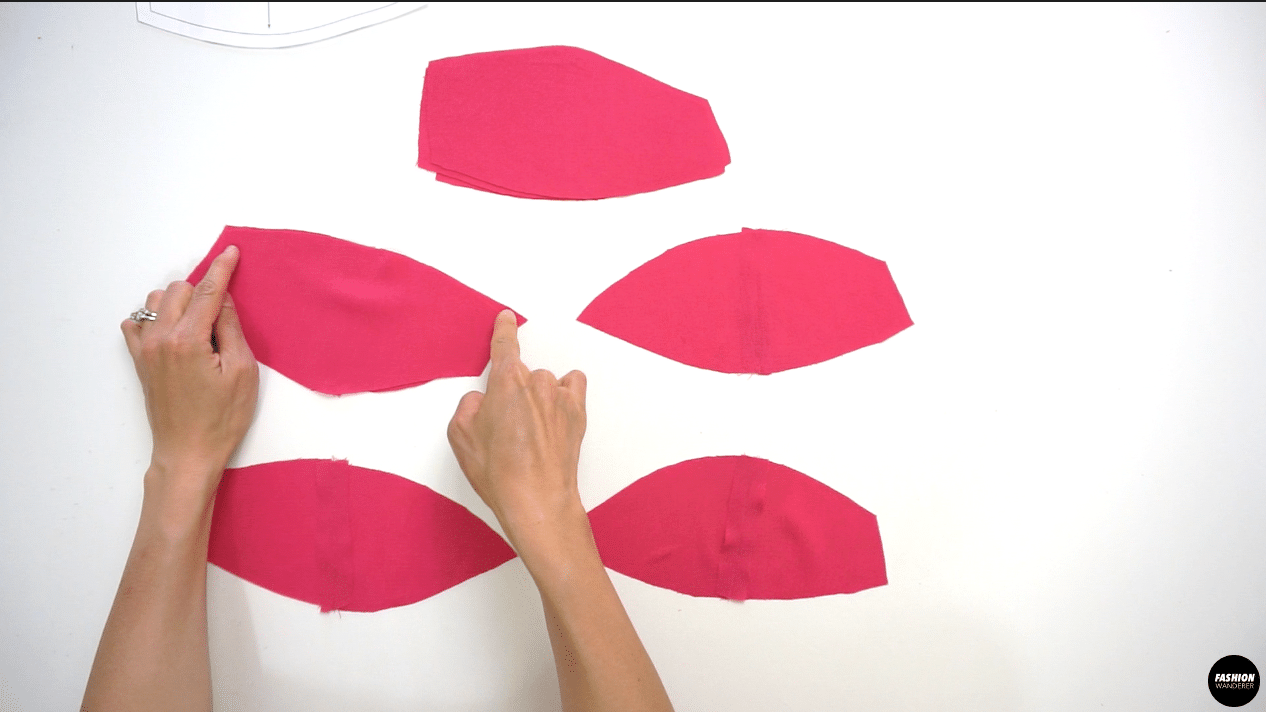
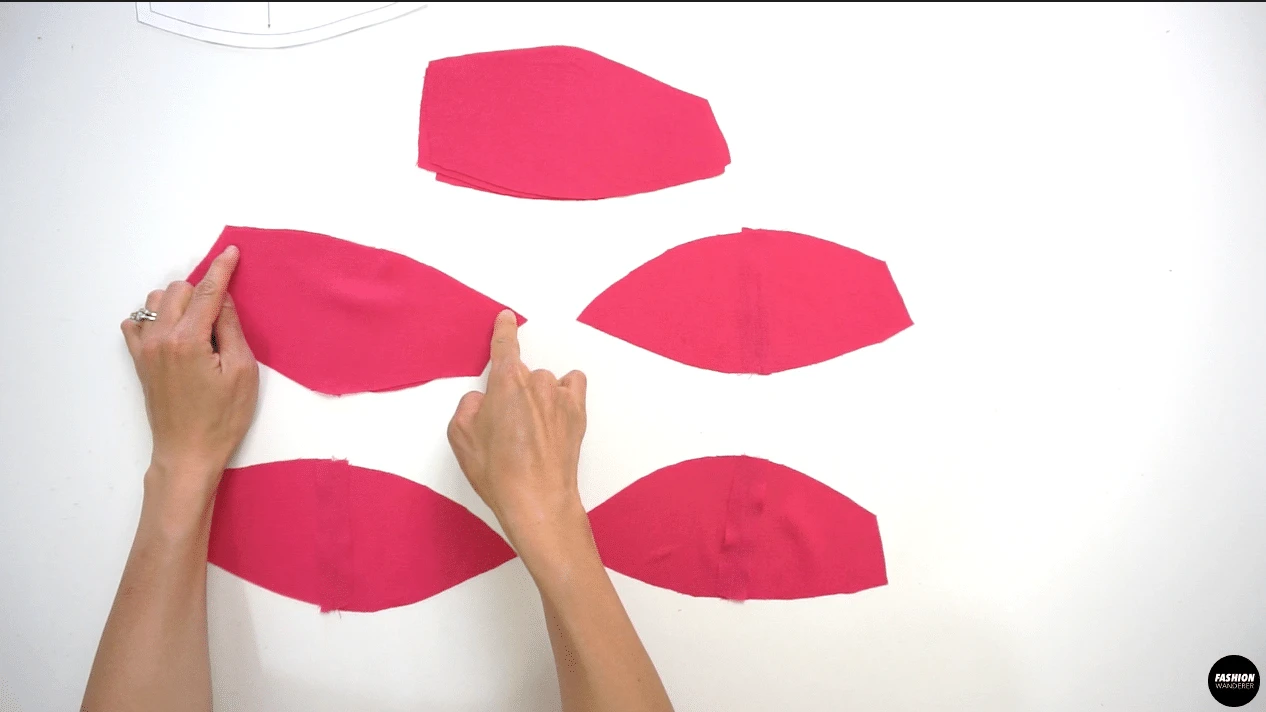
How to Make Bustier Cup Shape
- Place the right side of Lower Side Bust and Lower Front Bust pieces facing each other, then ⅜” stitch along the seam allowance. Trim the seam allowance into ¼” width and press the seam open with iron.
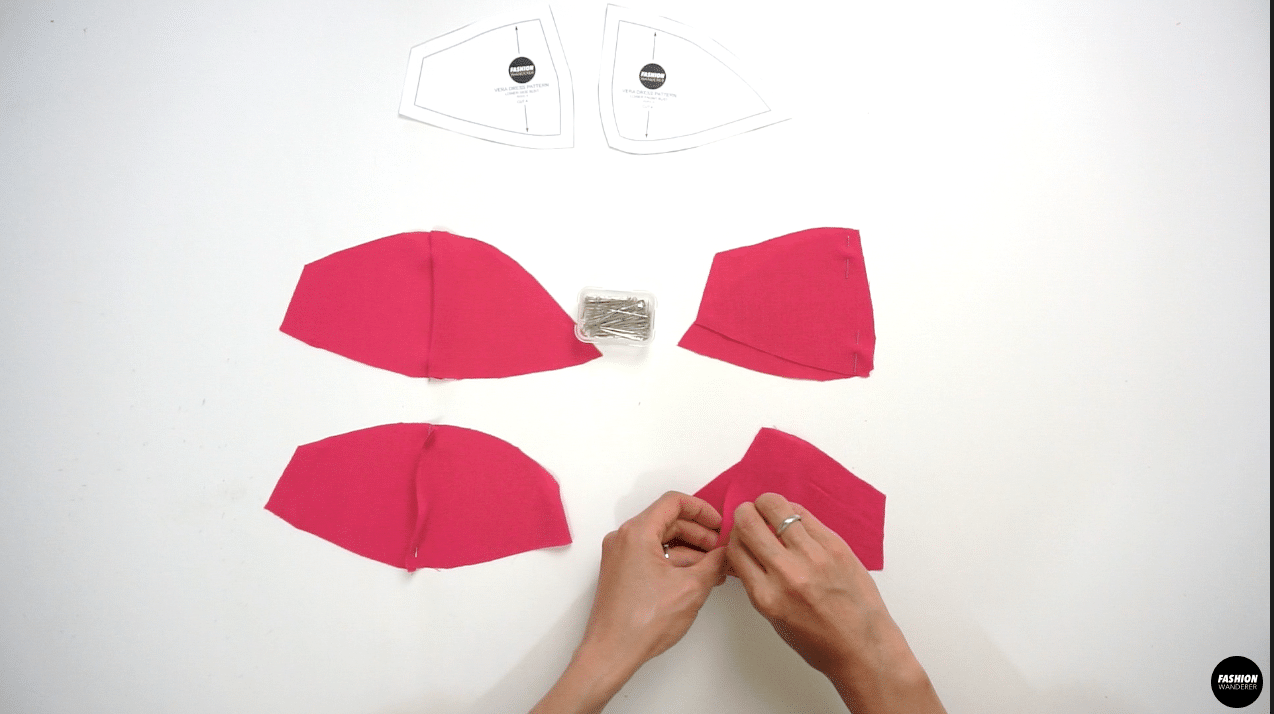
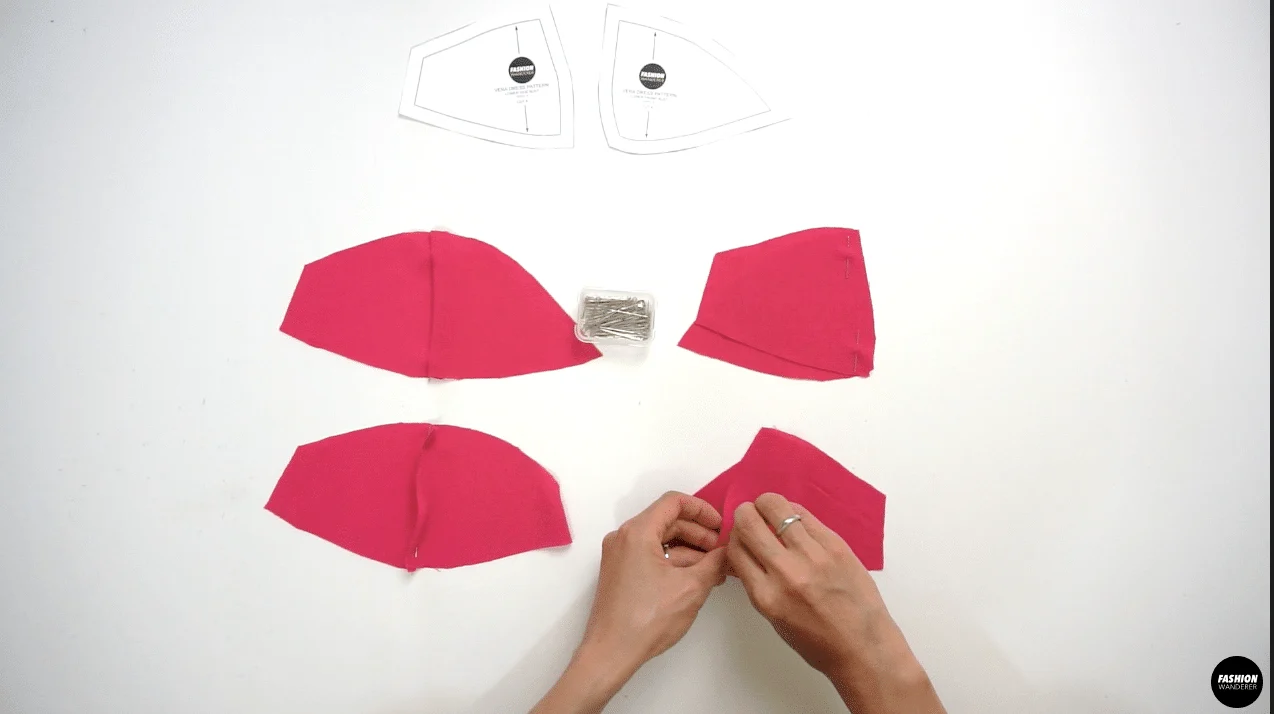
- Next, place right side of Upper Bust on the joint Lower Bust pieces and ⅜” stitch along the curved line. Trim the seam allowance into ¼” width and press the seam open. Apply these steps to the remaining cup pieces.
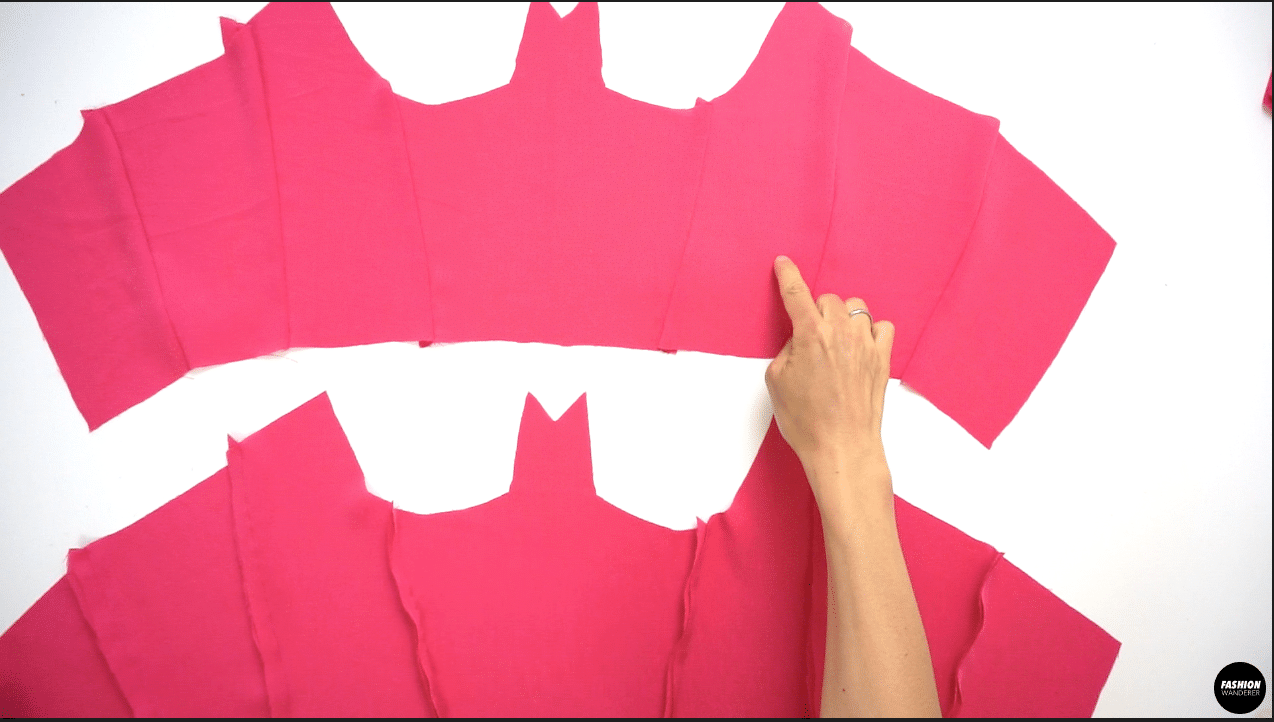
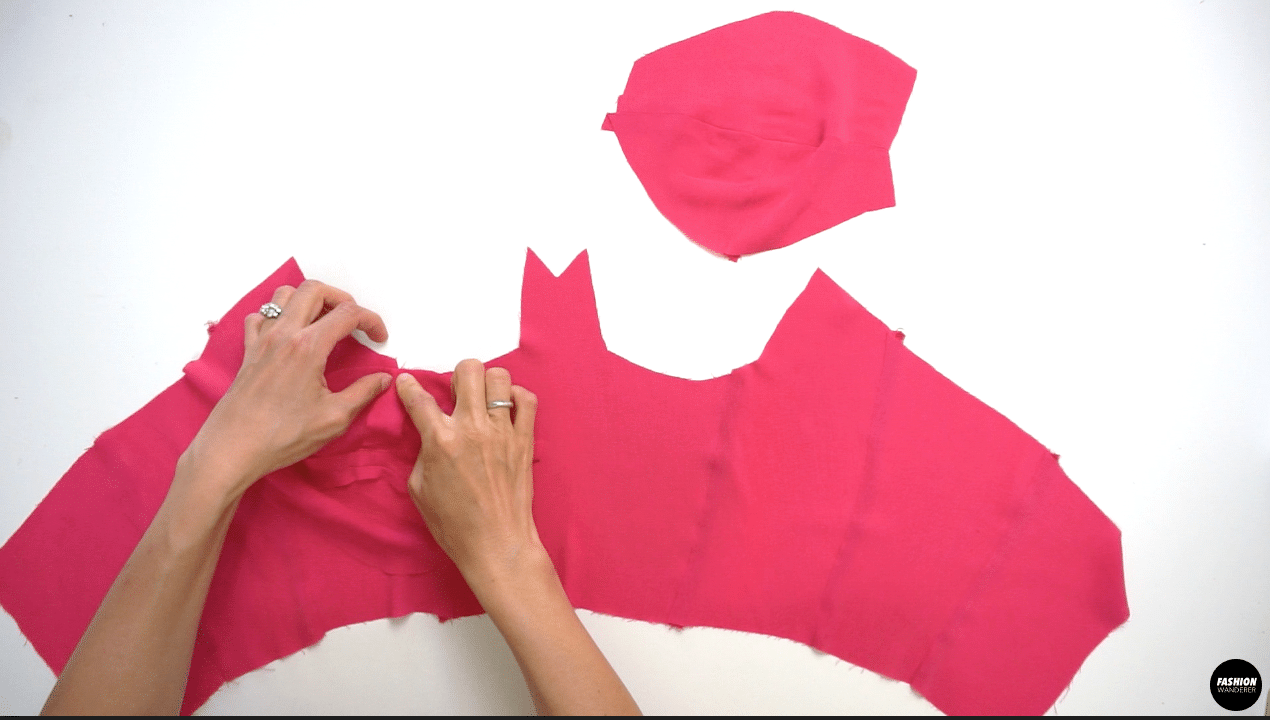
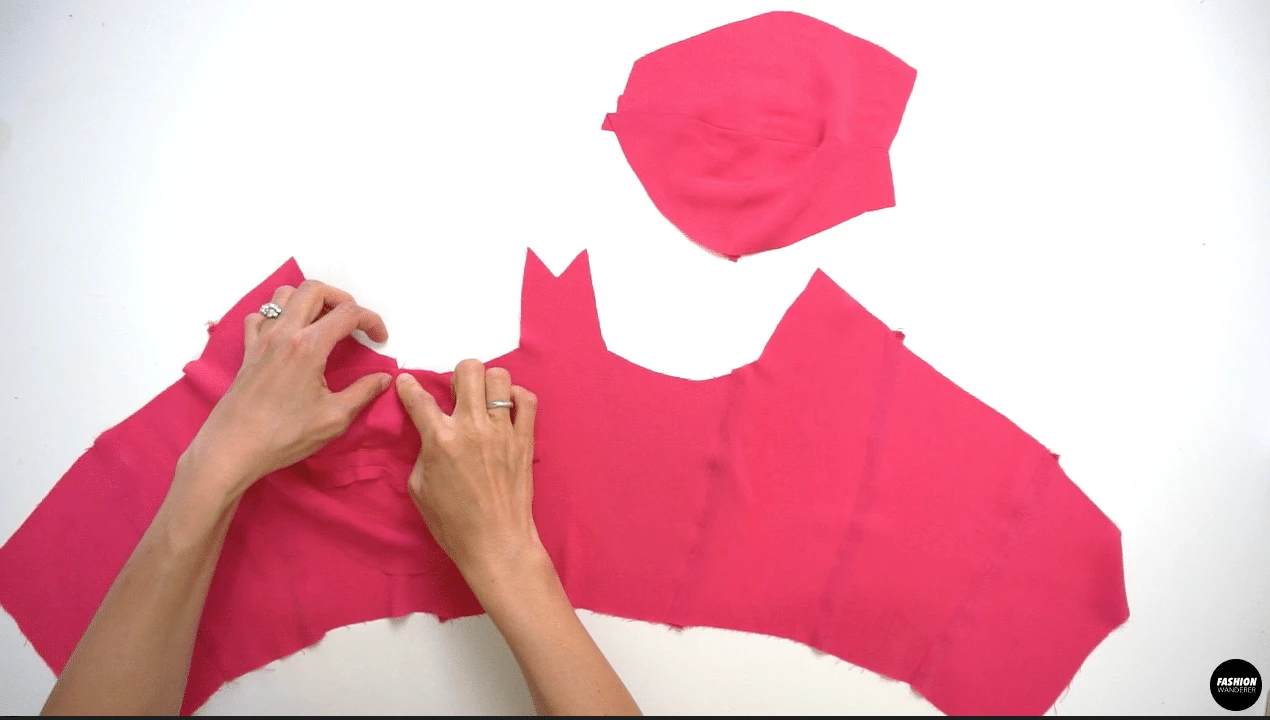
How to Sew Bustier Bodice
- Lay the Center Front piece facing up and place the Side Front piece facing each other to stitch ⅜” width; finish with zigzag stitch on both princess seams.
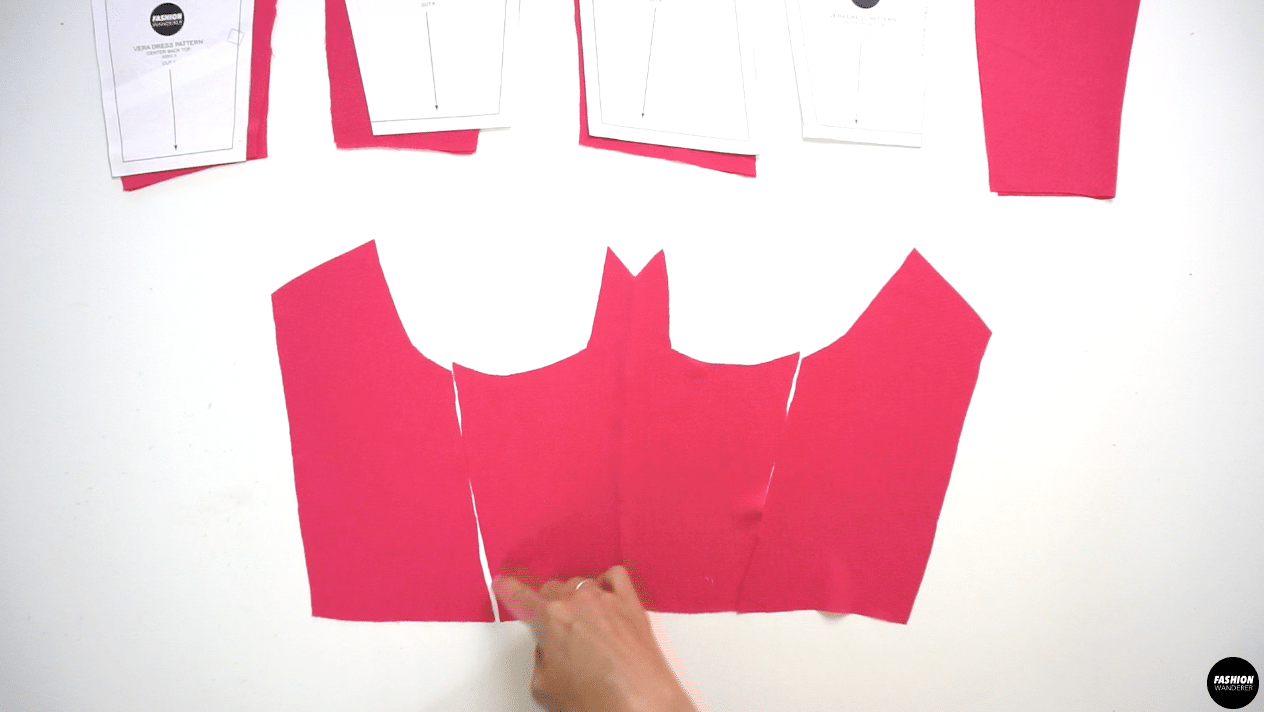

- Add Side Back and Center Back pieces to stitch ⅜” width and overlock to finish. Press the joined seams away from the center front.

- Place the right side of the completed Bustier Cup on top of the Front Bustier Bodice and stitch ⅜” width to join. Press the seam allowance toward the bust cup on both sides.
How to Assemble Top Bodice
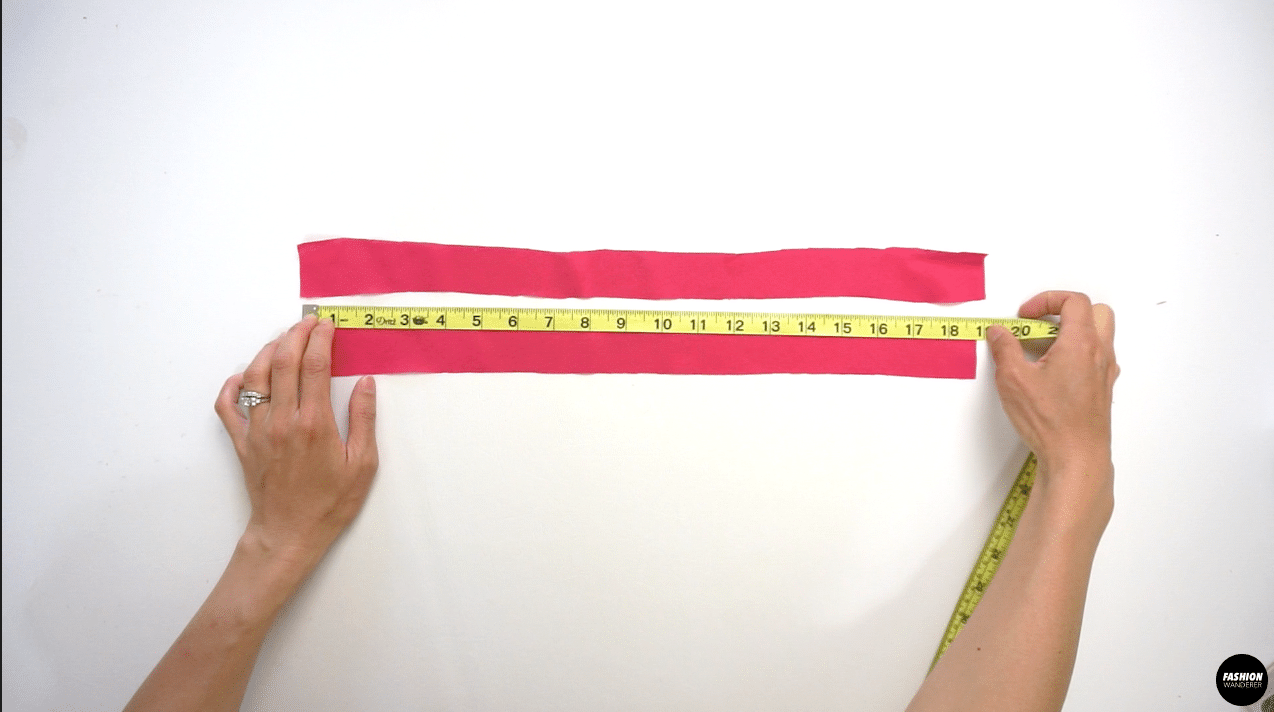
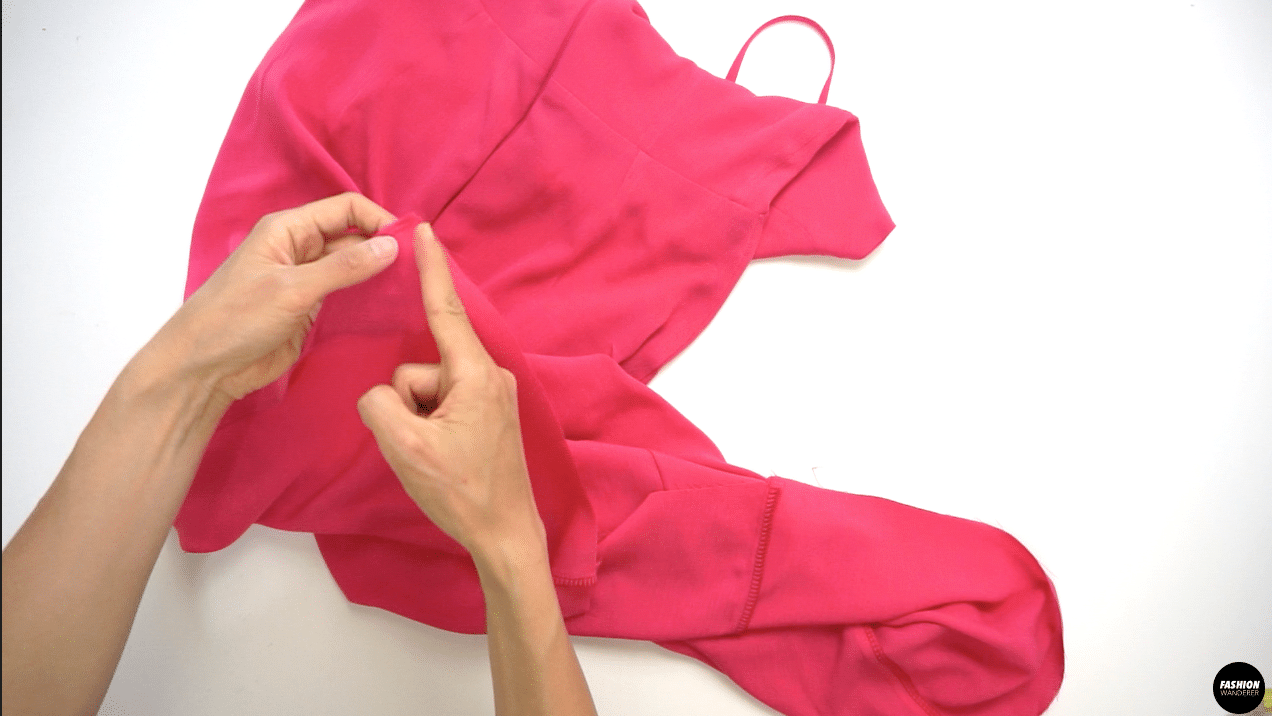
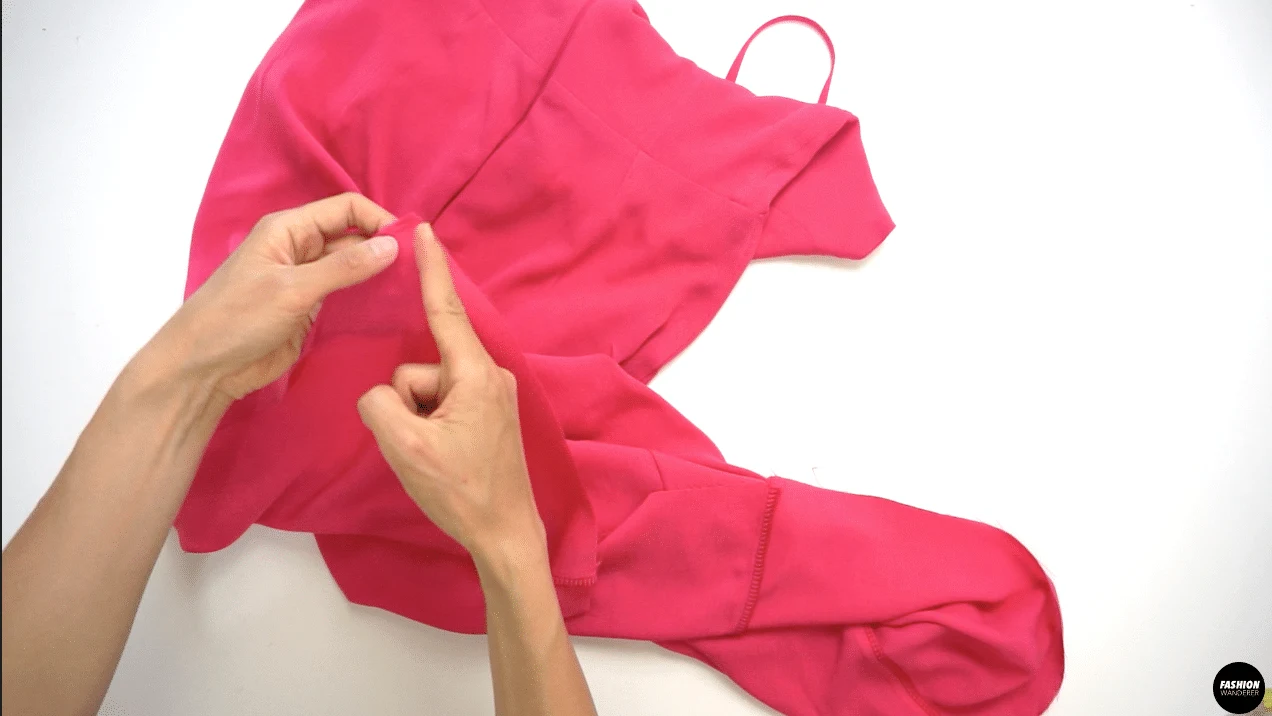
- Cut 2 pieces of 1½” width by 19” long fabric straps that are cut on bias. Fold the straps right side facing each other and sew straight ½” width. Trim the seam allowance so the finished edges will be ⅛” width remaining. Use a loop turner to flip the strap inside out and iron the strap flat.

- Lay the shoulder strap on end to the right side of bodice along the notch on Upper Bust piece and the other end of strap on the princess seam of back bodice, pin to secure and straight stitch ¼” width back and forth to secure the strap position to the bodice.

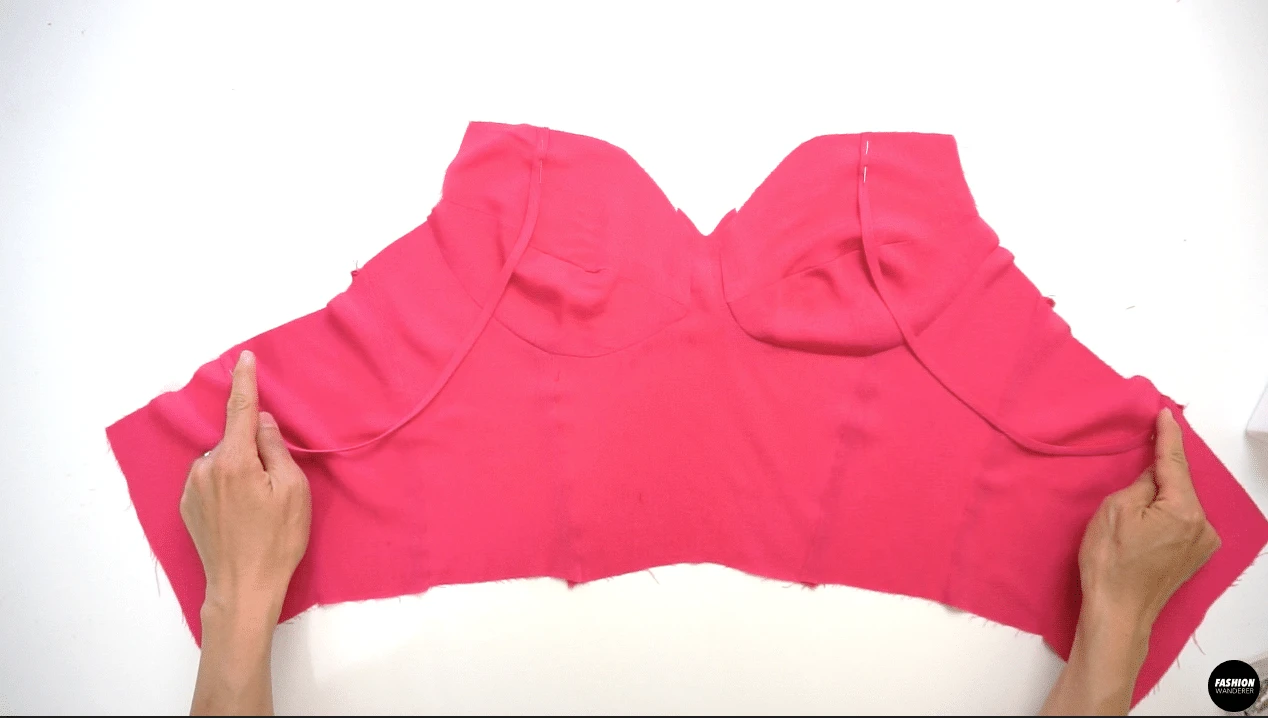
- Next, lay the lining of the top bodice facing right side together and stitch ⅜” width along the top edge. Flip the lining inside and iron to flatten the front and back neckline edges.

How to Sew Faux Wrap Midi Skirt
- Transfer the darts on the back skirt from sewing pattern to the fabric by pushing a pin through the dart point position. Then, use water erasable pen to mark the leg of the dart so it is easy to sew the dart. Start by sewing from dart leg to dart point in one straight stitch. At the end of dart point, do not backstitch, instead manually tie a double knot to secure the stitch.

- Next, use the same method to transfer the dart point and leg from Front Left Skirt to the fabric.

- Fold the skirt along the dart right side facing each other and pin the dart point and dart leg.

- Once dart is created, iron the dart toward the side seam and away from the center front. For the back skirt, ensure that darts are facing toward the side seam and away from the center back.

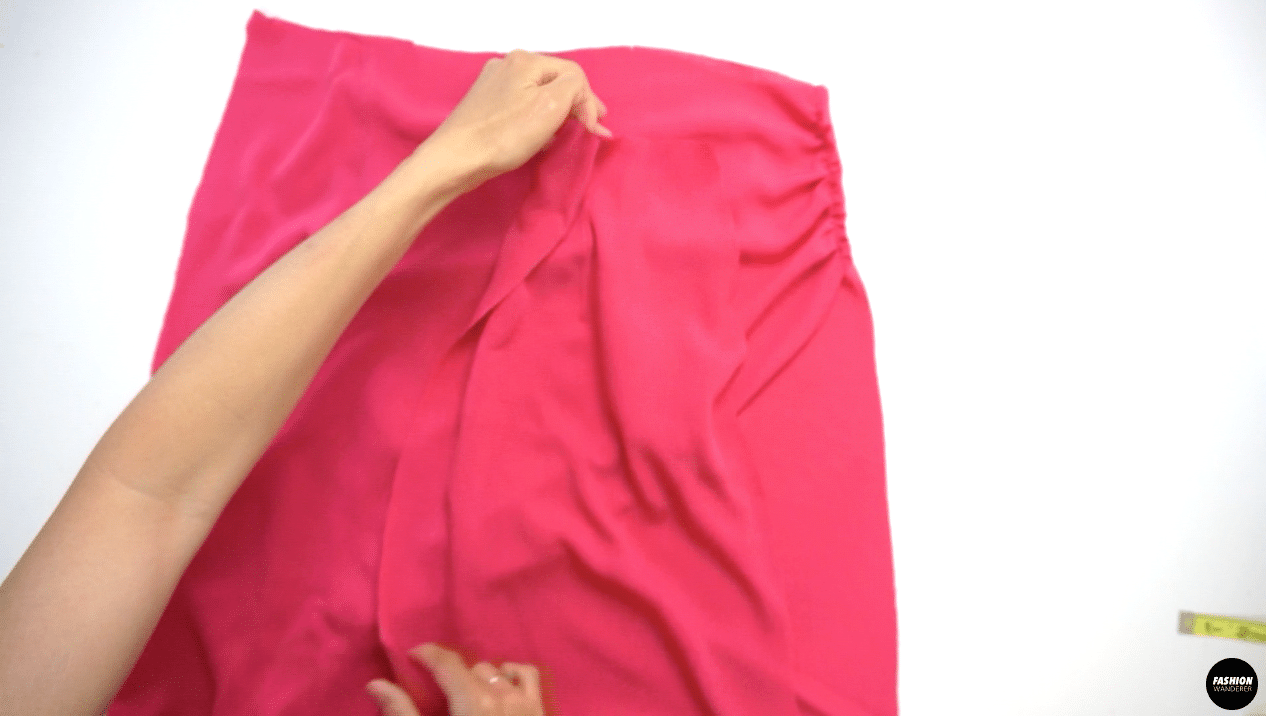
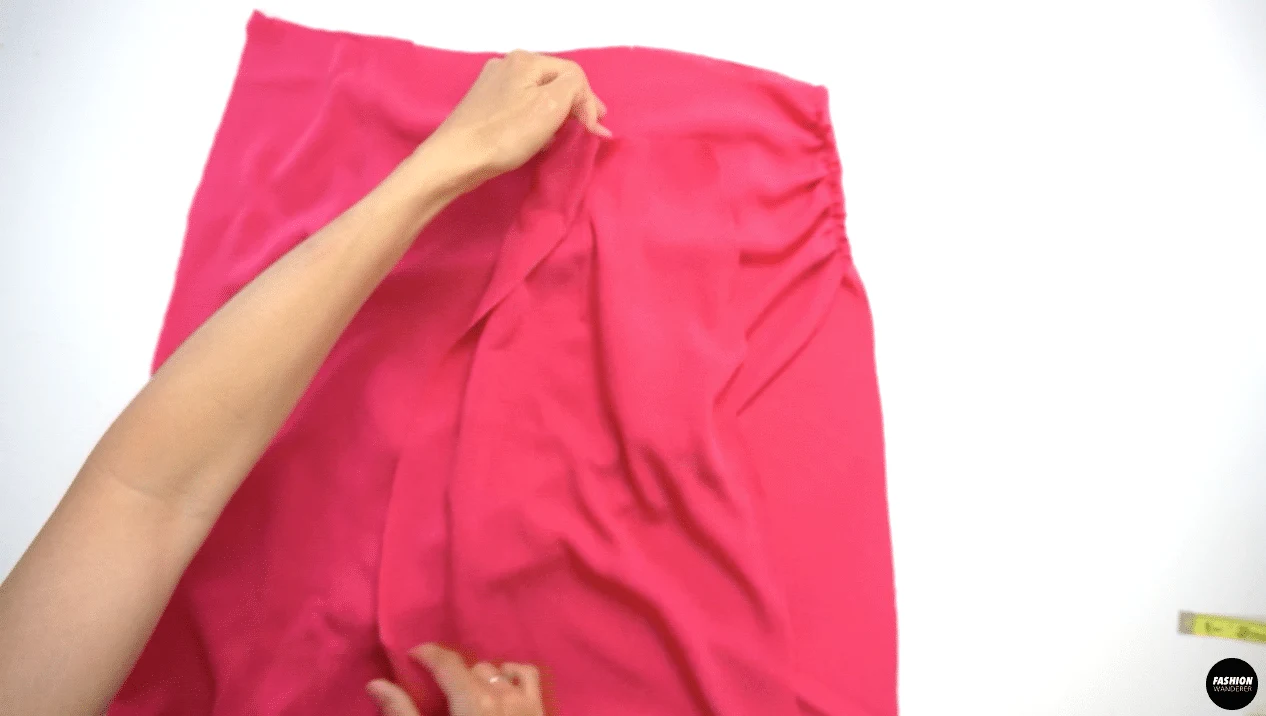
- Finish the edges of the Front Left Skirt pieces by double folding ⅛” width to clean finish. You can manually fold as you sew or use narrow hemming foot to make even hemming.

- Apply same finishing along with narrow hemming on the Front Right Skirt pieces as well. If you see the stitches creating wavy result, give a nice press afterwards to help get rid of the wavy stitches.

- Next, on the side of the Front Right Skirt, sew ¼” width straight stitch with 3.5 stitch length.

- Manually gather the side by gently pulling the back thread so the finished gathering is about 5½” long.

- Place the Front Right Skirt on top of Front Left Skirt, pin along the side seam and stay stitch ¼” width to secure both side seams.

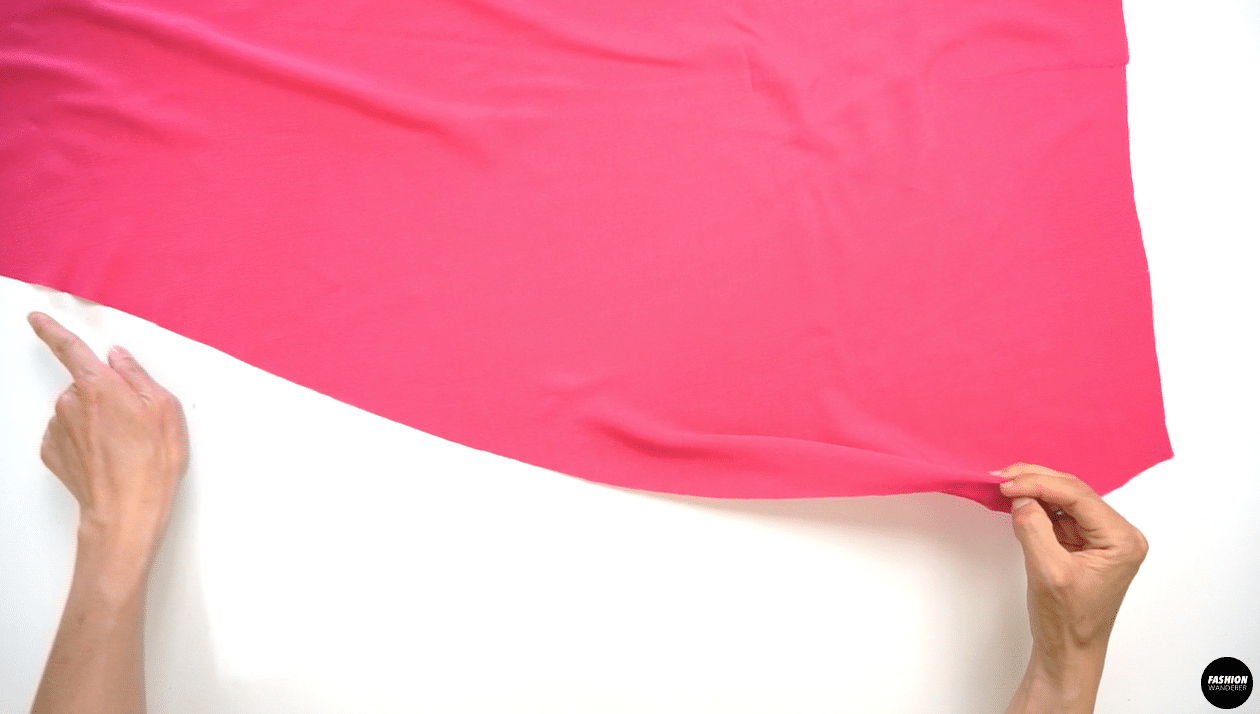
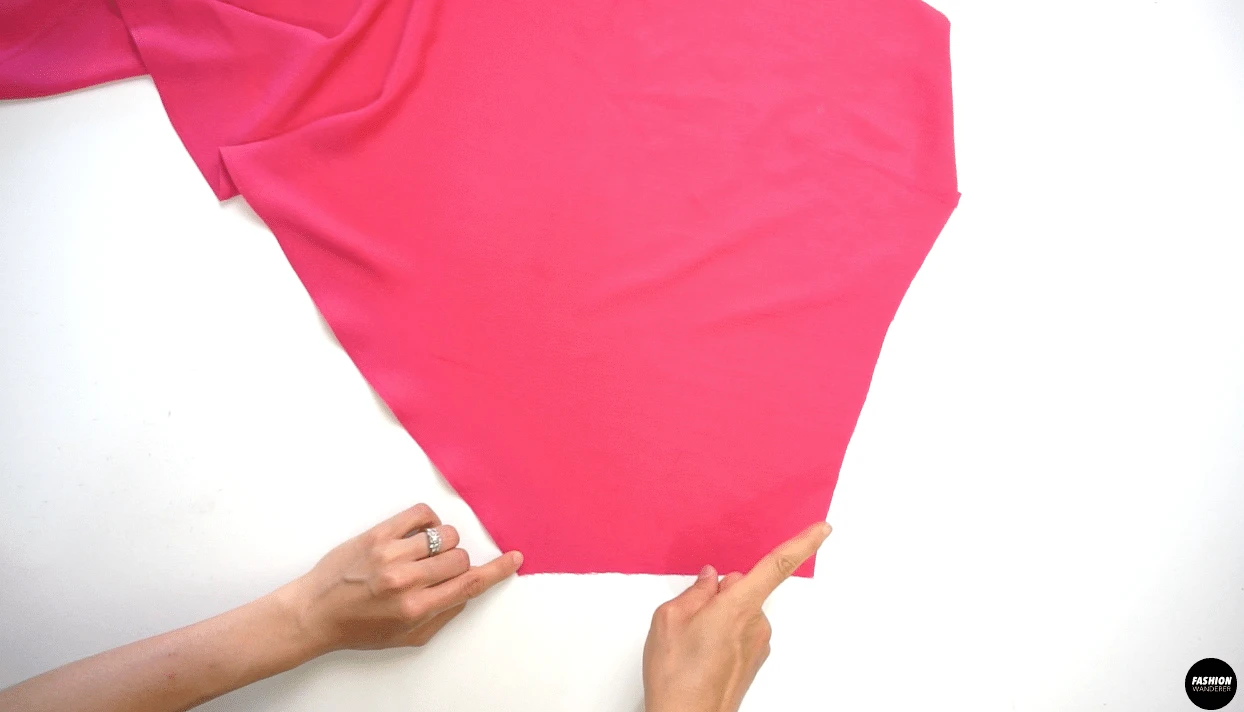
- Place the Back Skirt pieces to the Front Skirt right side facing each other.
- Then, sew side seam with ⅜” width straight stitch and finish with overlock stitch.

How to Assemble Bustier Faux Wrap Midi Skirt
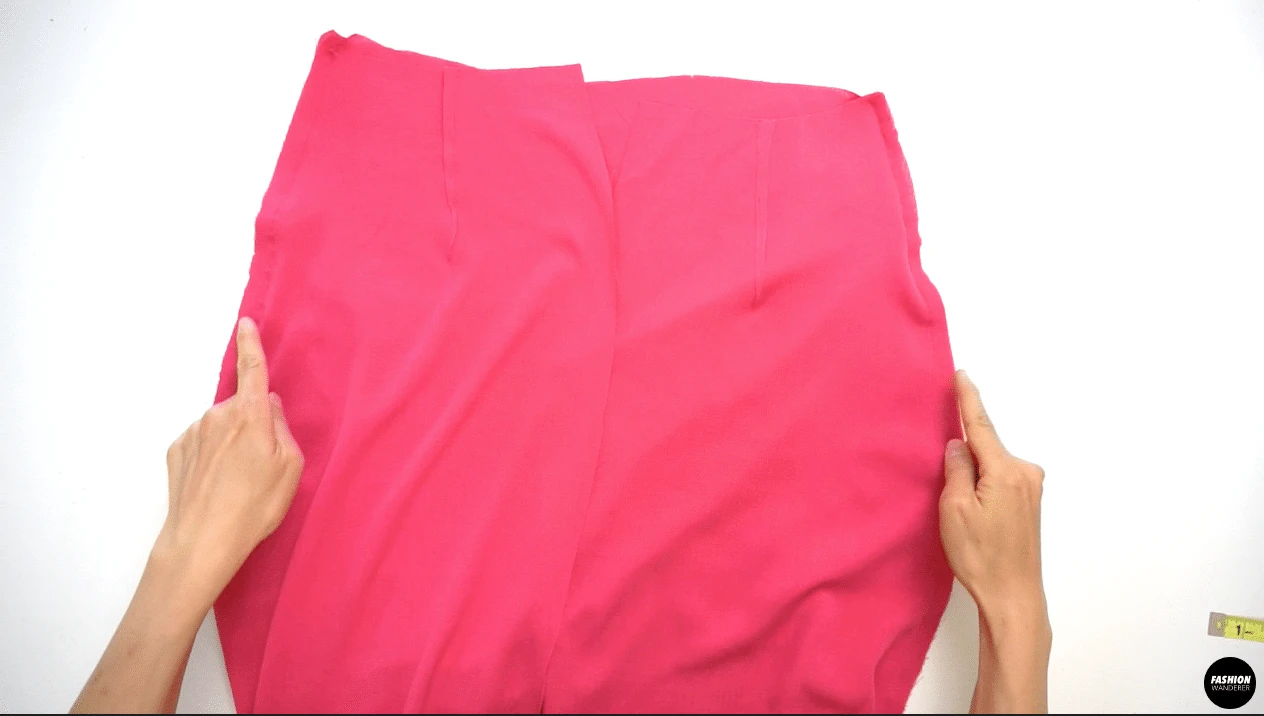
- Place the right side of the Top Bodice and right side of the Skirt facing each other, then pin along the waist seam. Make sure you catch all layers when you pin the front. Straight stitch with ⅜” width and finish with overlock stitch.
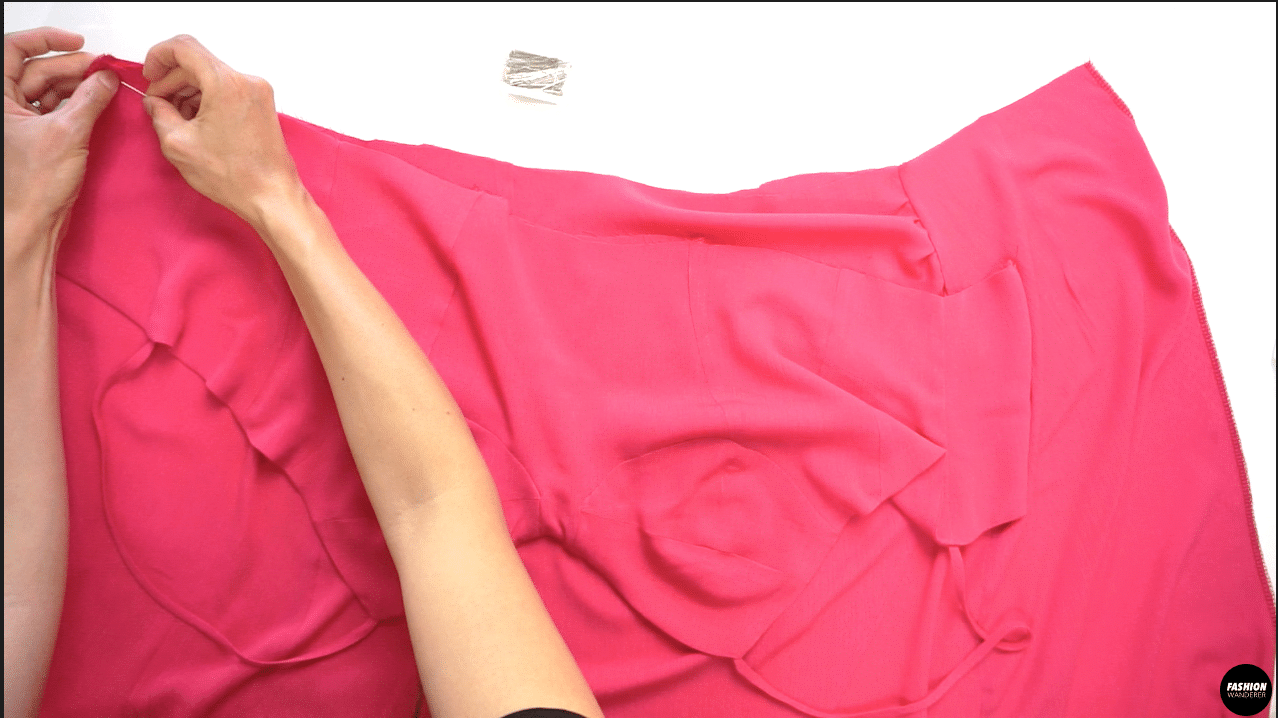
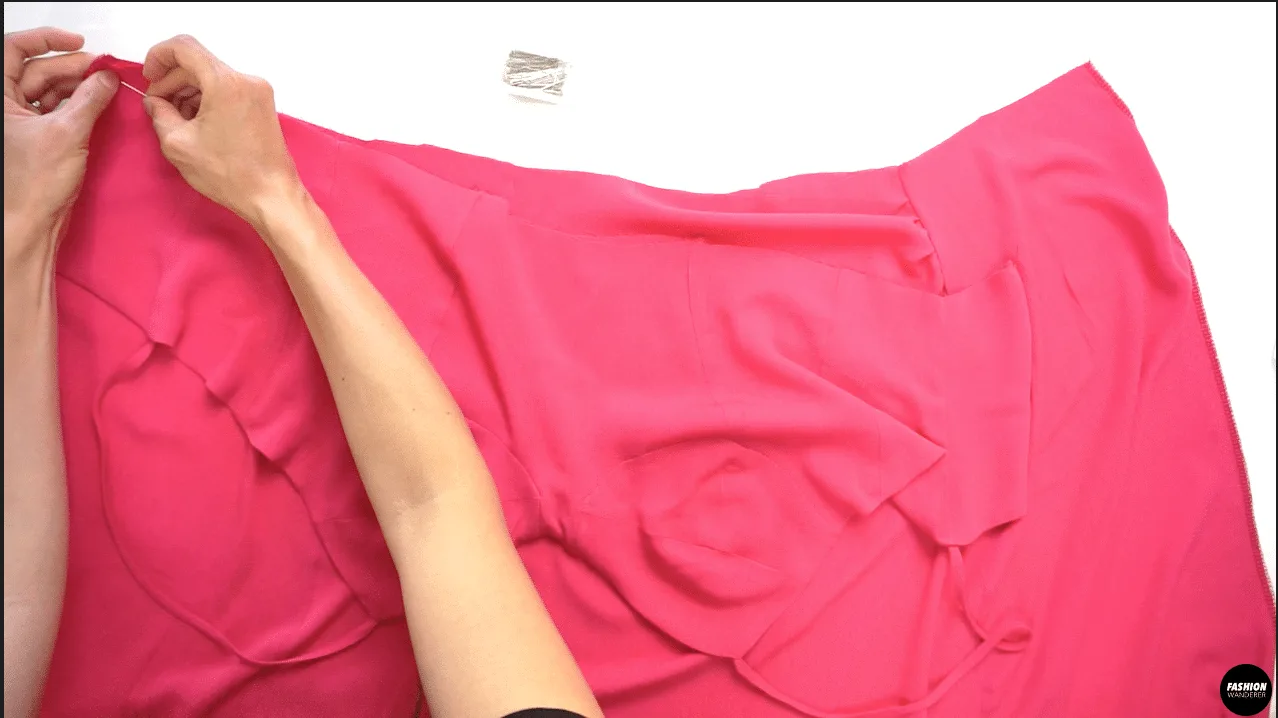
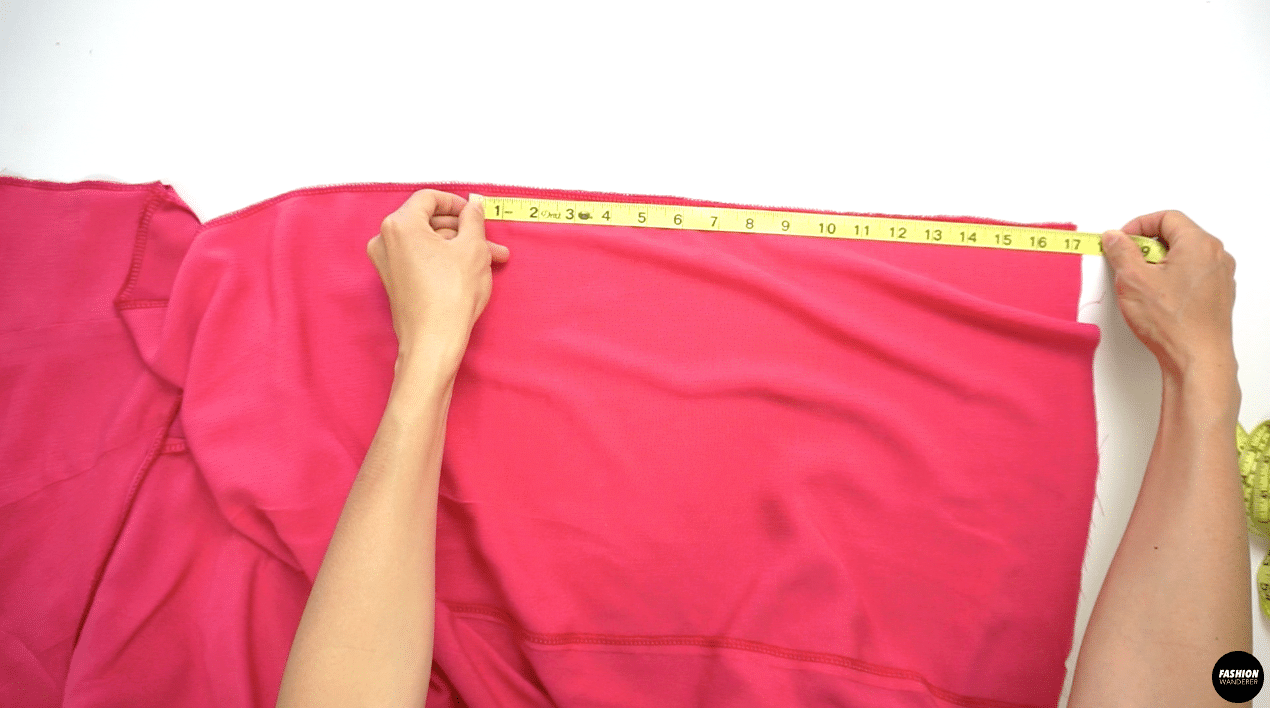
- Close the Center Back seam of the skirt by measuring from the hem to 17” and pin. Straight stitch ⅜” width and iron to press the seam open.

- Press the zipper tape on the wrong side to remove any folds or wrinkles before sewing. Pin the right side of the zipper to the right side of the fabric and sew ⅜” straight stitch. Make sure to leave about ¾” below the zipper stop from the cut edge of the fabric. Close the zipper and slide zipper foot to the left so the needle goes through the other side to sew the left side of the zipper to the dress.

- Lastly, double fold the hemming with ⅛” width and straight stitch around to finish this elegant Vera bustier faux wrap midi dress with high slit.

Recommended Products
As an Amazon Associate and member of other affiliate programs, I earn from qualifying purchases.


Trendy, Affordable Sewing Patterns for All Sizes


Tie Shoulder Jumpsuit Pattern


Palazzo Pants Sewing Pattern


Pocket Overall Romper Pattern


Wrap Maxi Skirt Sewing Pattern


Tie Back Top Sewing Pattern