
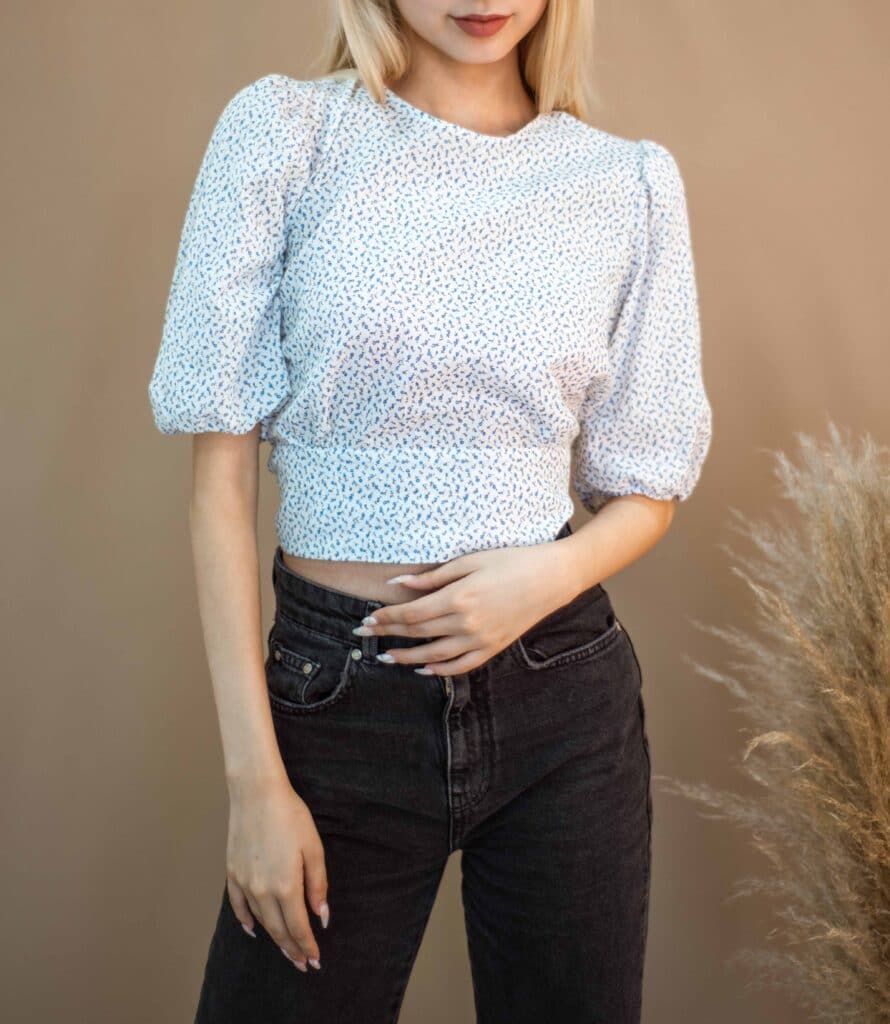
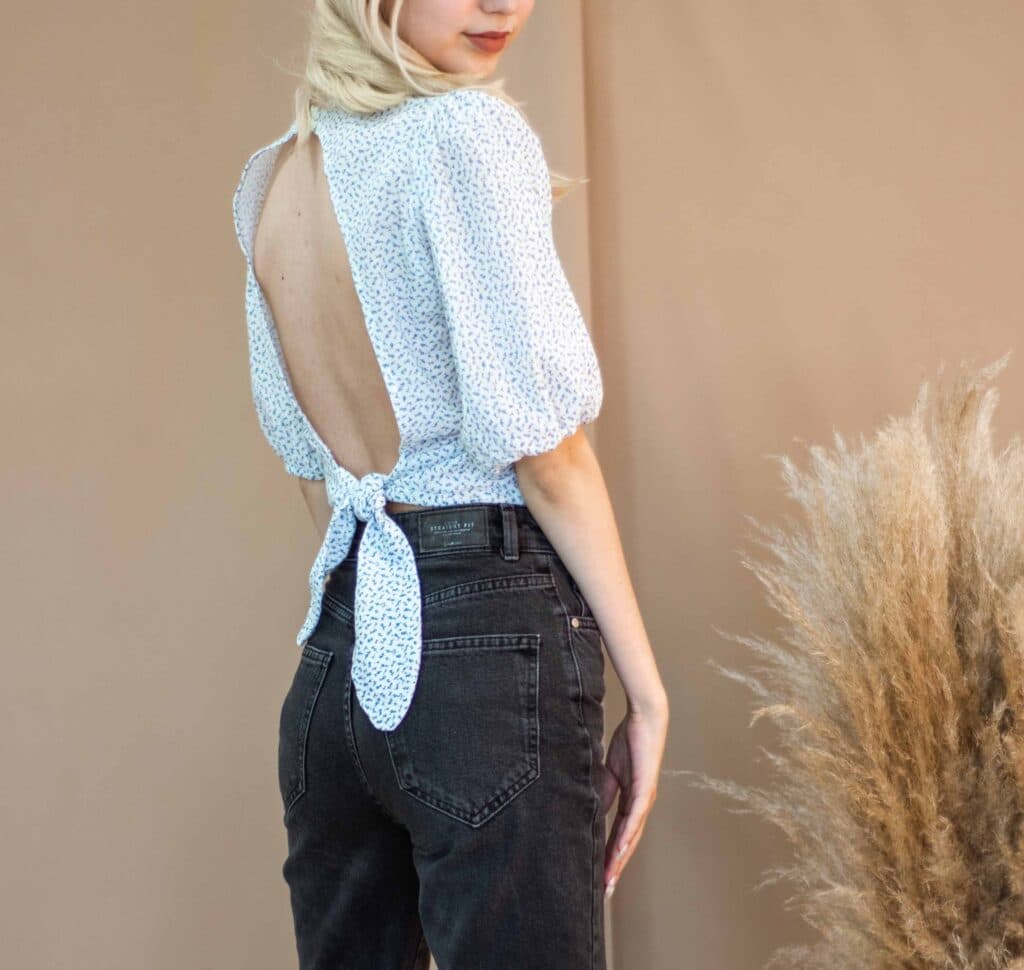
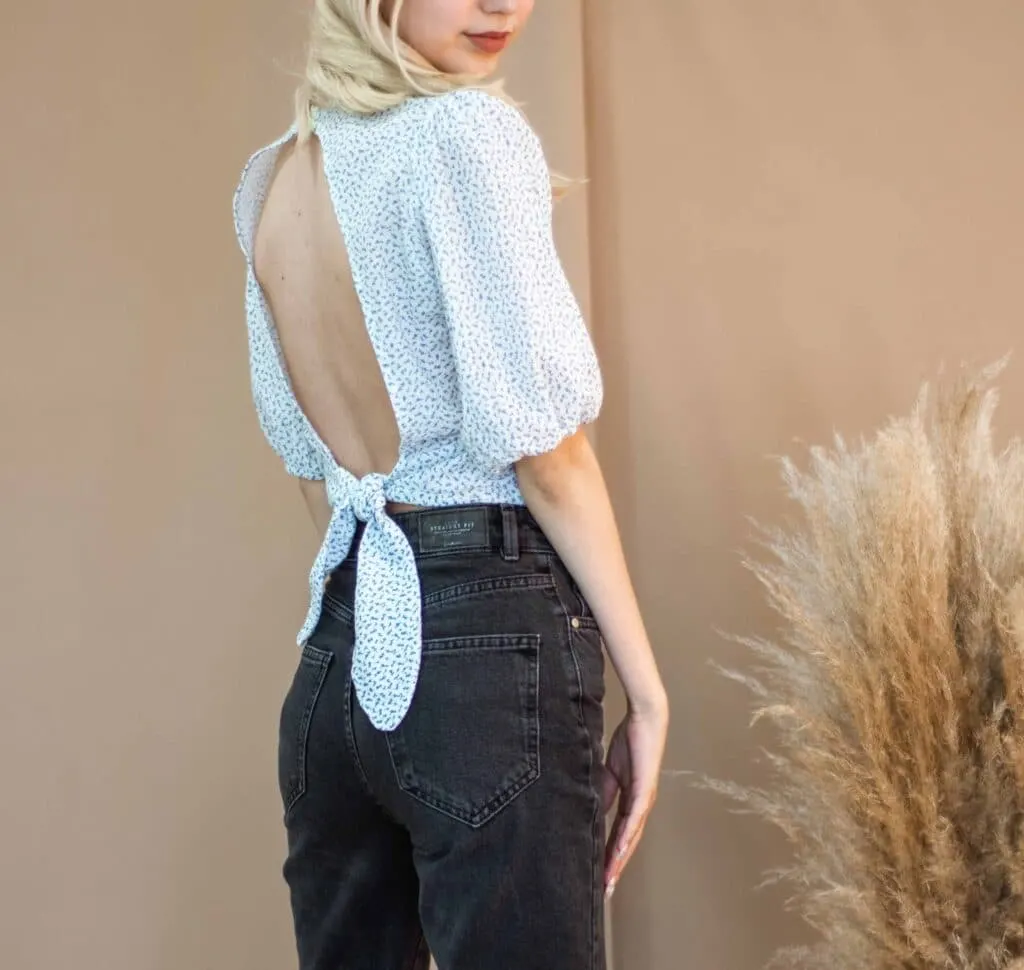
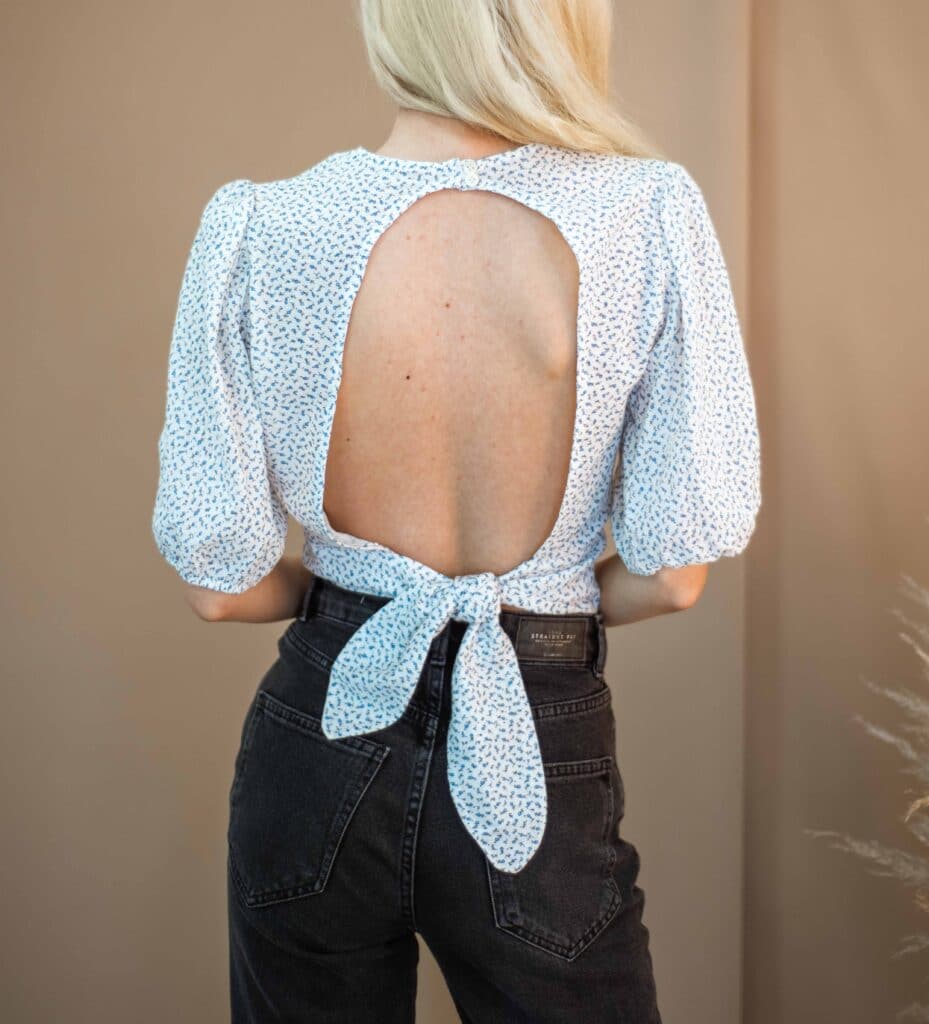
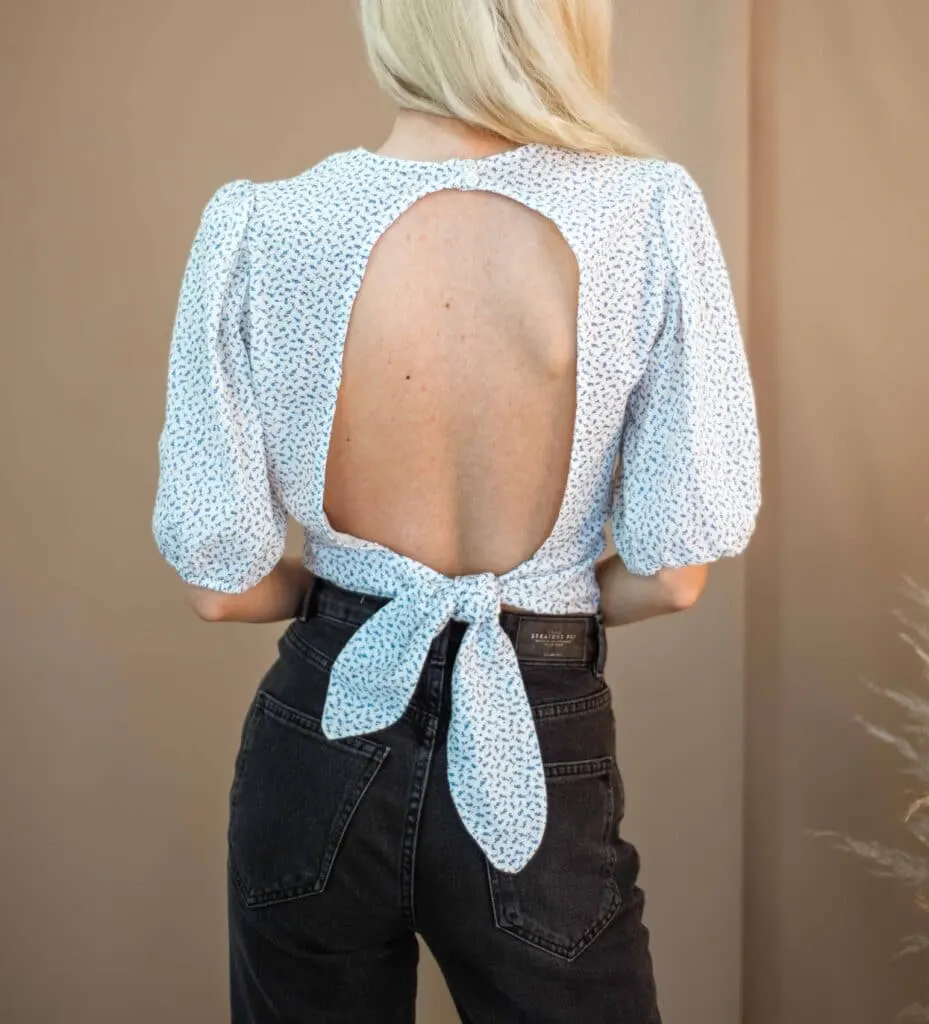
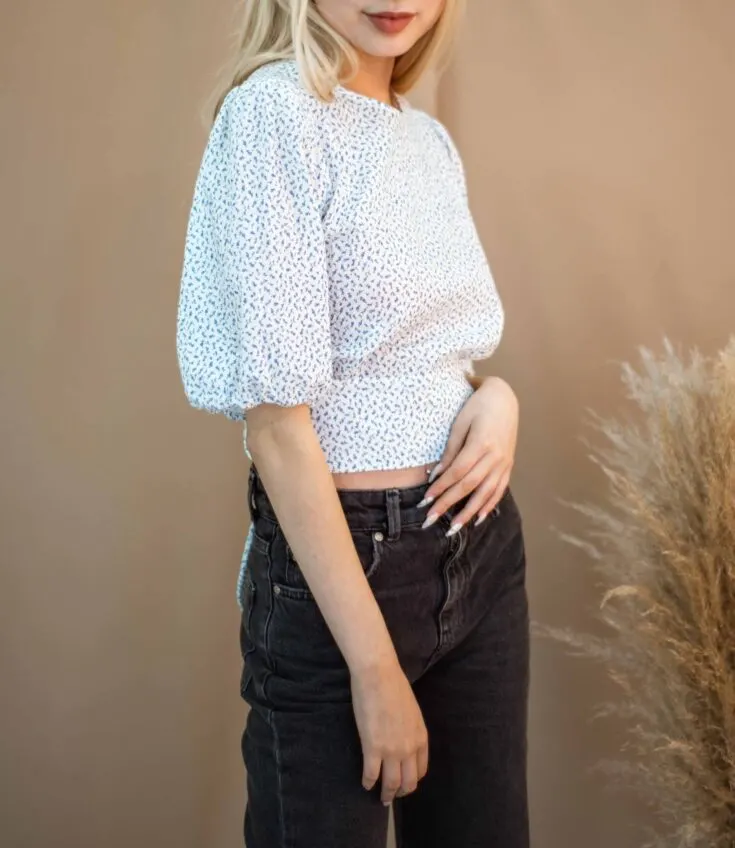
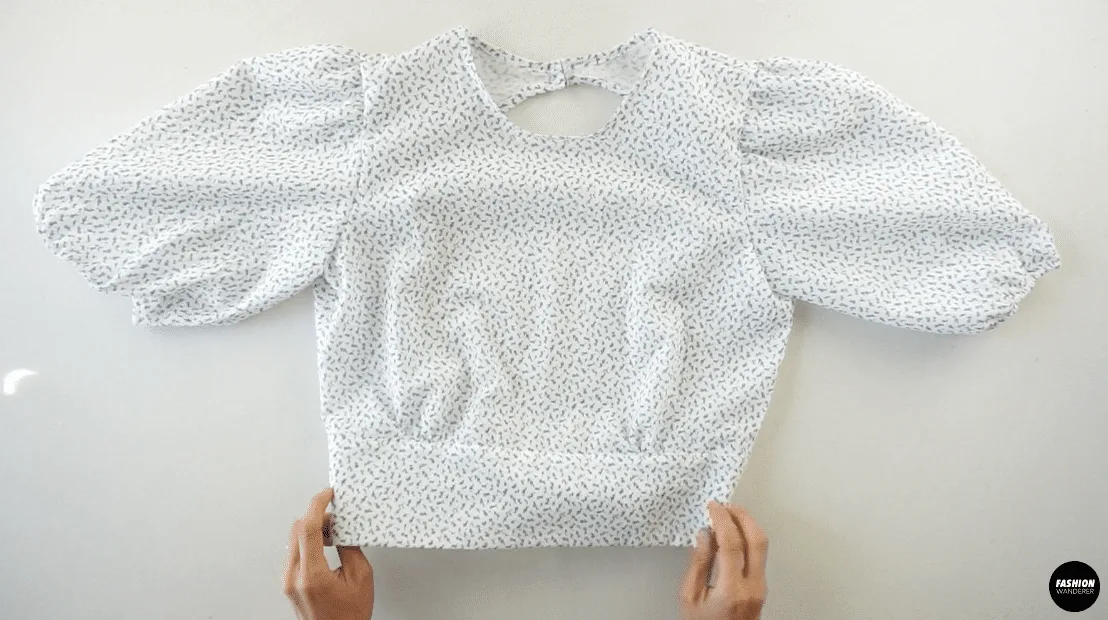
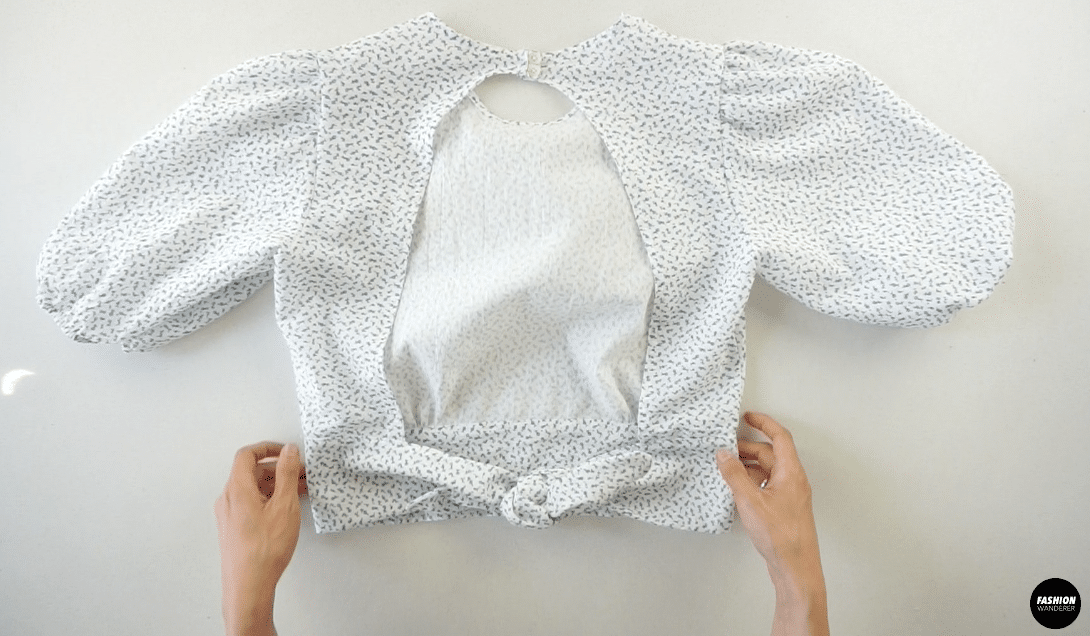
Are you obsessed with pretty DIY tops featuring puff sleeve detail? This blouse includes an open back with tie detail that looks super cute.
The printable pdf is available for immediate download on my Etsy shop. Here is the Alyvia top sewing pattern you can easily make to brighten your day with a cute outfit.
The elegant open back with waist tie detail is perfect to pair with high waisted pants to complete the desired look. If you have light linen, ditzy floral cotton or rayon, it’s absolutely perfect fabric to make a Alyvia top using this pattern!
With this Alyvia top sewing pattern, you may shorten the crop length or adjust to the length of your choice. Also, if you feel shy with scoop back opening, you can easily make a slit opening and add button-down to create a less exposed back piece.
Fashion Wanderer sewing patterns are easily customizable and modifiable as you wish. So, give it a try and have fun with this cute DIY top.

Alyvia Puff Sleeve Top Sewing Pattern


You will love this DIY Alyvia top tutorial because…
- Learn how to make puff sleeve with elastic band.
- Sewing pattern comes with easy to follow steps.
- From size 2 to 12, the Alyvia top has variety of sizes to fit you like a glove!
- Perfect for beginner and intermediate sewing level.
- Practice sewing smooth curved lines along the waistband.
For this Alyvia top tutorial, the sample was made using lightweight 100% cotton fabric with delicate ditzy floral. The sewing pattern also works well with linen material as well to give nice puff sleeve silhouette.
Be creative and don’t limit your Alyvia top with cotton, try poly or even viscose fabric if your favorite color or print is in that fabrication. But make sure that it is not too sheer and has slight structure to sew and drapes nice on the body.
The Fashion Wanderer sewing pattern is easily adjustable and customizable if you need to make your top length shorter or longer. Add or subtract a couple of inches off the bodice and keep the width of waistband, you are set to go!
How do you make Alyvia top?

To make the Alyvia top from scratch using a sewing pattern is quite easy. Decide what fabric you will be using, assemble the pdf pattern and wash and dry your fabric to prepare for cutting and sewing.
DIY Alyvia Top Materials:
- Puff Sleeve Top Sewing Pattern
- ¾ to 1 yards of lightweight cotton fabric.
- 2 pieces of Size 12L 2- or 4-Hole Plastic Buttons
- ¼” Width Elastic Band
- Sewing Machine
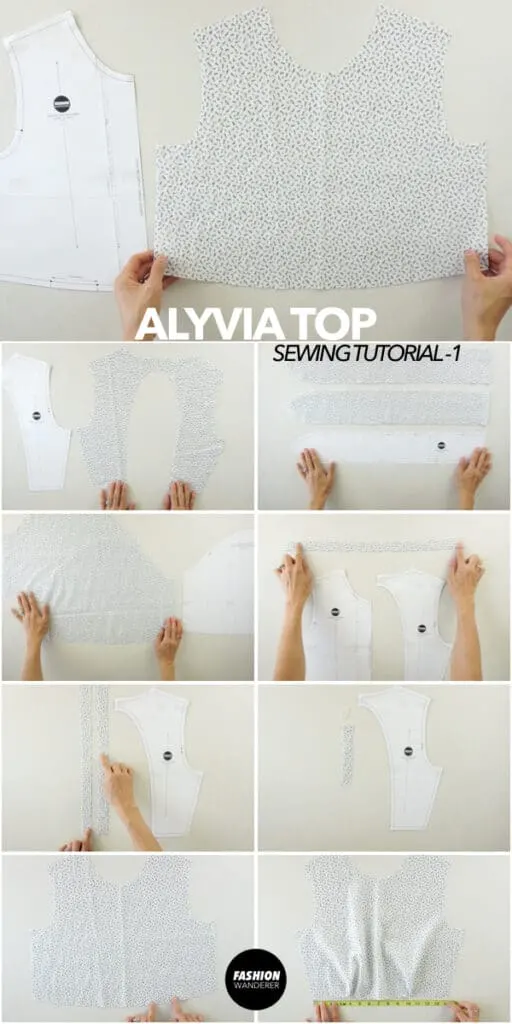
Make an Alyvia top, start by assembling the pattern pieces.

Add shirring to the top and puff sleeves.
Add elastic to the puff sleeves and close the underarm seam to complete the sleeves.
Attach the front bodice to the back bodice pieces, and also join the puff sleeves to the top bodice with the right sides facing together.
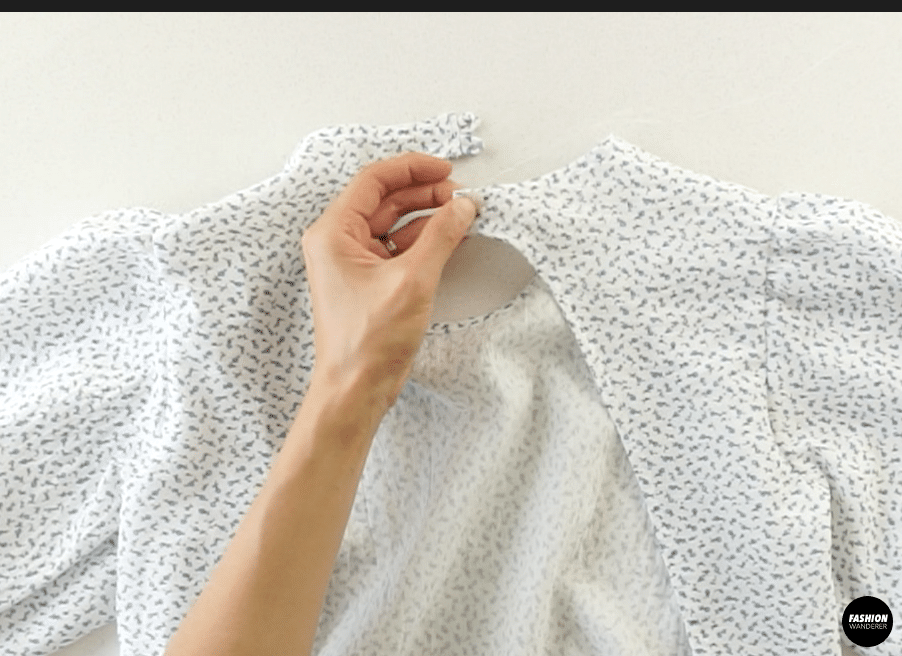
Add inbinding to the neck opening and center back opening.

Make the back tie strap and attach to the top bodice.
Make the buttonhole closure and add buttons to the back neckline to complete this Alyvia top.

DIY Alyvia Top Sewing Tips:
In this DIY Alyvia top, you will learn how to sew elastic around the sleeve, use wide double stitch to create gathering around the top of the sleeve, and also add a clean finish to the neckline and back opening with inbinding method.
To make your sewing process easier and fool-proof, here are couple of sewing tips for you to know.
- Sewing Machine: Always adjust your sewing machine before starting on the actual garment. Cotton fabric is the easiest to sew because it does not stretch or slip in the machine. Keep the regular sewing foot and adjust the tension in the middle, then you will be able to successfully sew the top.
- Needle & Thread: When sewing cotton material, use a Universal needle 60/8 paired with 60wt cotton or polyester thread instead of standard 50wt thread. The lighter thread is similar weight as the fabric, therefore it will help prevent puckering.
- Stitches: For medium weight cotton, set the stitch length at 2.0 or 2.5 for straight seams. For lighter material, use a shorter stitch length between 1.5 or 2 width.
- Inbinding: The bias cut binding inside the neckline of front and back opening is highly recommended for this tutorial. Use the measurement of the neckline to find out the right length for 1” width self bias strap. For size 6, the front and back neckline is 19 ½” long. The back opening requires about 2 pieces of 15 ¼” long straps.
- Button & Button Loops: For this tutorial, use thin fabric straps to create tubes from your leftover bias tape. Make 2 pieces that are 1” long, and fold in half to create a loop for the buttonhole closure. Overlap the ends of loop and topstitch along the opening of the blouse, then hand sew buttons on the other side fo the back neck opening. Make sure you sew buttonhole loops before the inbinding technique.

How To Make Alyvia Top With Sewing Pattern
If you enjoy wrap dresses, then you will love making wrap style Alyvia top. The DIY Alyvia top sewing tutorial includes step-by-step pictures, detailed instruction and a how-to video that is easy to follow.
Materials
- Alyvia Top Sewing Pattern
- ¾ to 1 yards of lightweight cotton fabric.
- 2 pieces of Size 12L 2- or 4-Hole Plastic Buttons
- ¼” Width Elastic Band
Tools
- Sewing Machine
Instructions
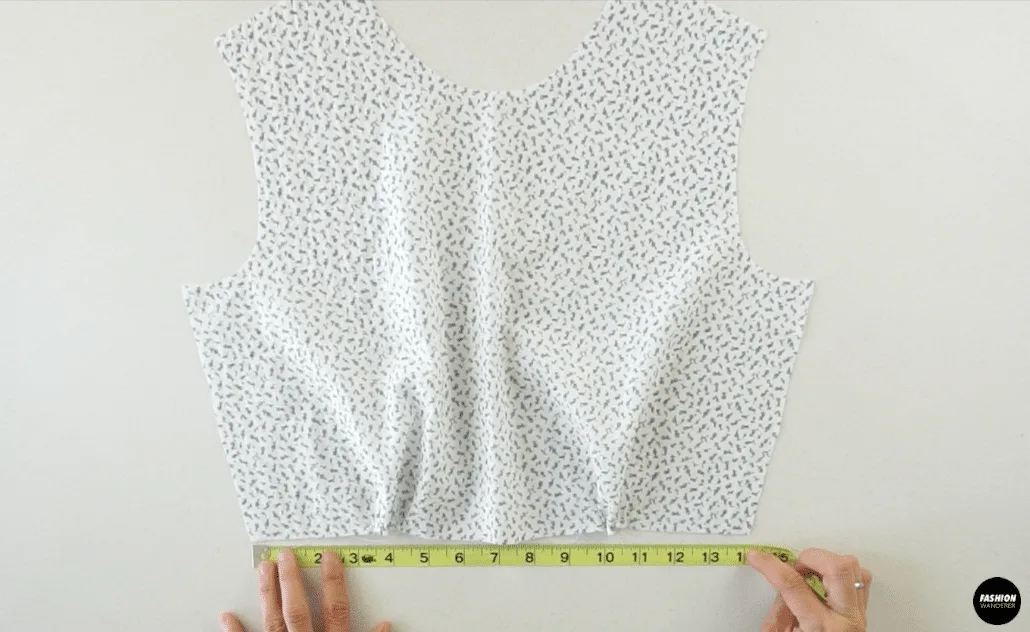
- For this Alyvia top tutorial, start by assembling the pattern pieces.
- Fold a piece of fabric in half, and pin the paper pattern to the fabric.
Also pin around the edges so that the two layers of fabric remain taught.
Copy the front bodice piece along the folded edge.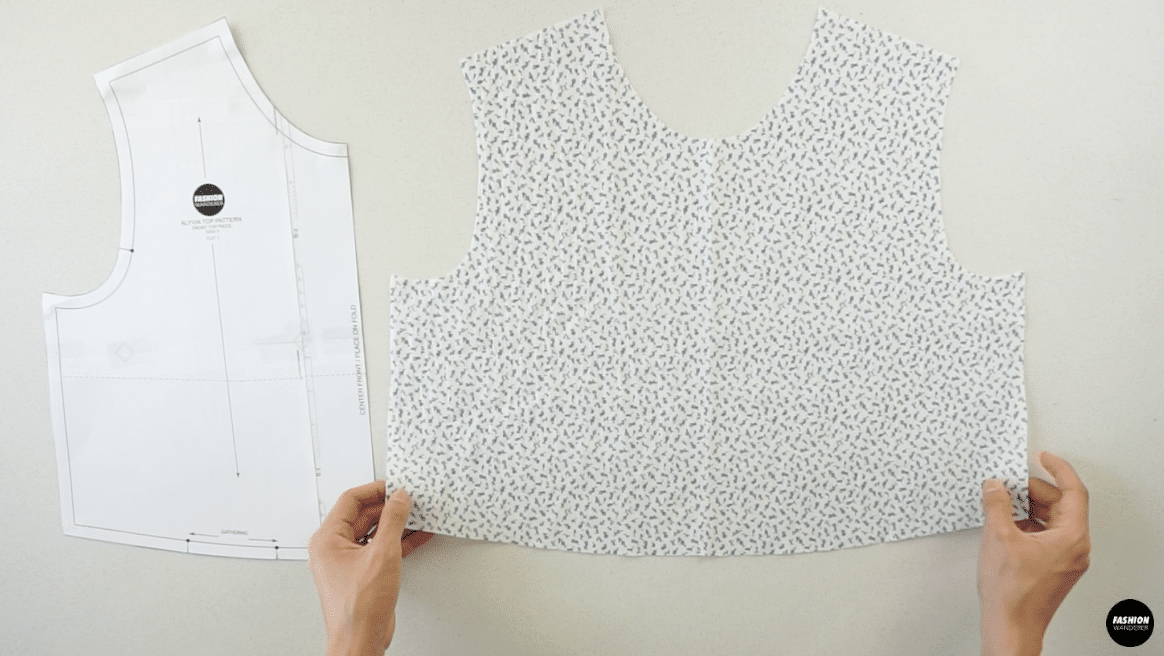

- Also, copy the back bodice piece.

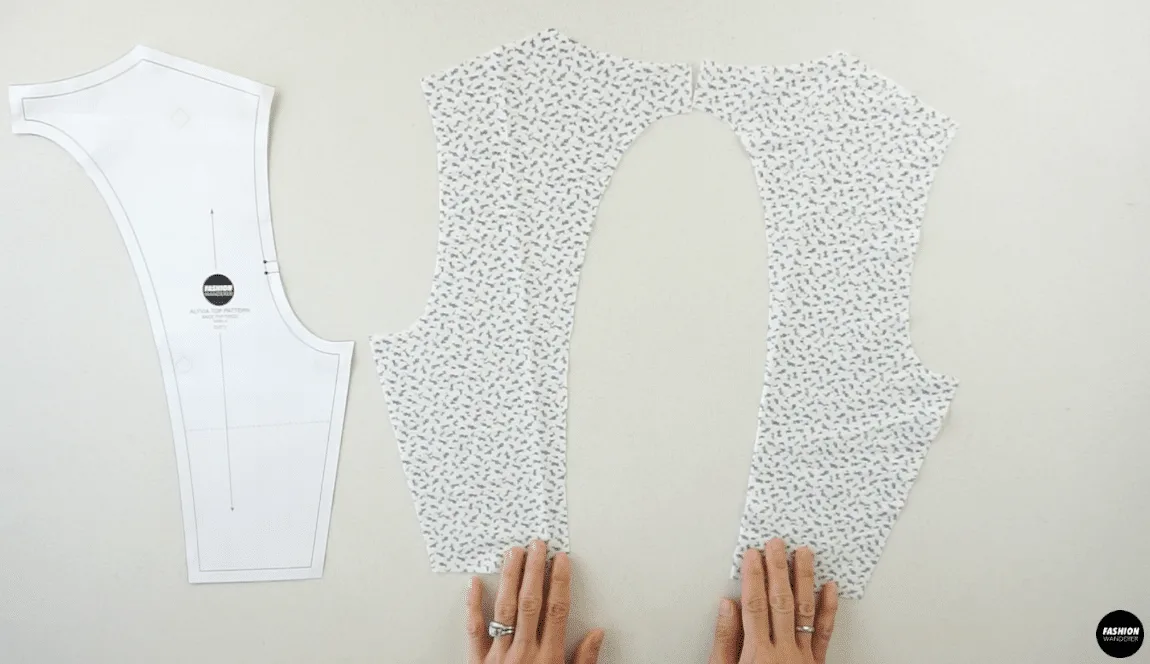
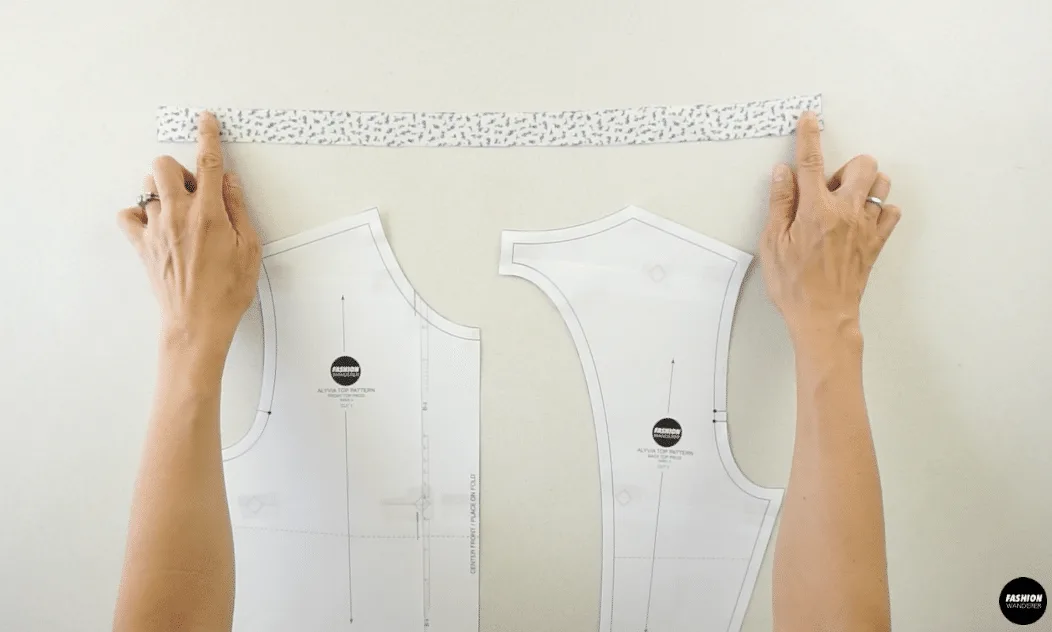
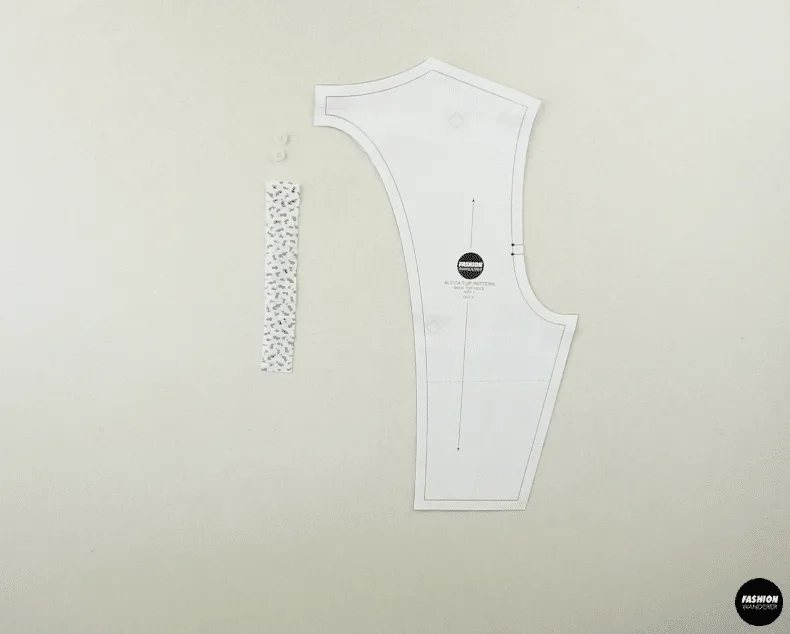
- Fold another piece of fabric in half, pin to secure and copy the back tie straps using the folded edge to double the length.
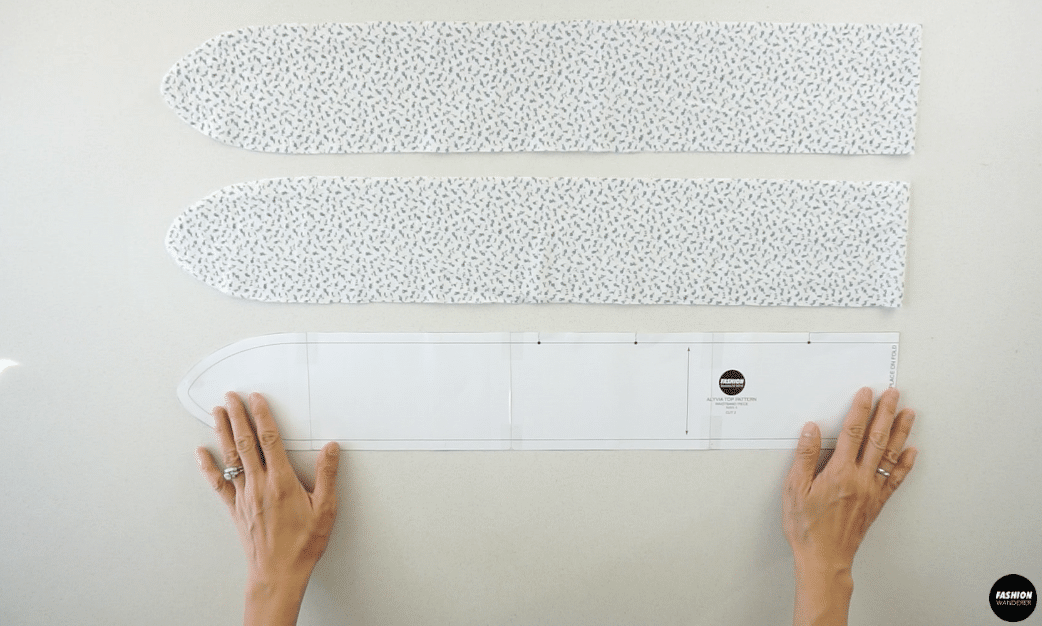

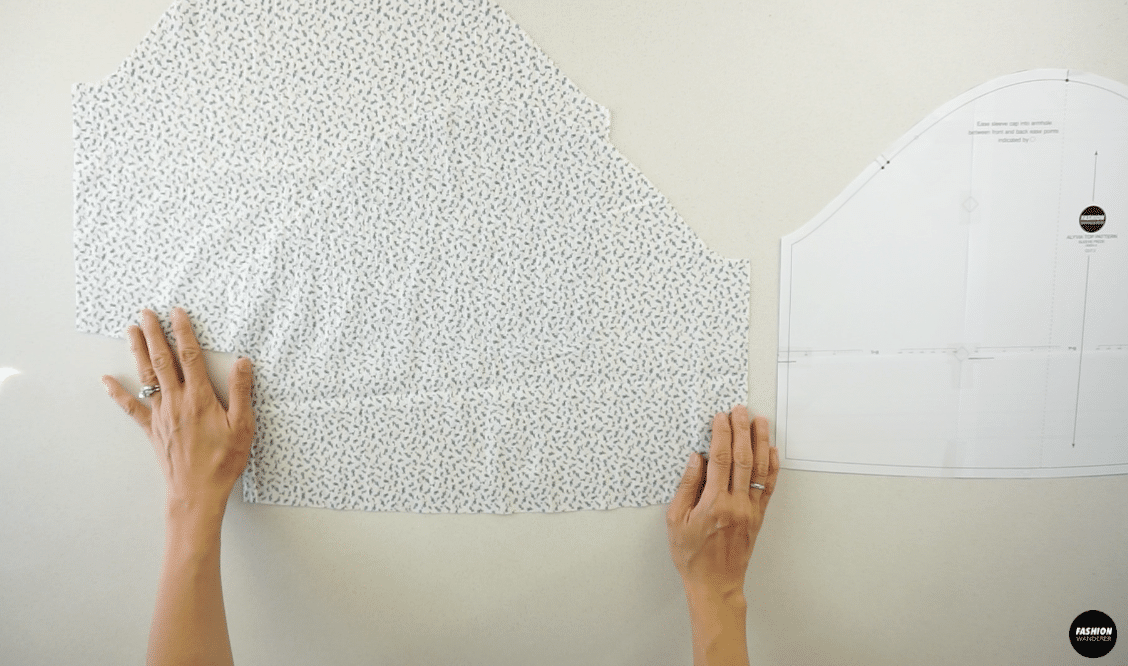
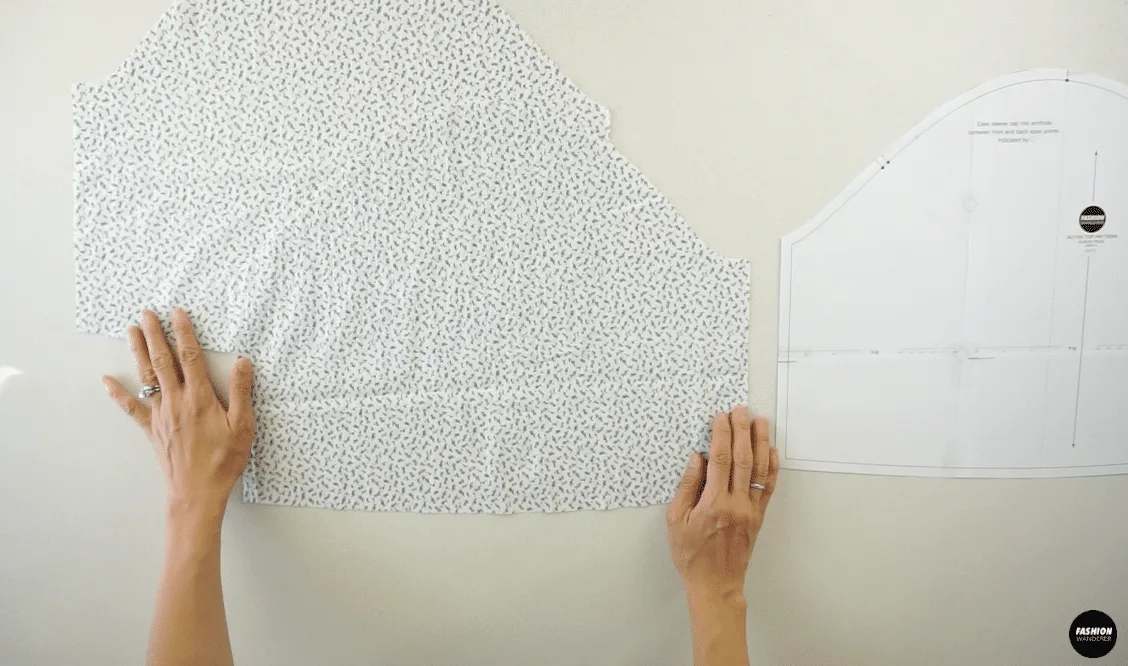
- Lastly, copy the sleeve pattern pieces,
inbinding pieces for the neckline,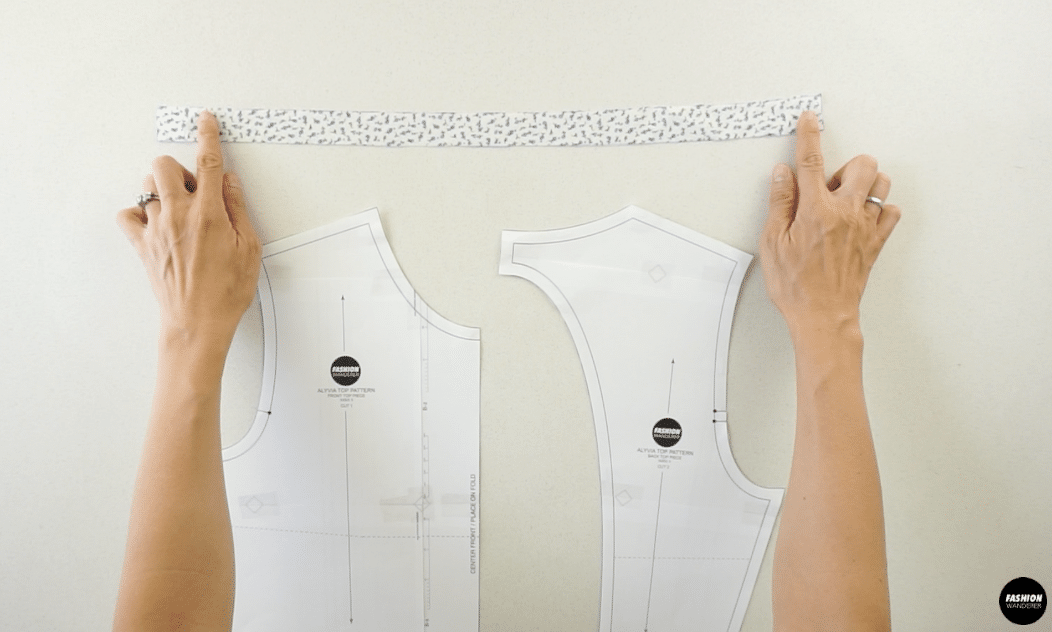
and back center opening,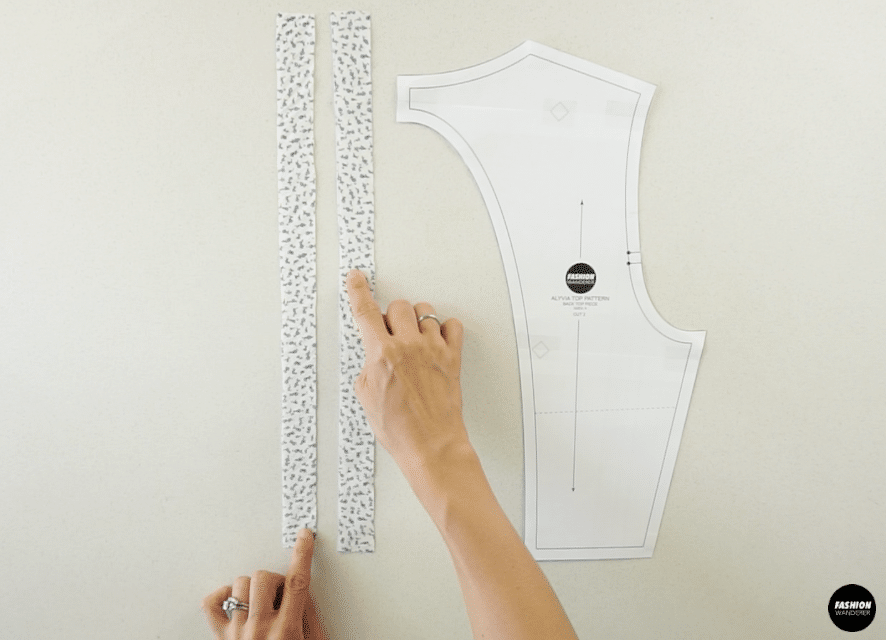

and also a small strap to make the button closure.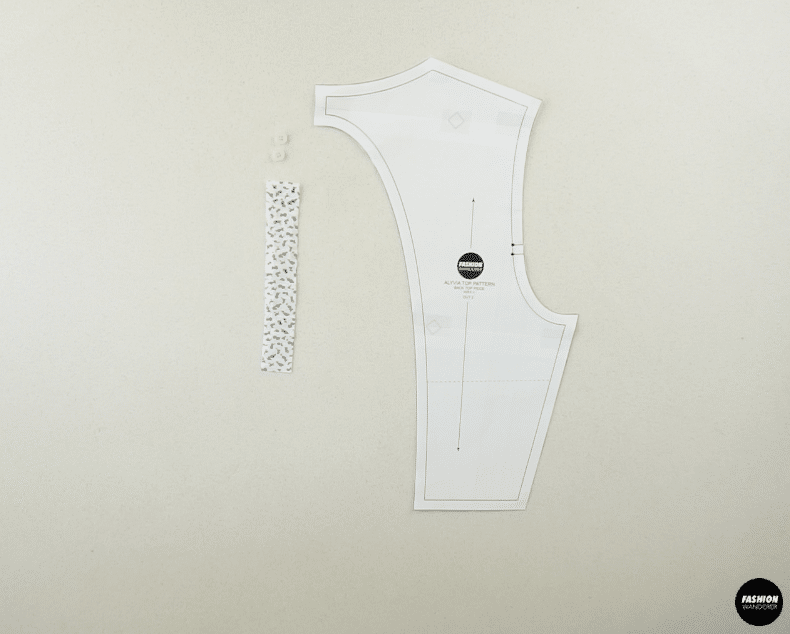
- You will also need two pieces of ¼” wide elastic band.
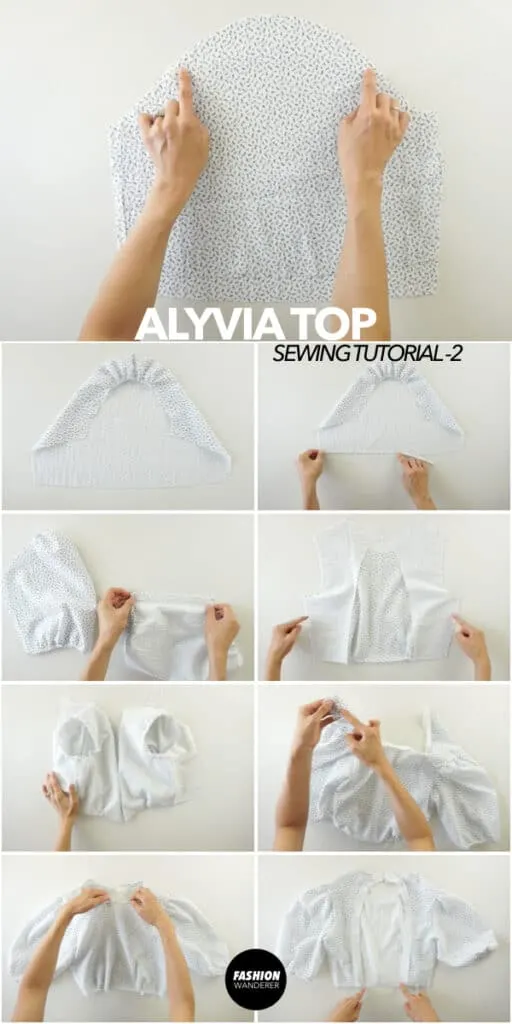
- To add shirring to the bottom of the top, use a wide stitch width and sew two straight stitches on each side.

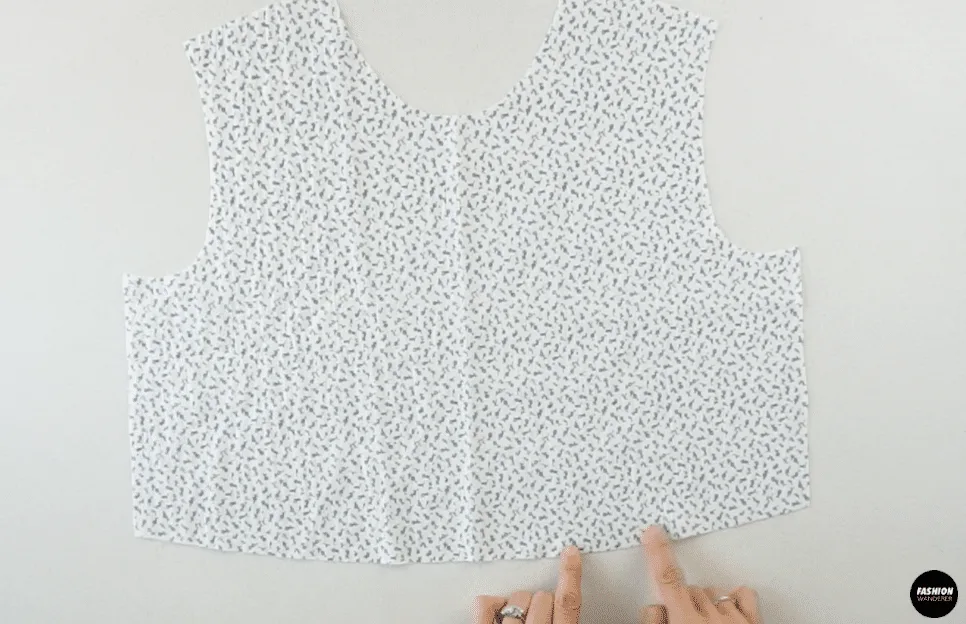
Gently pull on the back thread to great bunching along both sides of the bottom.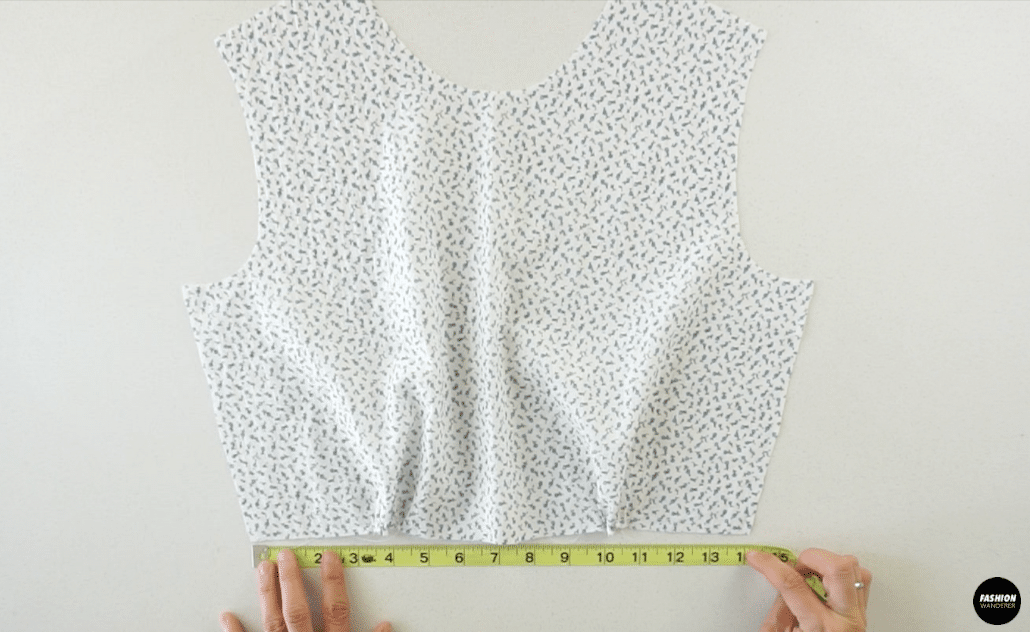
- To add shirring to the puff sleeves, use a wide stitch width and sew two straight stitches on the top of each sleeve.

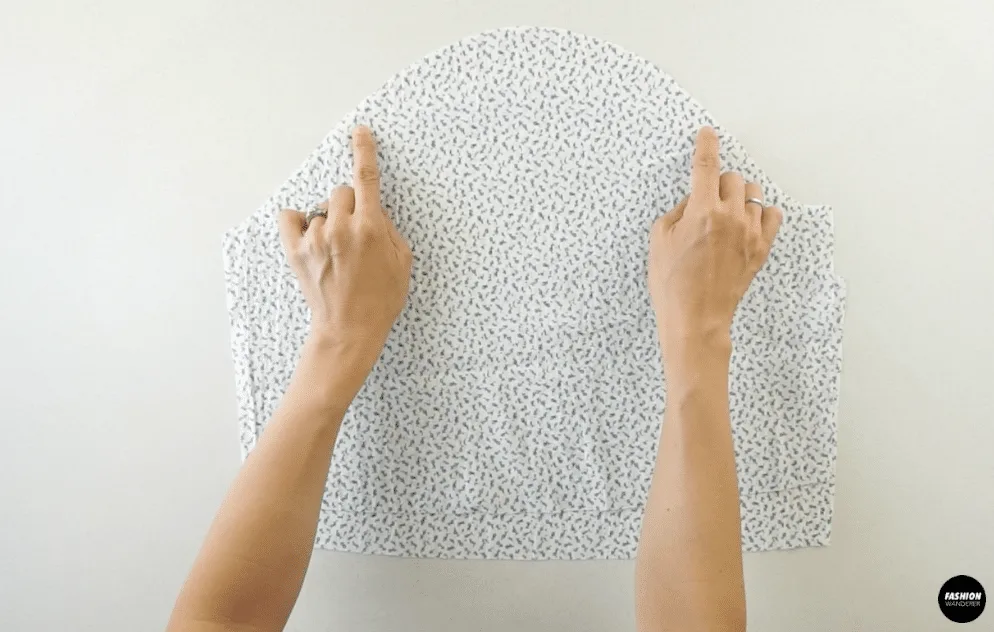
Gently pull on the back thread to great bunching along the top of both sleeves.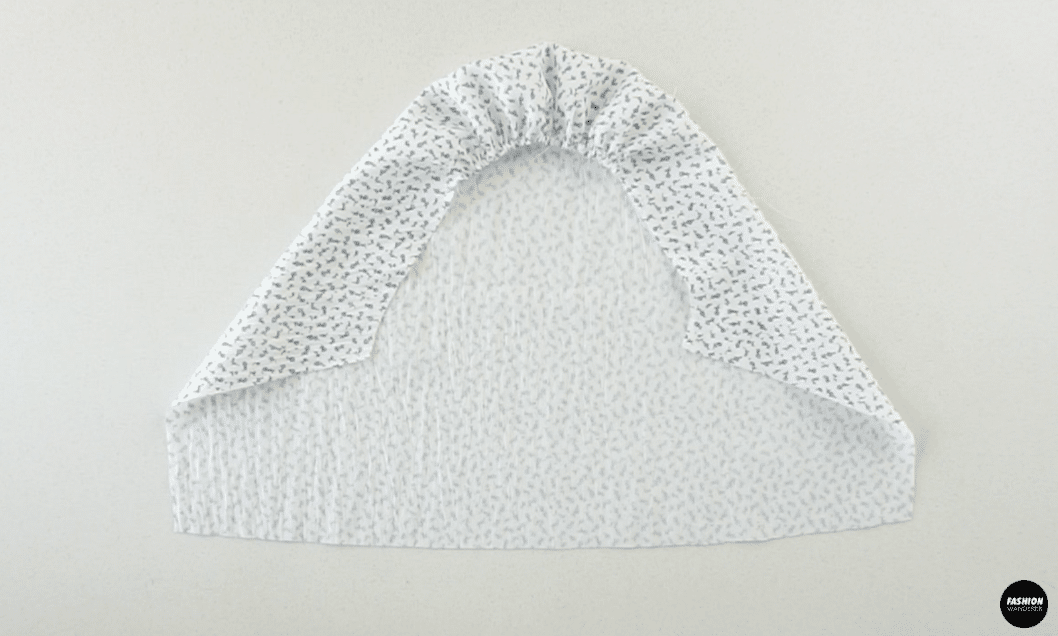
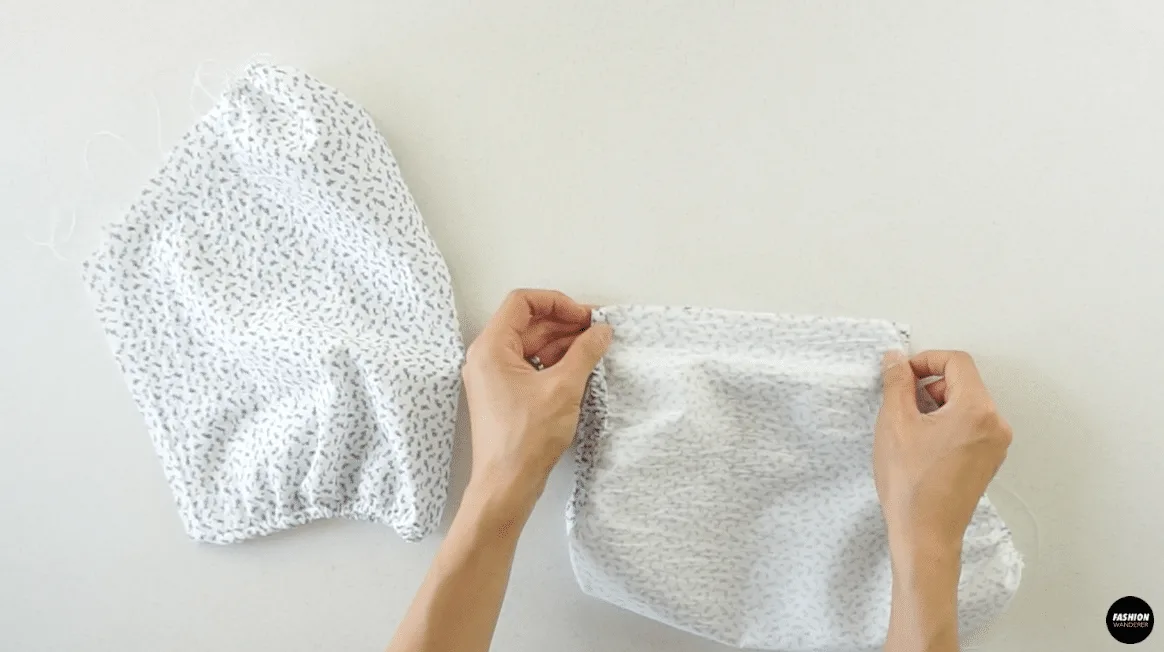
- To add elastic to the puff sleeves, fold the elastic band in half and mark the center.
Use the pattern piece to line up the center of the elastic bunching.
Stretch the band while straight stitching along the edge of the armhole.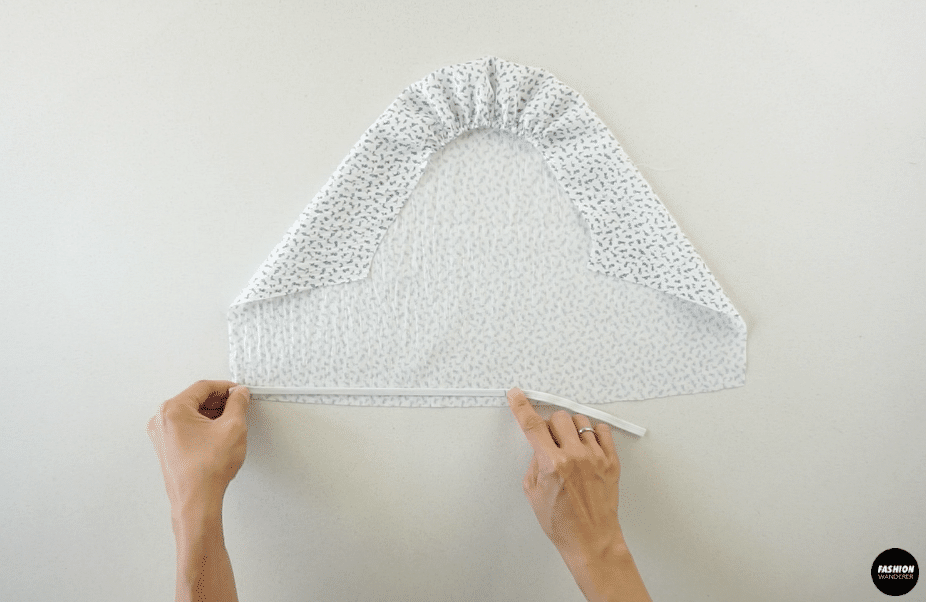
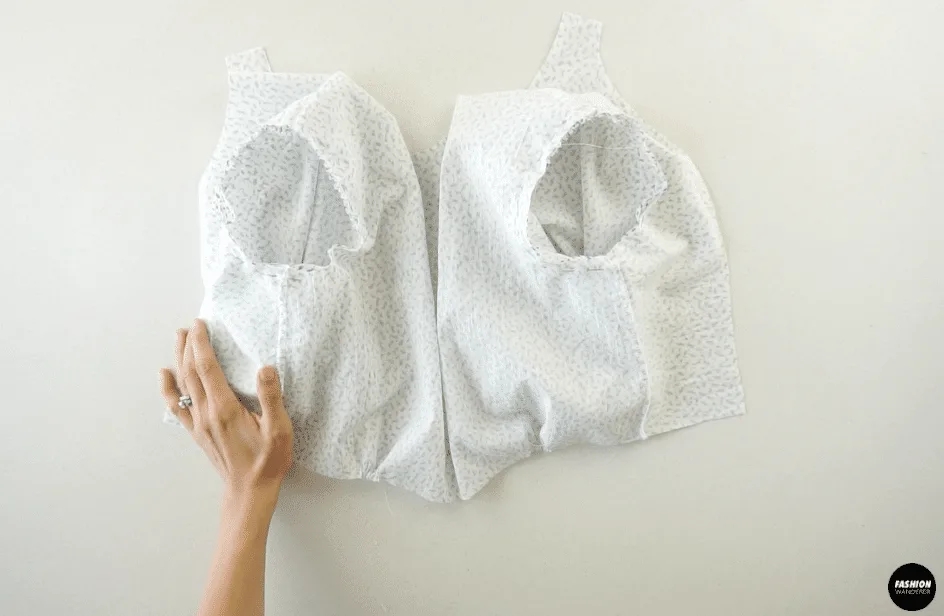
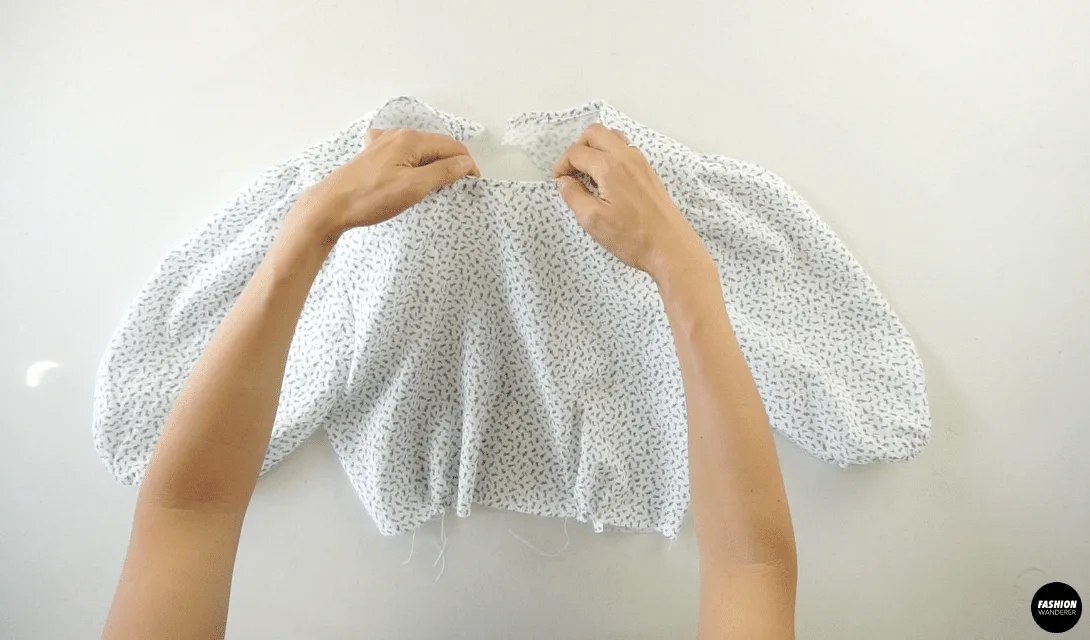
- To complete the puff sleeves, close the underarm seam by stitching with the right sides facing together.
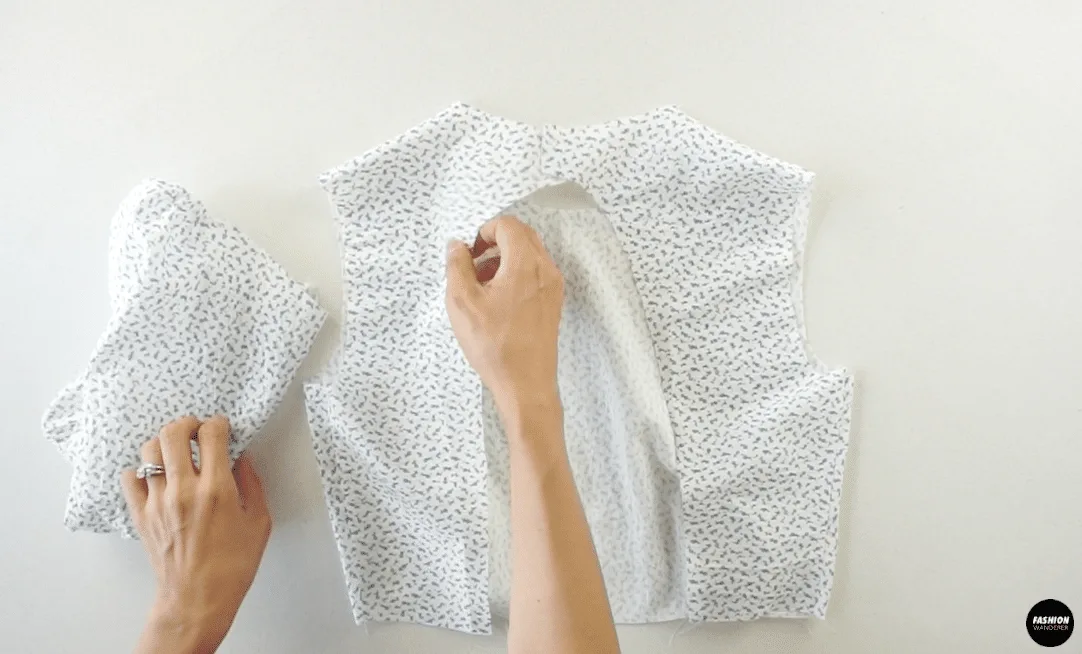
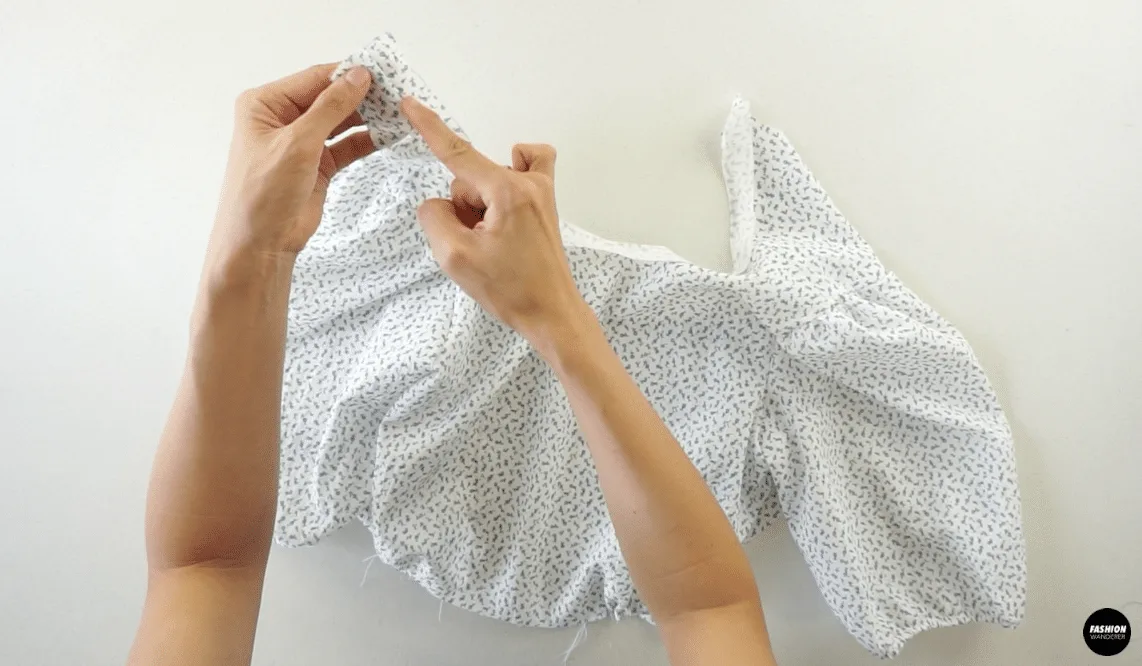
- To attach the front bodice to the back bodice pieces, join the shoulder and side seams with the right sides facing together.
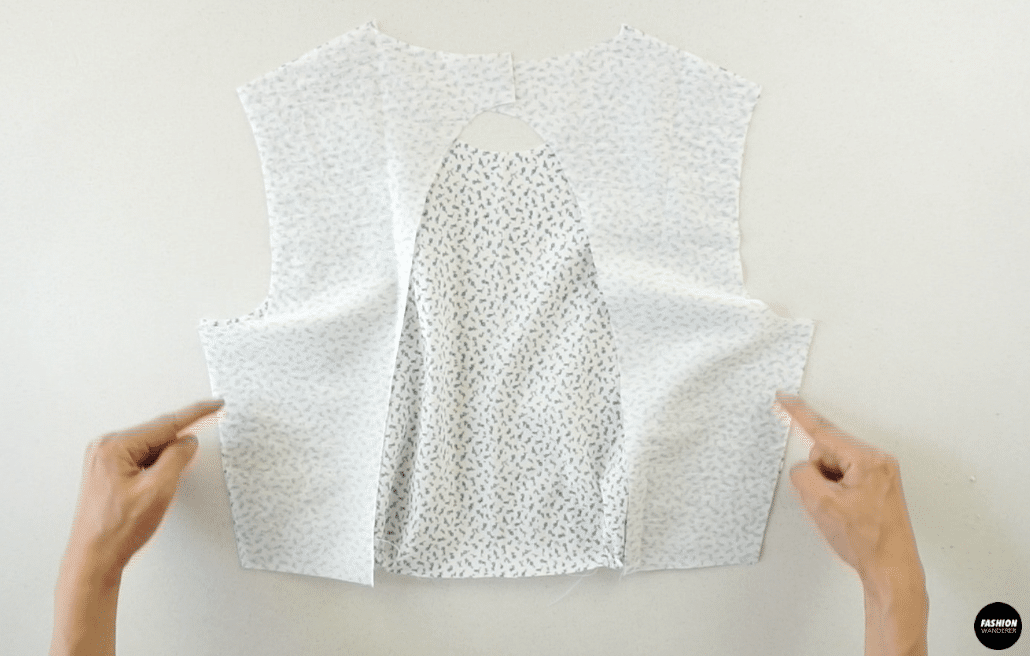
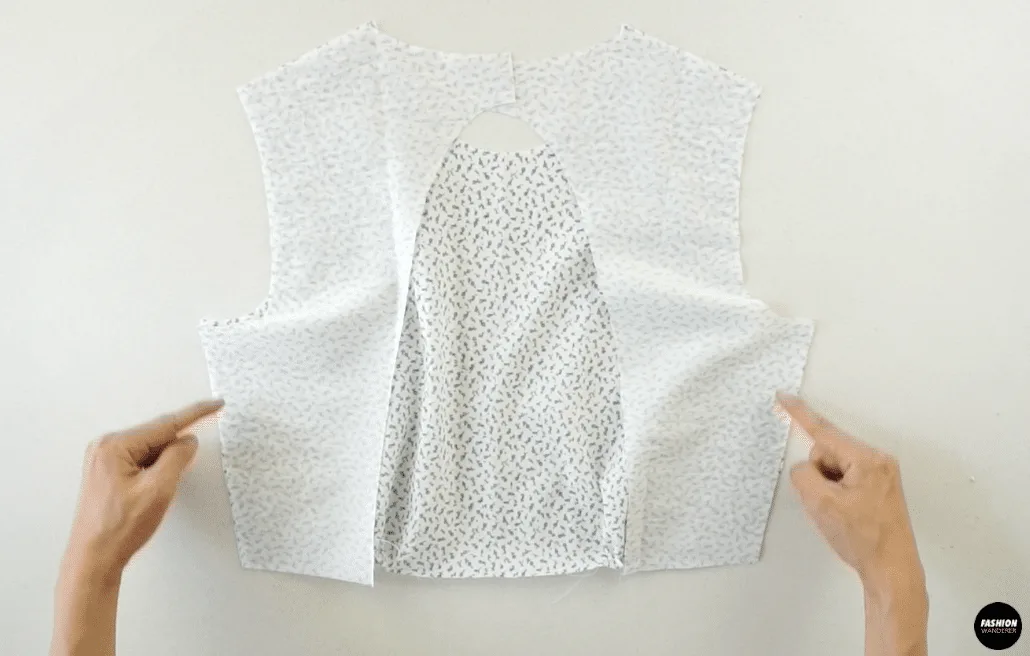
- To attach the puff sleeves to the top bodice, pin to secure;
then, join the armhole opening with the right sides facing together.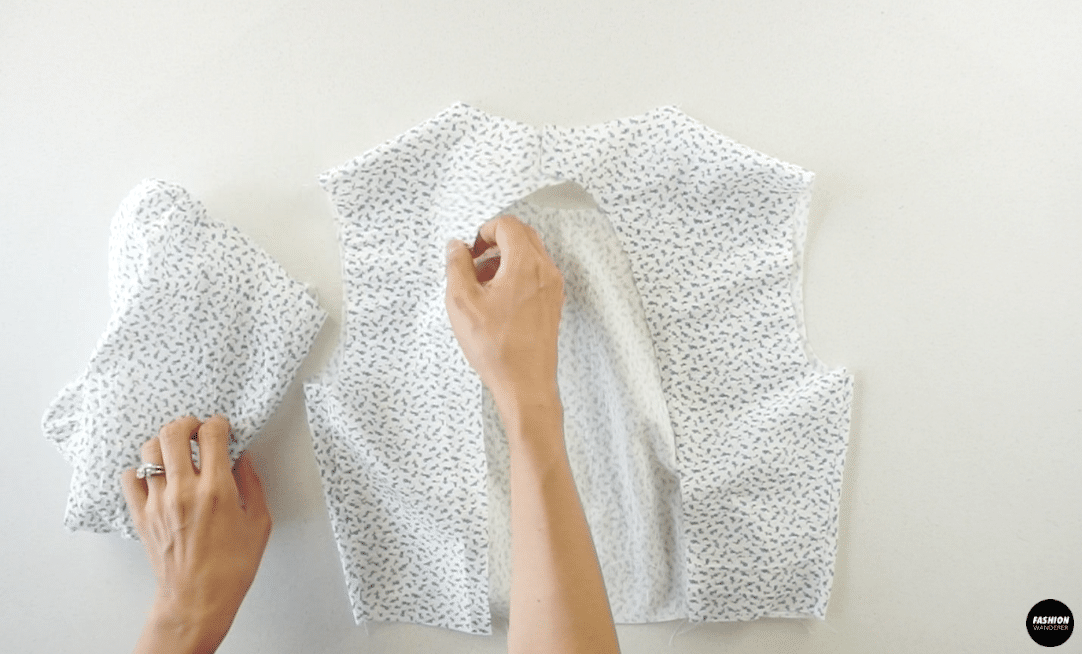

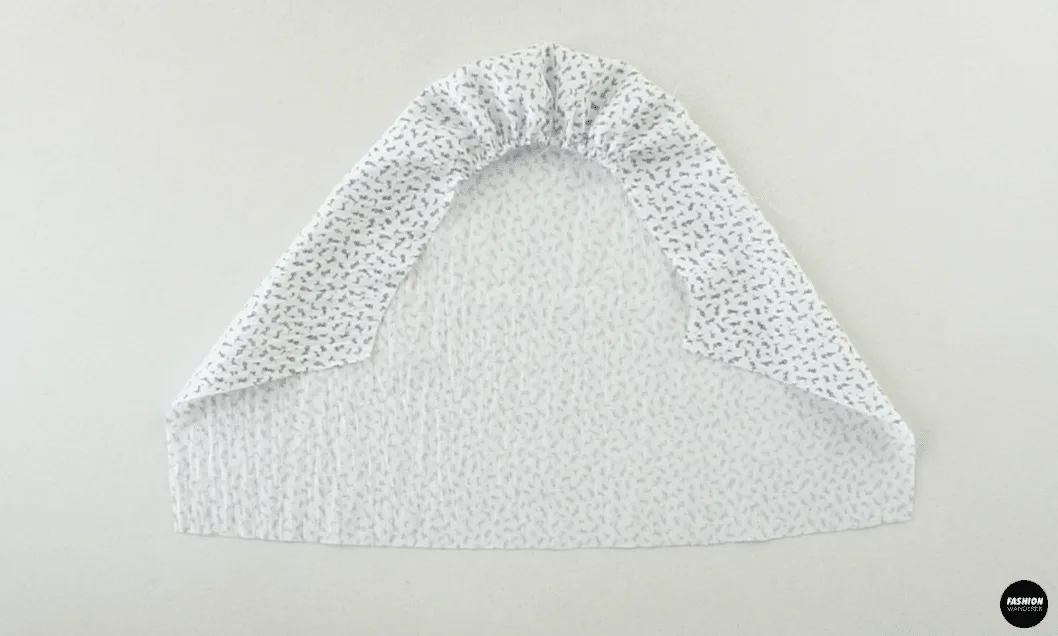
- To complete the neckline, join the inbinding to the neck opening with the right sides facing together.
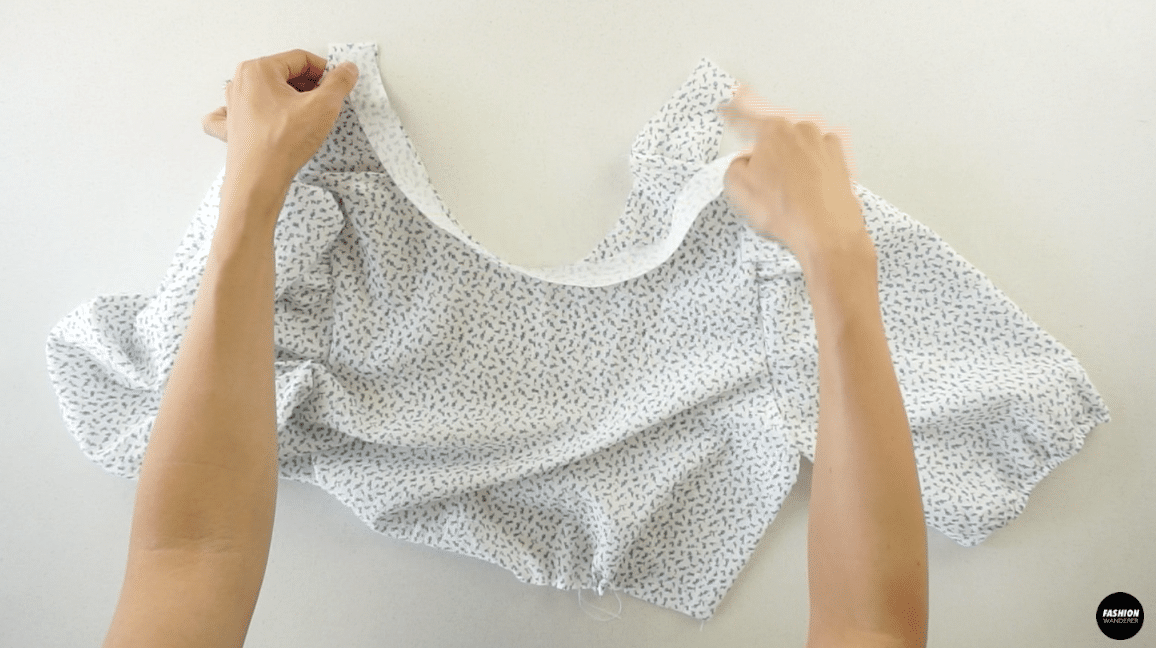
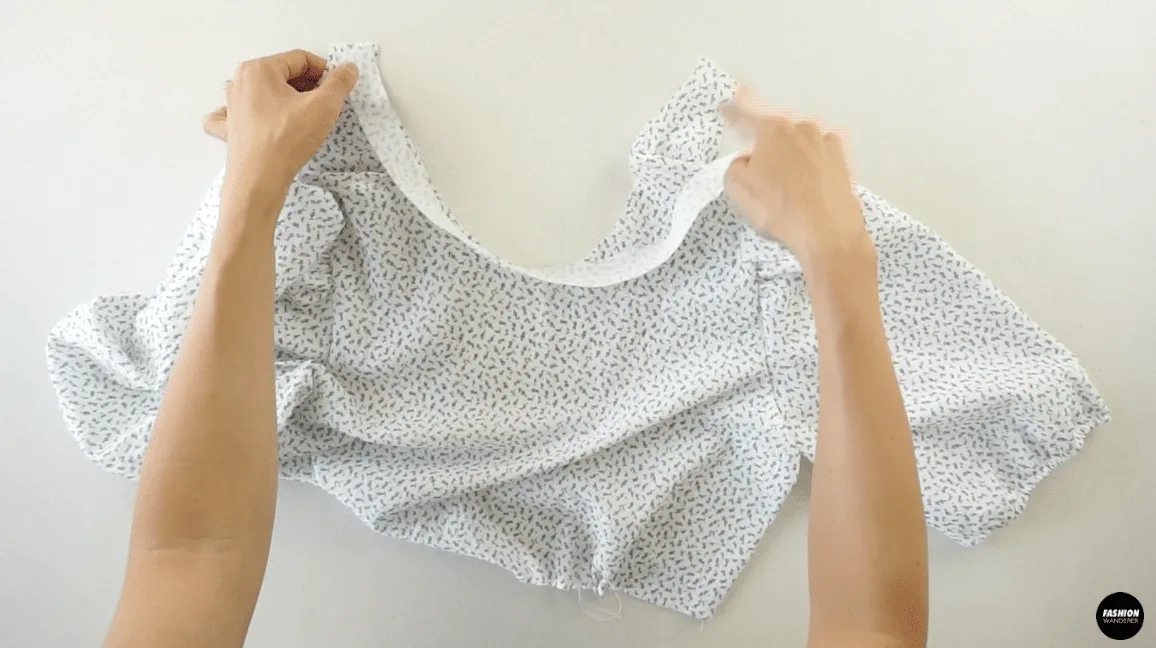
Straight stitch along the edge, then open the seam and topstitch along the seam line.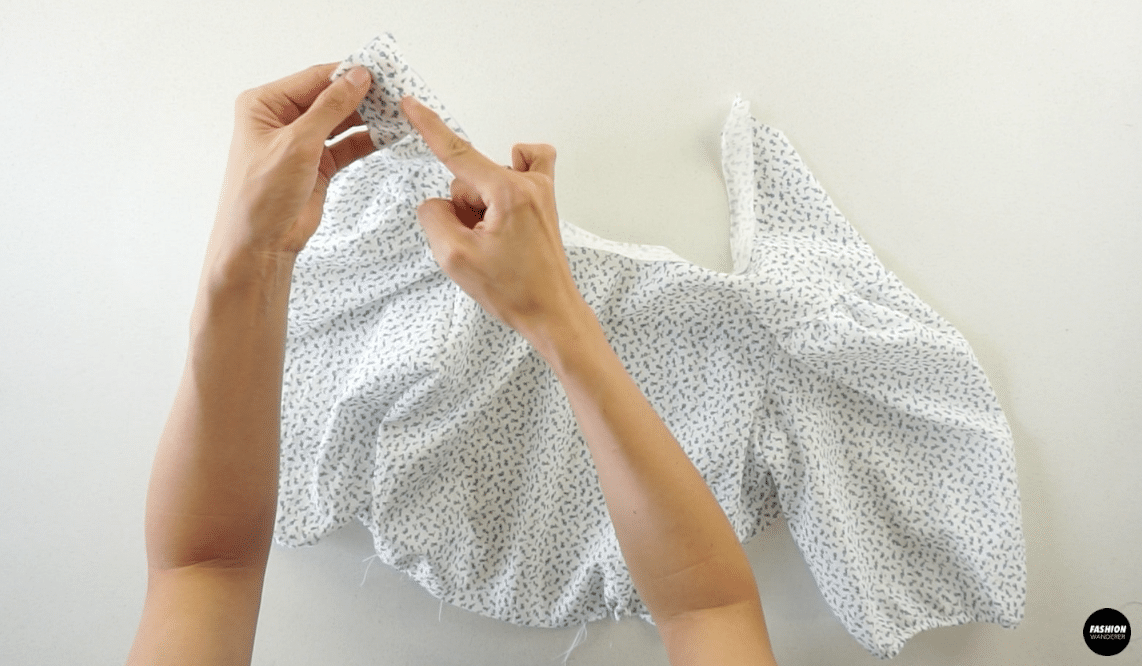
Fold the inbinding over the edge, ¼” fold the raw edge and topstitch to finish the other side of the neckline.
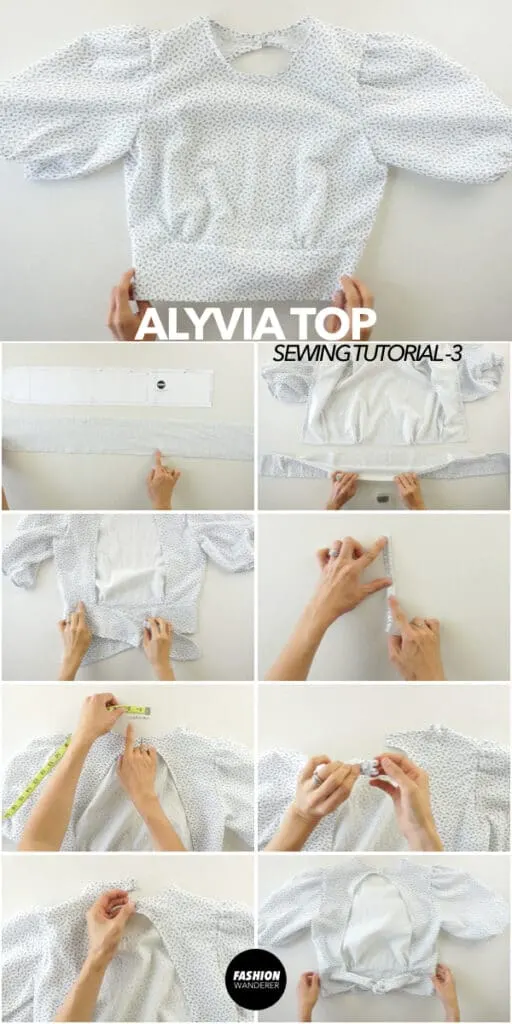
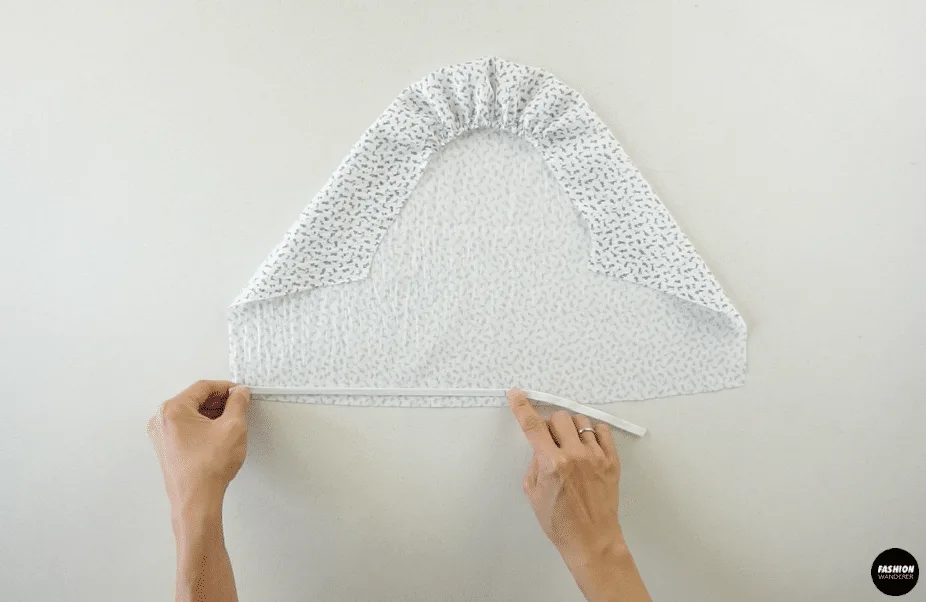
- To complete the back opening, join the inbinding to the center back opening with the right sides facing together.
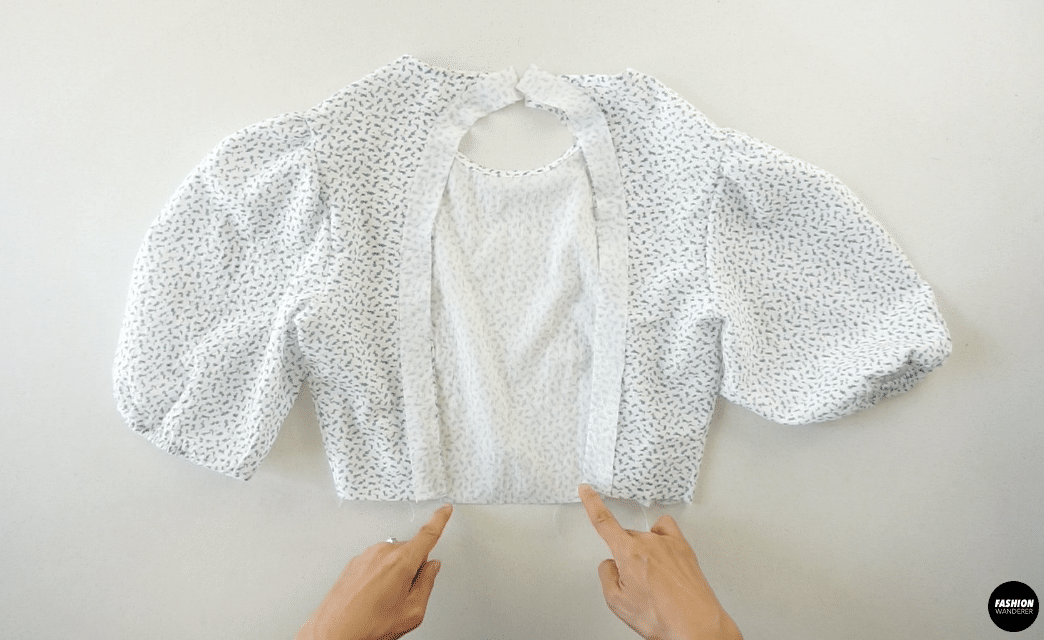

Straight stitch along the edge, then open the seam and topstitch along the seam line.
Fold the inbinding over the edge, ¼” fold the raw edge and topstitch to finish the other side of the center back opening.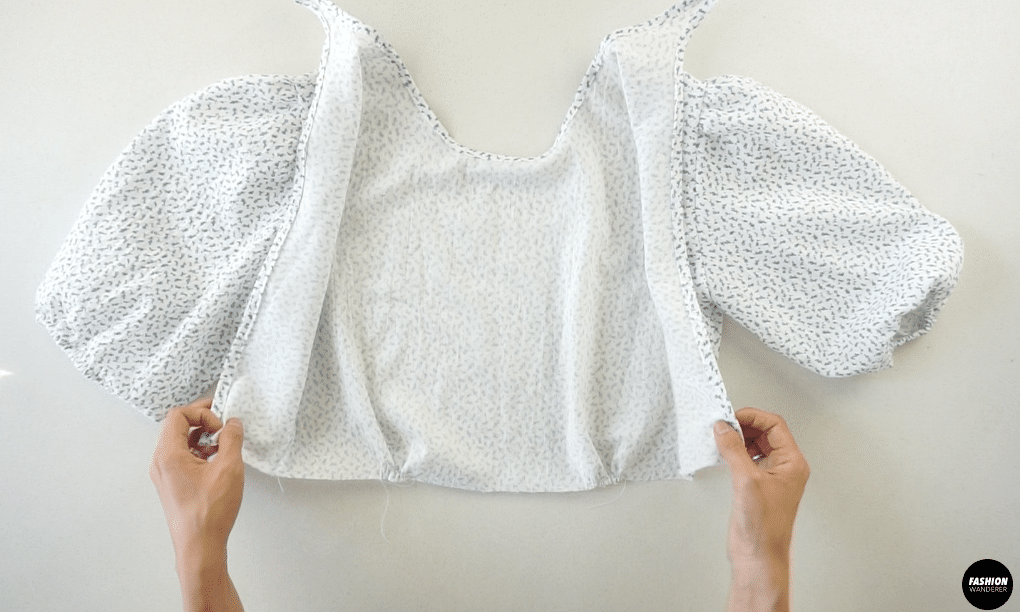

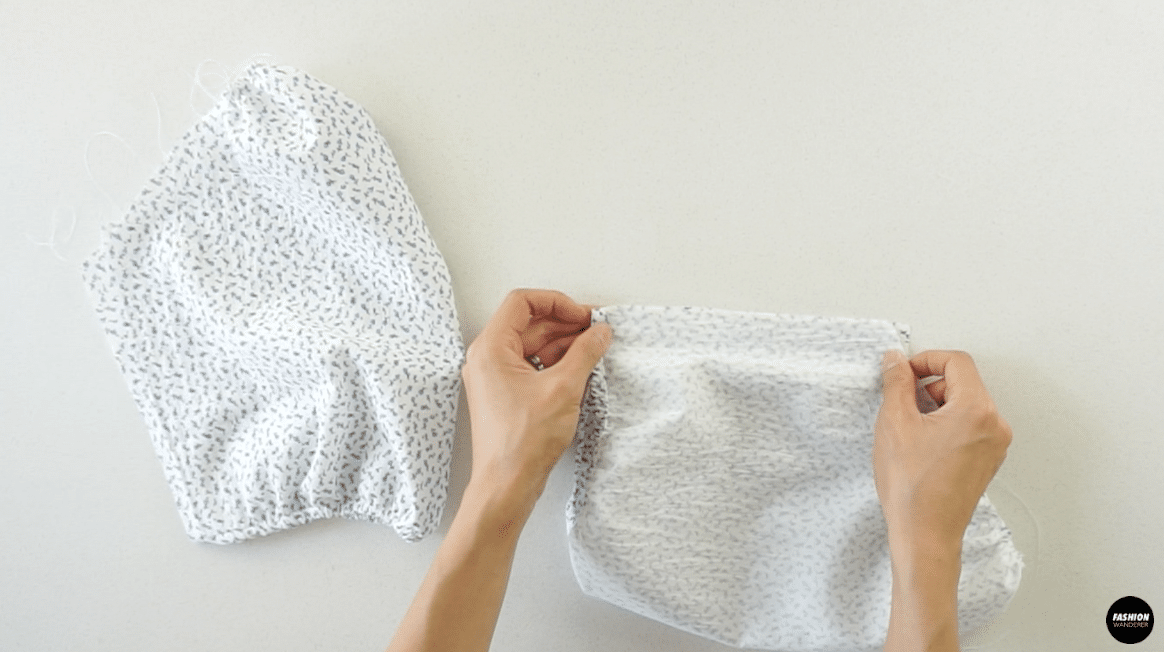
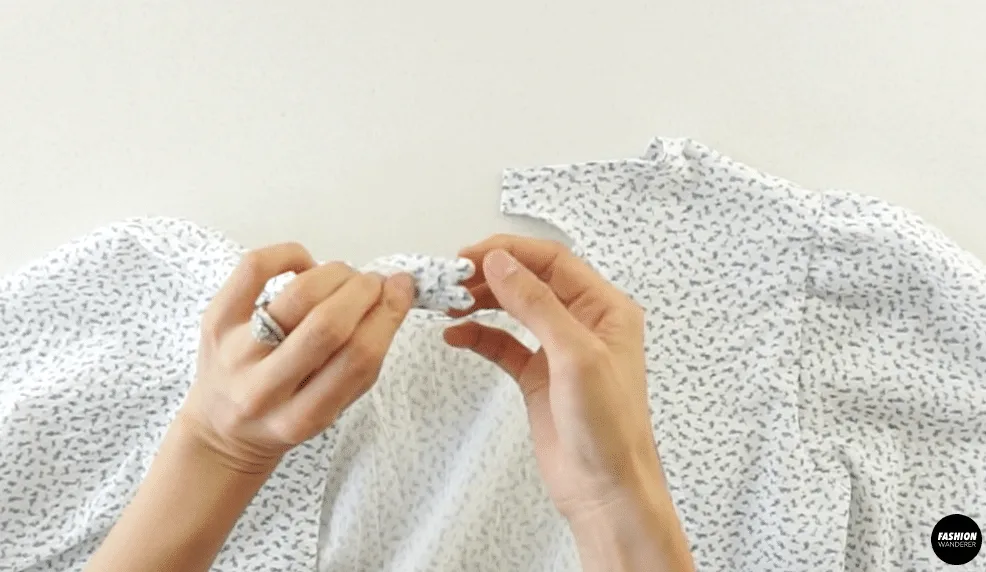
- To make the back tie strap, join the strap pieces with the right sides facing together.
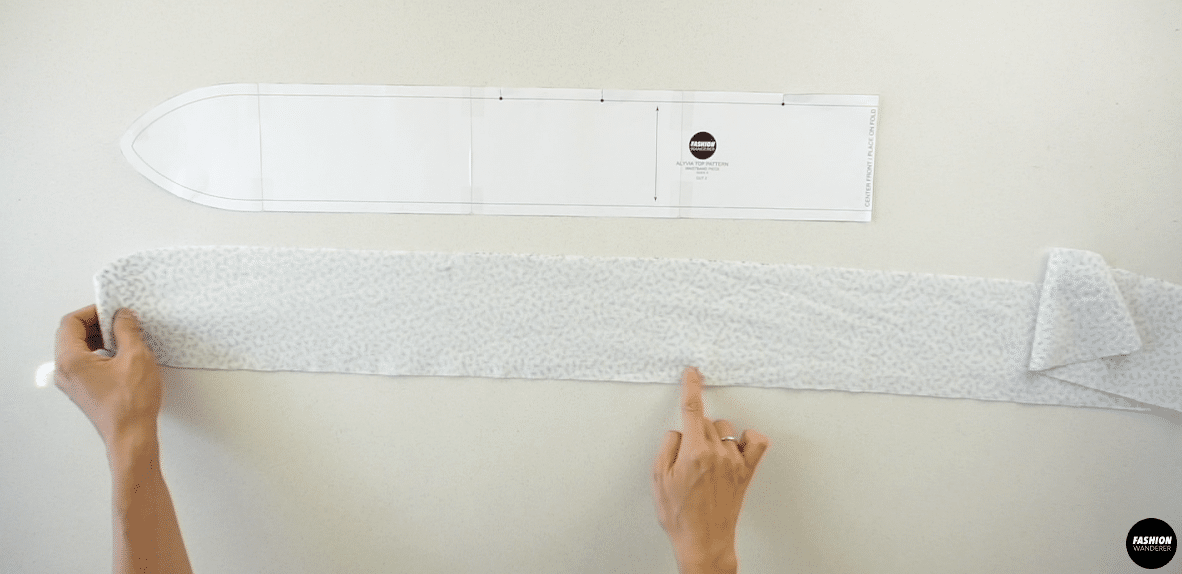
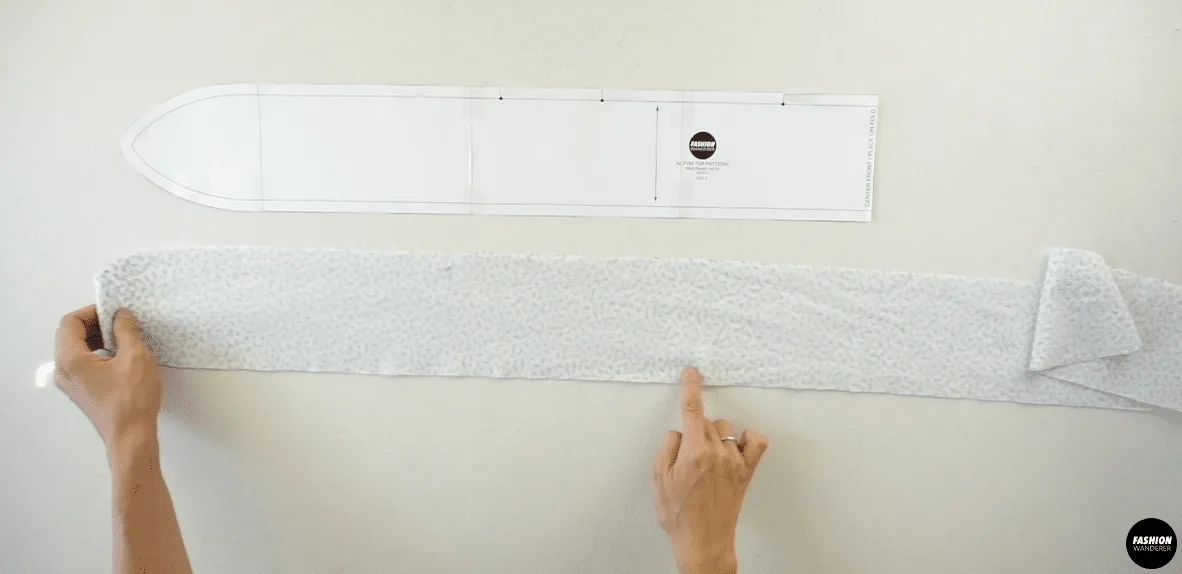
Follow the stitching line on the pattern piece.
Then, flip the strap inside out. - To attach the back tie strap to the top bodice, pin the center of the strap to the center of the bottom opening.

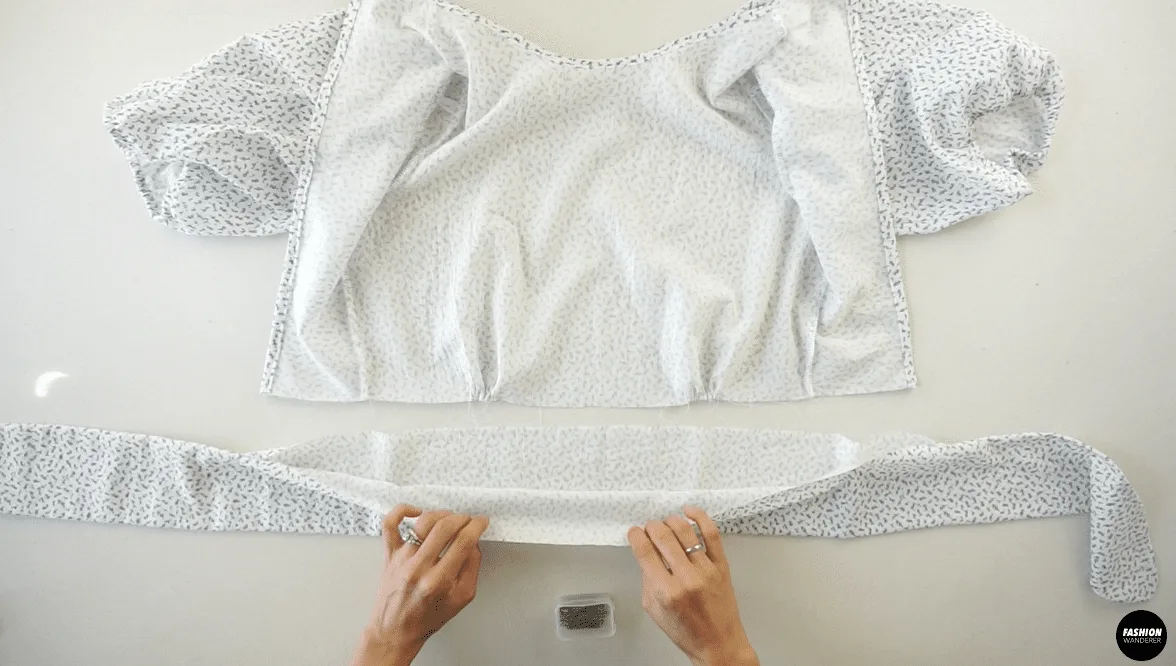
Straight stitch to join the pieces together.
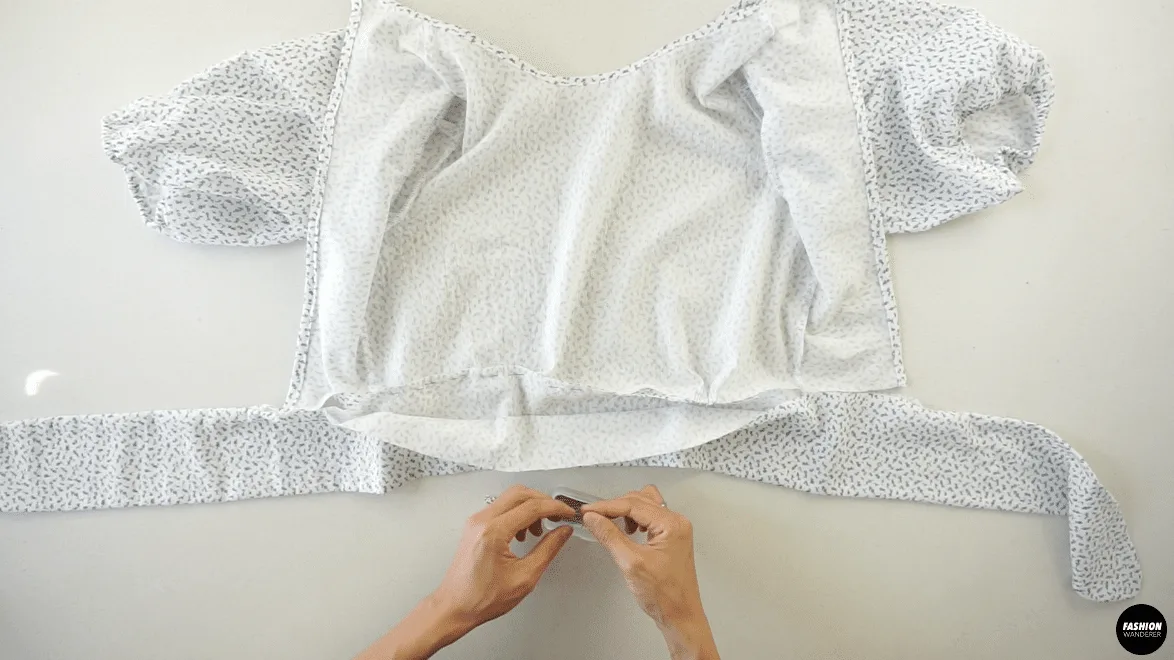
Pin the backside of the tie strap, then topstitch along the seam line for a clean finish.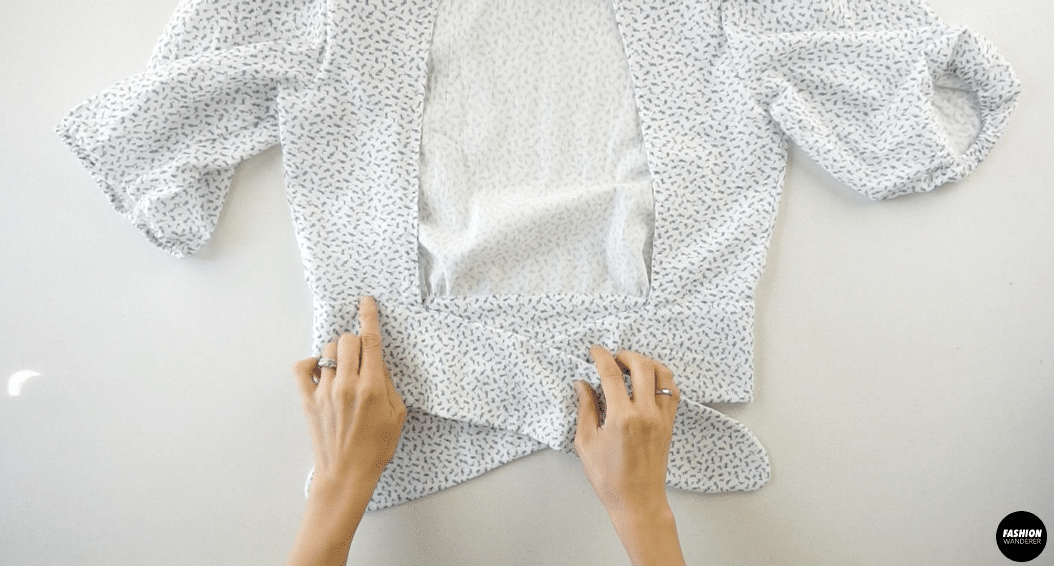

- To make the buttonhole closure, fold the strap in half lengthwise and sew along the edge.
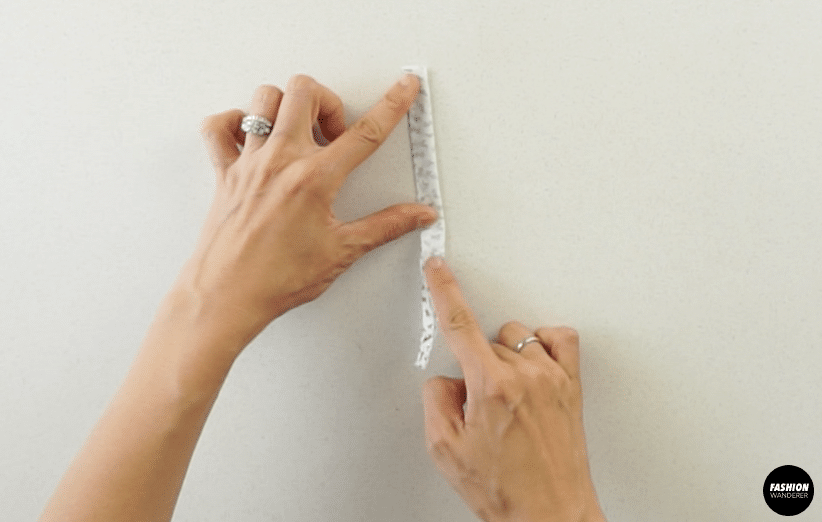
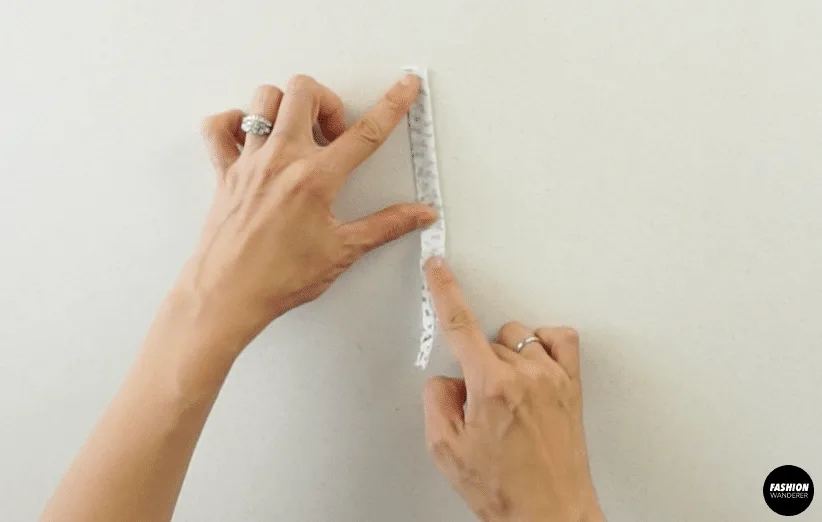
Use a loop turner to flip the strap inside out.
Cut two separate 2” strap pieces.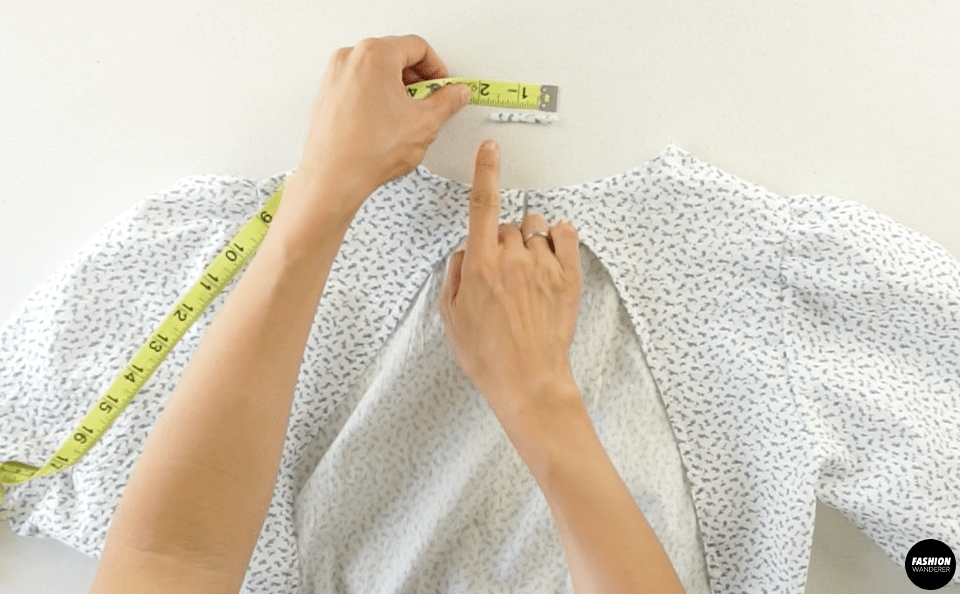

Pin the straps in a loop to make the buttonhole closures, then secure with straight stitch.
- To add buttons to the back neckline, lineup the buttonhole closure on the opposite side of the neck opening.

Hand sew two buttons in place and tie a knot with the back tie straps to finish this Alyvia top.

Recommended Products
As an Amazon Associate and member of other affiliate programs, I earn from qualifying purchases.


Trendy, Affordable Sewing Patterns for All Sizes


Tie Shoulder Jumpsuit Pattern


Palazzo Pants Sewing Pattern


Pocket Overall Romper Pattern


Wrap Maxi Skirt Sewing Pattern


Tie Back Top Sewing Pattern