
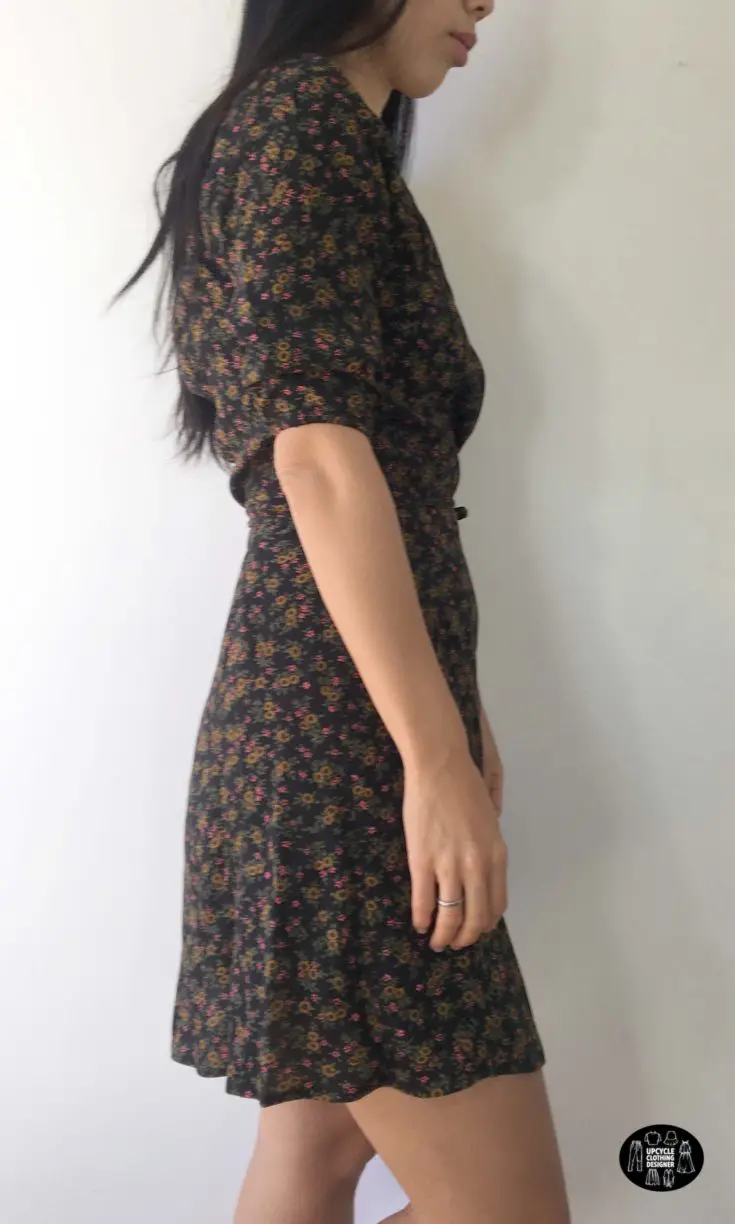
Follow this DIY sewing tutorials for simple instructions on how to make a wrap dress without a pattern. The pretty puff sleeves with functional wrap tie around the waist will make you look more flattering than ever before.
Once you understand the principles of clothing construction, you can make any dress without a pattern. This DIY wrap dress tutorial includes a step-by-step guide and detailed instructions to help you complete the easy beginners sewing project.
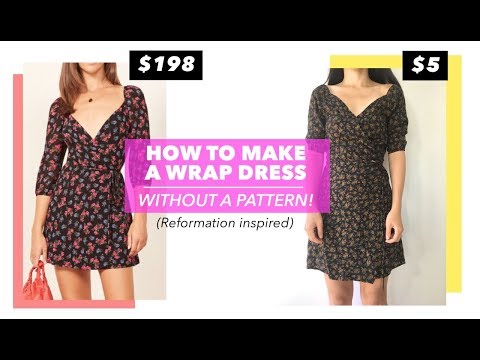
I found a scrap piece of ditzy floral printed fabric at the local thrift shop, and I thought it was a perfect material to make a dreamy Reformation style wrap dress. The original dress we will copycat retails for $200, however we will be recreating the look for about $5.
You will love this Reformation inspired wrap dress without a pattern because…
- No sewing pattern is needed.
- Learn how to copy your top and convert it into a dress without a pattern.
- This wrap dress only costs $5 to make!
- Create an overlap silhouette functional wrap dress
- Practice making spaghetti straps.
- Understand how to sew with elastic around the sleeve.
- Perfect intermediate project, and also recommended for beginners to step up their game to a new level!


The fabric scrap I chose for this sewing tutorial is viscose material. It has light-medium weight that was perfect to make a dress without needing an inner lining.
In addition, the material does not stretch on all sides, which makes the fabric easy to sew. Always test a fabric swatch by cutting, stretching, and stitching to make yourself comfortable before starting any project.
In this DIY dress sewing tutorial, I teach you how to make a wrap dress without a pattern. In order to have a perfectly fitted dress, you often need a pattern and also need to sew the dress correctly.
However, I’ll share tips and tricks to make a wrap dress by copying a top that fits you well. As a result, you don’t need to use a paper sewing pattern.


How to make a wrap dress without a pattern?
Start by washing and ironing your favorite printed fabric to prepare the material for cutting and sewing. It’s always much easier to work with nice crisp fabric!
Scroll the guide to take body measurements for clothing so that you can easily convert the dimensions into the right size for you. Afterwards, visually estimate to make sure you have enough fabric to work with for this Reformation style DIY wrap dress.
By doing the initial steps, you’ll set yourself up for a stress-free experience to enjoy the sewing project. Lastly, check out the sewing tips and techniques to help you successfully accomplish this dress design.


DIY Wrap Dress Materials:
- 2 yards Fabric
- Fabric Chalk
- Measuring Tape
- Ruler
- Scissors
- Pins
- 1/4” Width Elastic
DIY Wrap Dress Sewing Tips
This DIY wrap dress is perfect for beginner level sewers. Simply copy your top and modify and extend the length to mimic the Reformation inspired design.
Always check your machine tension and threading to create clean stitching along the way. Grab your basic sewing kit and start with the useful tips I listed below.
- Cutting tips: When cutting viscose fabric, use a sharp rotary cutter on a mat or scissors. The fabric is very light and flimsy, so make sure to use a lot of pins and pattern weights to get an accurate cut.
- Needle: Base the weight of the material on the type of needle to choose, use 70/10 universal machine needle or a fine extra sharp ballpoint needle 75/11.
- Thread: The thread I recommend is 100% polyester thread or a polyester blended thread. Viscose is not a natural or man-made fiber, therefore you want to pick thread that has similar properties.
- Sewing foot: Go with regular sewing machine foot to sew viscose. But if you happen to need extra help, try use a walking foot along with lots of pins to evenly keep the layers together.
- Hem: Viscose tends to fray easily along the edges. Therefore, it’s best to finish seams with zig-zag stitch and also single fold the hemlines.
Again, if you are just getting started or still practicing beginners sewing projects, don’t hesitate to ask me any questions about how to make this wrap dress without using a sewing pattern. Leave a question in the comments below, and I would love to help you out if you get stuck.
In addition, please share any feedback with me on how I can improve this DIY reformation wrap dress tutorial. As a result, I am able to provide quality materials and help beginners learn the essential tips to sew better.
More dress making projects for your next DIY fashion:

DIY Wrap Dress Without A Pattern
This DIY Reformation dress sewing tutorial will show you exactly how to make a wrap dress without a pattern. The step-by-step guide includes detailed pictures and also YouTube video as a reference.
Make a wrap dress that fits your body perfectly. As a result, it will be a flattering addition to your capsule wardrobe.
Understanding how to make a wrap dress without a pattern sounds challenging. However, it’s much easier that you think with this step-by-step sewing tutorial.
Pick your favorite solid or ditzy floral print fabric and let’s get started making this DIY wrap dress without a pattern!
Materials
- 2 Yards Fabric
Tools
- Sewing Machine
- Fabric Chalk
- Measuring Tape
- Ruler
- Scissors
- Straight Pins
Instructions
- For the front pieces of the top bodice, I copied from a simple top. Because there are no shoulder seams on this wrap dress, I subtracted 3” from the shoulder seam to create the new seam line.
- The bottom width is 11½”. I also made 2 front facings that are 3” wide for each front piece.
- For the back piece of the top bodice, I added 2” along the folded line so I can put elastic to give more support on the back.
- For the sleeves, I added 2” along the folded seam so it will have a nice puff sleeve. The opening for the sleeves is 9” and the sleeve is 14” long.
Pro tip: Adjust the sleeve length to your choice, but I chose a ¾” sleeve to give a little bit more coverage. - To secure this wrap dress, you need 2 tie straps that are 40” x ¾”.
- For the front piece of the skirt bottom, there are 2 pieces that are 19” x 9” and 2 pieces that are 19” x 3⅝”.
- For the back piece of the skirt bottom, there are 1 centerpiece that is 19” x 6½” and 2 pieces of 19” x 3 ⅝”.
- This DIY wrap dress tutorial also requires a three separate pieces of ¼” elastic band:
2 pieces that are 5” long
2 pieces that are 8” long
1 piece that is 13” long
DIY Wrap Dress Sewing
- First, secure and sew a bust dart.
Pro tip: Most wrap dresses don’t have a bust dart. However, I noticed that having a bust dart actually helps to hold the shape better. In addition, it helps reduce the neck opening gap when the dress is in motion. - Next, we are going to add all elastics on the dress.
Grab a 5” long elastic band, and lay it on the wrong side of the sleeve fabric. Pin it along the top edge starting 2” away from the center of the sleeve.
Sewing tip: If this is your first time sewing elastic, I recommend using pins at each end of the elastic band, and stretch a small amount while you sew. - Finish the shoulder opening with a zig zag stitch.
- Now, close the underarm sleeve with a straight stitch and then finish with zig zag stitch.
- Overlap the ends of an 8” long elastic band and topstitch to make a circle. Then, slide the ring over the wrong side of the sleeve opening. Stretch the elastic as you sew and then zig zag stitch.
- Double fold both sleeve openings to cover the elastic band and then ¼” topstitch to secure.
- For the back piece of the top bodice, grab a 13” elastic band and lay it on right side of the neckline.
Stretch the elastic as you sew topstitch from one end to the other. - Next, double fold the elastic band and finish the neckline with topstitch.
- Lay the right sides of the front and back piece on top of each other.
- For the left side of the top bodice, you will zig zag stitch the edges individually and then ½” topstitch to finish until ¾” away from the edge. This is where you are going to slide the tie through when you finish the skirt.
- For the other side of the top bodice, you only topstitch the seams together and finish zig zag stitch.
- Attach both sleeves along the armhole of the bodice with ½” seam allowance.
- To sew the tie straps, fold the straps in half and topstitch with ¼” seam allowance. Use a loop turner to flip the straps inside out.
- To sew the tie straps to the top bodice, lay the facing and front piece right side on top of each other. Sandwich the strap ½” away from the bottom edge of the front piece. Pin to secure and then sew ½” along the curve line. Then, open the facing and edge topstitch.
- Double fold the elastic band along the top of both sleeves and secure with topstitch.
- To assemble the skirt panels, attach both right and left side skirt panel to the center back skirt panel by ½” seam allowance and finish with zig zag stitch.
- Next, attach one side panel to each front skirt panel with ½” seam allowance and finish with zig zag stitch.
Then, connect a front side panel to each side of the back skirt panel with ½” seam allowance and finish with zig zag stitch. - Complete the skirt by double folding ¼” all around the skirt edge and skirt hemline.
- To finish the wrap dress, lay the right side of the top and the right side of the skirt together. Pin to secure, sew ½” seam allowance and finish with zig zag stitch.
- Lastly, topstitch the straps so that they don’t flip when you wear the dress. Simply tie the straps around the waist and enjoy your new DIY wrap dress!
Recommended Products
As an Amazon Associate and member of other affiliate programs, I earn from qualifying purchases.


Share your DIY wrap dress with me!
#FashionWanderer
Trendy, Affordable Sewing Patterns for All Sizes


Tie Shoulder Jumpsuit Pattern


Palazzo Pants Sewing Pattern


Pocket Overall Romper Pattern


Wrap Maxi Skirt Sewing Pattern


Tie Back Top Sewing Pattern